Fourth of July Clay Gnome


Craft a Fourth of July Clay Gnome with Your Kids
Celebrate this Fourth of July with a fun and creative project in your homeschool! Crafting a clay gnome with your kids is not only a delightful way to spend quality time together but also a fantastic opportunity to ignite their creativity and patriotism.
As you mold and shape the clay into whimsical gnomes adorned in red, white, and blue, you’ll be creating lasting memories and a unique decoration that embodies the spirit of Independence Day.
So, gather your supplies, roll up your sleeves, and get ready for a crafting adventure that combines fun, learning, and a splash of national pride!

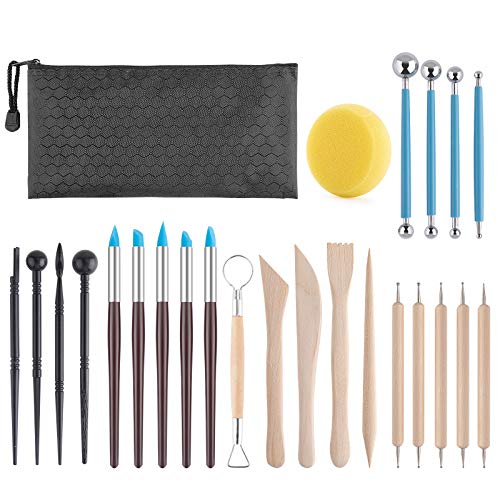
List of Supplies for Fourth of July Clay Gnome


Instructions for the Fourth of July Clay Gnome

Step 1
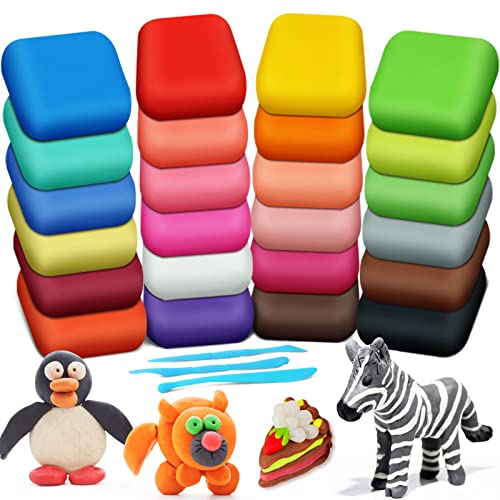
Select red, white, and blue clay along with another colored clay for the skin tone of the gnome. Take an amount of clay (of your choice) for the body part of the gnome. Knead and then roll the clay into a smooth ball shape.

Step 2
Shape the clay ball into a cylinder-like shape, with 1 end slightly narrower than the other.

Step 3
Use the pin-head clay tool to make a small hole at the wide end of the prepared clay shape. This will be the bottom side of the clay gnome and it’ll help the clay gnome to stand firmly.

Step 4
Craft a small round shape for the nose (from the clay selected for the skin tone).

Step 5
Attach the clay nose to the top, front part of the clay body pattern.

Step 6
Prepare another ball shape from white clay for the gnome’s beard.

Step 7
Shape the white clay ball into a petal shape or any shape you prefer for the gnome’s beard.

Step 8
Use the clay knife tool to make indentation cutouts along the clay beard to add texture.

Step 9
Make a small and thin rope shape from blue clay. This will be the belt of the fourth of July clay gnome.

Step 10
Wrap the blue clay belt around the middle part of the clay body pattern.

Step 11
Attach the clay beard to the front side of the clay body pattern, right below the nose.

Step 12
Prepare an amount of red clay to a ball shape to make the hat.

Step 13
Shape it into a square.

Step 14
Roll the square clay against a smooth surface to form a cylinder shape. Flatten another amount of red clay to make a disc shape (brim).

Step 15
Attach the red cylinder shape in the center of the red disc shape.

Step 16
Attach the clay hat on the top of the clay body pattern, covering the top side of the nose and beard.

Step 17
Add white vertical stripes (clay rope shapes) and a blue clay band on the hat. Add 2 small round shapes from any colored clay you like (we’re using blue) for the shoe parts. Attach them on the bottom side of the body pattern to complete the gnome figure. Allow the clay to dry nicely.
More Clay Crafts
Here are some other clay crafts you might want to try with your homeschool class, including some simple projects for younger children.