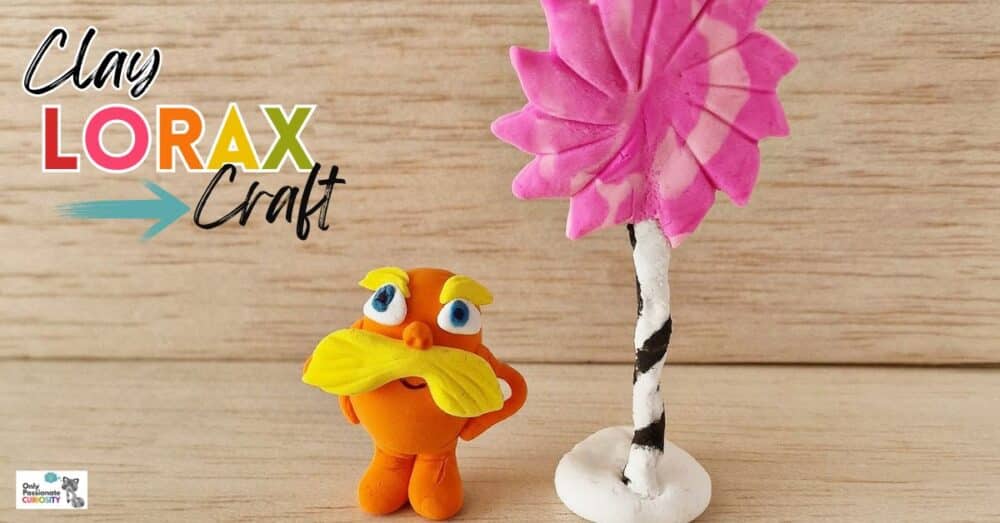
The Lorax Clay Craft
Have you ever read The Lorax with your kids? It’s one of the most popular Dr. Seuss books, especially since it was made into an animated film. What is more, the story has an important message about caring for the world around us—a terrific message for Earth Day.
I am the Lorax. I speak for the trees.
Dr. Seuss’s beloved story teaches kids to treat the planet with kindness and stand up and speak up for others. Experience the beauty of the Truffula Trees and the danger of taking our earth for granted in a story that is timely, playful, and hopeful. The book’s final pages teach us that just one small seed, or one small child, can make a difference.
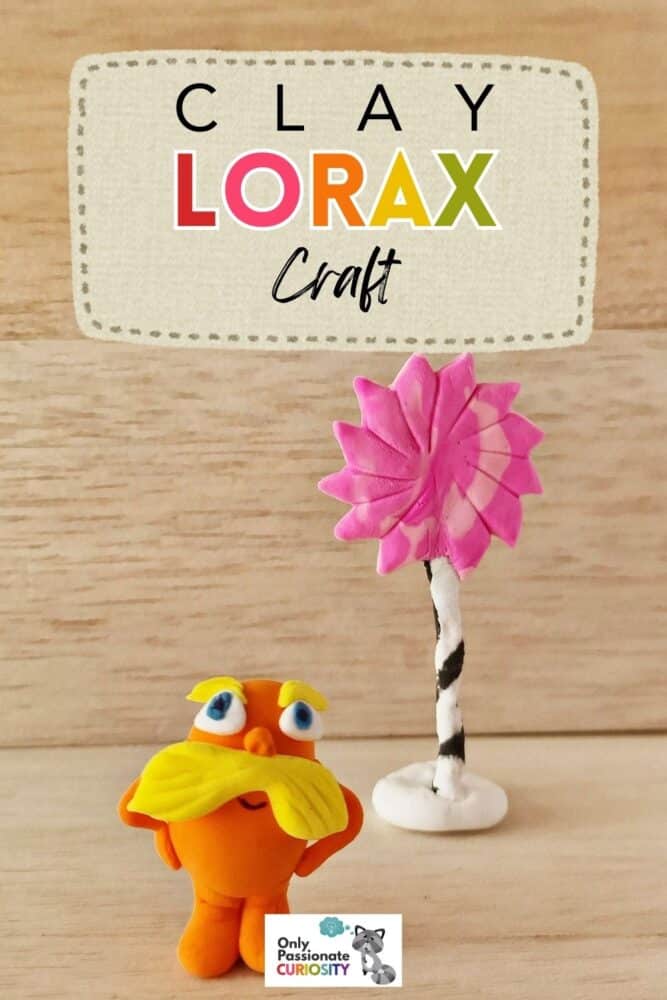
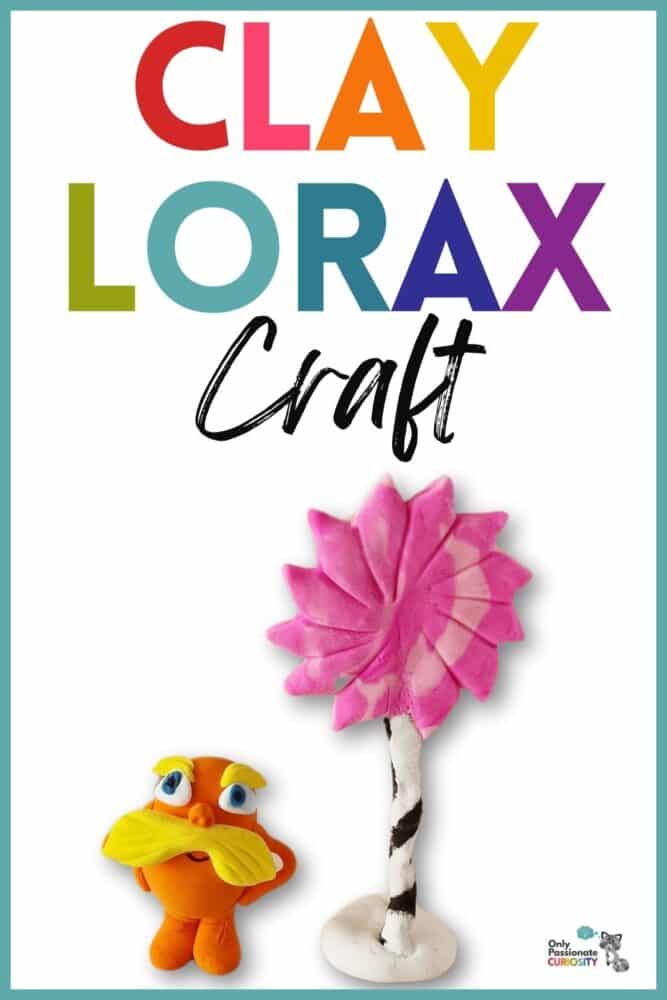
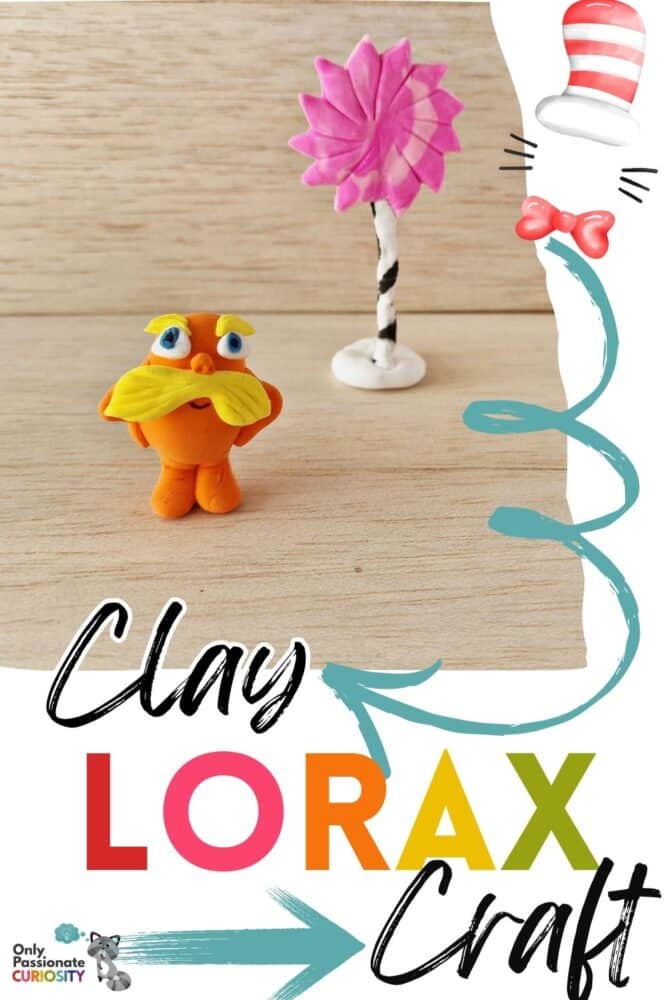
The Lorax is a terrific story to base a variety of crafts and projects on, and this post will show you, step by step, how to craft the Lorax out of clay.
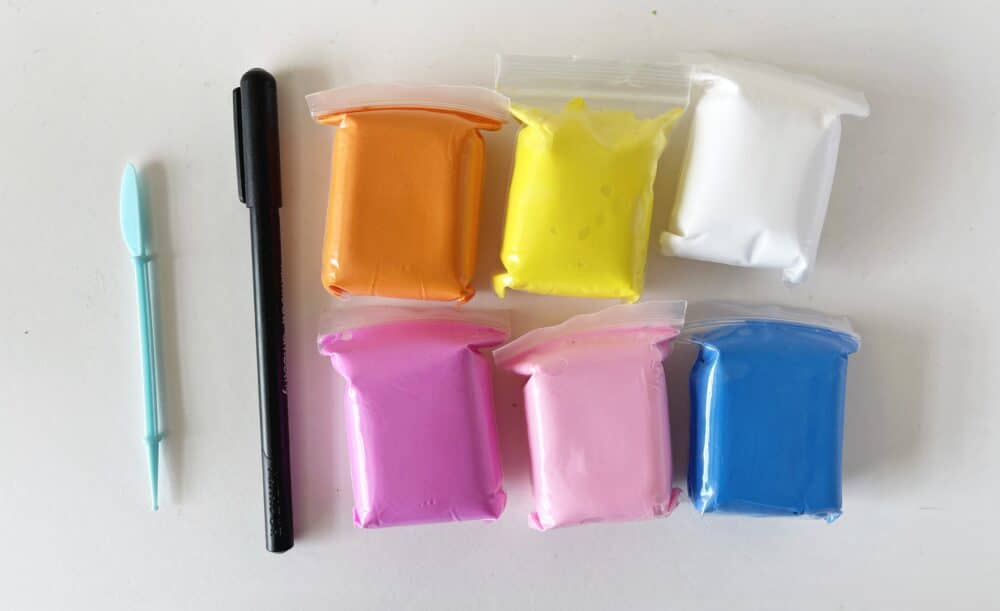
List of Supplies for The Lorax craft:
Instructions for The Lorax
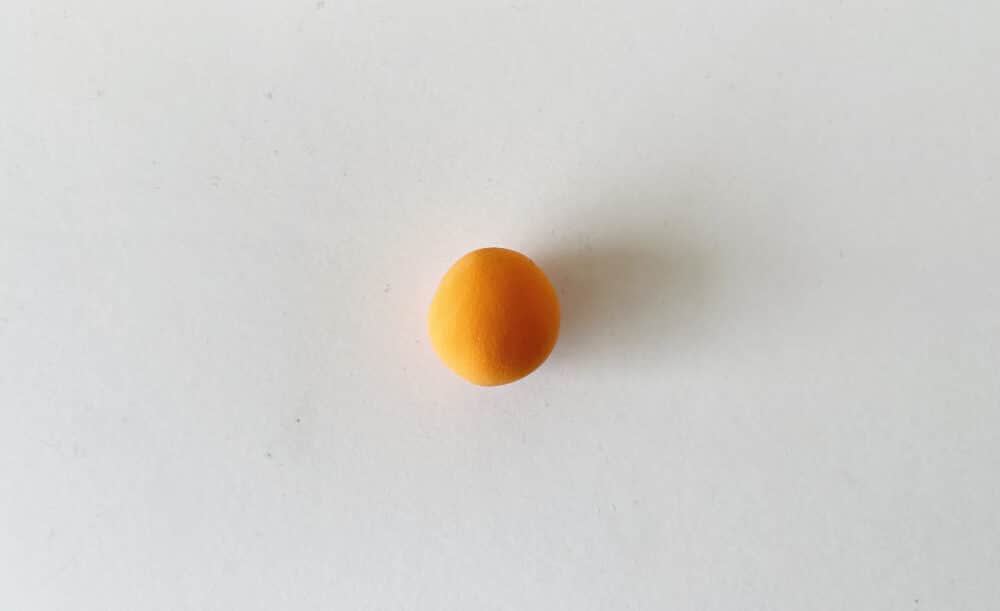
Step 1
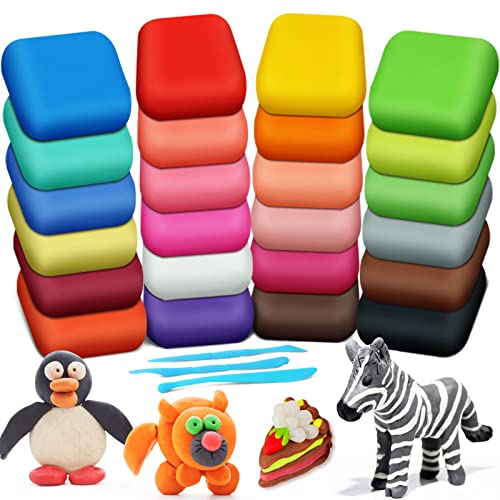
Select orange, yellow, black, and blue clay for this craft. Let’s start with the Lorax figure base. Take out an amount of clay for the body base (the amount will depend on how big you want to make him). Roll the clay between your palms to form a ball shape.
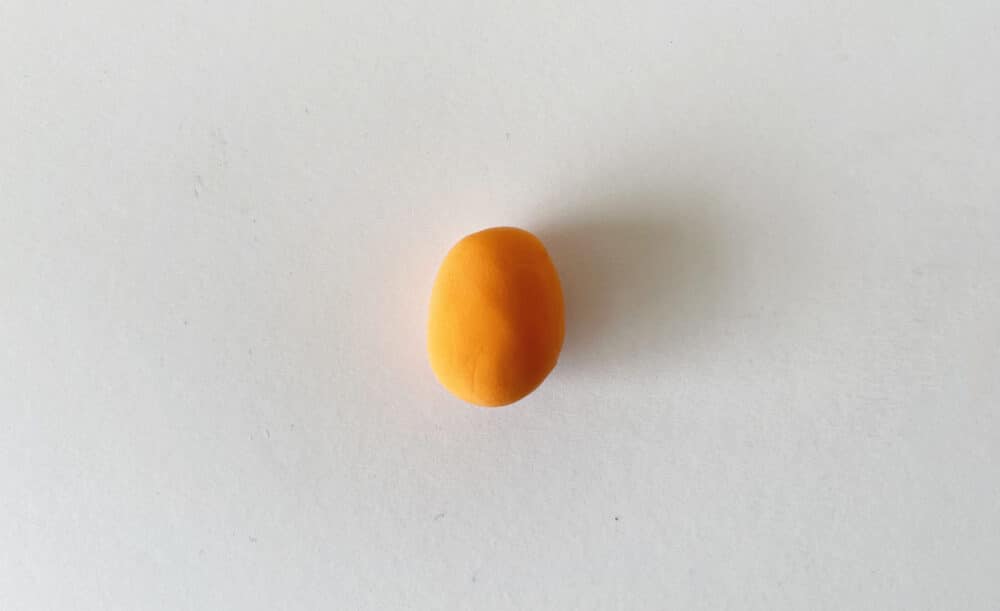
Step 2
Roll the clay ball against a flat, even surface to form a cylinder shape. The body base of the Lorax is ready.
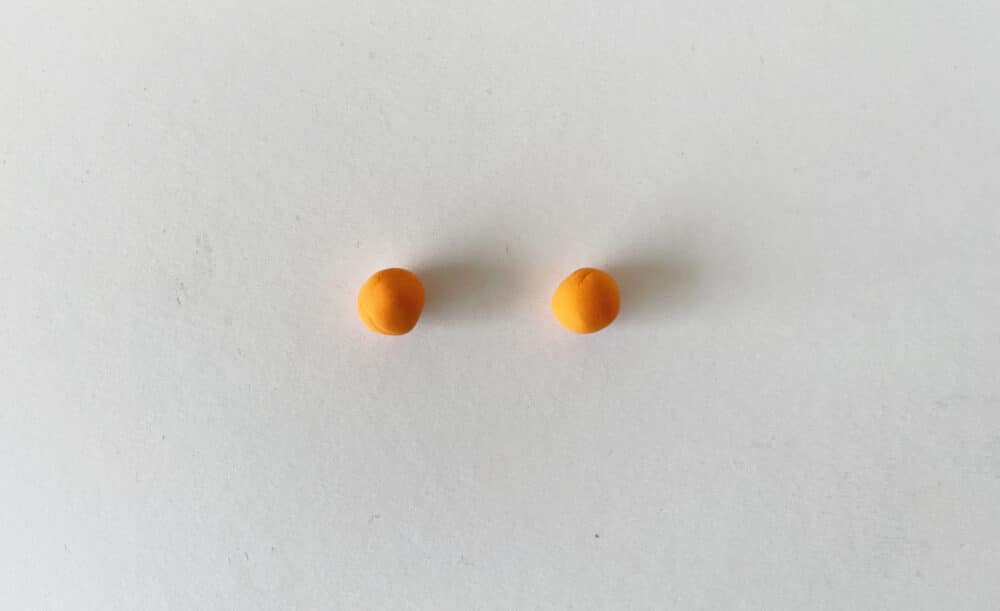
Step 3
Take out 2 even amounts of clay for the legs. Form ball shapes with them.
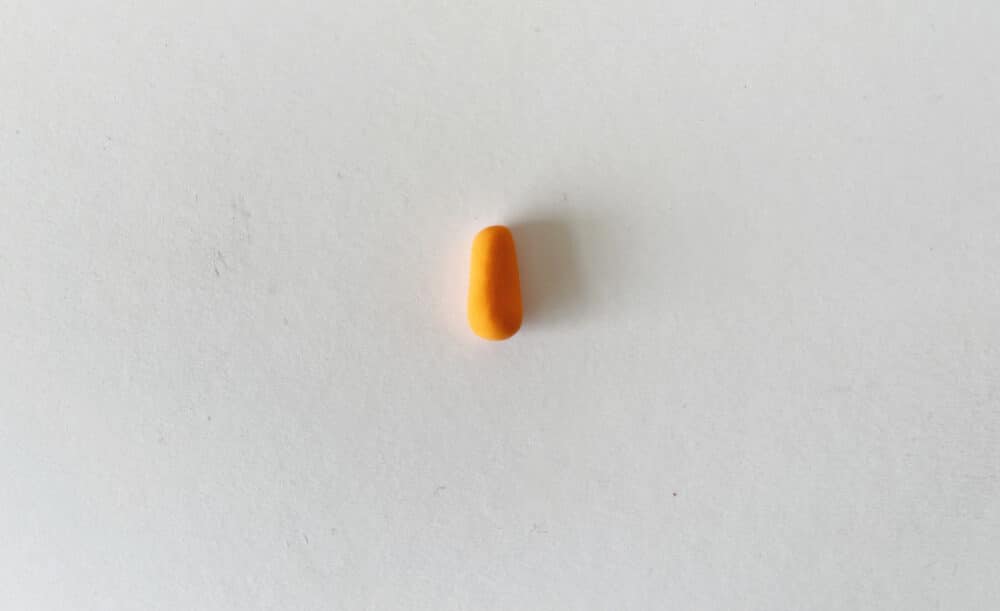
Step 4
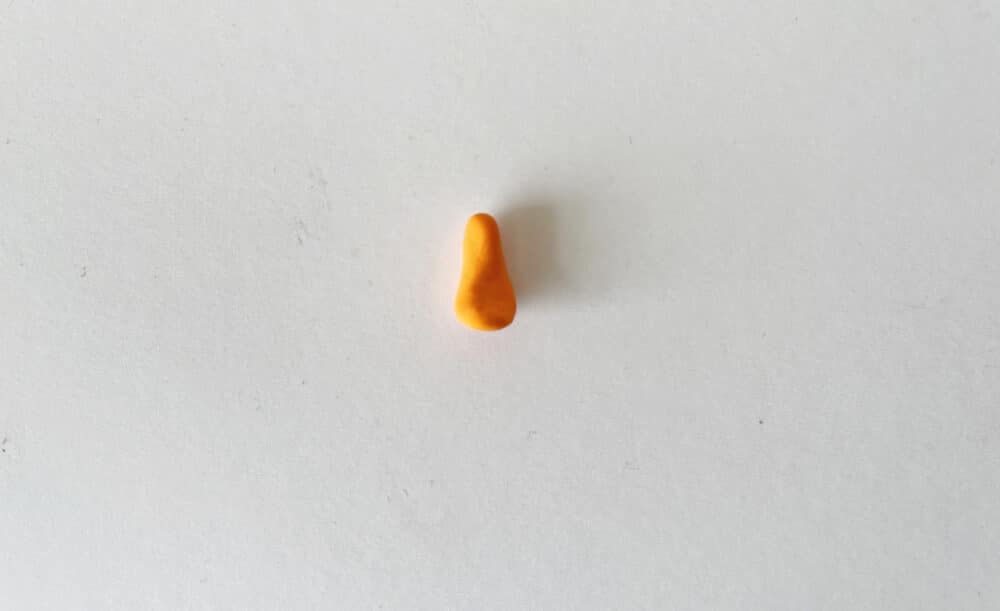
Roll a clay ball against a flat, even surface to form a cylinder shape.
Step 5
Slightly flatten any one end of the clay cylinder to form the bottom side of the leg.
Step 6
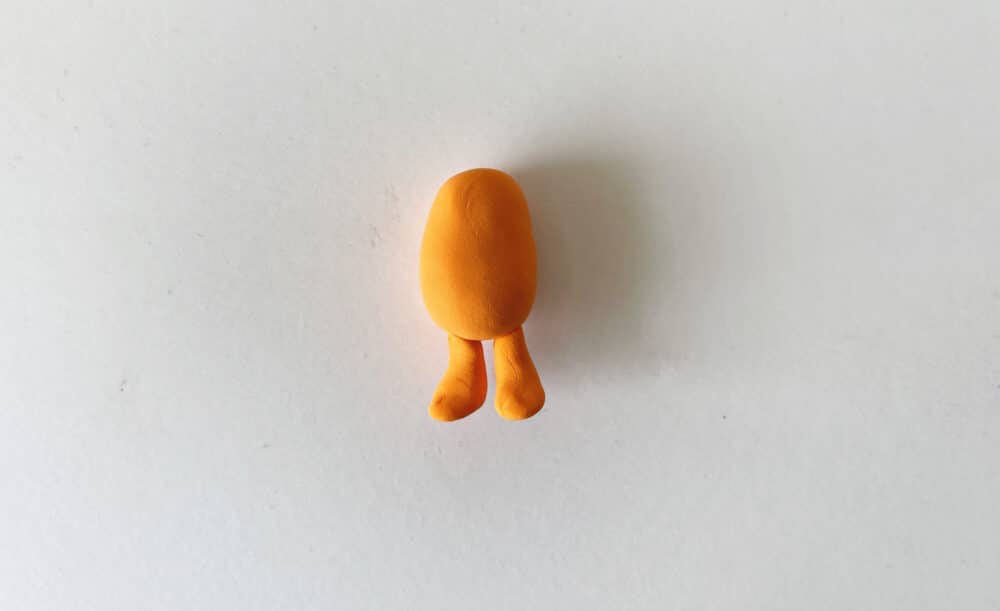
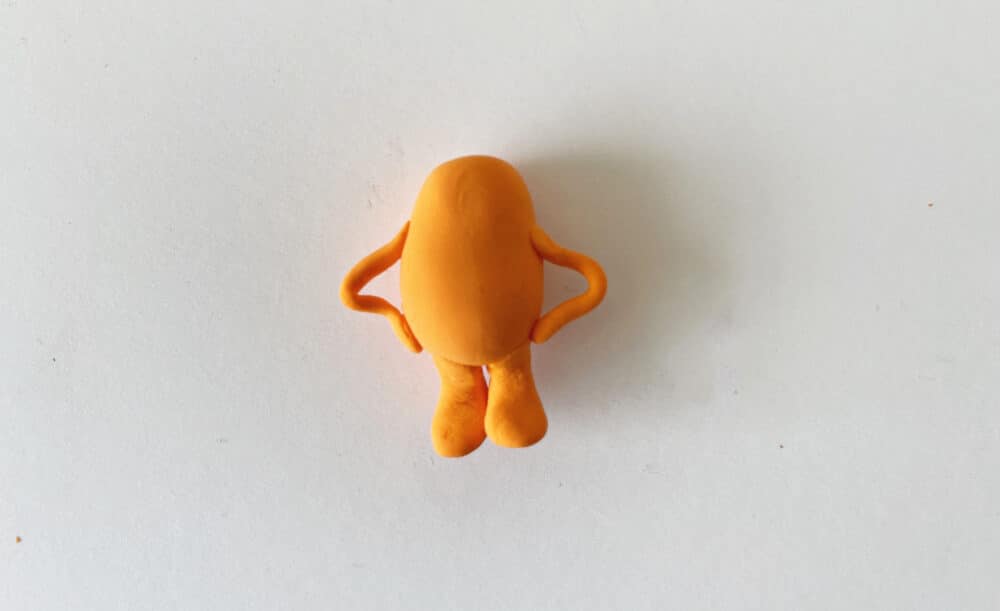
Similarly form the other leg and then join them with the body base at the bottom side.
Step 7
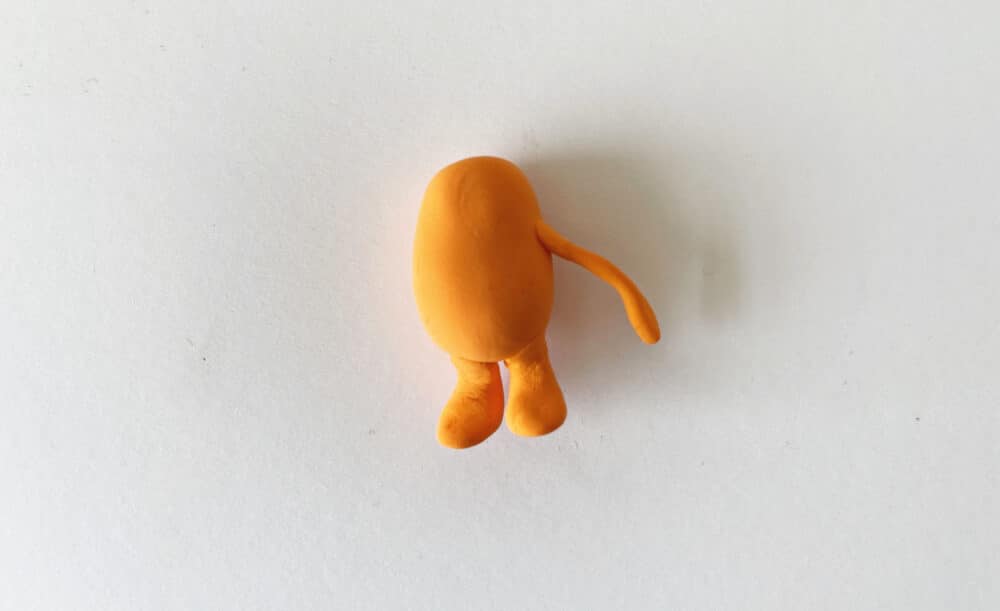
Use an amount of orange clay to make the arms. Attach the top side of the arm with the body base, at the top side.
Step 8
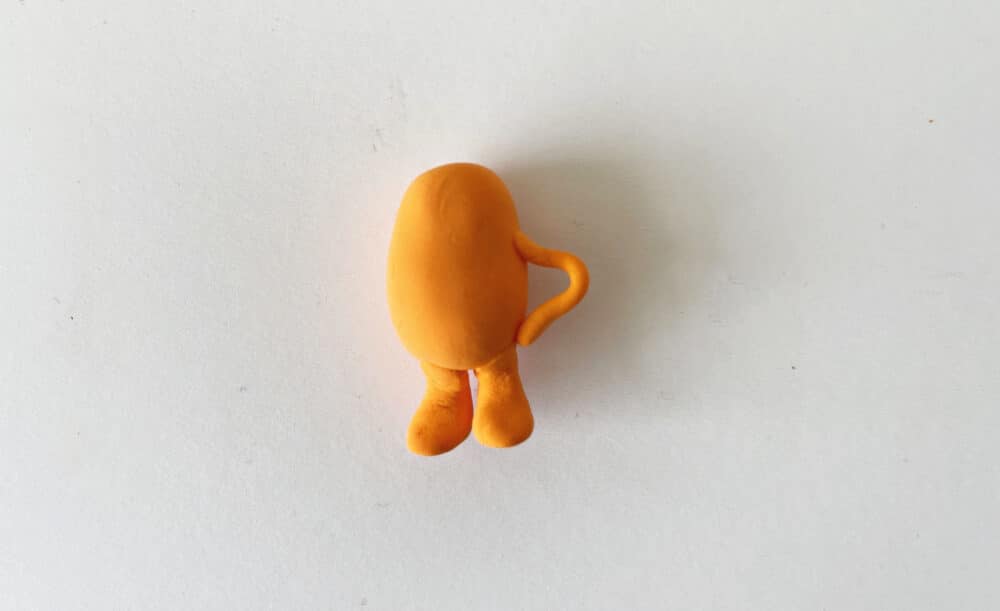
Form a curve with the arm clay and join the other open end with the body base, near its bottom side.
Step 9
Similarly, join the other arm.
Step 10
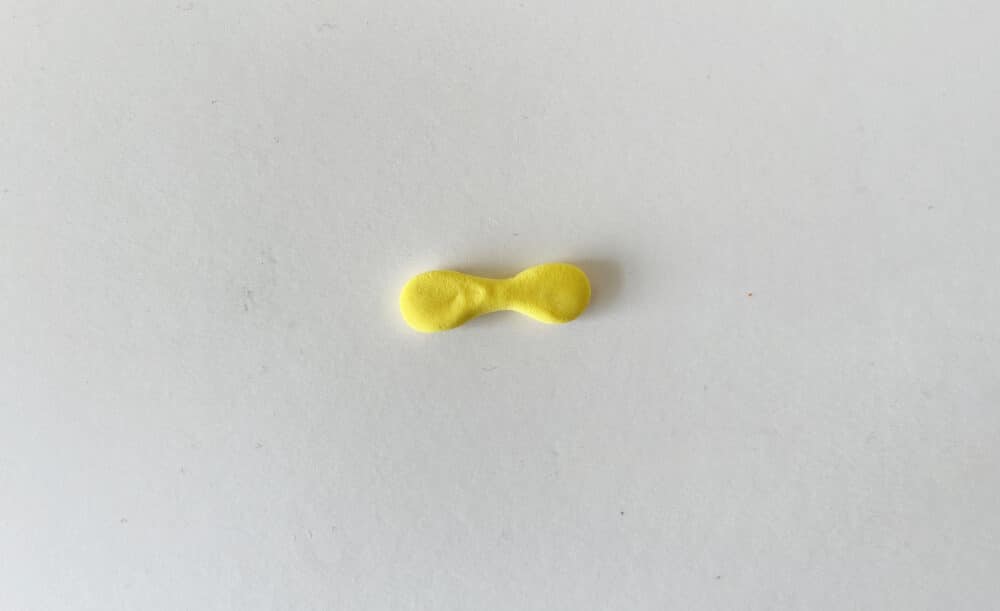
Take an amount of yellow clay to make the moustache. Form a bow shape with the yellow clay.
Step 11
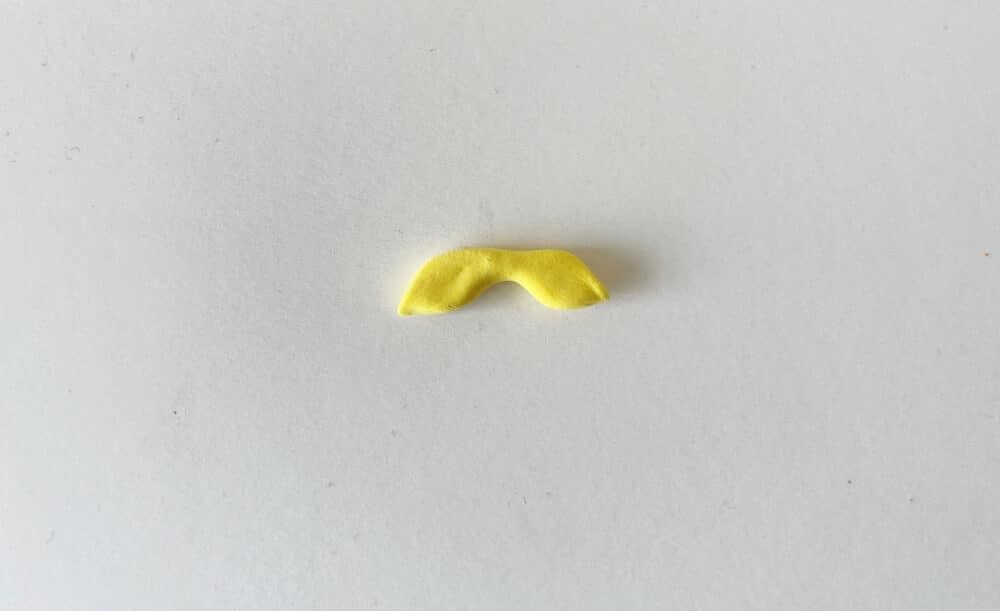
Use your fingertips to point out the round ends of the clay bow shape.
Step 12
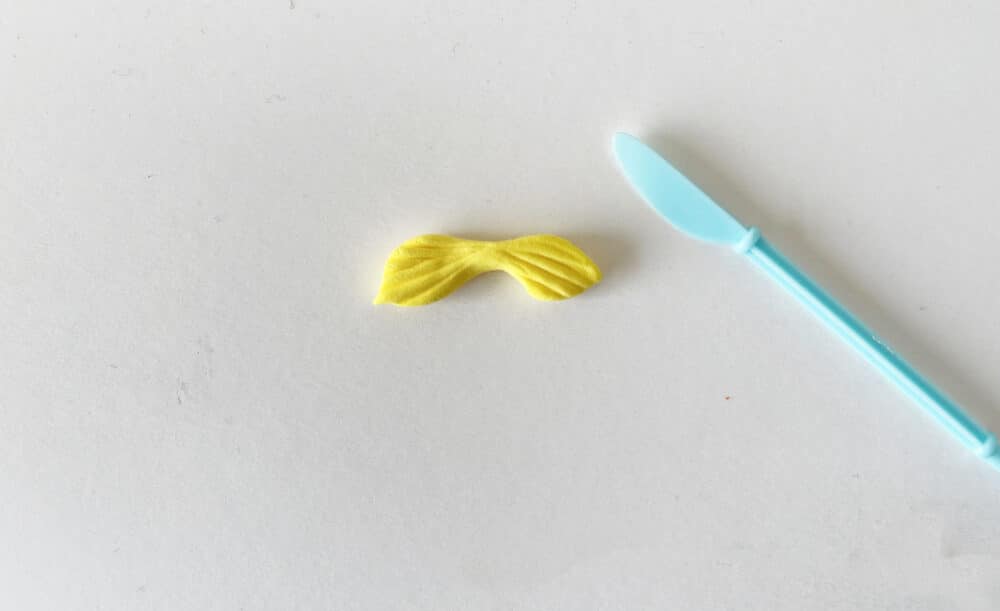
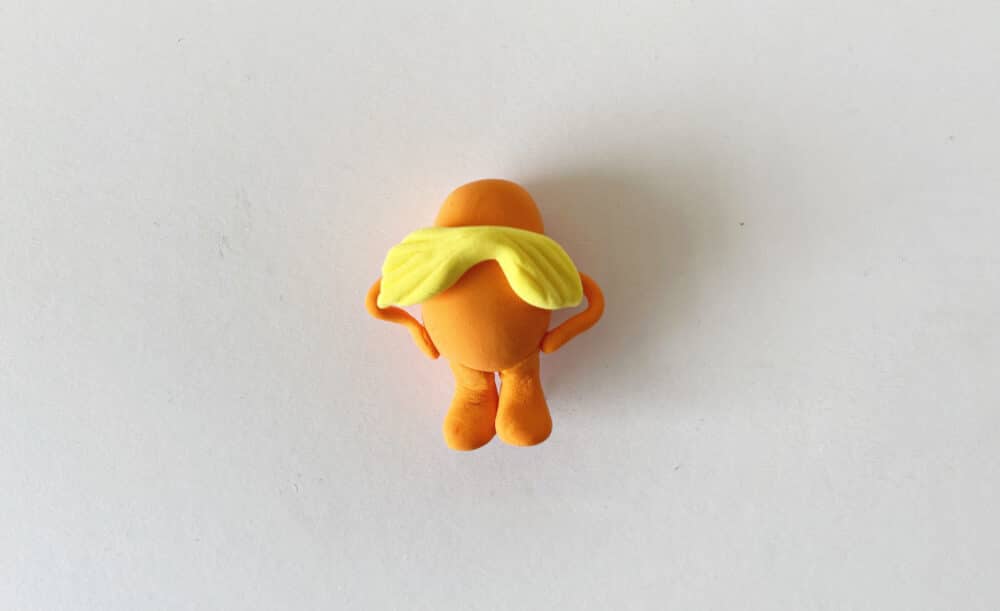
Use a clay knife tool to add stripes as texture to the moustache.
Step 13
Attach the moustache to the body base, between the arms.
Step 14
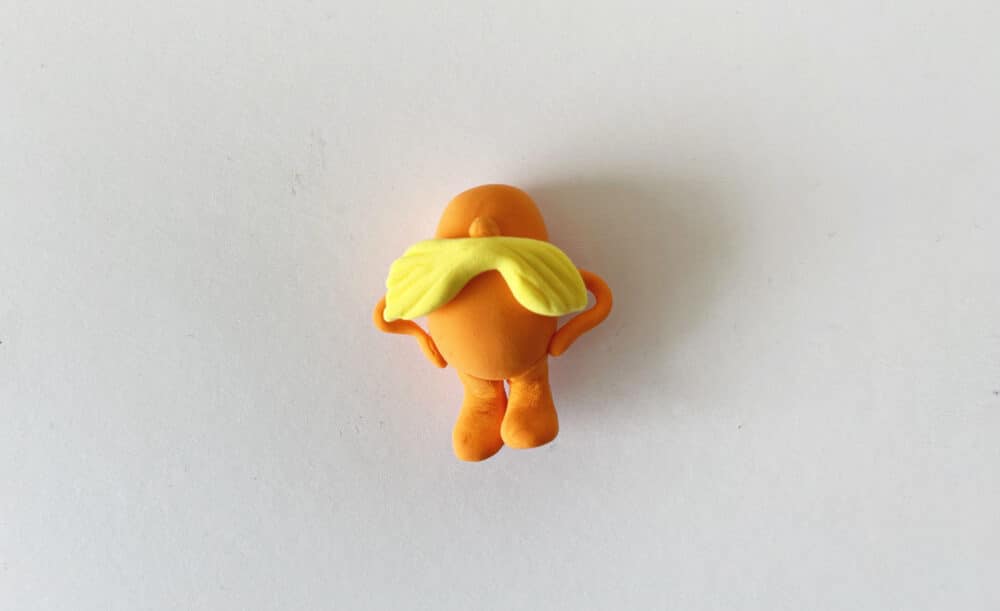
Form a small round shape using a small amount of clay to make the nose.
Step 15
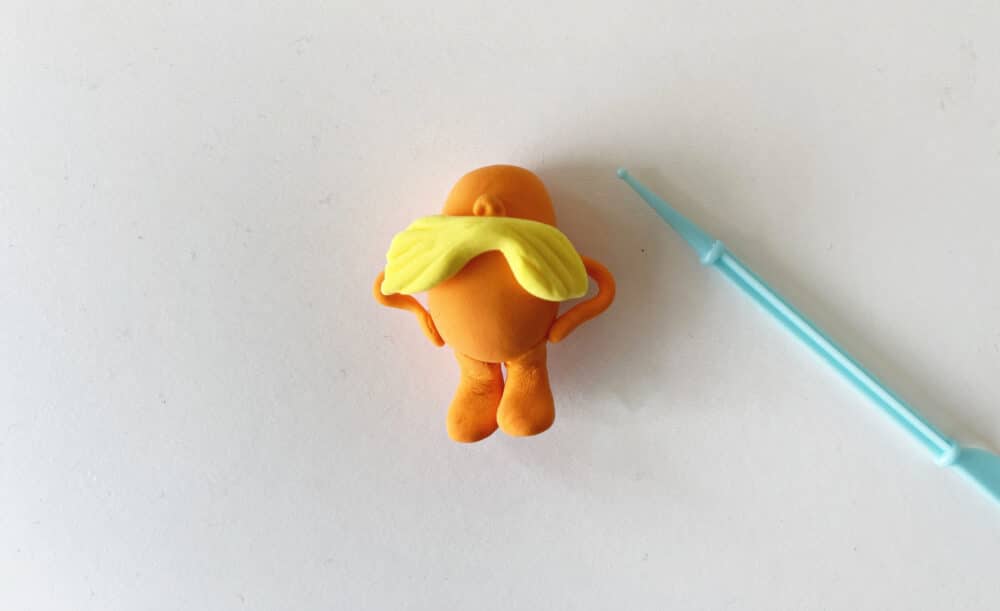
Use a clay tool or needle to add 2 holes to the nose part, at the bottom side.
Step 16
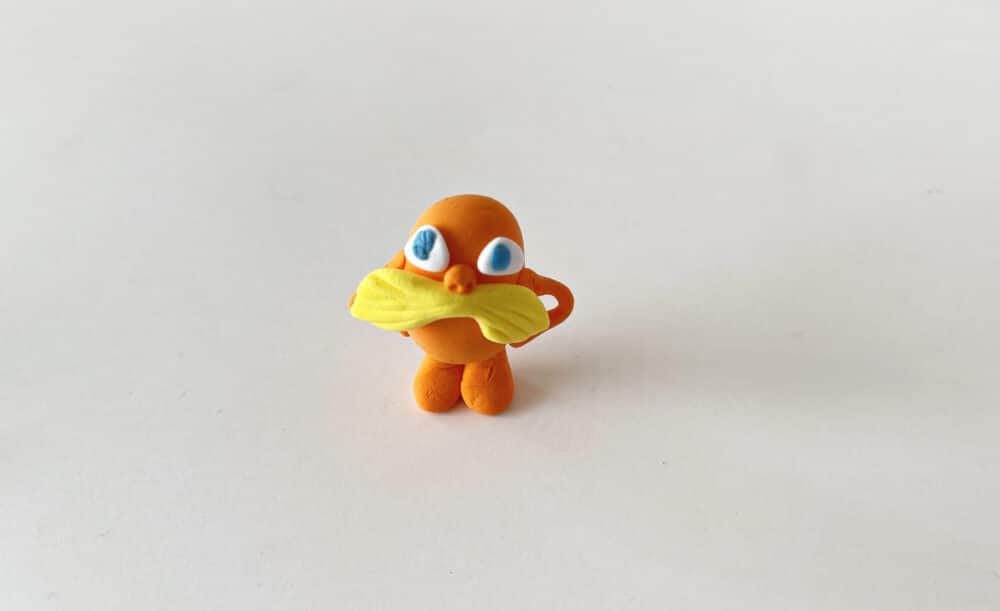
Make the eyes using white and blue clay. Form a disc-like shape from the white clay to make the eye base and then add a smaller disc shape from blue clay on the eye base. Attach the clay eyes to the Lorax body base, on the top part.
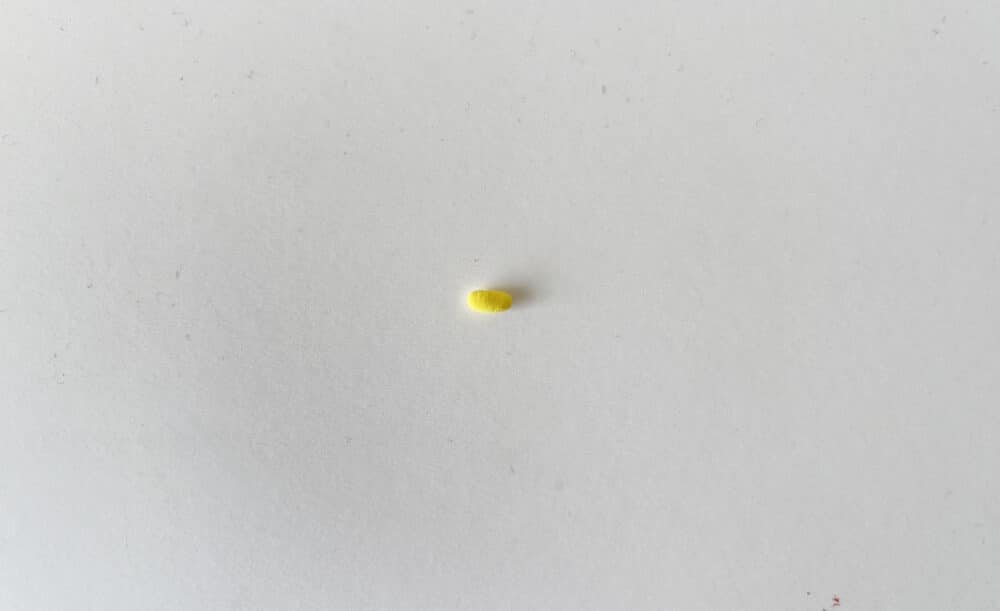
Step 17
Take out an amount of yellow clay to make the eyebrows. Roll, smooth, and flatten the clay.
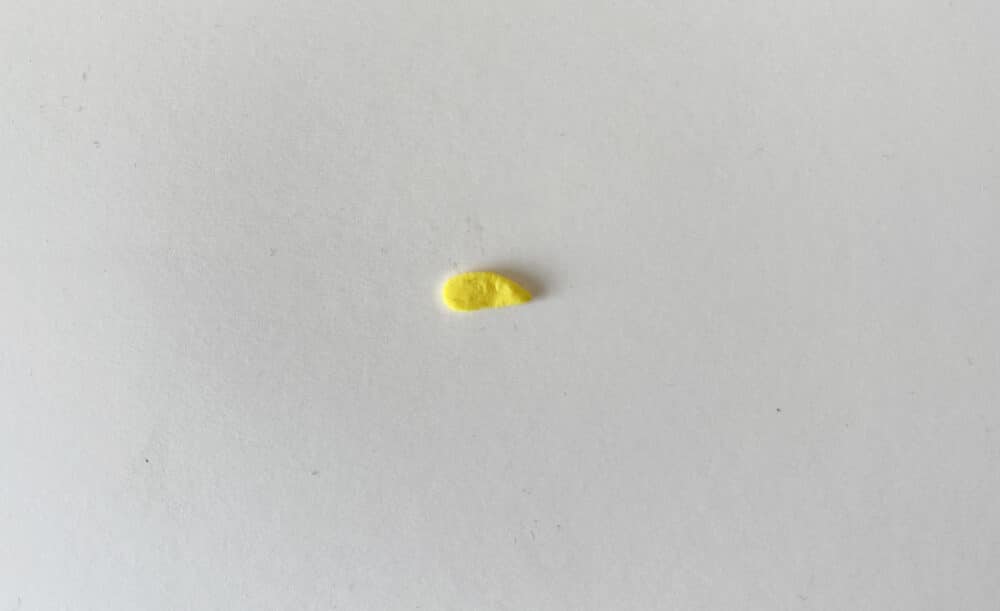
Step 18
Form the eyebrow shape of the Lorax using the yellow clay.
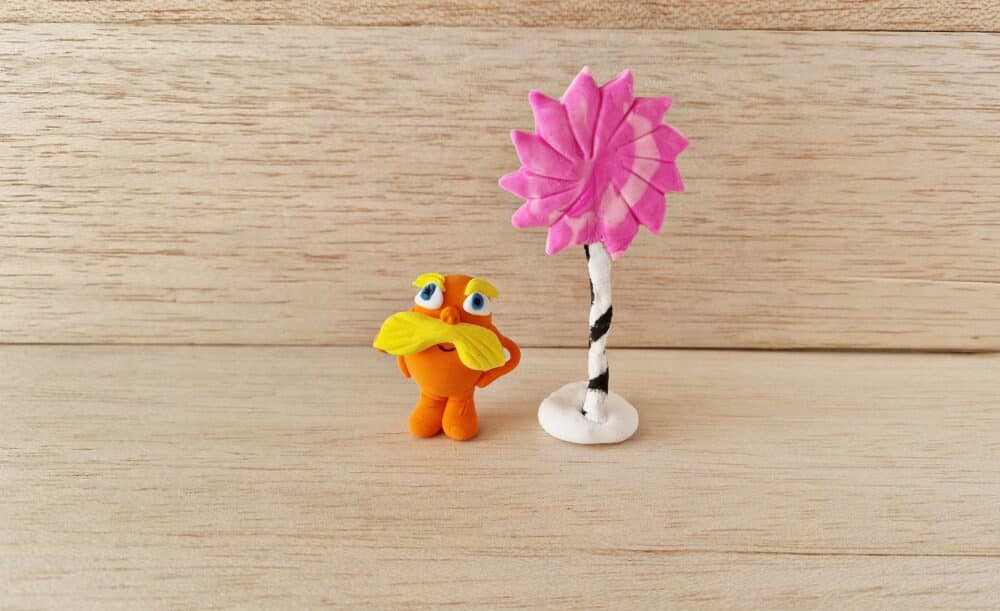
Step 19
Attach the clay eyebrows near the top adjacent parts of the eyes.
Related Crafts and Projects
If you’re in search of other projects that go well with this one, for Earth Day (in April) or Dr. Seuss Day (March 2nd), we’ve got you covered! These are all fun projects and crafts you can do with your kids. They’re ideal for homeschool craft time, as part of a unit study on children’s literature, or to go along with story time as you read your favorite Dr. Seuss book!
- The Lorax Truffula Trees Pretzel Rods Recipe
- Thing 1 and Thing 2 Crafts
- Red Fish, Blue Fish Paper Craft
- Make this Whimsical Cat in the Hat Diorama
- Study Science with Bartholemew and the Oobleck


