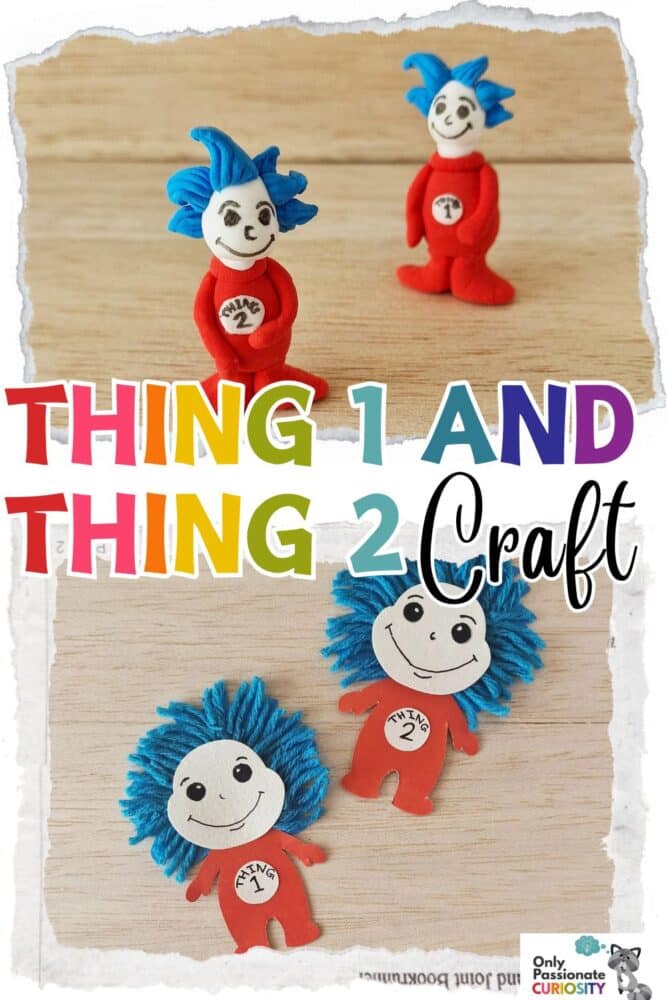
Thing 1 and Thing 2 Crafts for Dr. Seuss Day
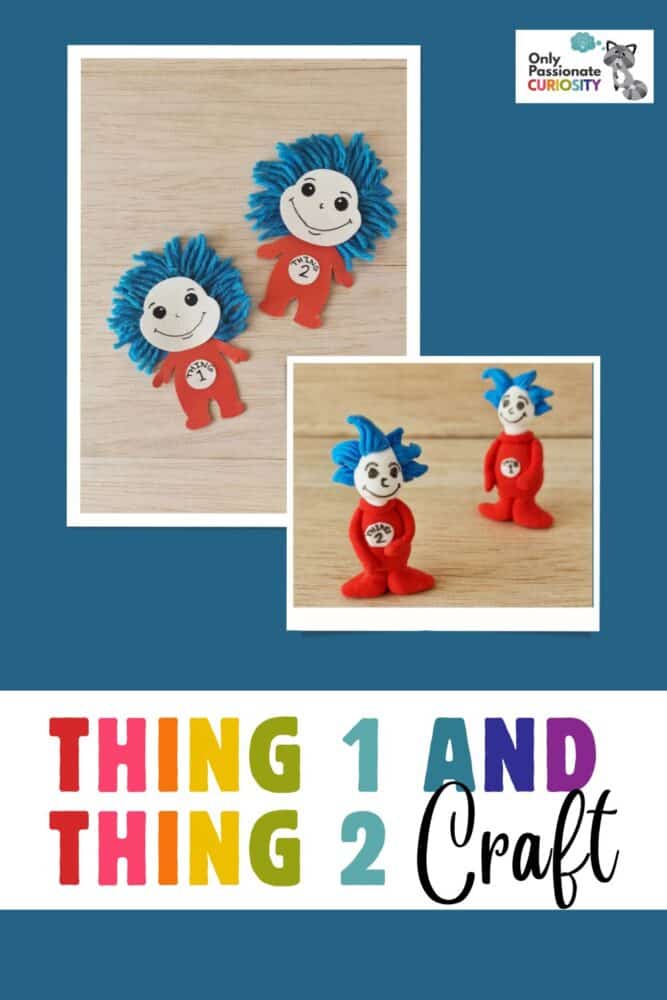
These days, the name Dr. Seuss is synonymous with one particular story: The Cat in the Hat. Although many of his other characters are also well-known, such as the Lorax and the Grinch, there’s just something about the iconic Cat in the Hat. And what would that fun-loving cat be without Thing 1 and Thing 2?

A board book narrated by the characters Thing One and Thing Two from The Cat in the Hat—perfect for introducing Dr. Seuss’s most beloved characters to babies and toddlers!
So, in honor of Dr. Seuss month in March, we’re offering you a couple of fun Thing 1 and Thing 2 crafts you can do with your kids at home. If you’re looking for more Dr. Seuss-themed activities, you’ll definitely want to check out the Ultimate List of Dr. Seuss Activities!
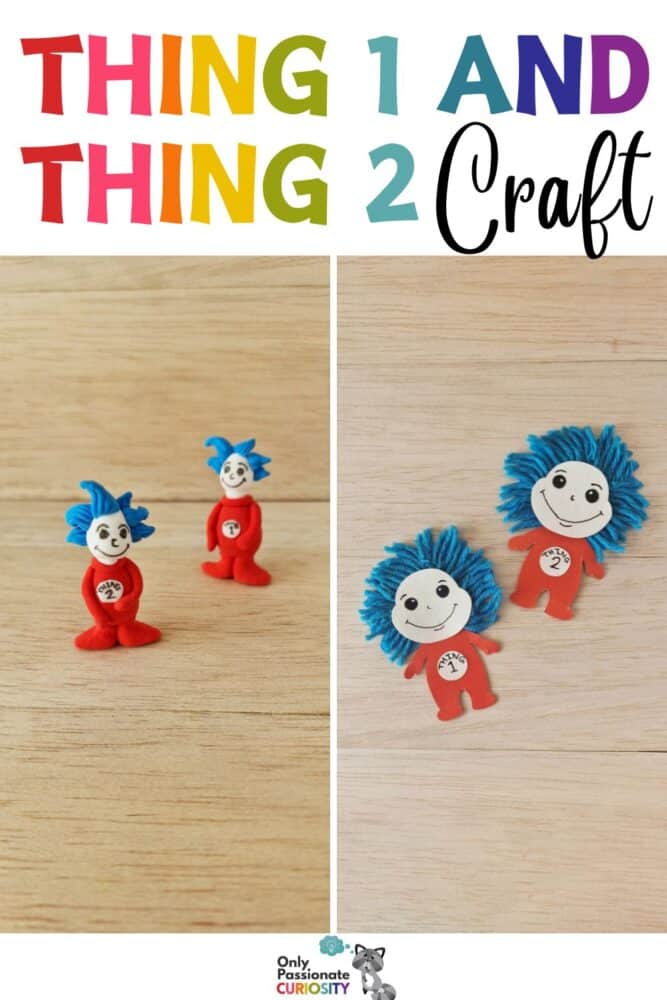
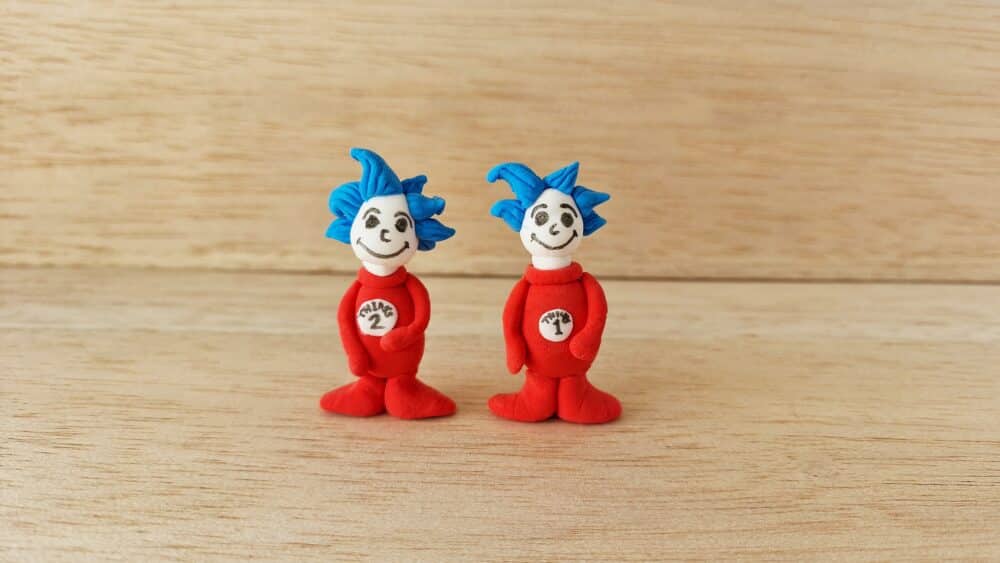
Thing 1 and Thing 2 Clay Craft
These Thing 1 and Thing 2 clay figurines are perfect for The Cat in the Hat Diorama, just posted on our sister site, Weird Unsocialized Homeschoolers. Make sure you check it out!
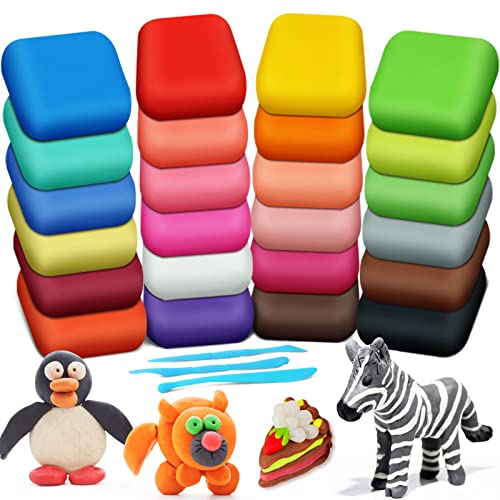
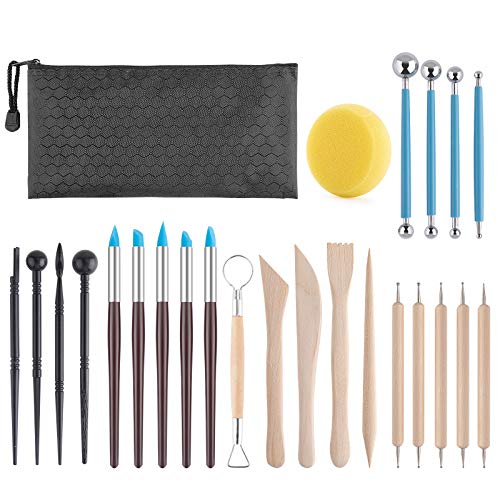
List of Supplies for Thing 1 and Thing 2 Clay Figurines:

How to Make Them:
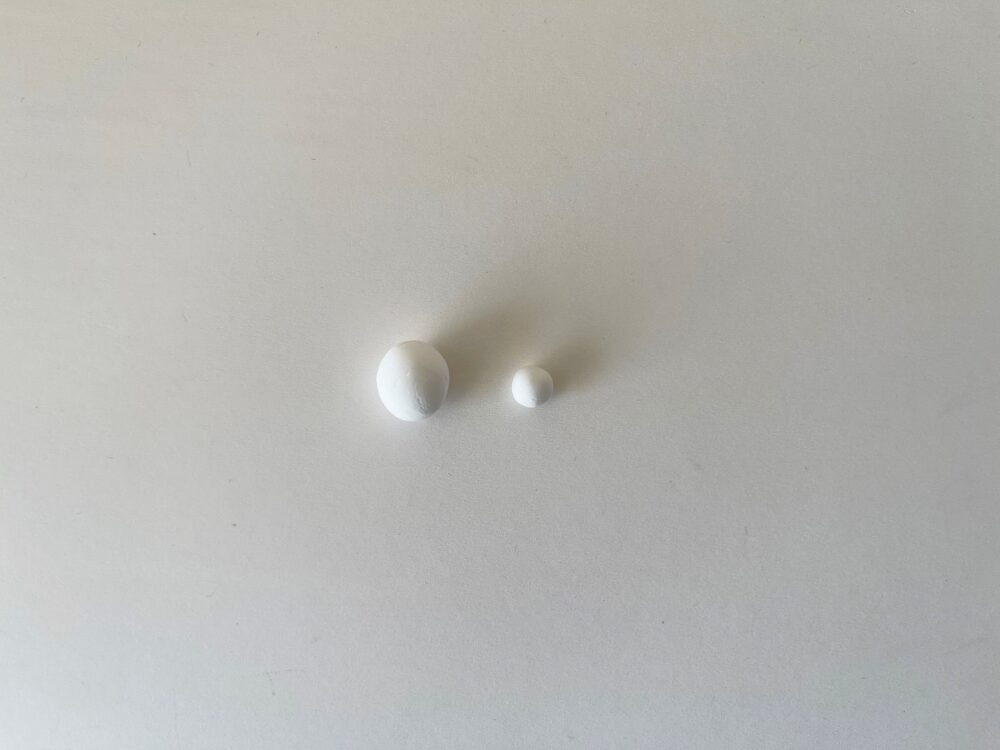
Step 1:
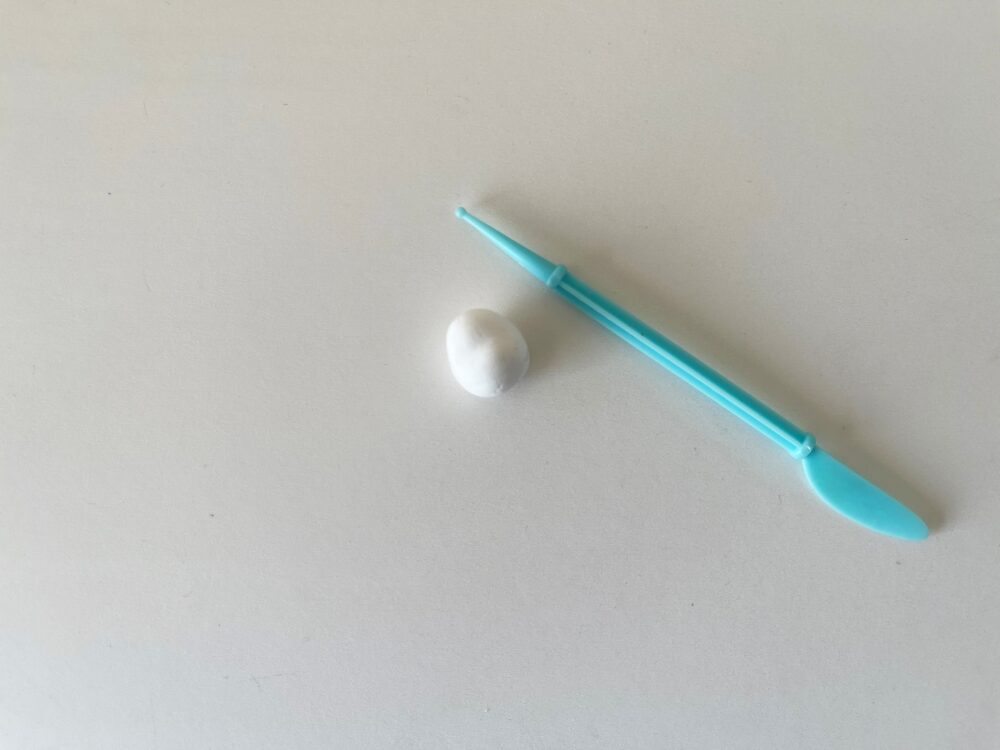
Select red, blue, and white clay for the Thing 1 and Thing 2 figurines. Let’s start with the head. Take an amount of white clay and divide it into 2 parts, for the head and the neck (1/3 the size of the head). Roll them into smooth ball shapes.
Step 2:
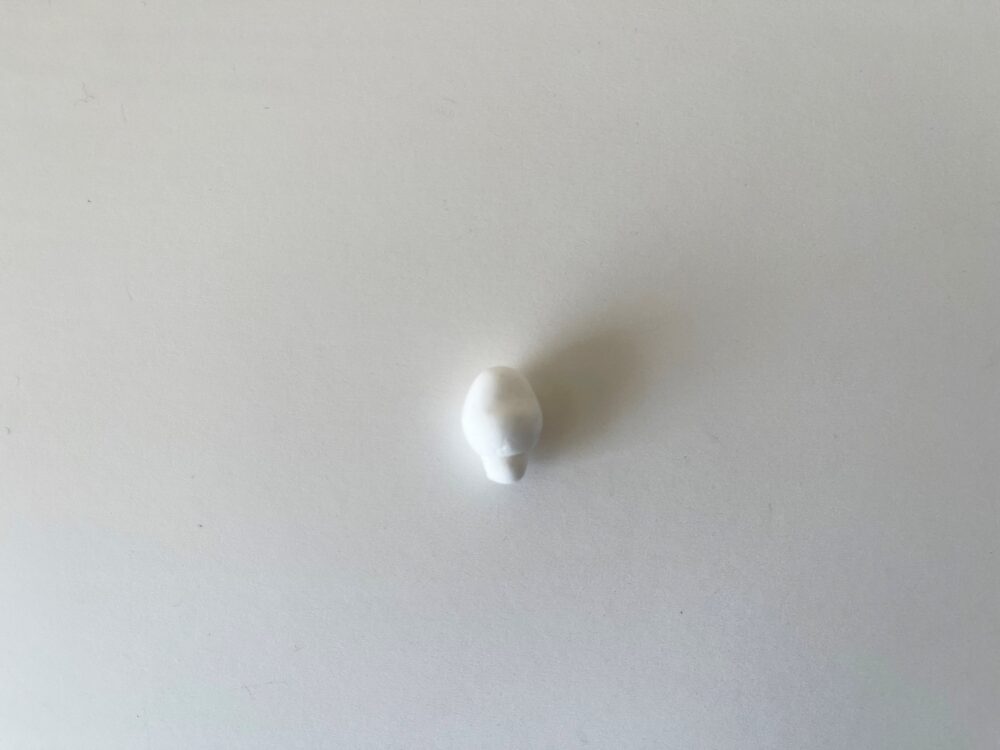
Use the clay tool to shape the head.
Step 3:
Attach a small round shape from white clay under the clay head to make the neck.
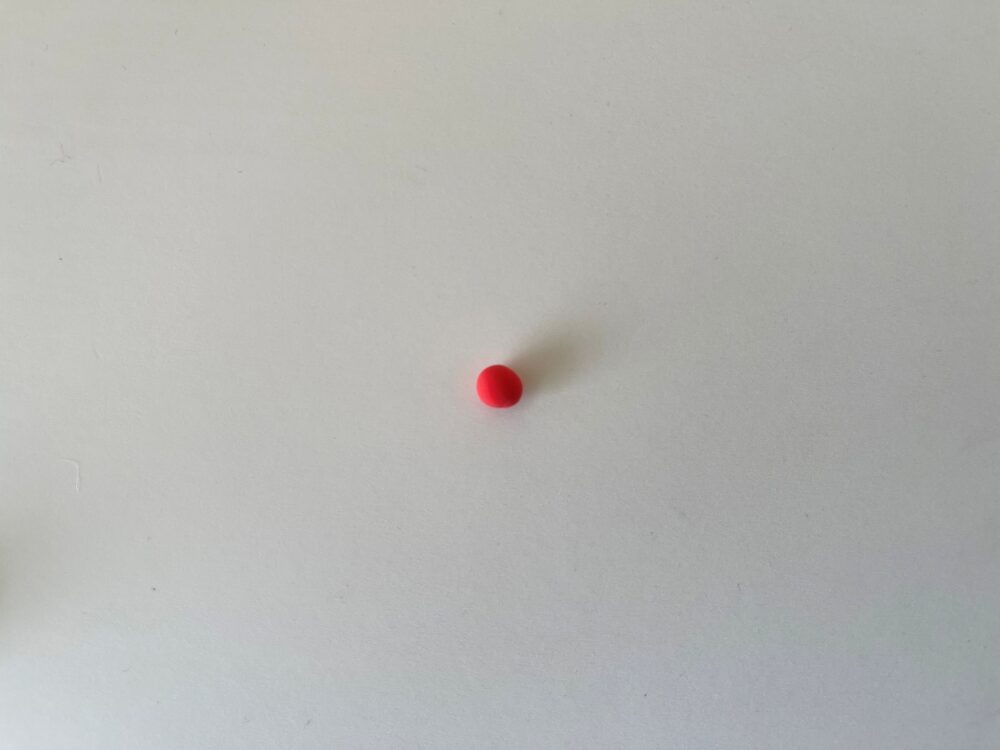
Step 4:
Take a small amount of red clay and form a smooth ball shape with it.
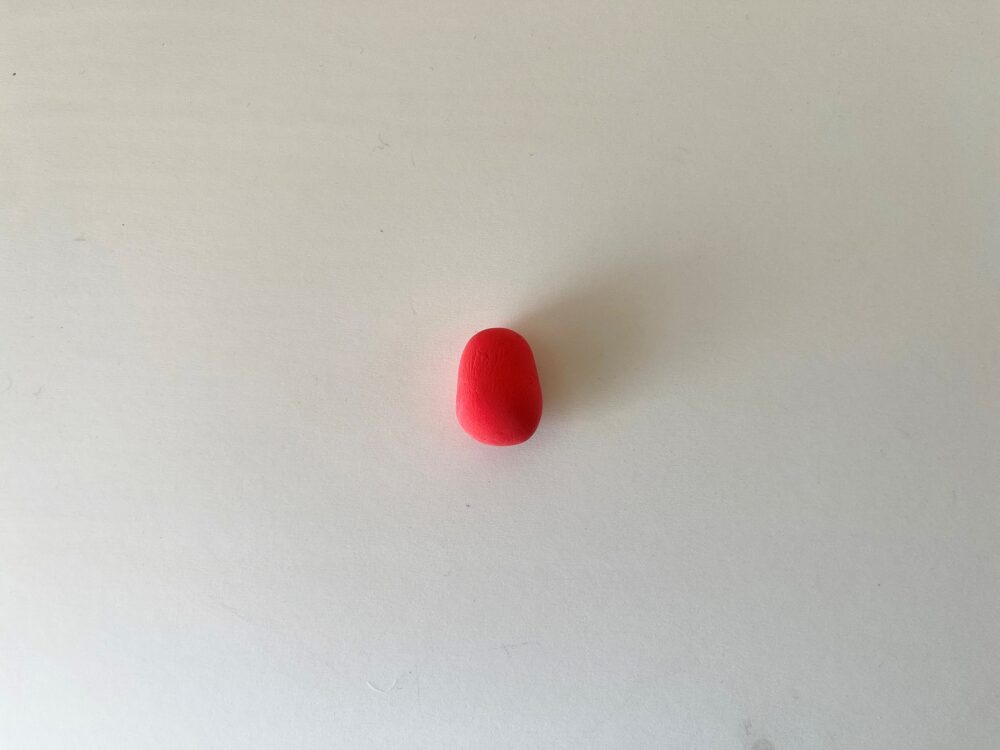
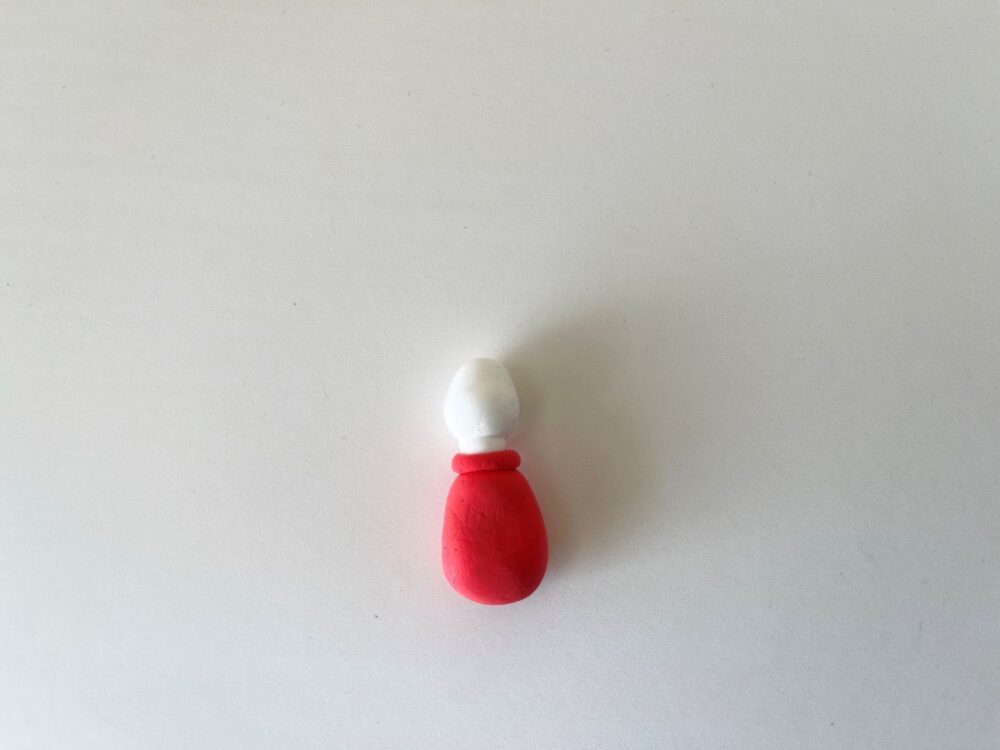
Step 5:
Roll the red ball shape into a rope and wrap it around the open end of the neck part.

Step 6:
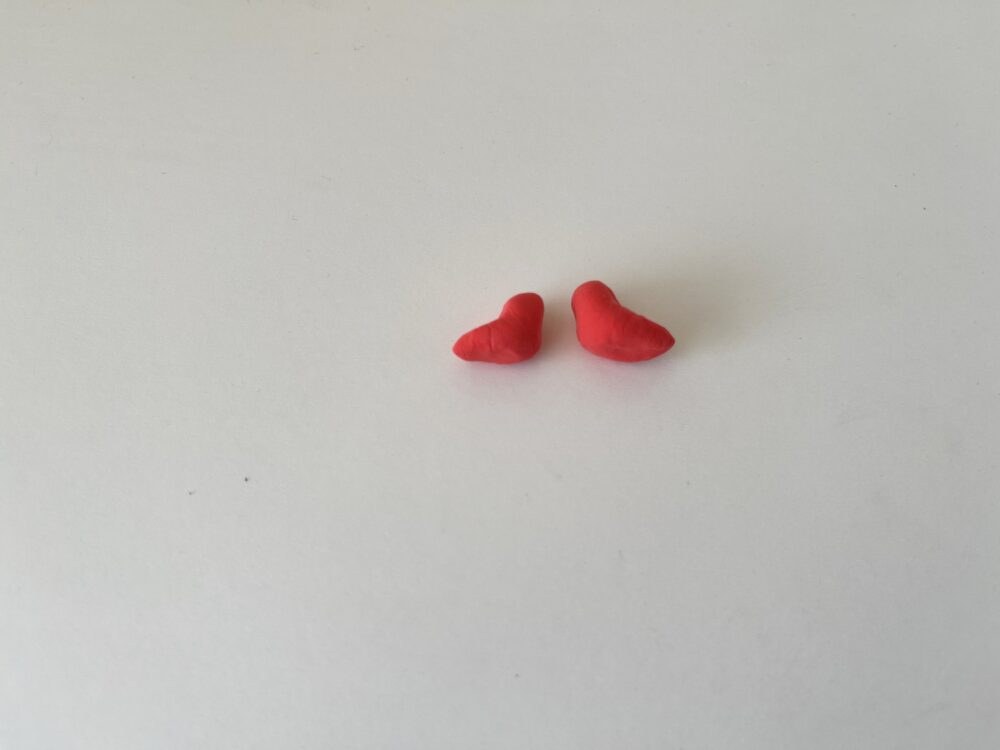
Take out a big, a medium, and a small amount of clay for the body base, legs, and arms (respectively). Shape them into smooth balls.

Step 7:
Roll the big clay ball and shape it into a cylinder shape to make the body base.
Step 8:
Attach the head pattern to the top of the body base.
Step 9:
Take the small clay ball and divide it equally into 2 parts. Roll the individual parts into ropes, evenly.
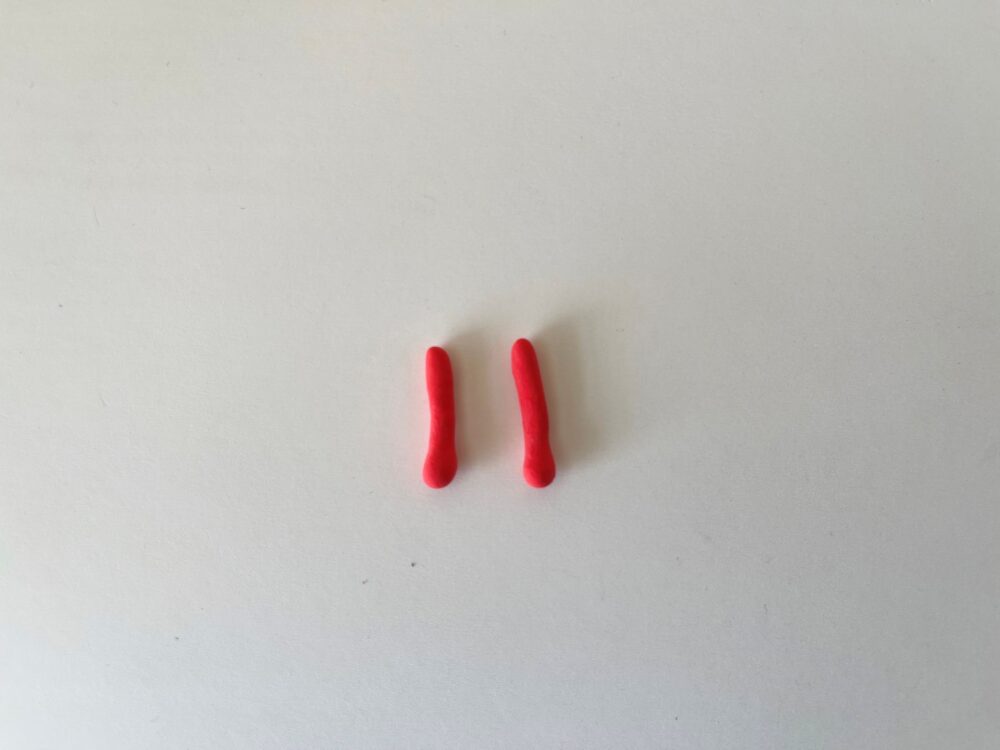
Step 10:
Slightly flatten one end of the clay ropes to make the hands.
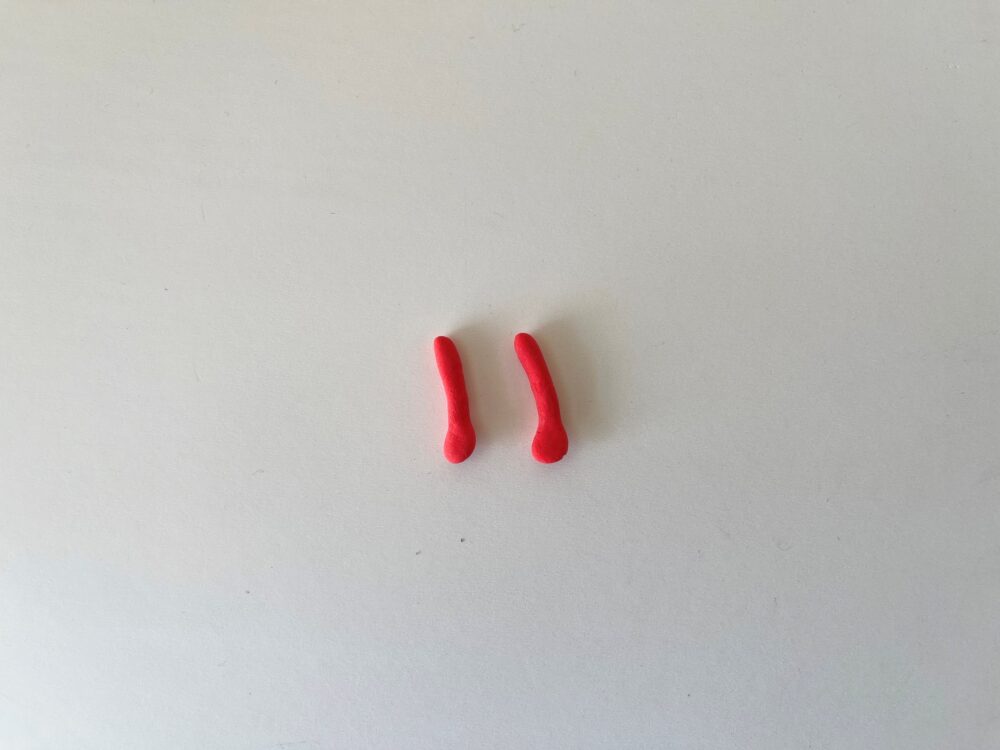
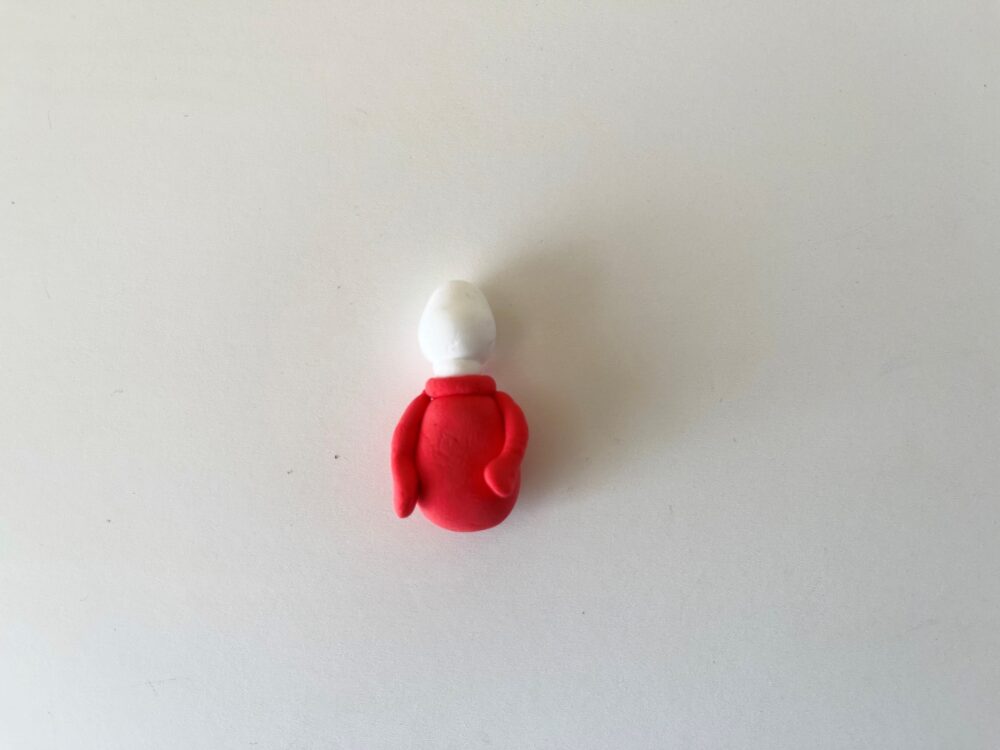
Step 11:
Attach the clay arms to both sides of the clay body base.
Step 12:
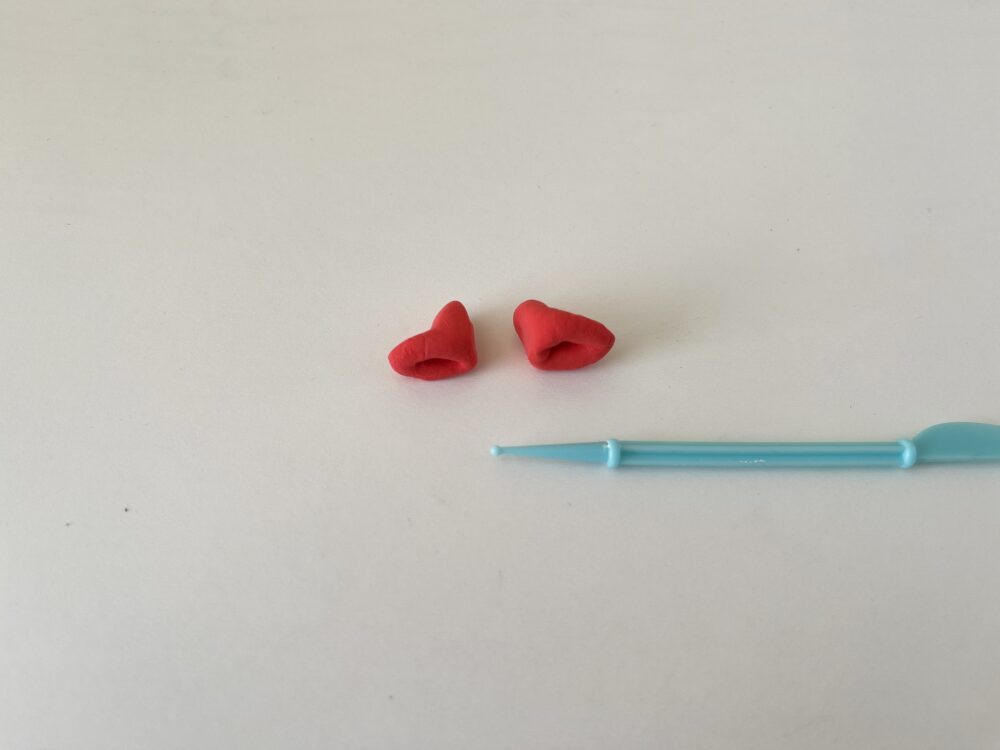
Take the medium clay ball and divide it equally into 2 parts. Shape them into feet or shoes.
Step 13:
Use a clay tool to make small holes at the base of the clay feet or shoe shapes.
Step 14:
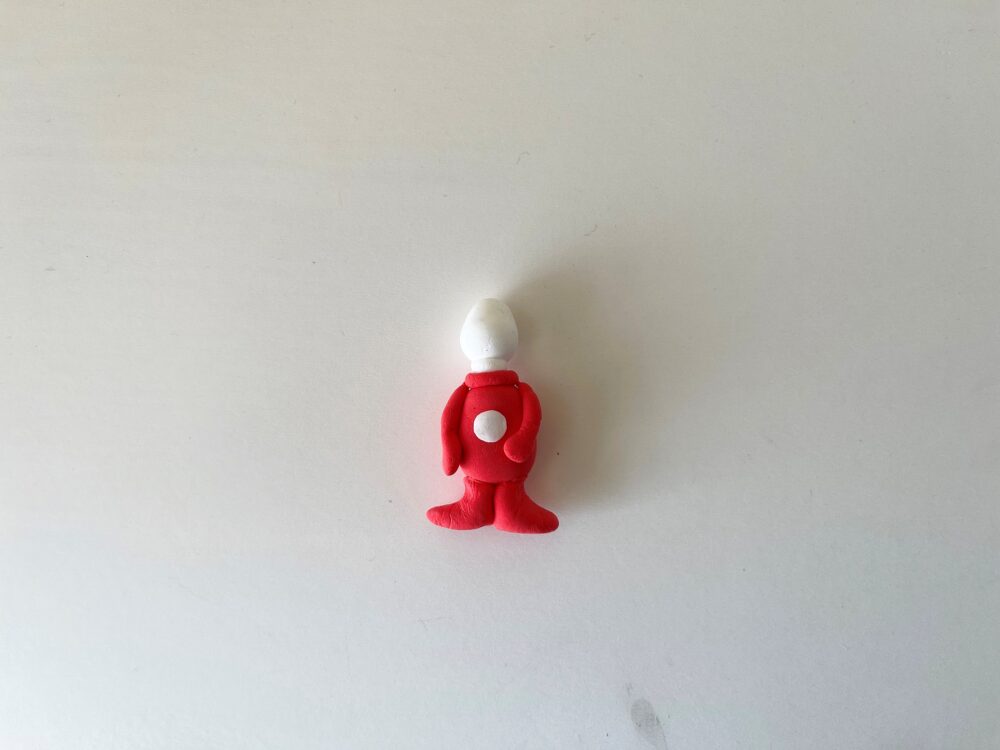
Attach the clay feet to the bottom side of the clay body base.

Step 15:
Make a small round shape from white clay and attach it to the center of the body base.
Step 16:
Take out a small amount of blue clay to make a part of the hair. Shape it into a ball.
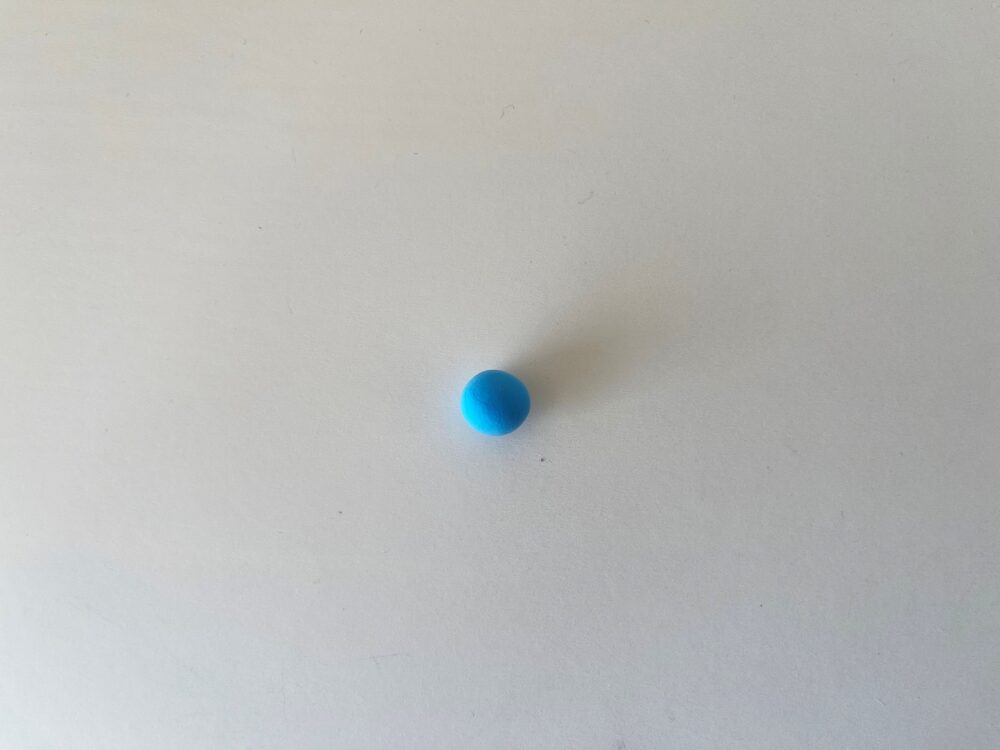
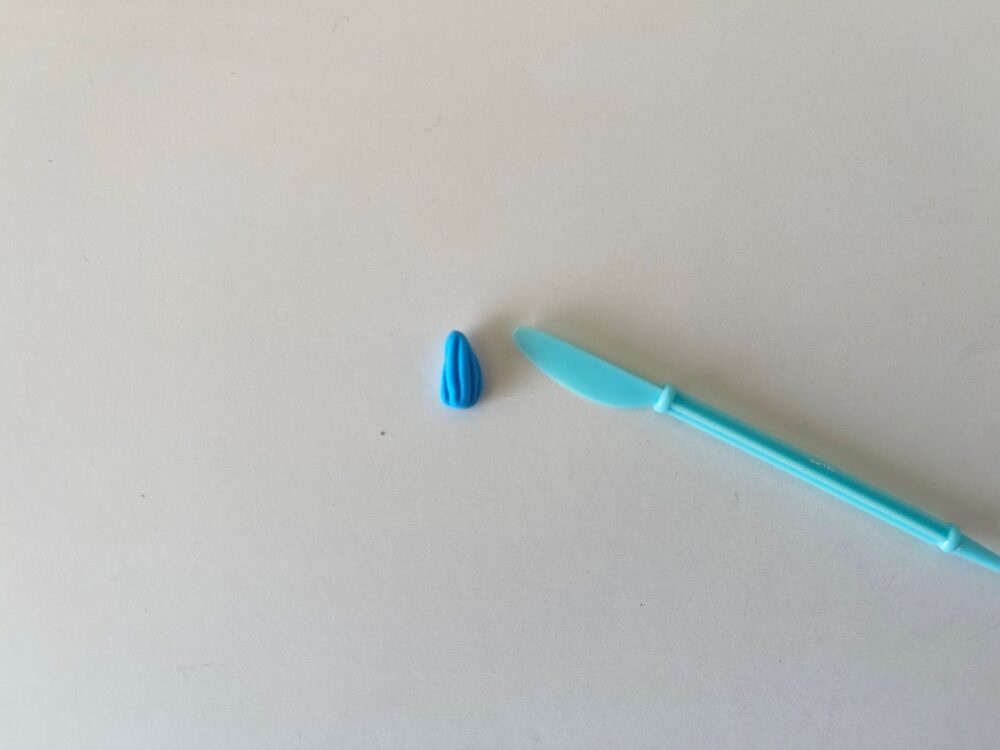
Step 17:
Shape the clay ball into a teardrop shape. Use a clay knife tool to add striped patterns to the clay teardrop shape.
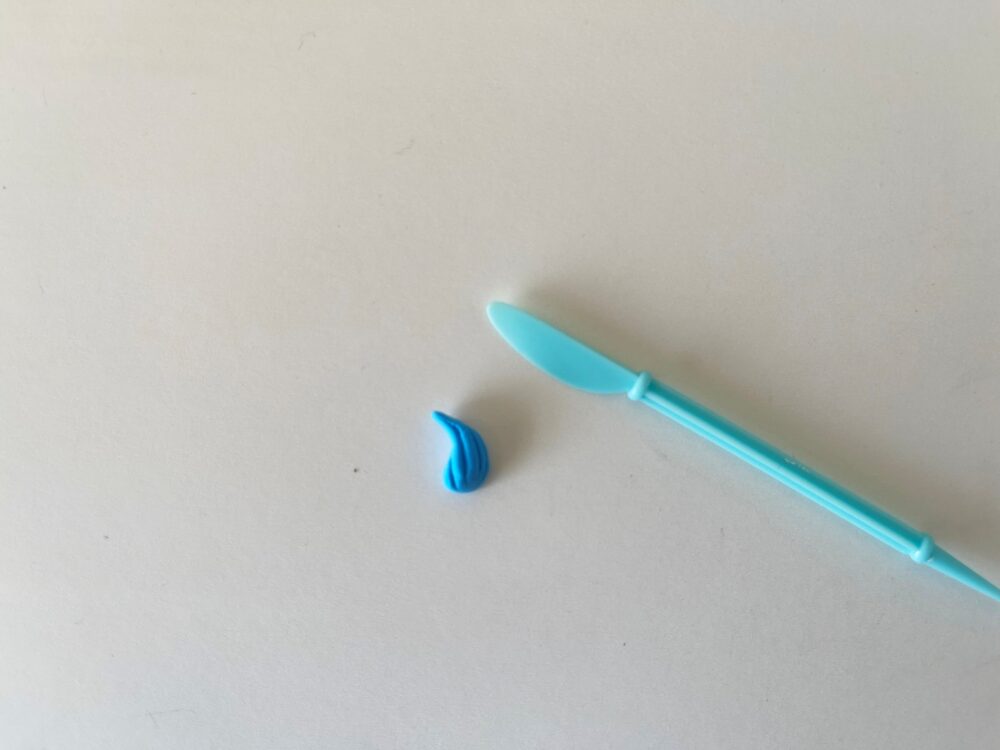
Step 18:
Use fingertips to slightly curve the tip of the hair part.
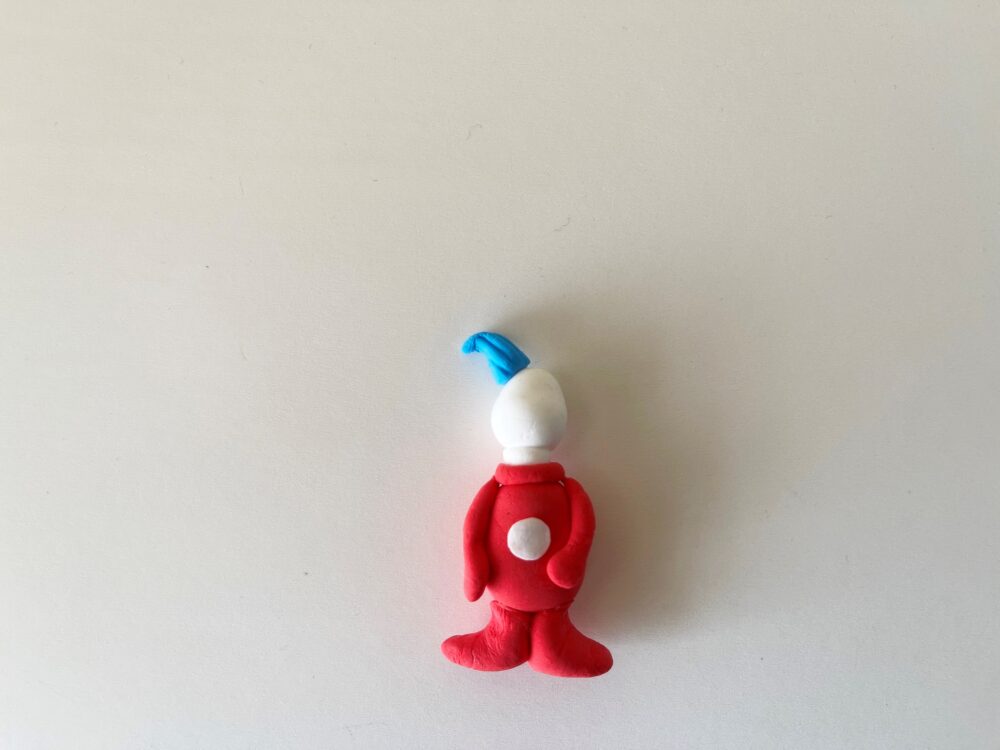
Step 19:
Attach the clay hair part to the top side of the clay head.
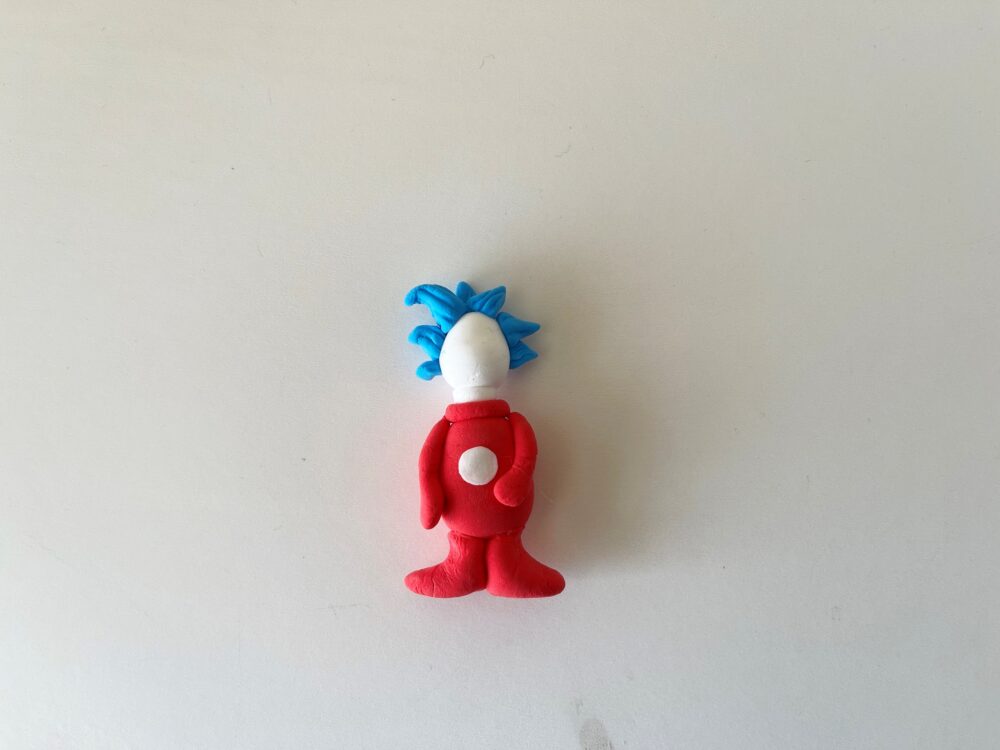
Step 20:
One by one, add more clay hair parts.
Step 21:
Use a black marker to draw the face and the number label on the clay Thing 1 figure.
Similarly, craft Thing 2 to complete the pair.
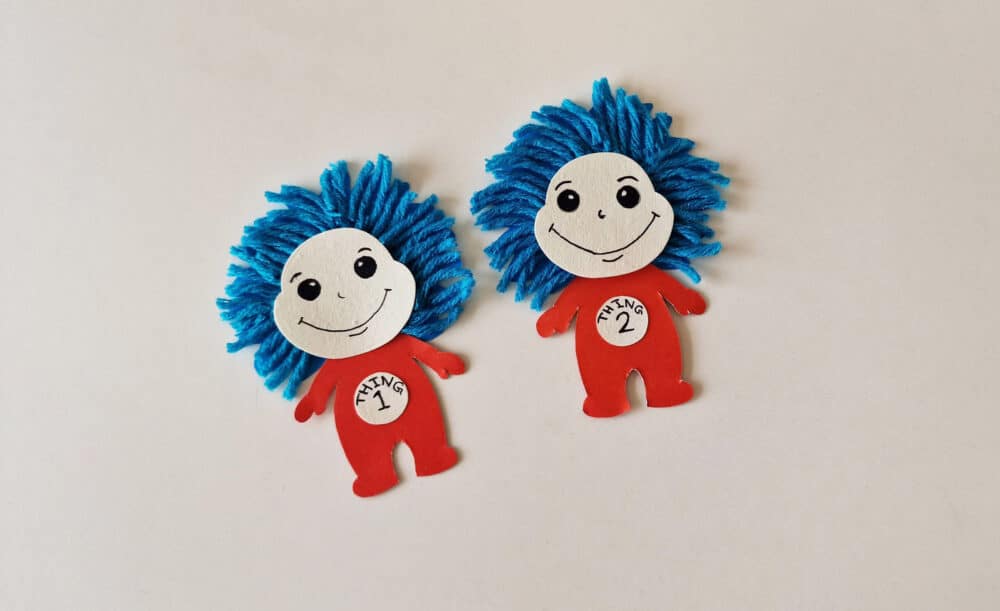
Thing 1 and Thing 2 Papercraft
These papercraft versions of Thing 1 and Thing 2 can also be used in the diorama I mentioned earlier. That post also has some great suggestions on other projects and educational activities that can be done with the story The Cat in the Hat.
List of Supplies for Thing 1 and Thing 2 Papercraft:
- Colored craft paper
- Colored cardstock paper
- Yarn
- Craft glue
- Pencil
- Sharpies
- A pair of scissors
- Thing 1 and Thing 2 Template (opens in new tab)


Instructions for Making Thing 1 and Thing 2:
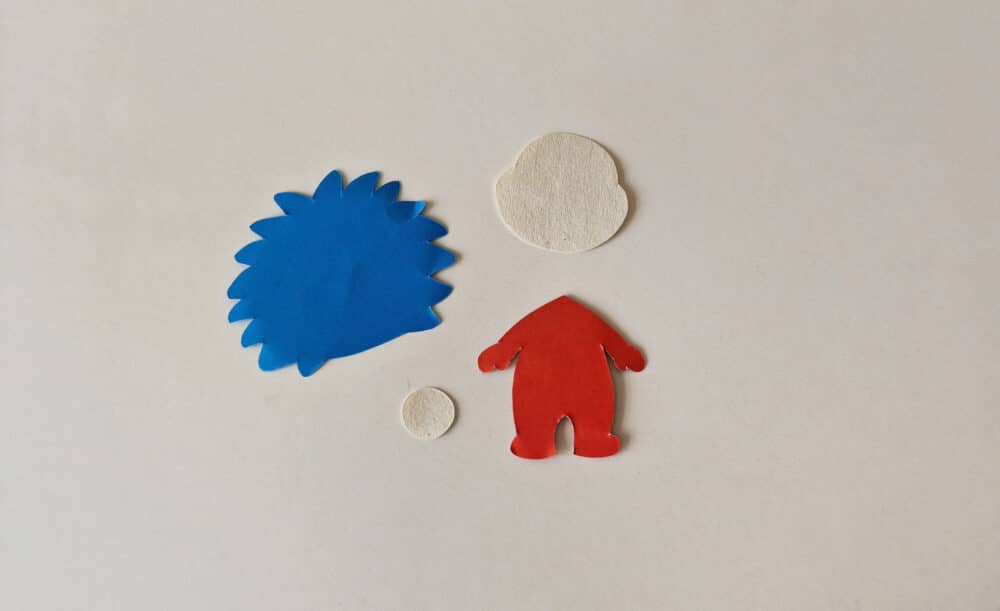
Step 1:
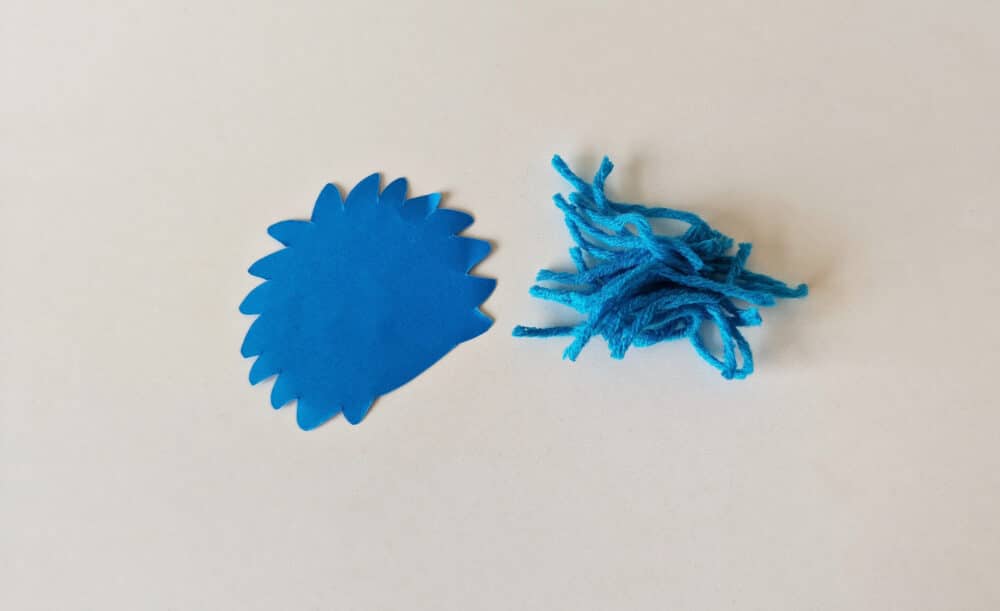
Select red cardstock paper for the body base, white cardstock for the head and number label, and blue craft paper for the hair patterns. Trace the template patterns on the colored craft paper and cut them out nicely.
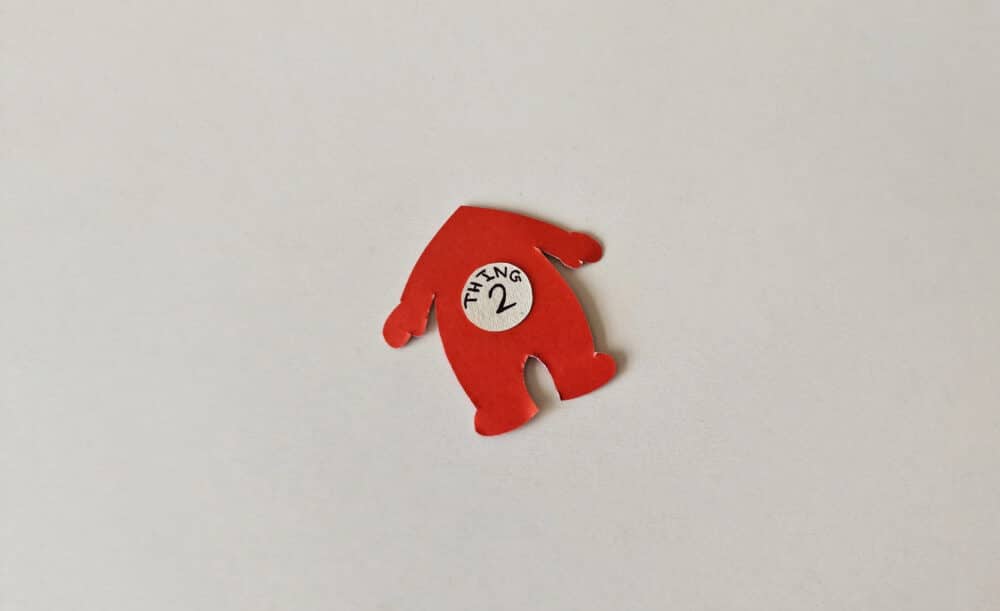
Step 2:
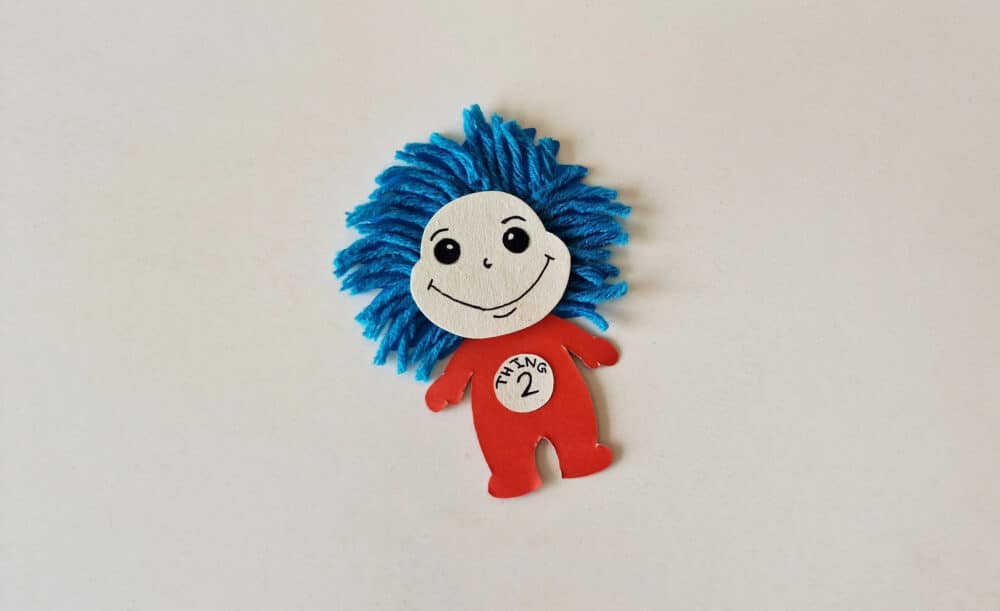
Glue the number label in the middle of the body base cutout. Use a marker to write “Thing 1” or “Thing 2” on the label.
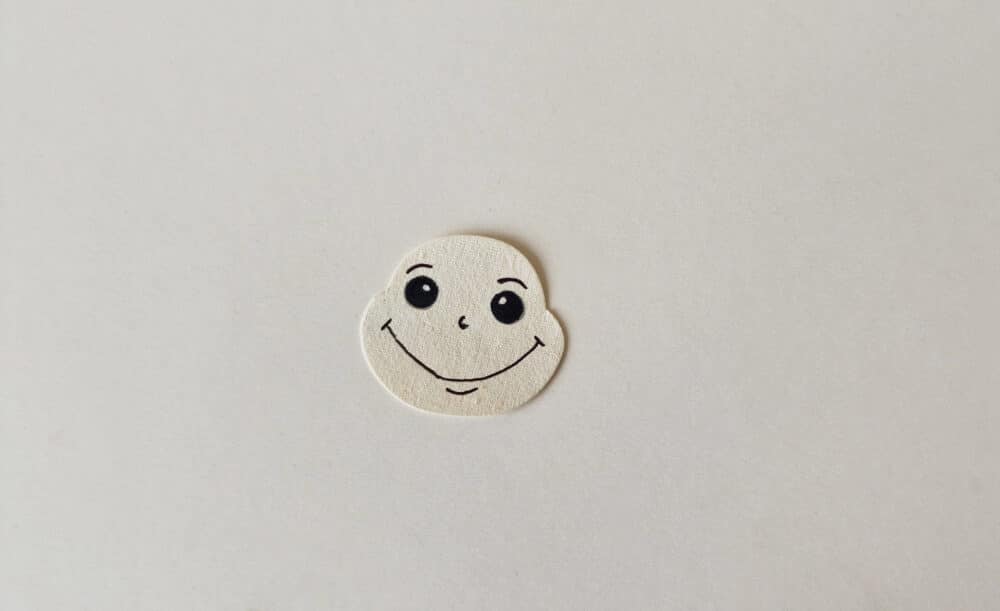
Step 3:
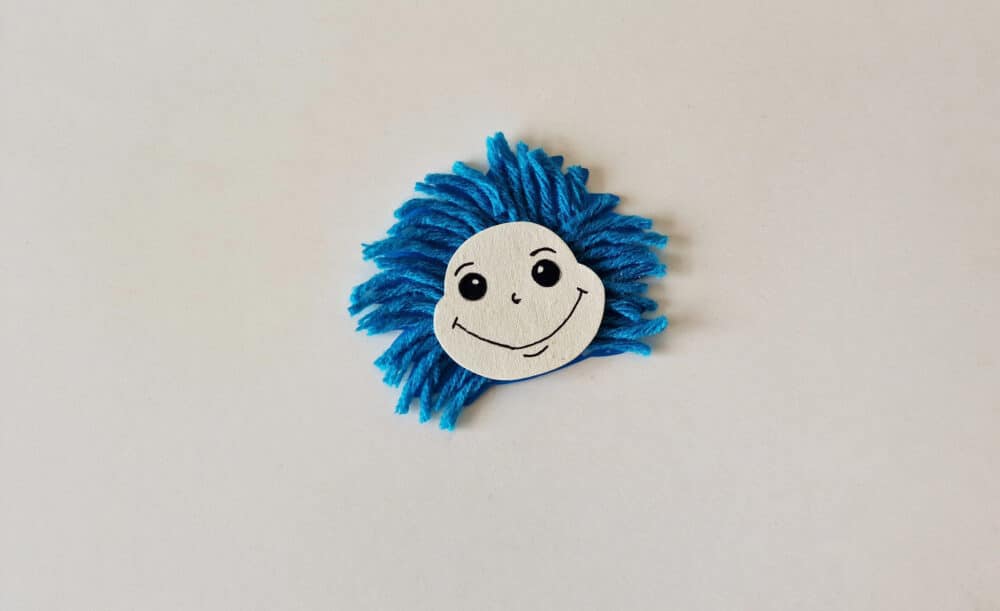
Use a black marker or sharpie to draw the face of the Thing 1 or Thing 2 figure.
Step 4:
Prepare some strands from your blue yarn bundle. Cut them into small strands to cover the blue hair cutout.
Step 5:
Apply glue on the hair cut out and place the yarn strands on the glued parts one by one.
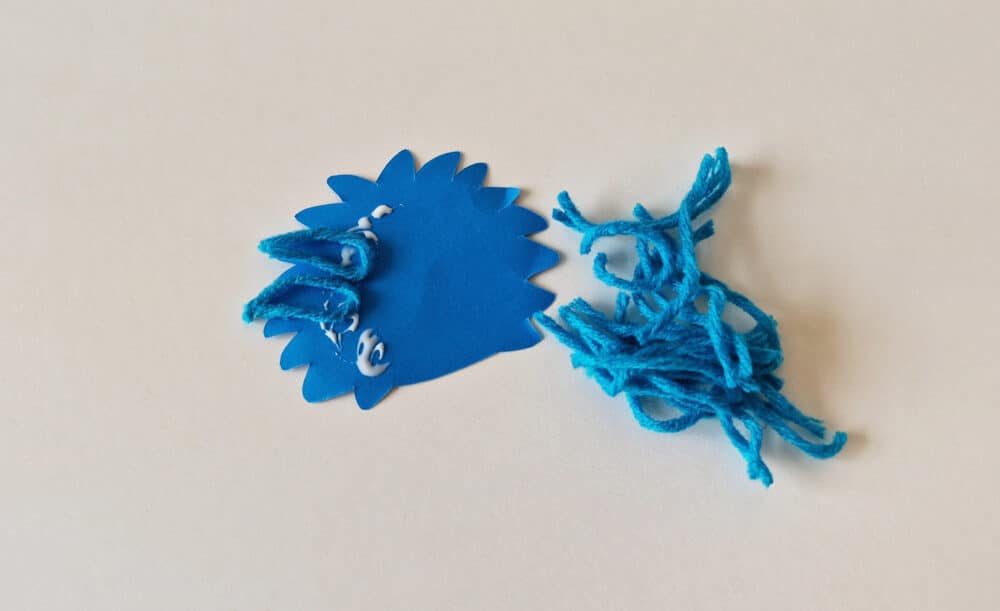
Step 6:
Start gluing the yarns on the hair cutout from one side and continue to glue the strands towards the other side of the hair.
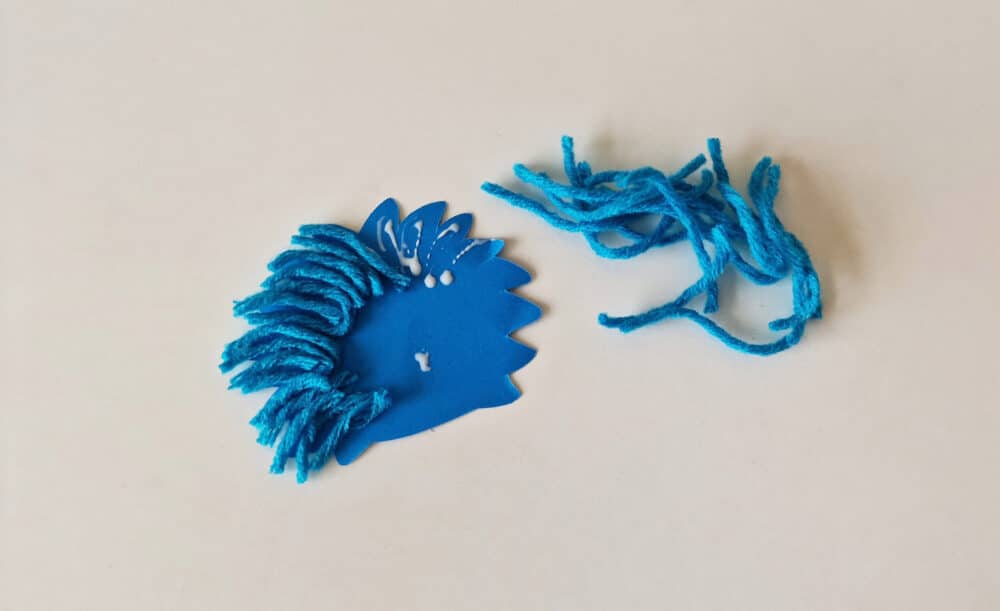
Step 7:
Cover the whole paper hair cutout with the blue yarn strands.
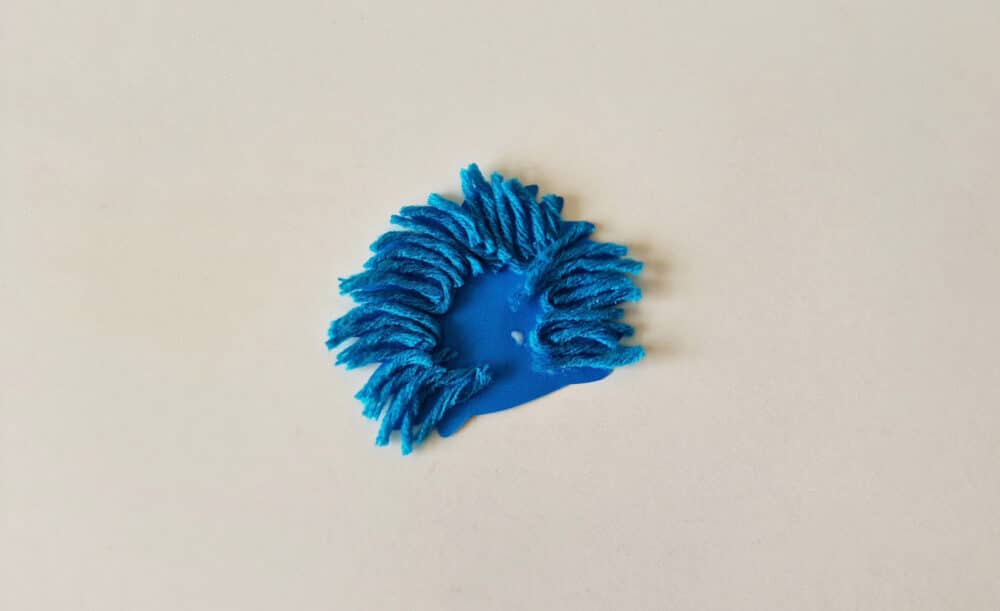
Step 8:
Glue the head cutout on the base of the hair pattern, over the yarn that you have already glued.
Step 9:
Glue the head pattern on the top side of the body base pattern.
Step 10:
Similarly, craft the other figurine to complete the Thing 1 and Thing 2 pair.
You might also enjoy these posts:
- Red Fish, Blue Fish: A Dr. Seuss-Inspired Quilling Craft
- Cat in the Hat Cup Party Hats
- Truffula Trees Pretzel Rods
- The Cat in the Hat Pizza