Easy Clay Gnome Craft
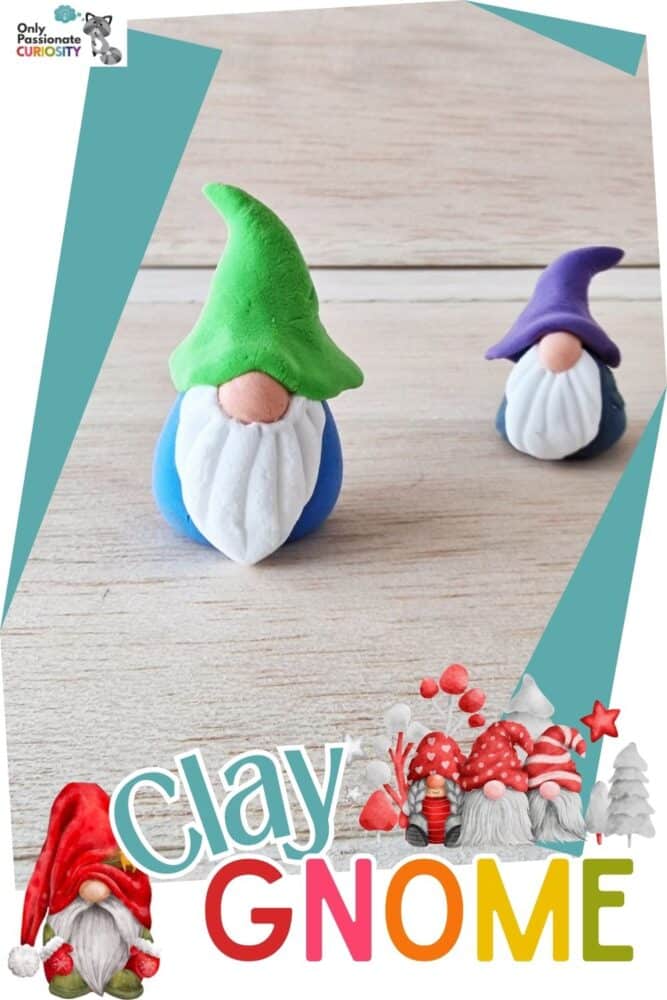
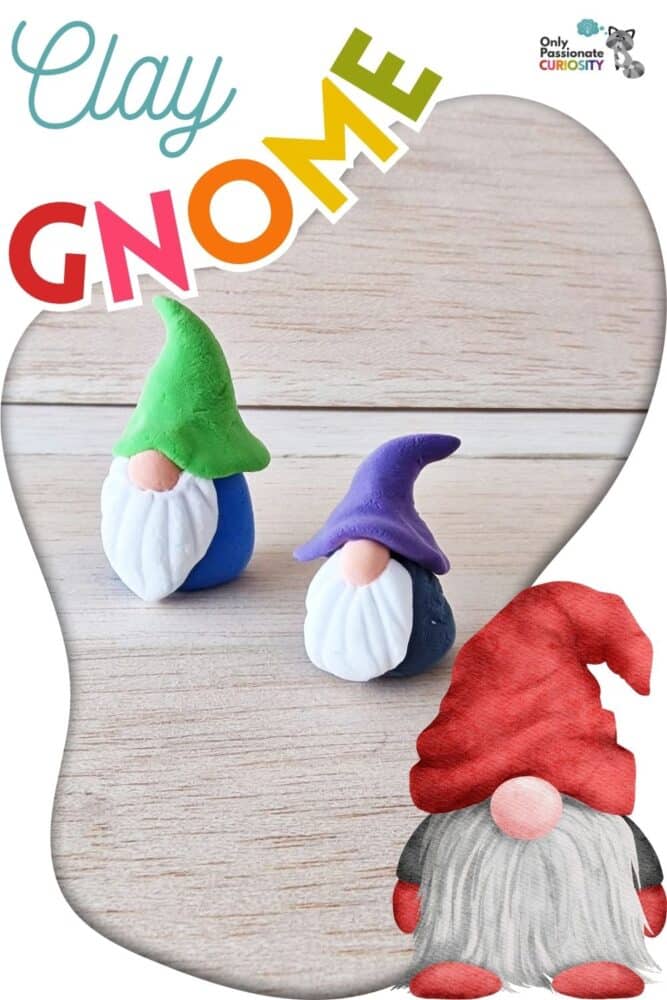
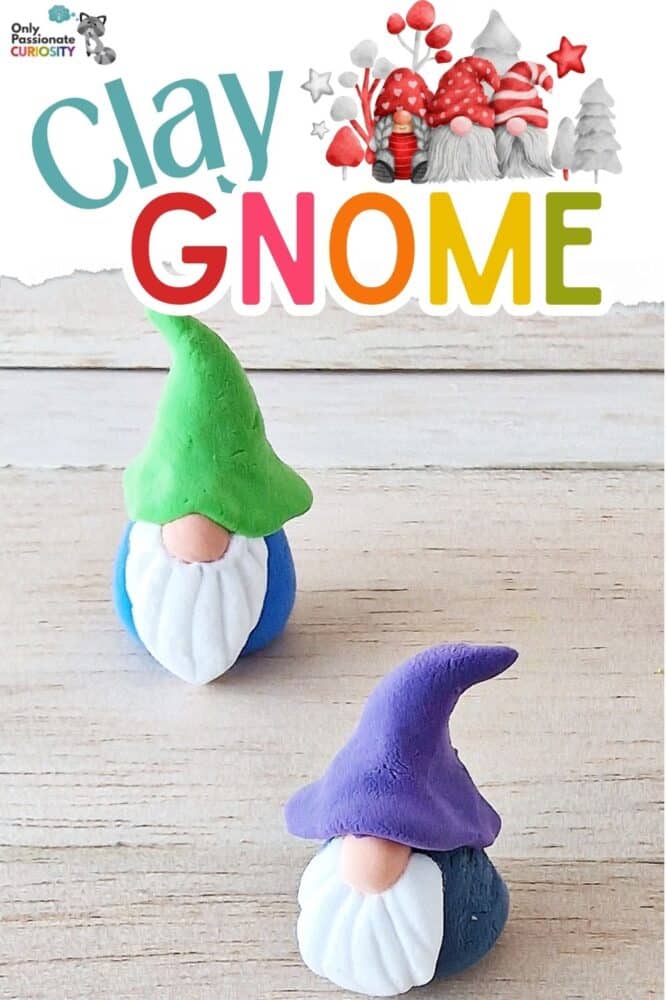
Here’s a fun craft for you and your kids to enjoy together! This clay gnome how-to is such an easy craft that you can end up making a whole village of these cute clay gnomes if you want to.
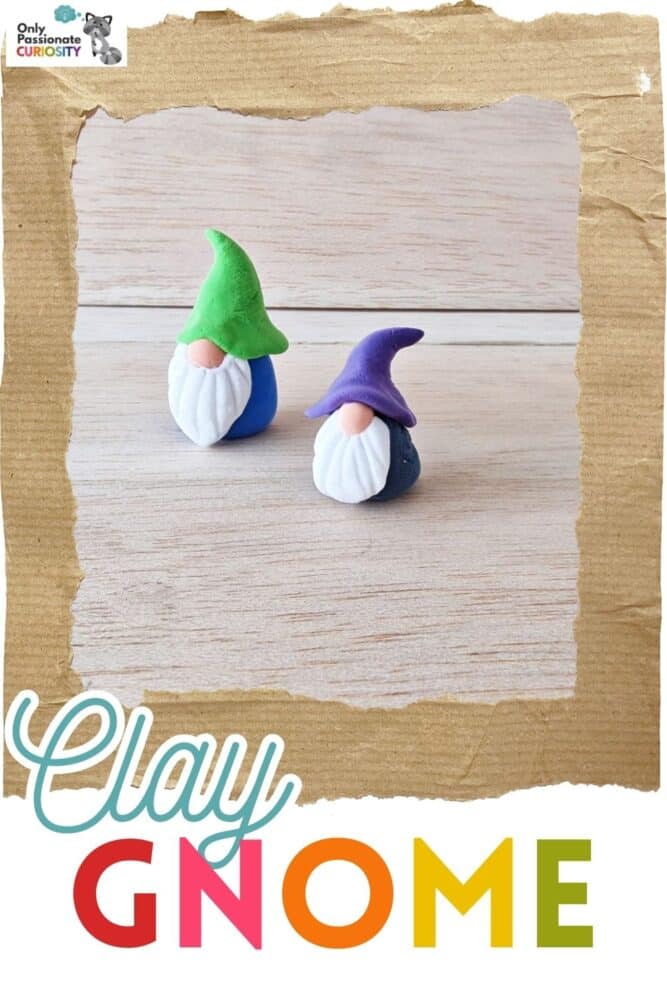
It is a craft that encourages young kids to develop their fine motor skills as well as practice making three-dimensional shapes, including spheres and cones, as well as flat shapes like triangles.
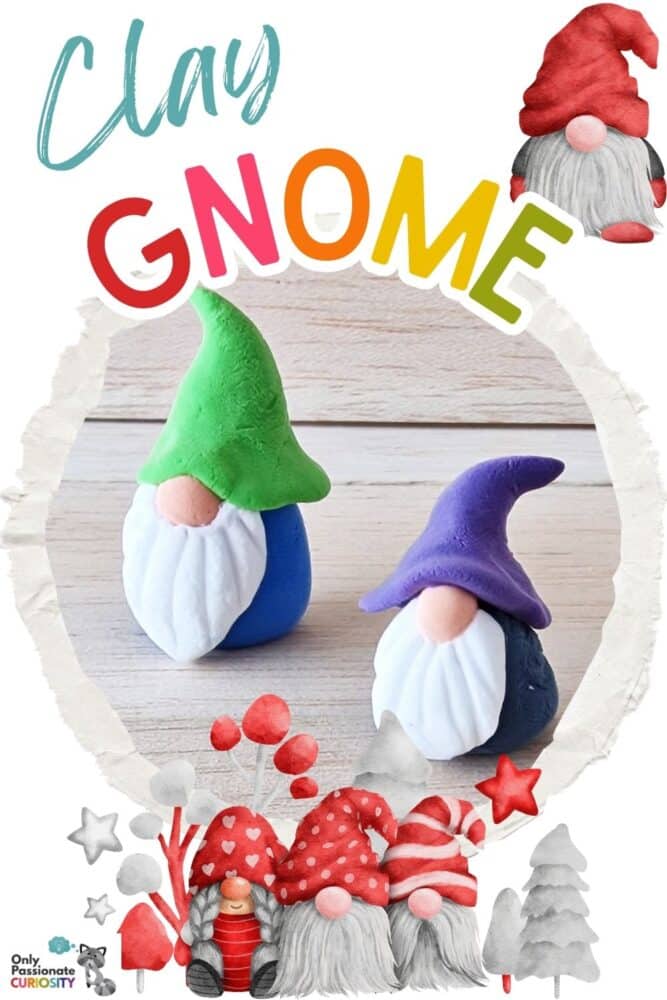
The amount of clay you need will depend on how big you want your gnome to be. The clay gnome figure that you make will have a nose, hat, beard, and then, of course, the main body of your figurine.
This will be the biggest piece of clay you use and will basically look like his coat or cloak. The hat and beard are relatively the same size, and the nose is going to be the smallest piece of clay. (The image in step one will guide you in this.)
List of Supplies for Clay Gnome
- Clay – air dry or foam clay
- Clay tools (you can also just use a butter knife)
How to Make the Clay Gnome
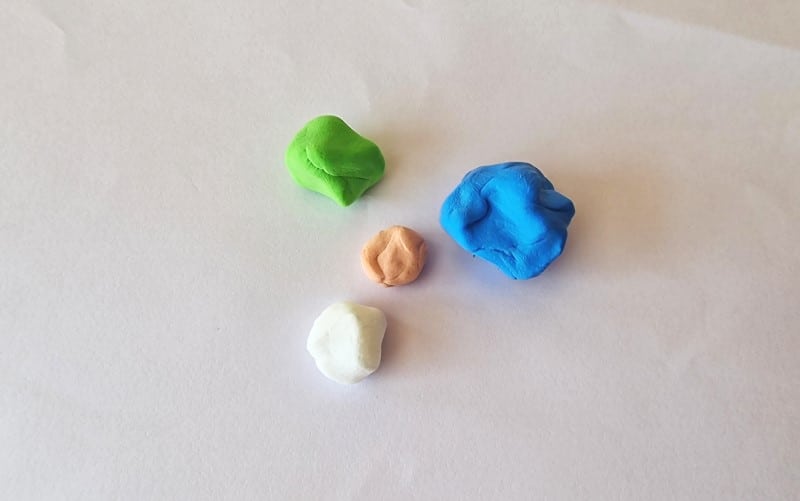
Step 1:
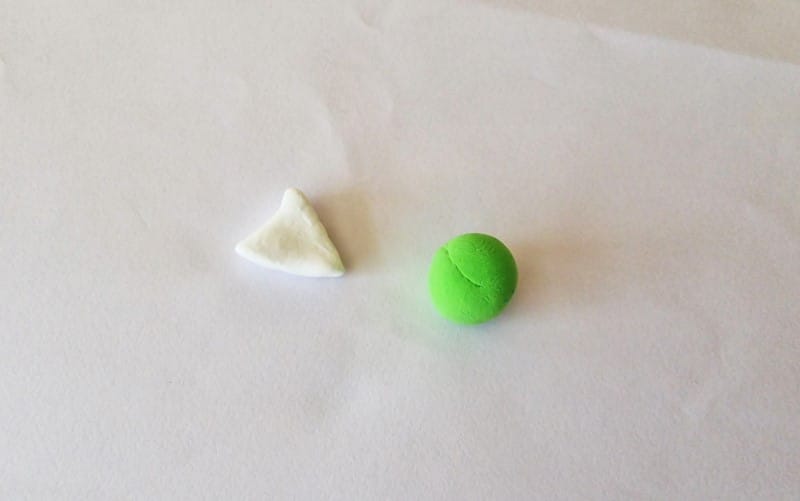
Select four different colors of clay for your clay gnome figure. The smallest piece will be the gnome’s nose, so you might want that to be a natural color such as brown, cream, or beige.
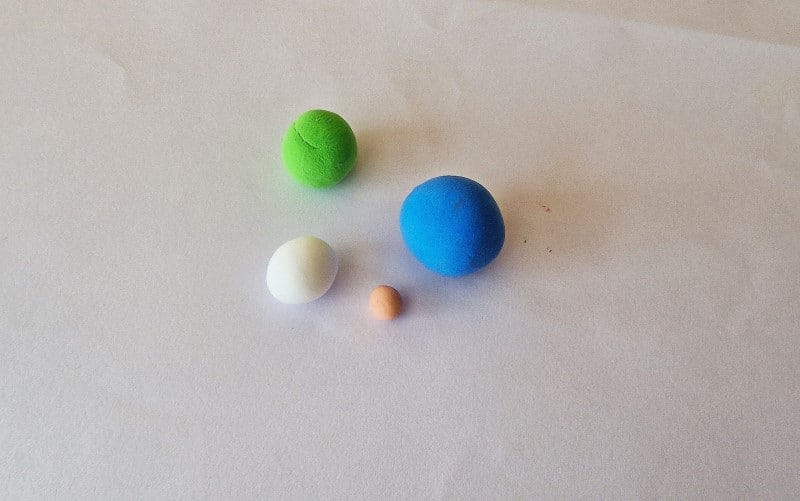
Step 2:
Roll each piece of clay between the palms of your hands and form them into spherical shapes.
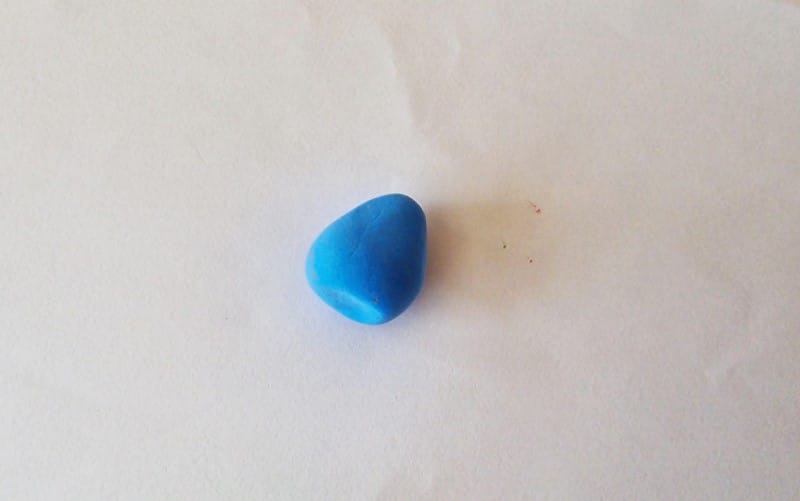
Step 3:
Roll the largest clay ball (forward and backward) on a flat surface, with pressure on one side, to form a rounded cone shape.
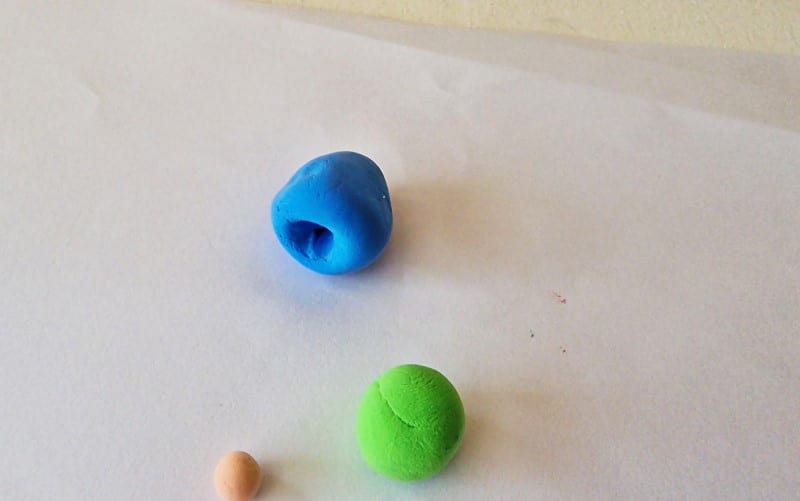
Step 4:
Make a hole under the cone shape; this will help the body part of the clay gnome to stand nicely.
Step 5:
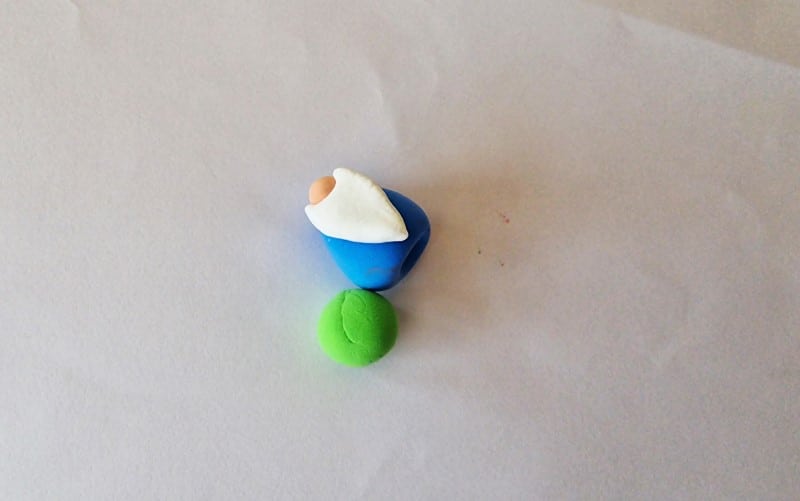
Press the nose shape onto the top of the cone (the narrow end).

Step 6:
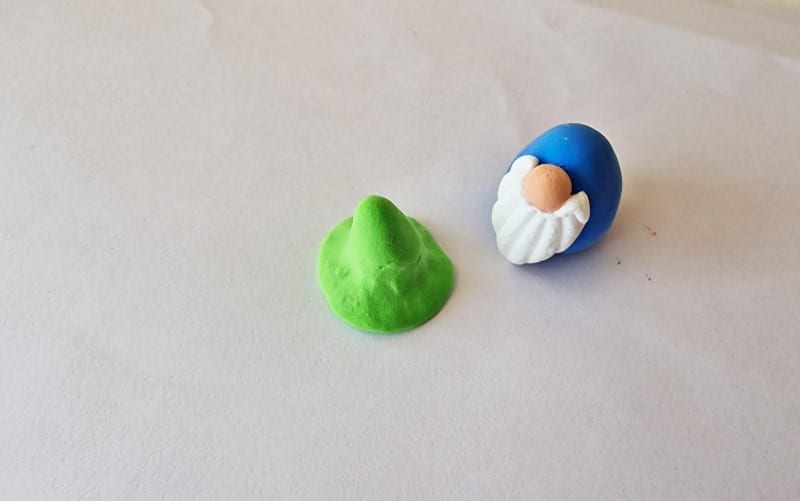
Now, you’re going to make a flat triangle shape using the clay ball you have chosen for the beard. White is generally a good color for this segment.
Step 7:
Attach the beard below the nose, pressing it onto the cone shape.
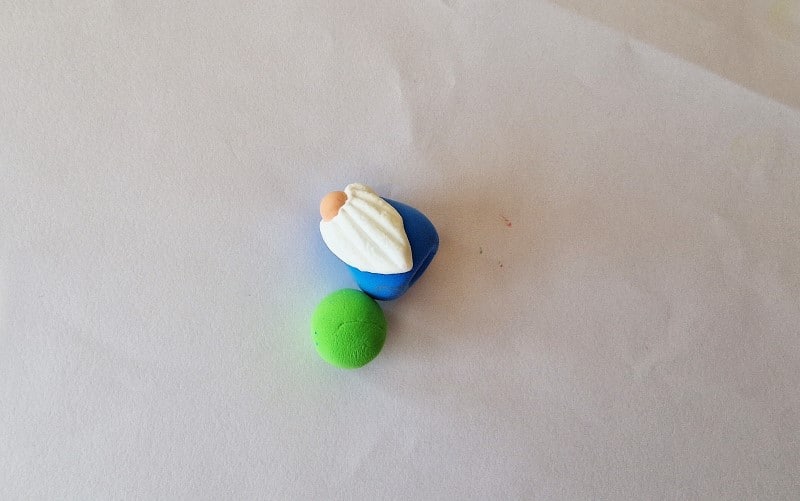
Step 8:
Use a clay tool to make indentations in a striped pattern on the beard.
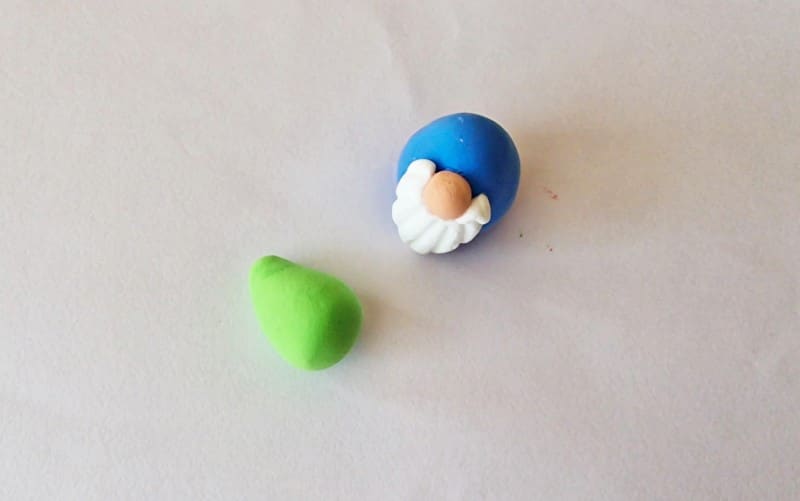
Step 9:
Now it’s time to make the hat of your clay gnome. Roll this piece of clay forward and backward, applying more pressure to one end, to make another cone shape.
Step 10:
Leave the cone shape on the top while flattening the base into a kind of disc shape around the bottom part to make it look like a large, floppy “wizard” hat.
Step 11:
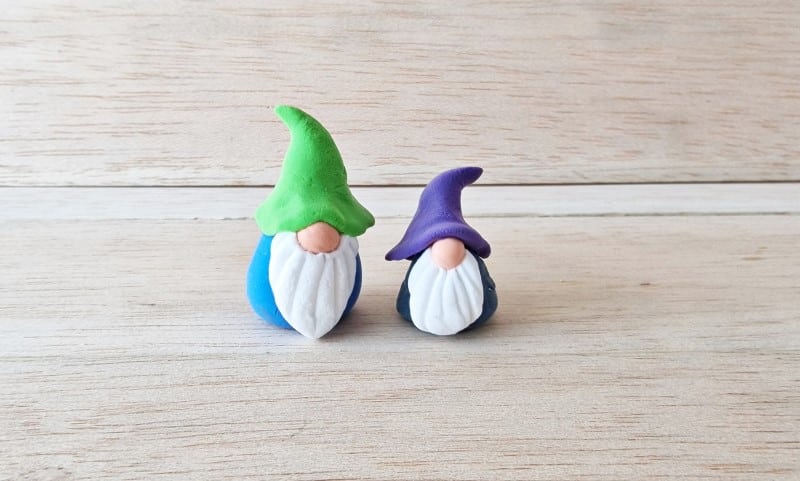
Adjust the top end of the hat as you like, making it pointy and curved or more rounded. It’s really up to you.
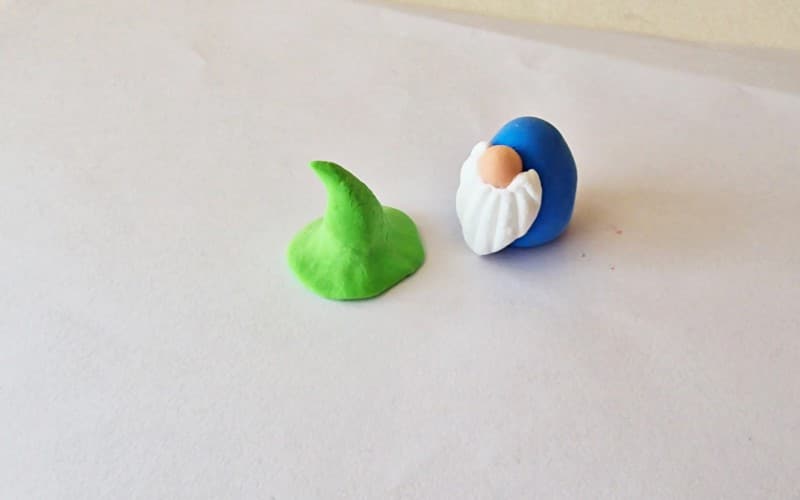
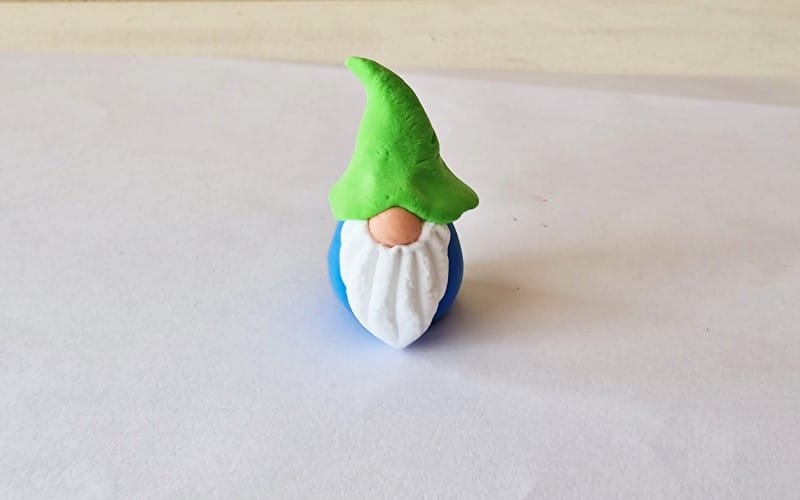
Step 12:
Attach the clay hat on the top of the figurine to complete your clay gnome.
More Clay Crafts and Activities
- Learn about Topographic Maps with playdough or clay.
- For older students, make a Clay Cell Model!
- Make your own Clay Nativity Set for Christmas.
- Try your hand at this Cute Clay Pumpkin Craft.