Tapestry Weaving Decor Craft
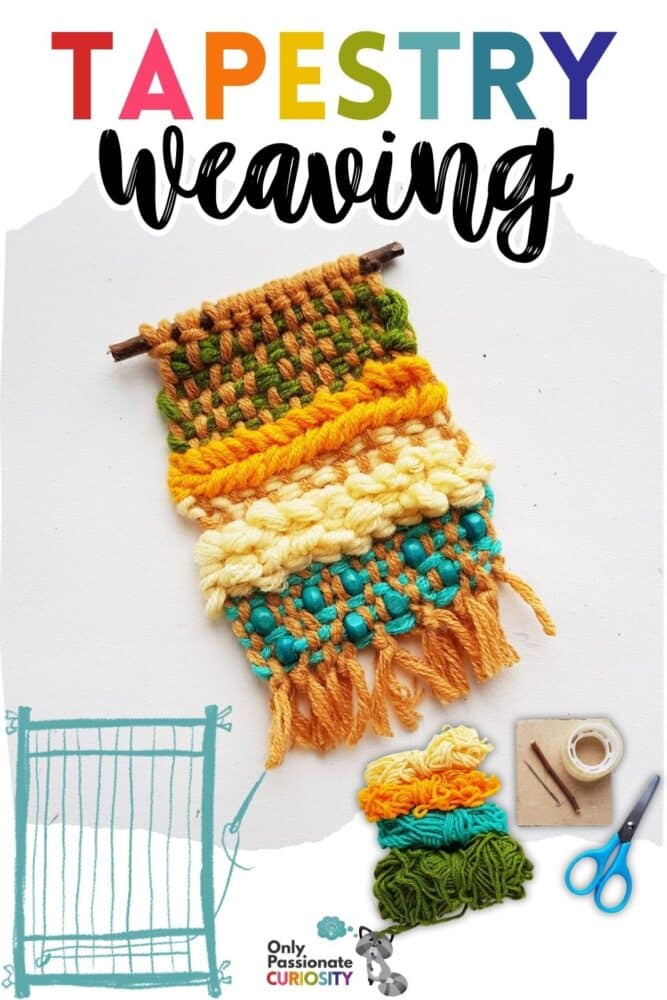
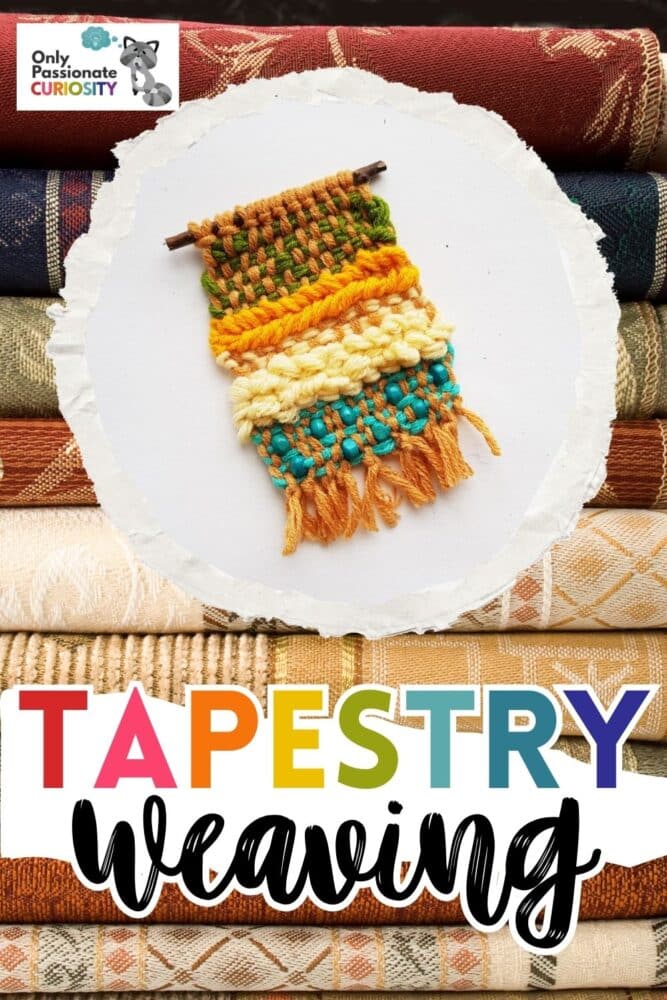
This intricate tapestry weaving craft is an ideal project for older kids to do. Because there are several steps to it, you can have your students spend a little time on it each day for arts and crafts, as they work on their tapestry project until it’s completed.
The result will be a gorgeous tapestry weaving piece y’all can put up in your home as a colorful bit of decor. Or your kids might opt to make this craft for someone else, such as a grandparent, another elderly family member, or a neighbor.
As a homeschooling mom, you might sometimes get the question, “What kind of electives do your kids learn?” Well, all you’d have to do is point at the lovely and intricate tapestry weaving hanging on the wall and state, “My daughter (or son) just made that last week for art electives.”
Anyone would be impressed by that!
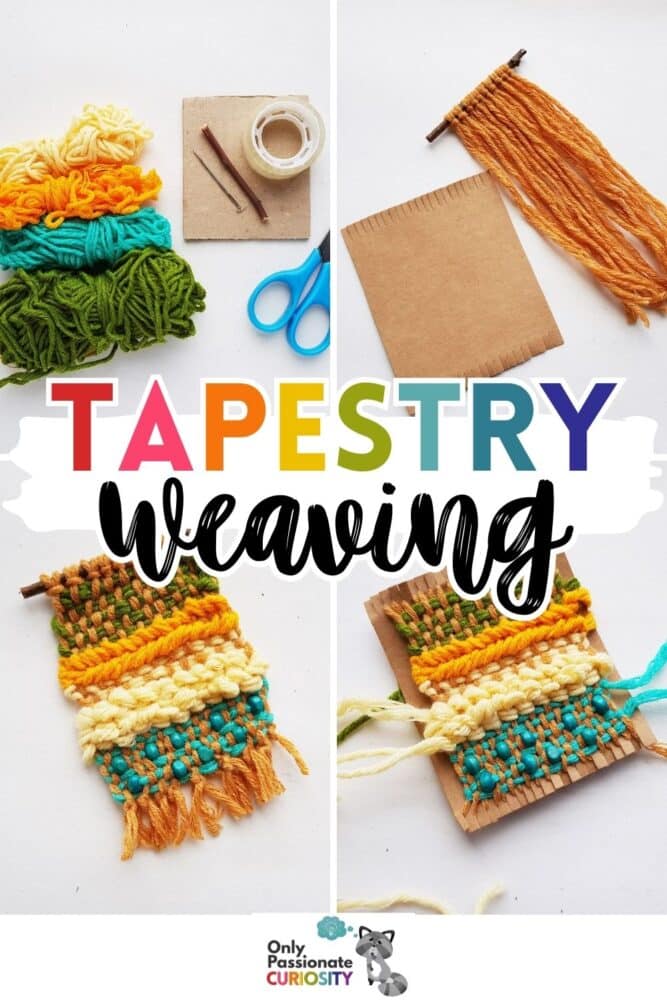
List of Supplies for Tapestry Weaving:
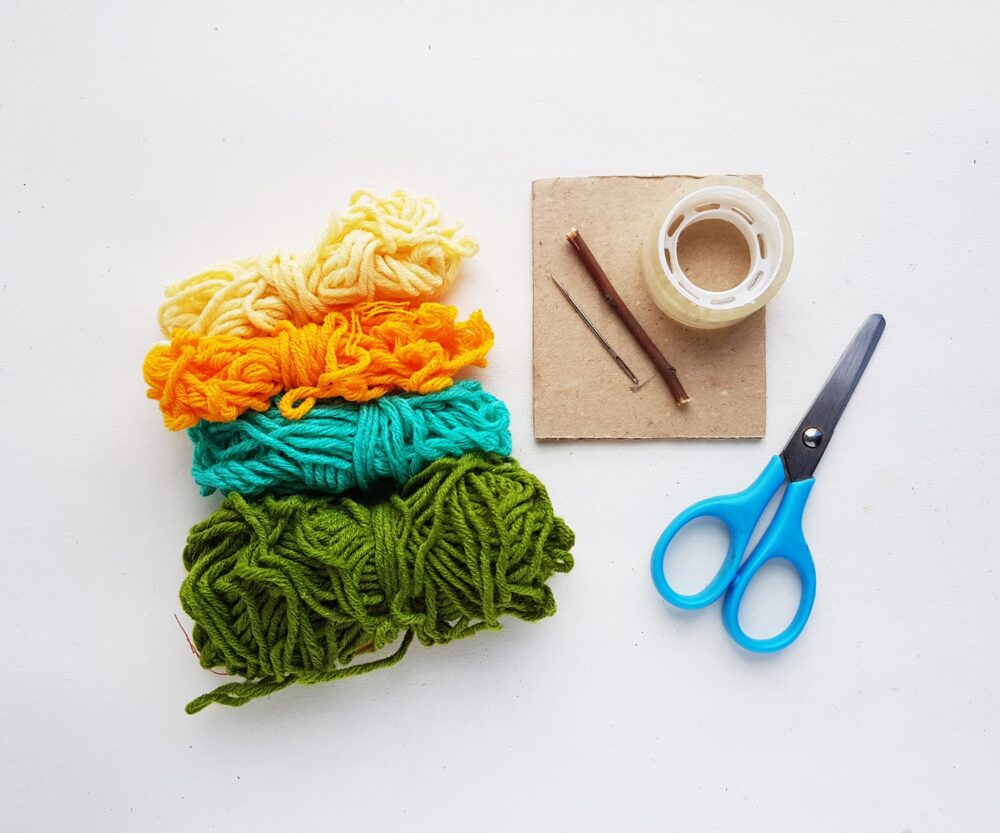
- Different colors of yarn
- Tapestry needle
- Dry twig
- Cardstock paper
- Tape
- Scissors
Instructions for Tapestry Weaving:
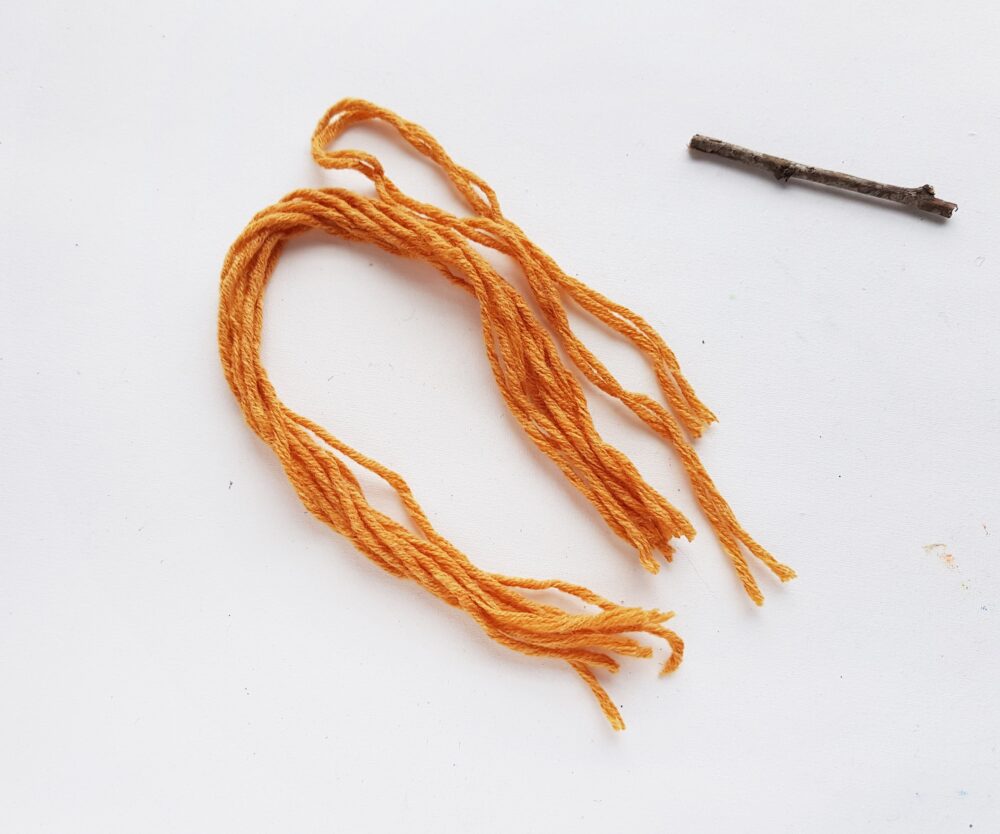
Step 1:
Decide a size (length) for the tapestry piece you’re going to weave. Cut a bunch of yarn strands double the length required from a light-colored yarn bundle. All the strands should be the same length. Select a dry twig.
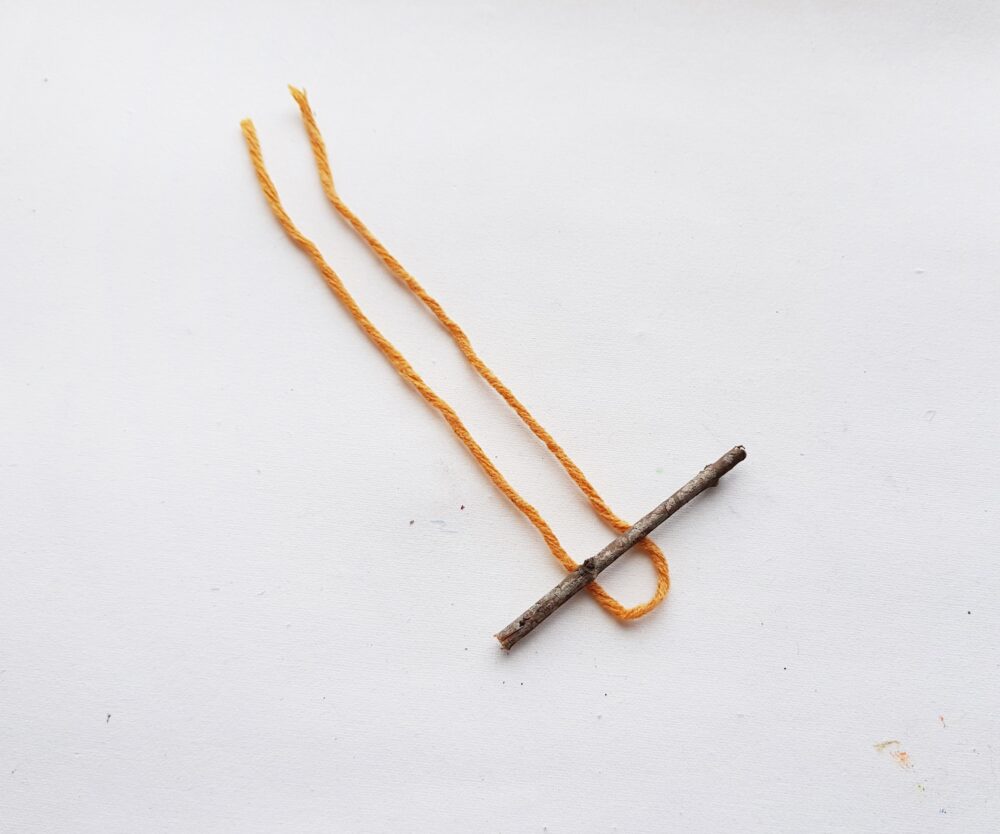
Step 2:
Place the dry twig on a flat surface. Grab any one of the yarn strands and fold it into half by forming a loop at one end. Place the looped side under the dry twig on the surface.
Step 3:
Now take the open ends of the strand and draw it over the twig and then draw it through the loop to the other side.
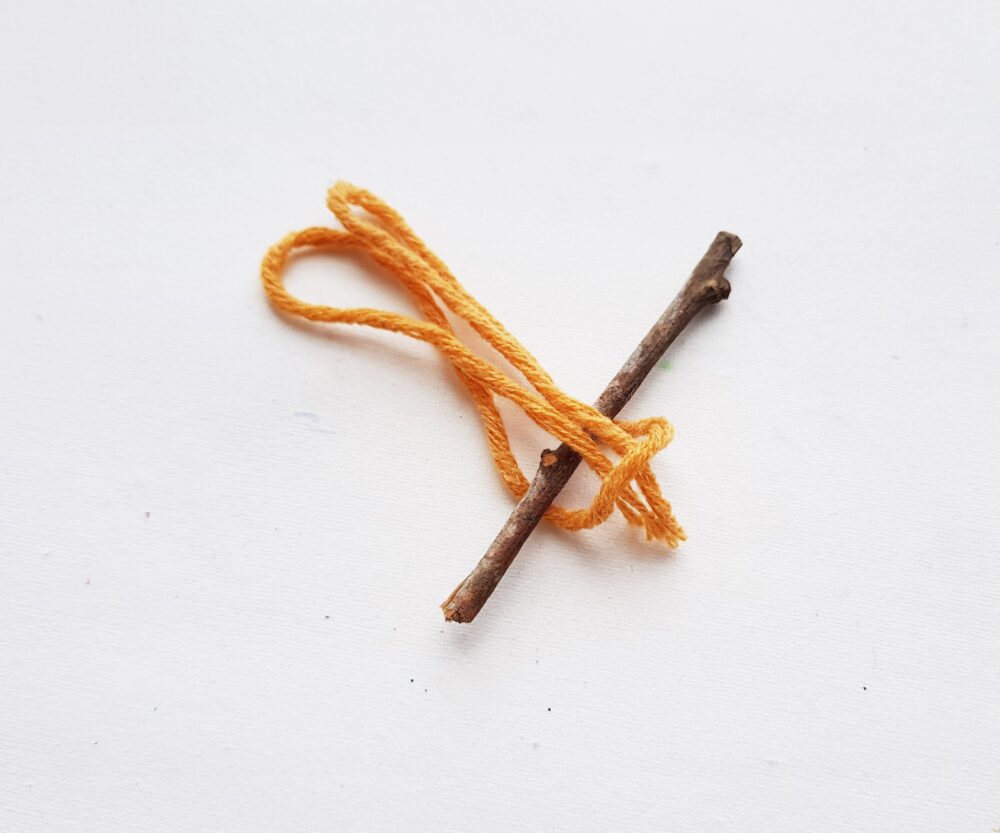
Step 4:
Pull the open ends of the strand all the way through and tighten it with the dry twig base.
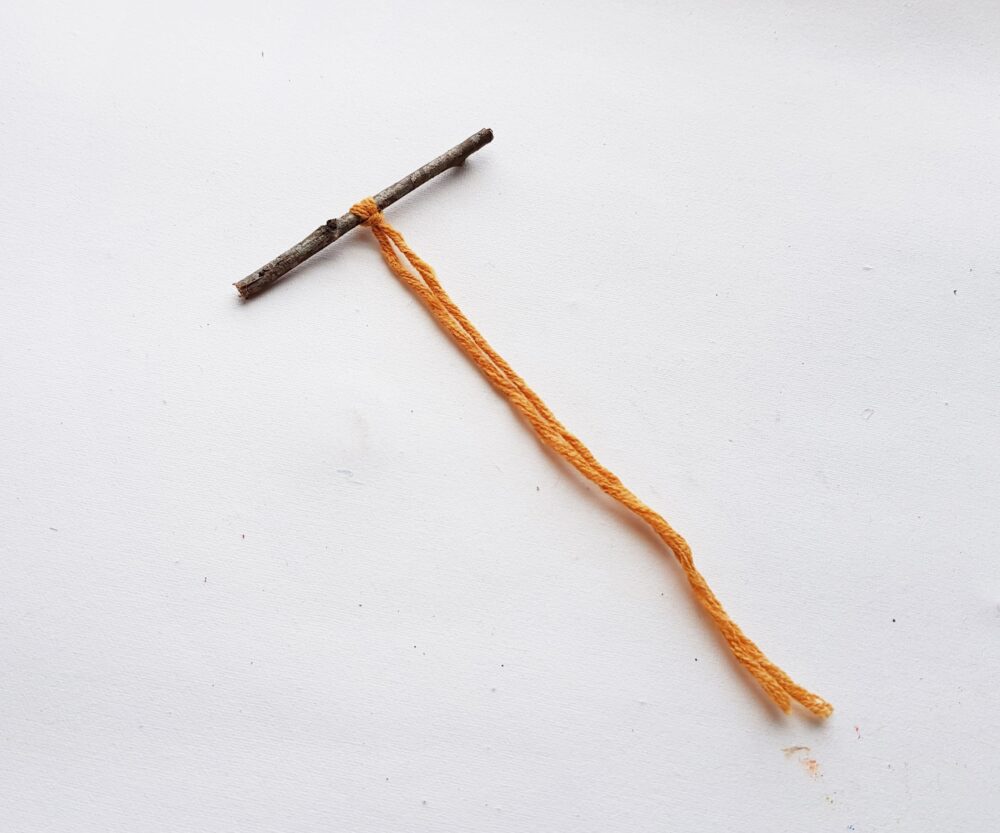
Step 5:
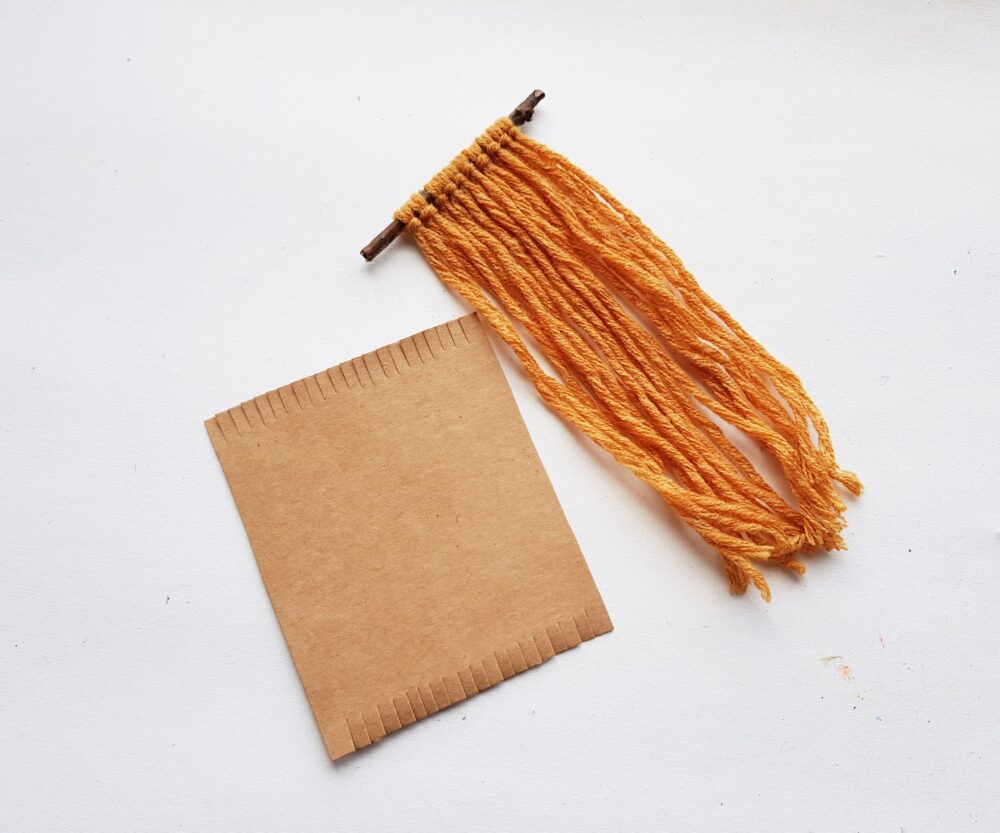
In the same fashion, attach the rest of the yarn strands to the dry twig.
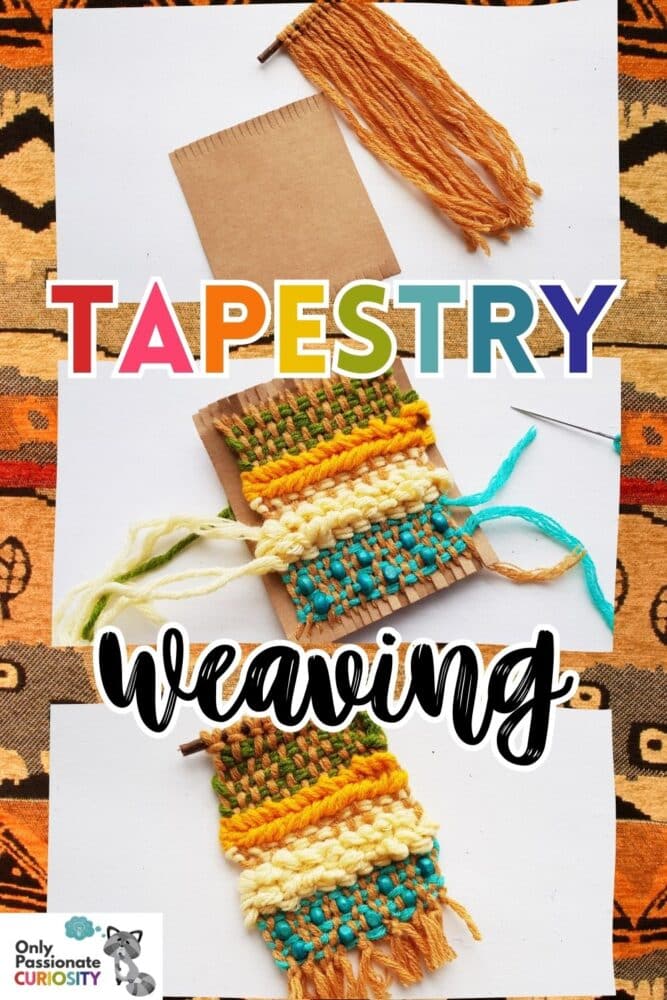
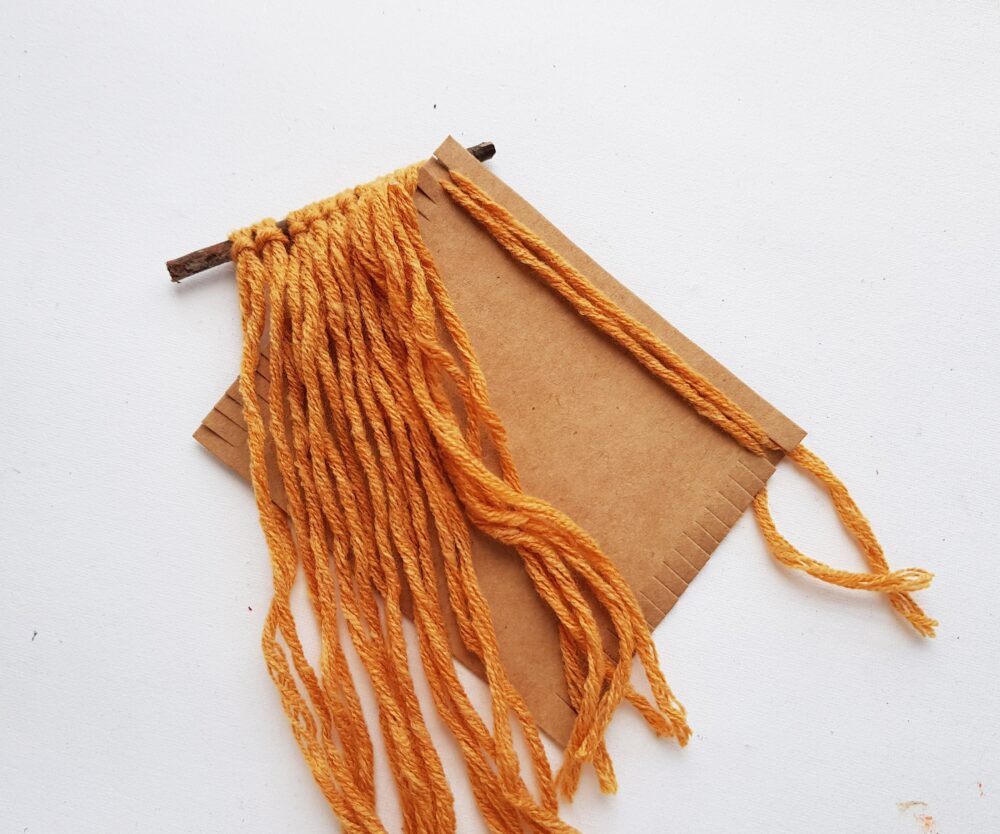
Cut a piece of cardstock the same width as the length of the twig and, in height, two inches less than the length of the attached strands. Use scissors to cut slits along the width (on both sides) of the cardstock paper, keeping a half-centimeter gap between the slits.
Step 6:
Starting from either side, take the strand at the very end (attached to the twig) and insert it through a slit at the end of the cardstock base. Insert the next strand into the next slit.
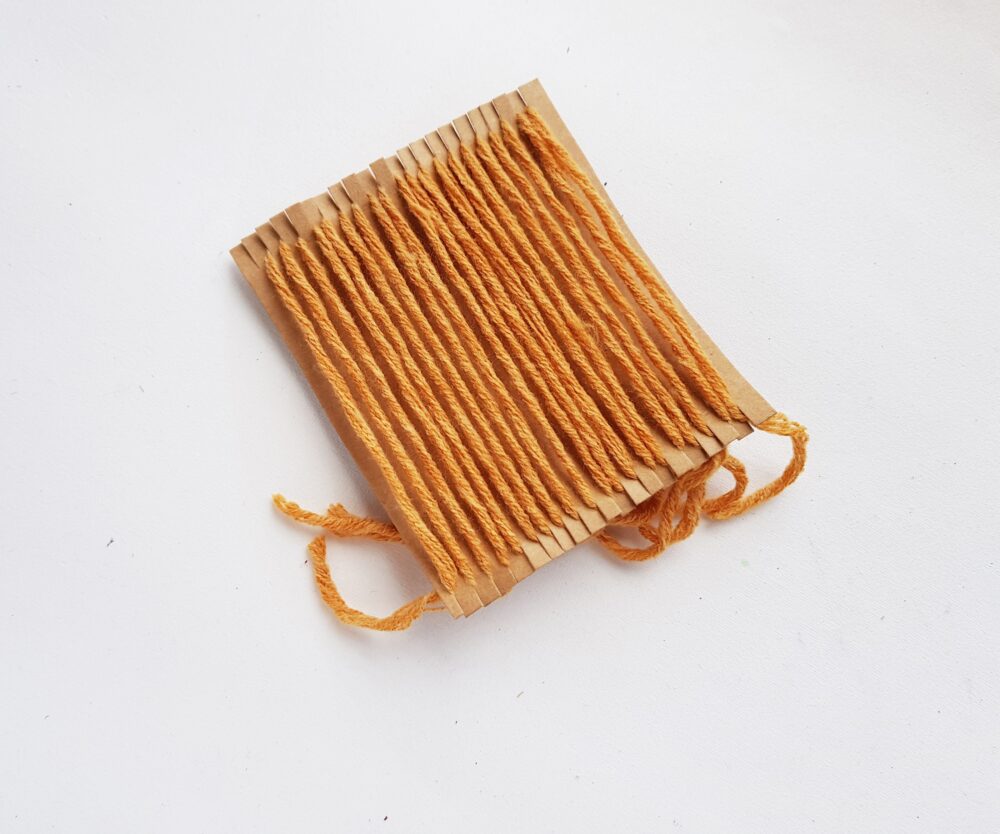
Step 7:
Continue to do this until all strands have been attached to the cardstock base on that end. Then go to the opposite side. Insert the open ends of the strands through slits on the other side.
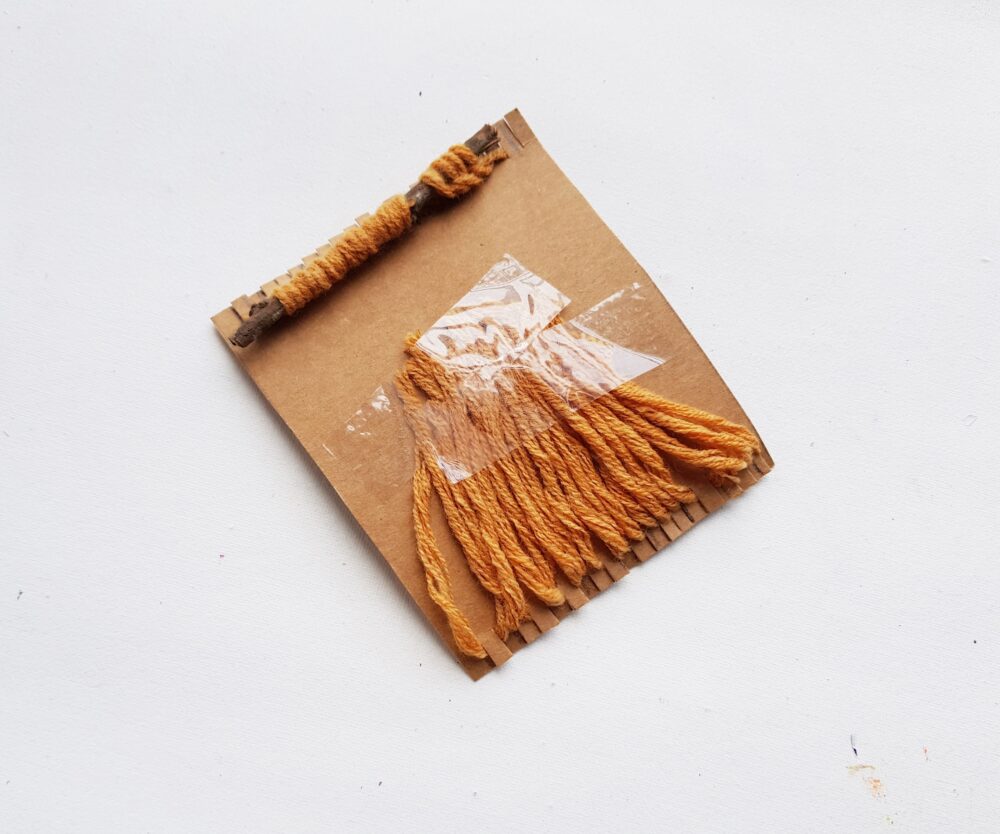
Step 8:
Bring the open-end strands to the backside of the cardstock base and use tape to secure them on the backside of it.
Step 9:
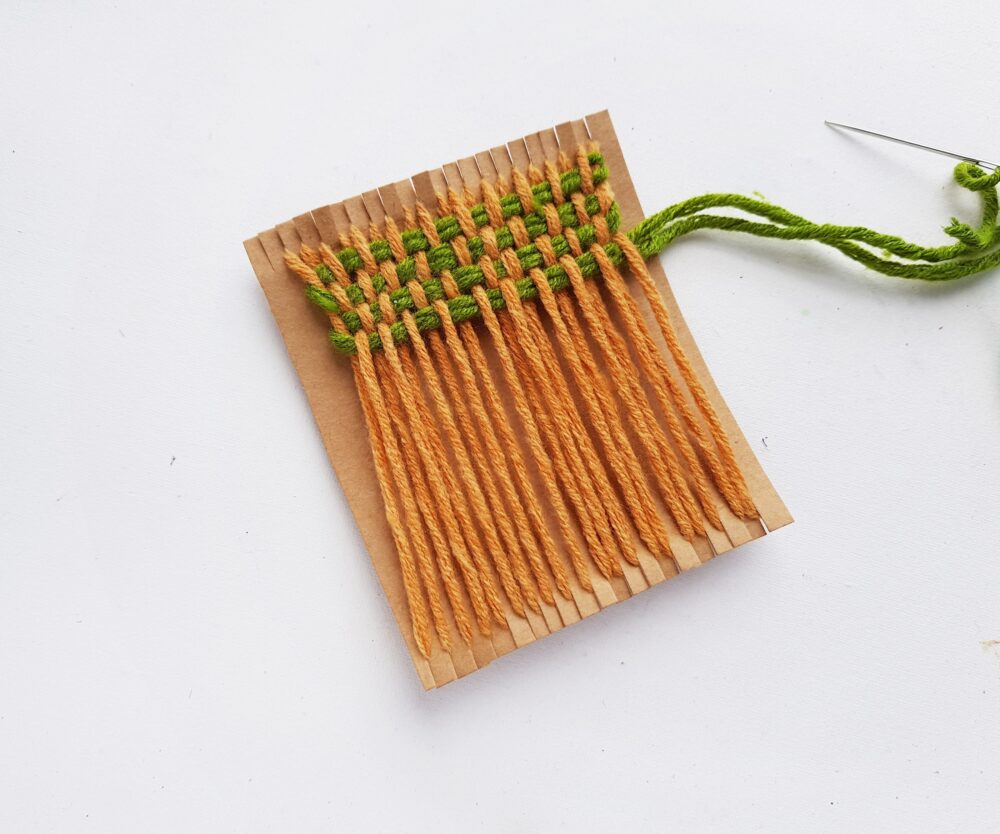
Flip the cardstock to the front side again. Prepare a tapestry needle with a different color of yarn. Keep 2 inches of the strand intact and start to weave over and under the base strings from one side.
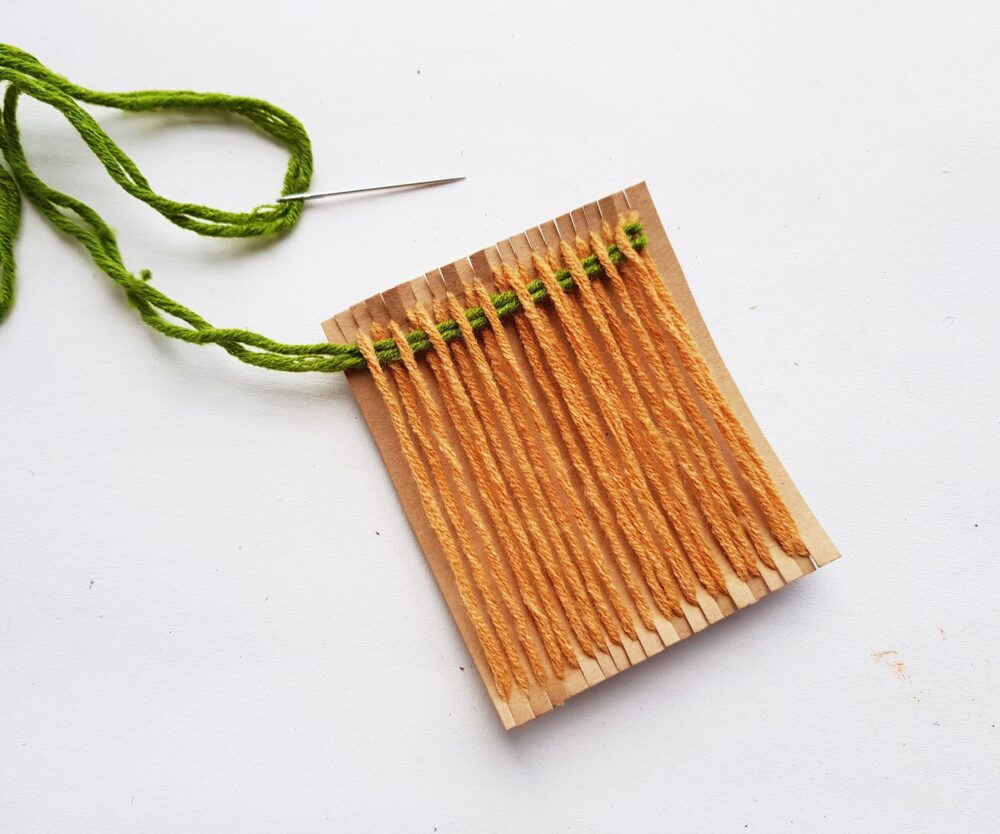
Step 10:
After reaching the other end, draw the needle to the next row and weave over and under again; this time, start the weave from the next strand of the previous row. Continue to do so until you’re happy with the width of the over-under weaving.
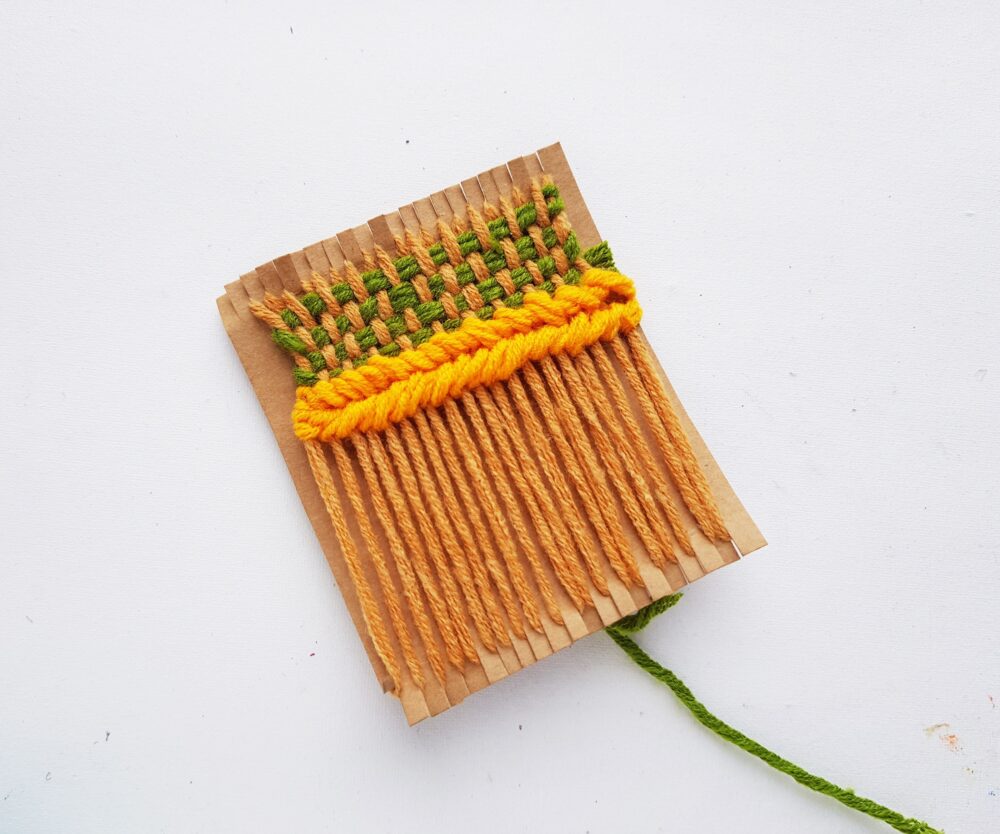
Step 11:
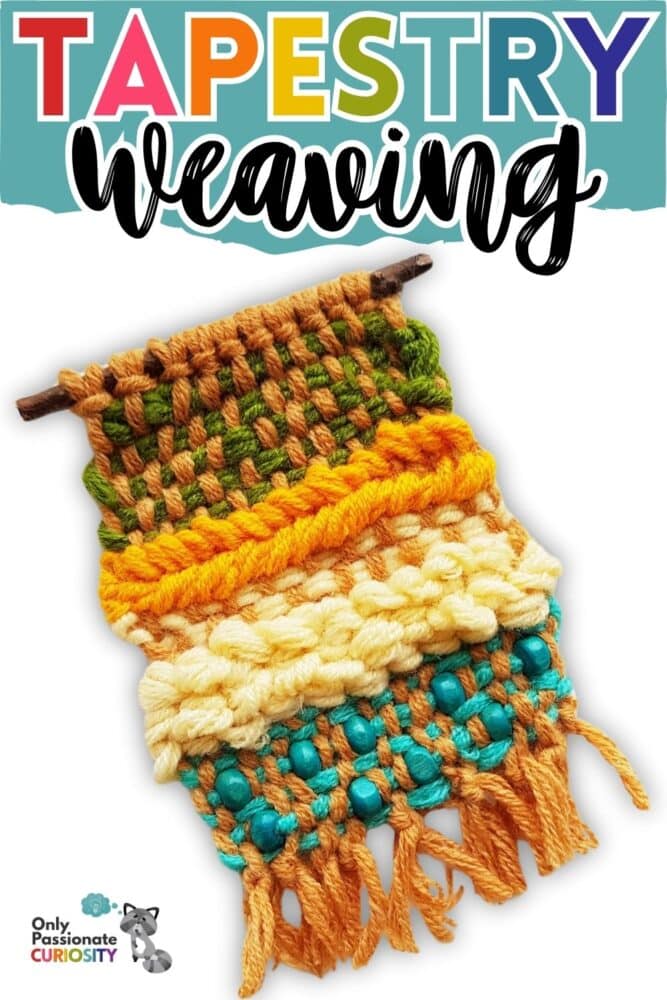
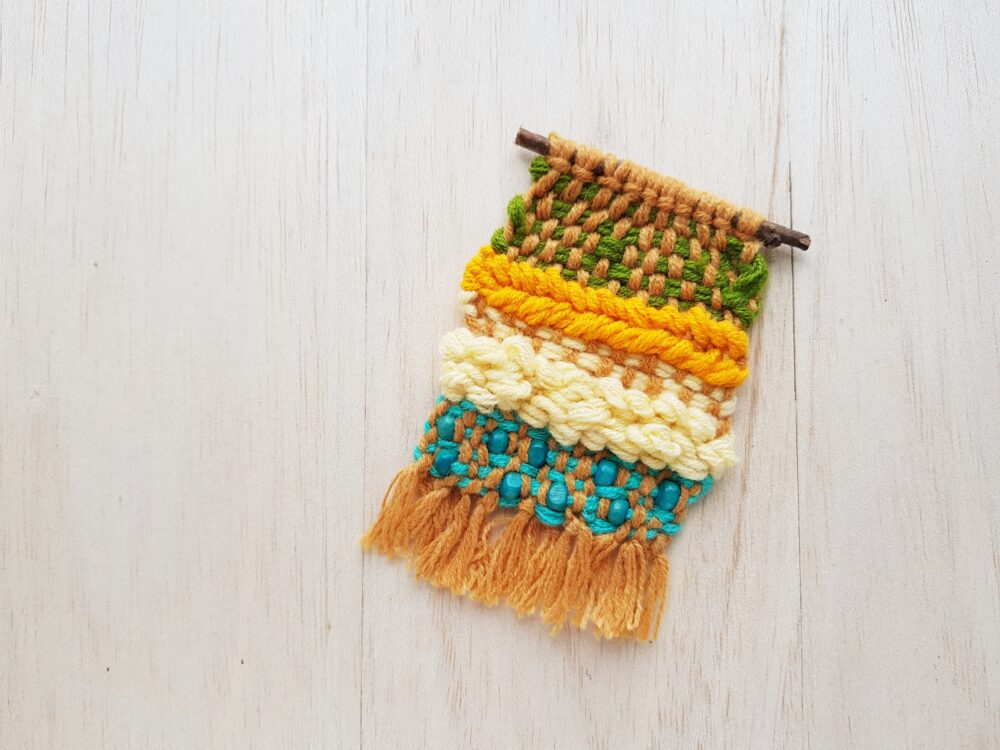
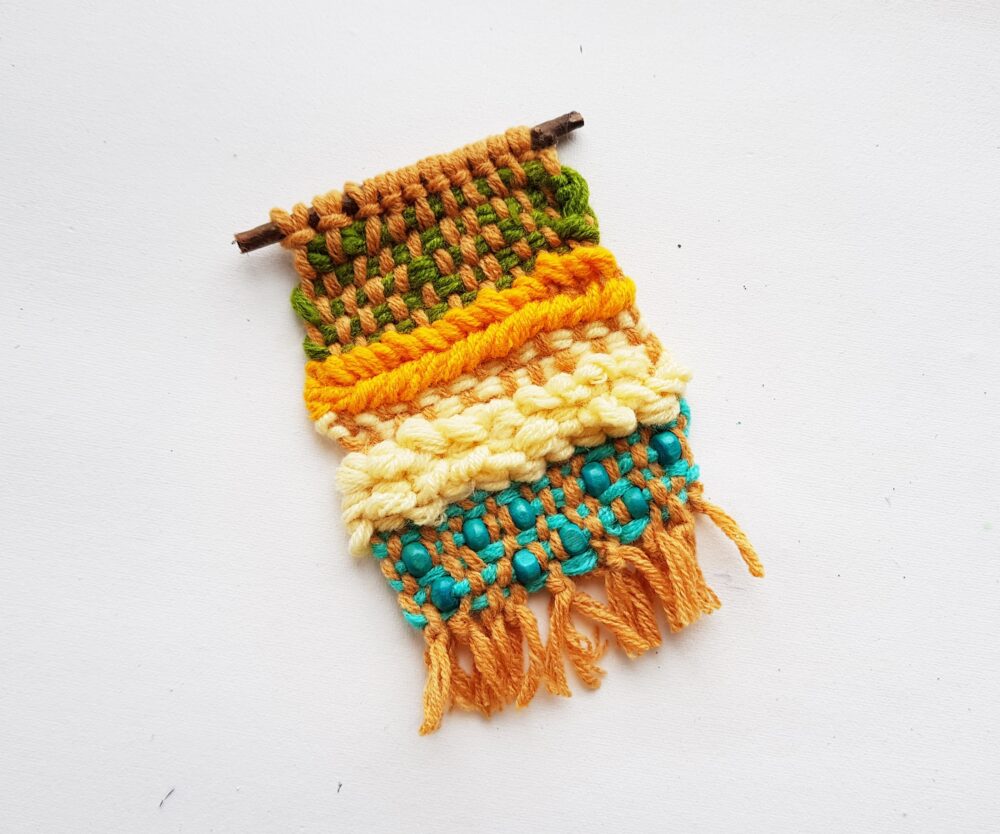
For the next pattern, I used a different color of yarn and worked with Soumak stitch.
Step 12:
For the 3rd pattern, I used another color of yarn to do a few rows of over-under weaving. And then I worked 2 more rows of loops with the same-colored yarn. For the last pattern, I used blue yarn as I worked the over-under weaving. I also added blue beads between stitches.
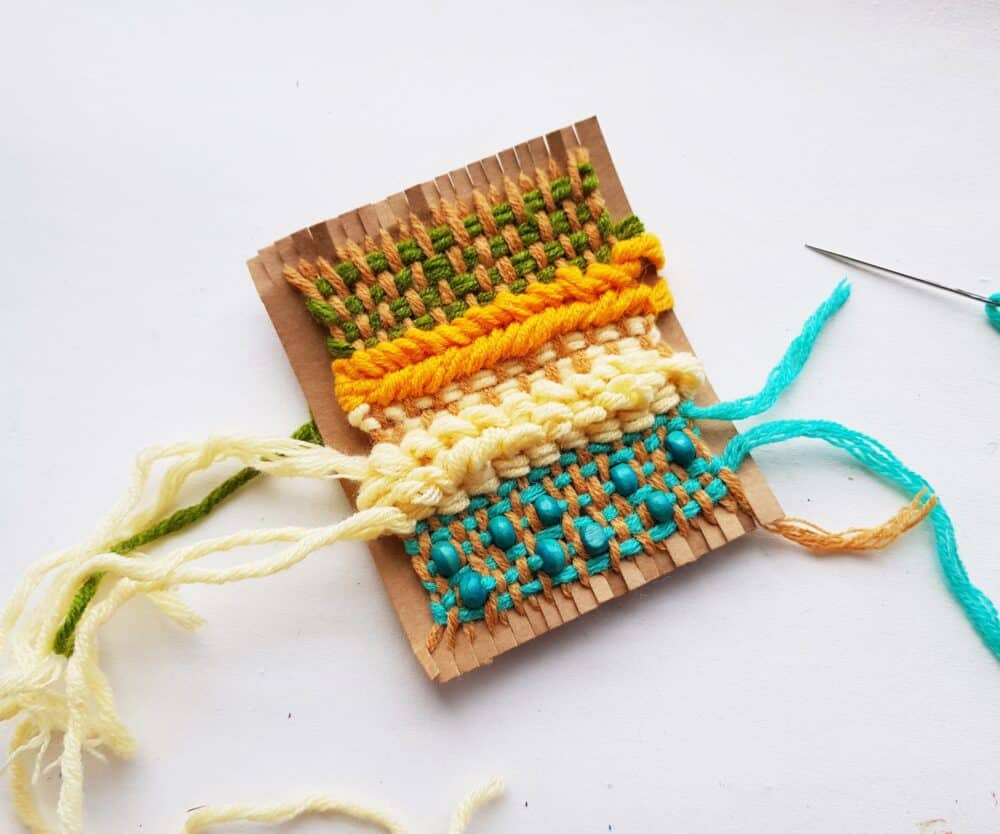
Once you are done weaving and have reached the bottom of the cardstock base, keep some extra yarn at the open end and cut off the rest.
Step 13:
Carefully take off the open-end strands from the cardstock base slits of your tapestry weaving. Bring all the open ends of the woven strands to the backside of the piece and use tape to secure them on the backside (or you can also use hot glue).
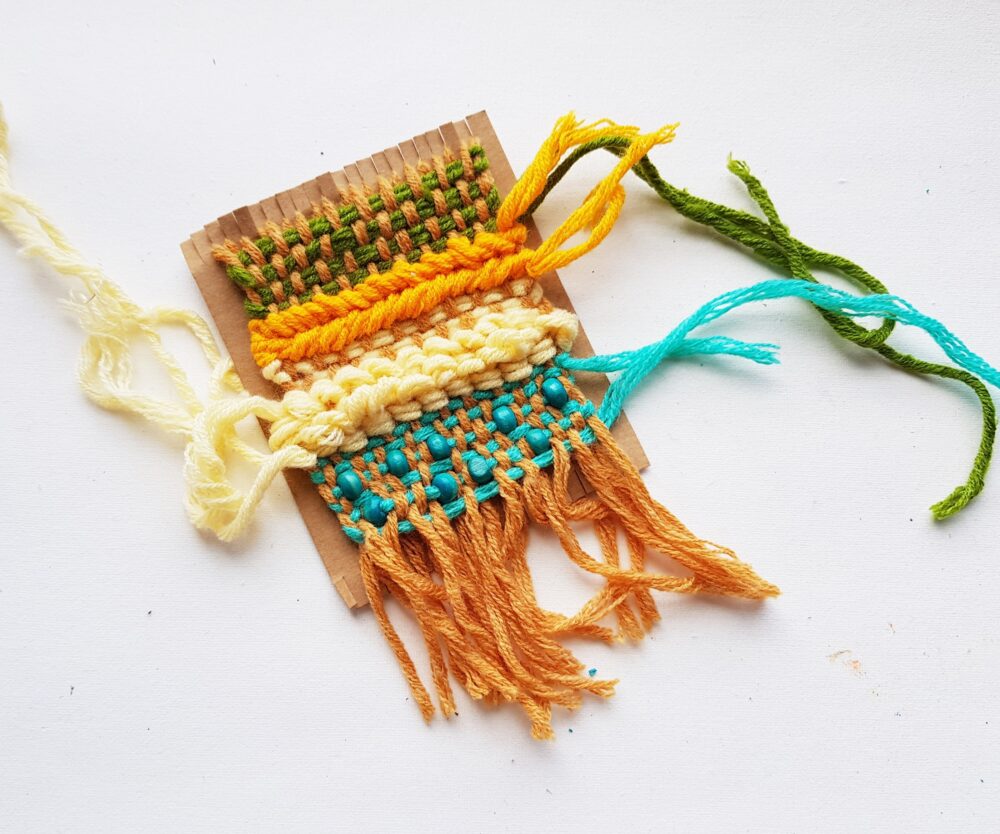
Step 14:
Take off the other end of the woven piece (the twig’s end). Grab the 2 strands from either side of the open end and tie a tight knot or two with them. Grab the next 2 strands and tie a knot with them again. Continue to do this until all strands of your tapestry weaving are knotted and secured.
You Might Also Enjoy:
- Easy Cross-Stitch Pattern: Summer Daisies
- Floral Rainbow Macrame Craft
- Pretty Pumpkin Crochet Craft
- Continent Maps Stitching Activity