Continent Maps Stitching Activity
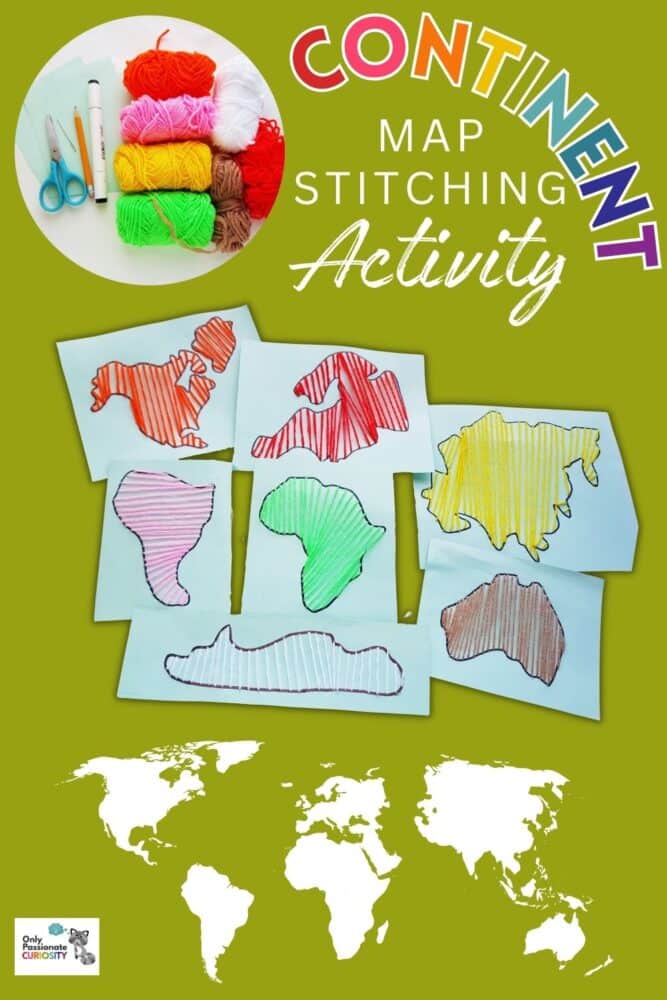
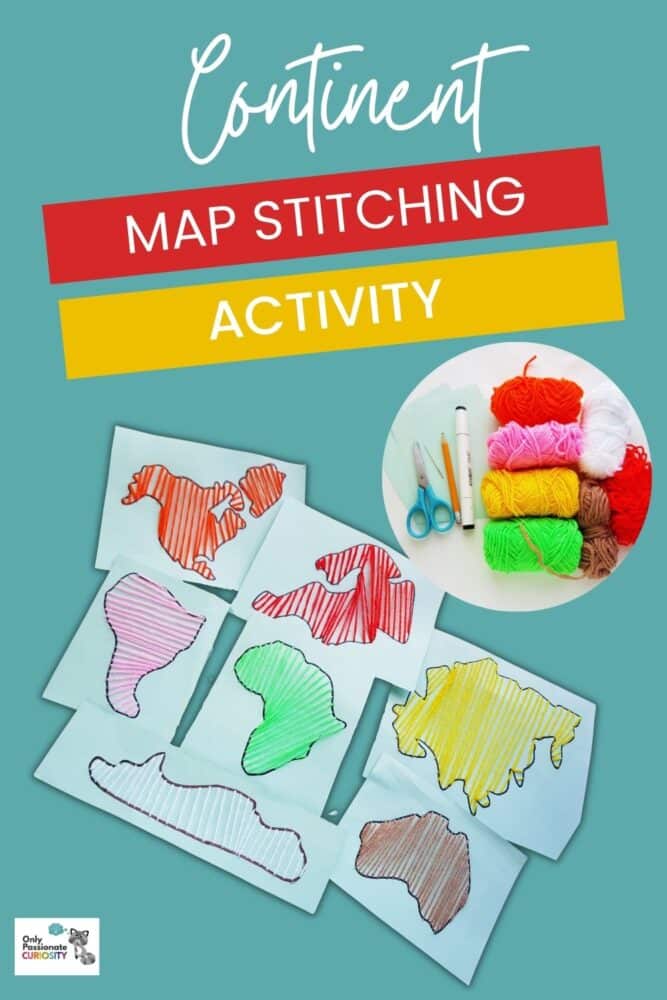
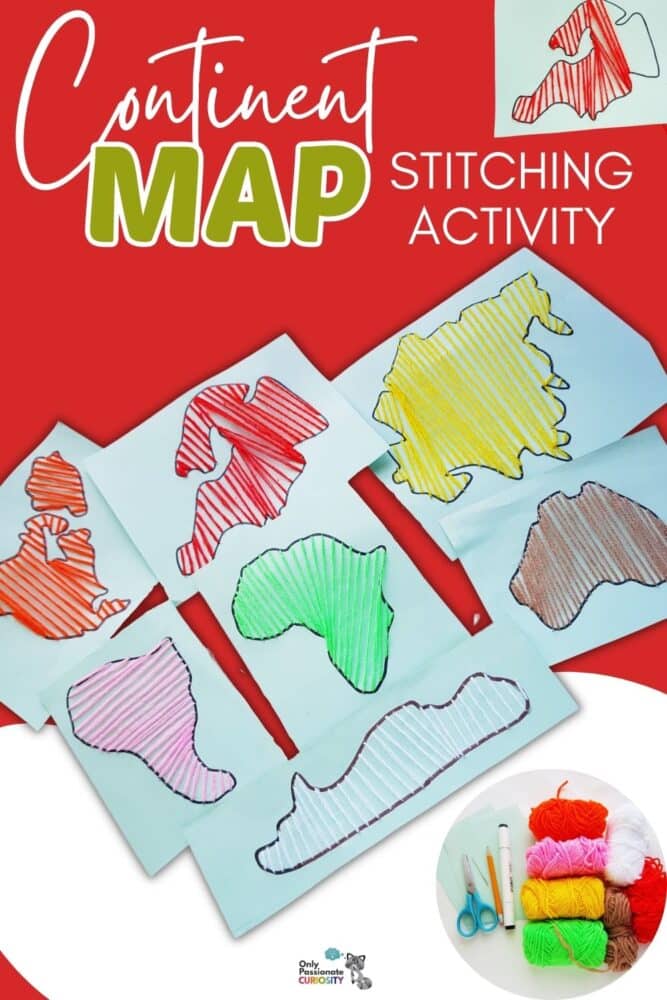
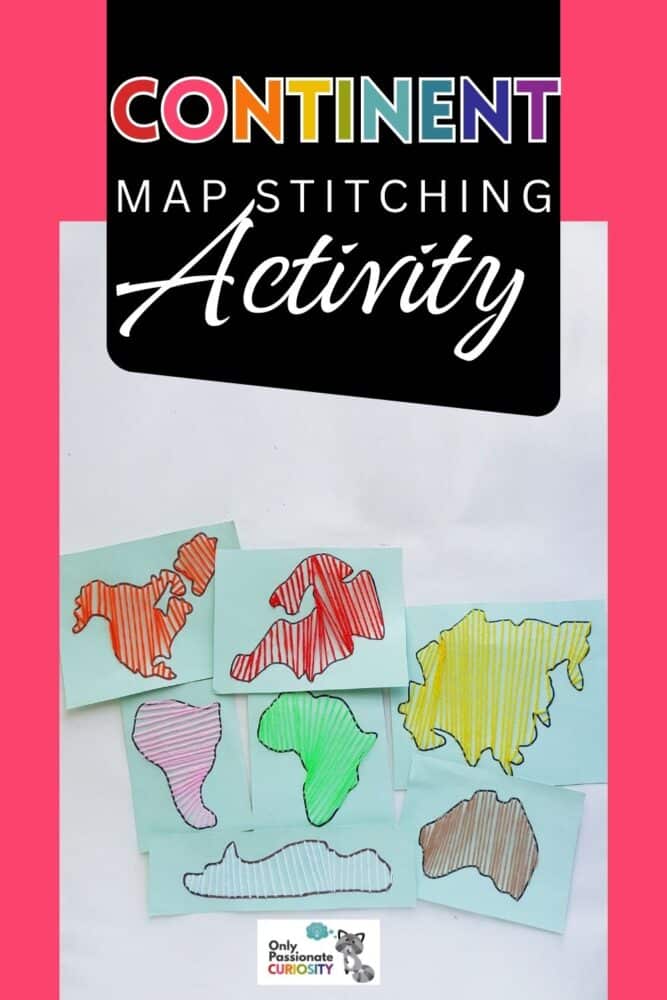
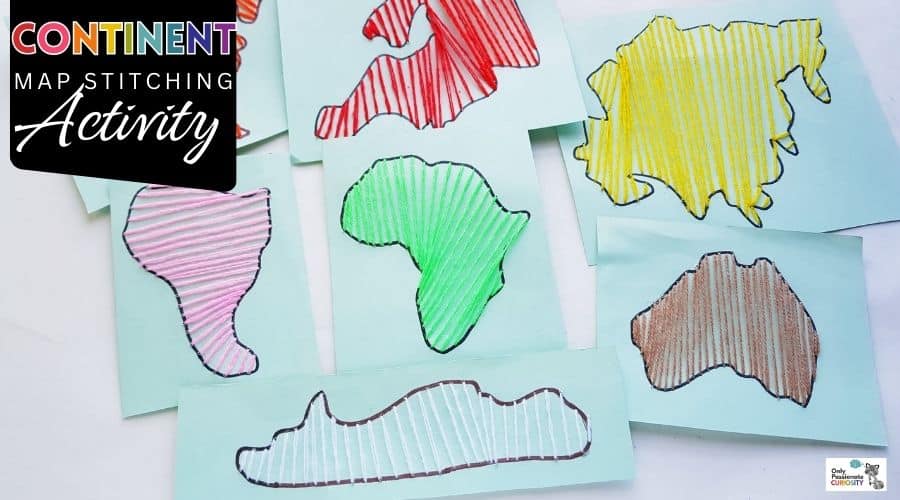
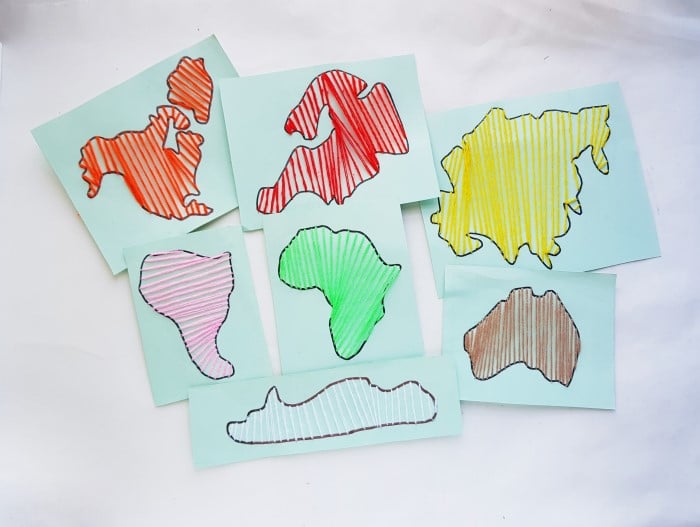
Do you struggle to teach your kids about geography? Sometimes it’s a challenge to know how to help your kids understand this amazing world in which we live. This continent maps stitching activity is a fun hands-on project to help your children learn to recognize the shape of the seven continents. It is also a craft that will help your child hone their fine motor skills through sewing.
List of Supplies for Continent Maps Activity
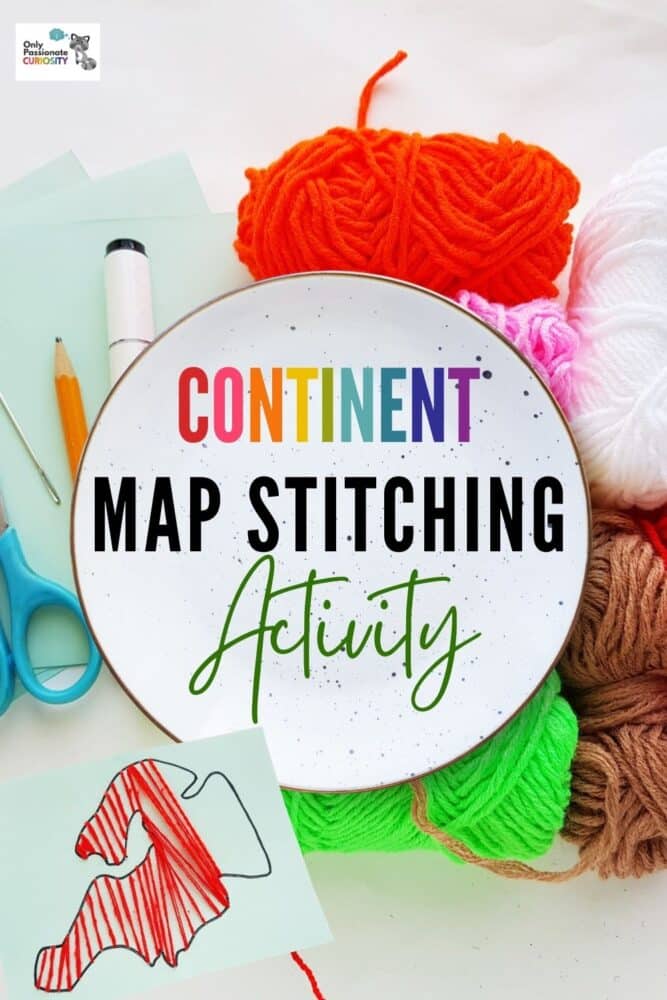
Here are the supplies you’ll need for the continent maps project. You can choose either colorful cardstock or white cardstock as the background for the continent templates. You can also choose either yarn or embroidery floss. The thicker paper and yarn are probably better for younger kids while the thinner paper and embroidery floss might be a better option for older children.
The links below are affiliate links, which help to support our website and enable us to regularly offer these craft projects and templates.
- Colored cardstock papers
- Needle
- Colored yarn or embroidery floss
- Pencil
- Scissors
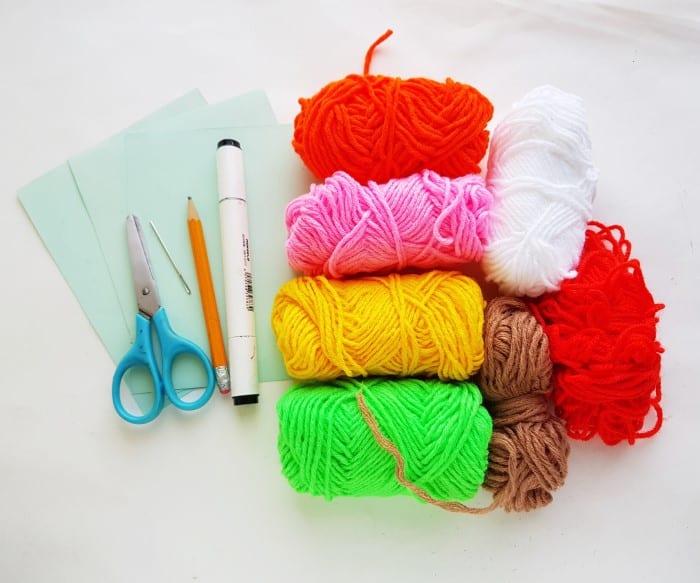
Templates for the continent maps
- Africa Template
- Antarctica Template
- Asia Template
- Australia Template
- Europe Template
- North America Template
- South America Template
- Continent Maps (the seven continent maps on one single page)
Instructions for Continent Maps Stitching Activity
Step 1:
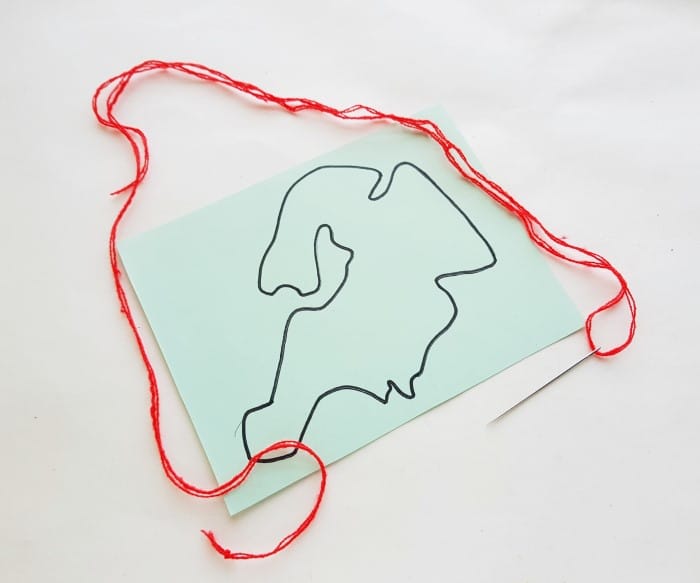
Print and cut out the continent maps from the template. Select and prepare cardstock paper for each continent. Trace the continent maps on individual cardstock paper.
Select yarn or embroidery floss for the continents according to the Montessori color scheme. Let’s start out our continent maps project by stitching Europe.
Step 2:
Tie a knot or two at the open end of the attached strand. Draw the needle through any point along the traced map line; make sure to draw the needle from the backside of the cardstock paper.
We started our stitching from the narrow end of the map. We will stitch straight lines from one side of the continent to the opposite end.
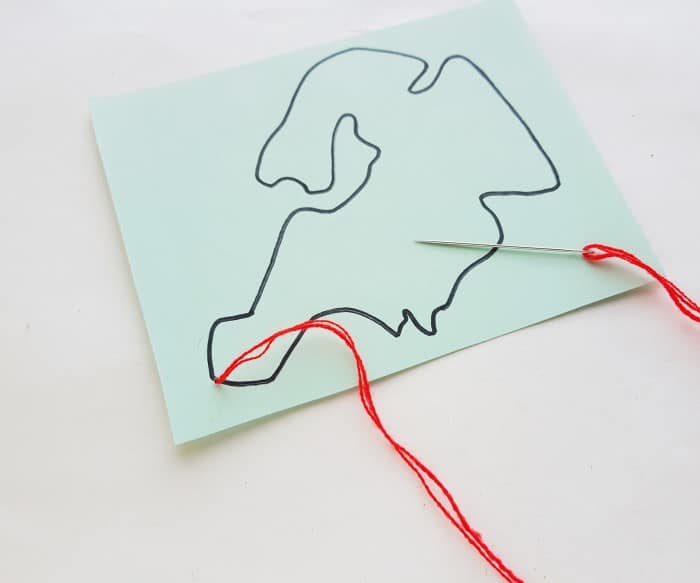
Step 3:
Draw the needle to the backside. Then pull the needle to the front again, keeping a cm or less space with the previous point along the same side.

Step 4:
Continue to repeat the process and try to keep even gaps between every two strands while stitching straight lines.

Step 5:
Some parts of the map might be tricky to stitch, as some parts of the continent maps are wider and some are narrower; you might need to use the same point twice or more on one end to make up for this difference in the continent’s shape.

Step 6:
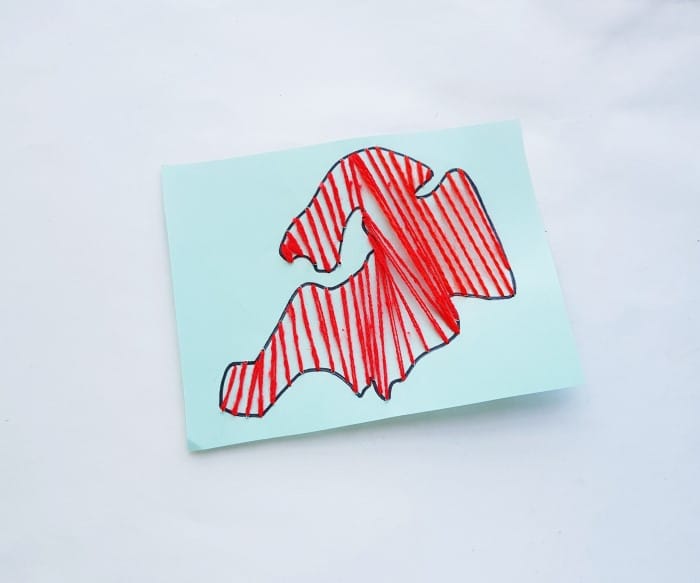
Continue to stitch until the entire map is covered. Once you are done, draw the needle to the backside and tie a knot with the strand on the backside. This will secure the end of the stitch and make sure that it doesn’t unravel. You can cut off the extra floss or yarn if you still have quite a bit of string remaining.
Steps 7 and 8:
One by one, stitch the rest of the continent maps.
Related Activities
This 12-page Planet Earth lapbook printable includes everything that kids need to produce a detailed lapbook about Earth. It comes with sections to guide research, images to color, cut out, and write on, and directions for putting the whole thing together!
Here are Five Ways to Make Geography Fun for Kids, which offers you some tips in teaching geography to your kids. Exploring the world through geography should be an exciting adventure to share with your child.
And check out these Geography Printables to teach your kids more about geography and the continents. It links to a number of free projects including geography cards, continent maps activities, and other continent studies.


