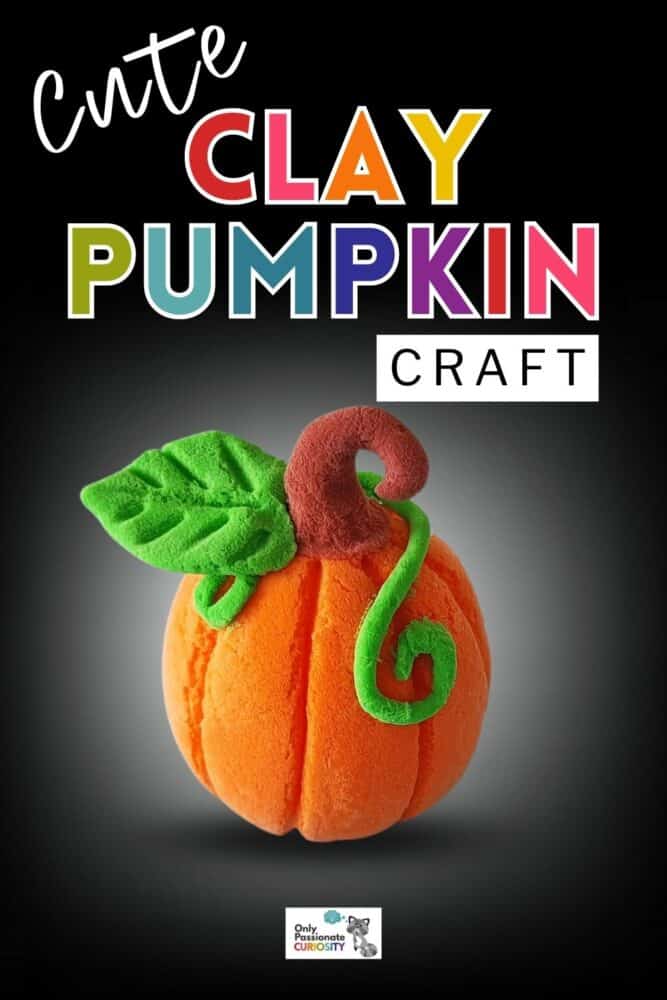
Cute Clay Pumpkin Craft
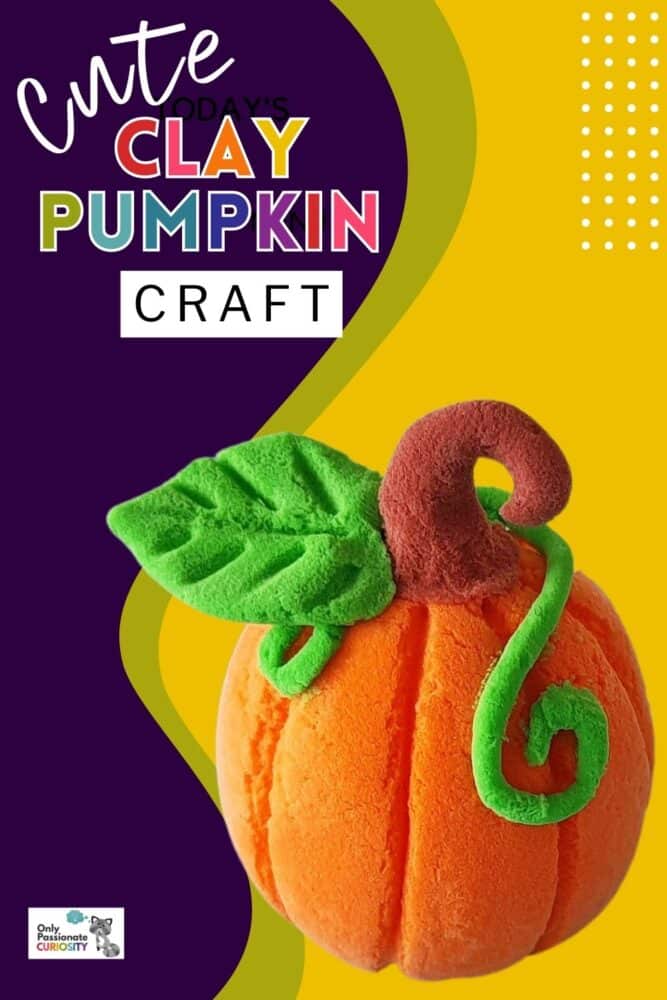
Most kids absolutely love hands-on activities. Read to them from a textbook and they’ll start nodding off, but let them get their hands involved, and they’re all in. This foam clay pumpkin craft is a perfect hands-on project for children.
Kids young and old (and lots of adults, too) find clay an ideal medium for creativity. Younger children might choose to make their pumpkins larger while your older students might practice their fine motor skills by seeing how tiny they can craft their foam clay pumpkins.

Foam clay is softer and lighter than denser modeling clay, and it is the suggested medium to work with for this clay pumpkin project. Foam clay tends to shrink when it dries, more so than with modeling clay. If you would prefer to use modeling clay for this project, you can find both types of clay in the links below.
It could also be an interesting science project to compare the two types of clay. You can discuss factors like malleability, weight, density, and other physical properties of the different kinds of clay with your children. You can also decide together which type of clay is easier to work with, or if one type of clay is better for certain projects than others. Learning can be a lot of fun!
List of Supplies for Clay Pumpkin Craft
What you’ll need for the project:
- Foam clay
- Clay carving tools
- Sharpies
Instructions for Clay Pumpkin Craft:
Step 1:
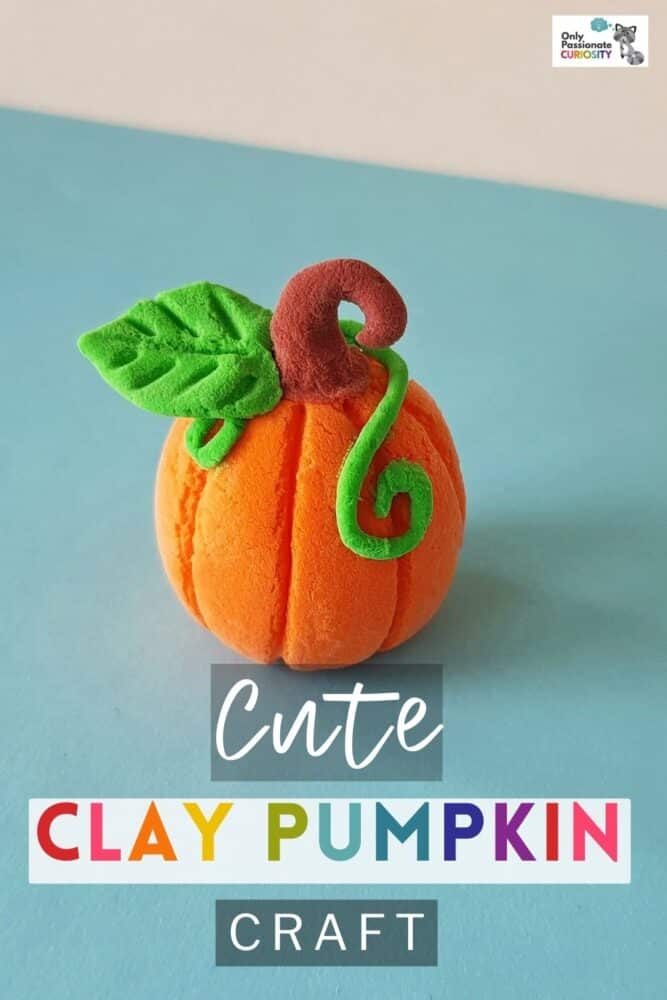
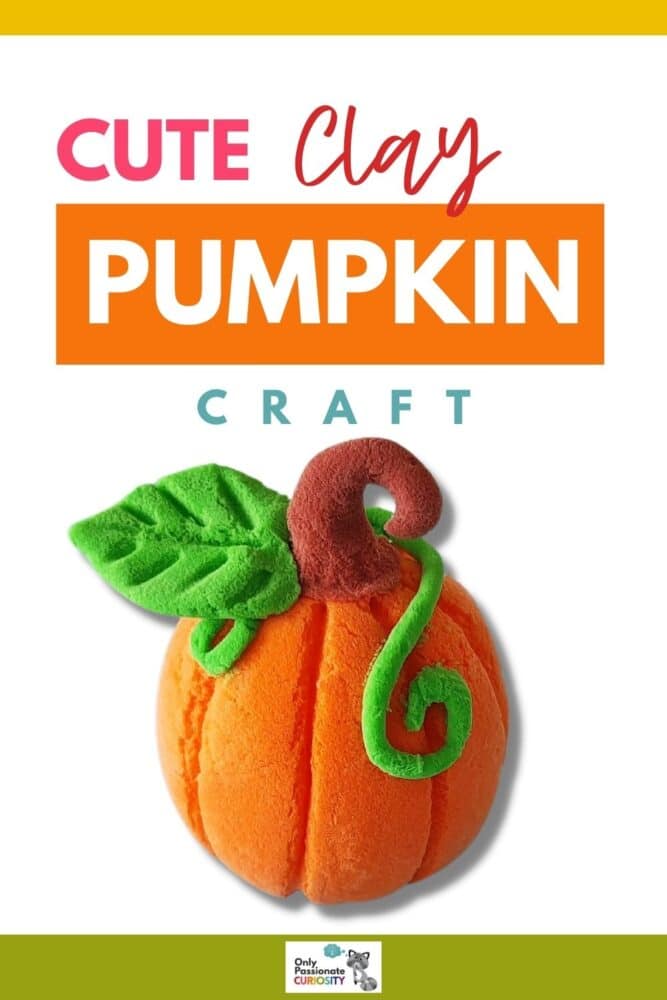
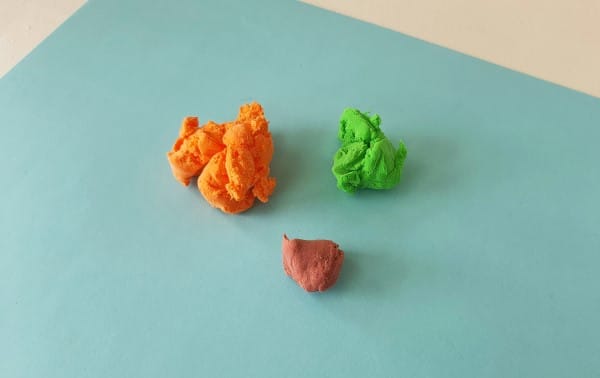
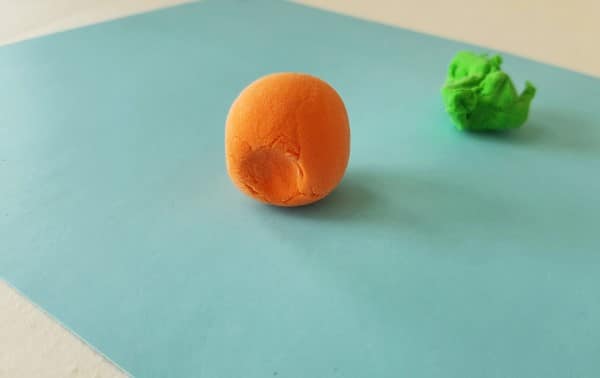
For the foam clay pumpkin, select orange, green, and brown colored foam clay. The patterns for this craft include the pumpkin, stem, leaf, and vines. You can use different shades of the selected colors if you want to.
Step 2:
Take amounts of each colored clay as per the size of that part. You’ll need the largest portion of orange clay, as the pumpkin is the biggest object you will be shaping.
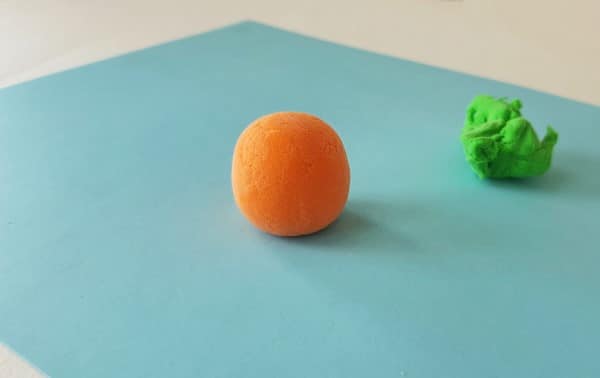
Now for the fun part! Roll each clay piece on an even and smooth surface with your palm to make a ball shape. You can adjust the size of each clay ball later if needed.
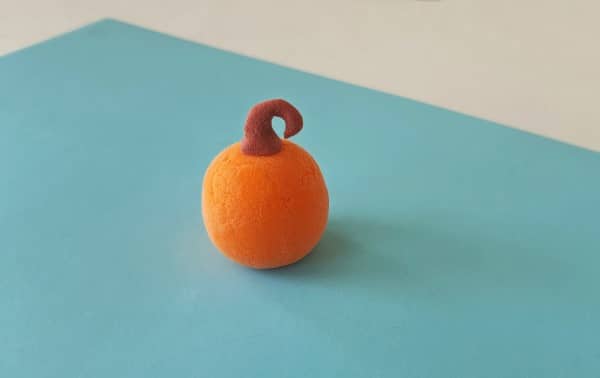
Step 3:
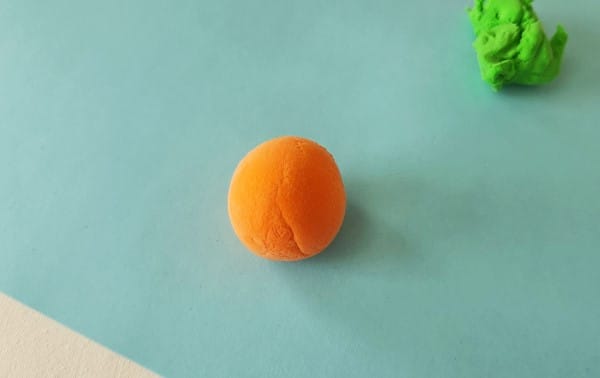
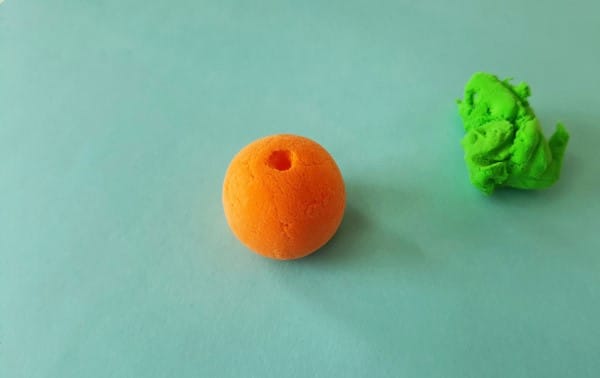
Use the tip of your thumb or any finger to make a small hole on any side of the orange ball.
Step 4:
This small hole will help the clay pumpkin to stand nicely.
Step 5:
Use your clay modeling tools to make another small (slightly deeper) on the opposite side of the previous hole.
Step 6:
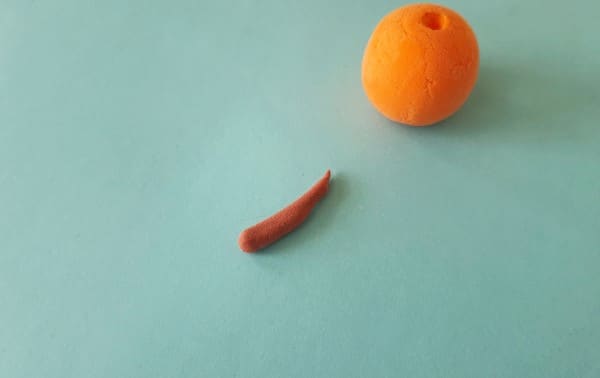
Roll the brown clay ball forward and backward to make a thin strip, pointed at one end and rounded at the other. This will be the stem of the clay pumpkin.
Step 7:
Insert the wide end of the clay stem inside the small hole that we made before and curl the other end to complete the stem of the clay pumpkin.
Step 8:
Use a clay knife to make half-cuts from the top center of the (around the stem) clay pumpkin. Make 4 criss-cross half-cuts first.
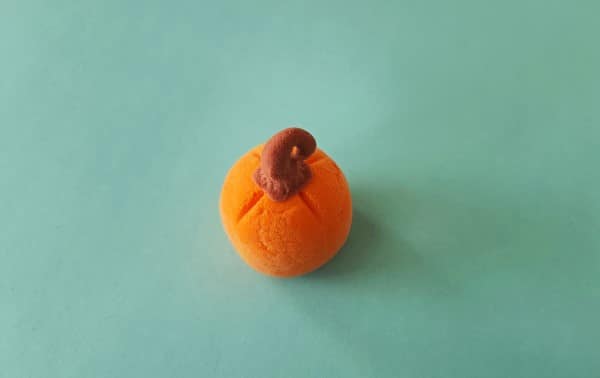
Step 9:
Now, draw the half-cuts all the way to the center of the other side.

Step 10:
Now take some green clay to make thin vine shapes.
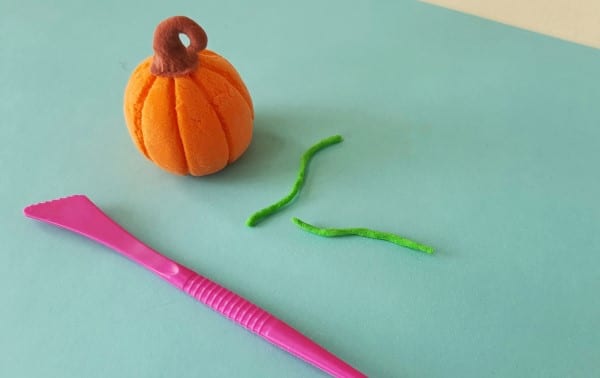
Step 11:
Carefully and neatly make a twirl shape at one end of the vines and attach them to the clay pumpkin, near the stem.
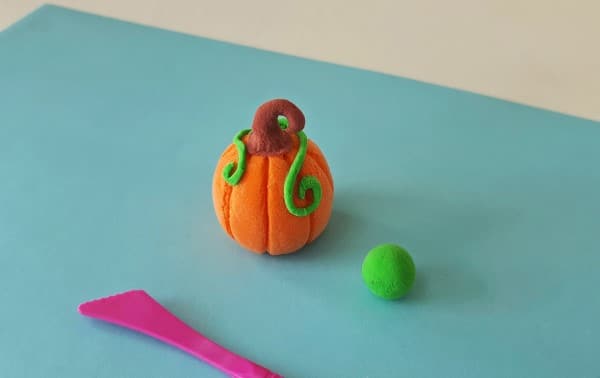
Step 12:
Use the small green ball to make a leaf-like shape.
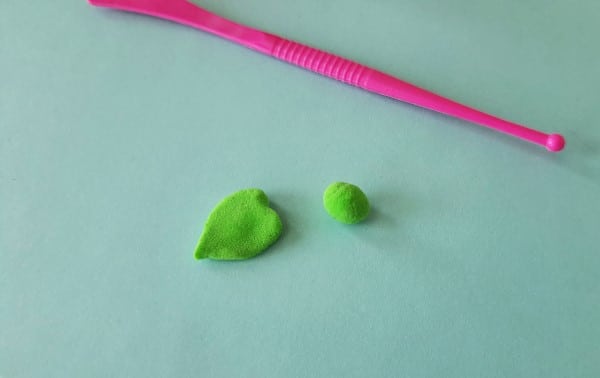
Step 13:
Then use the clay tool to make half-cuts on the clay leaf to make the veins of the leaf.
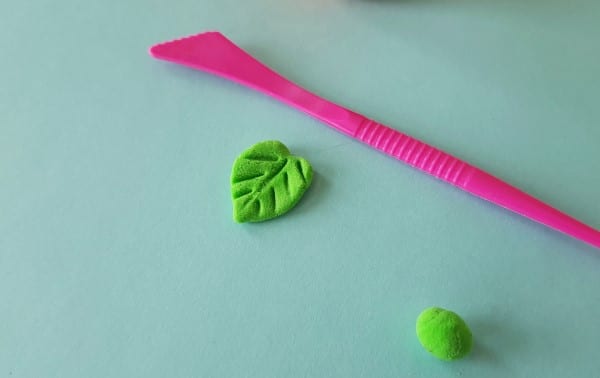
Step 14:
Attach the clay leaf near the stem, on the top of the clay pumpkin to complete the clay pumpkin craft.
Additional Hands-On Activities with Clay:
For those of us who grew up in the days of read-about-a-cell-in-the-textbook-and-take-a-test-on-the-parts-of-the-cell, it can sometimes be difficult to remember that there are lots of fun ways to study all kinds of topics! Creating this clay cell model is one example of a fun activity that can help your child learn while doing.
Easy and fun to make, salt dough maps are a great visual aid for learning the geography of a country and a fun, hands-on tool for making history come alive. You can also use clay instead of salt dough.
Another fun idea on the pumpkin theme is making pumpkin spice playdough and using it for creative play and other educational projects!
You can also teach your young child about the parts of a pumpkin.
Here are a few more ideas for helping your child develop fine motor skills.