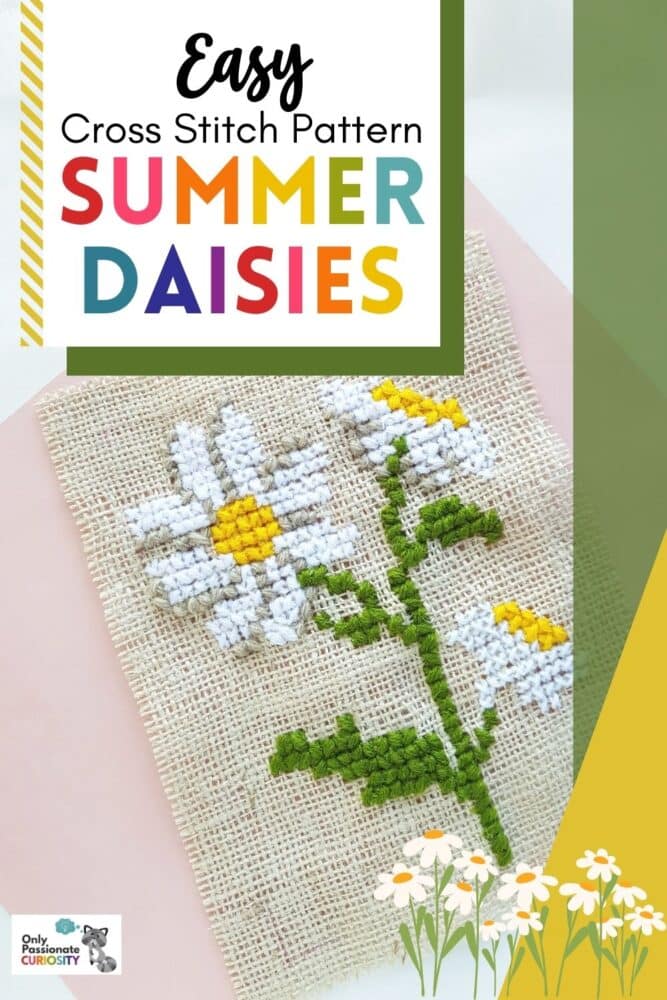
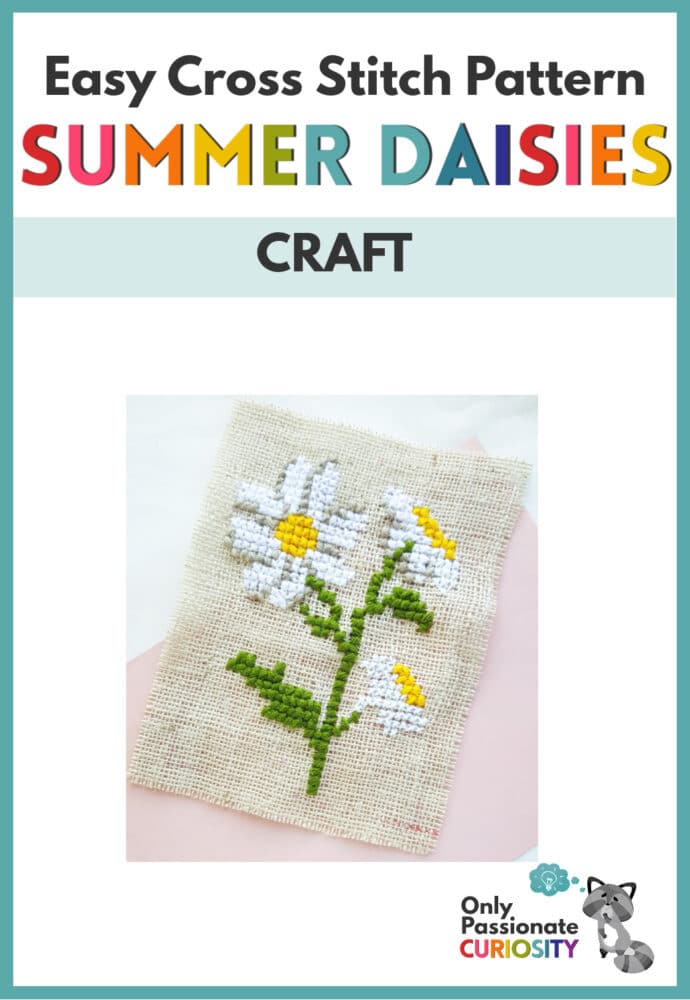
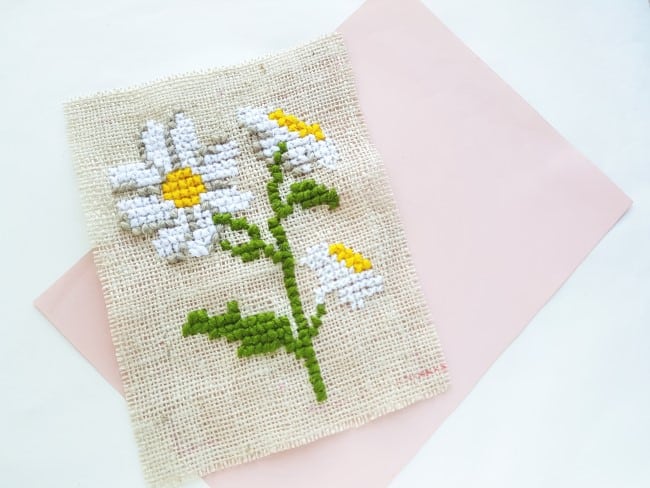
Easy Cross Stitch Pattern – Summer Daisies

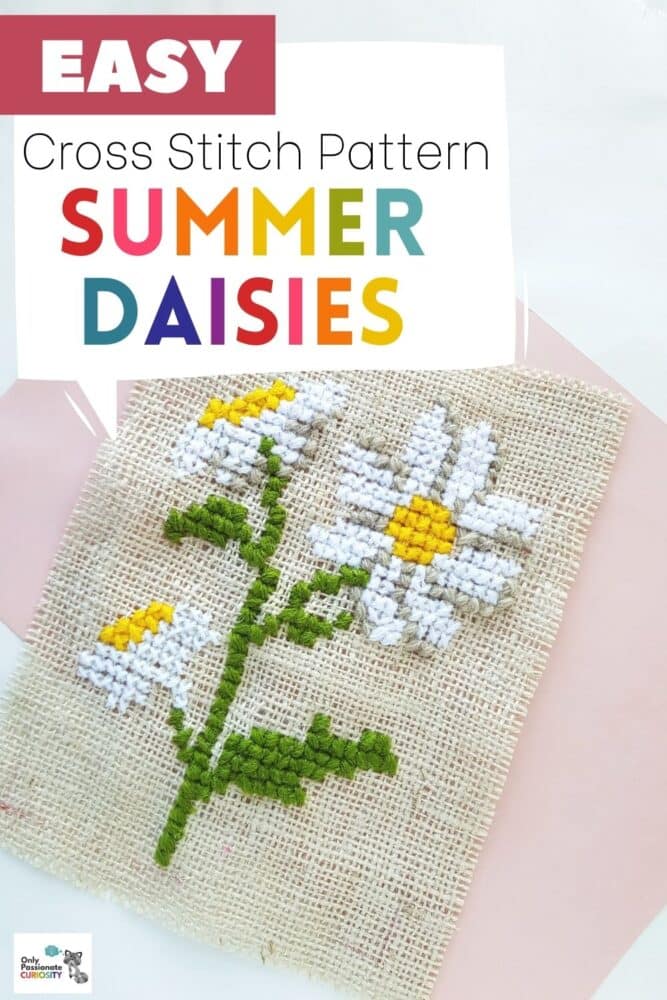
Do you remember the first cross-stitch you ever did? I do. It was a white and yellow hen with a red beak, on 11-point aida fabric. In spite of it being a very easy cross stitch pattern, finishing that cross stitch took me ages. It was not hard; I guess I just didn’t have a lot of staying power at that age. If the project had been part of a homeschool curriculum and I’d been given a deadline, I probably would have worked on it more consistently and finished it more easily.
Sewing is a terrific life skill to learn and a great way to inspire creativity in your kids. You can also incorporate it into your homeschool curriculum. There are so many options when it comes to sewing. You can start your kids with easy cross stitch patterns and simple embroidery projects like this reversible tote bag. Then you can move on to more complex needlepoint, embroidery, or knitting patterns.
Sewing is fun, and it gives your kids a sense of accomplishment when they finish a project! Plus, whether it is an easy cross stitch pattern like this daisy cross stitch or a more complex one, they make terrific and thoughtful gifts for friends and relatives.
What You’ll Need for this Easy Cross Stitch Pattern

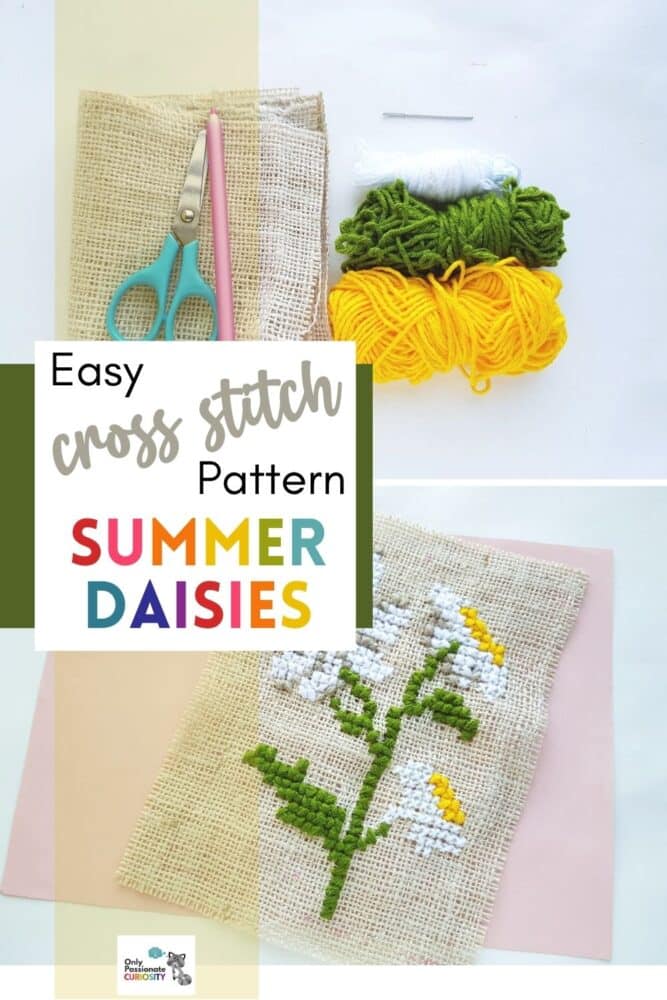
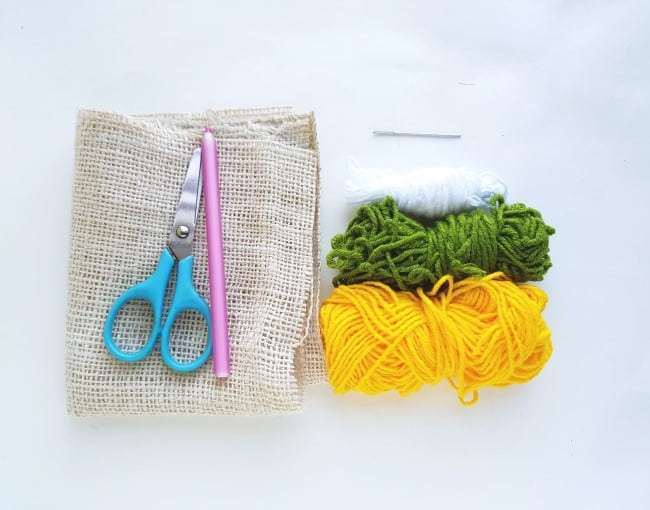
List of Supplies:
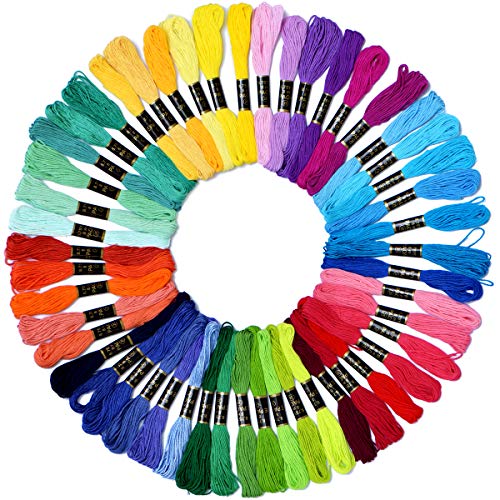
- Embroidery floss or yarn (white, yellow, and green)
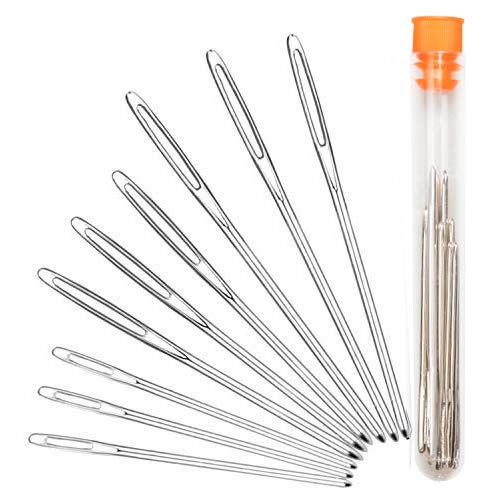
- Tapestry needle
- Burlap fabric
- Scissors
Instructions for Summer Daisies Cross Stitch:
Step 1:
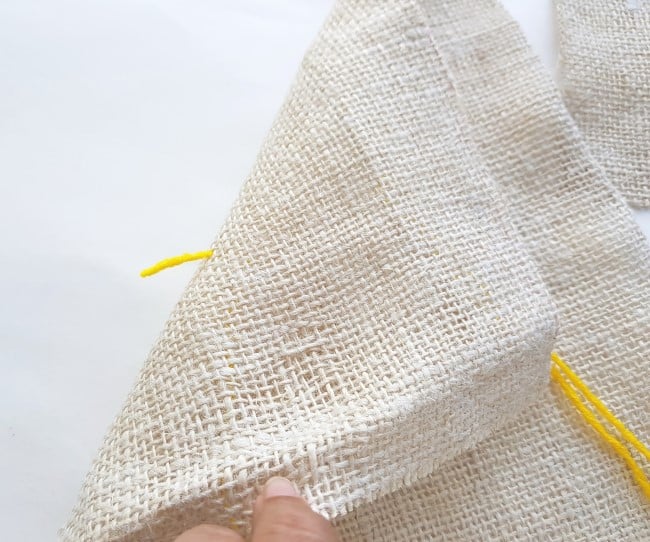
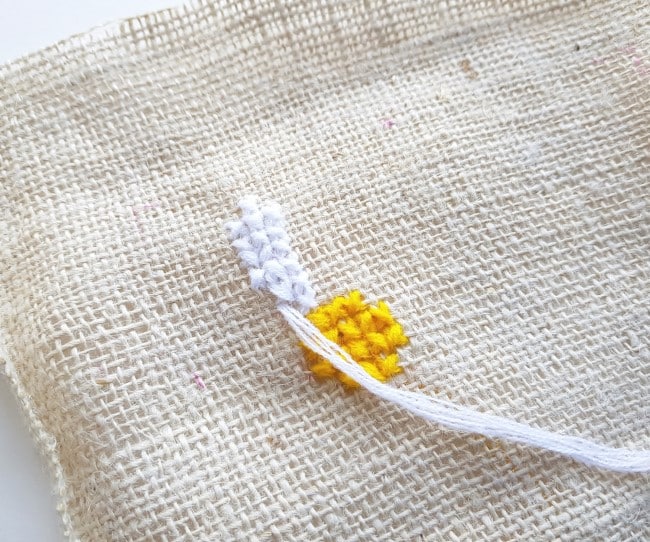
Prepare a piece of burlap fabric big enough to cover the whole design and with an extra inch around all sides of the design. Prepare the needle with yellow floss or yarn.
You’ll want to start the cross-stitch from one side. So, let’s start this easy cross stitch pattern with the middle part of the daisy on the top side of the design.
Make sure to keep an inch extra of the strand on the backside of the fabric.
Step 2:
Work with cross stitches to form the center part of the top daisy.
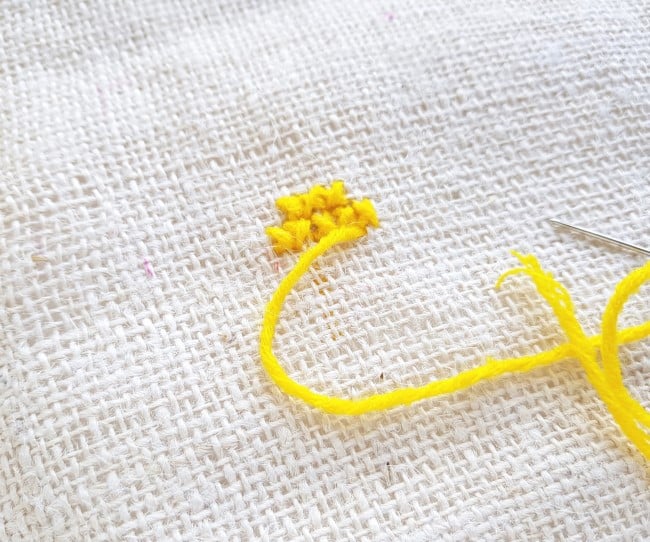
Step 3:
The center part of the top daisy includes 3 stitches on the first row, 5 stitches on the next 2 rows, and 3 stitches on the last row (4th row), just as in the image below:

Step 4:
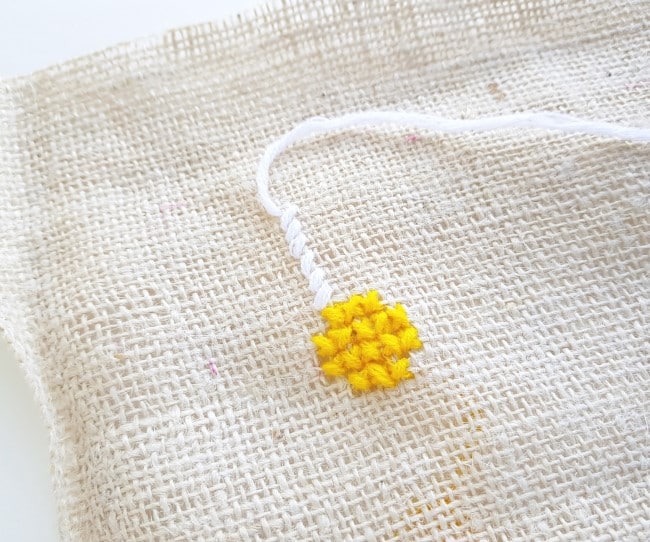
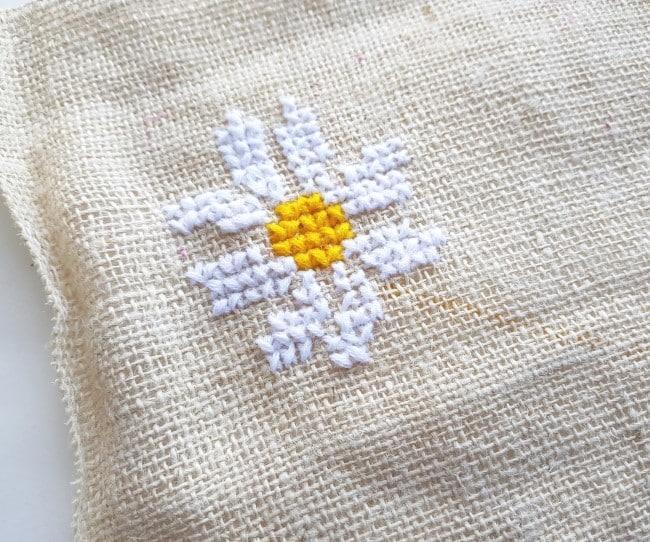
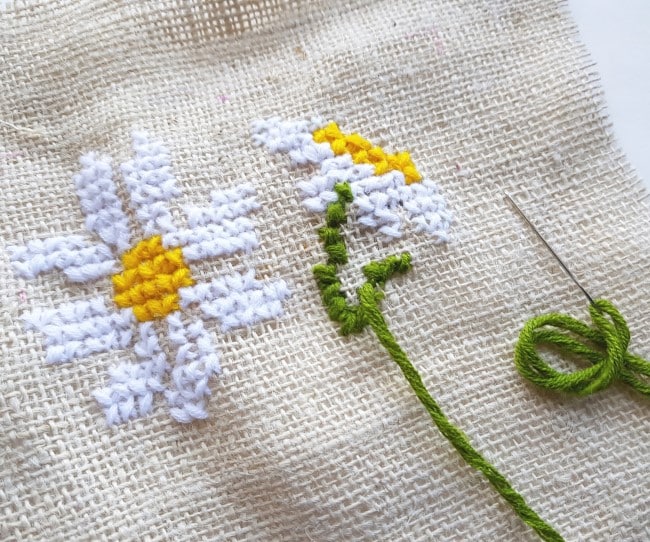
Now, prepare the needle with your white floss or yarn. You’ll be starting from near the center yellow part, at the top, as pictured below.
Step 5:
Complete one white petal at a time. After stitching one petal, move to the next.
Step 6:
Continue to cross stitch with the white strand until all petals of the top daisy are complete. It will look something like you see in the image below:
Step 7:
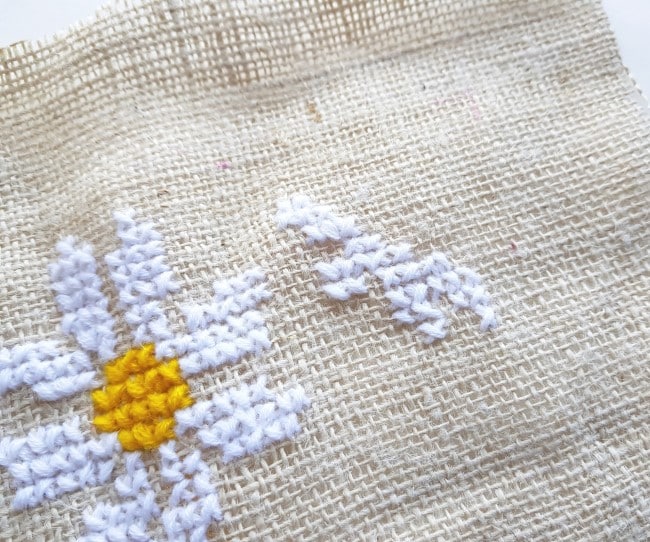
Nice work! After completing the first daisy on this easy cross stitch pattern, move to the one on the right side.
This time, you’re going to stitch the petals first.
Step 8:
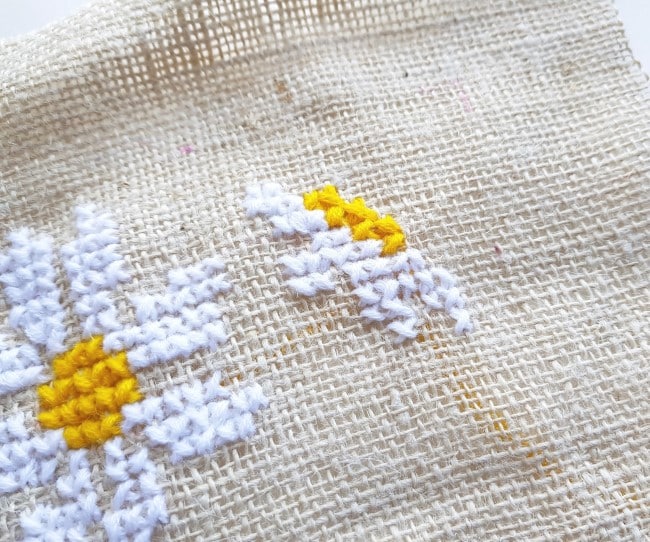
Now, stitch the yellow part of the daisy on the right side of the pattern.
Step 9:
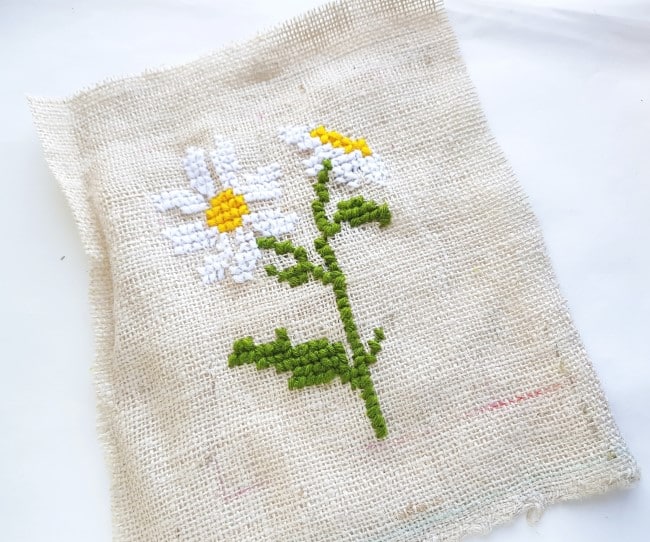
Now that the daisies are done, you’re ready for the stems and leaves!
Use green yarn or floss to stitch the stem and the leaves of the design.
Step 10:
As you work with the green yarn or floss, start from the top of the green parts and stitch toward the bottom.
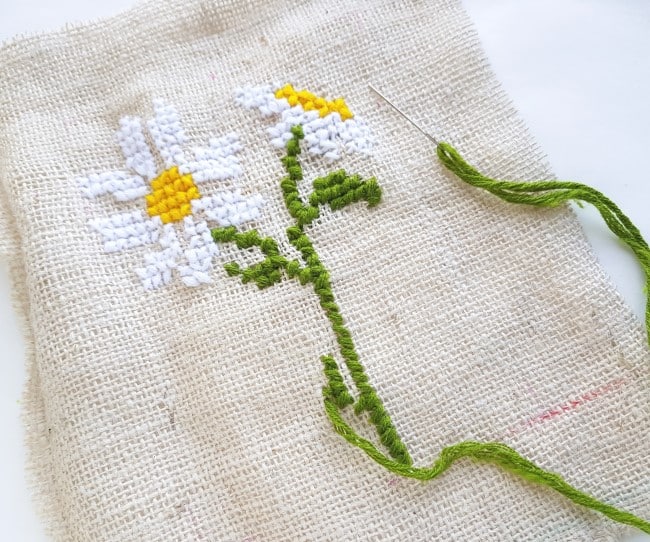
Step 11:
You are nearly done now with this easy cross stitch pattern.
Complete the green parts (the stem and leaves) before stitching the last daisy near the bottom side of the design.
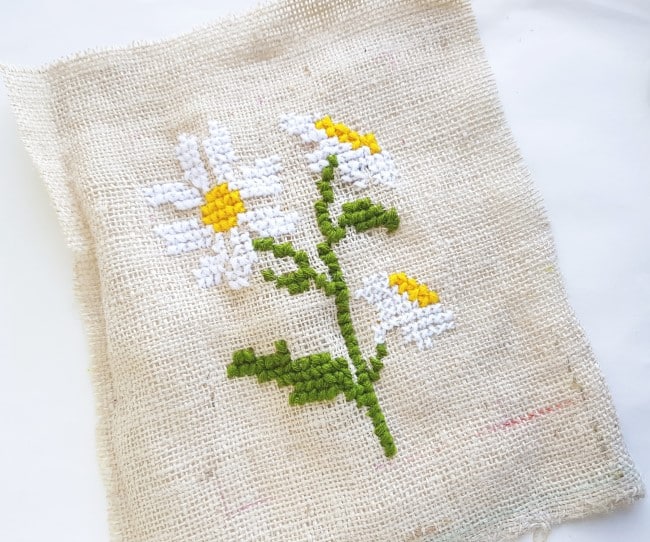
Step 12:
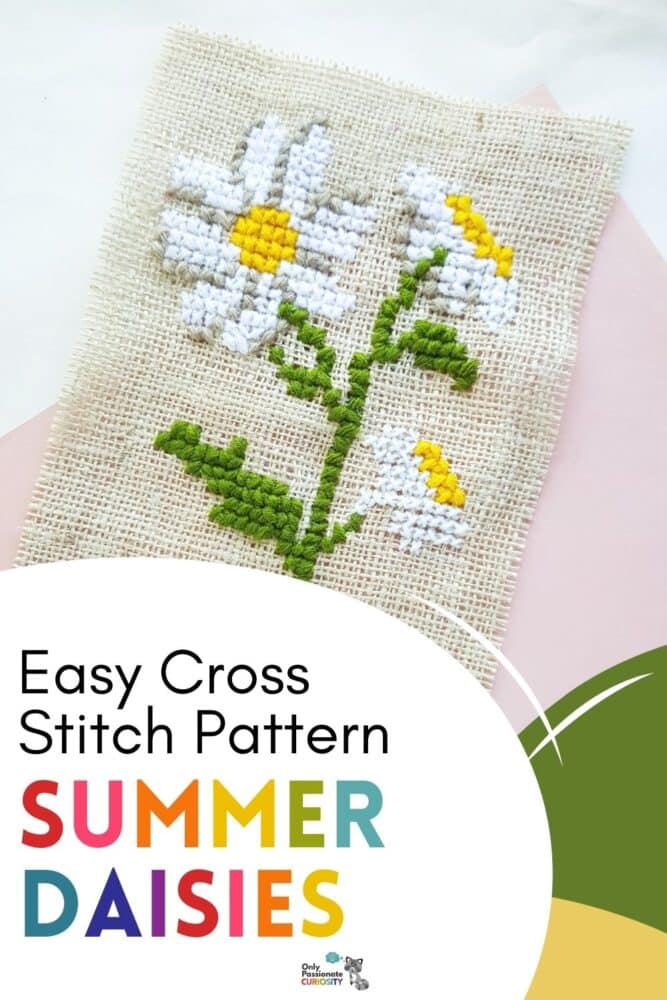
Stitch the daisy on the bottom side of the design to complete the work.
Remember, as you work, that every time a thread reaches its end, you’ll want to bring it to the back side of the fabric. Then draw the thread through a couple of stitches on the backside to secure it, and cut off the extra strand.
Step 13:
Now, for the final touch, use a light brown or off-white shaded strand to fill the spaces between the petals. This gives the flowers some shading and adds depth. In spite of it being an easy cross stitch pattern, this step causes the image to really pop.
Creative Projects to Accompany the Daisies Cross Stich
Even when you have an easy cross stitch pattern like these daisies, cross-stitching is rarely a project you can complete in a single sitting.
If you decide to work the project into your home school plan, here are a few craft ideas that go well with the cross stitch:
Toilet paper tube crafts are always fun for elementary-aged students. Perhaps you can even let your kids choose between making butterfly tube crafts or bunnies.
Or, tie aprons around your students and get them into the kitchen to make butterfly pretzel cupcakes as a treat when they finish their easy cross stich pattern of daisies.
For a more solid mealtime option, these chicken salad bites are another fun and healthy kitchen activity to take on with your little ones.
And here is a longer list of summer activities and printables you can weave into your homeschool curriculum.
Books about Seasons, Flowers, and Daisies
And because books and reading are a terrific addition to any time of learning, here are a few suggestions: