Clay Cat in the Hat Craft


Here’s a fun craft idea, with step-by-step instructions: a clay Cat in the Hat craft just in time for Dr. Seuss Day! At the end of this post, you’ll find some suggestions for other similar crafts and art projects to do with your homeschool class for the occasion.
Let’s get started!

List of Supplies for Clay Cat in the Hat Craft:
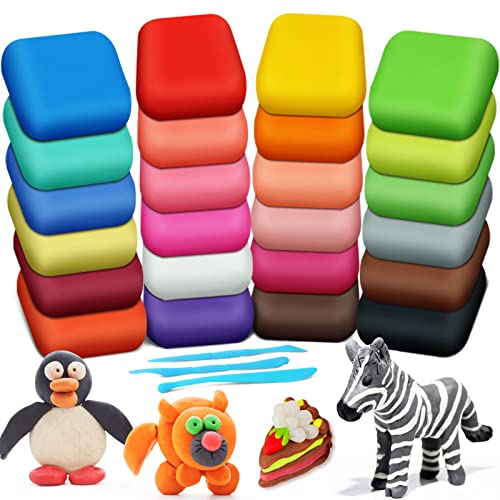
- Air dry clay or foam clay
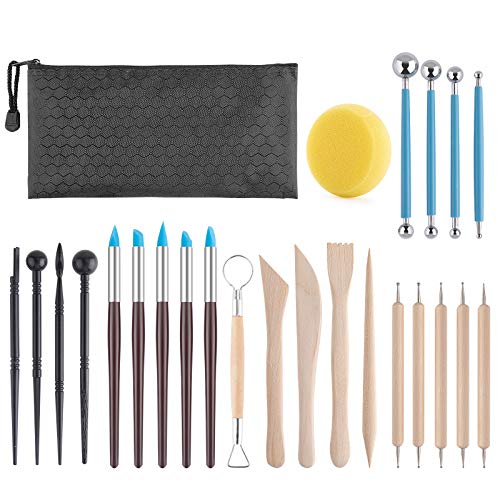
- Clay crafting tools

Instructions for The Clay Cat in the Hat Craft

Step 1
Select red, black, and white clay for this craft. You’ll need the largest amount of black clay. Take a portion of each color and roll them into smooth spherical shapes. Let’s start with the cat’s body and head (the black parts).

Step 2
Take 1/3 of the black clay ball for the body. Roll it against a flat, even surface to form a teardrop-cylinder shape.

Step 3
Slightly flatten the cylinder shape against an even surface. Pinch out a small part from the top, to make the neck of the clay Cat in the Hat.

Step 4
Use your fingertips to smooth out the neck and body base shape. Take an amount for the head and form an oval.

Step 5
Use the clay tool (with a round shape at one end) to make a small hole at the bottom end of the clay head.

Step 6
Insert the clay head’s bottom end into the neck part of the clay body base.

Step 7
Use a small amount of white clay to make a flat piece to cover the front part of the head (to make the face of the clay Cat in the Hat).

Step 8
Take out 2 even amounts of white clay and 2 even amounts of black clay (half the amount of the white clay). We will make the ears with these. Roll them into smooth ball shapes.

Step 9
Place the black clay in the center of the white clay.

Step 10
Press the clay against a smooth surface and form a triangular shape to make the ears.

Step 11
Attach the clay ears on the head (top side).

Step 12
Use an amount of black clay to make the arms and a small amount of white clay for the hands. Roll the black clay to form a rope shape, to make the arms; roll the white clay to make an oval shape for the hands.

Step 13
Attach the hand parts with the arm parts.

Step 14
Use some white clay to cover the front part of the body base (to make the belly of the clay Cat in the Hat).

Step 15
Attach the top side of the arm with the body base, on both sides.

Step 16
Now, take some black clay to make the legs of the clay cat. First, smoothen out the clay and roll it against an even surface.

Step 17
Then form an upside-down T shape with it.

Step 18
Use a clay tool to make holes at the bottom side of both feet. This will help the clay cat to stand up and stay still.

Step 19
Use a clay knife tool to make a line between both legs.

Step 20
Attach the clay leg at the bottom side of the clay body base.

Step 21
Use some black clay to make a rope shape for the tail.

Step 22
Attach the clay rope shape to the backside of the clay cat. Curl the tail at the bottom and use it as a stand to keep the clay Cat in the Hat straight.

Step 23
Take out a small amount of red clay and make 2 small and even teardrop shapes.

Step 24
Pinch the narrow parts of the teardrop shapes and curve the wide parts. Join the shapes at their narrow sides.

Step 25
Attach a small ball shape in the middle of the joint teardrop shapes to make a bow pattern.

Step 26
Attach 2 clay “tails” at the bottom side of the bow pattern and then attach the clay bow on the clay cat, right below the head.

Step 27
Make a cylinder shape from red clay and a disk shape from white clay for the hat pattern. Attach the disk shape at the bottom side of the cylinder shape to make the hat.

Step 28
Add white clay stripes on the hat of the clay Cat in the Hat.

Step 29
Make a hole at the bottom end of the clay hat.

Step 30
Attach the clay hat to the top side of the clay cat’s head. Use a black Sharpie to draw the face of the clay Cat in the Hat.

- Complete and Quality Material Package: the pottery tools kit comes as a comprehensive set of 12 polymer clay tools; The package includes 1 x wood rolling pin, 1 x wedging board for pottery, and 10 x rolling pin guides; The rolling pins are mainly made from sturdy and reliable wood; This complete set offers not only variety but also quality in terms of material employed, making them sturdy with a comfortable grip
- User Friendly Tools: these pottery tools are designed to be user friendly, allowing artists of all skill levels to create with confidence; Uncomplicated and straightforward, these pottery clay tools offer a smooth scrolling and shaping experience that open up broad possibilities for clay creations; Whether for expert potters or beginners, these tools bring efficiency and simplicity to your craft journey; Not easy to break or rust, reusable and long lasting
- Easy Handling and Compact Design: the pottery tools and supplies are compact and easy handling; With round edges and a sturdy built in handle on the clay wedging board, carrying and moving the tools around is incredibly convenient; Plus, the compact size means they take little space, making it ideal for small workshops or art classrooms; Place the rolling pin guides on either side of the clay, secure the clay, then roll the clay with the wooden rolling pin, and you’ll have a flat piece of clay
- Versatile and Extensive Size Range: the clay wedging board’s size is approx. 12 x 18 inches/ 30.5 x 45.7 cm, ideal for most clay works; Additionally, the pottery teaching rolling mud stick guide ranges in size from approx. 13.4 x 0.8 inches/ 34 x 2 cm (L x W), offering 5 distinct thickness options for more flexibility and precision during your pottery making; With the wood rolling pin about 17.7 inches/ 45 cm long, this versatile and extensive size range suits most of your pottery needs
- Variety of Applications: the polymer clay tools are ideal for a wide array of applications; The varying sizes and combinations, along with their ease of use, make them suitable for pottery classrooms, studios, DIY craft projects, and even professional pottery productions; These tools are versatile, catering to almost creative pottery needs you may have; With this toolkit, the creativity and expertise you can express through clay are virtually limitless
More Dr. Seuss Crafts and Projects
If you enjoyed the clay Cat in the Hat craft you’re in search of other projects that go well with this one, we’ve got you covered! If you’re having a Dr. Seuss reading day or a Cat in the Hat-themed party, here are some more ideas.

Red Fish, Blue Fish Dr. Seuss Papercraft

Cute Thing 1 and Thing 2 Crafts
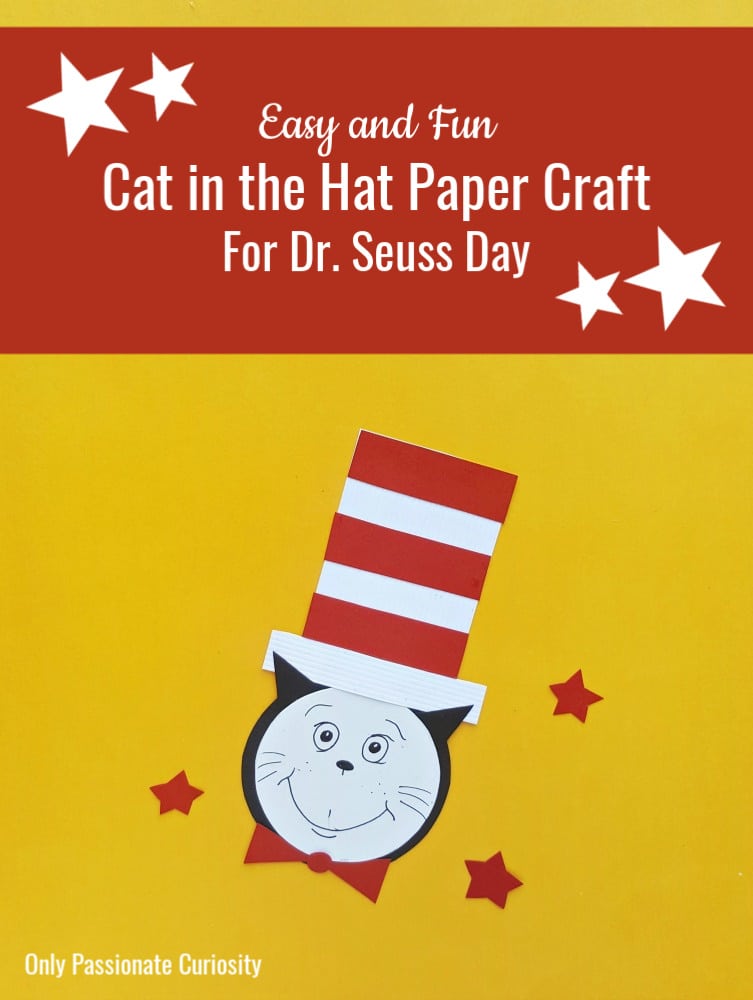
Easy Cat in the Hat Papercraft