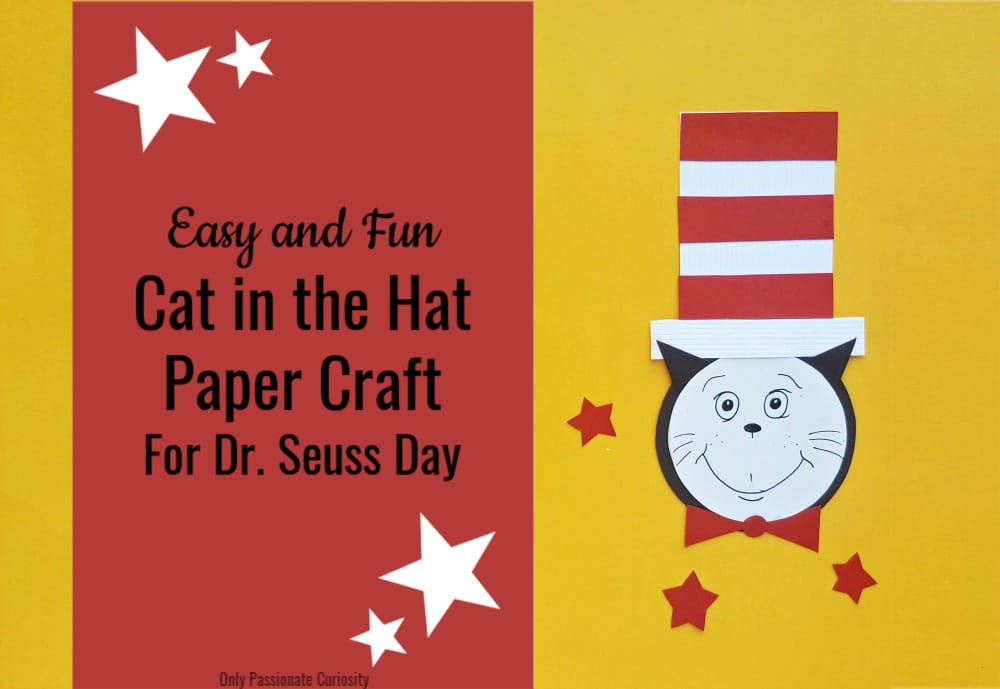
Easy and Fun Cat in the Hat Paper Craft for Dr. Seuss Month
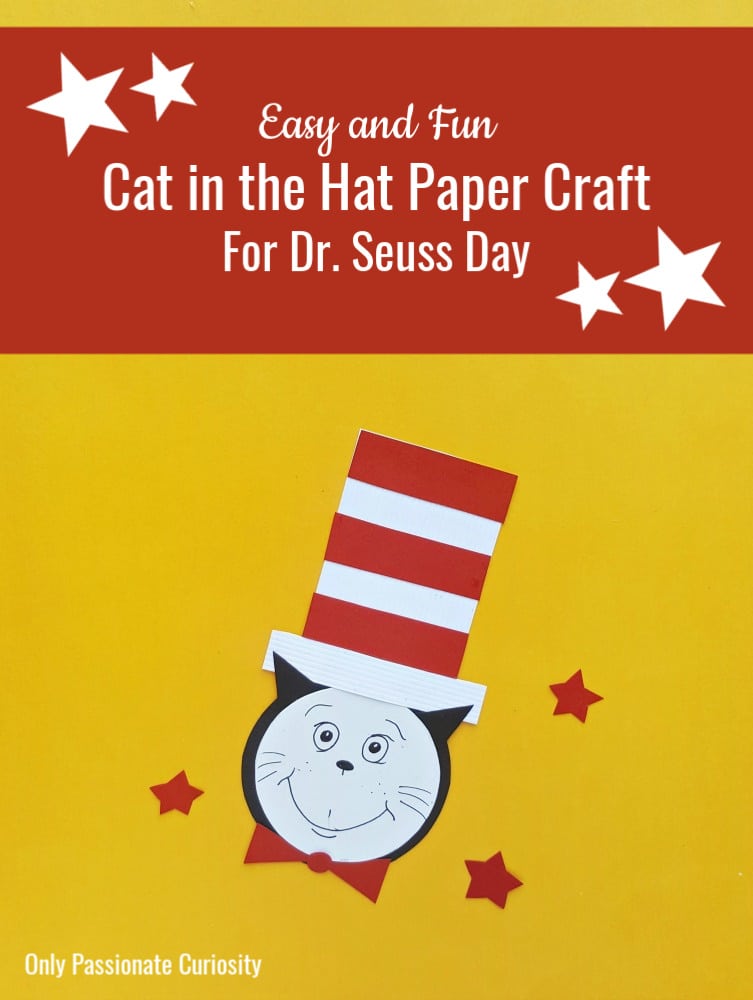
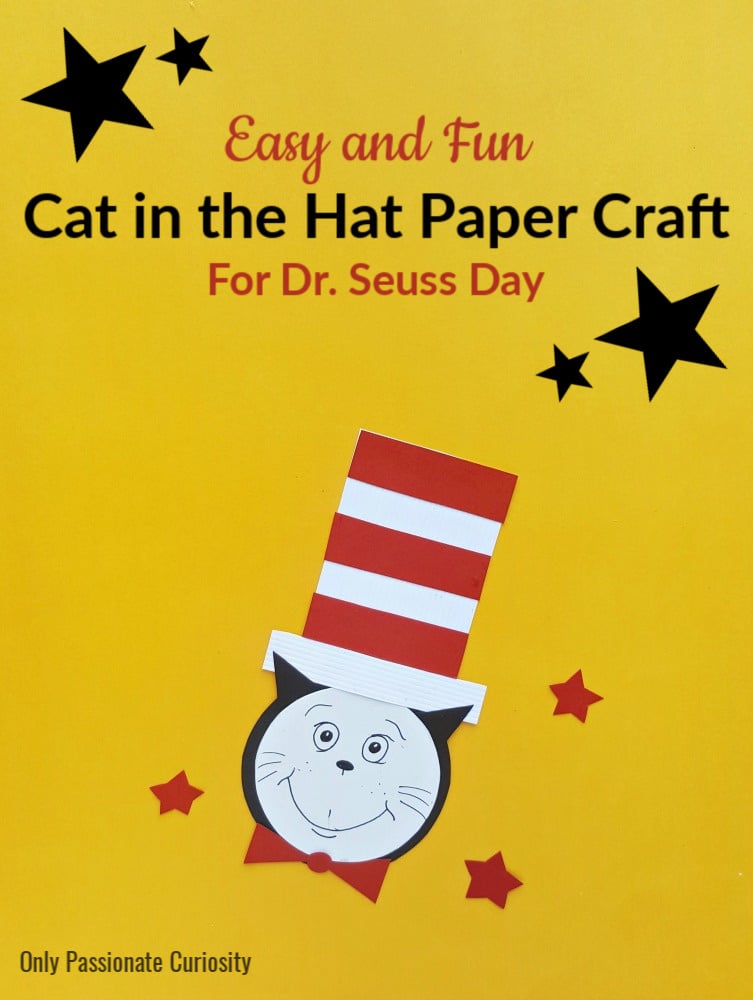
Did you know that March is Dr. Seuss month? We think a great way to celebrate the month is with some fun, Dr. Seuss-inspired crafts and activities! One of the most beloved Dr. Seuss stories is The Cat in the Hat, and we have the perfect paper craft to go along with it! This paper, “Cat in the Hat” craft is simple enough to do with young children, and will look great on the wall, as a mask, or as part of a Dr. Seuss-themed diorama!
What You’ll Need:
- Colored cardstock paper (red, black and white)
- Pencil
- Scissors
- Craft glue
- Black sharpie or gel pen
Instructions:
You’re going to need the template to get started, so click here to get your Cat in the Hat template!
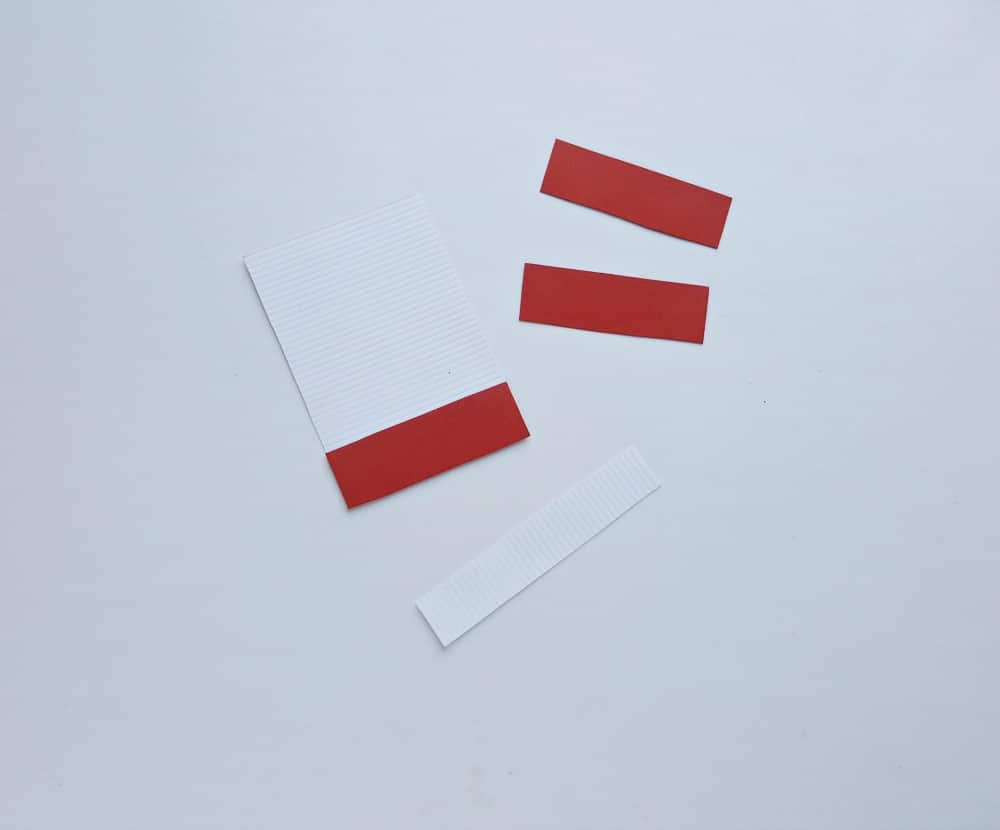
Once you have your template, pull out some red, white and black card stock. Use the template to cut out shapes in the following colors.
White: for tall rectangle that makes the background of the hat, the longest of the strips (for the brim), and the smaller circle (that will make the cat’s face).
Red: for the three shorter stripes and the pieces of the bow tie.
Black: for the larger circle and the cat’s ears.
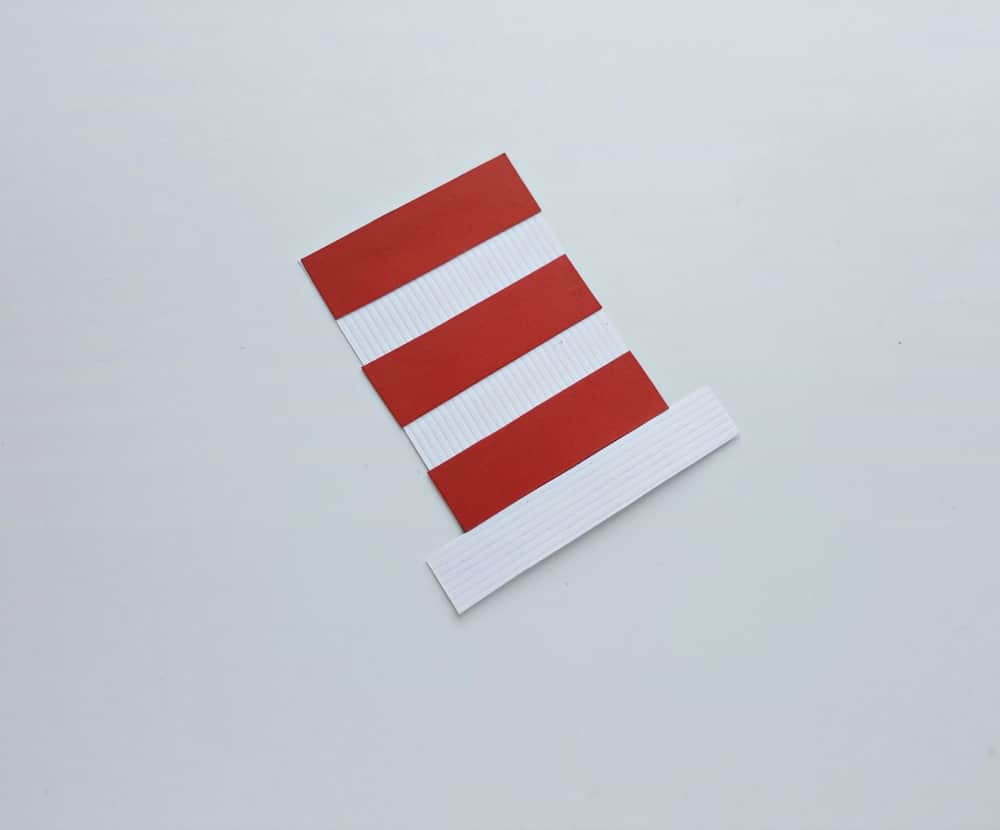
First, take the rectangle and the three, red strips you just cut out. You will use these to create the hat. Glue the three red strips onto the white, rectangle cutout, keeping them as evenly spaced as possible.
Finish the hat by gluing the longest, white strip to the bottom of it, forming the brim.
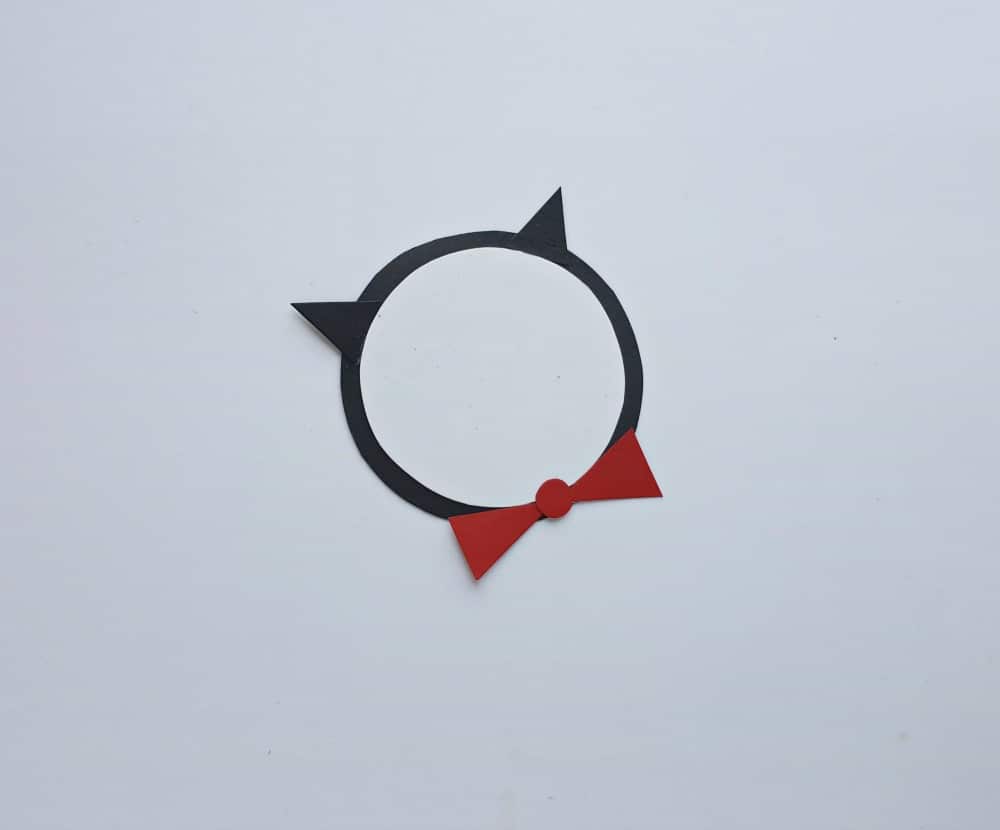
Grab the two, round cut-outs (one black and one white). Glue the smaller, white round shape onto the middle of the bigger, black round shape. This forms a stylized-looking outline of the cat’s head that is Seuss-worthy!
Next, get the ear cut-outs and bow tie pieces ready to assemble.

Glue the two black triangle pieces (the ears) to each side of the top of the head, and create your cat’s bow tie by gluing the two red triangles to the small, red circle. Glue the bow tie to the bottom of the cat’s face.
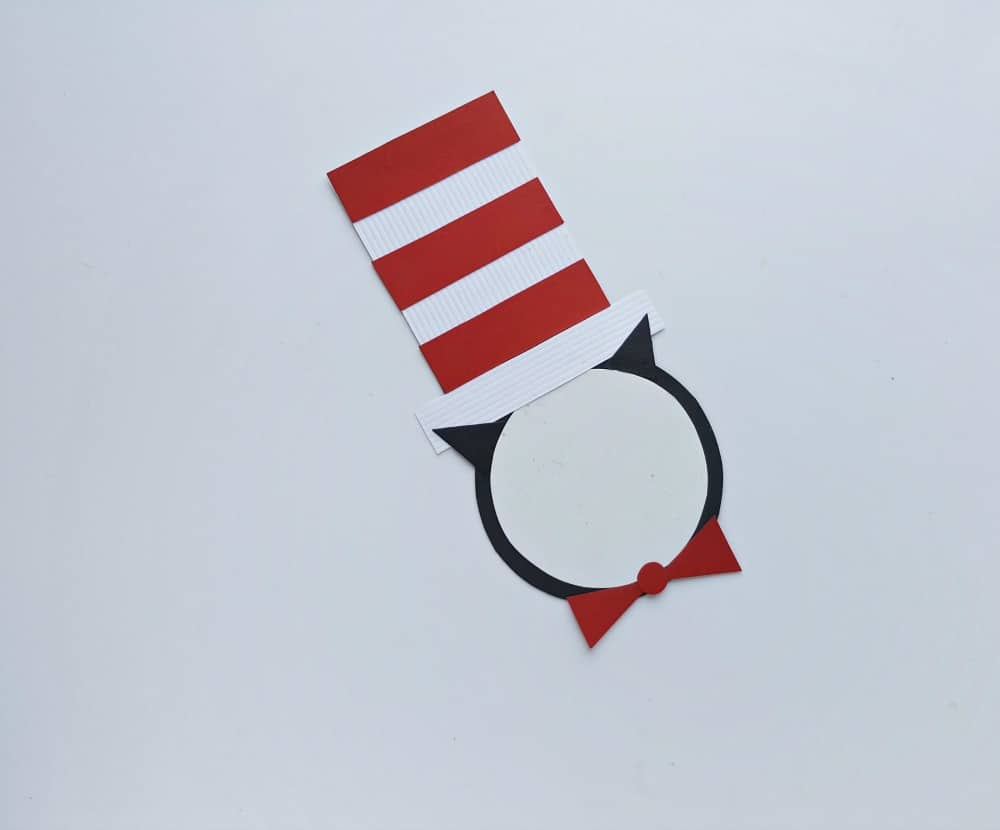
Now it’s time to put it together! Affix the hat to the top of the cat’s head. However, be sure that the pointy ears are on the outside of the hat–it would be a shame to cover them up!
If you have children doing this craft, they have likely followed the directions to create uniform head and hat shapes up to this point that are immediately recognizable as, “The Cat in the Hat.” Now comes the part where they get to be creative and individualistic! Using either a Sharpie or black gel time, draw the Cat in the Hat’s face. You can certainly use the book (or this picture) to guide this drawing, but children may also want to be creative in their rendition this iconic character! Whichever way you and your children choose to do it, we hope you love the end result! 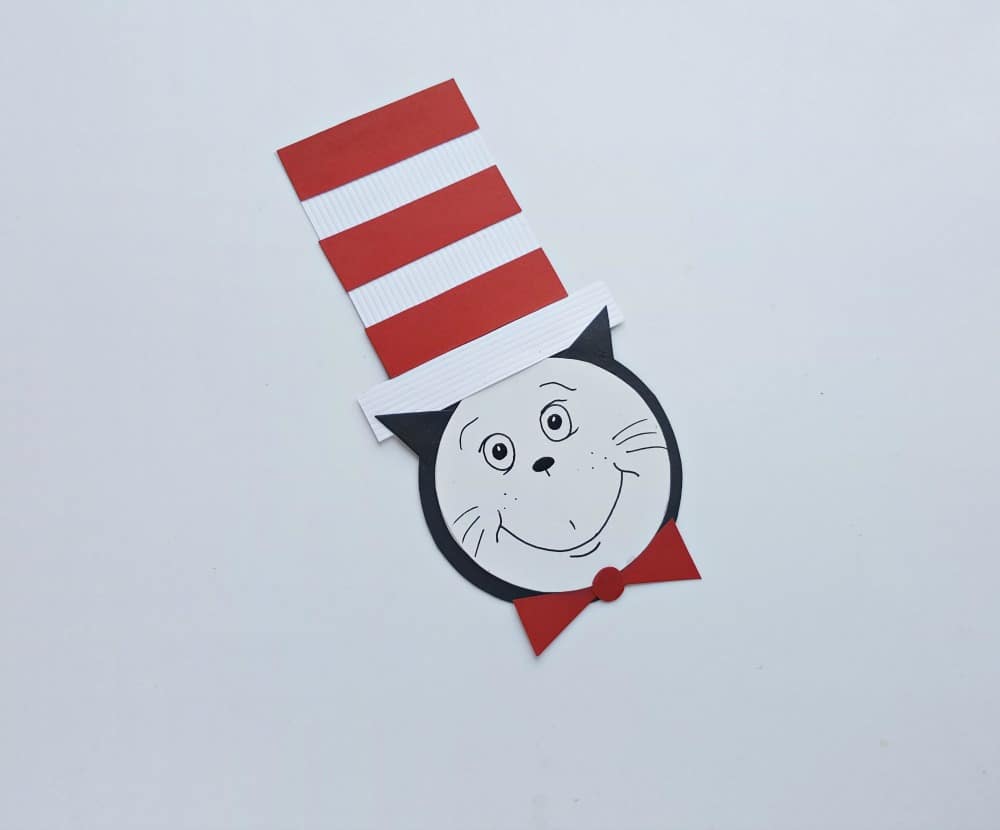
When your “Cat in the Hat” craft is finished, it can be displayed as part of a collage or diorama, or even used as mask for acting out the events of the story! We hope you enjoyed this easy and fun paper craft. If you made it with your children, we’d love to see how it turned out! Please share your results on our Facebook page or on Instagram and use our hashtags #hiphomeschoolmoms and #365homeschool so we can find you!
Easy and Fun Cat in the Hat Craft for Dr. Suess Month
Materials
- Colored cardstock paper (red, black and white)
- Pencil
- Scissors
- Craft glue
- Black sharpie or gel pen
- Free, downloadable Cat in the Hat template
Instructions
- Use the white card stock to cut out a tall rectangle for the background of the hat, the longest strips (for the brim) and the smaller circle (that will make the cat's face). Use the red card stock to cut the three short strips for the hat and the pieces of the bow tie. Use the black card stock to cut out the larger circle and the cat's ears.
- Glue the three red strips onto the white, rectangle cutout, keeping them as evenly spaced as possible, to create the tall part of the hat.
- Glue the long white piece onto the bottom of the hat to make the brim.
- Grab the two, round cut-outs (one black and one white). Glue the smaller, white round shape onto the middle of the bigger, black round shape to make the cat's face.
- Glue the two black triangle pieces (the ears) to each side of the top of the head, and create your cat's bow tie by gluing the two red triangles to the small, red circle. Glue the bow tie to the bottom of the cat's face.
- Affix the hat to the top of the cat's head, making sure that the pointy ears are on the outside of the hat.
- Use a Sharpie or pen to draw the cat's face onto the white circle!