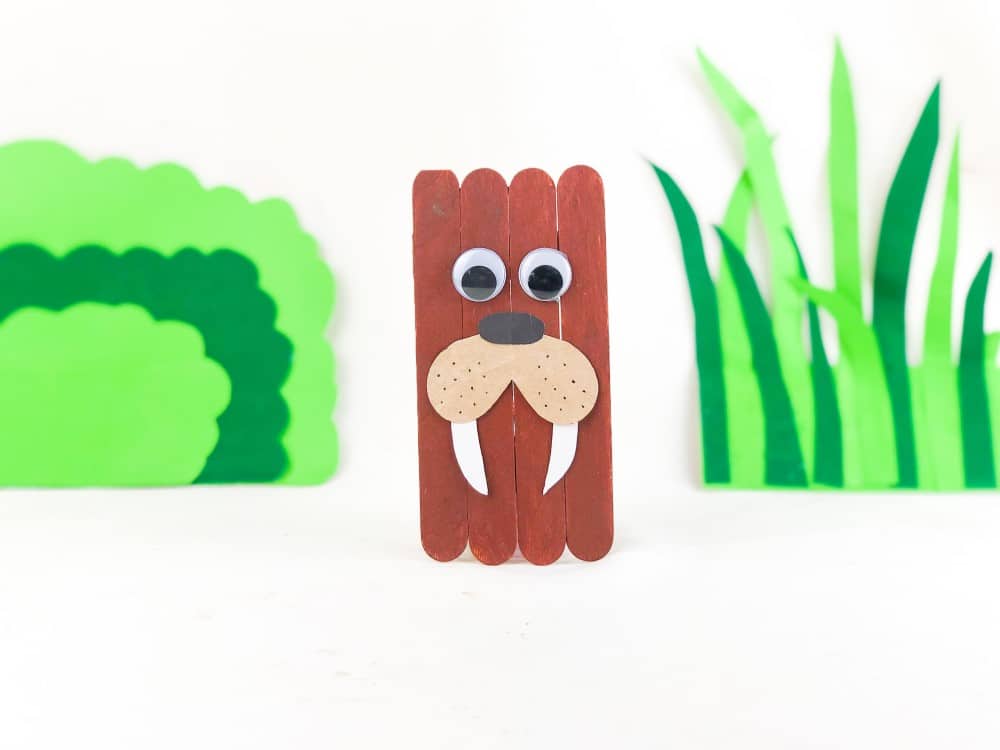
Popsicle Stick Walrus Craft
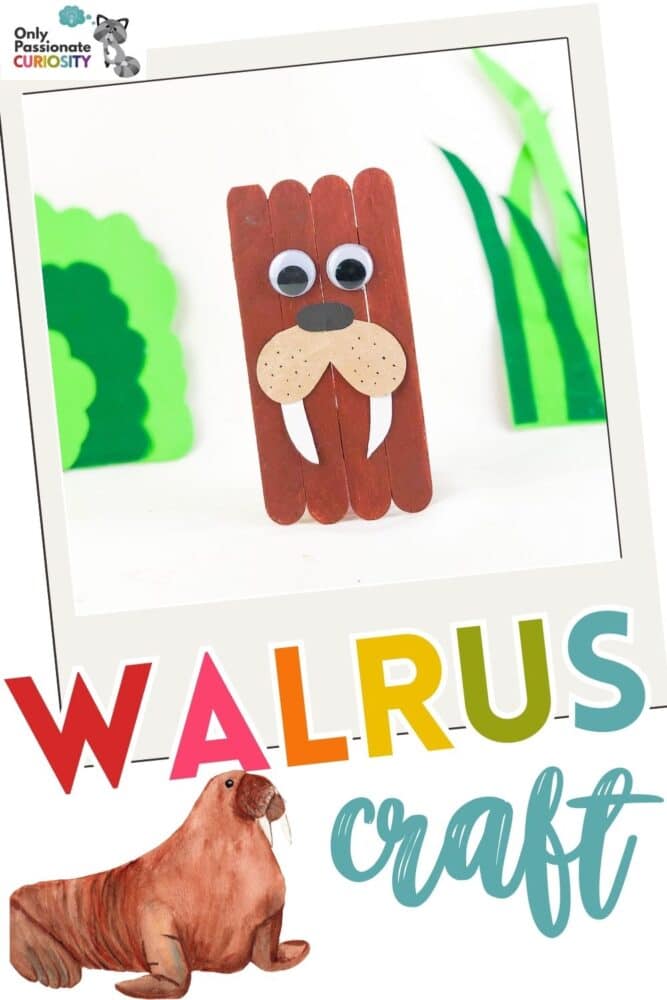
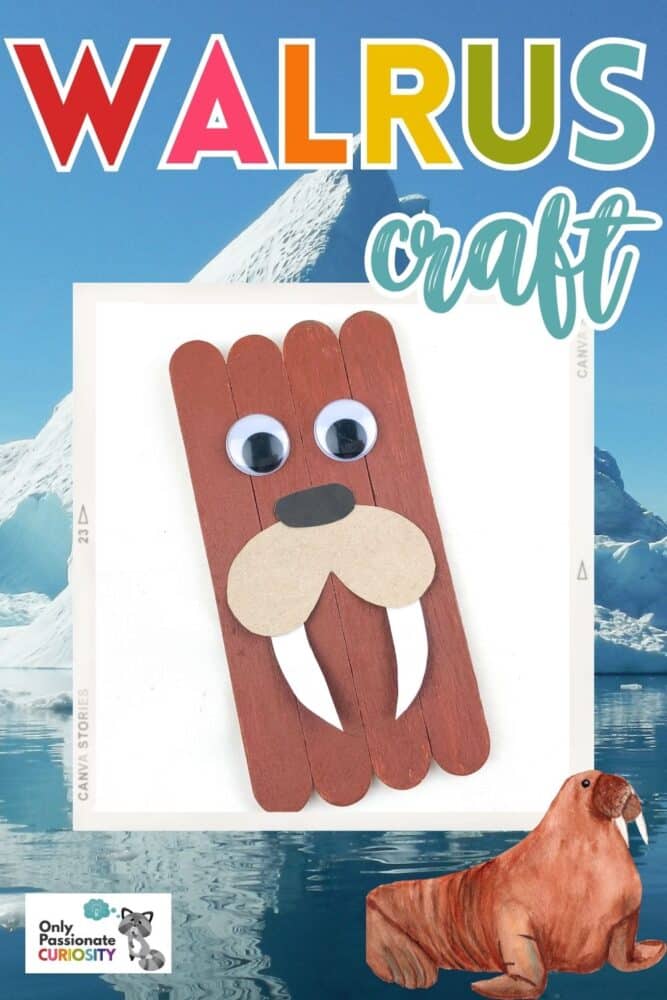
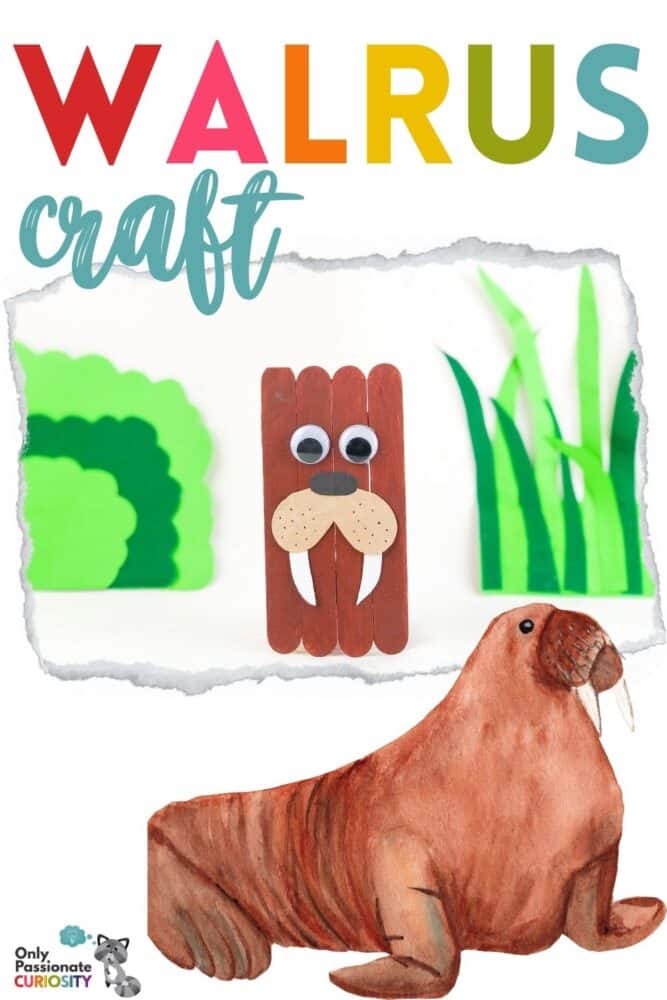
This walrus craft is a great craft you can make with your kids during the wintertime. It would be ideal to accompany a unit study on arctic animals.
Before getting started with your popsicle stick walrus craft, here are some fun facts about walruses:
- Walruses are large marine mammals that live in the Arctic.
- They are known for their long tusks, which can grow to be three feet long!
- Walruses use their tusks to help them climb out of the water onto the ice.
- These tusks are also used for digging up food from the ocean floor.
- Walruses are excellent swimmers and can stay underwater for up to half an hour.
- They use their flippers to move gracefully through the water.
- Walruses are social animals and often gather in large groups called herds.
- They communicate with each other using a variety of sounds, including bell-like calls.
- Walruses have a thick layer of blubber to keep them warm in the cold Arctic waters.
- Their favorite foods include clams, mussels, and other shellfish.
Let’s jump into the walrus craft! And make sure you check out the related posts at the end of the post, with links to winter unit studies and other fun crafts.
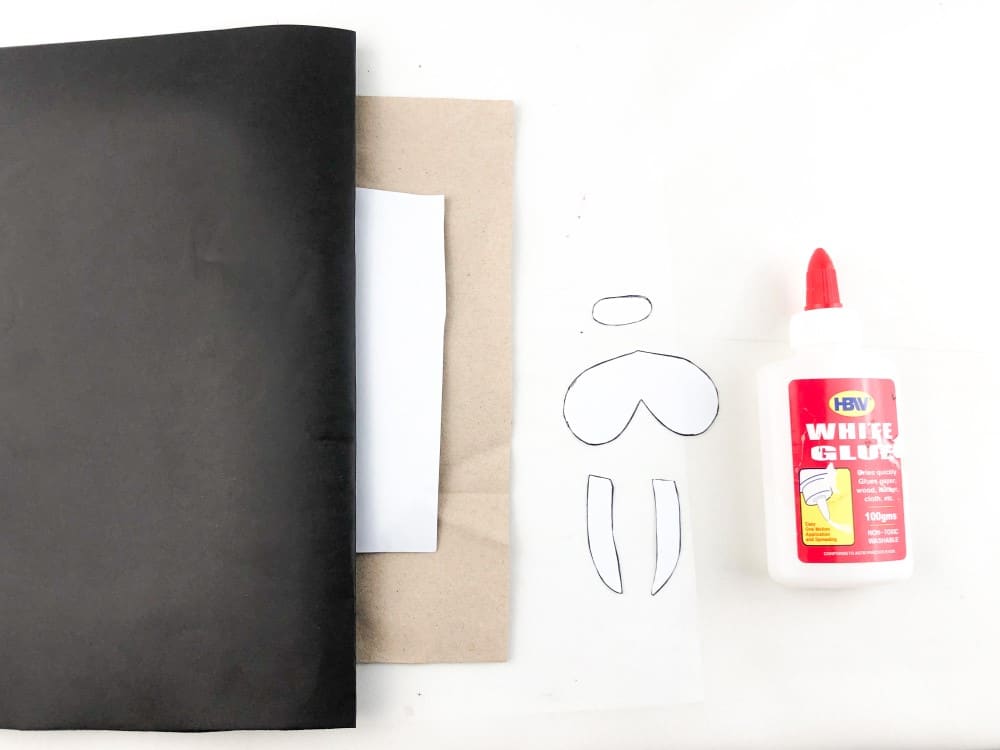
Materials You’ll Need for the Walrus Craft:
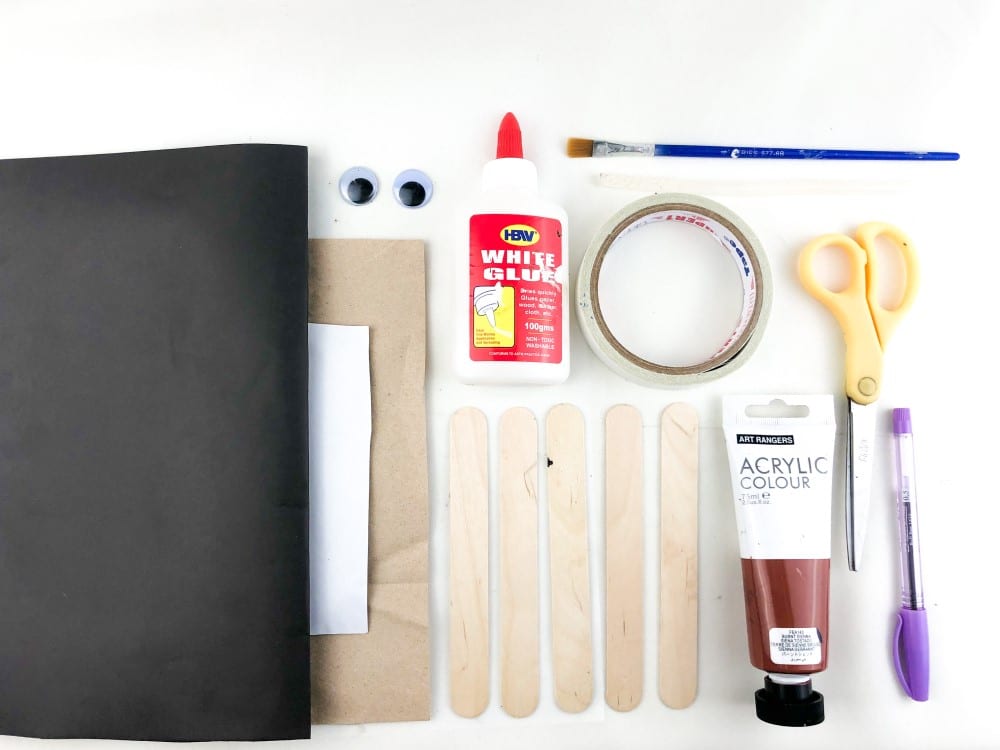
- Popsicle sticks
- Googly eyes
- Paint (Brown)
- Paintbrush
- Scissor
- Glue
- Glue stick
- Pen
- Double-sided tape
- Construction paper (black and white)
- Brown paper
- Template for Walrus Craft
Instructions for the Walrus Craft:
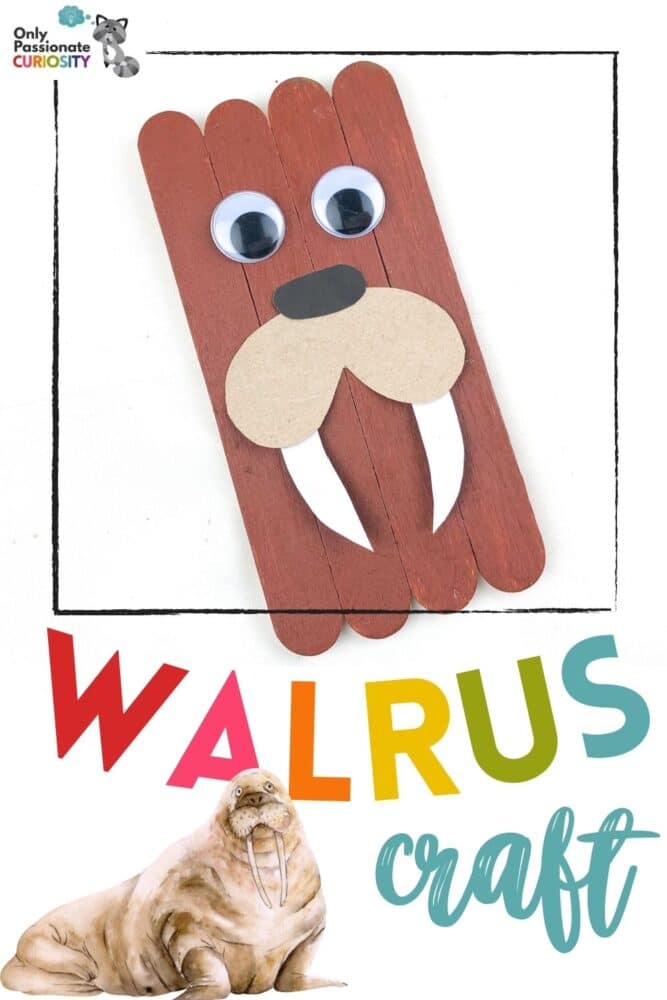
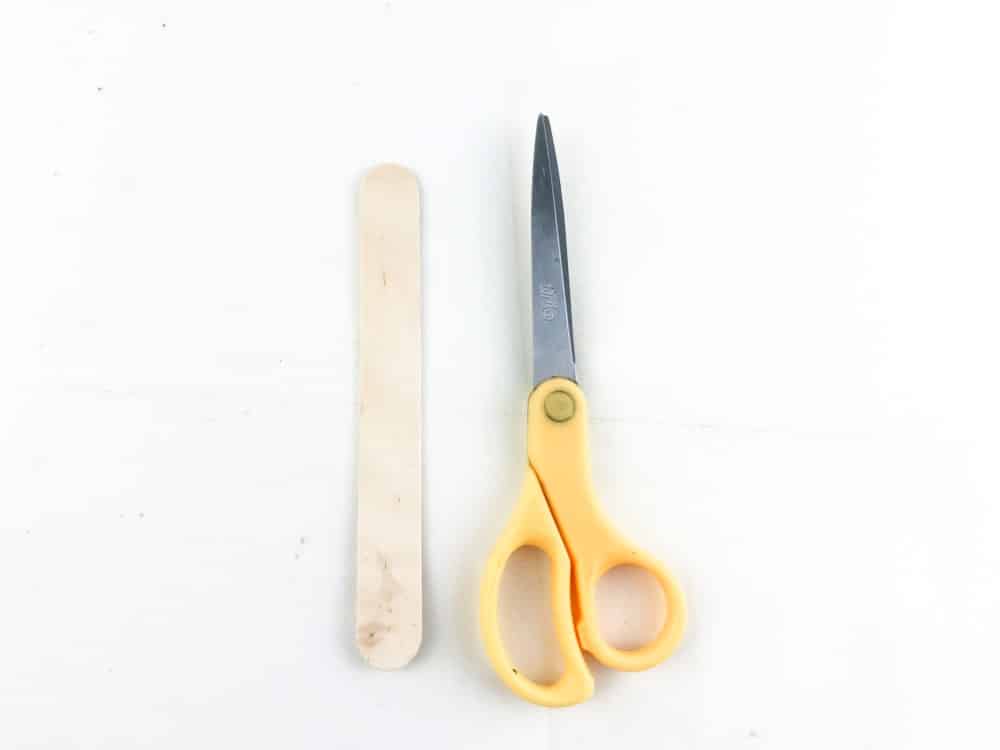
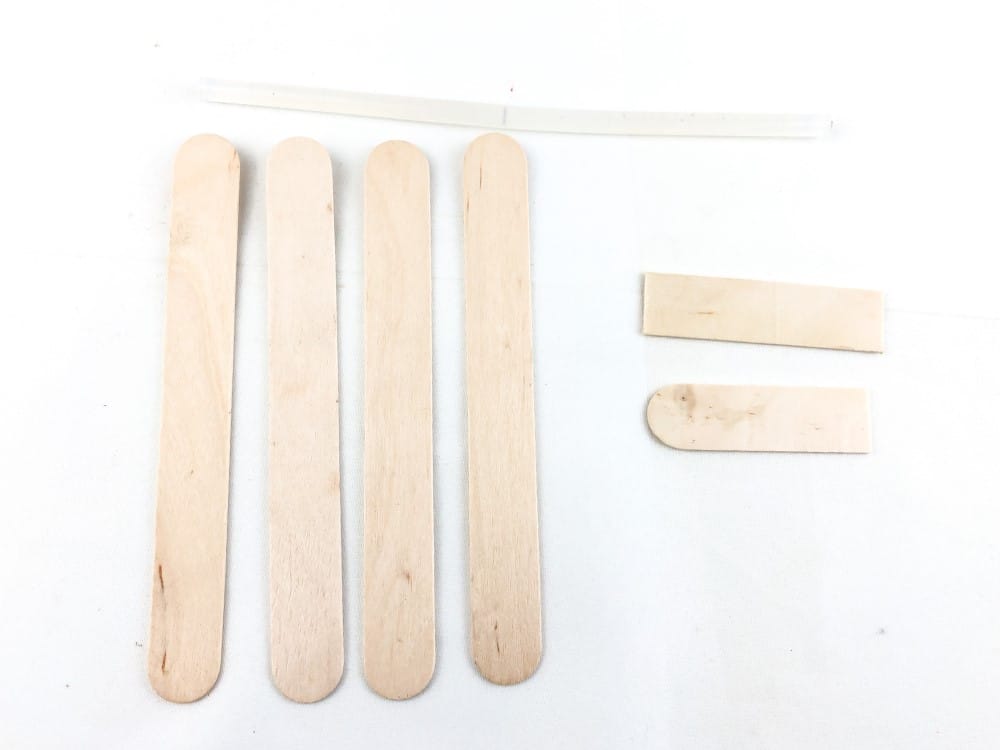
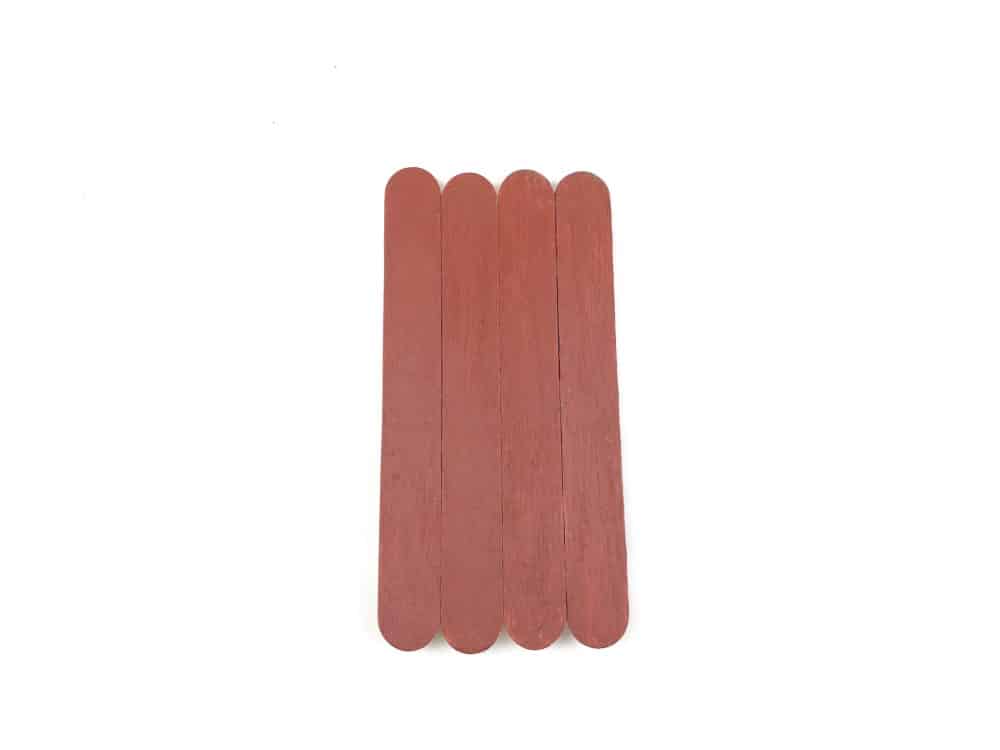
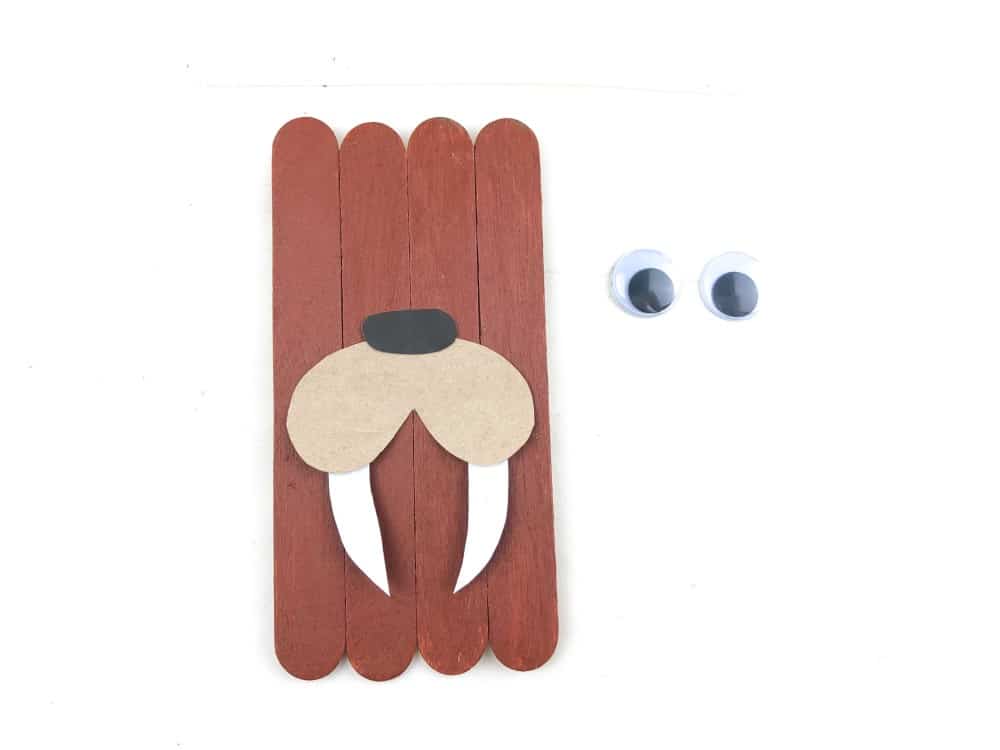
1. Assemble four popsicle sticks for the body of the walrus.
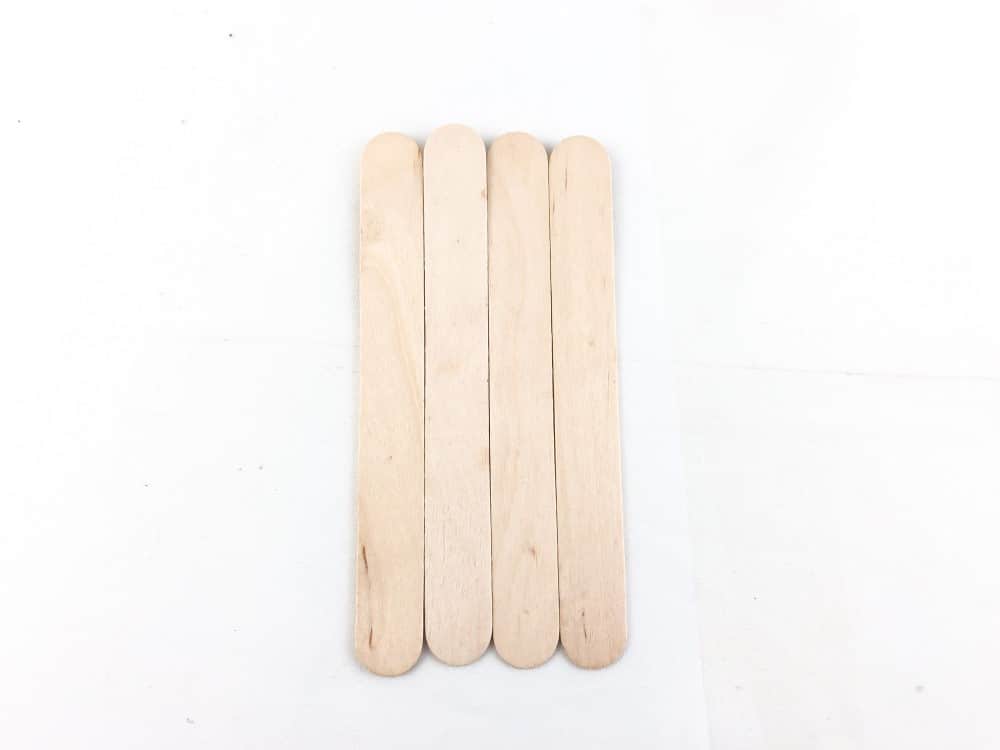
To lock it together, get one popsicle stick and cut it in half.
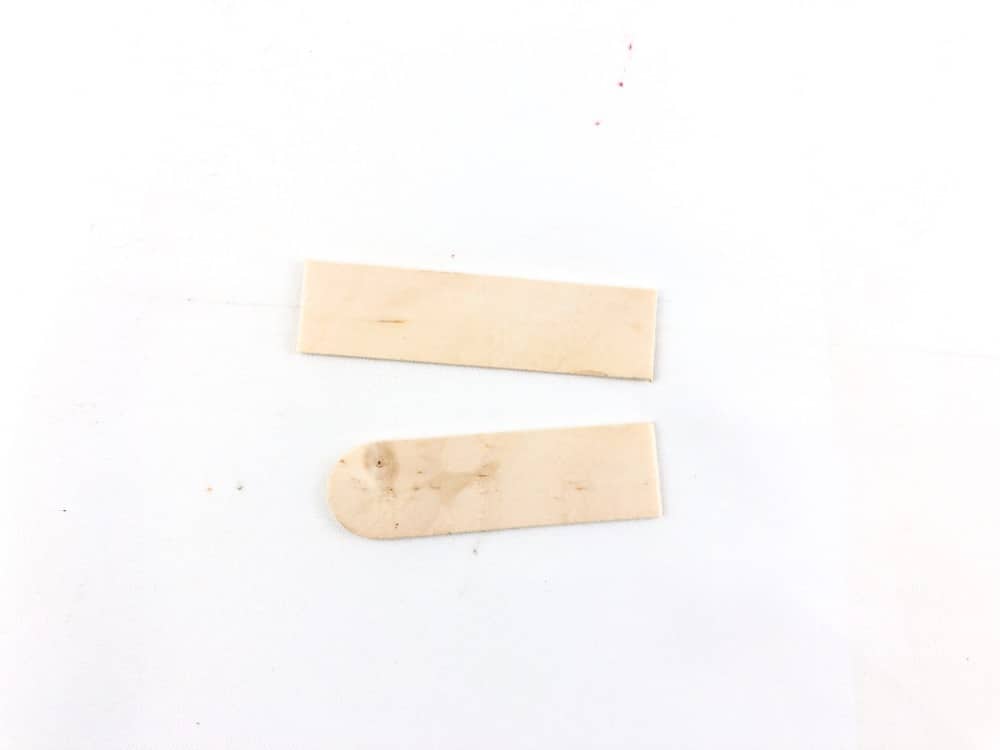
Then, using a glue stick, attach it to the back of the popsicle sticks.
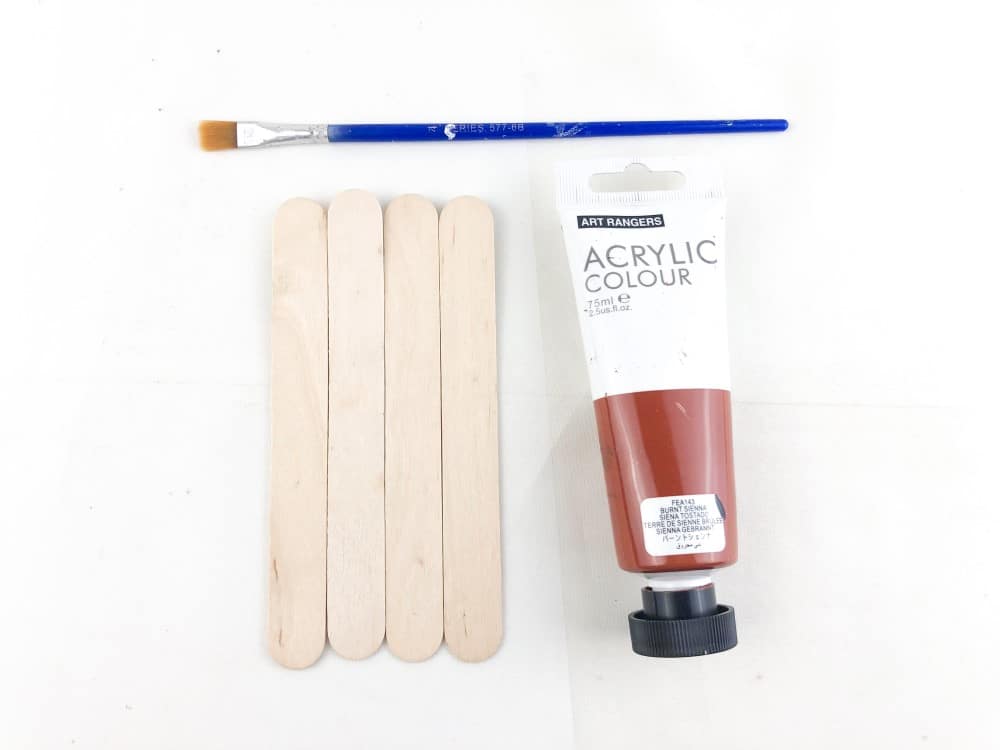
2. Paint the popsicle sticks brown. Make sure to cover the entire popsicle stick. Let it dry.
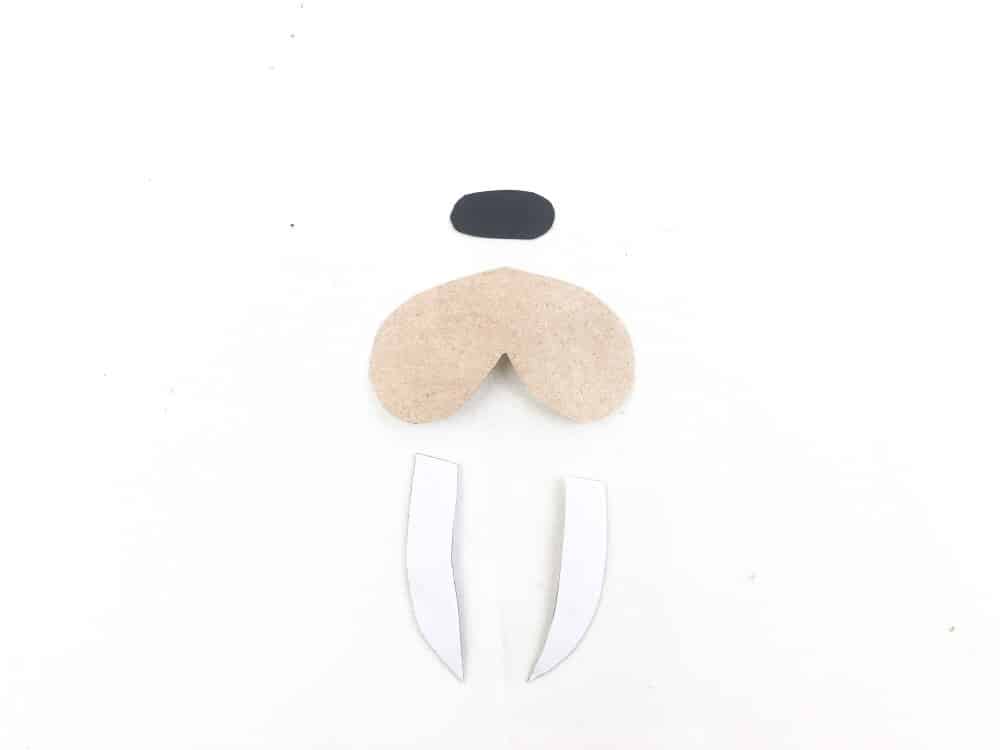
3. Print and cut the template provided. Then paste it to the corresponding papers. Please refer to the craft for this.
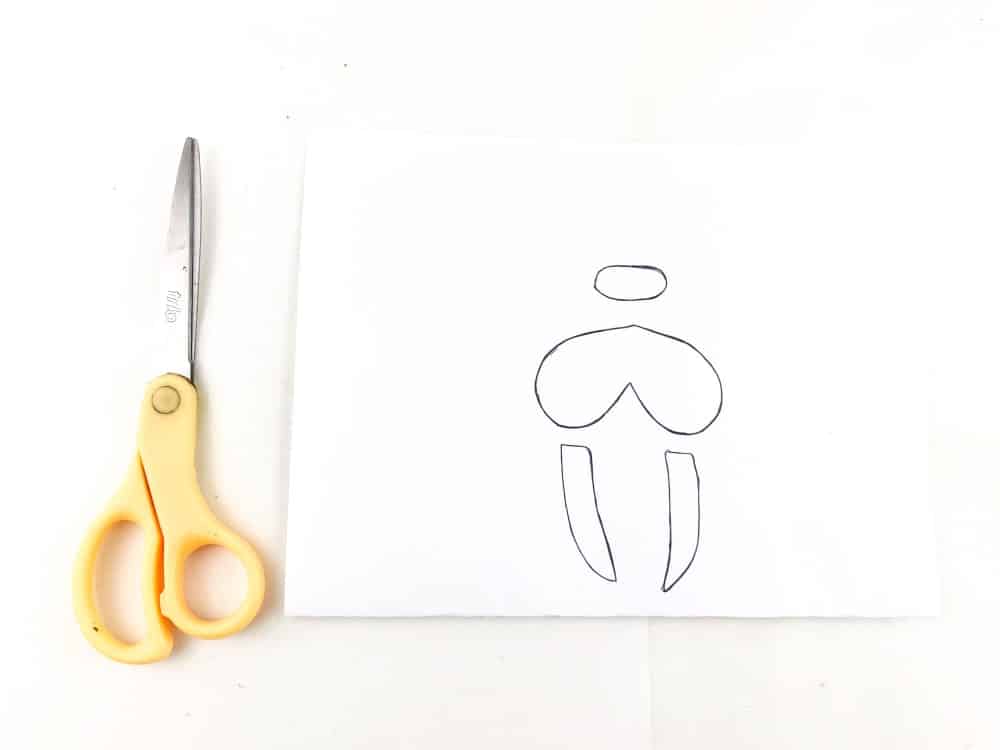
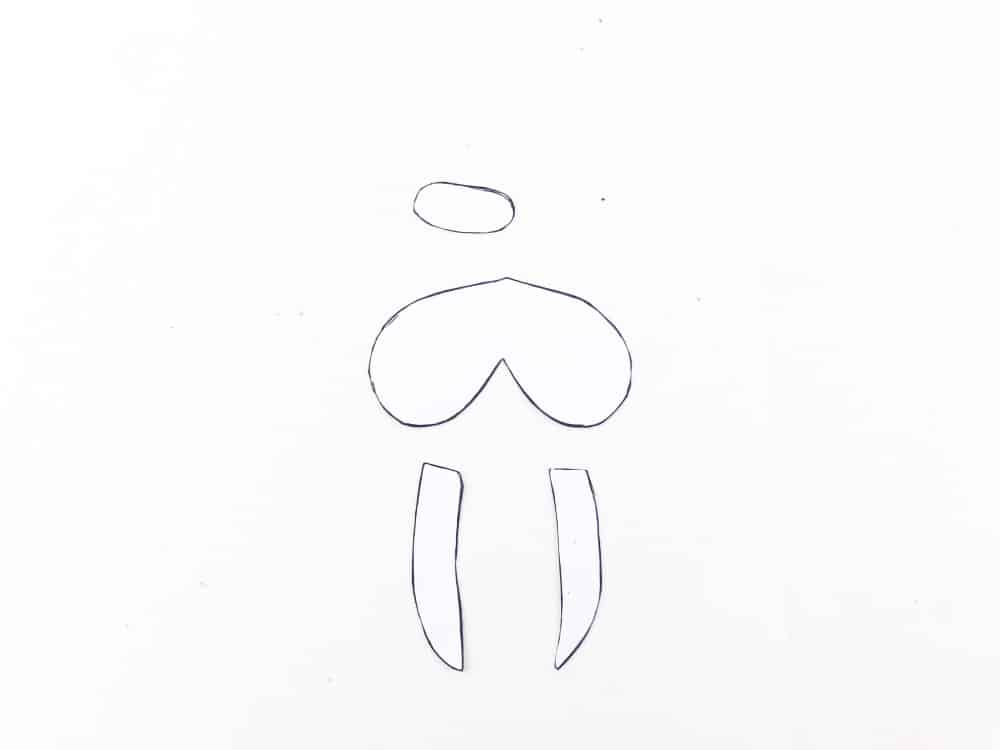
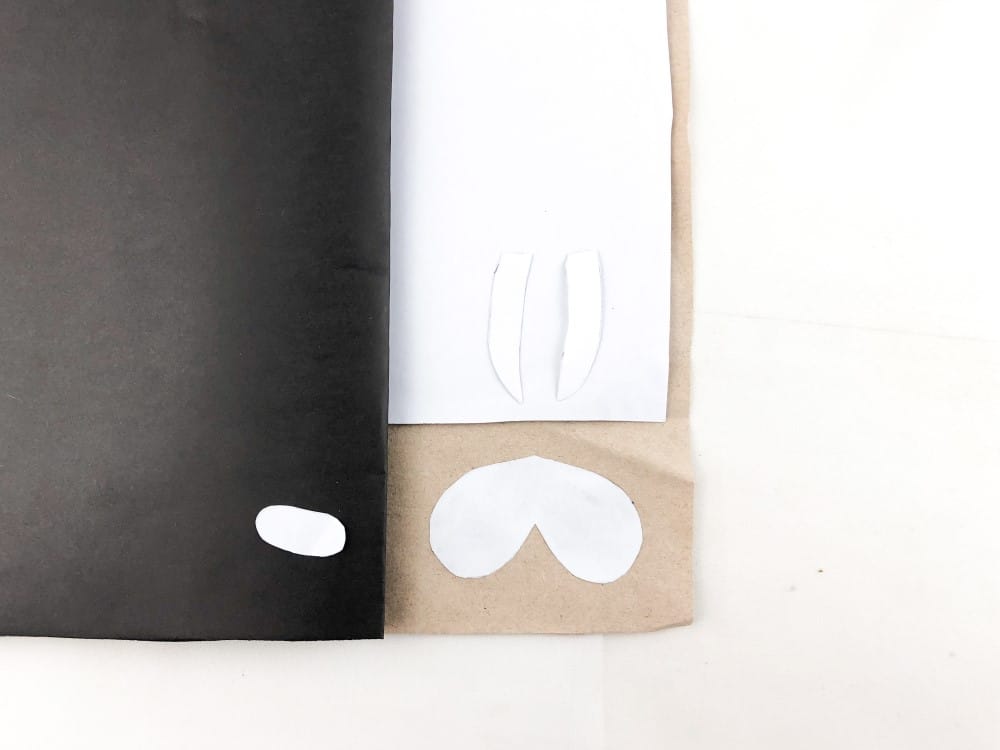
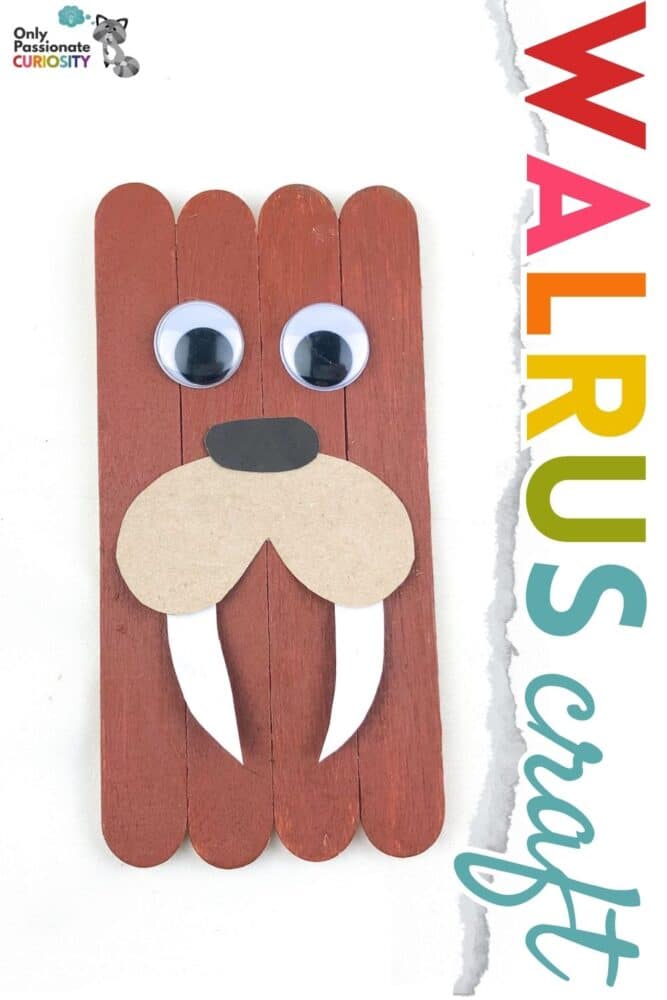
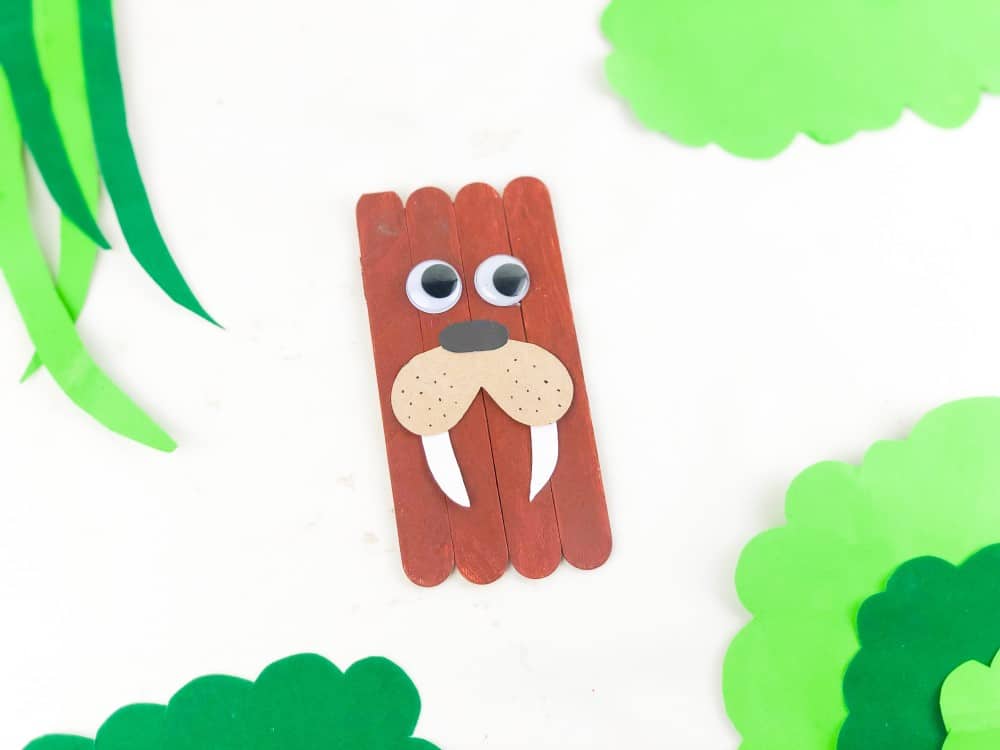
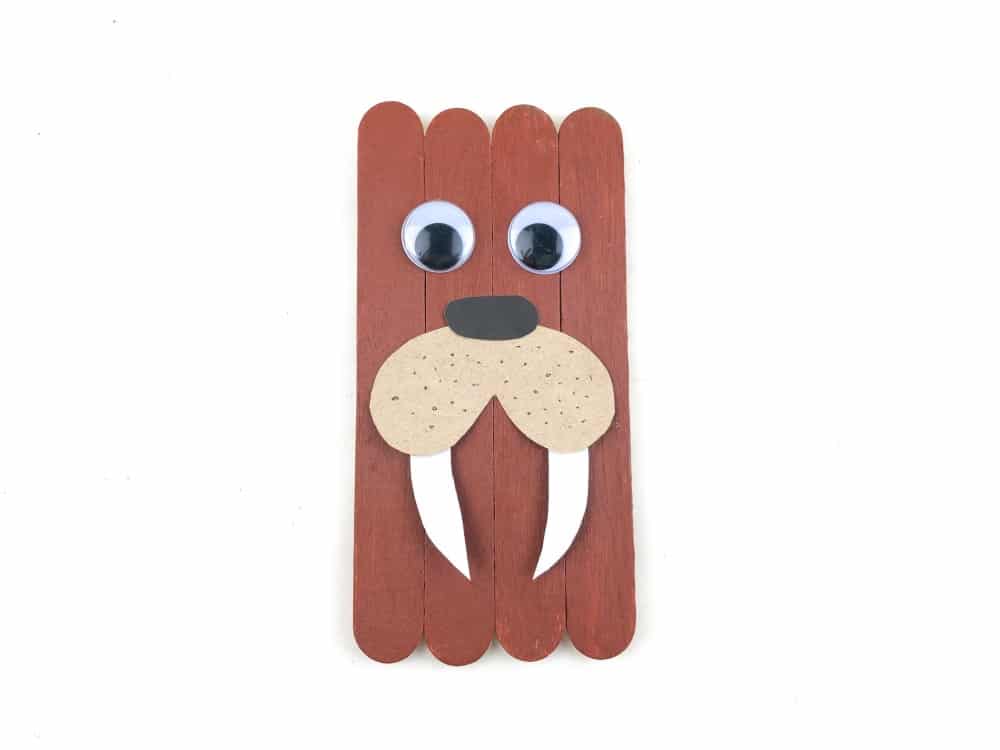
4. Once the paint has completely dried, add the cut-out parts: nose, mouth, teeth, and googly eyes.


5. Finish off by drawing small dots into the craft paper.
Tips on the Walrus Craft:
1. Be careful when using the scissors and the glue gun.
2. Choose the proper materials to achieve the desired outcome.
3. Let your creativity flow in your works!
Related Posts
- 50+ Super Cool Winter Study Ideas
- Clay Penguin Craft
- Polar Bear Bookmark
- 20+ Winter Activities, Crafts, and Fun Ideas
- 15 Winter Field Trip Ideas