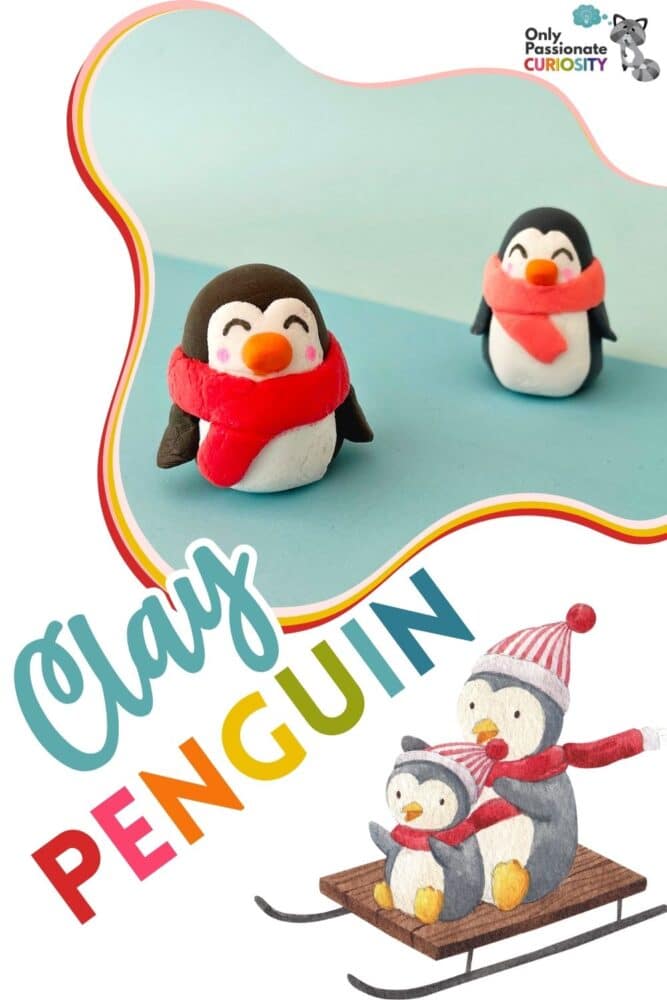
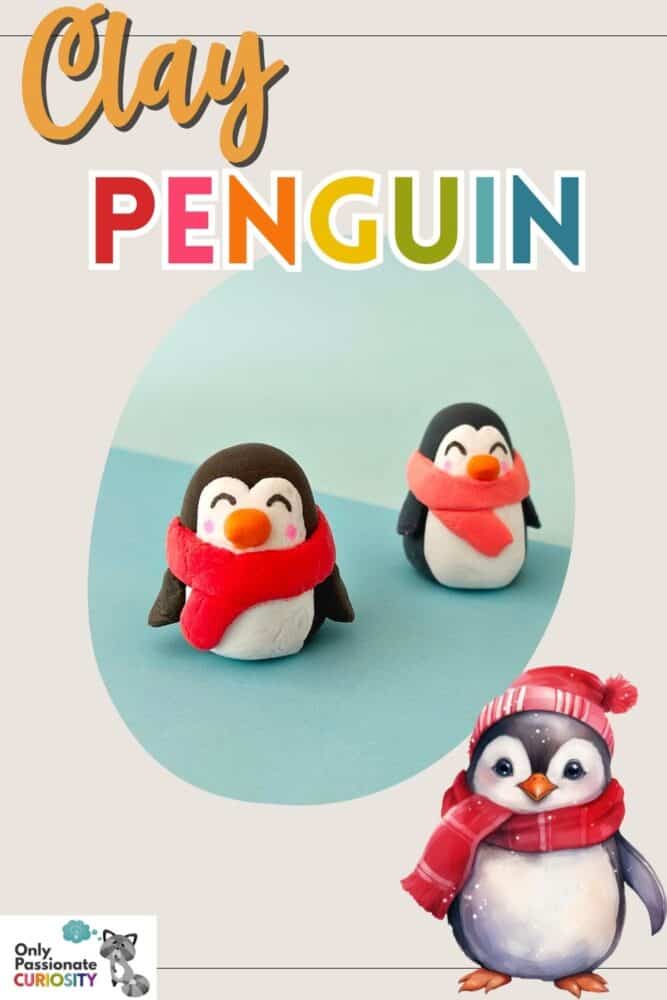
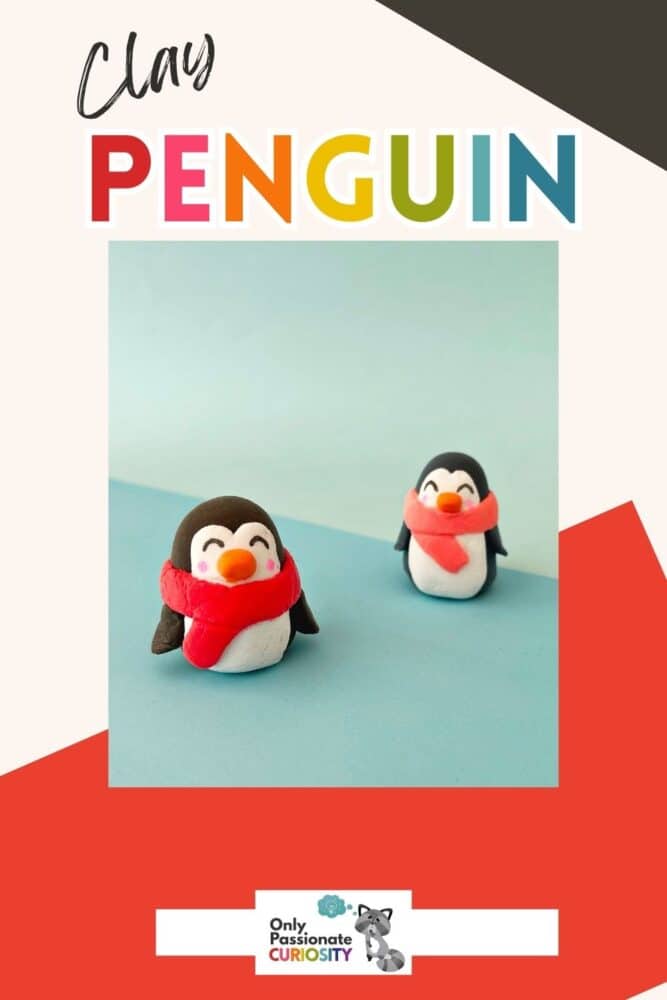
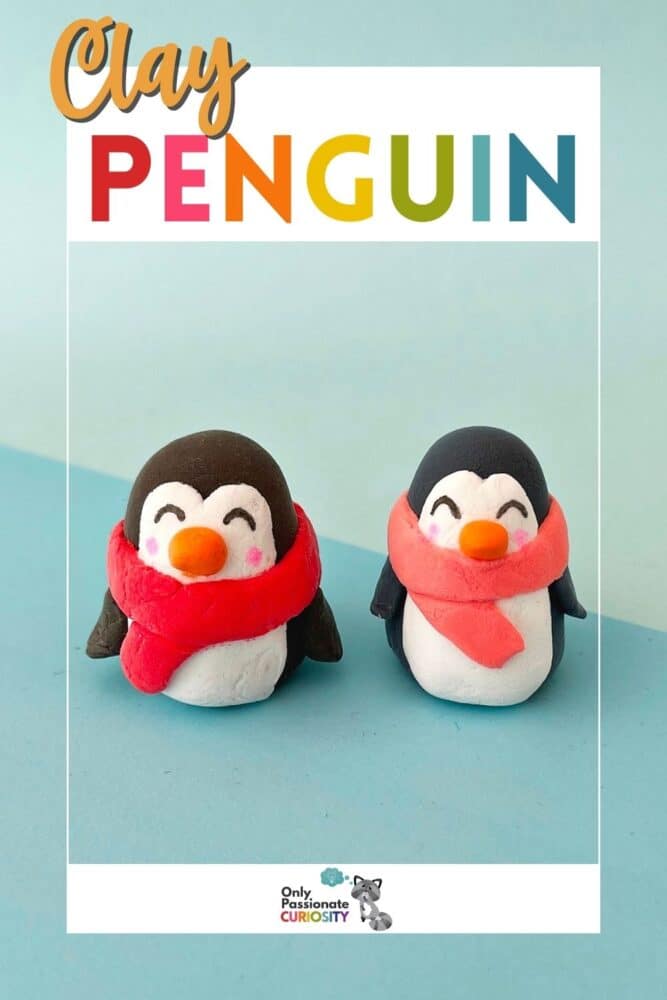
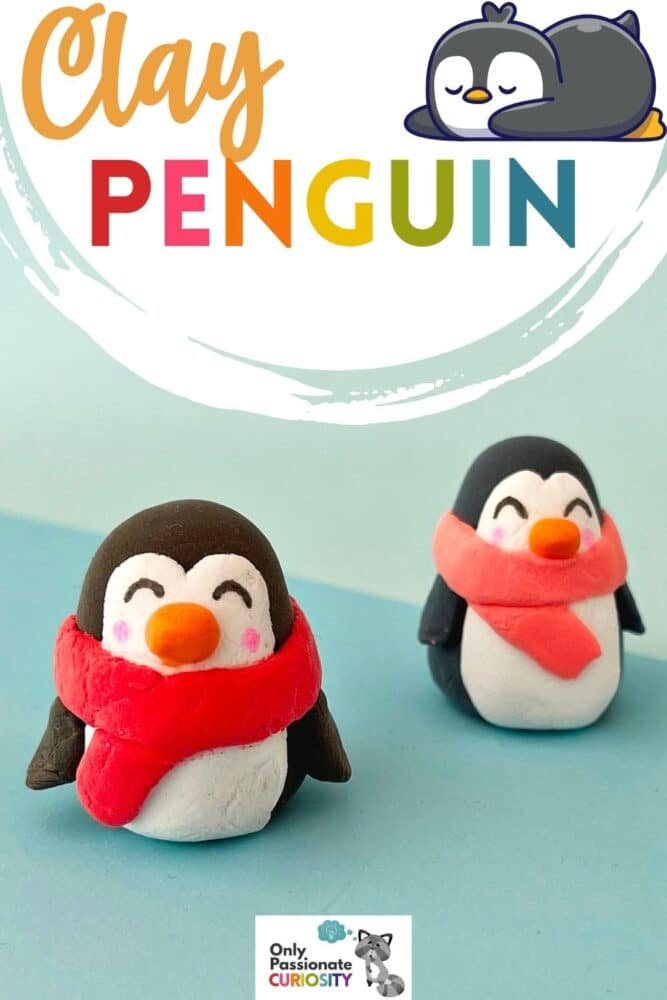
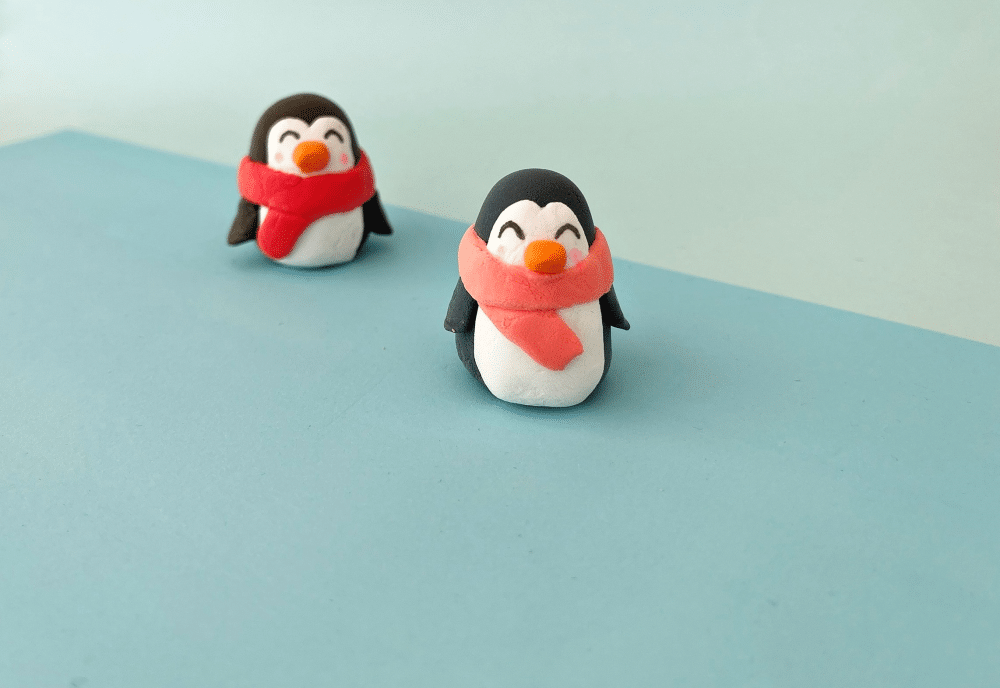
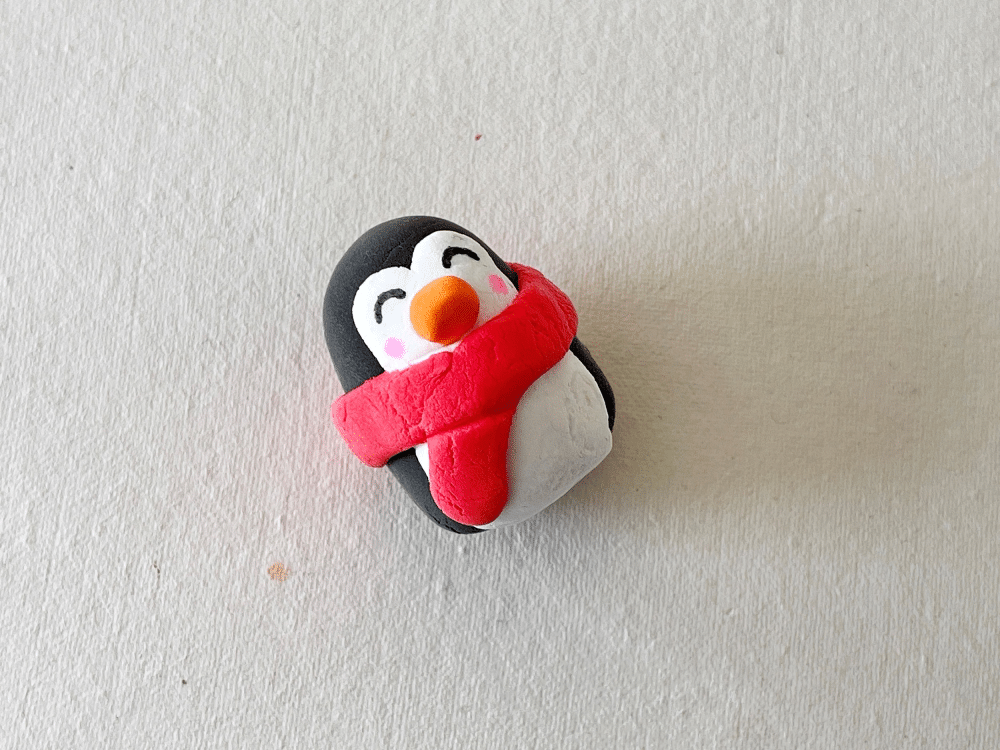
Cute Clay Penguin Craft
Shaping a variety of things with clay and playdough is commonly a favorite activity for children. Some kids don’t grow out of it, which isn’t a bad thing! Even adults find that creating with their hands is a relaxing and calming activity. So, whether you’re making these clay penguins on your own, as an activity with your children, or for your homeschool art period, you’re almost guaranteed to have a great time.
You can extend this craft with a penguin life cycle study and three other penguin-themed crafts.
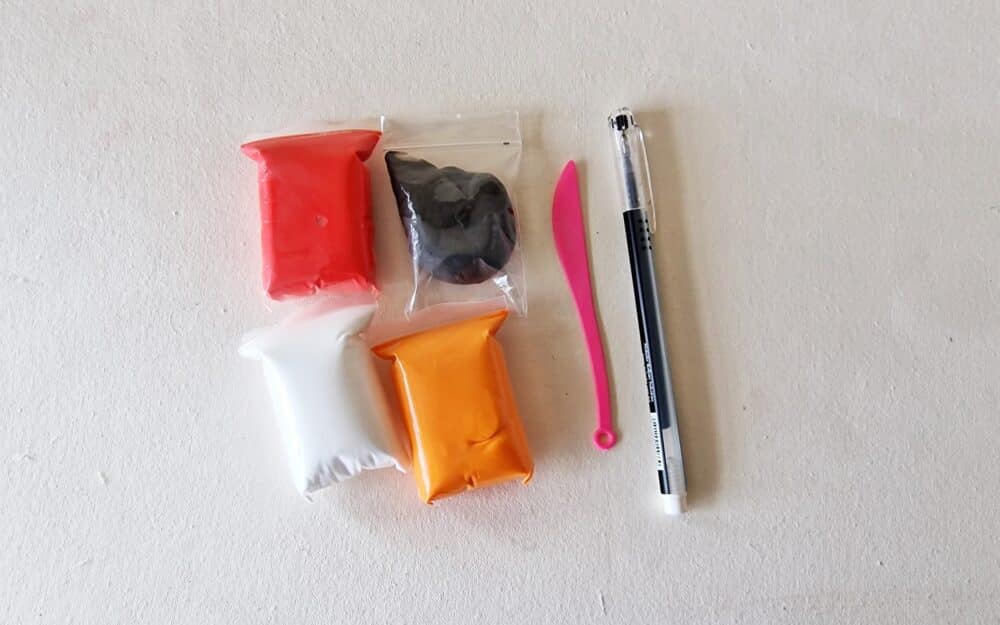
List of Supplies for Clay Penguin:
Instructions for Clay Penguin:
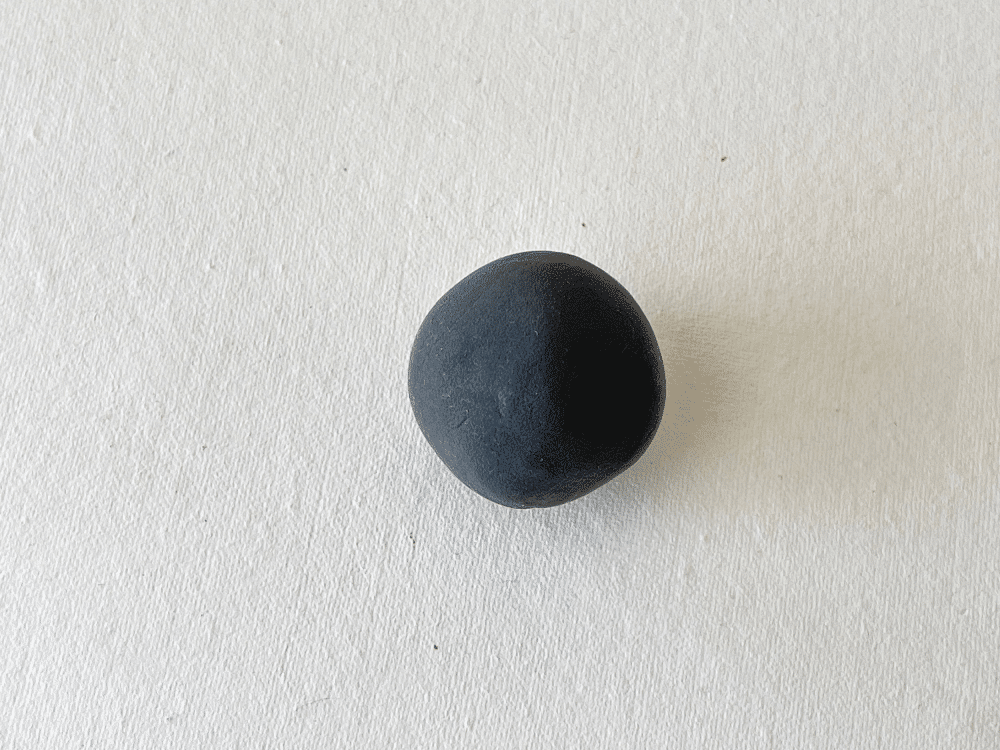
Step 1:
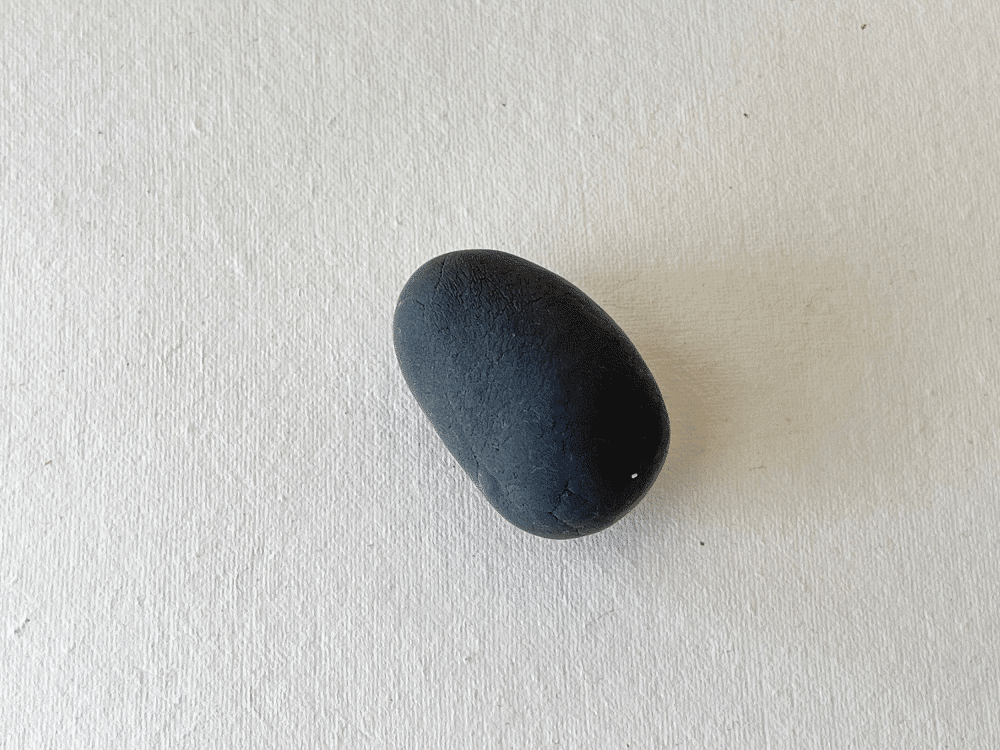
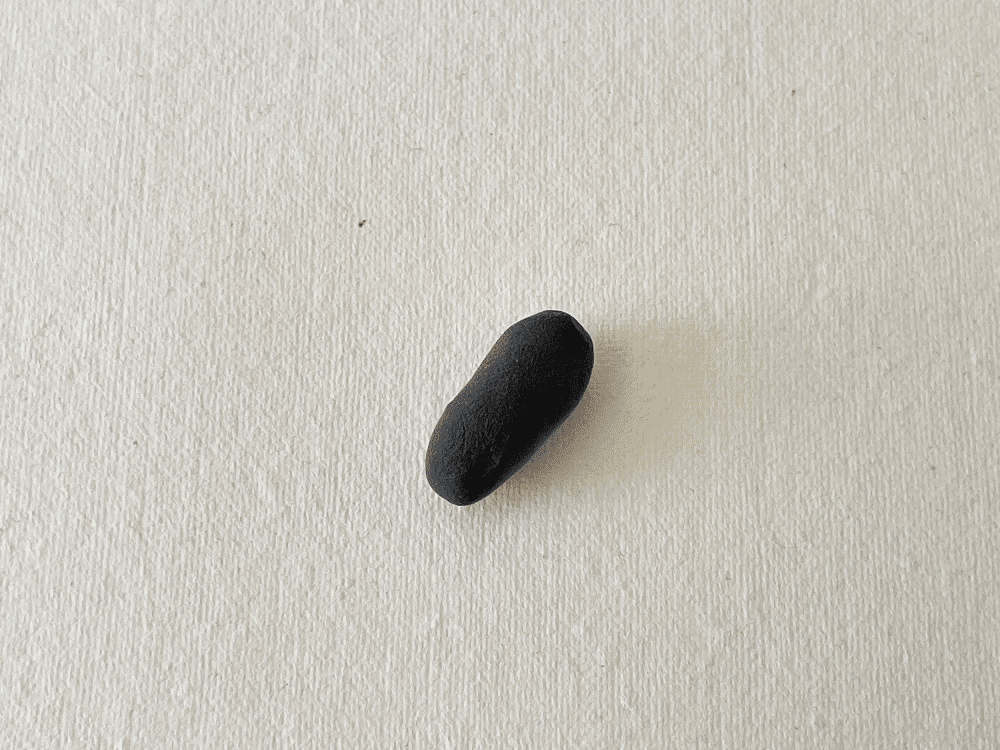
Select black, white, orange/ yellow, and different colored clay for the muffler. We will need black, white, and orange clay to make the clay penguin. The amount of clay would depend on your choice of size for the penguin. Take an amount of black clay for the penguin base. Roll the clay between the palms of both hands and form a ball shape.
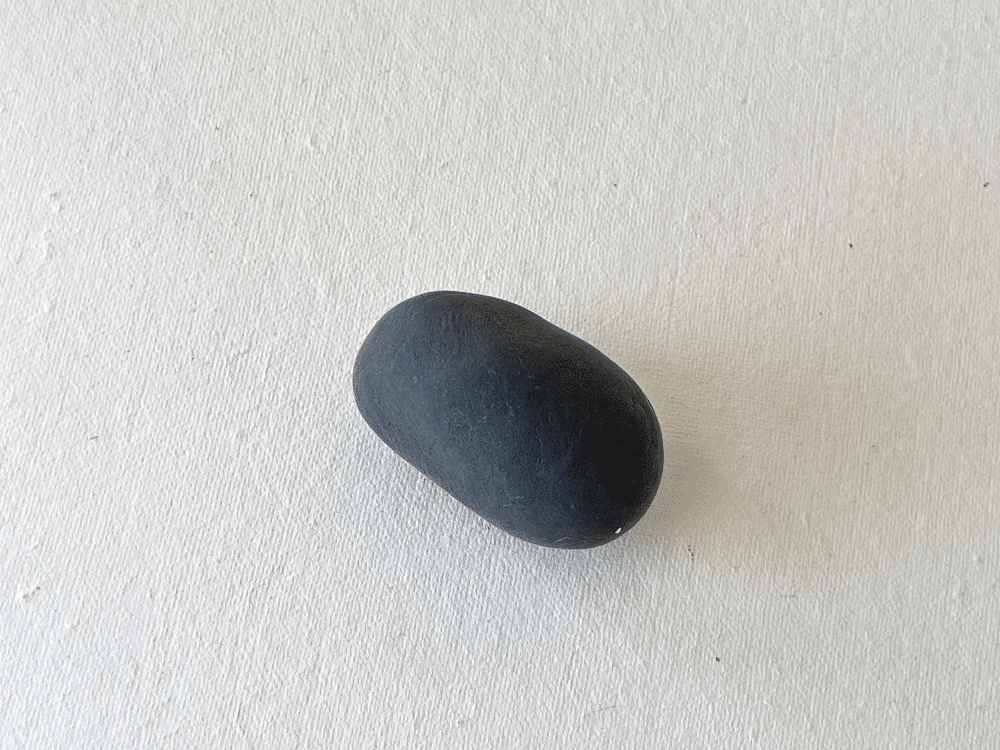
Step 2:
Roll (forward and backward) the clay ball on a flat surface to form a cylinder shape.
Step 3:
Roll (forward and backward) the clay shape on any one side, carefully, to make that end a bit narrower than the other end (this side will be the head).
Step 4:
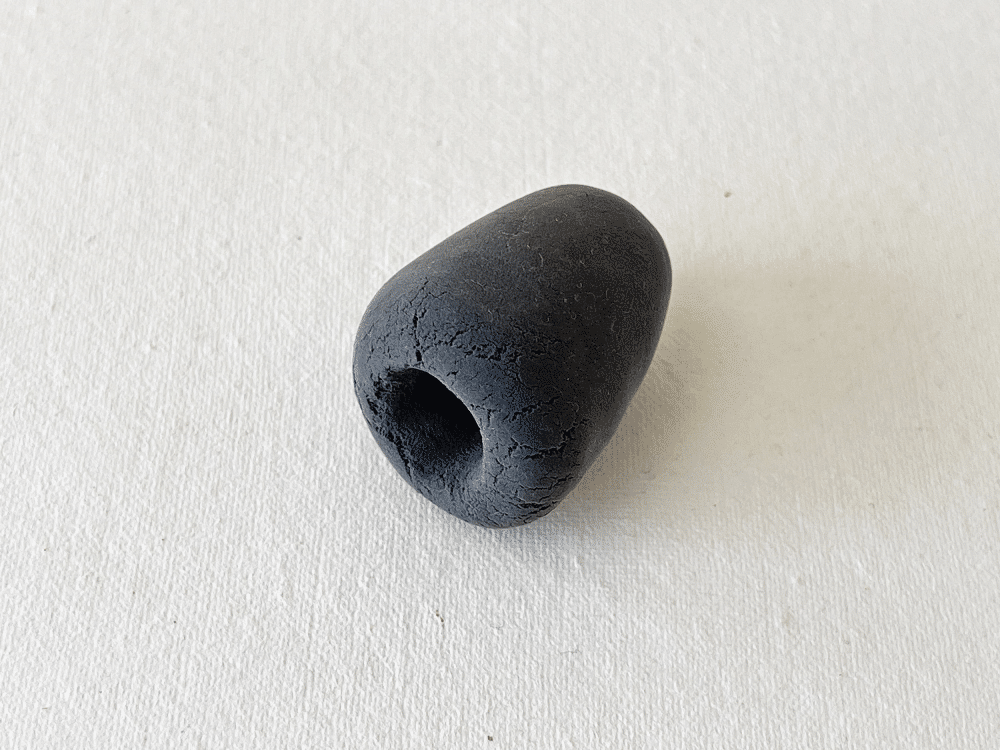
Make a hole on the wide side of the current clay shape; this will help the clay shape (penguin base) to stand nicely.
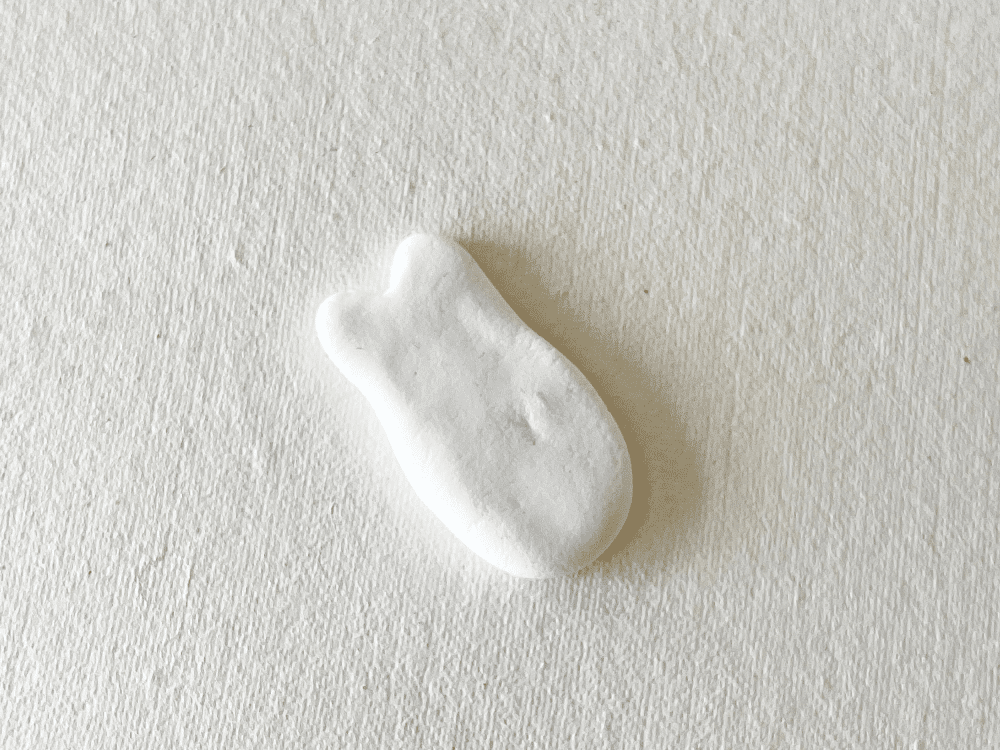
Step 5:
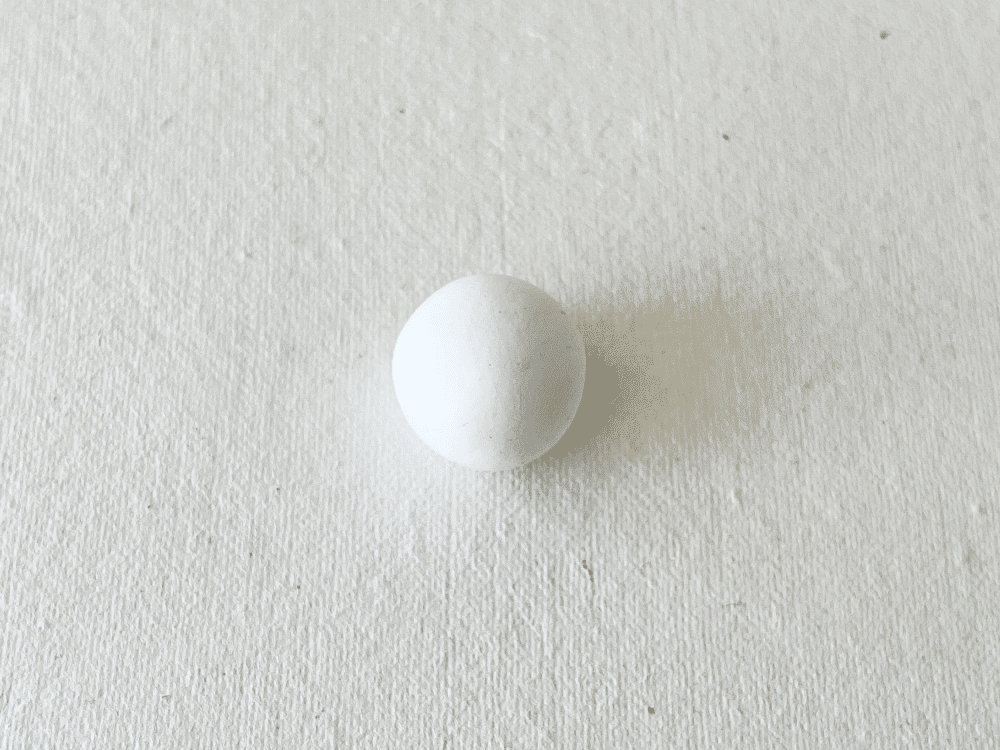
Take an amount of white clay for the front side of the penguin. Form a ball shape with the clay.
Step 6:
Roll the clay ball forward and backward to make a cylinder-like shape.

Step 7:
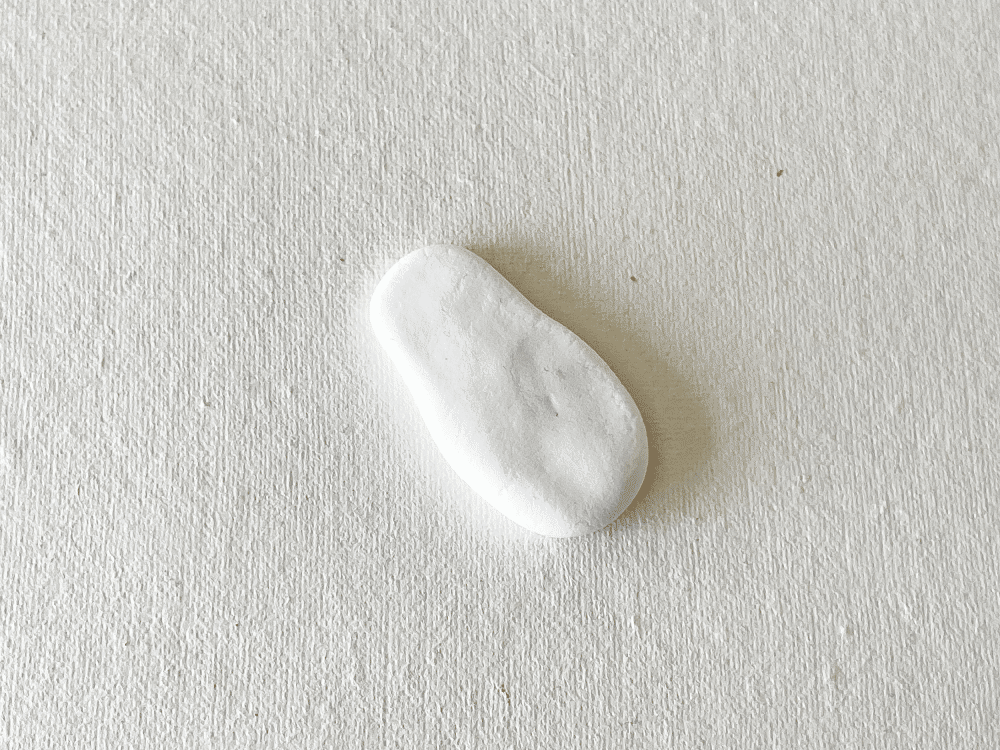
Flatten the white clay on a flat and even surface.
Step 8:
Use a clay tool to press the top-middle part of the white clay, on the narrow side. This is the top side (head) of the penguin.
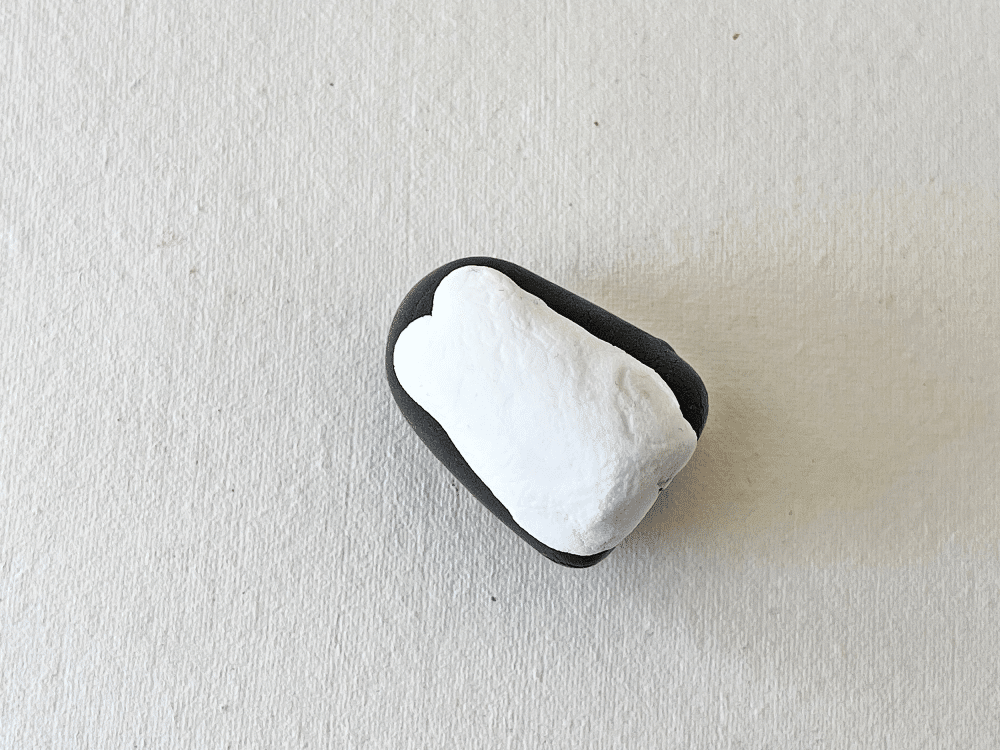
Step 9:
Attach the white clay pattern on the black base pattern.
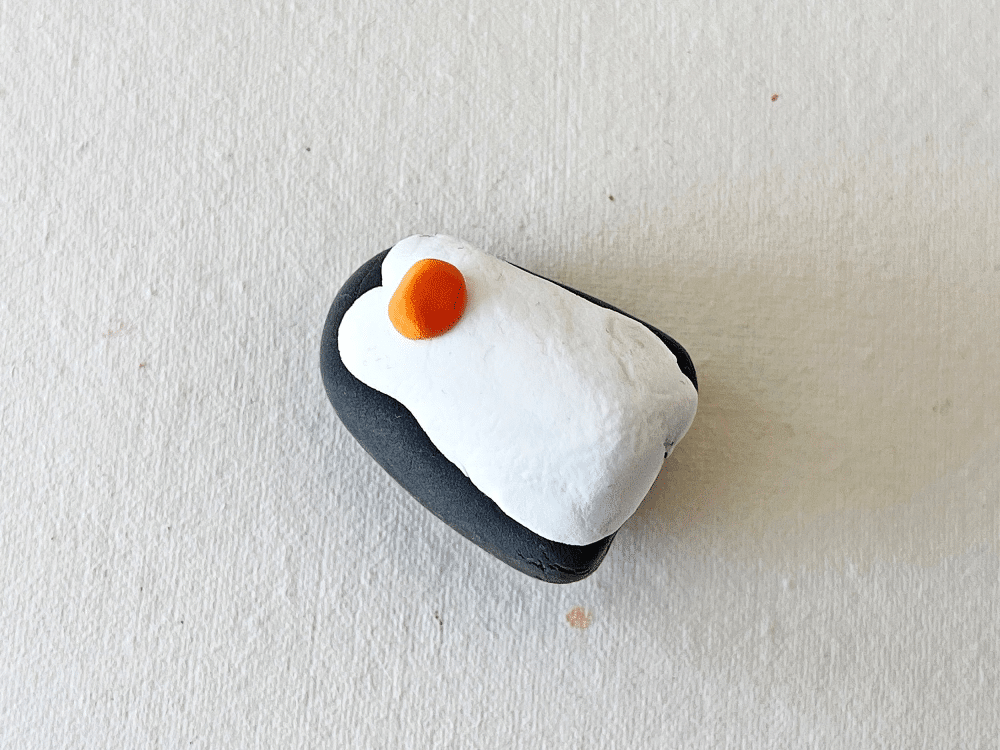
Step 10:
Take a small amount of orange clay and form a ball shape with it. Place the orange ball shape on the head part of the penguin figure.
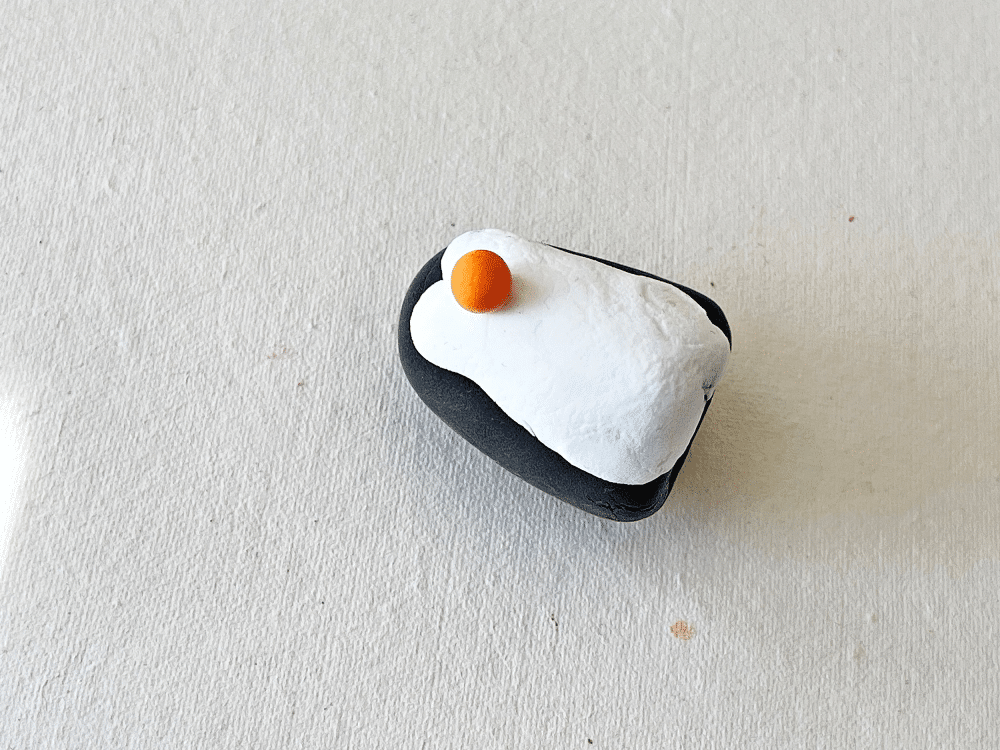
Step 11:
Adjust the orange clay into a beak shape.
Step 12:
Take an amount of clay to make the muffler. We’re using red clay. Roll the clay into a rope shape.
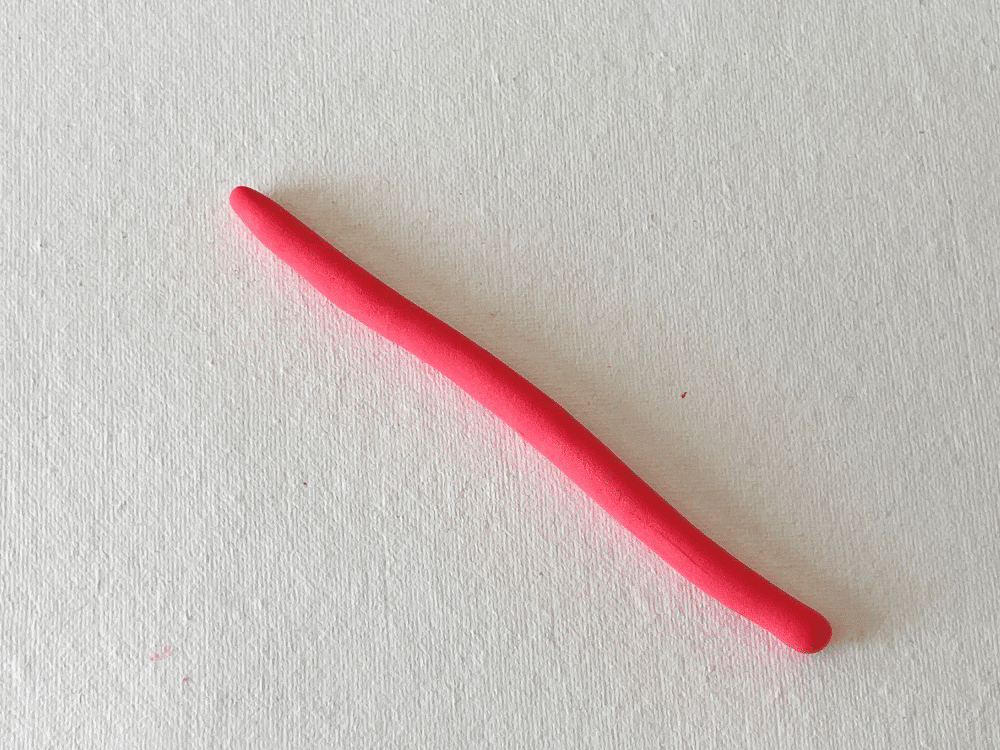
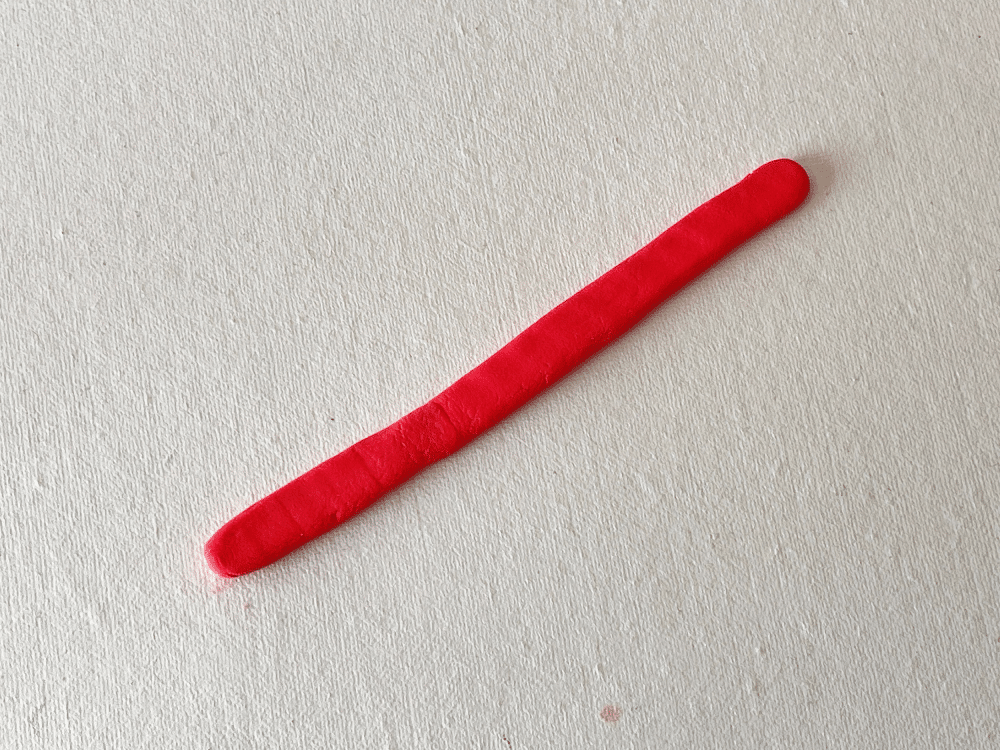
Step 13:
Flatten the rope-shaped clay.
Step 14:
Place the clay muffler under the clay penguin figure, around the neck part.
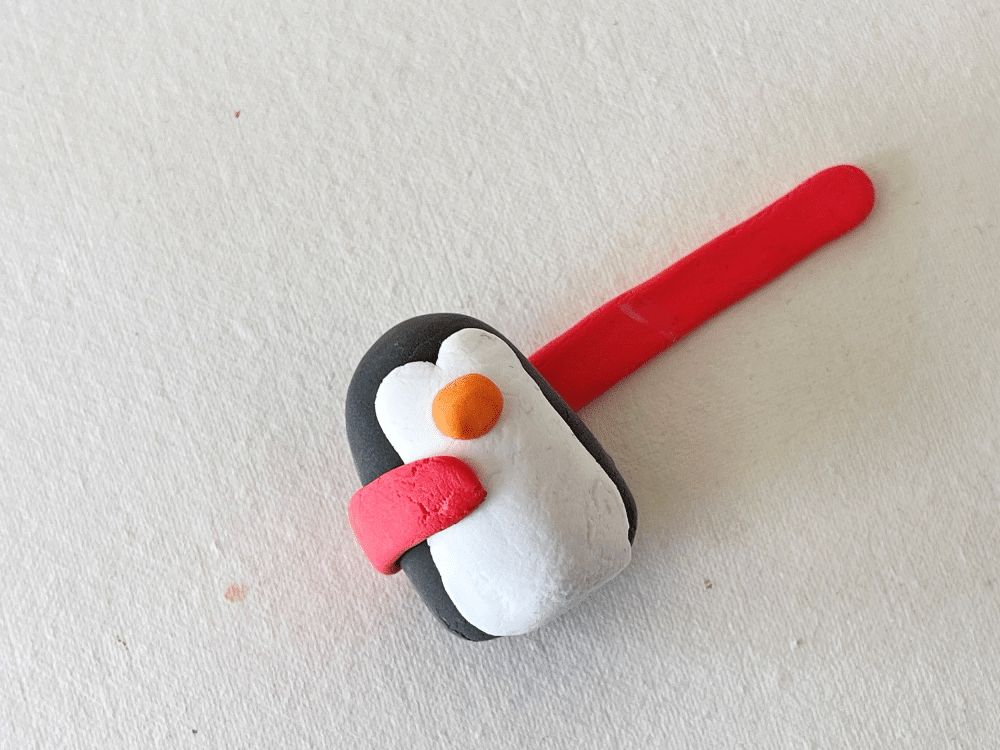
Step 15:
Wrap the clay muffler around the neck part.
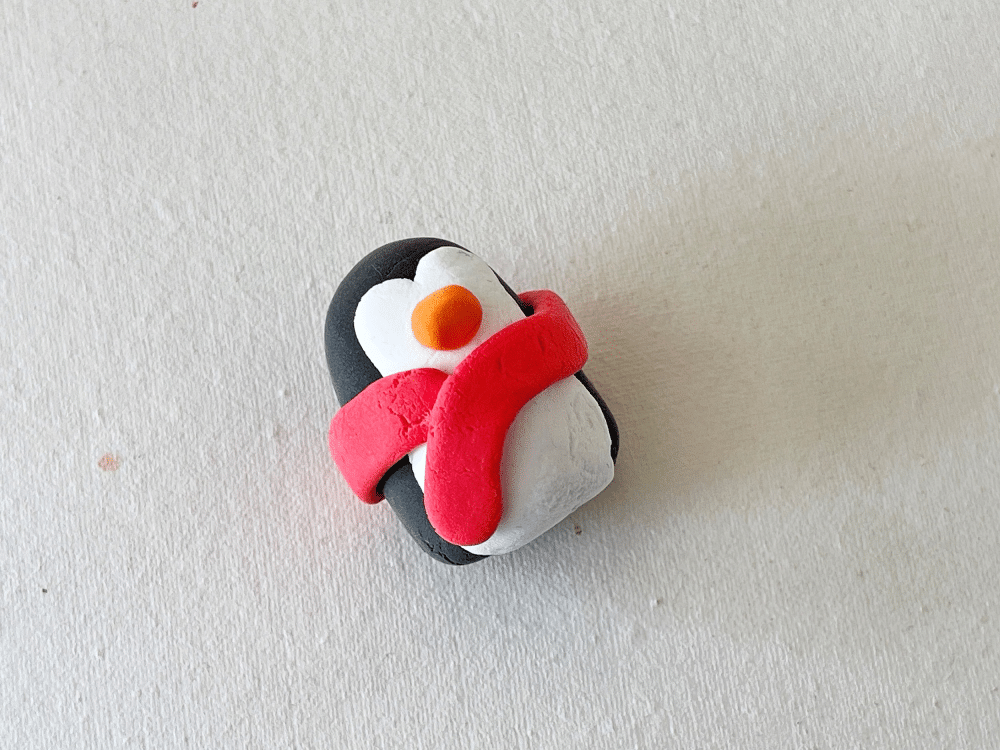
Step 16:
Use your fingertips or clay tool to adjust the shape of the muffler.

Step 17:
Use a sharpie to draw the eyes and blush shapes on the clay penguin figure.
Step 18:
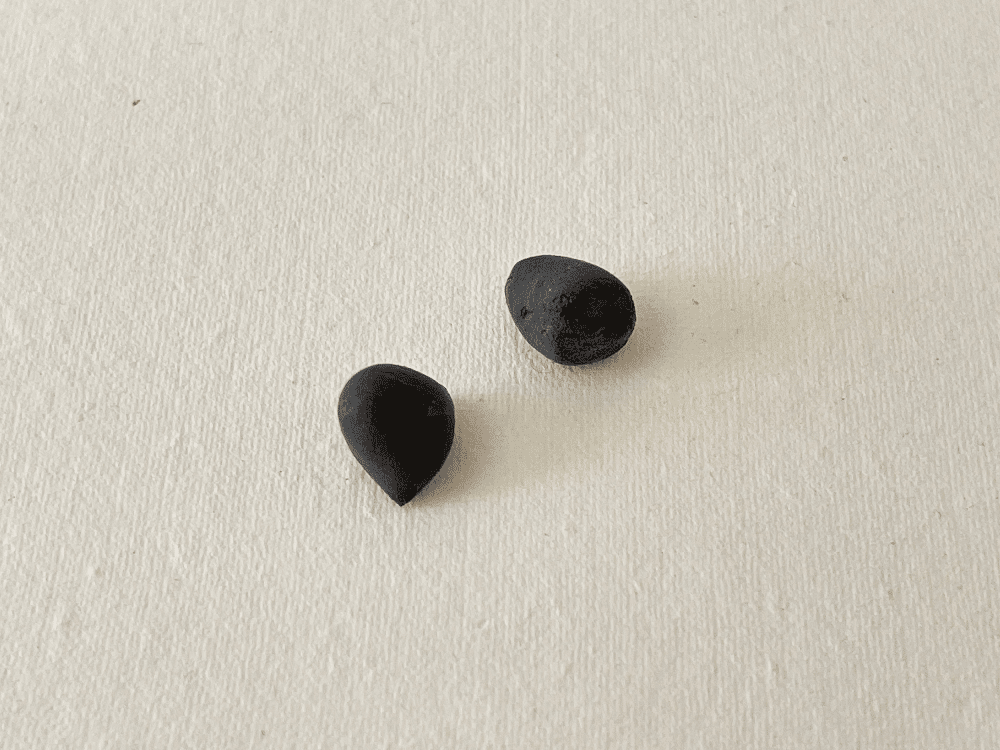
Take a small amount of black clay and roll it into a cylinder-like shape.
Step 19:
Divide the black clay into 2 even parts.
Step 20:
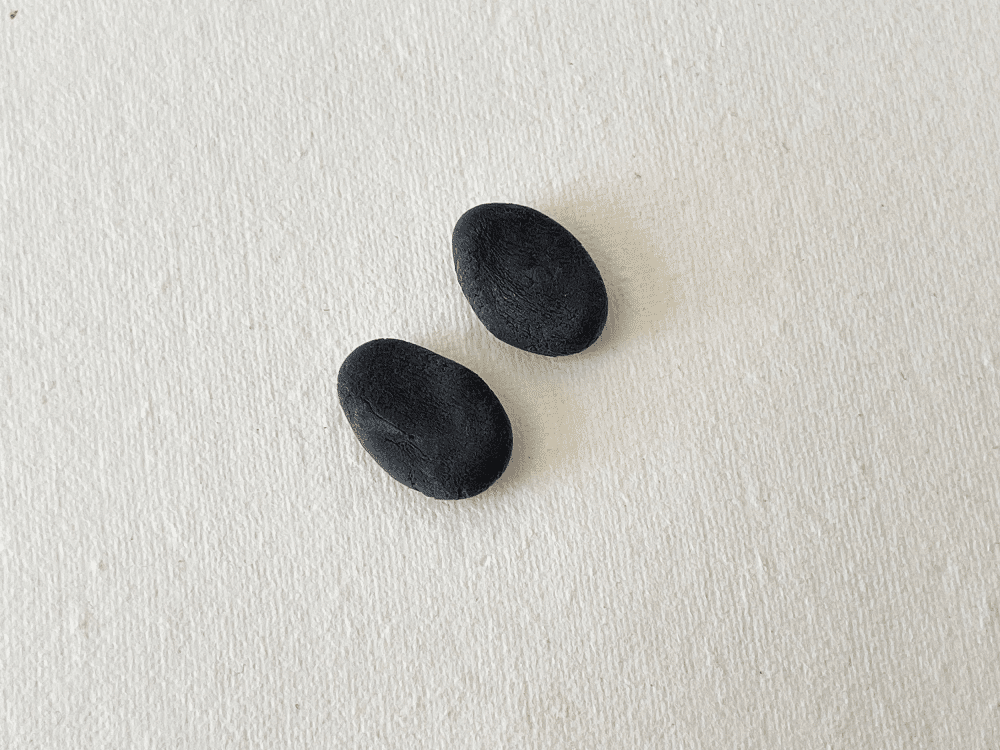
Flatten the black clay parts and form wing shapes with them.
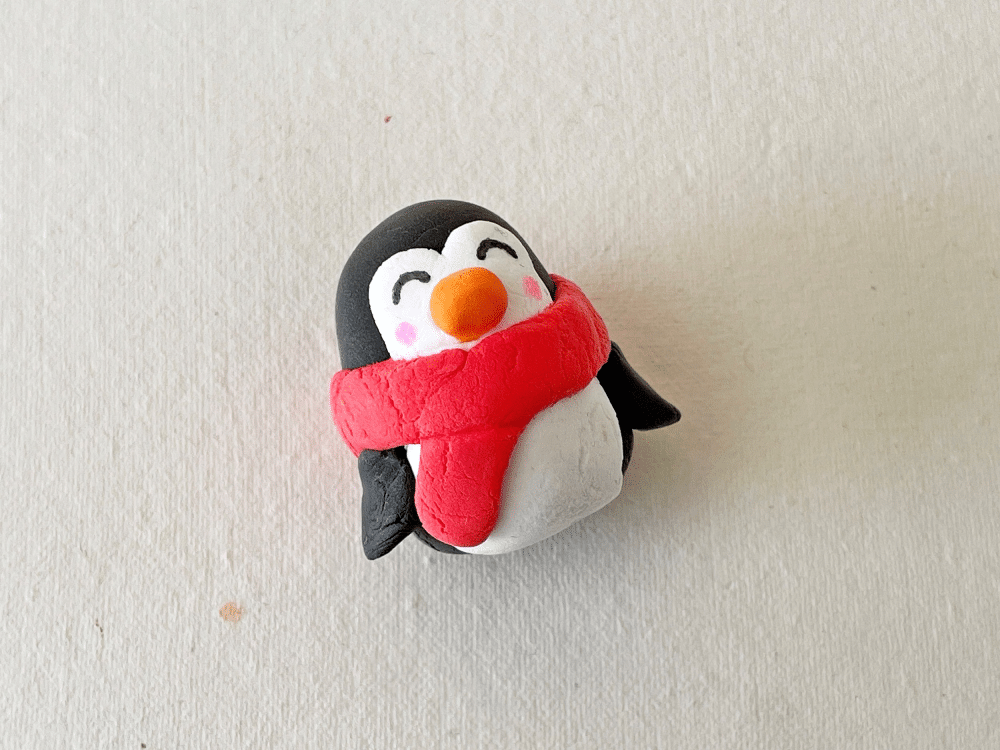
Step 21:
Attach the 2 wing shapes on both sides of the clay penguin figure to complete the craft.
Penguin Unit Study Ideas
Use the following as a guide to study penguins. Do research with your children or have them do their research to answer the following questions:
- Where do penguins live? Do they travel?
- What foods do penguins eat? Do they eat a lot?
- How many species of penguins are there?
- What noises do penguins make?
- What are the mating habits of penguins? Do they make nests like other birds?
- How do they care for their young? Is there anything unique about this?
- What does a penguin egg look like? How big is it?
More Crafts and Activities
- 20+ Winter Activities, Crafts, and Fun Ideas
- Winter Animal Tracks Unit Study
- Penguin Study with Mr. Popper’s Penguins
- Penguin Notebook Pages