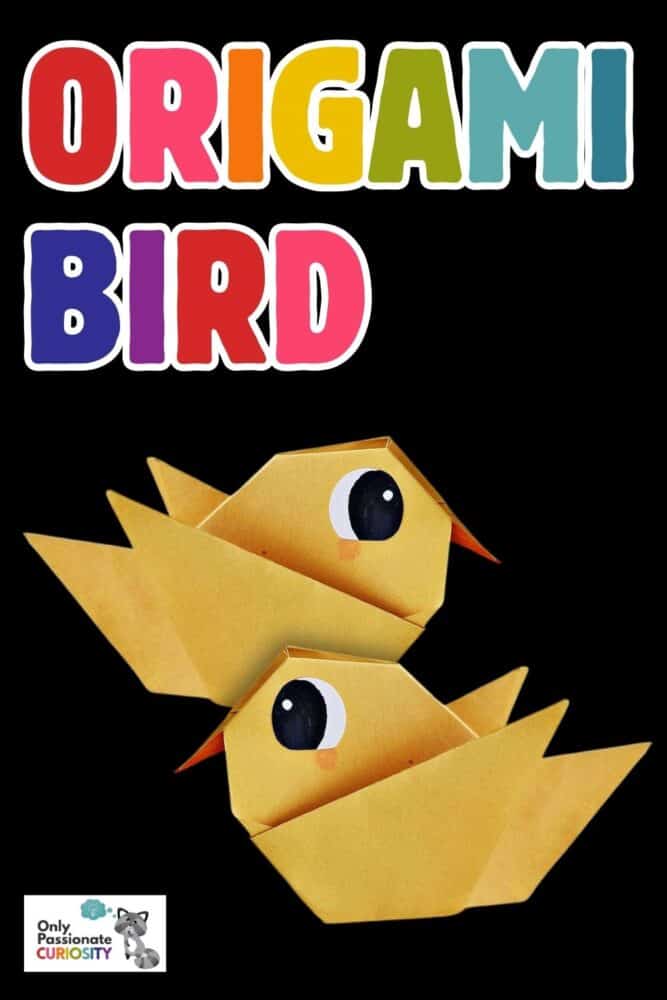
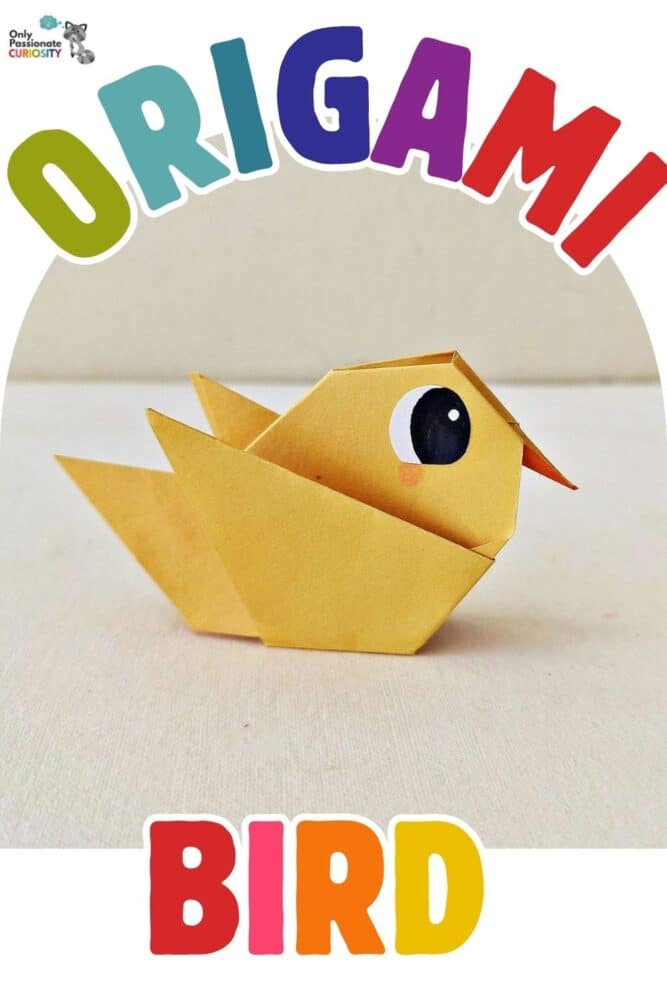
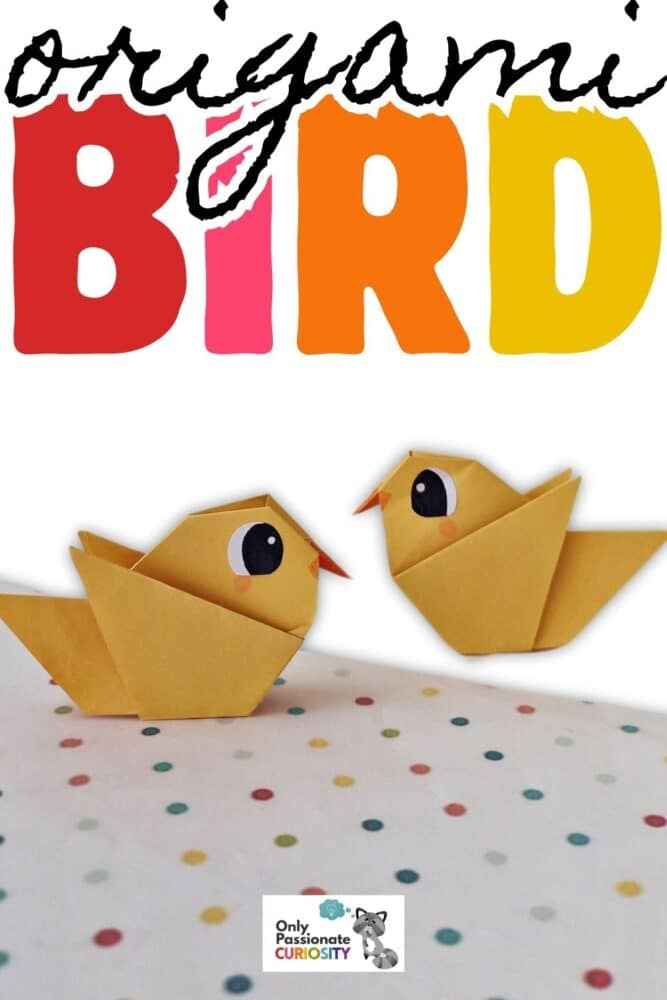
Adorable Origami Bird Craft
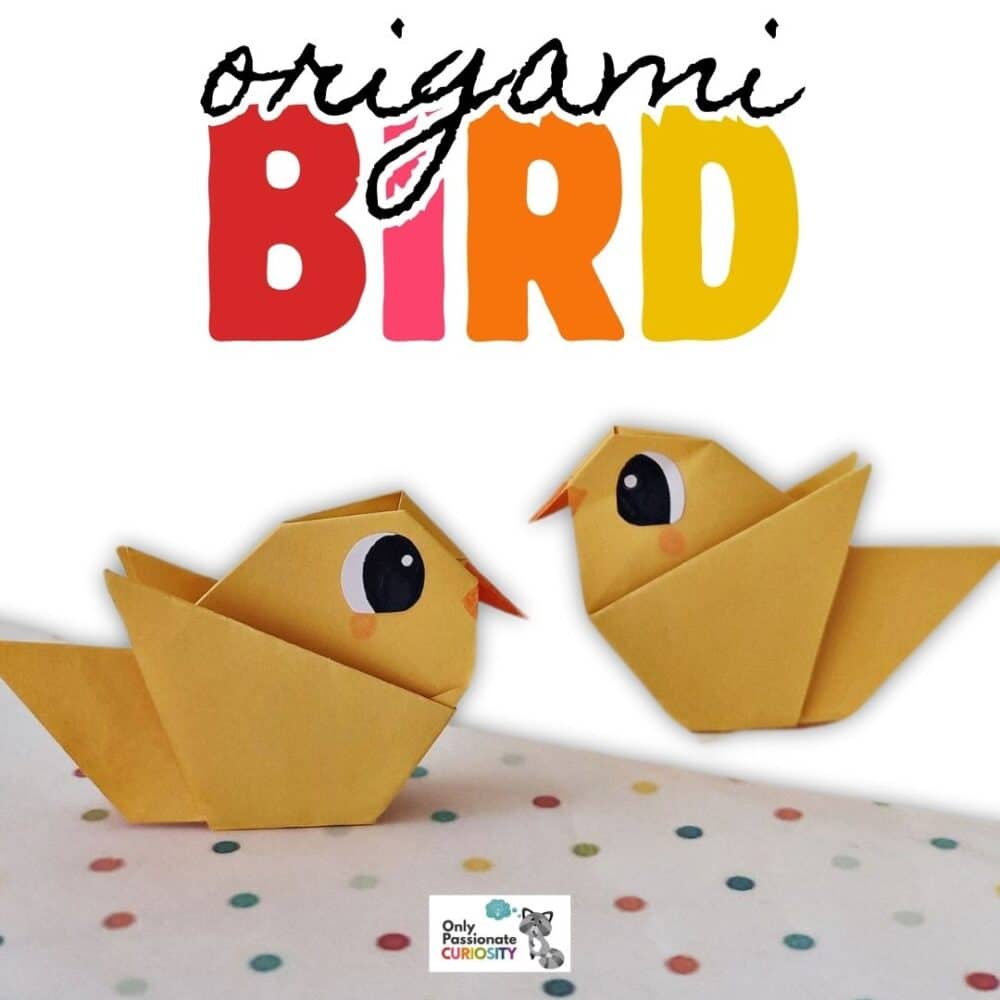
When it comes to craft time with your homeschool class, sometimes you want a quick and easy craft. But sometimes, you want to make something that is more intricate and complex. This origami bird falls into that second category. It requires quite a few steps, and is a perfect craft for older children, teenagers, and even you if you’re up for a challenge!
List of Supplies for Origami Bird
- VALUE PACK OF 500 WITH 20 VIBRANT COLORS: The bulk pack of 500 drawing paper is a premium yet value for money option. You get a great collection of 20 vivid colors including three metallic colors. The ideal oragaminpaper having size of 6 x 6 inches is perfect for every origami project.
- NO TEARING & EASY TO FOLD: Made of high quality 70 gsm papers, our kraft paper won’t tear, rip, or curl on the sides. Despite its durability. Colored copy paper is flexible enough to hold the crease and shape very well, making it great for mini crafts. Double-sided oragami color paper means you can use it for any DIY job!
Instructions for Origami Bird
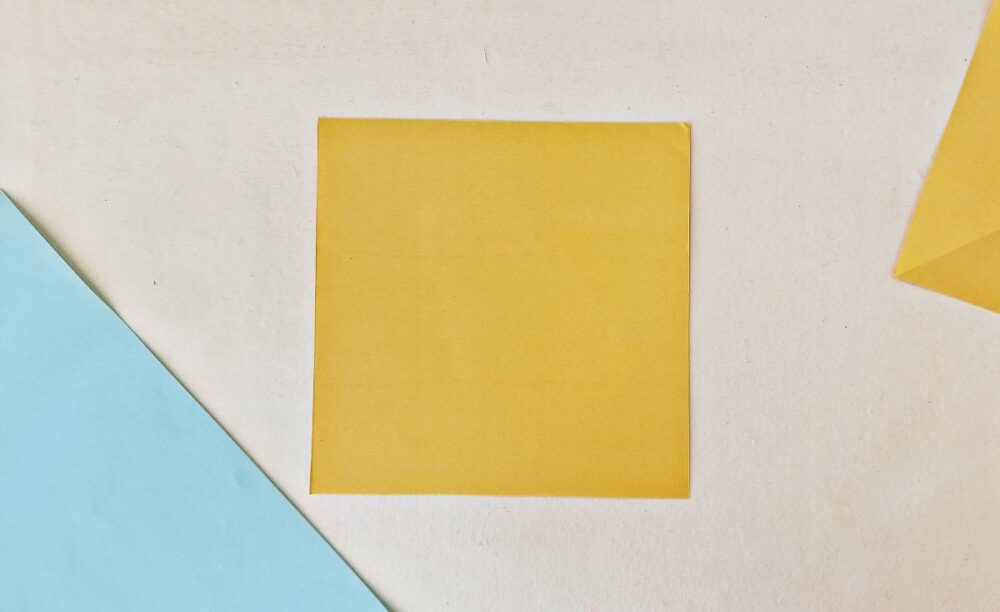
Step 1:
Prepare a piece of square paper. Yellow is a great option, but you can choose any color you’d like.
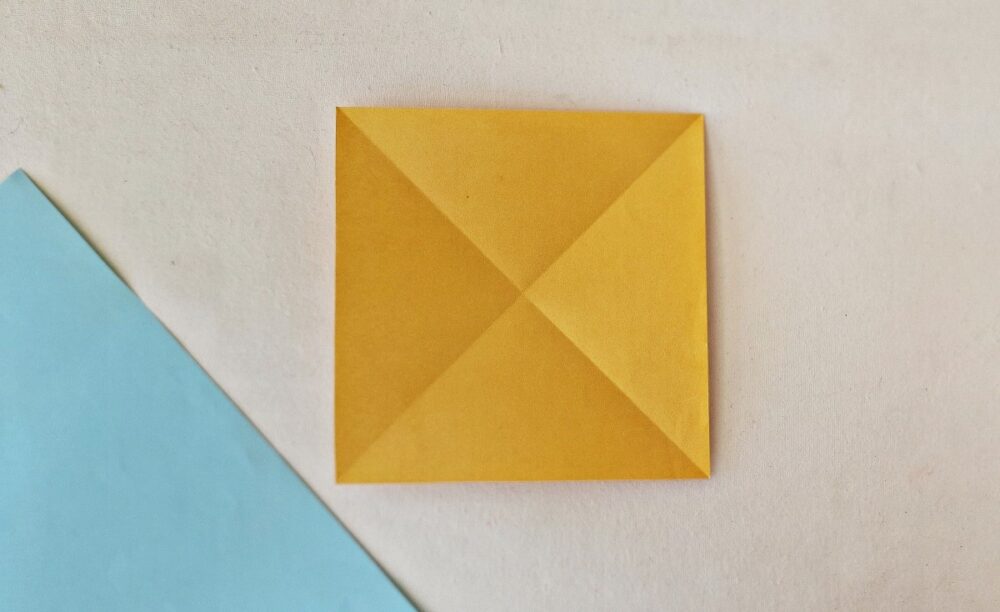
Step 2:
Fold the paper in half, diagonally on both sides. Unfold the diagonal folds so they leave creases.
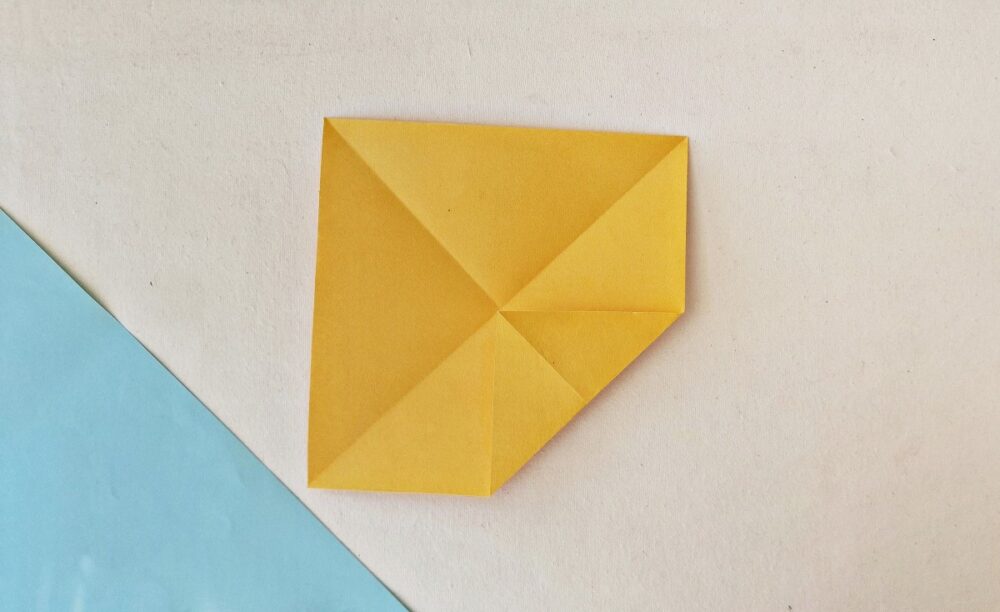
Step 3:
Hold any one corner of the square sheet and bring it to the center of the square paper (the intersected point of the diagonal creases).
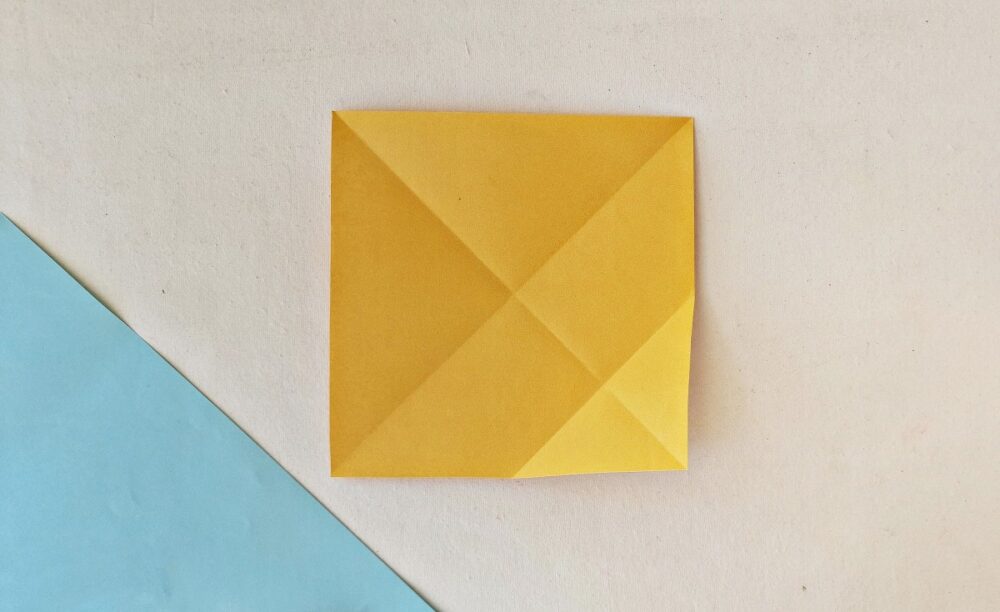
Step 4:
Unfold the last fold.
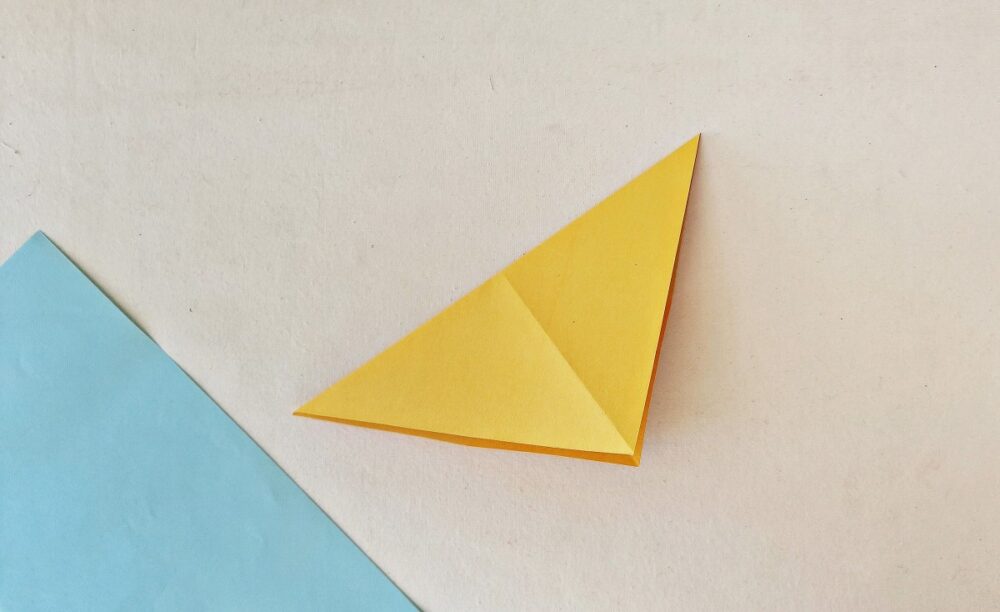
Step 5:
Now, fold the sheet in half along the diagonal crease parallel to the last crease.
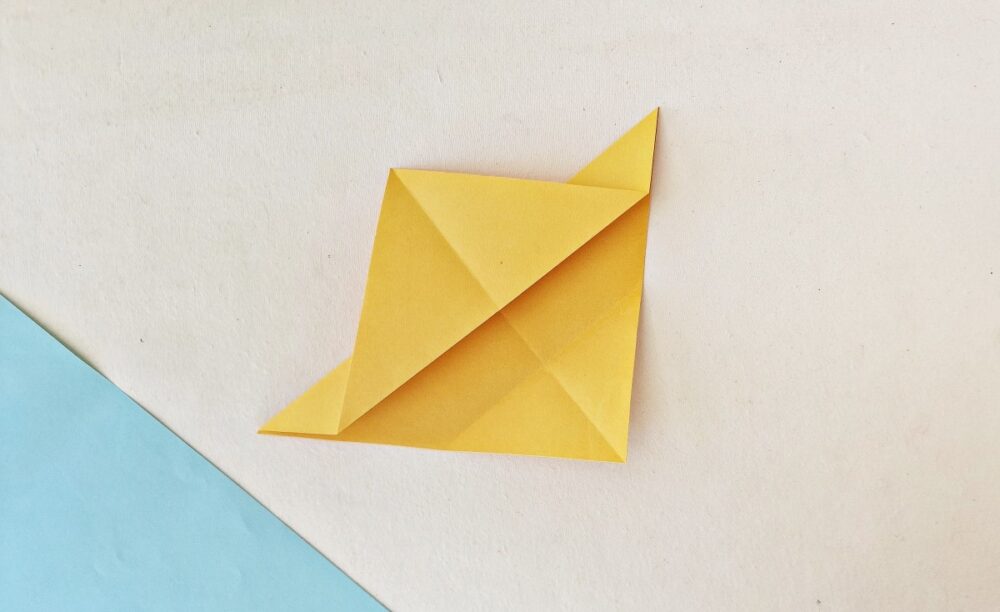
Step 6:
Fold up 1/3 of the top layer and flatten it with the origami pattern.
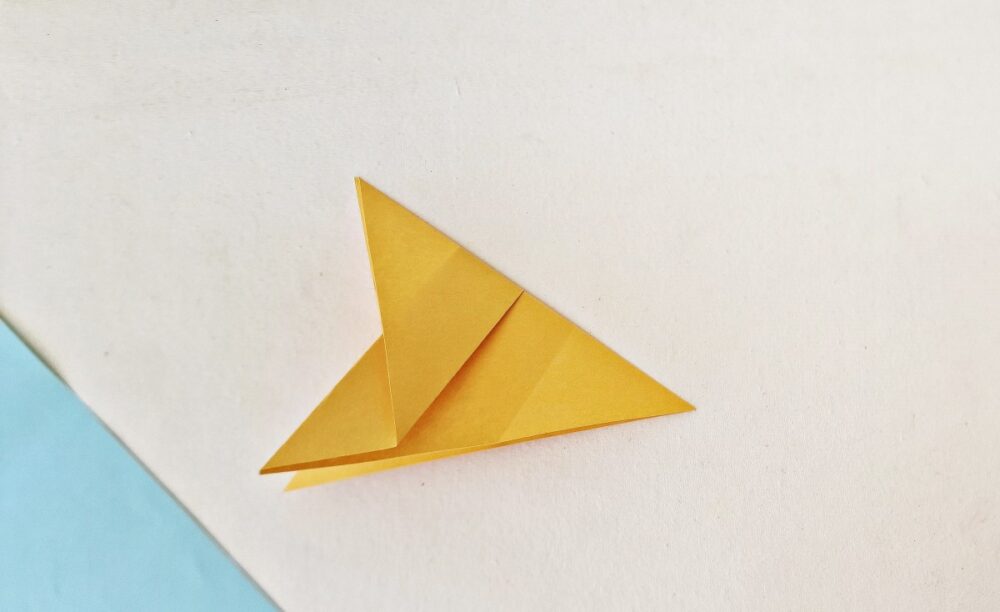
Step 7:
Now, fold the pattern in half along the other half diagonal crease.
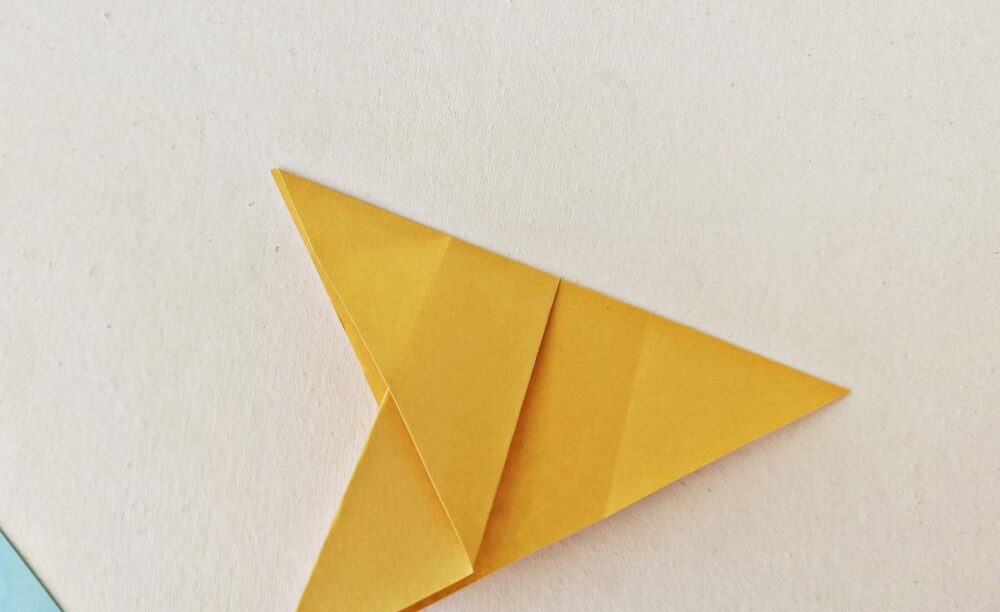
Step 8:
Keep the folded parts facing outwards. Notice the triangle part of the current pattern; we’ll work on the smaller side.
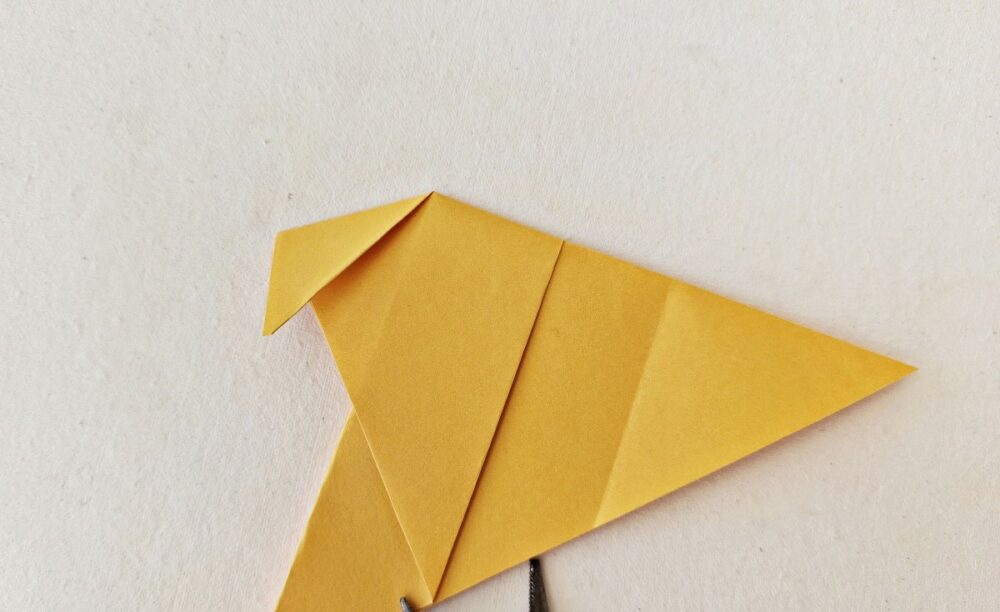
Step 9:
Fold 1/3 of the small triangle inwards.
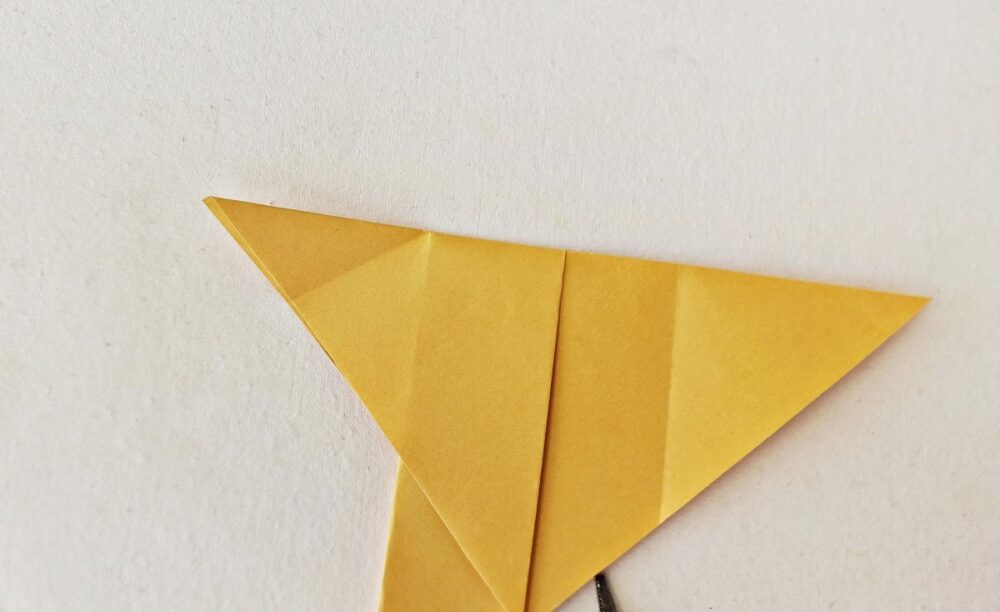
Step 10:
Unfold the last fold.
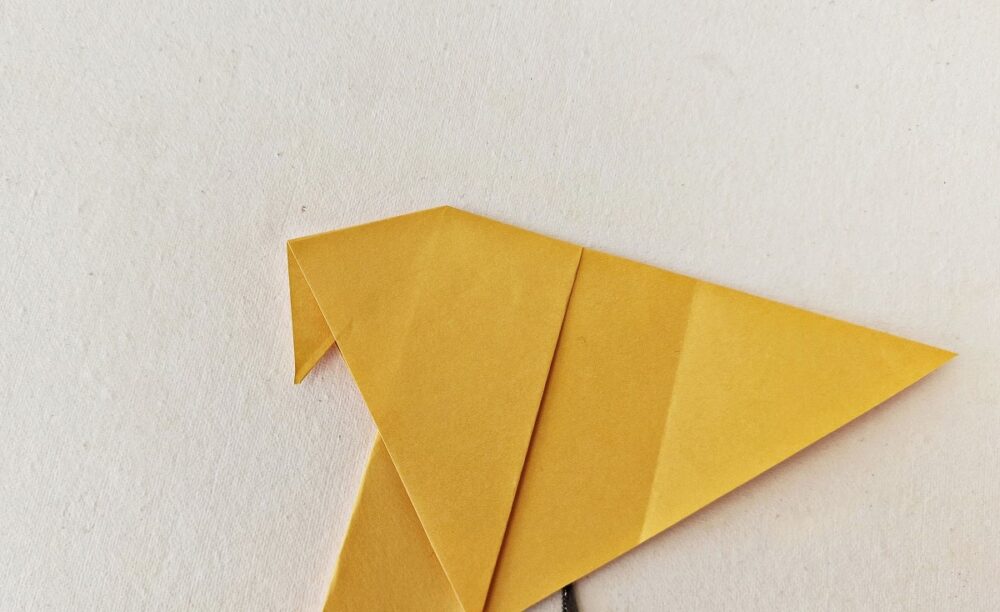
Step 11:
Fold the previously folded part along its crease but inwards. This is the head part which also includes the beak.
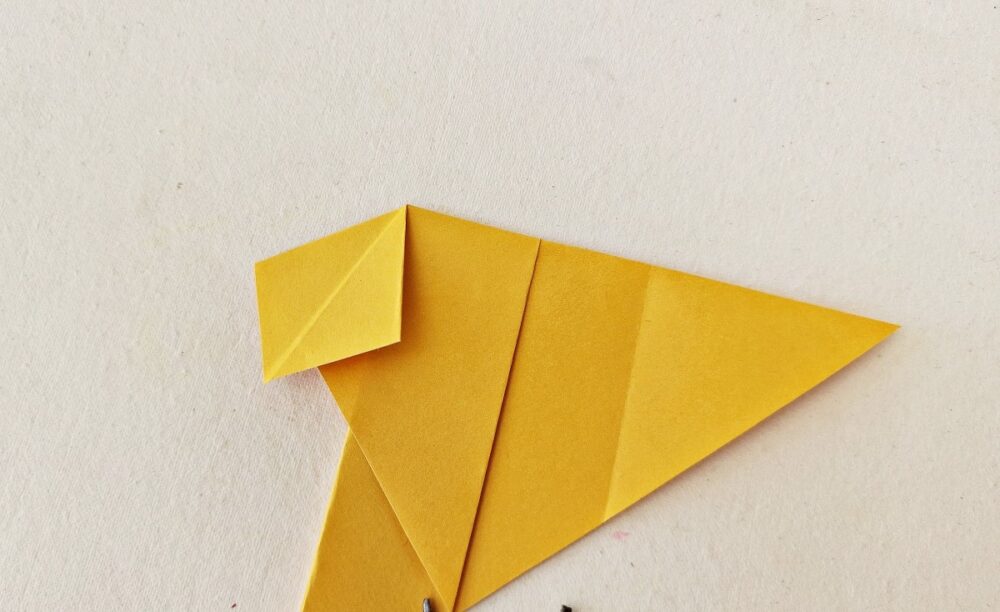
Step 12:
Open the top layer of the last fold (the beak on the head part).
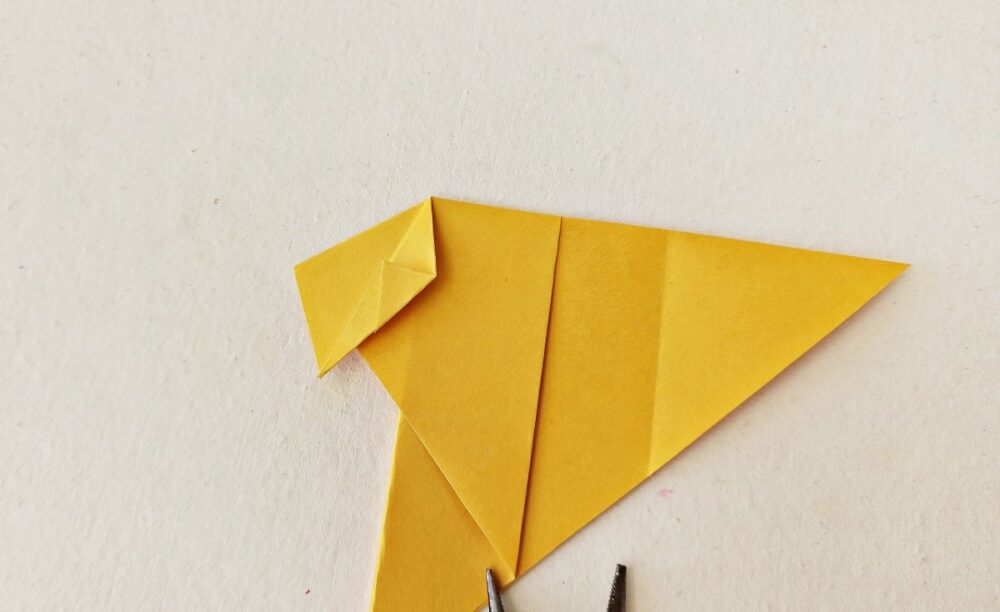
Step 13:
Notice that the head part looks like a rhombus now. Fold the bottom right side of the rhombus along the middle crease. You’re about halfway done with your origami bird.
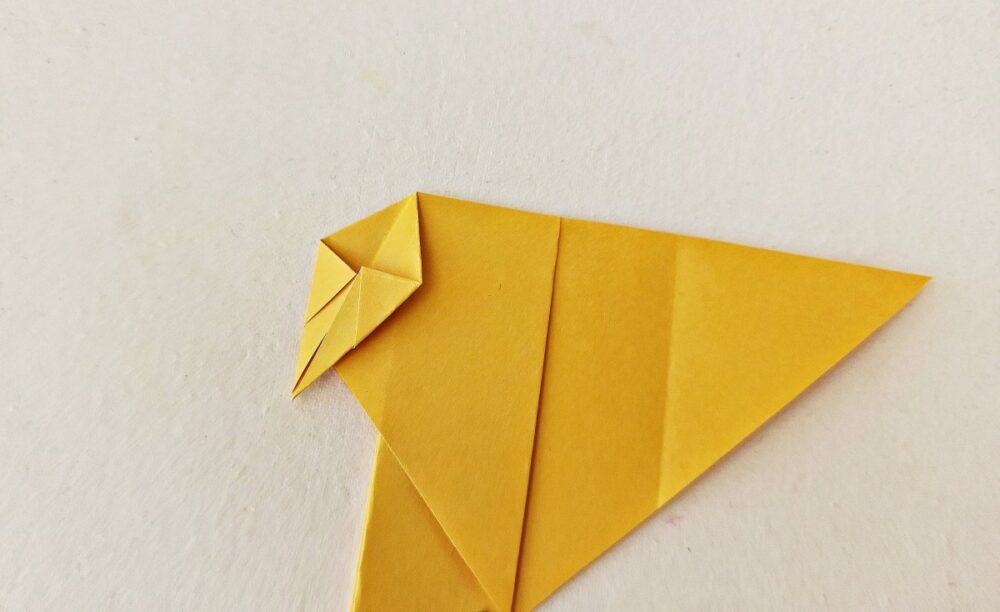
Step 14:
Similarly, fold the bottom left side of the rhombus along the middle crease.
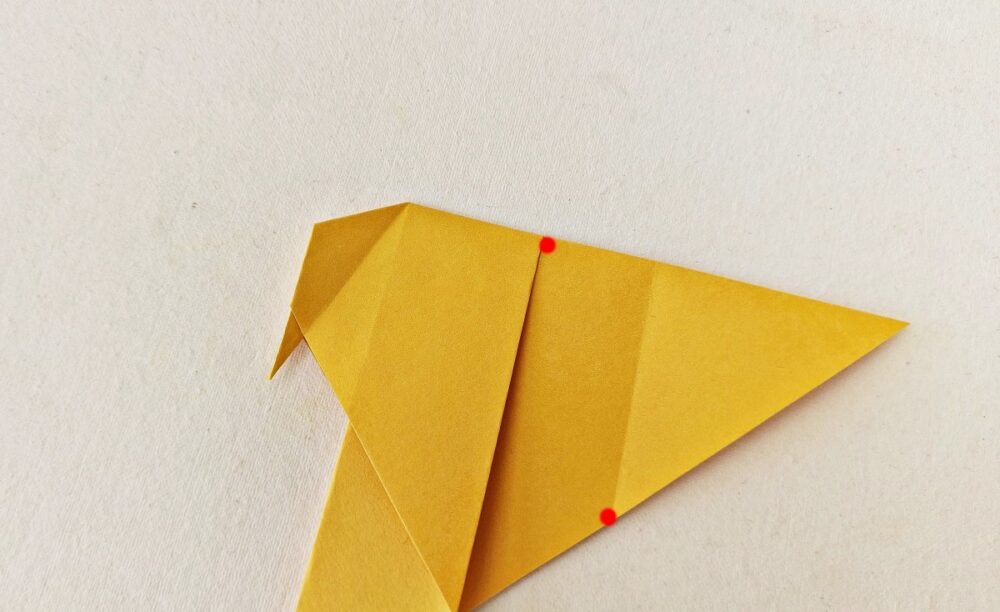
Step 15:
Now, fold/draw the top layer towards the opposite side.
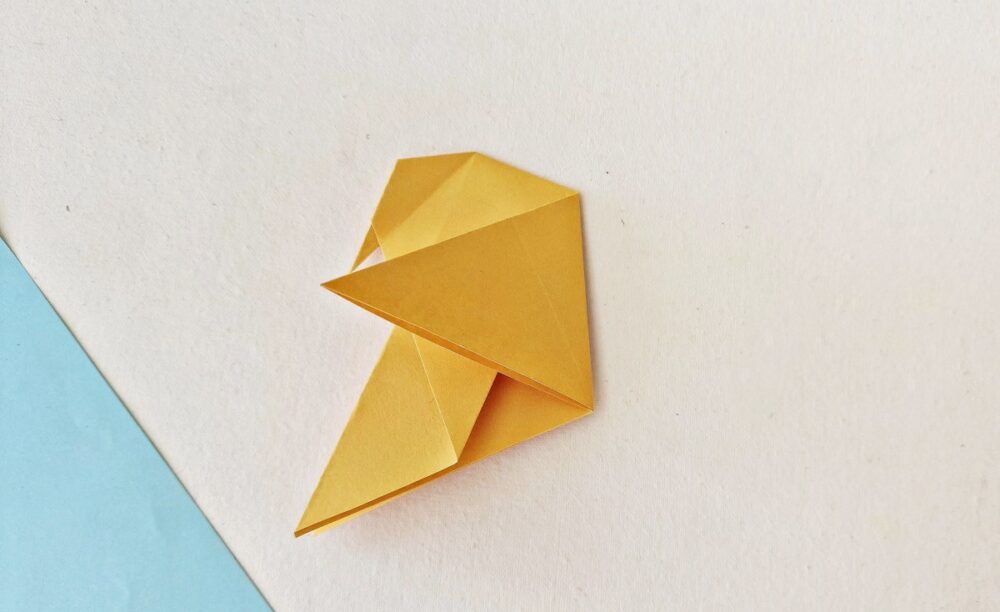
Step 16:
Fold the big triangle side along the marked dots shown in the image of this step.
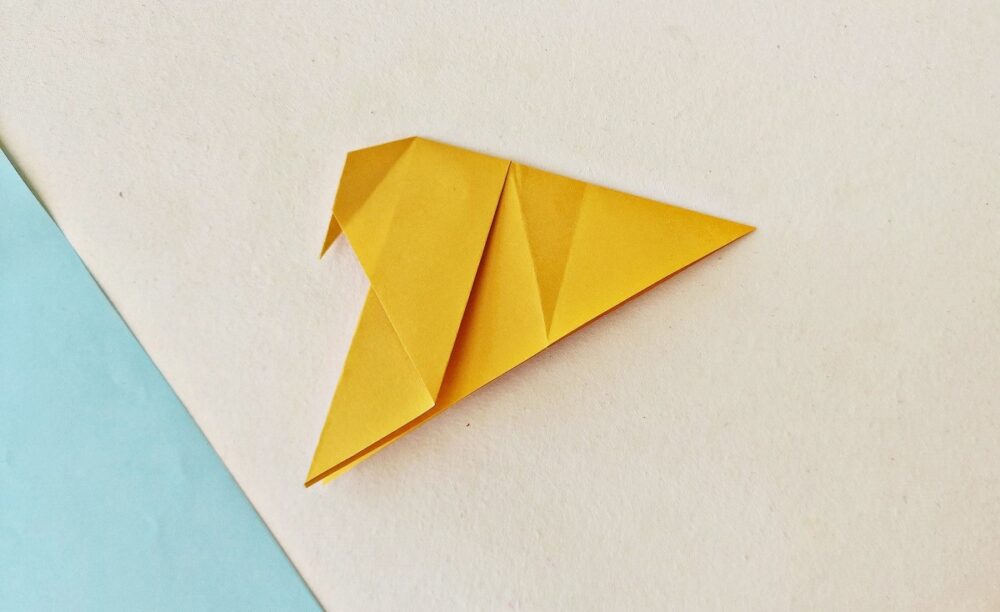
Step 17:
Unfold the last fold.
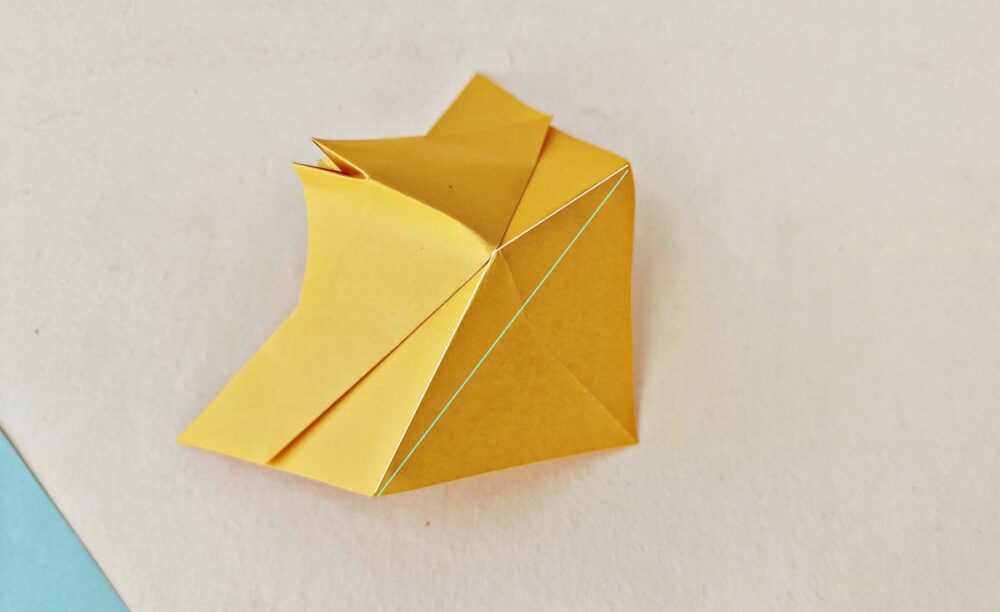
Step 18:
Open the big triangle part entirely, but keep the head part intact. Fold the pattern inwards along the blue marked line and fold the white marked edges outwards.
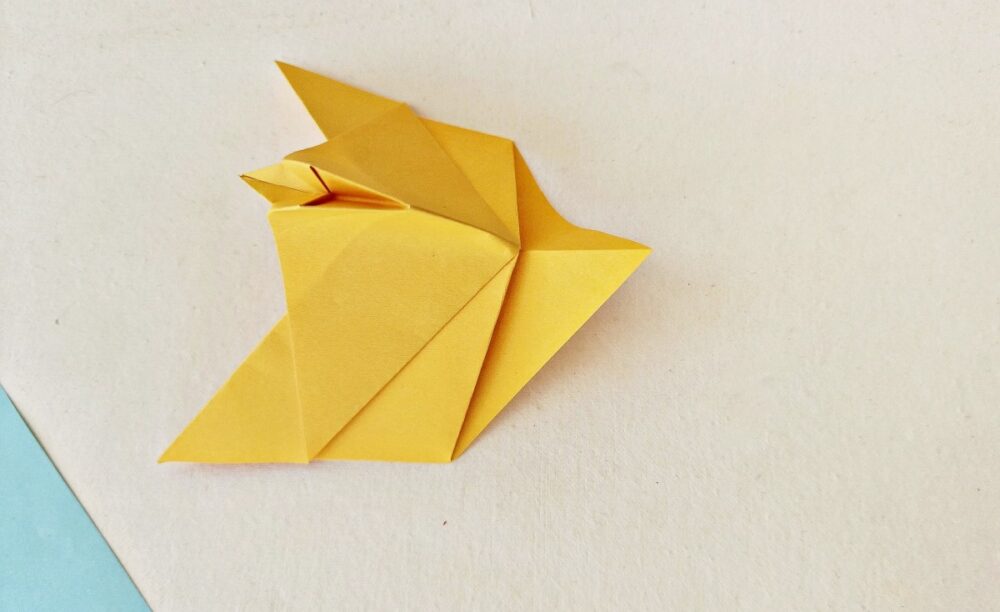
Step 19:
Fold the marked parts neatly. This will be the tail/ backside of the origami bird.
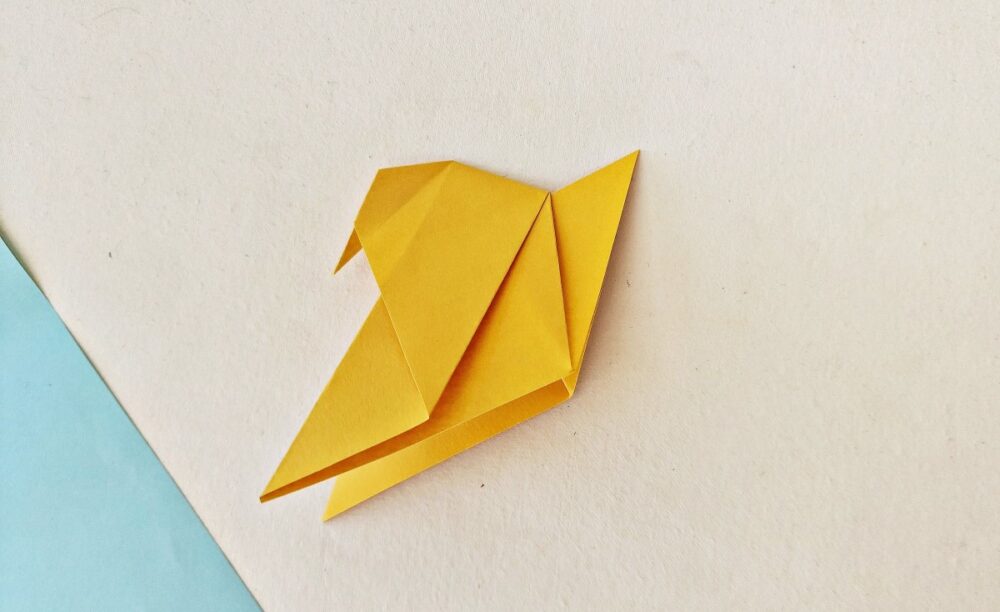
Step 20:
Fold and flatten the pattern. Getting close to finishing the origami bird now!
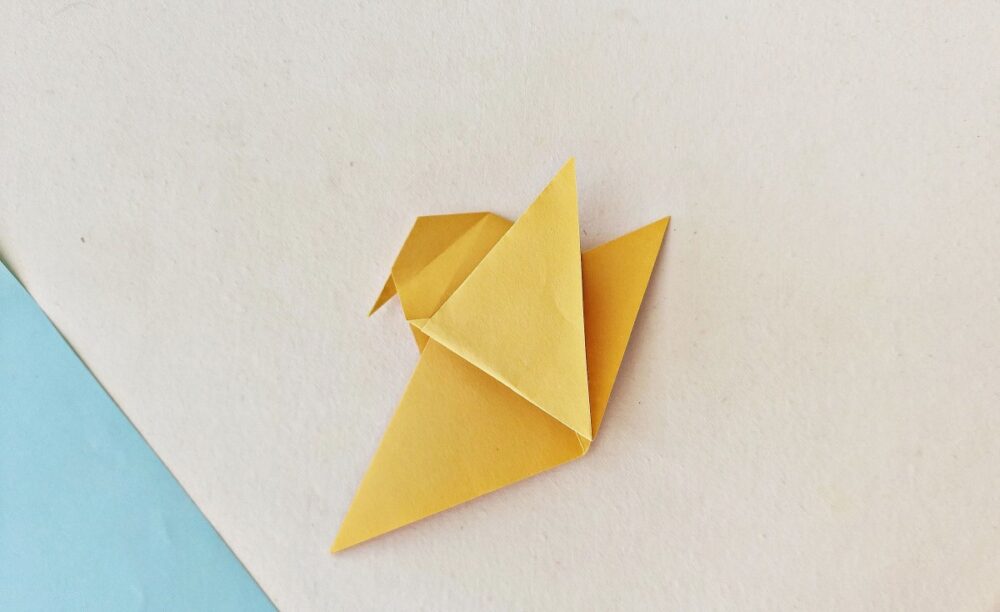
Step 21:
Fold out the top layer on the bottom side of the current pattern. This is the wing.
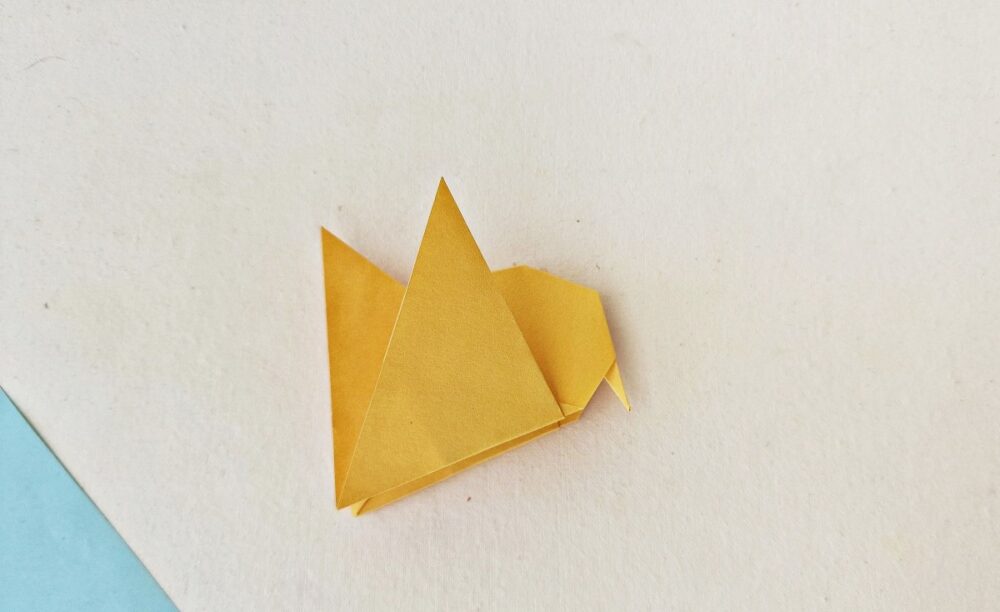
Step 22:
Turn the pattern to the other side and fold out the other wing.
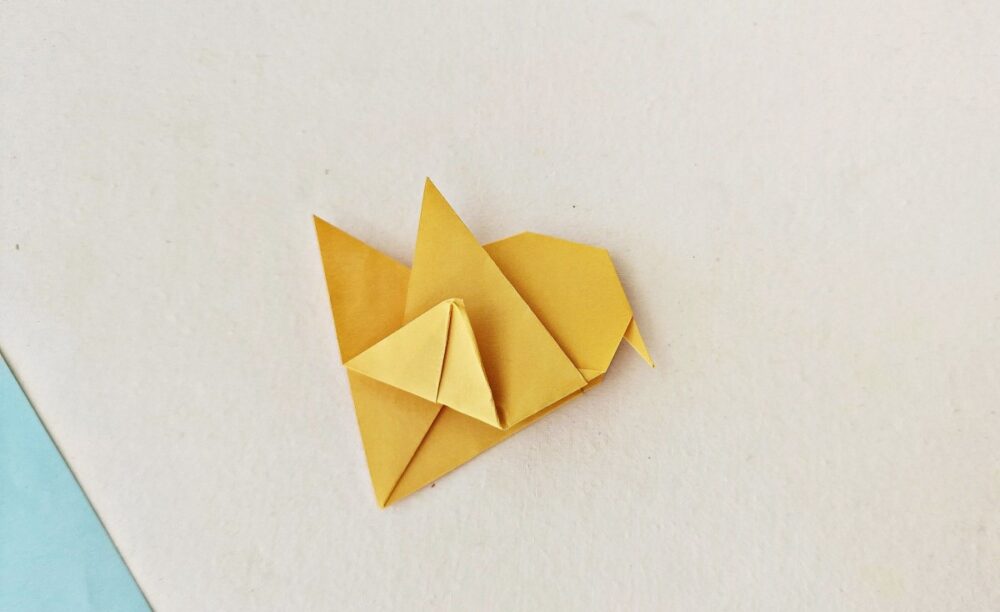
Step 23:
Now, fold the bottom side of the pattern along the bottom side of the wing.
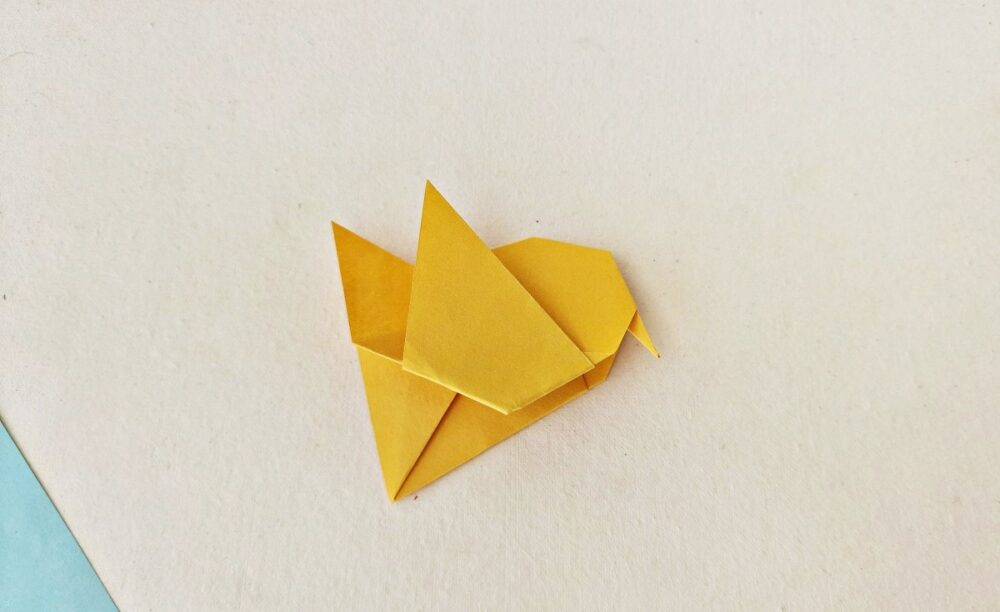
Step 24:
Unfold and then fold it inwards.
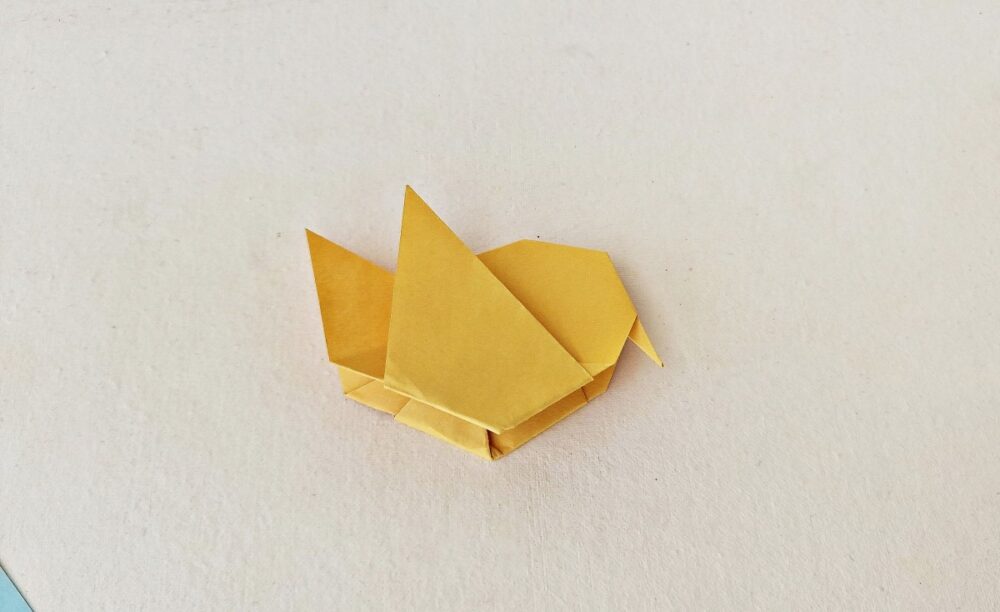
Step 25:
Similarly, fold the other side of the bottom part.
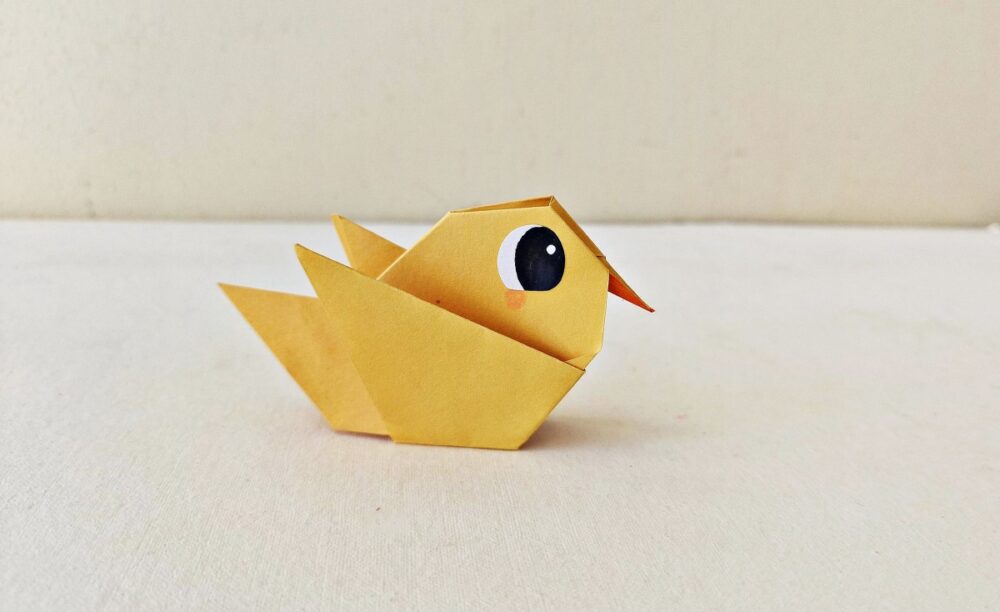
Step 26:
Cut out an eye base from white paper and use a sharpie to draw an eye on it. Glue the eye cutout on the head part of the origami bird.
Use a permanent marker to color the beak part orange (or with any color of your choice). You can add other details to the origami bird if you want to.
Our Favorite
More Origami and Paper Crafts
Here are some other paper crafts you might want to try with your homeschool class, including some simple origami projects for younger children.


