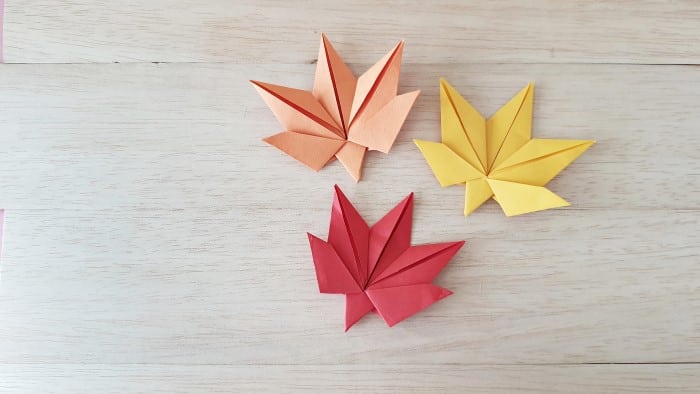
Intricate Fall Origami Leaf


Origami is a unique and intricate art form, but well worth the time spent for the enduring crafts that you can create. Here is a fall origami leaf pattern. You can do this project alongside your kids, with each of you choosing a different fall leaf color. Then at the end, you should have several origami leaves to use as fall decor.
(It’s okay if they aren’t perfect. That just adds to their personality.)
List of Supplies for Fall-Themed Origami Leaf
- Colored craft paper
- A pair of scissors
- Craft glue (optional)
Instructions for Origami Leaf
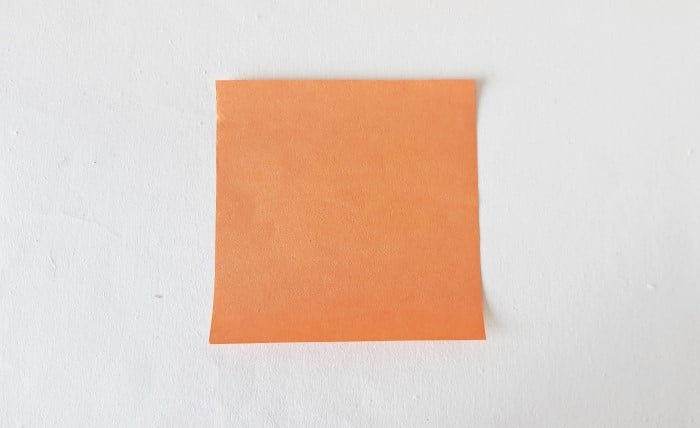
Step 1:
Select a piece of craft paper, the color of your choice, and prepare a square sheet from it. We’re using a 15cm x 15cm sheet.
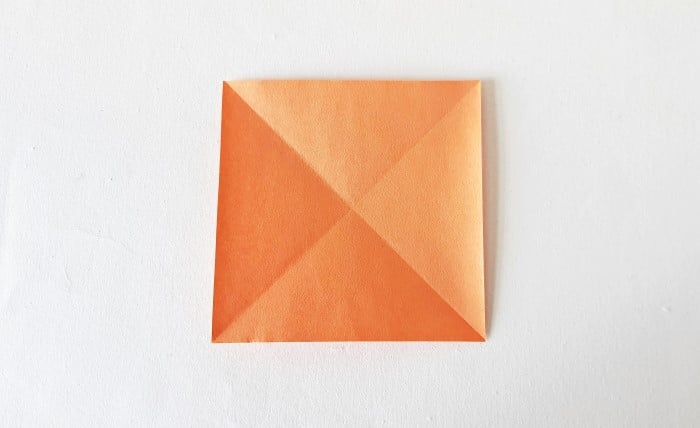
Step 2:
Fold the square sheet in half diagonally, from both sides. Unfold the diagonal folds.
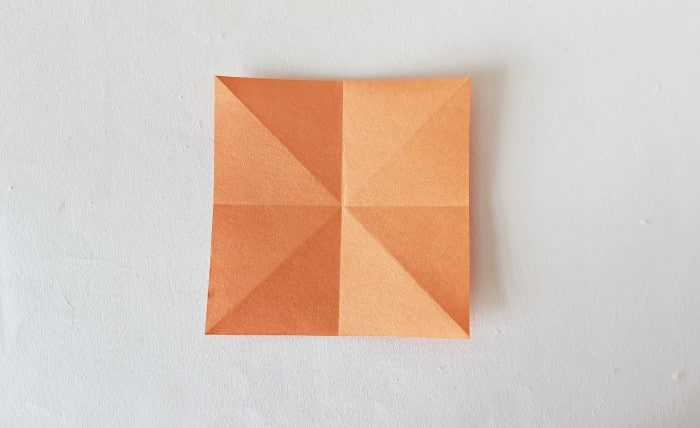
Step 3:
Turn the sheet to the other side and make vertical and horizontal folds.
Step 4:
Fold out the horizontal creases and fold in the diagonal creases.
Step 5:
Flatten the pattern.
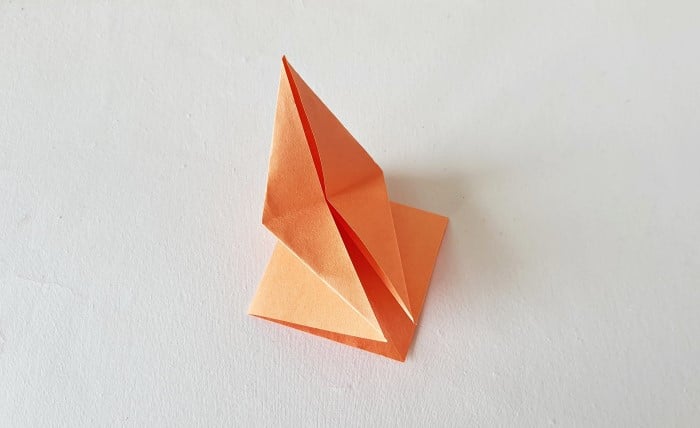
Step 6:
Let’s work on the top layer of the current pattern. Fold the right open-diagonal side along the middle crease of the current pattern.
Step 7:
Now, fold the left open-diagonal side along the middle crease of the current pattern.

Step 8:
Fold the top triangle part along its bottom edge.

Step 9:
Unfold the last 3 folds.

Step 10:
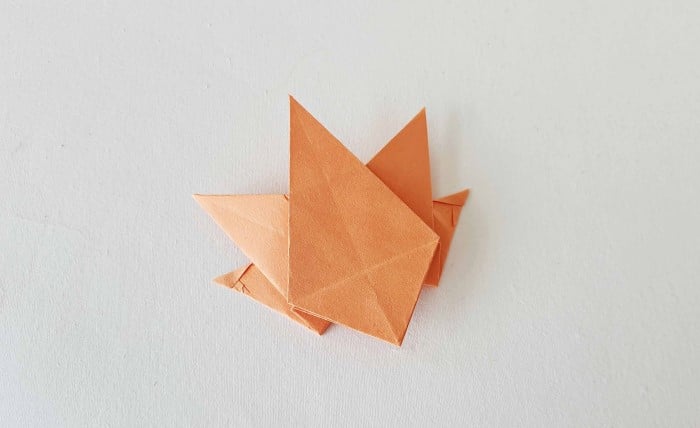
Open the top layer.

Step 11:
Make folds along the left crease lines.
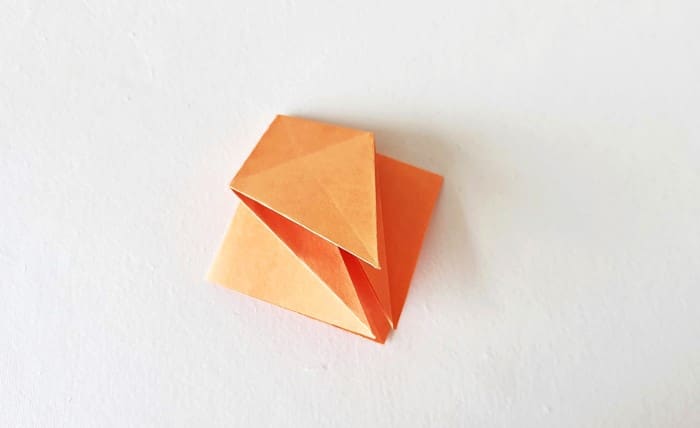
Step 12:
Similarly, make folds along the right crease lines.
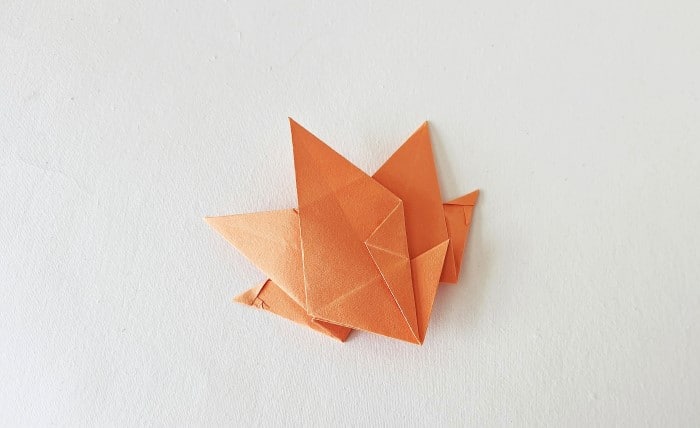
Step 13:
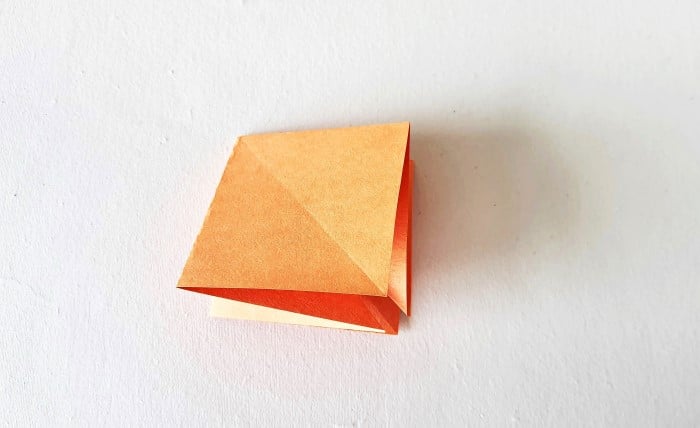
Now, flatten the top layer/ flap of the pattern.
Step 14:
Turn the pattern to the other side.
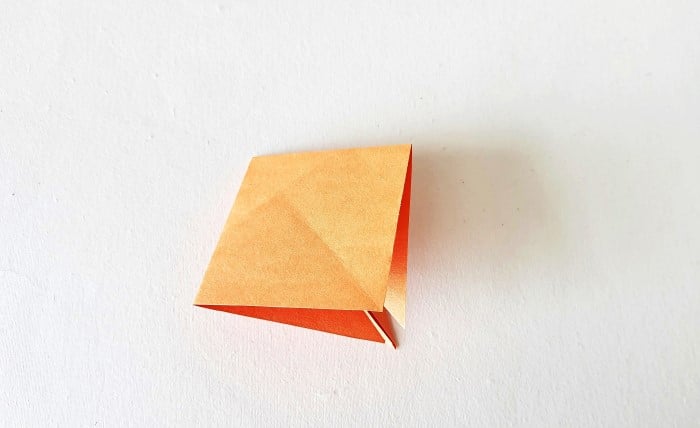
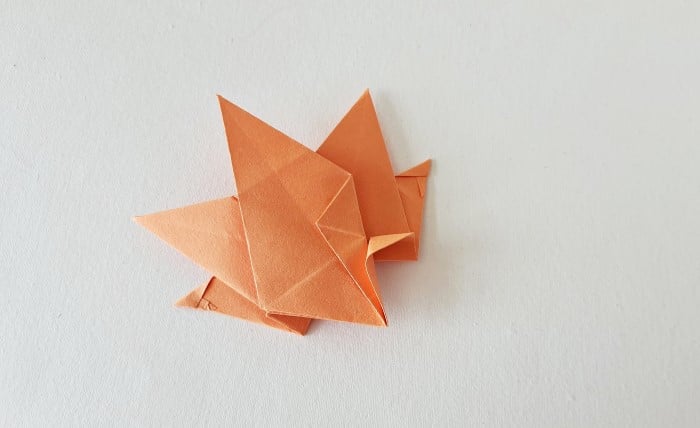
Step 15:
Similarly, fold this side as well.
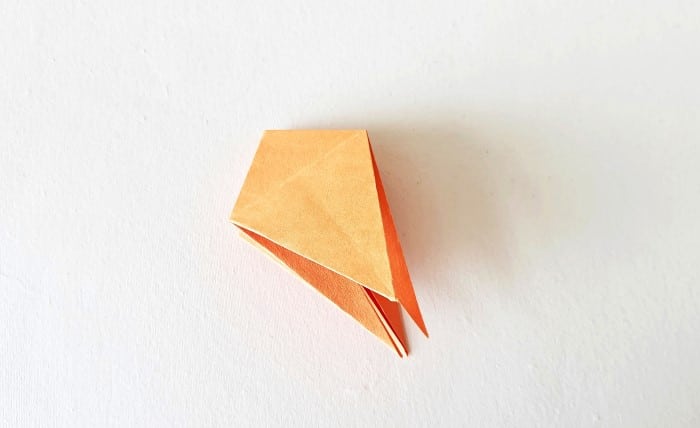
Step 16:
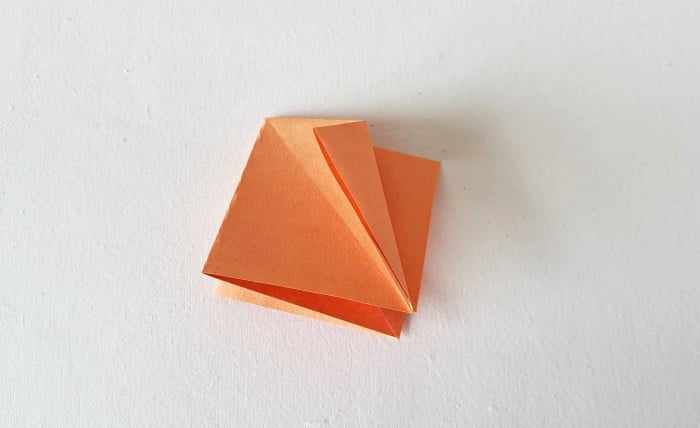
Fold up the top layer/ flap of the side you’re currently working on.
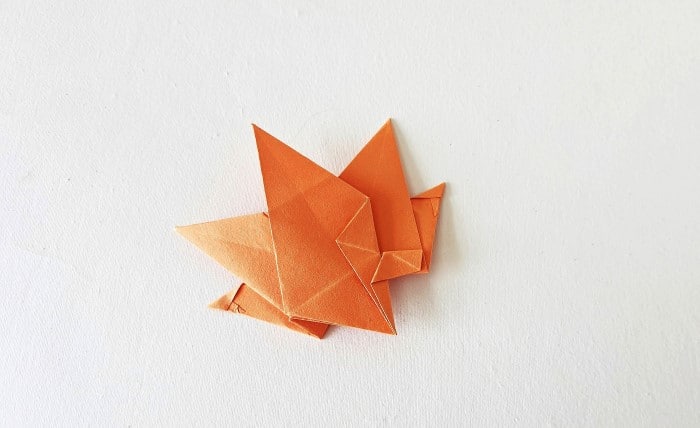
Step 17:
Fold the layer/ flap in half by joining the top pointy edge with the center point of the whole pattern.
Step 18:
Unfold the last fold.
Step 19:
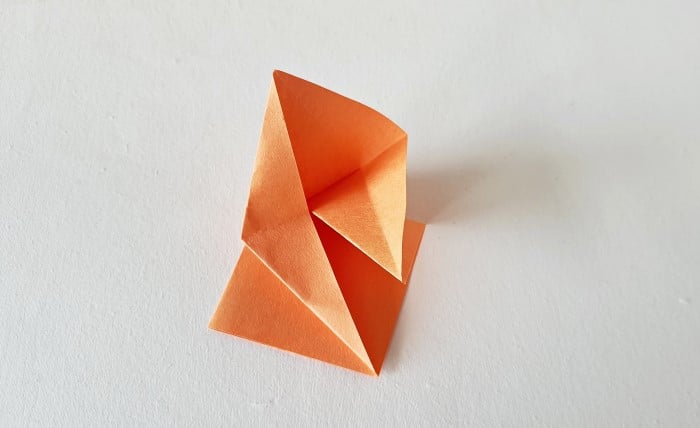
Fold up the right-middle layer/ flap.
Steps 20 & 21:
Open the left-middle layer along the outer side.
Flatten the left-middle layer with the base pattern. Then fold, flatten, and match the left-middle layer with the middle layer at a point.

Steps 22 & 23:
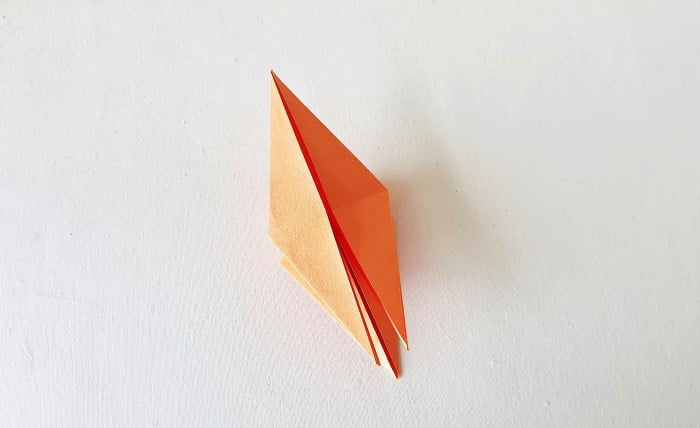
Similarly, fold and flatten the right middle layer.
Use a pair of scissors to cut a slit along the middle of the bottom triangle layer.
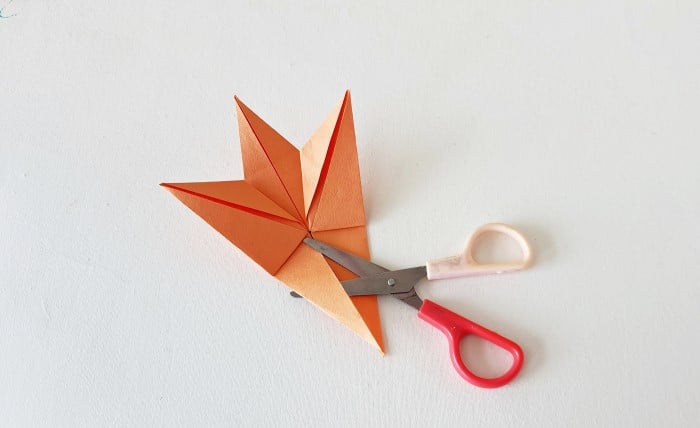
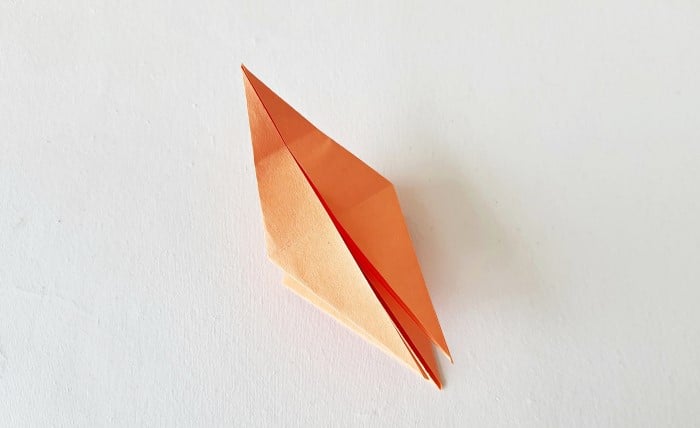
Step 24:
Fold up the left side of the slit to 60 degrees and flatten it with the left side of the origami pattern.
Step 25:
Similarly, fold up the right side of the slit.
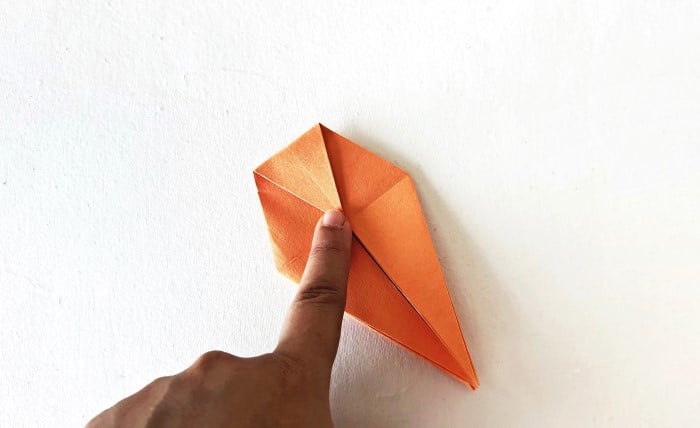
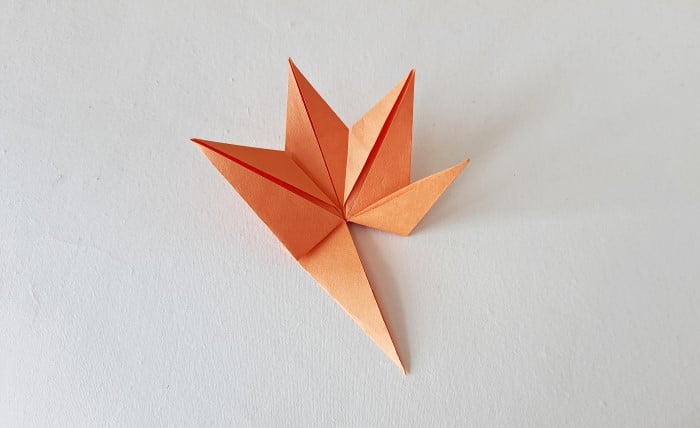
Step 26:
Turn the origami pattern to the other side.
Step 27:
Let’s work on the left bottom tip. Fold the tip slightly inside but along the outer edge.

Step 28:
Fold the tip one more time but this time align it along the inner side. Fold the right bottom tip as well.
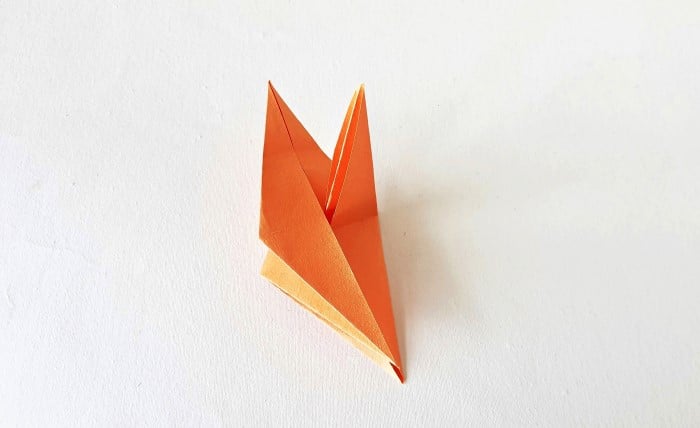
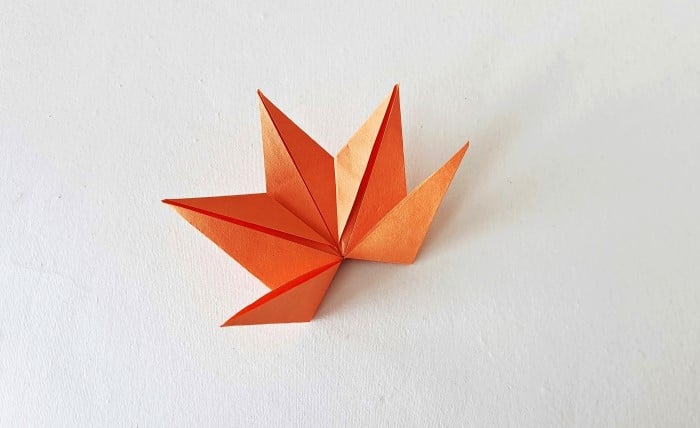
Step 29:
Notice the top layer. Fold the bottom-left diagonal side along the middle crease.
Step 30:
Now, fold the bottom-left diagonal side of the adjacent layer along the middle crease.
Step 31:
Flatten that part with the origami pattern.
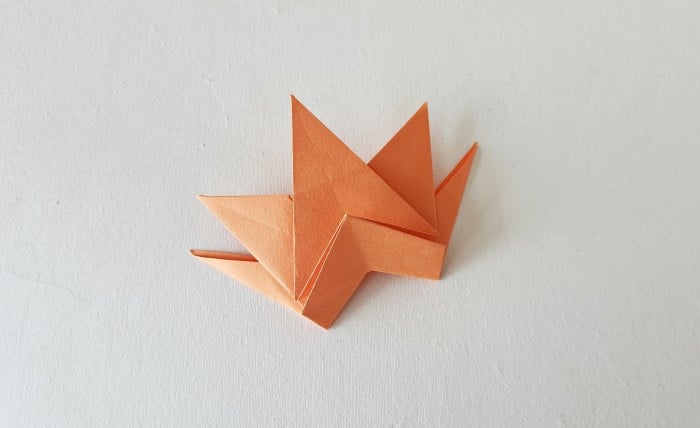
Step 32:
Similarly, fold and flatten the right side.
Step 33:
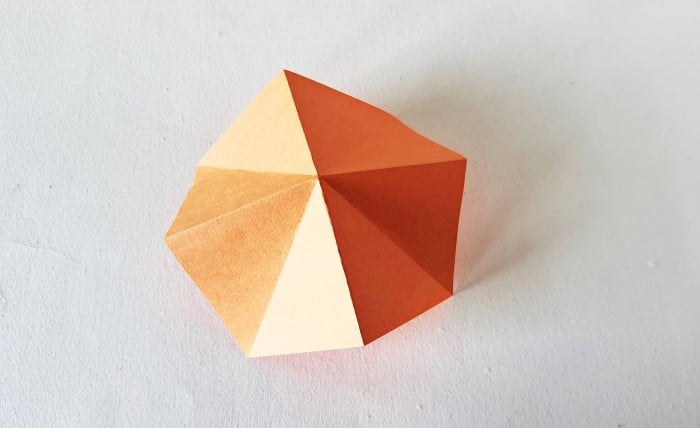
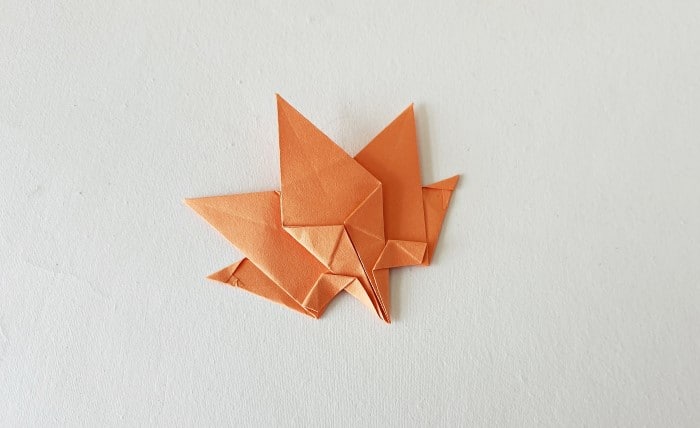
Turn the origami leaf pattern to the other side.

There you have it! Your fall origami leaf.
more fall crafts & projects you can do with your kids:
Here are a few more projects and crafts, as well as recipes, with a fall theme, that you might want to plan to do with your kids for your homeschool class.
- A Fall Leaf Nature Journal
- Autumn Nature Math Lessons
- Fun Fall STEM Activities
- Crisp Fall Pumpkin Spice Cookies
- Chocolate-Cream-Filled Halloween Donuts
- Decorative Pumpkin Paper Bag Craft
- Fall Yarn Leaf Magnets