DIY Pine Cone Christmas Tree Craft

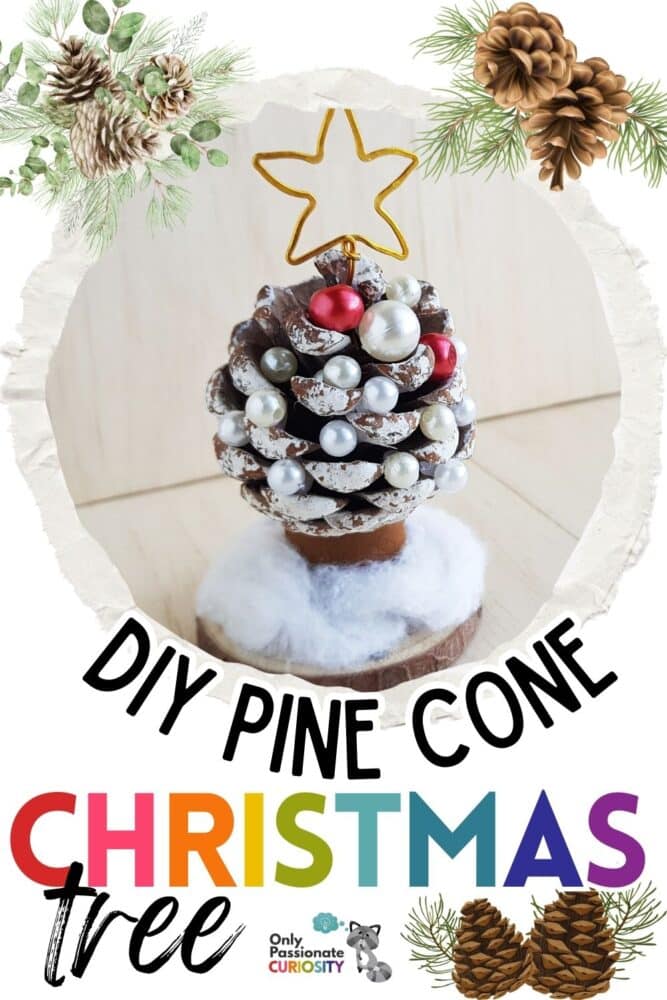

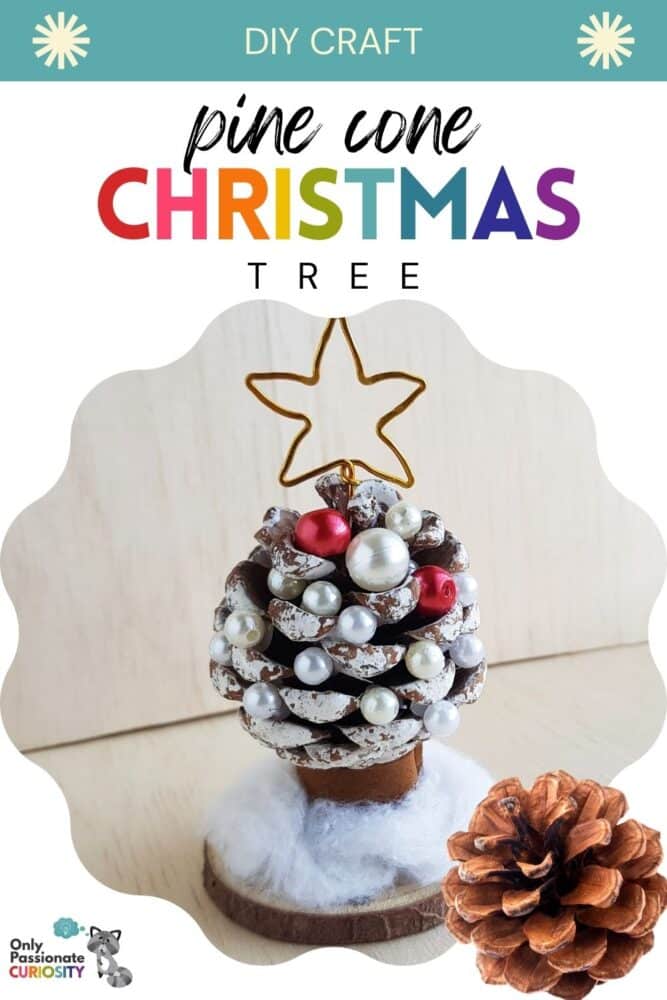

The holiday season is a perfect time for crafting, and this pine cone Christmas tree is such a cute craft! It’s easy, too. (And easy is just what we want during this busier-than-usual month, right?) Once you gather your supplies, you and your kids can make a whole collection of pine cone Christmas trees.
I love how each one will be unique, reflecting the personality of the child who made it. (I might be a little sentimental, but I love saving the crafts my kids make. So each year, when I pull out the Christmas decorations, they can find the cute things they made in years past. And no, I don’t save everything … just most things.)
Okay, let’s do this!
List of Supplies for Pine Cone Christmas Tree
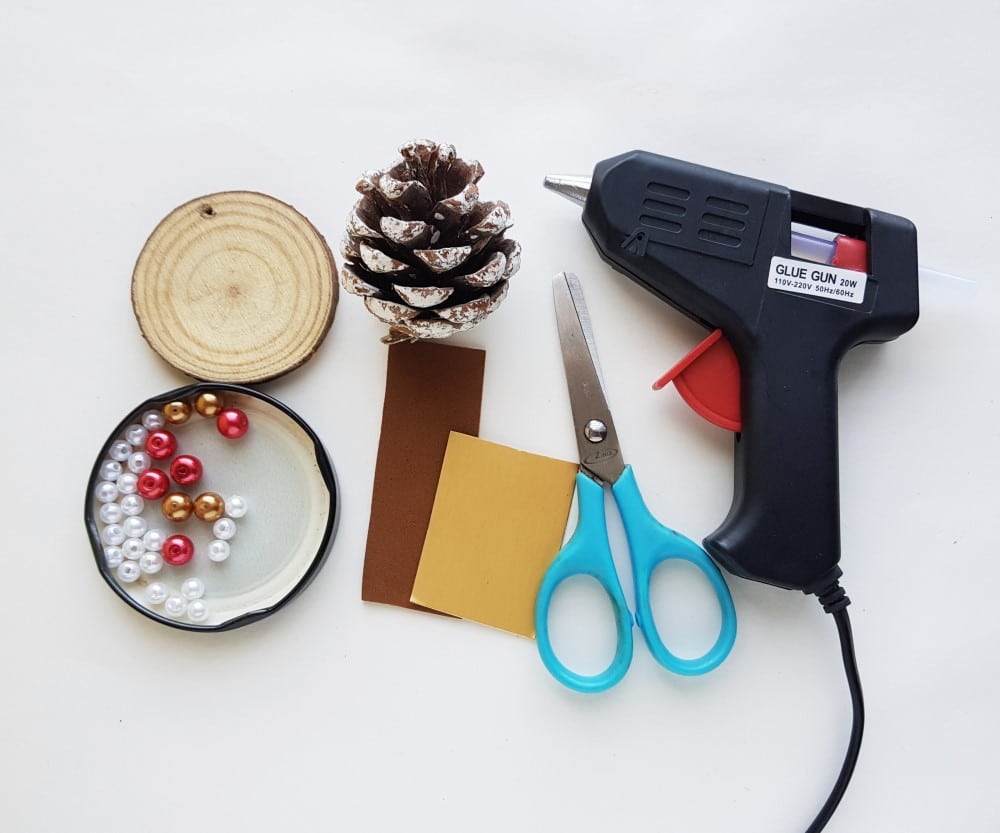
- Pine cone
- Round wood slice
- Faux pearl beads (or any kind of beads of your choice)
- Hot glue gun
- Craft foam sheet (brown color)
- Star charm
- Scissors
- Cotton
Here are a few of the supplies listed above, available on Amazon.
You might already have some of these on hand. (And if you live anywhere near a few conifers, you can probably go with your kids on a nature walk and gather your choice of pine cones.) These are affiliate links, which help us continue to post great homeschool craft projects regularly. So, thanks for your support!
How to Make the Pine Cone Christmas Tree
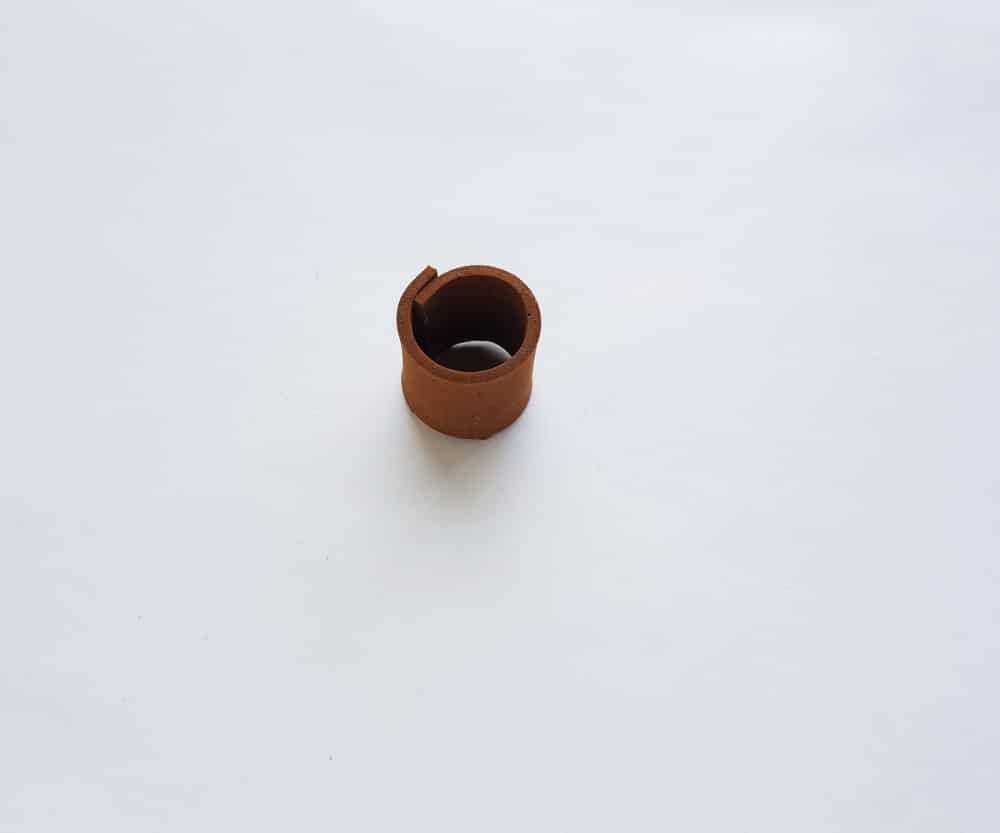
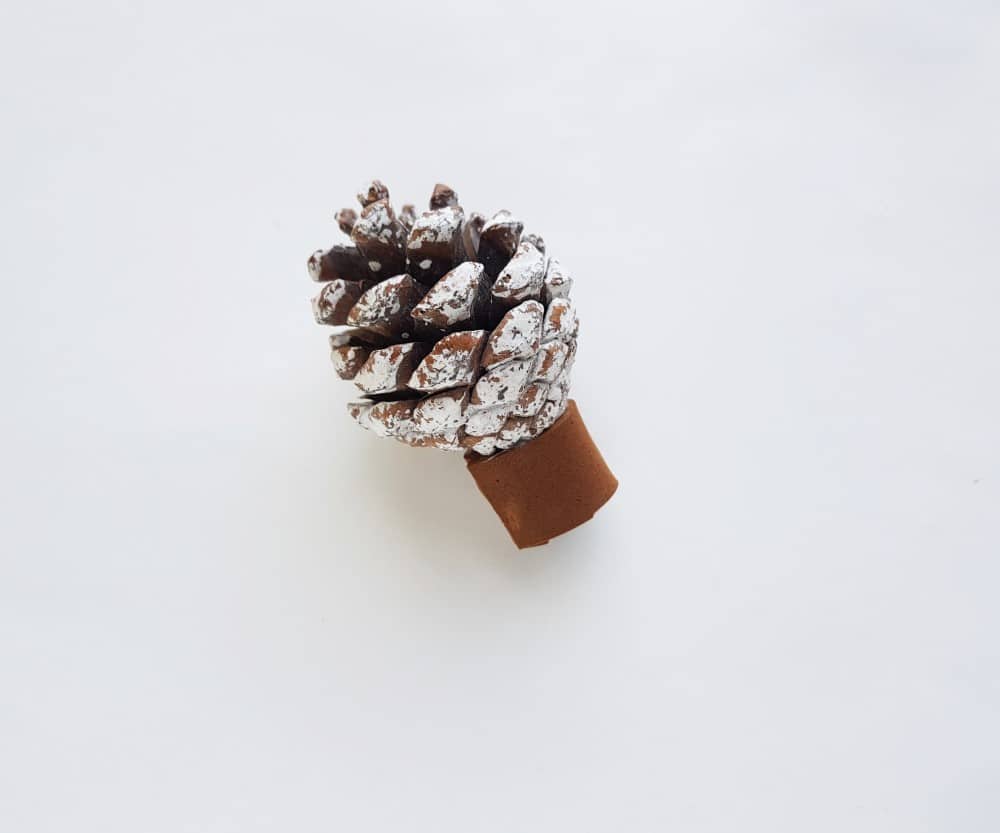
Step 1:
Cut out a small piece of brown craft foam and roll it into a tube-like pattern. Apply hot glue to secure the rolled pattern. This will be the trunk of the pine cone Christmas tree.
Step 2:
Glue the pine cone at its base on either side of the rolled foam trunk pattern.
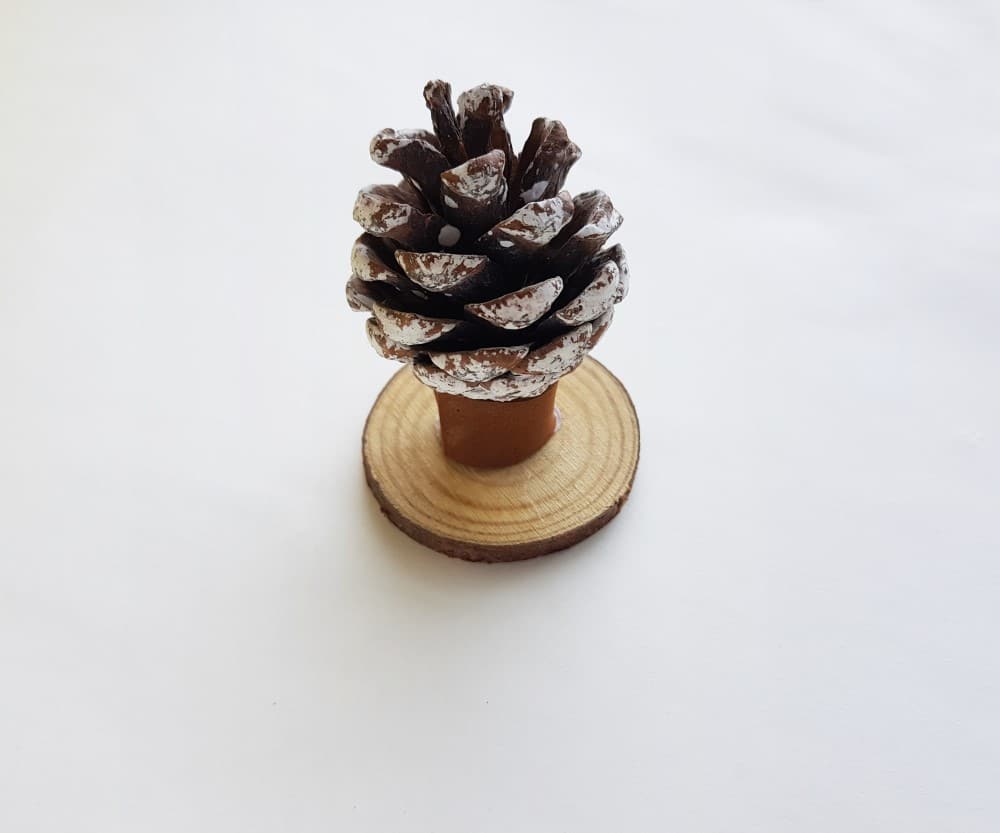
Step 3:
Now glue a wood slice on the open end of the rolled-foam tree trunk.
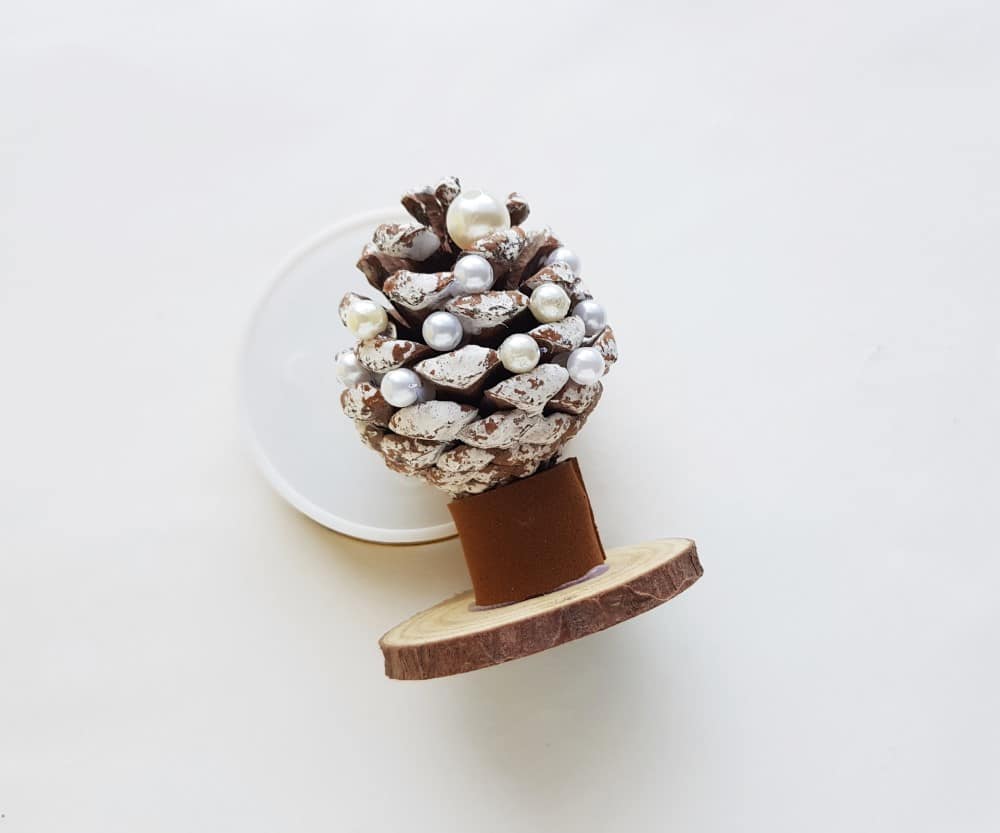
Step 4:
This next part allows you and your kids to employ some creativity to the pine cone Christmas trees that you’re making. You’ll be gluing the pearl beads to the pine cone. You can also use other colors of beads, such as red or green, to add some color. Simply apply a drop of glue wherever you want to add the beads and then place the bead on the glue.
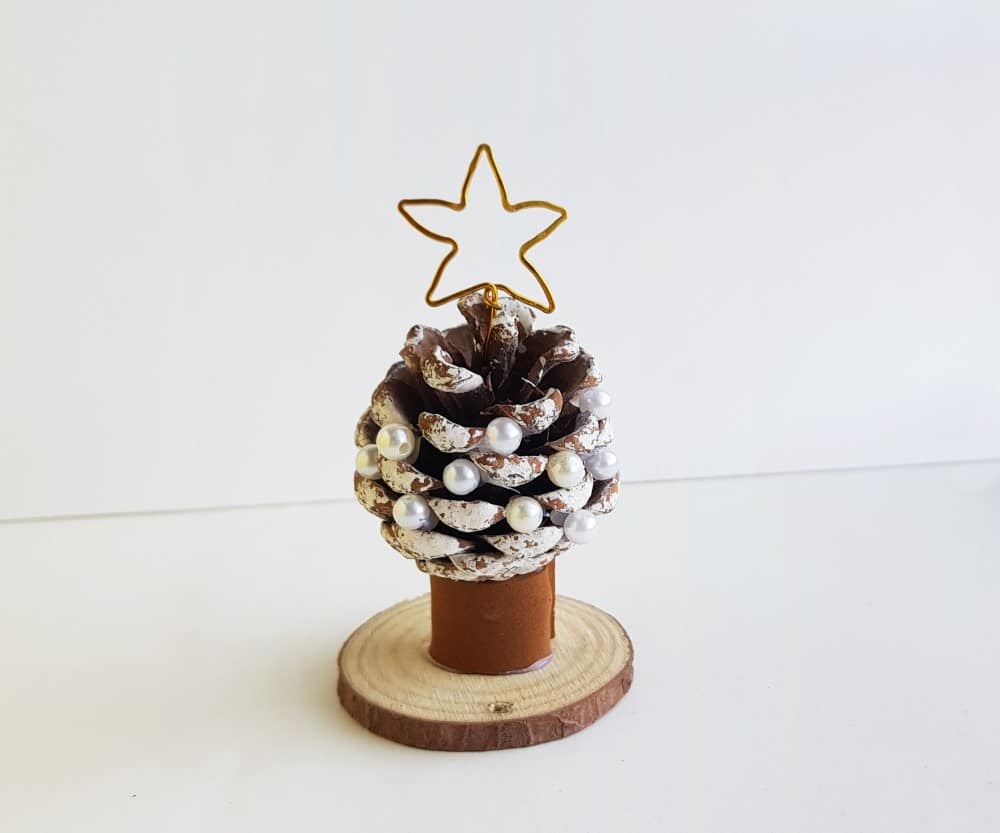
Step 5:
I am using a wire star charm to decorate the top side of the pine cone tree; you can also cut out a star shape from golden craft paper or even use golden wire and design your own star.

Step 6:
Glue the star pattern to the top of the pine cone Christmas tree.
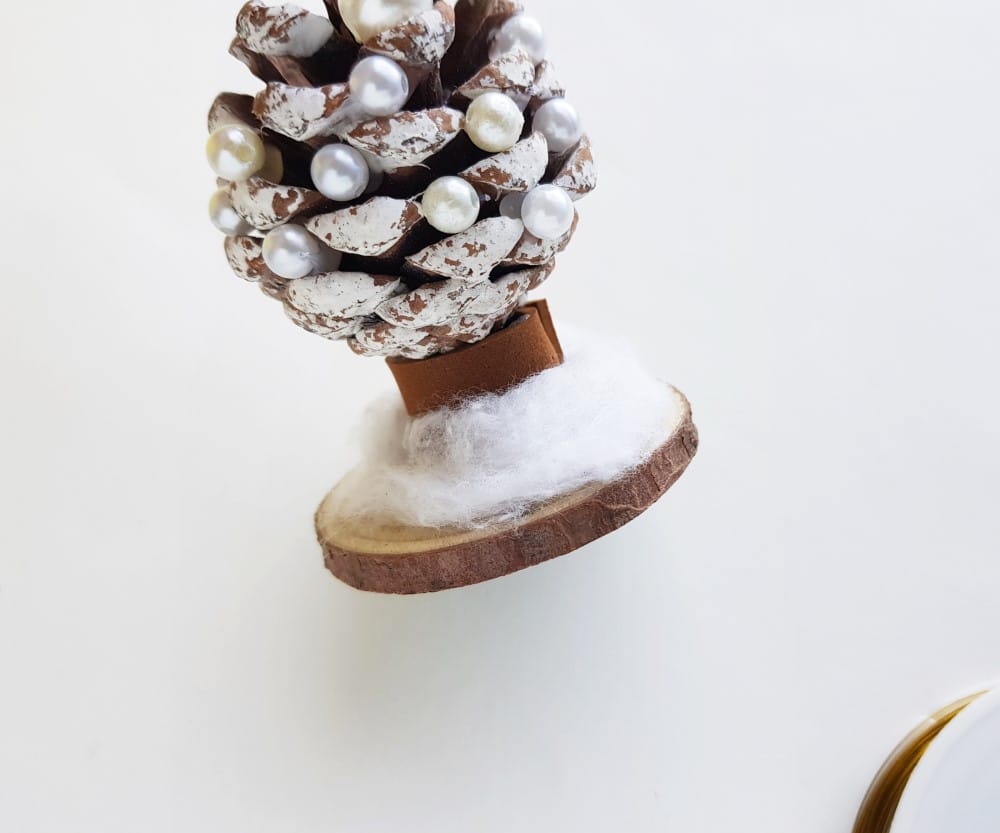
Step 7:
Although this step is optional, but you can add some white cotton on the wood slice, around the tree to give a little wintry vibe to the craft.
More Christmas Crafts & Projects
- Christmas Poinsettia Origami Craft
- Popcorn Cranberry Garland
- Christmas Kindness Calendar
- Christmas Tree I Spy
- Decorative Vintage Christmas Tree Craft