Clay Pig Craft


Learning comes alive when kids create something with their own hands, and this clay pig craft is a perfect example. With just a few simple supplies, children can shape, design, and decorate their own adorable pig while practicing creativity and fine motor skills.
This easy clay pig craft works well for homeschool lessons about farm animals, storybook activities, or simply a fun afternoon project. Kids love watching a small lump of clay turn into a playful pig, and the finished creation becomes something they can proudly display.
If you’re looking for a pig craft that is simple, engaging, and memorable, this clay project is a great place to start.

Fun Facts about Pigs!
Pigs are fascinating animals with a long history of domestication and a wide range of interesting traits. Did you know there is a National Pig Day on March 1st? That would be a perfect time to do this fun clay pig craft with your kids as part of a mini unit lesson about pigs. So here are some facts about these creatures:
🐖 Domestication and History
- Pigs have been domesticated for thousands of years, dating back to the earliest times in the regions of Turkey and China.
- Domesticated pigs are descendants of the wild boar, and the species is now known as Sus scrofa domesticus.
- They were among the first animals to be domesticated for meat, fat (lard), and leather.
📊 Population and Farming in the U.S.
- As of recent USDA estimates, there are roughly 70 to 75 million pigs on farms in the United States at any given time.
- The largest producers are Iowa, North Carolina, and Minnesota.
- The U.S. is one of the top three pork-producing countries, alongside China and the European Union.
📏 Size Range
- Pigs vary widely in size depending on the breed:
- Miniature breeds, like the Vietnamese Pot-bellied pig, weigh 100–150 lbs when fully grown.
- Commercial pigs raised for meat, like the Yorkshire or Duroc, can weigh 500–700 lbs or more.
- The largest pig ever recorded, a Poland-China hog named “Big Bill,” weighed a whopping 2,552 lbs in the 1930s.
🧠 Temperament and Intelligence
- Pigs are extremely intelligent, often ranked just below primates and dolphins. They can:
- Learn tricks and commands
- Recognize their names
- Use mirrors to find hidden food
- They are social animals, forming complex hierarchies and bonds.
- Generally docile and curious, though they can be stubborn or aggressive if threatened or improperly handled.
🍽️ Diet and Behavior
- Pigs are omnivores, meaning they eat both plant and animal matter.
- They root with their snouts—a natural behavior to find food underground.
- Despite the stereotype, pigs are clean animals if given enough space—they designate separate areas for eating, sleeping, and defecating.
🐽 Fun Pig Abilities
- Pigs have an excellent sense of smell and can detect food buried underground.
- Some pigs are trained to hunt truffles, a valuable type of mushroom.
- Pigs can also dream while they sleep, just like humans and dogs.
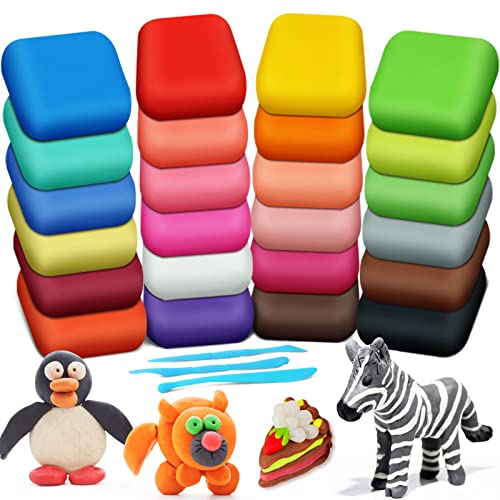
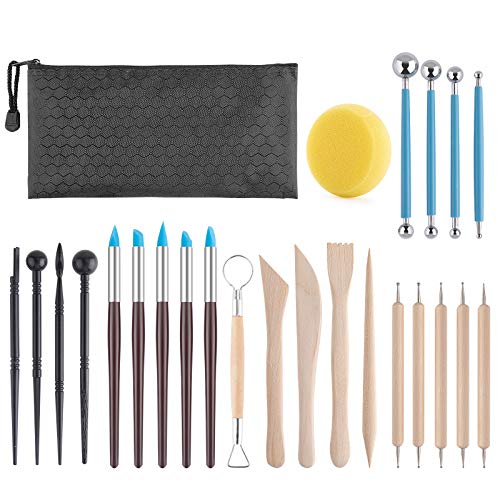
List of Supplies for Clay Pig Craft:
Now it’s time to turn a lump of clay into your own adorable pig. Let’s get started with the clay pig craft!


Instructions for The Clay Pig Craft

Step 1
Take two portions of light and dark pink clay. The light pink clay is for the head and body of the clay pig, while the dark one is for the details.

Step 2
Take the light pink clay and roll it to form a circular square shape. The head base is ready.

Step 3
Take a small ball of light pink clay and half the amount of dark pink clay for the ears.

Step 4
Take the light pink clay and roll it on one side to give it a teardrop shape. Then flatten it.

Step 5
Do the same with the smaller ball of dark pink clay and place it as shown in the picture.

Step 6
Pinch the bottom part together to complete the clay ear pattern.

Step 7
Now poke a small hole on the top of the head base as shown in the picture using a small ball tip tool.

Step 8
Now insert the pinched part of the ear into the hole and adjust as needed.

Step 9
Similarly, attach another ear on the top side of the clay head base.

Step 10
Roll a small amount of dark pink clay and form a disc shape. Use a small ball tip tool to add the details for the pig’s nose.

Step 11
Attach the nose to the head of your clay pig.

Step 12
For eyes, make a small flat circular shape with white clay. Add a smaller black flat circle on top. Add a tiny white circle on the inner corner for detail. Attach them to the head.

Step 13
Take a chunk of light pink clay and roll it to form a teardrop shape.

Step 14
Press the wider part against a smooth and hard surface to make it flat.

Step 15
Poke a hole on the flat side using a ball tip tool or using the back of a pencil. This helps the clay to firmly stand on its own.

Step 16
Poke another small hole on top (opposite to the previous hole) so that we can firmly place the head of the clay pig on the body.

Step 17
Attach the head. Then, make two rope shapes for the hands and attach them as shown in the image.

Step 18
Make smaller ropes for the legs. Attach them along the curve of the body on two sides. Your clay pig is done! Allow the clay to dry overnight.
Related Crafts and Projects
If you’re in search of other projects that go well with this one, we’ve got you covered! While you have your clay out, here are a few more great crafts you can make with clay.