Clay Love Gnome Craft
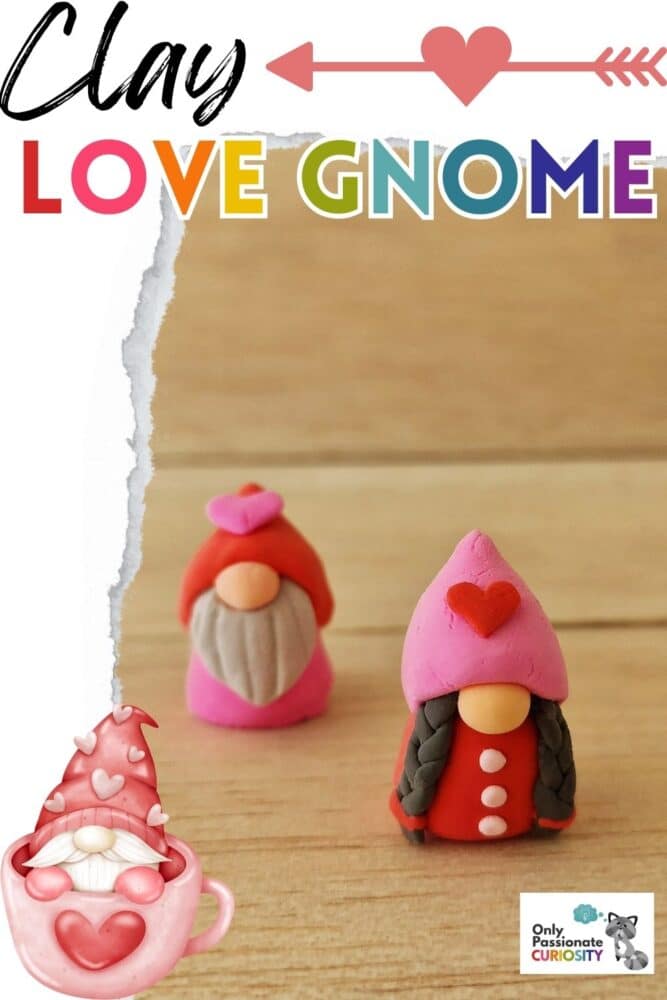
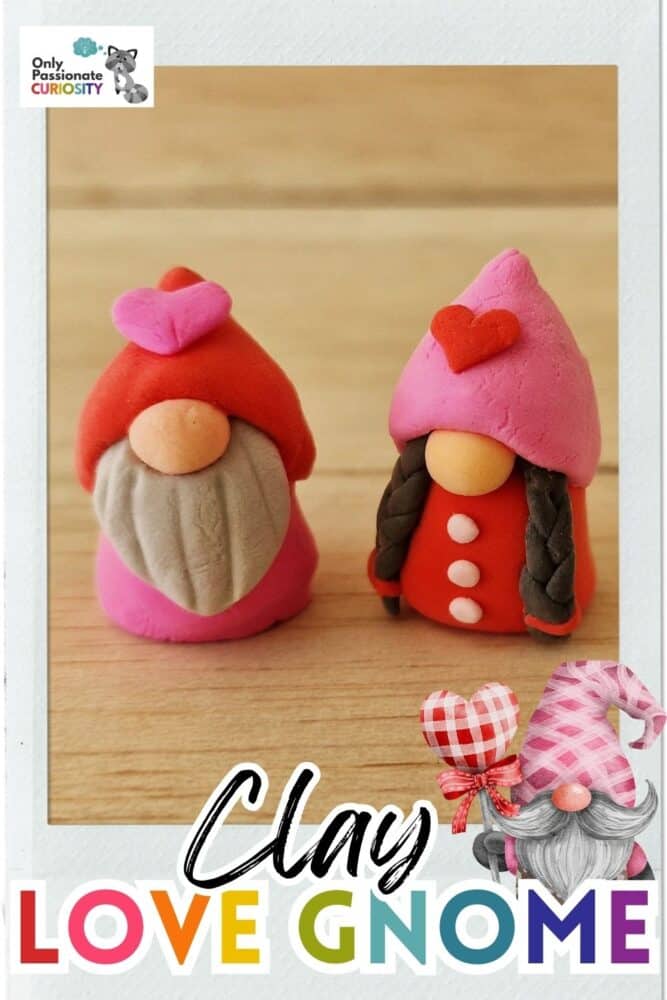
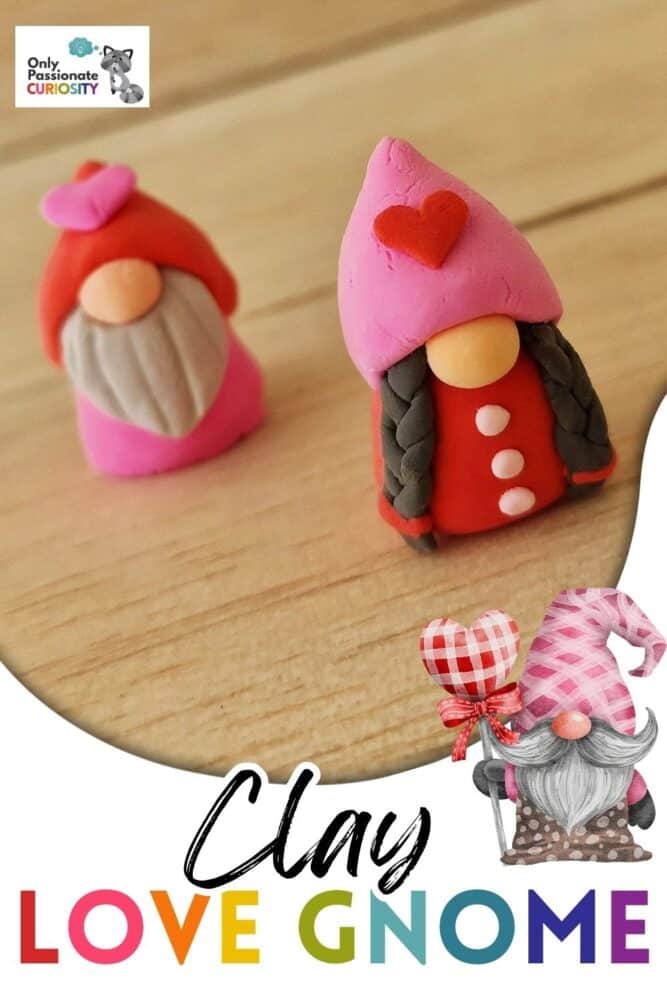
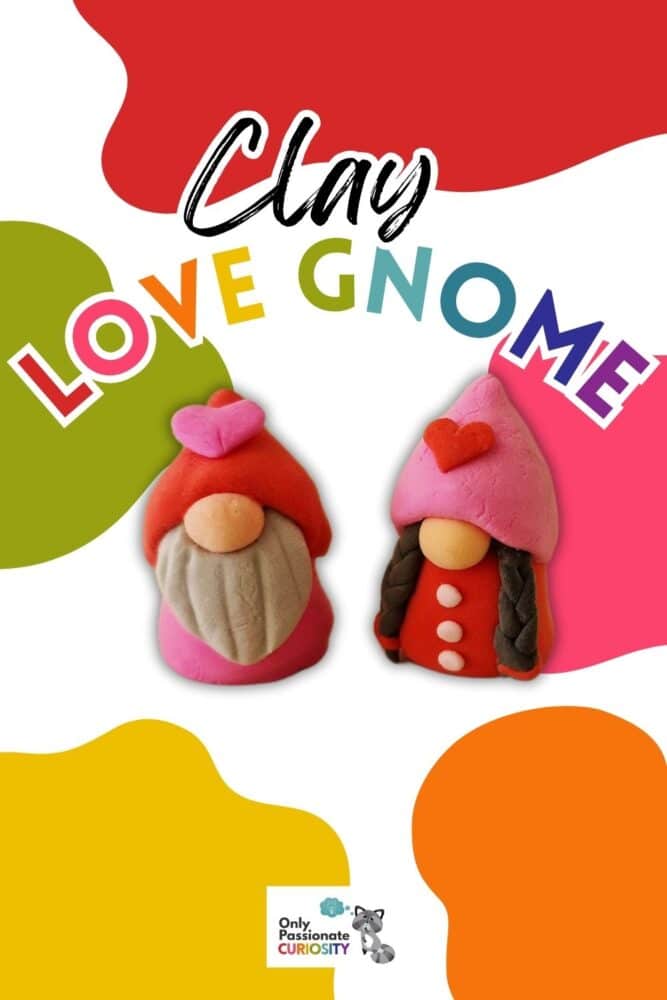
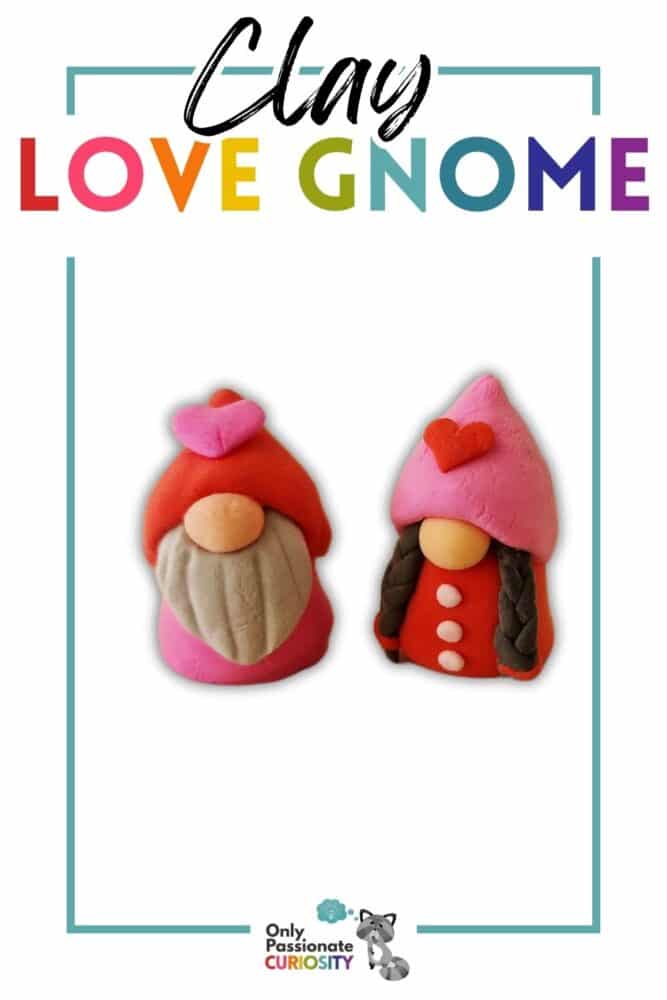
Working with clay can be a relaxing and creative practice, whether you’re creating something on your own or with your kids. These clay love gnomes are the perfect craft activity for this time of year!
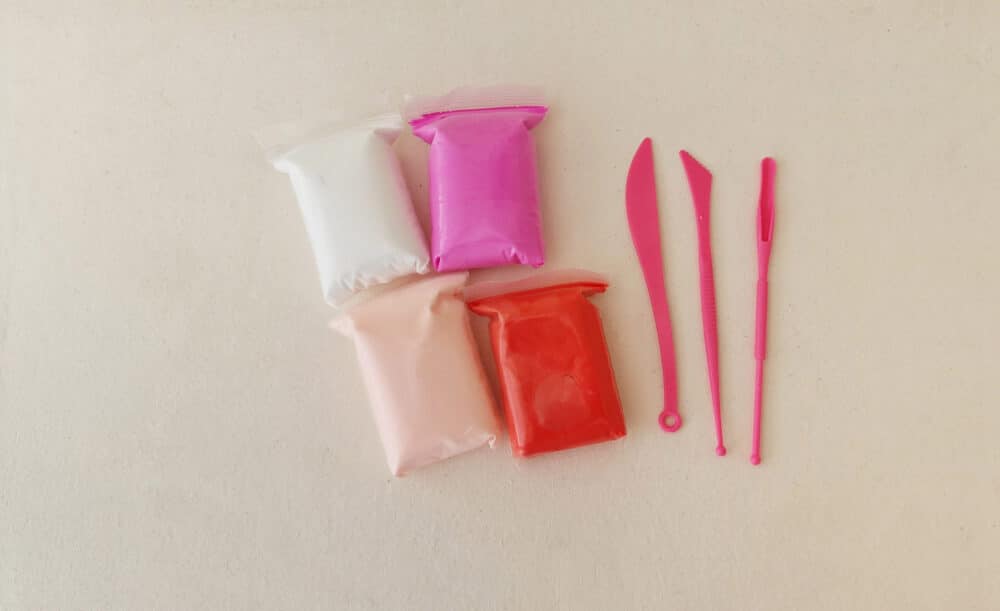
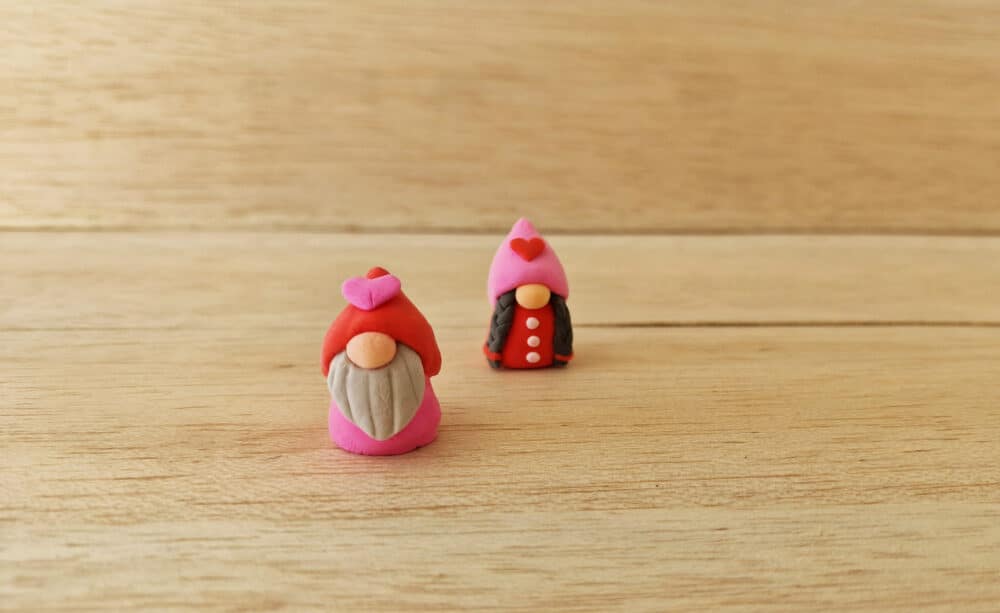
You can, of course, choose your own colors, but the ones suggested in the images below are ideal for a Valentine’s Day couple of clay love gnomes.
List of Supplies for Clay Love Gnomes
Instructions for the Clay Love Gnomes
Step 1:
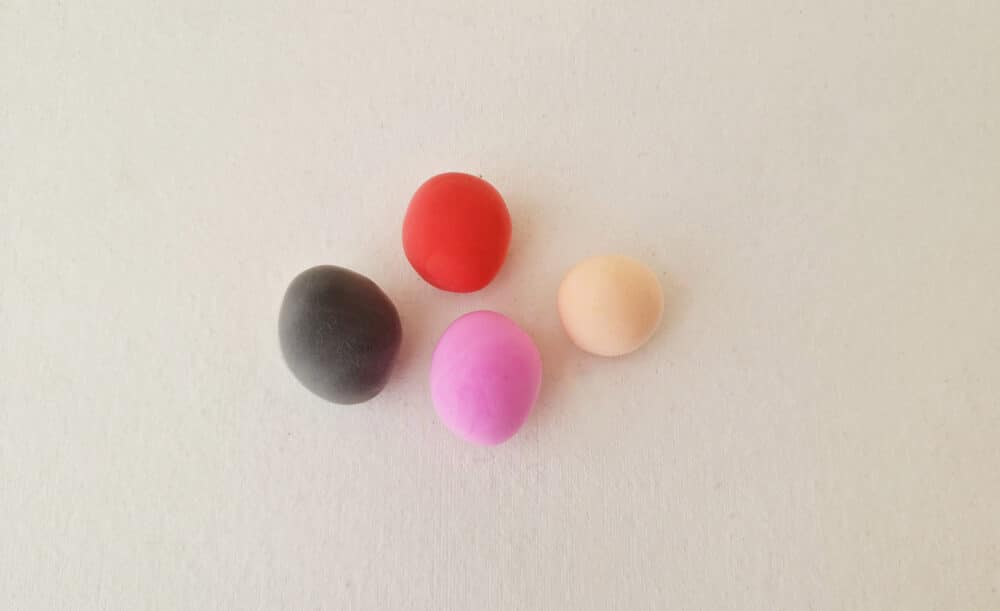
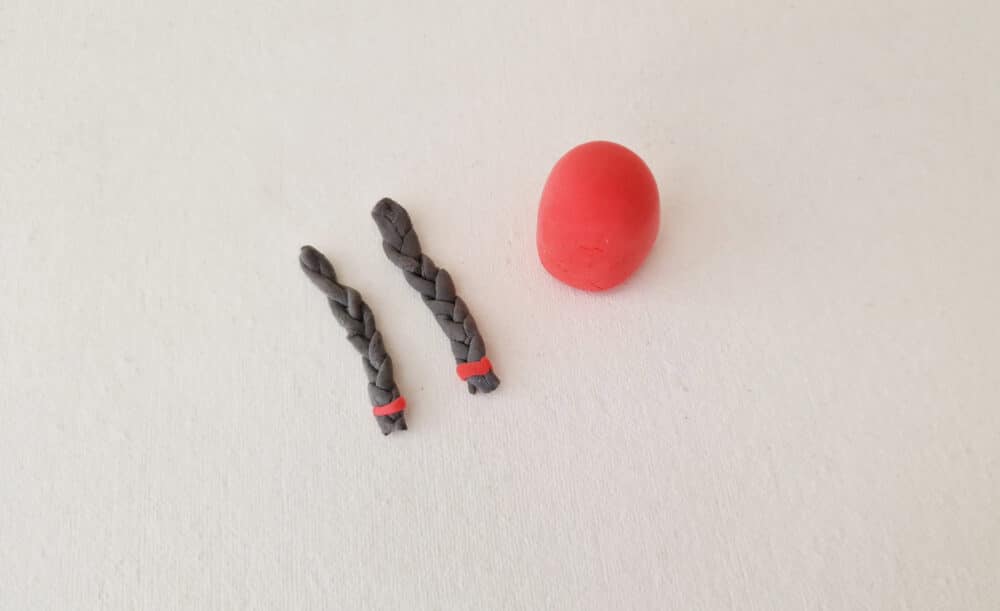
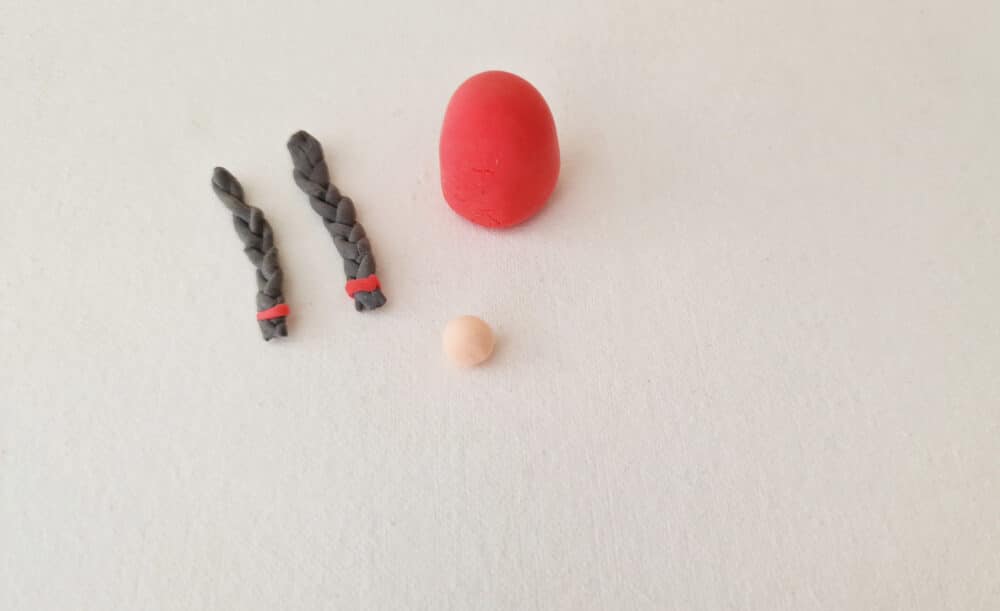
Select different colored clays for the love gnome pair. You’ll need four different colored clays for this craft, for the nose, hat, dress, and hair or beard. Take out enough clay for each part and roll them into smooth ball shapes.
Step 2:
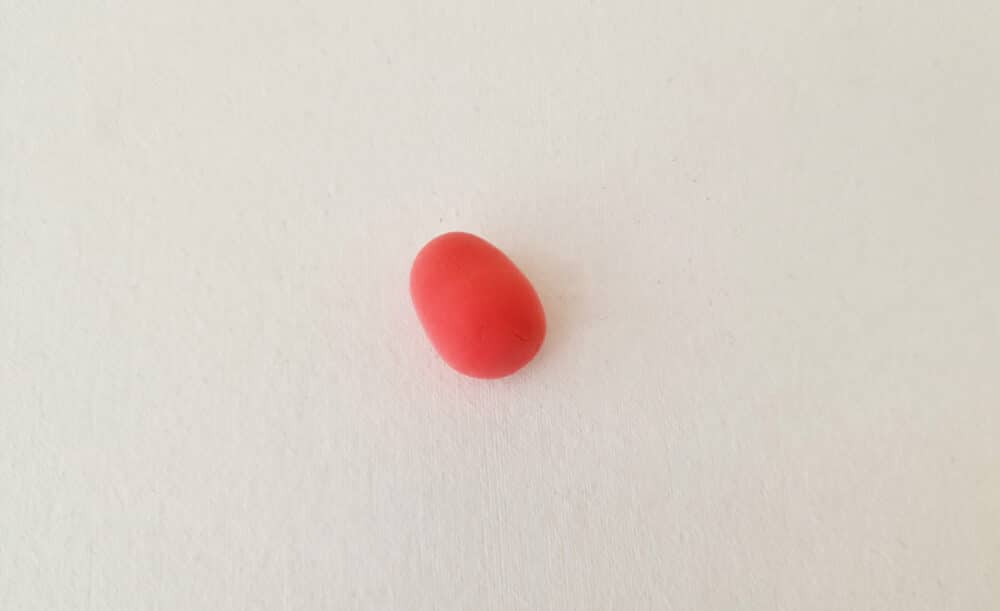
Take the clay ball selected for the dress and roll it into a cylinder-like shape.
Step 3:
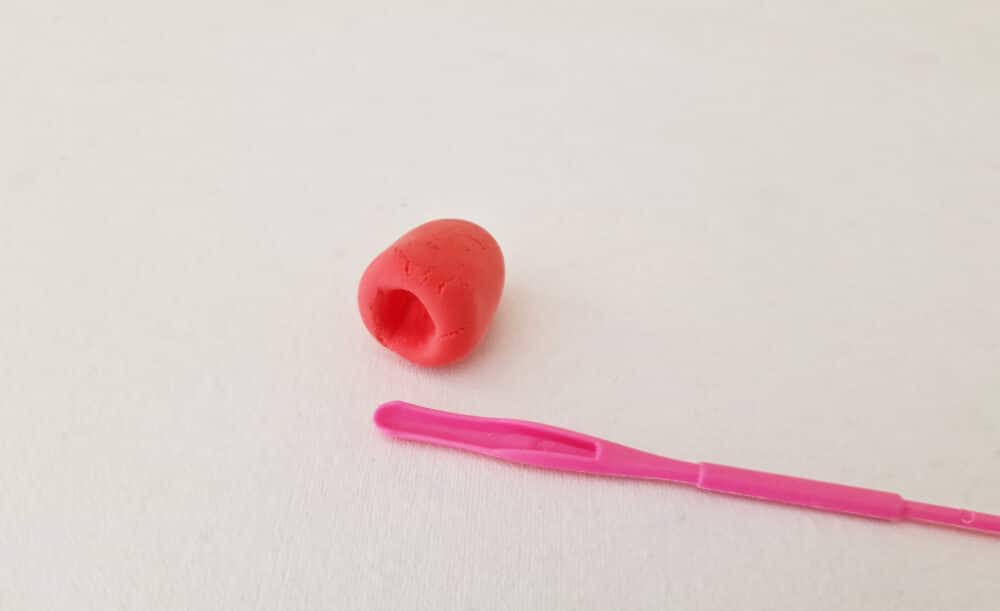
Use a round object or clay tool to make a small hole at any one end of the cylinder-like clay shape. This will be the bottom side of the gnome. The hole at the bottom side will help the gnome stand nicely.
Step 4:
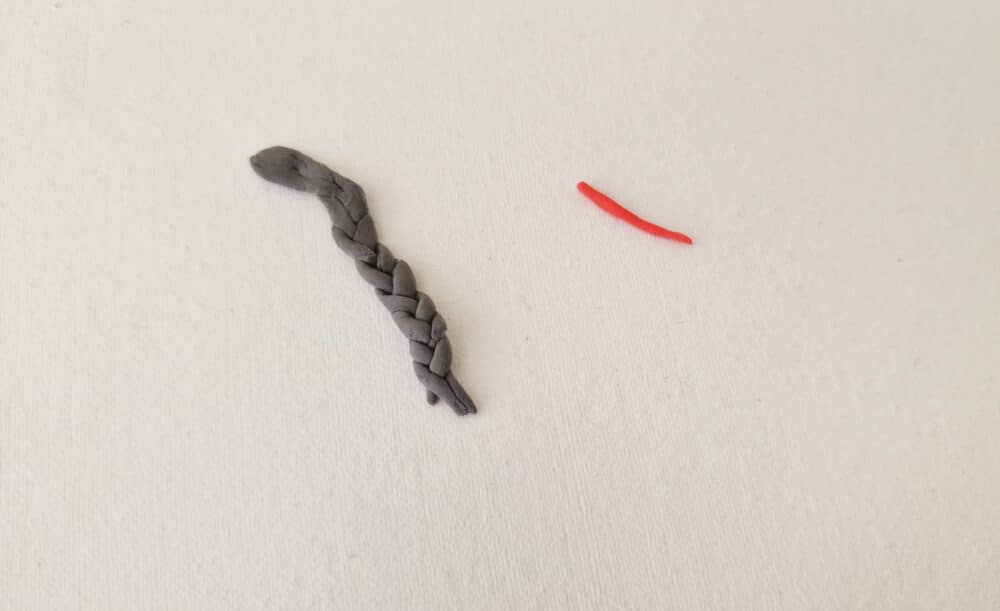
Now, let’s make the hair of the girl gnome. Take some clay selected for the hair and roll it into a very thin rope.
Step 5:
Divide the thin clay rope into 3 even parts and join them together at one end.

Step 6:
Make a braided pattern with the 3 parts of clay.
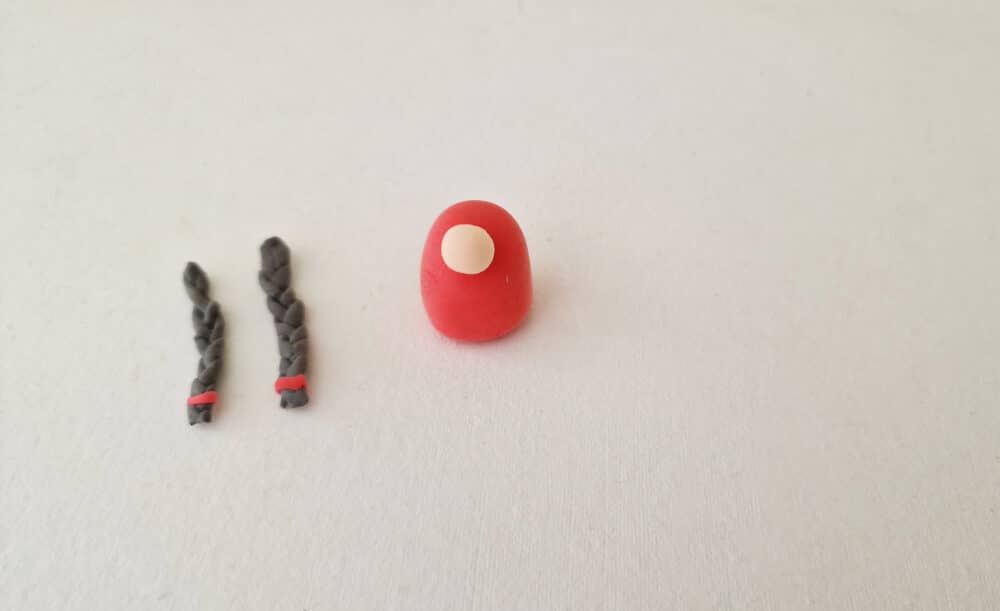
Step 7:
Similarly, make one more clay braid of the same size and attach small, thin clay pieces as ribbons at the open ends of the braids.
Step 8:
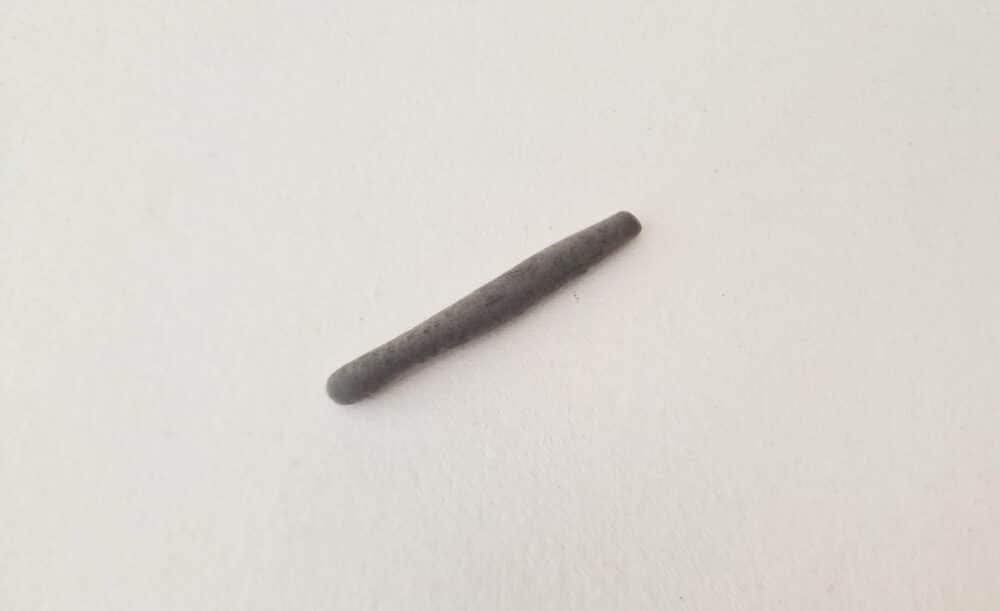
Prepare the nose shape of the gnome.
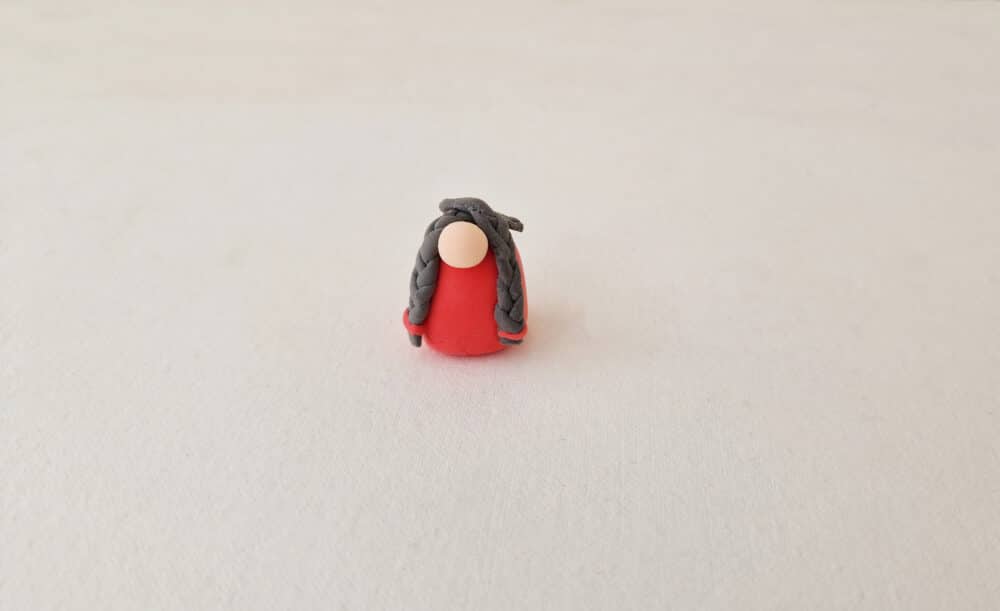
Step 9:
Attach the clay nose near the top end of the clay body/ dress.
Step 10:
Attach the 2 clay braids on both sides of the nose.
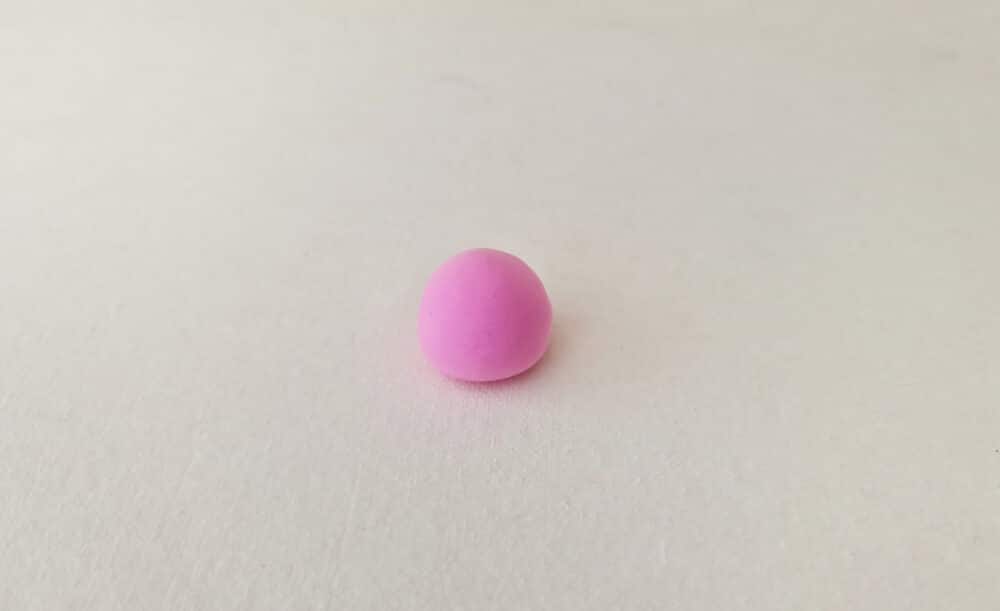
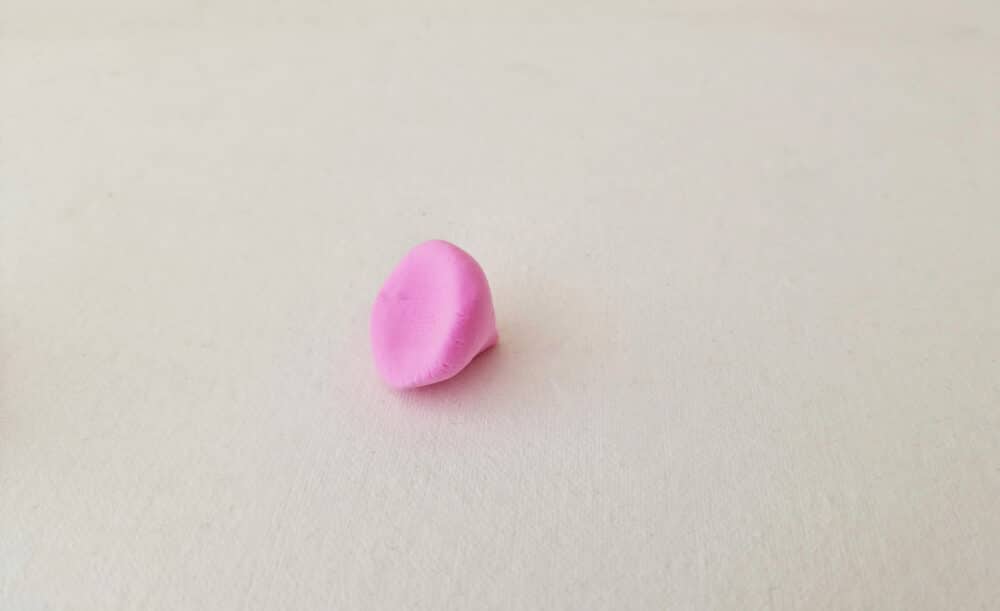
Step 11:
Prepare the size of the clay selected for the clay hat.
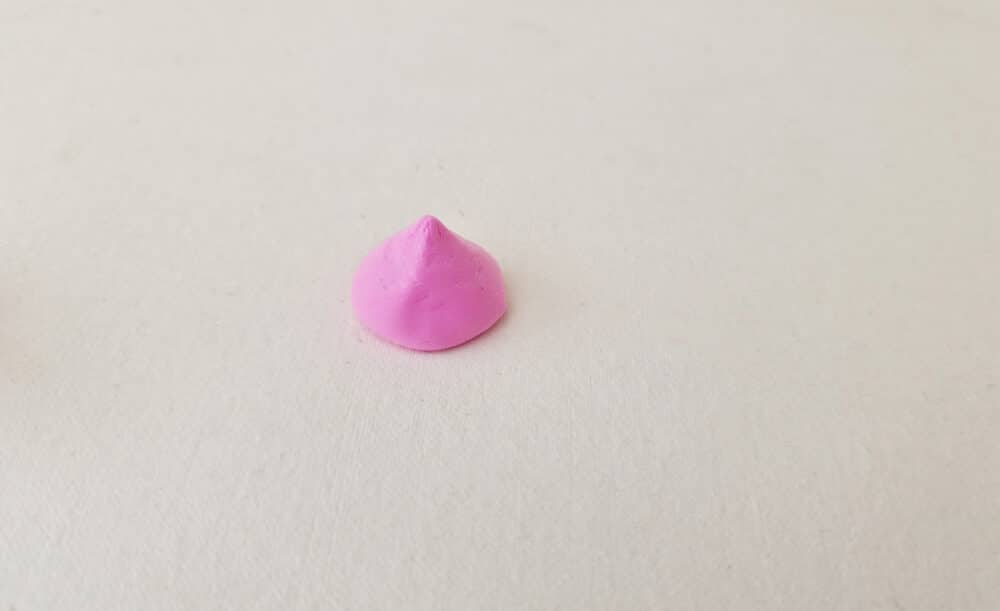
Step 12:
Make a pointy edge on the top end of the hat clay.
Step 13:
Push the wide side of the clay hat inwards using the tip of your thumb.
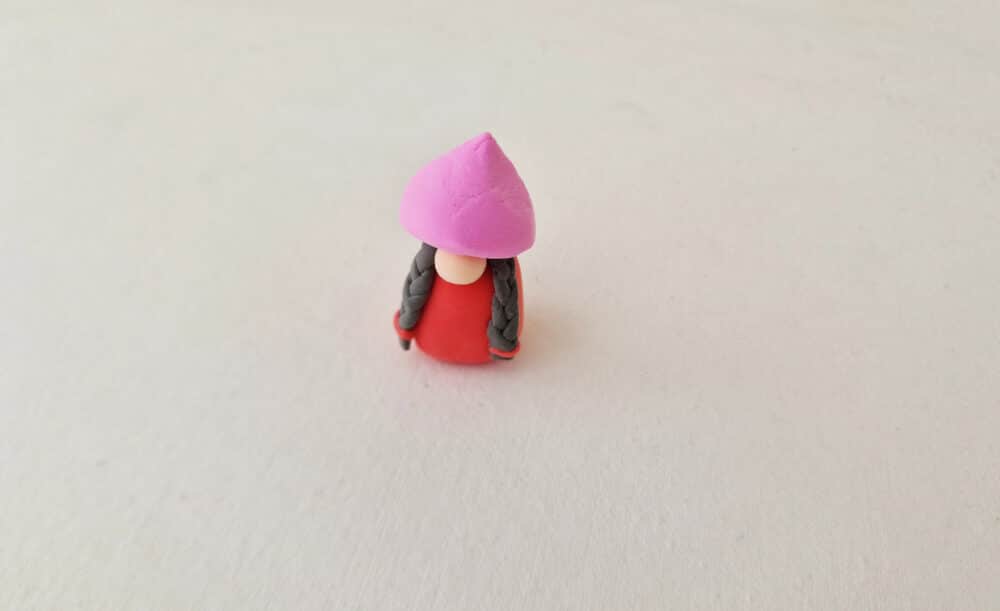
Step 14:
Attach the clay hat on the top side of the clay gnome body pattern. Cover the top parts of the nose and braids neatly using the clay hat.
Step 15:
Adjust the clay hat neatly and make a small clay heart. Attach small clay buttons to the dress.
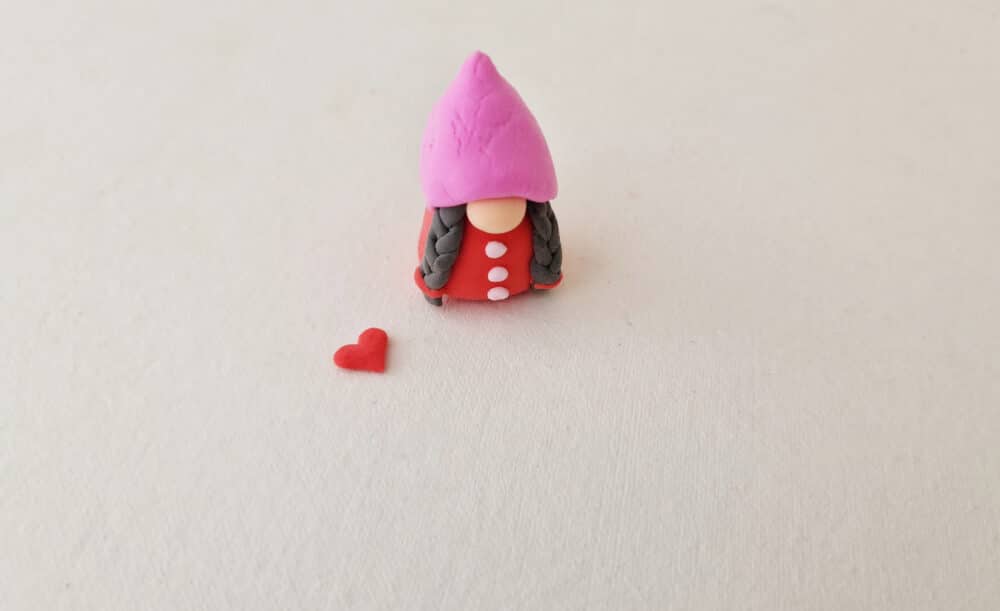
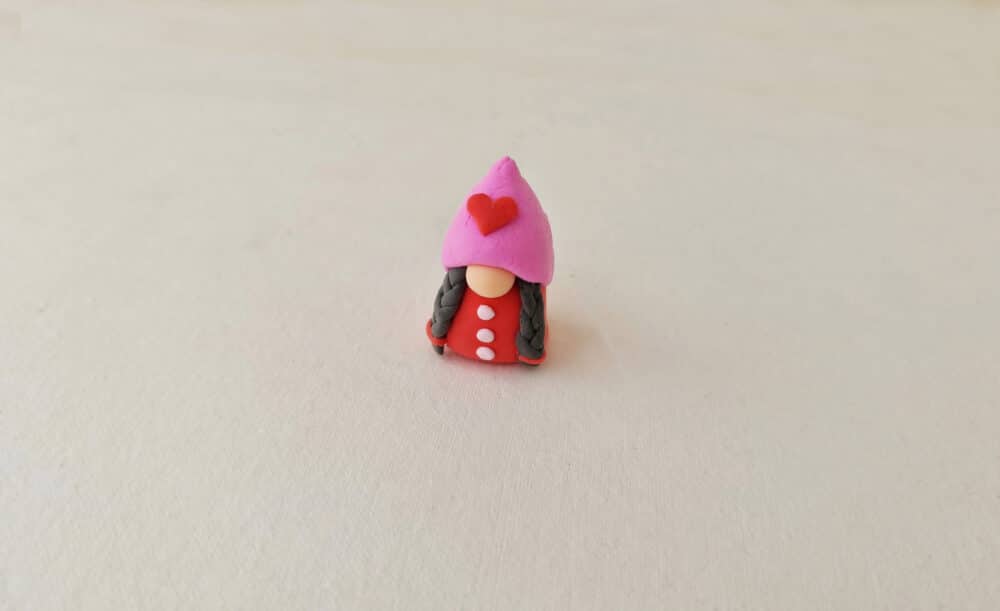
Step 16:
Attach the clay heart shape to the hat.
Step 17:
Craft the boy gnome to complete the pair of clay love gnomes.
More Valentine’s Day Crafts
- Stitched Heart Card Craft
- Valentine’s Day Owl Craft
- Valentine’s Day Canvas Art for Tweens
- Kid-Made Valentine’s Day Banner
- Valentine’s Day Plush Heart in Matchbox