Fun 3D Garden Paper Craft for Kids
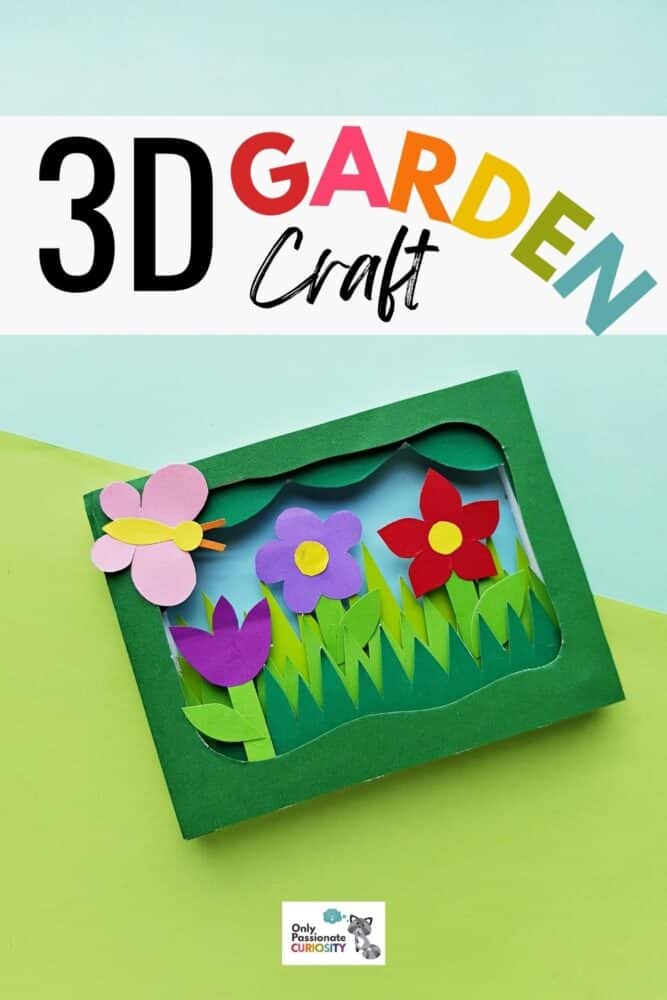
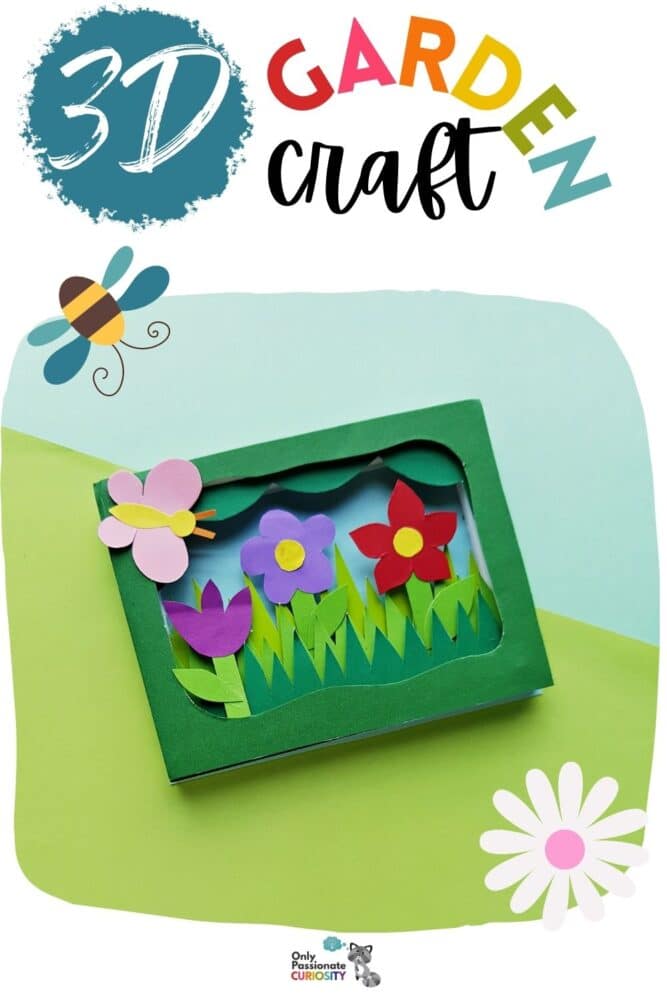
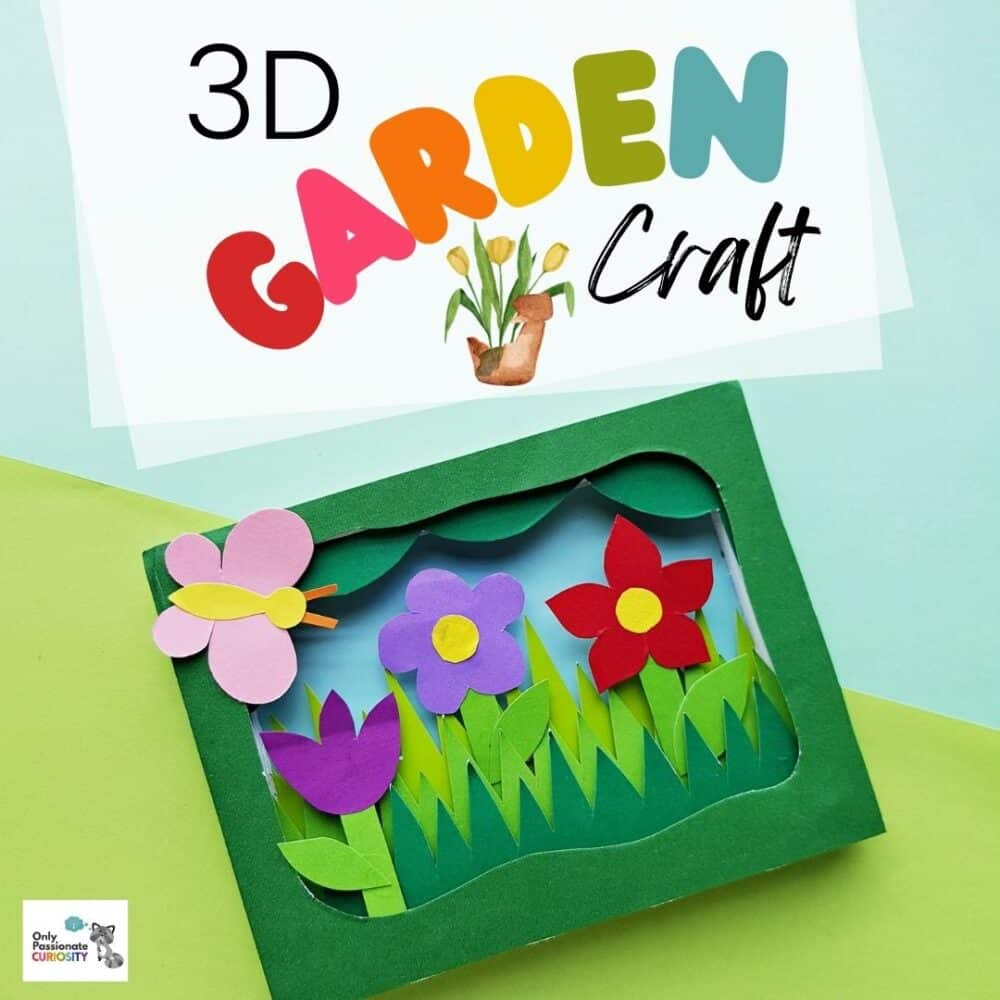
Who says you have to get your hands dirty in order to create a garden? Maybe the weather outside isn’t conducive to outdoor projects just yet. Or maybe you want to do a fun indoor project to go along with your homeschool outdoor garden activities. In any case, this 3D garden paper craft for kids is a terrific activity.
You can make it part of your homeschool craft hour in spring or summer. (This 3D garden craft also makes a lovely gift for Mother’s Day. Or Grandparents Day. Or Teacher Appreciation Day. You get the idea.)
You probably have most of these supplies on hand. If not, here are helpful links to some of them. These are affiliate links that help us keep our website up and running. Thank you for your support! Below, you’ll see a complete list of the supplies needed for your 3D garden paper craft:
Instructions for making the 3D garden paper craft:
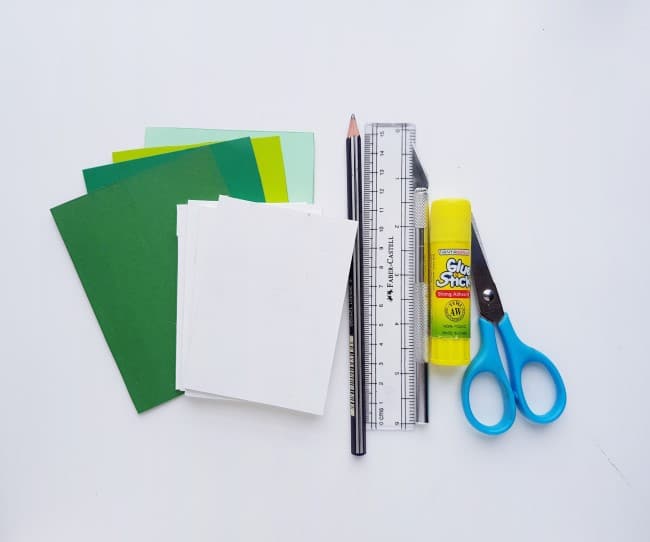
Complete List of Supplies:
- Colored craft paper
- Colored cardstock paper
- Foam board
- X-acto knife
- Pencil
- Scissors
- Ruler
- Craft glue
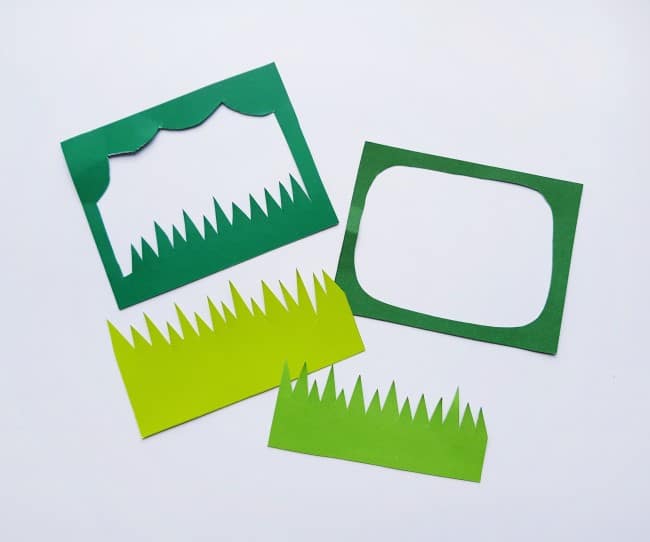
Step 1:
Select four different shades of green craft paper or cardstock. Prepare the layer patterns from the given template. Trace the layer patterns on each shade of your green-colored sheets of cardstock. Cut out the traced layers nicely, using scissors or an x-acto knife.
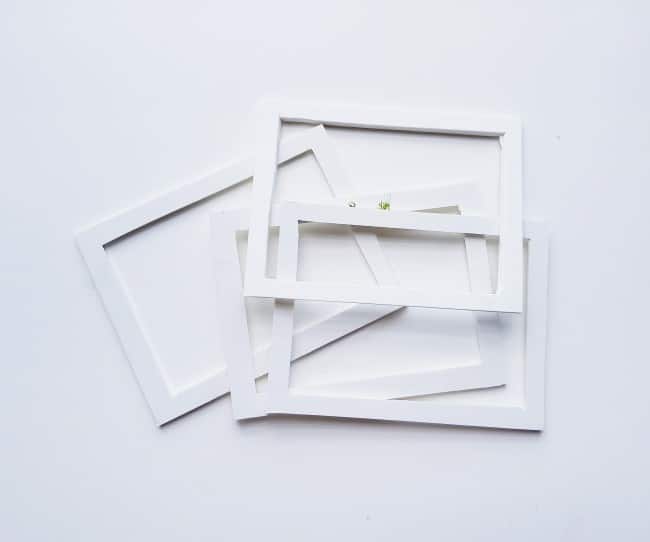
Step 2:
Prepare the frame template and trace four frames on the craft foam board. Use an x-acto knife to cut out the frames from the foam board.
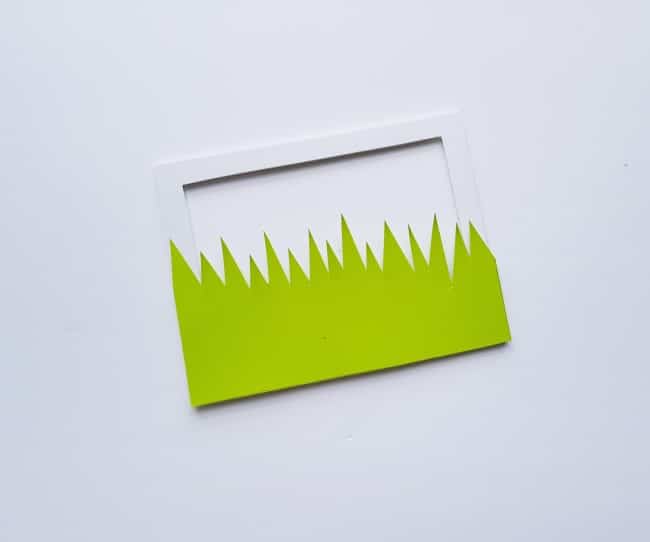
Step 3:
Take a frame and place it on a flat surface. Glue the bottom layer (1st layer) on the frame. Make sure that you level the straight ends of the layer with the 3 sides of the frame.
Step 4:
Take another frame and attach it to the top of the bottom layer.
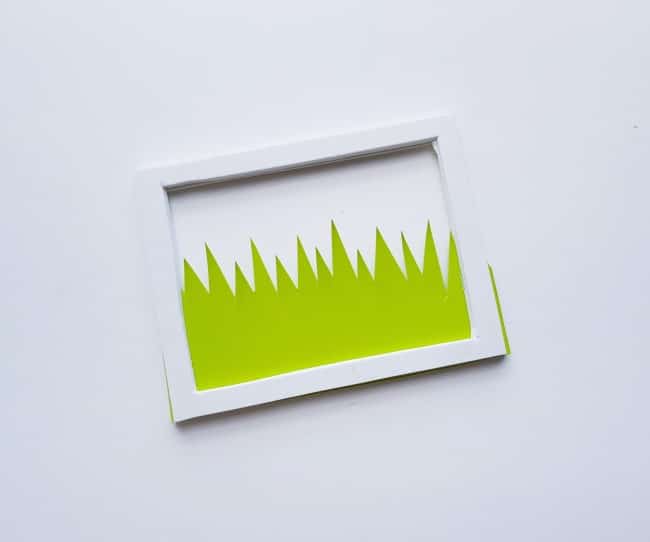
Step 5:
Now attach the 2nd layer of green “grass” on the 2nd frame. You can see how the 3D garden paper craft is starting to come together already!
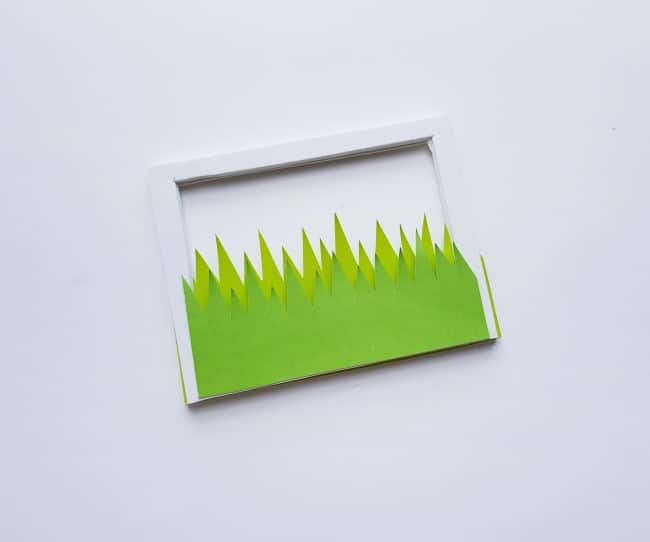
Step 6:
Add another frame and then attach the 3rd layer. Finally, add the fourth frame and then the front layer of green card stock or craft paper.

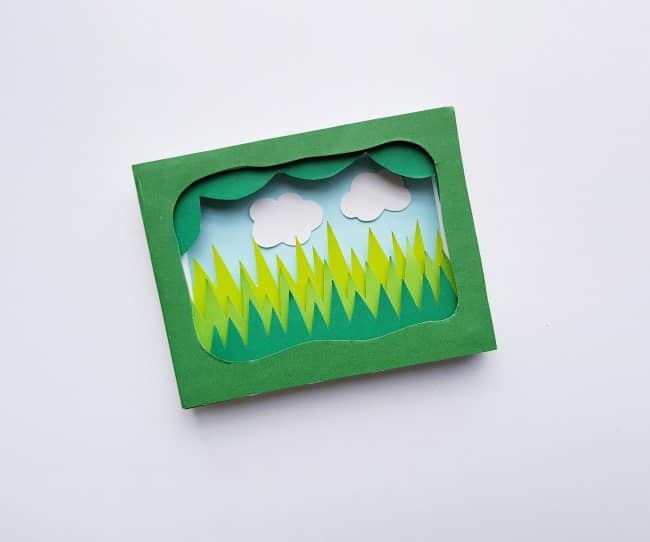
Step 7:
Select a color for the background. It could be any shade of blue, or you can get creative here. Then, cut out the cloud patterns from white-colored cardstock paper. Attach the background on the back side of the 3D garden paper craft and then glue the clouds to the background.
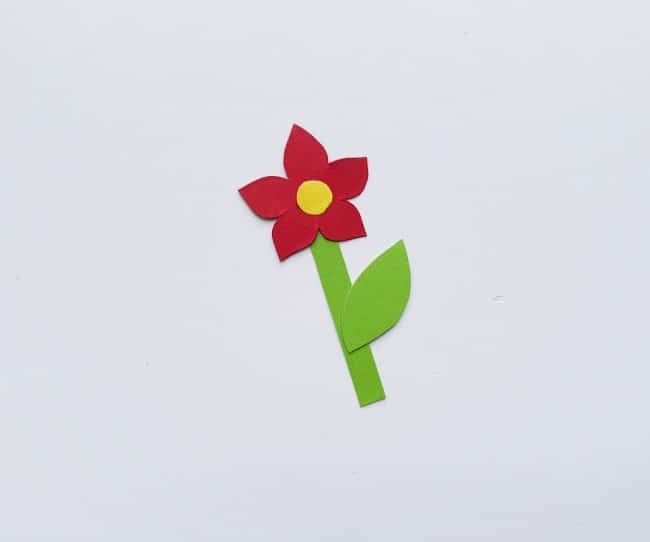
Step 8:
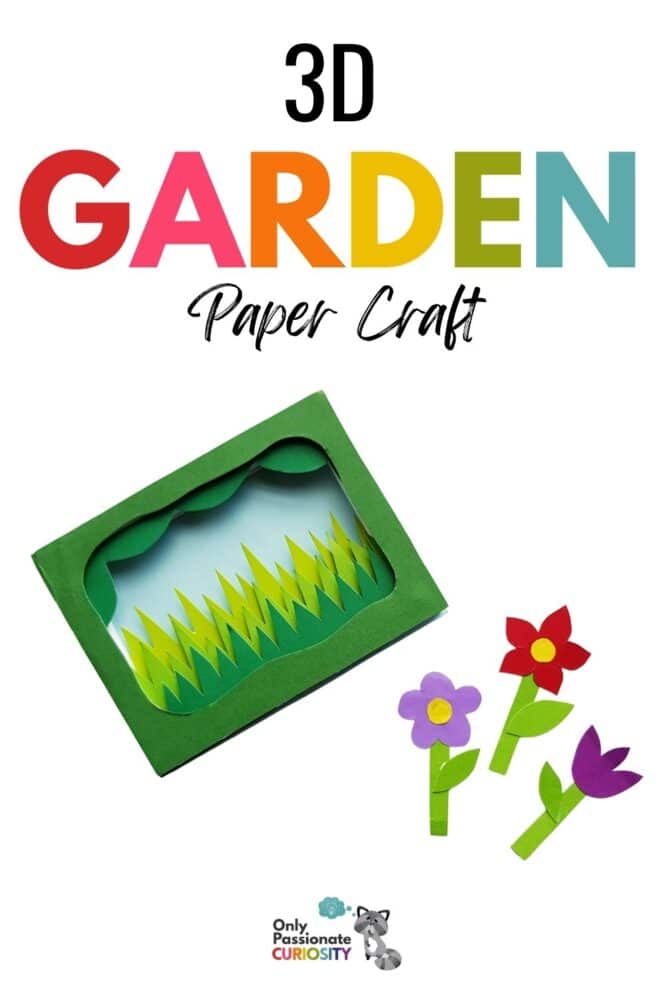
Trace and cut out the flower patterns (flower, stem, and leaf).

Step 9:
Attach the flower parts together to complete the paper flower craft.
Step 10:
Continue to make a couple more paper flowers.
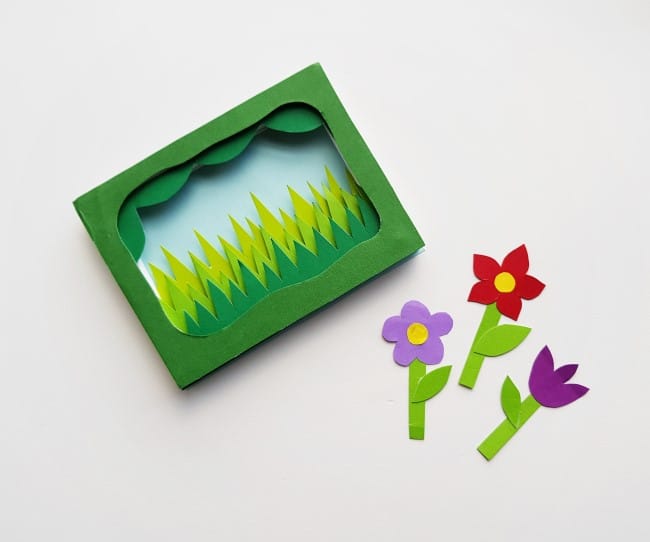
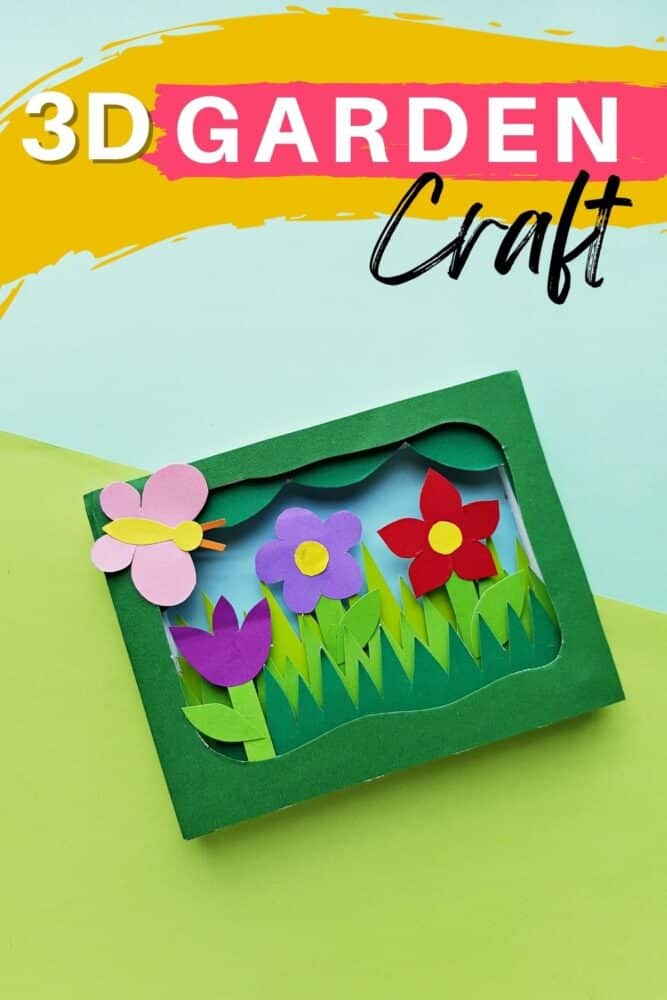
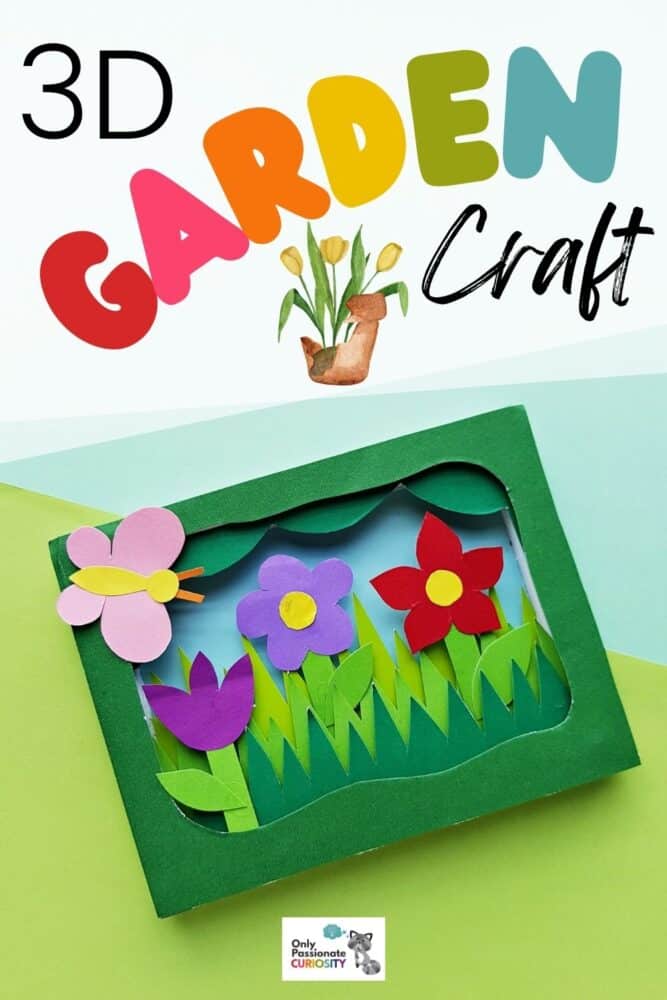
Step 11:
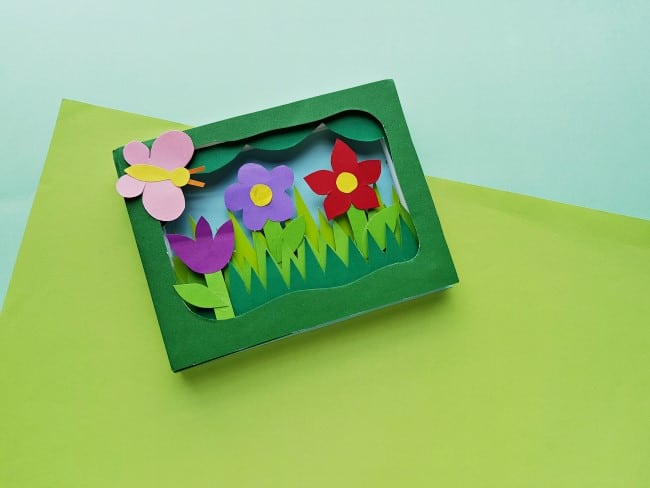
Now place the flowers between the layers of your 3D garden craft. Your students can change this art however they want by simply removing and replacing the flowers from between the layers.
Here are the 3D garden paper craft project templates:
Additional Activities
- Teach your students about garden bugs and natural ways to deal with garden pests.
- Have your younger students write a short story or poem about flowers and gardens.
- Let your older students do some research and write a report on local flora and fauna in your region.
- Check out this round-up post with a lot of garden activities!
- Make the above 3D garden craft part of a unit study all about flowers.
- For older children or those showing more of an interest in art, have them choose a complementary color scheme for their 3D garden paper craft.
- This blog post is very helpful in offering garden and flower-themed activities for students of all ages, from preschool up to high school.
- Add the foundational subject of science into your homeschool learning plan with these gardening unit study ideas.
- Check out these terrific benefits of homeschool gardening (and some tips for getting started!).
- Don’t just stop with art and science. Teach your kids math in the garden!
Books about Gardens