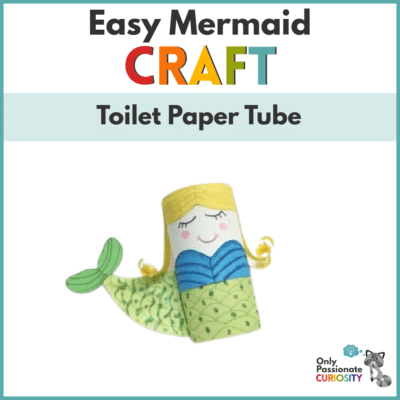
Toliet Paper Tube Mermaid Craft
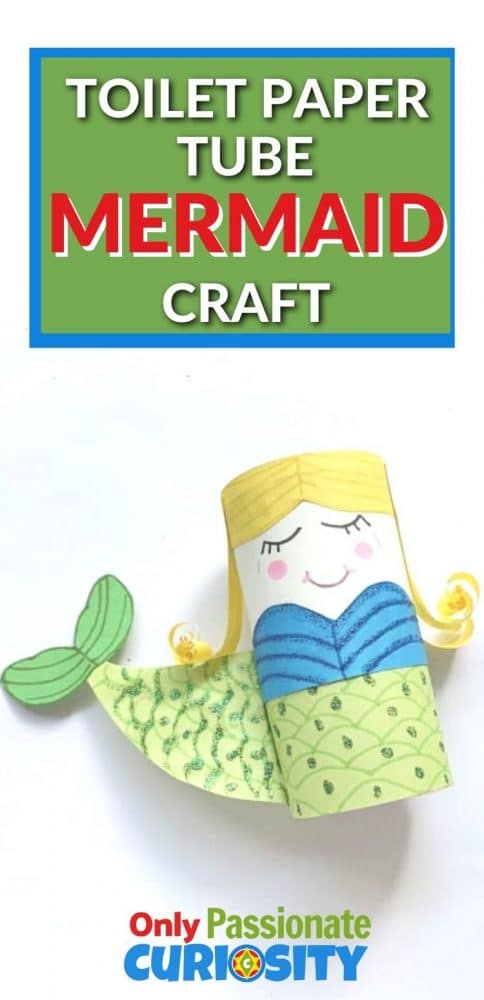


As a beach lover, I have this theory about mermaids. No, it’s actually not about whether or not they exist. My theory is that you are never too old to think mermaids are cool. To me, they symbolize the beach, the unknown, and the freedom of the sea! I suspect some of you out there are also mermaid fans, and ocean fans, so today we’re going to talk about a really cute and easy Toilet Paper Tube Mermaid Craft that you can do with your kids!
(What better time to incorporate a little bit of both into your studies than summer– when we all want to be at the beach!?)
This mermaid craft is great for another reason, too–it’s a great way to introduce the concept of recycling! This craft uses something that we all frequently toss in the trash at home: empty toilet paper tubes. Do you know how much of our waste goes into the oceans? As of 2020, there were an estimated 5.25 trillion pieces of human garbage in our oceans. Recycling is one small thing that we can do to reduce that waste, so use this craft not just to make a cute mermaid, but also to talk to your kids about the earth’s oceans and how we can take better care of them!
What You Need to Make it!
To get started with this Toilet Paper Tube Mermaid Craft, you’ll need just a few supplies!
Supplies :
- Tissue paper roll.
- Colorful craft paper.
- Craft glue.
- Marker pen.
- Glitter pen.
- Ruler.
- Pencil.
To make your experience easier, we also have a printable template for this craft! You can grab it by clicking the link at the bottom of this article.
How to Make Your Mermaid:
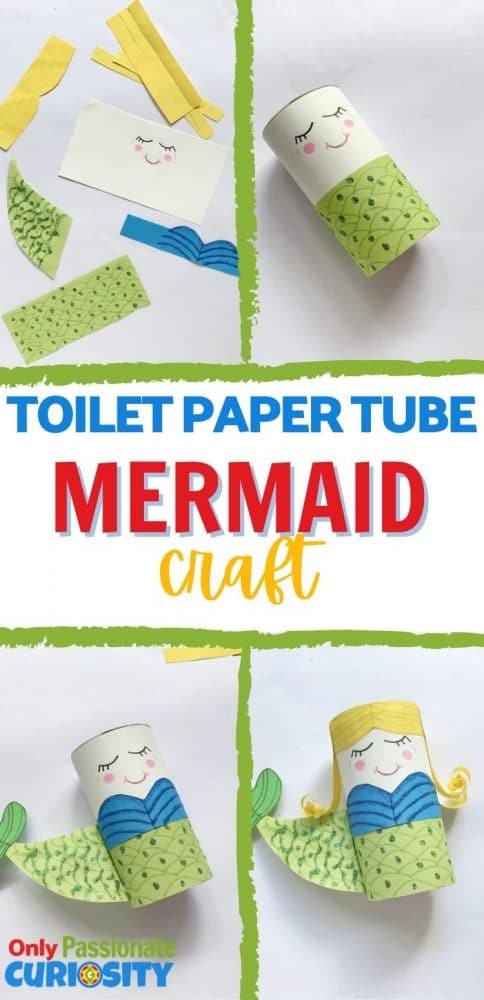
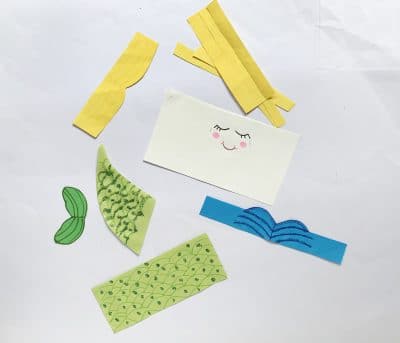
To get started, make sure you have all the listed supplies. Then print out the template (link below) and cut out the template pieces for the mermaid! Trace each template shape onto the pieces of craft paper that you selected for the mermaid’s tail, top, skin tone, and hair. Then carefully cut them out.
Next, grab your pencil or pen and draw the details onto your mermaid’s face, shell top, and tail! This is your chance to show some creativity and individuality with how you want your mermaid to look. You may even want to add some glitter glue or sequins to your mermaid’s tail and/or top.
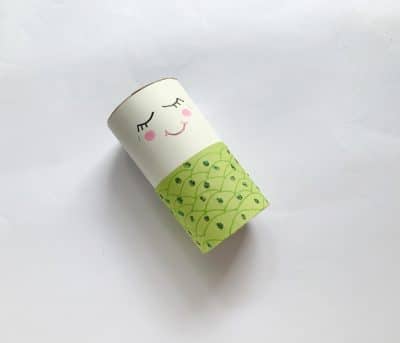
Note: you will want to make sure to draw your mermaid’s face near the center of the rectangular sheet of paper, as shown below.
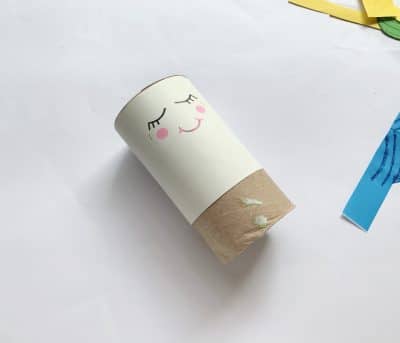
Next, take the large rectangular piece (the one with the mermaid’s face) and wrap it around the tissue paper roll. Then use your glue to secure the roll.
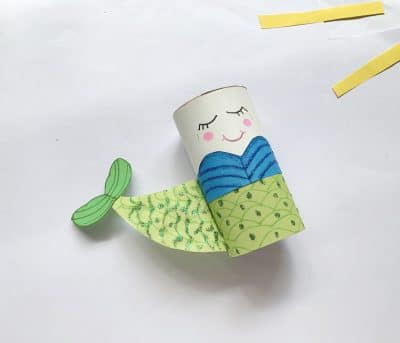
Next, take the mermaid’s tail piece (as long as your glitter/glue is dry) and wrap it around the tissue paper roll, gluing it into place.
Next, we get to make the tail “fancy” (which little girls will love.) To do this, glue both of the tailpieces together.
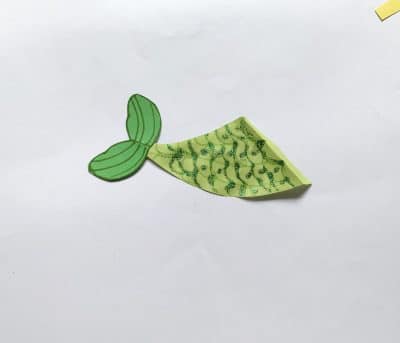
Then you will glue this fancy tail piece onto the bottom corner of the tissue paper roll.
Next, take the front part of the mermaid’s hair (the one that looks like a center-part) and glue it on the top of the tissue paper roll. Once you’ve done that, it’s time to create some “beachy waves.” Take your small strips of hair-colored paper and roll them on the bottom to make swirls.

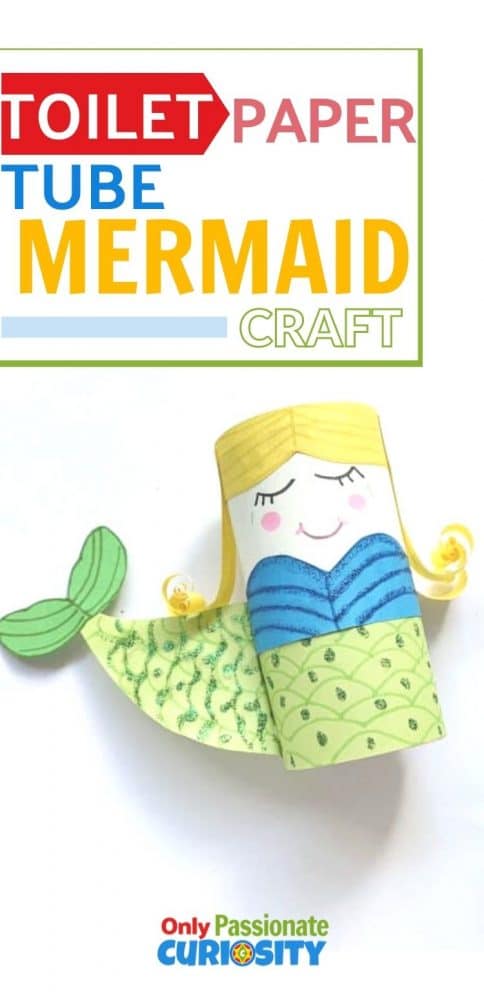
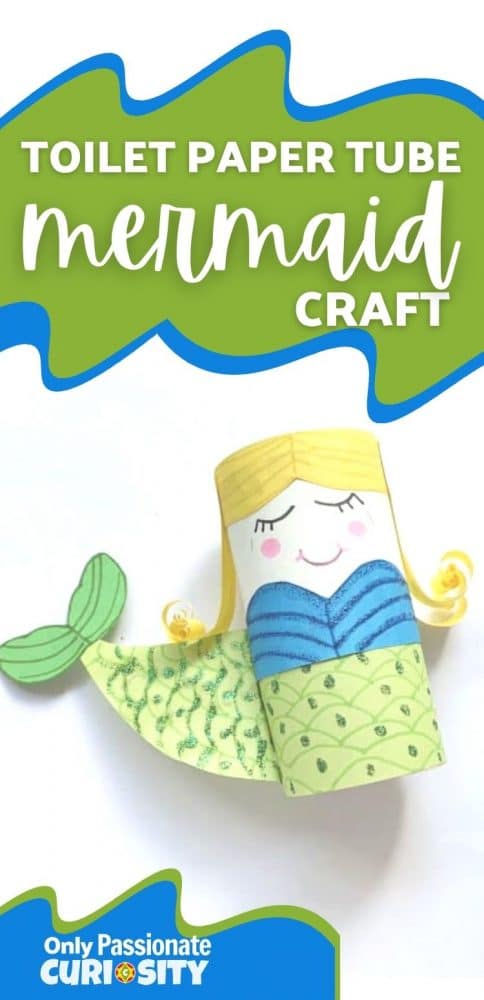
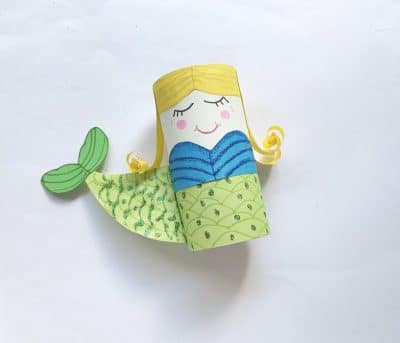
Glue the paper strips on the sides and back of the tissue paper roll to finish off the mermaid’s hair. Now you have a lovely, decorative, recycled mermaid!
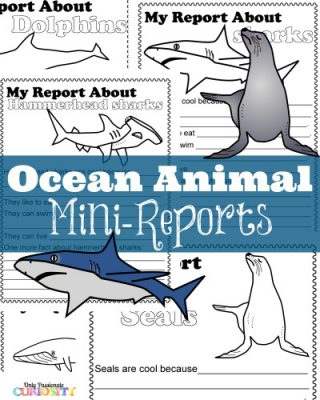
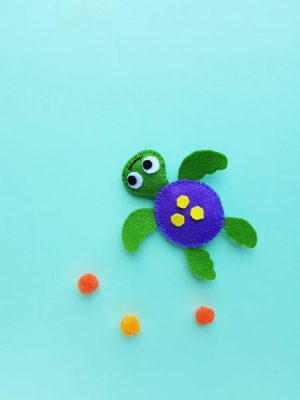
We hope you have fun with this fun and simple craft! Don’t forget to grab your printable template using the link below! If you are doing a unit study on oceans (or just in a beachy mood) there are some other, fun ocean related learning activities posted below as well!
Grab the Printable Template for this Mermaid Craft Here!
You May Also Like: