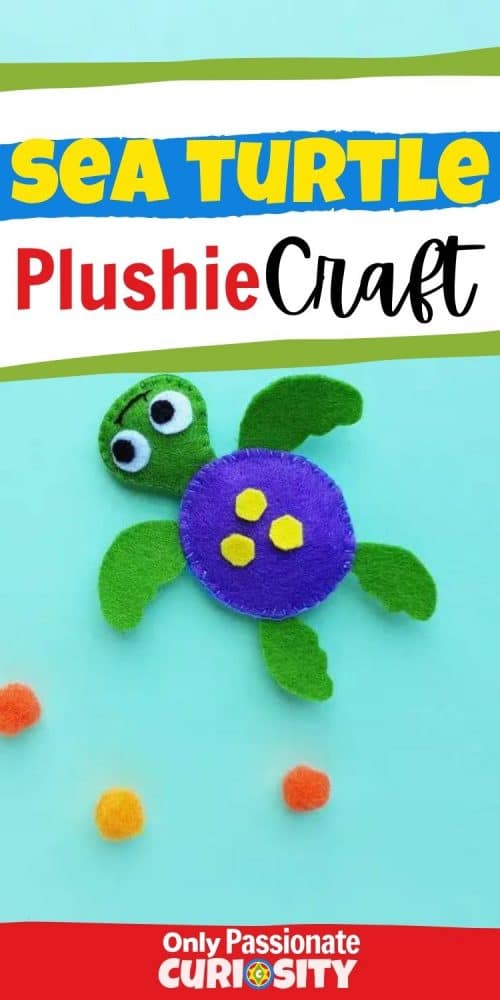
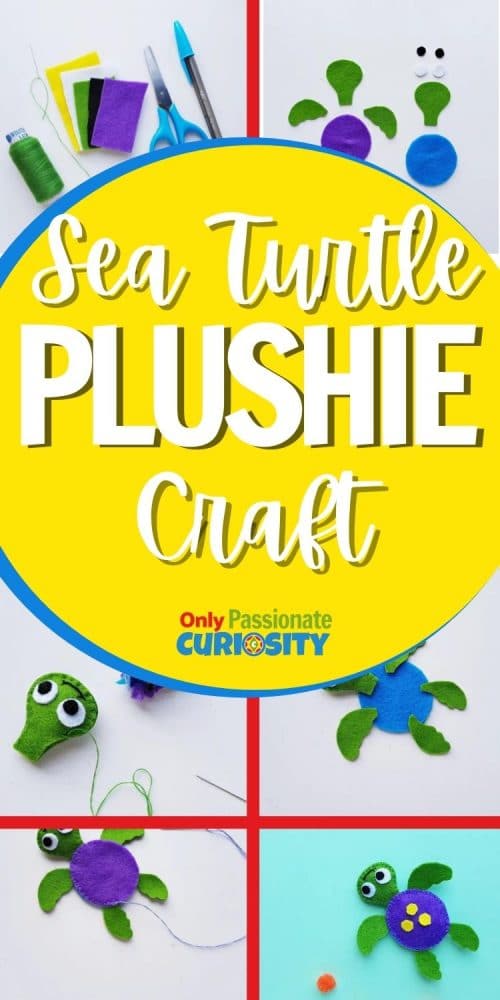
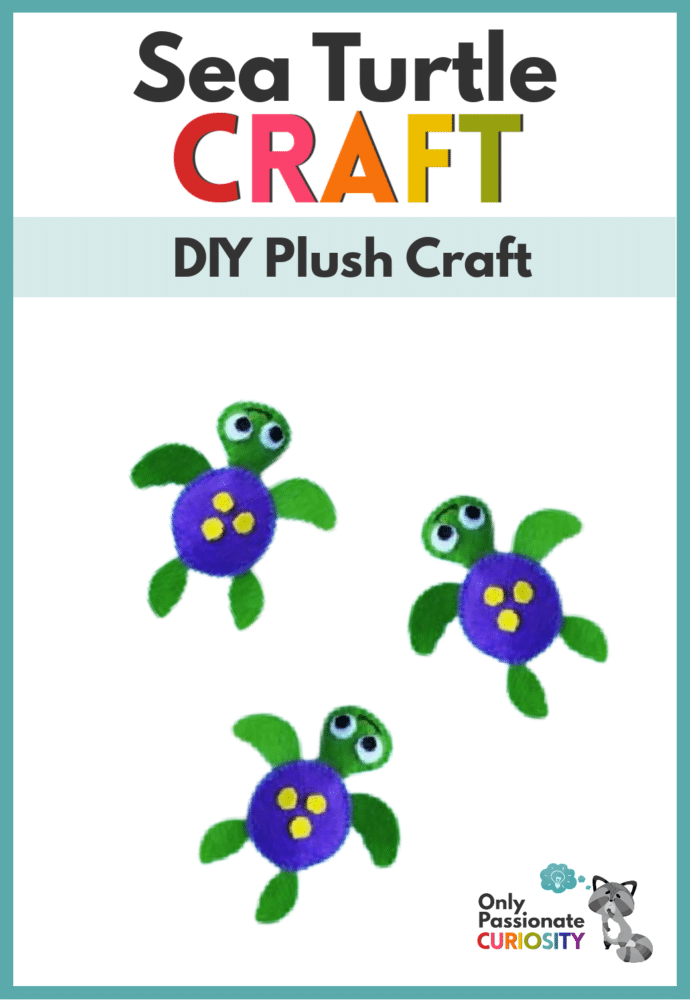
Sea Turtle DIY Plush Craft
Did you know that June 8 is World Ocean Day and June 16th is World Sea Turtle Day? June – and summer in general- is simply the perfect time to study all things beachy (and also to go to the beach for some in-person, up-close, observation, right?) Whether or not you are planning to observe real sea turtles in action this summer, your kids will surely enjoy this hands-on craft that they can use to create their own little plushie sea turtles. This craft teaches hands-on skills and is a creative addition to any nature study that you plan to do with your kids this summer! If you’re interested in using this craft alongside a study of sea turtles, click this link to grab our All About Sea Turtles Unit Study, too!
Tips for Using this Craft with Different Ages:
Sewing is a great practical skill that is also good for motor development! This craft works well with a basic over-stitch that would likely be doable for ages 6 and up. Do you have an older child or teen that you’d like to challenge a little more with this craft? Try getting them to use the blanket stitch instead! (If you aren’t sure how to do an-over stitch or a blanket stitch, check out these short videos:
Running Stitch
Overstitch or Overcast Stitch
Back Stitch
Blanket Stitch
French Knot
If you have toddlers on deck while you are working with older children on this craft, you can give them some different colors of felt cut-outs to sort and play with. (Kids always seem to love felt!) If you have a child who is old enough to follow directions (but still too young to handle a needle), you could ask him to arrange the pre-cut shapes into the turtle design. (You can sew it, or even hot glue it, later.)
There are many ways to involve children of all ages in this craft!
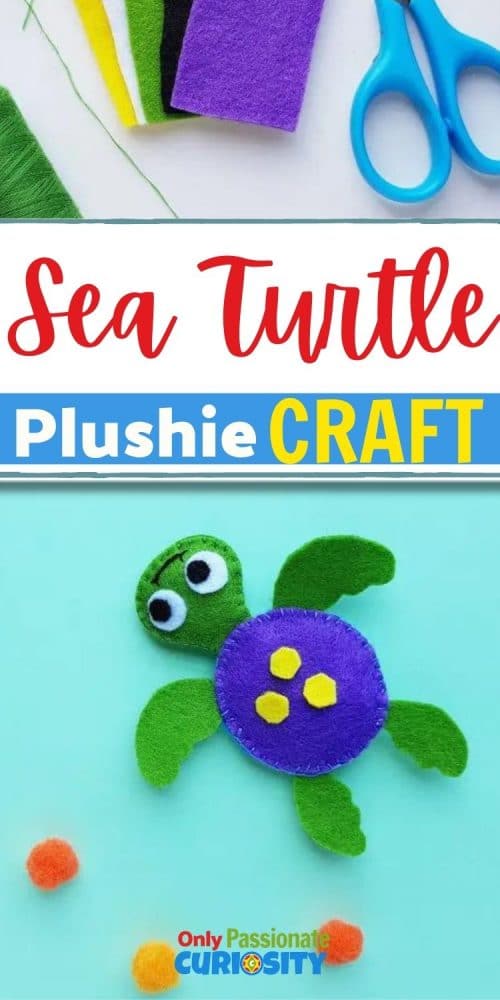
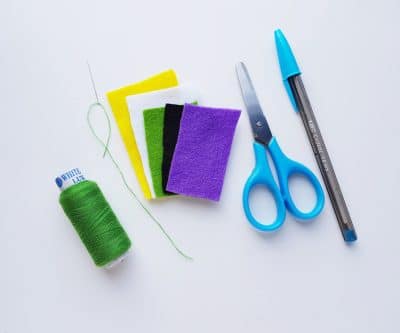
What You Need:
For this Sea Turtle Plushie Craft, you will need the following items. You’ll also want to download our free printable template, which you can grab by clicking the link at the bottom of this article.
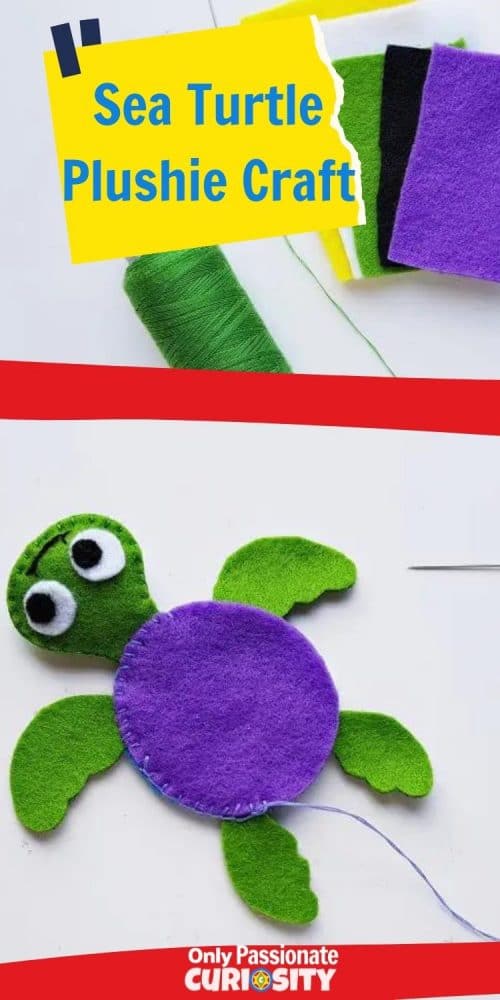
- Felt fabric: we used purple, green, yellow, black and white
- Pencil or pen – for tracing the template
- Kid-friendly scissors
- Needle and thread
- Cotton or scrap felt
- Hot glue (optional)
How to Make It:
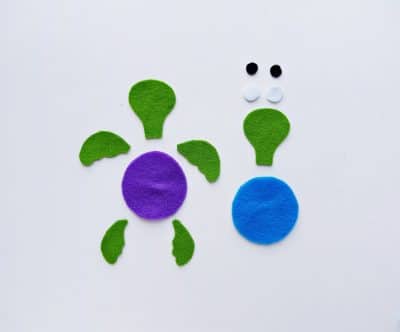
First, you’ll need to out the shapes (pictured below) from felt. You can make this easy by printing out the Sea Turtle Template provided in the link below cutting the shapes out from the paper. Next, lay the paper cut-outs on top of the felt and just cut around each shape using the scissors. Some children may be more comfortable tracing the shapes on the the felt before cutting them out.
The template includes the following shapes for your Sea Turtle Plush Craft:
- 2 patterns for the top and bottom of the shell
- 2 patterns for your sea turtle’s neck and head
- 4 flipper patterns
- 4 circular shapes for the eyes
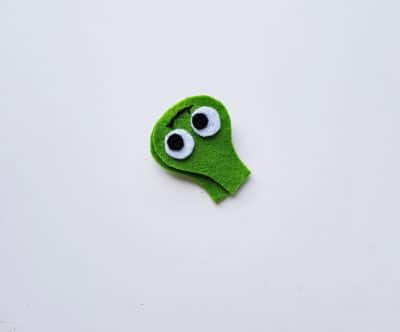
After you’ve cut out your felt pieces, take any one of the head patterns and place the eyes patterns on it. Prepare needle and thread and stitch the eyes with the head pattern.
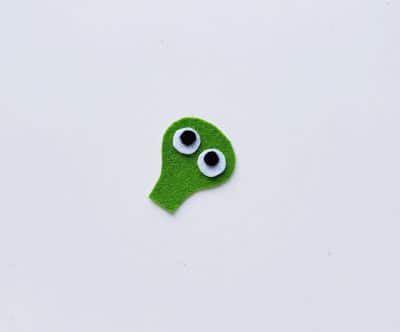
Use black thread to stitch a smiley face on the turtle head. Place the other head pattern under the stitched head pattern. Prepare needle with thread for the next step.
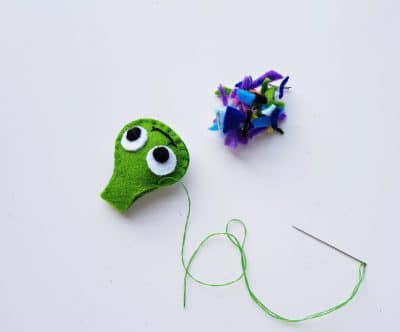
Now that your little guy is starting to get some personality, you’ll give him a firmer structure to support his “plushiness.” Use an overstitch to connect the sides of the head patterns to join them together. Sew most of the way around, but leave the small straight end (the neck) open. Use scrap felt or cotton to stuff the felt turtle head, making it “plush.”
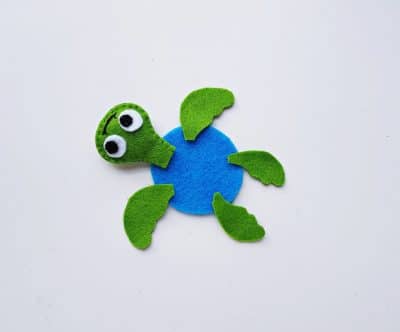
Next, take either of the oval shaped felt patterns (shell patterns) and place it on a flat surface. Then place the stuffed head on the shorter side of the oval, overlapping the turtle’s neck just a bit over onto the oval piece of felt. Place the front and back flippers into place, letting them overlap, too (as shown in the picture below).
Grab the other oval felt (the top shell). Place it on the top of the bottom one so that it covers where the pieces of the turtle overlap.
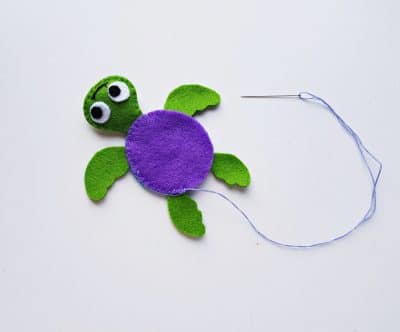
Stitch around the sides of the oval felt patterns to join them together. This process will also attach the sea turtle’s flippers and head. As in the previous step, don’t seal the shell up yet! Leave a small opening to fill the shell with small scraps that give it a full, cushion-like feeling. Stuff the oval patterns before closing the stitch. Once the stuffing is done, close the open end to secure the stuffing. Tie a knot or two and draw the needle inside the felt plush; and drawing it back outside. Cut off the extra thread.

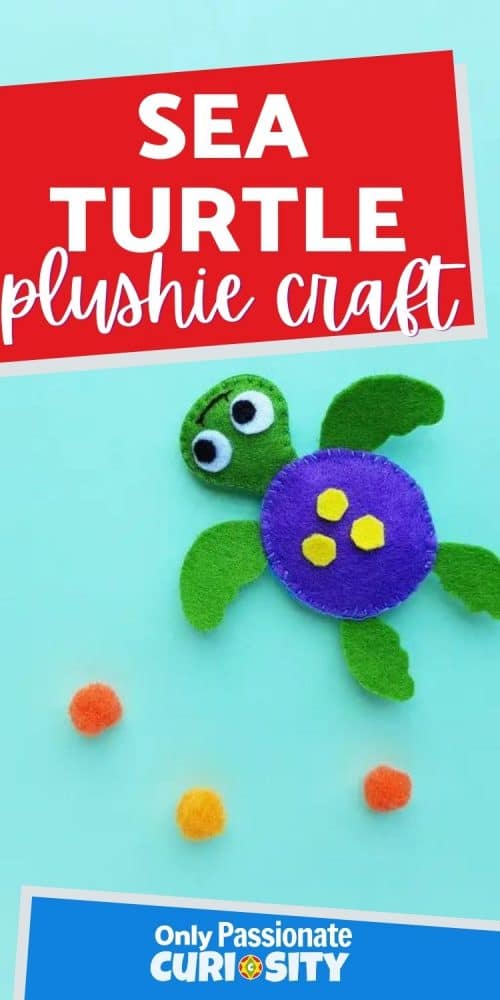
Voila: your DIY plush turtle is finished and ready to enjoy! If you’d like, you can add more details to the turtle’s shell using extra felt pieces, paint, or glitter glue!
There are a lot of ways your child (or children) may want to play with the finished product. It could be used in imaginary play and/or even educationally (to act out a story or information you’ve learned about turtles). Your children are sure to be proud that they were able to make this play item by themselves! You can continue your study of sea turtles by downloading our All About Sea Turtles unit study! Don’t forget to grab your template for this craft in the link below.
Click Here to Get Your Template for This Sea Turtle Plushie Craft!
By the way, if you are studying different kinds of turtles, we also have this Box Turtle Plushie Craft. You could end up with a whole collection of adorable, plushie, turtles!