Butterfly Toilet Paper Tube Craft
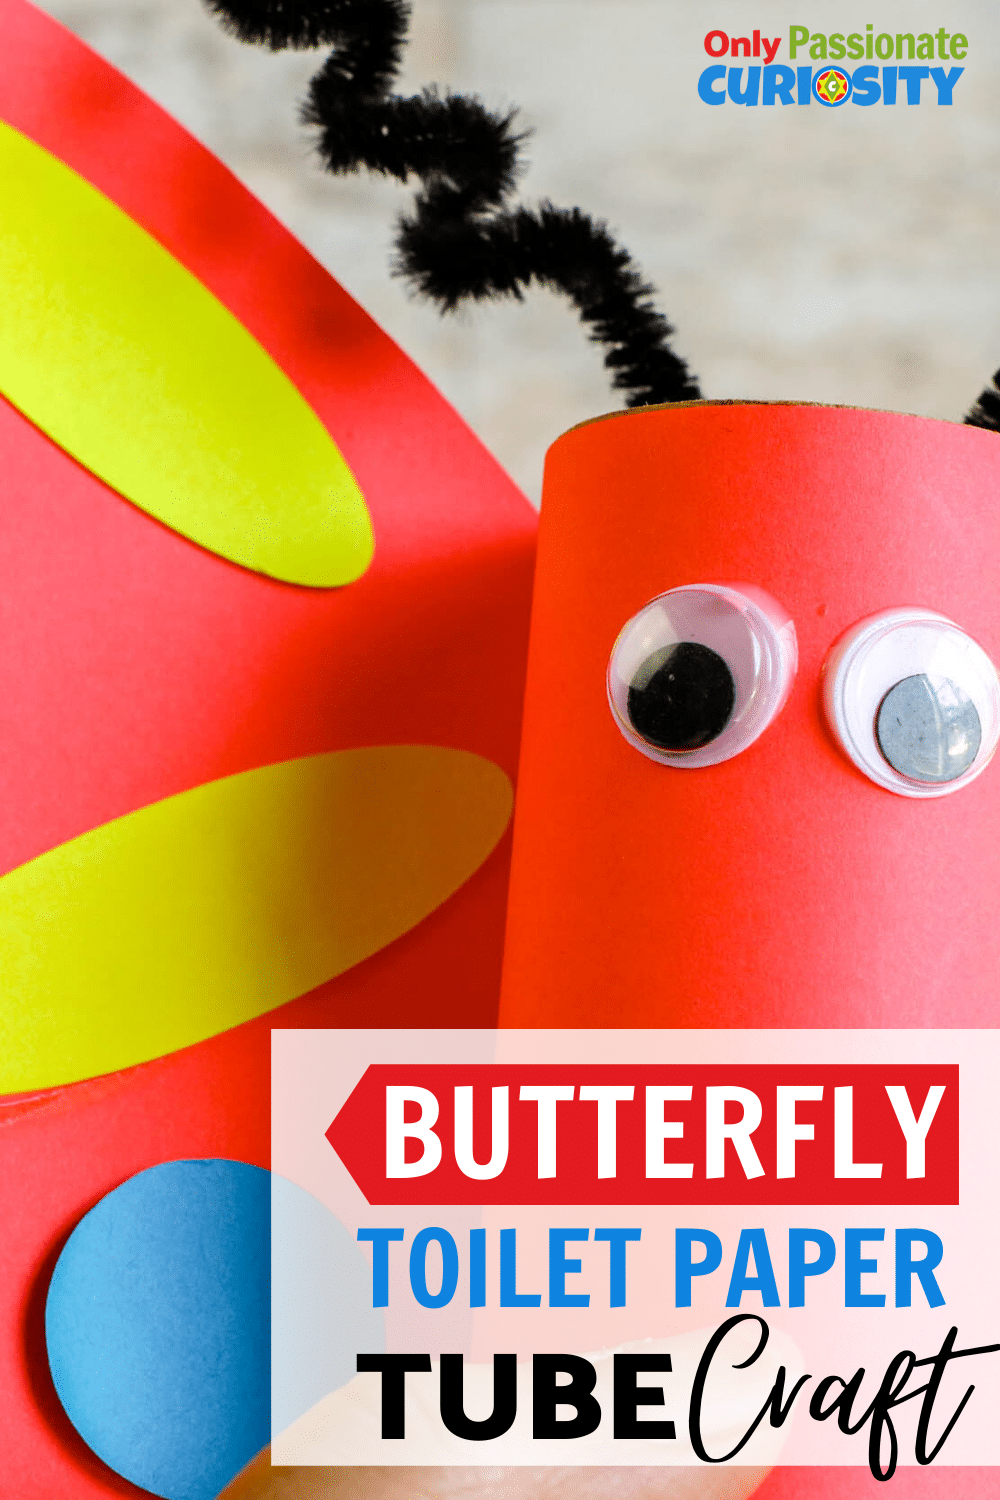
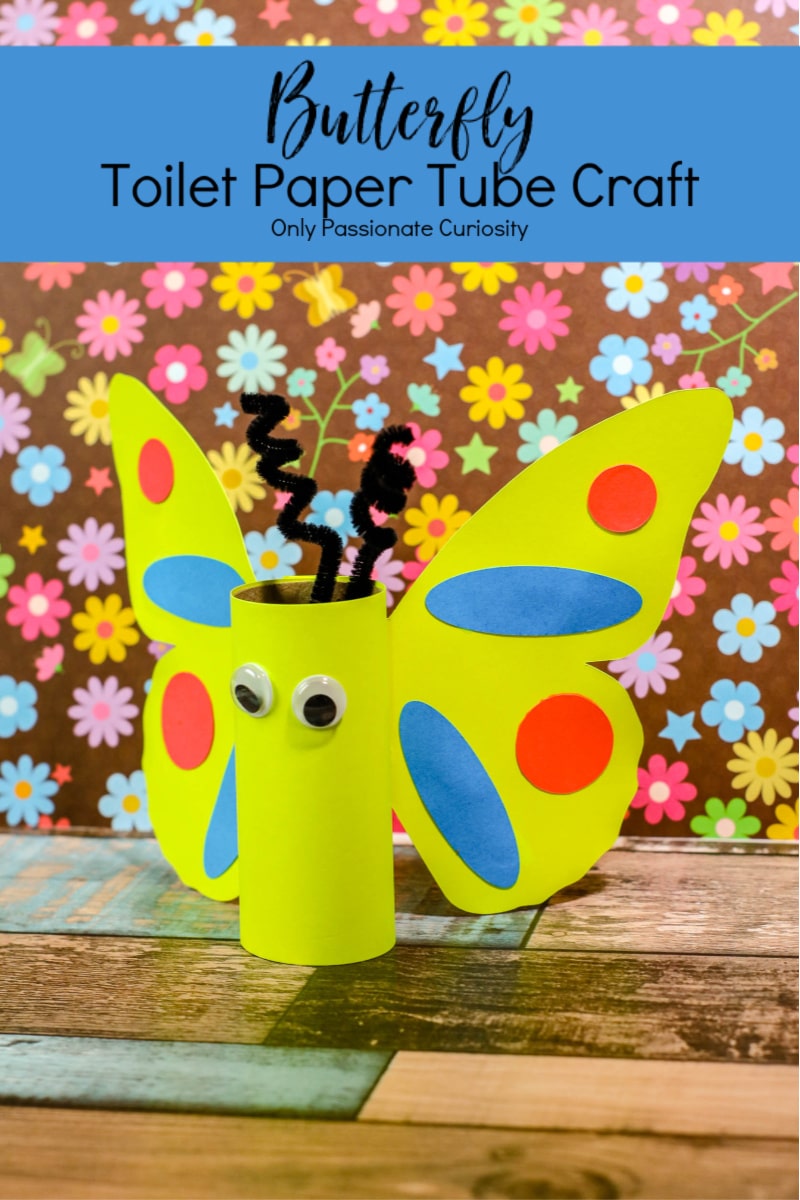
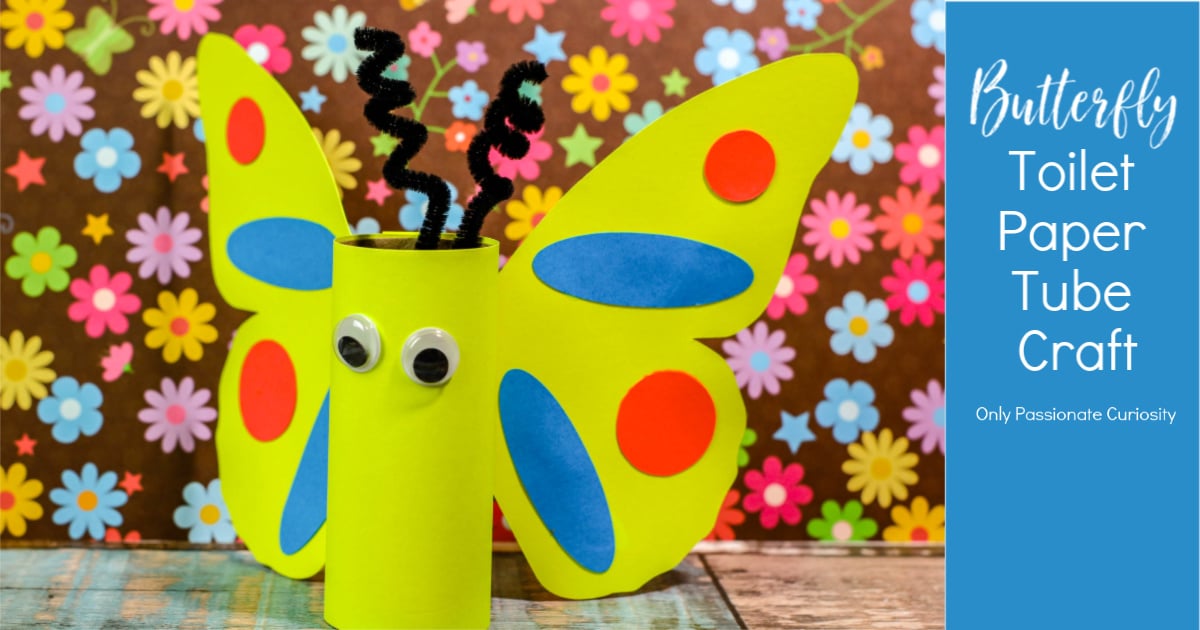
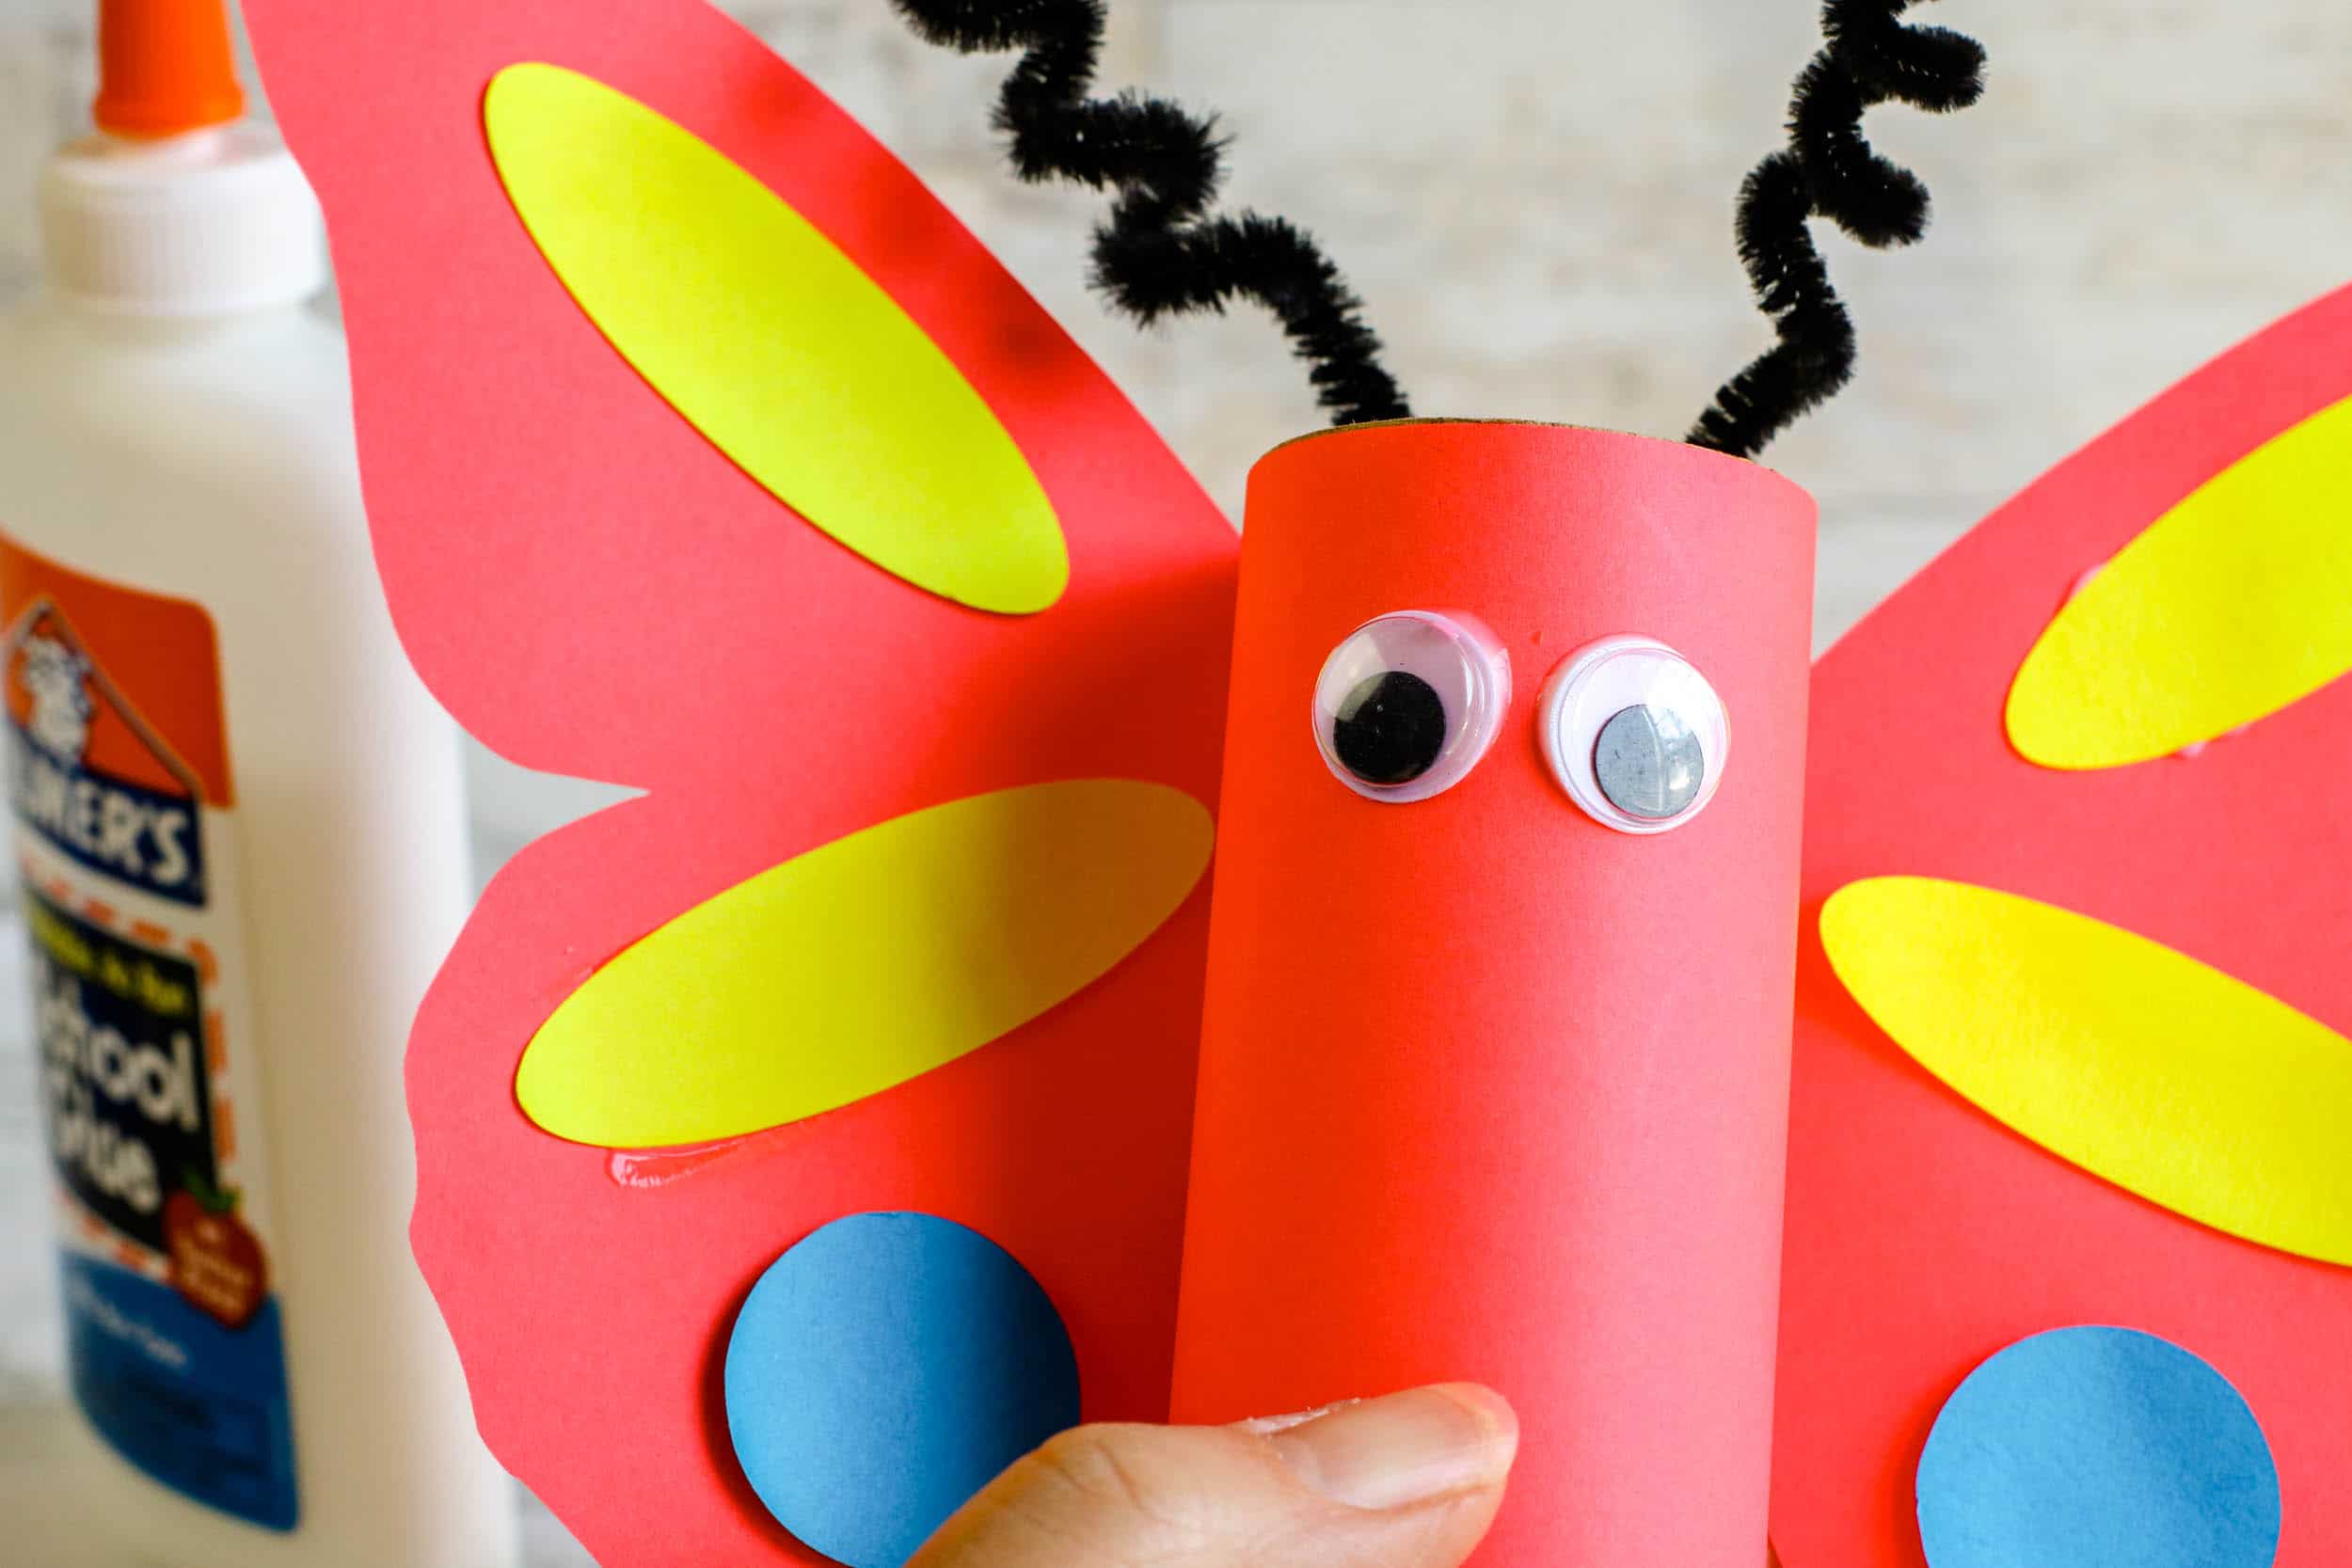
This butterfly toilet paper tube craft is a fun, easy way to celebrate spring or summer with your children! You may want to make this toilet taper tube butterfly as part of a nature study, insect study, or to go along with a book you’re reading about butterflies. (Read below the craft tutorial for some resources you may want to use!) However, this craft is so simple and fun to make that it also makes a good “just because” project for a rainy summer afternoon.
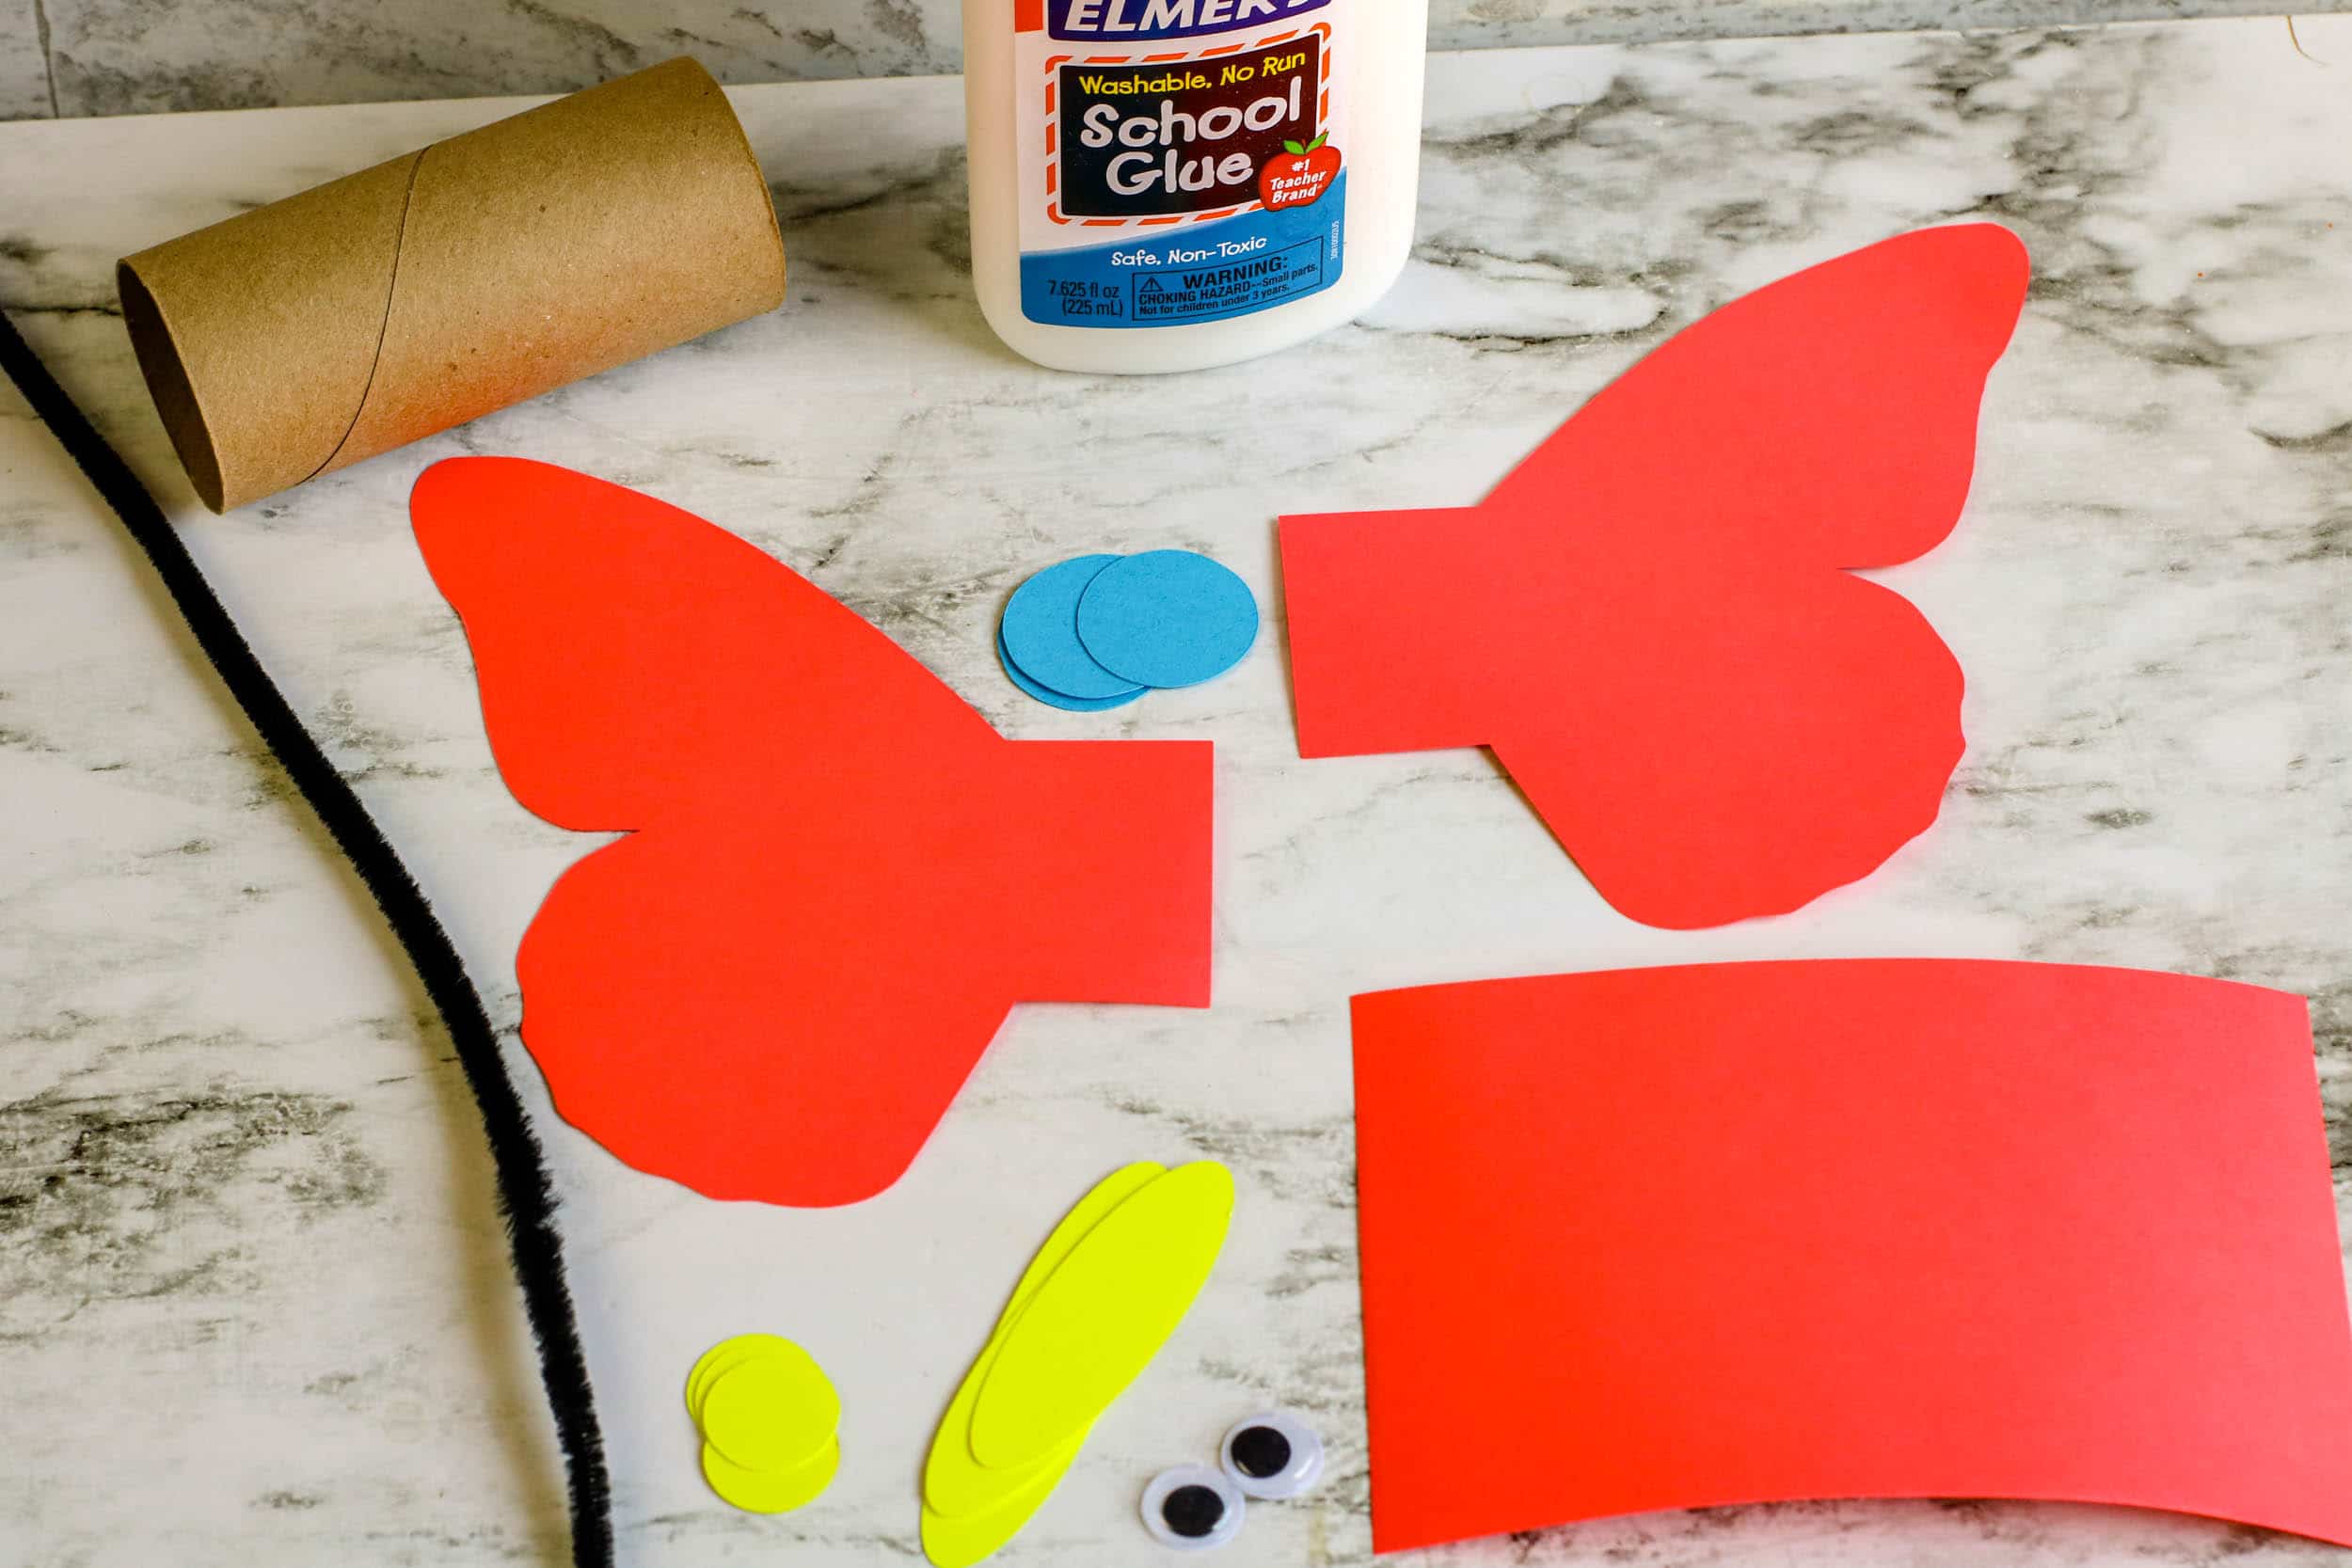
Supplies:
- 1 clean cardboard tube, like a toilet paper tube (per project)
- glue
- scissors
- 2 wiggly eyes (or cut some out of construction paper if you’d rather)
- 1 black chenille stem (or you could used colored ones if you’d rather)
- Printable Butterfly templates
- colored paper
- pencil
- clear tape
How to Make it:
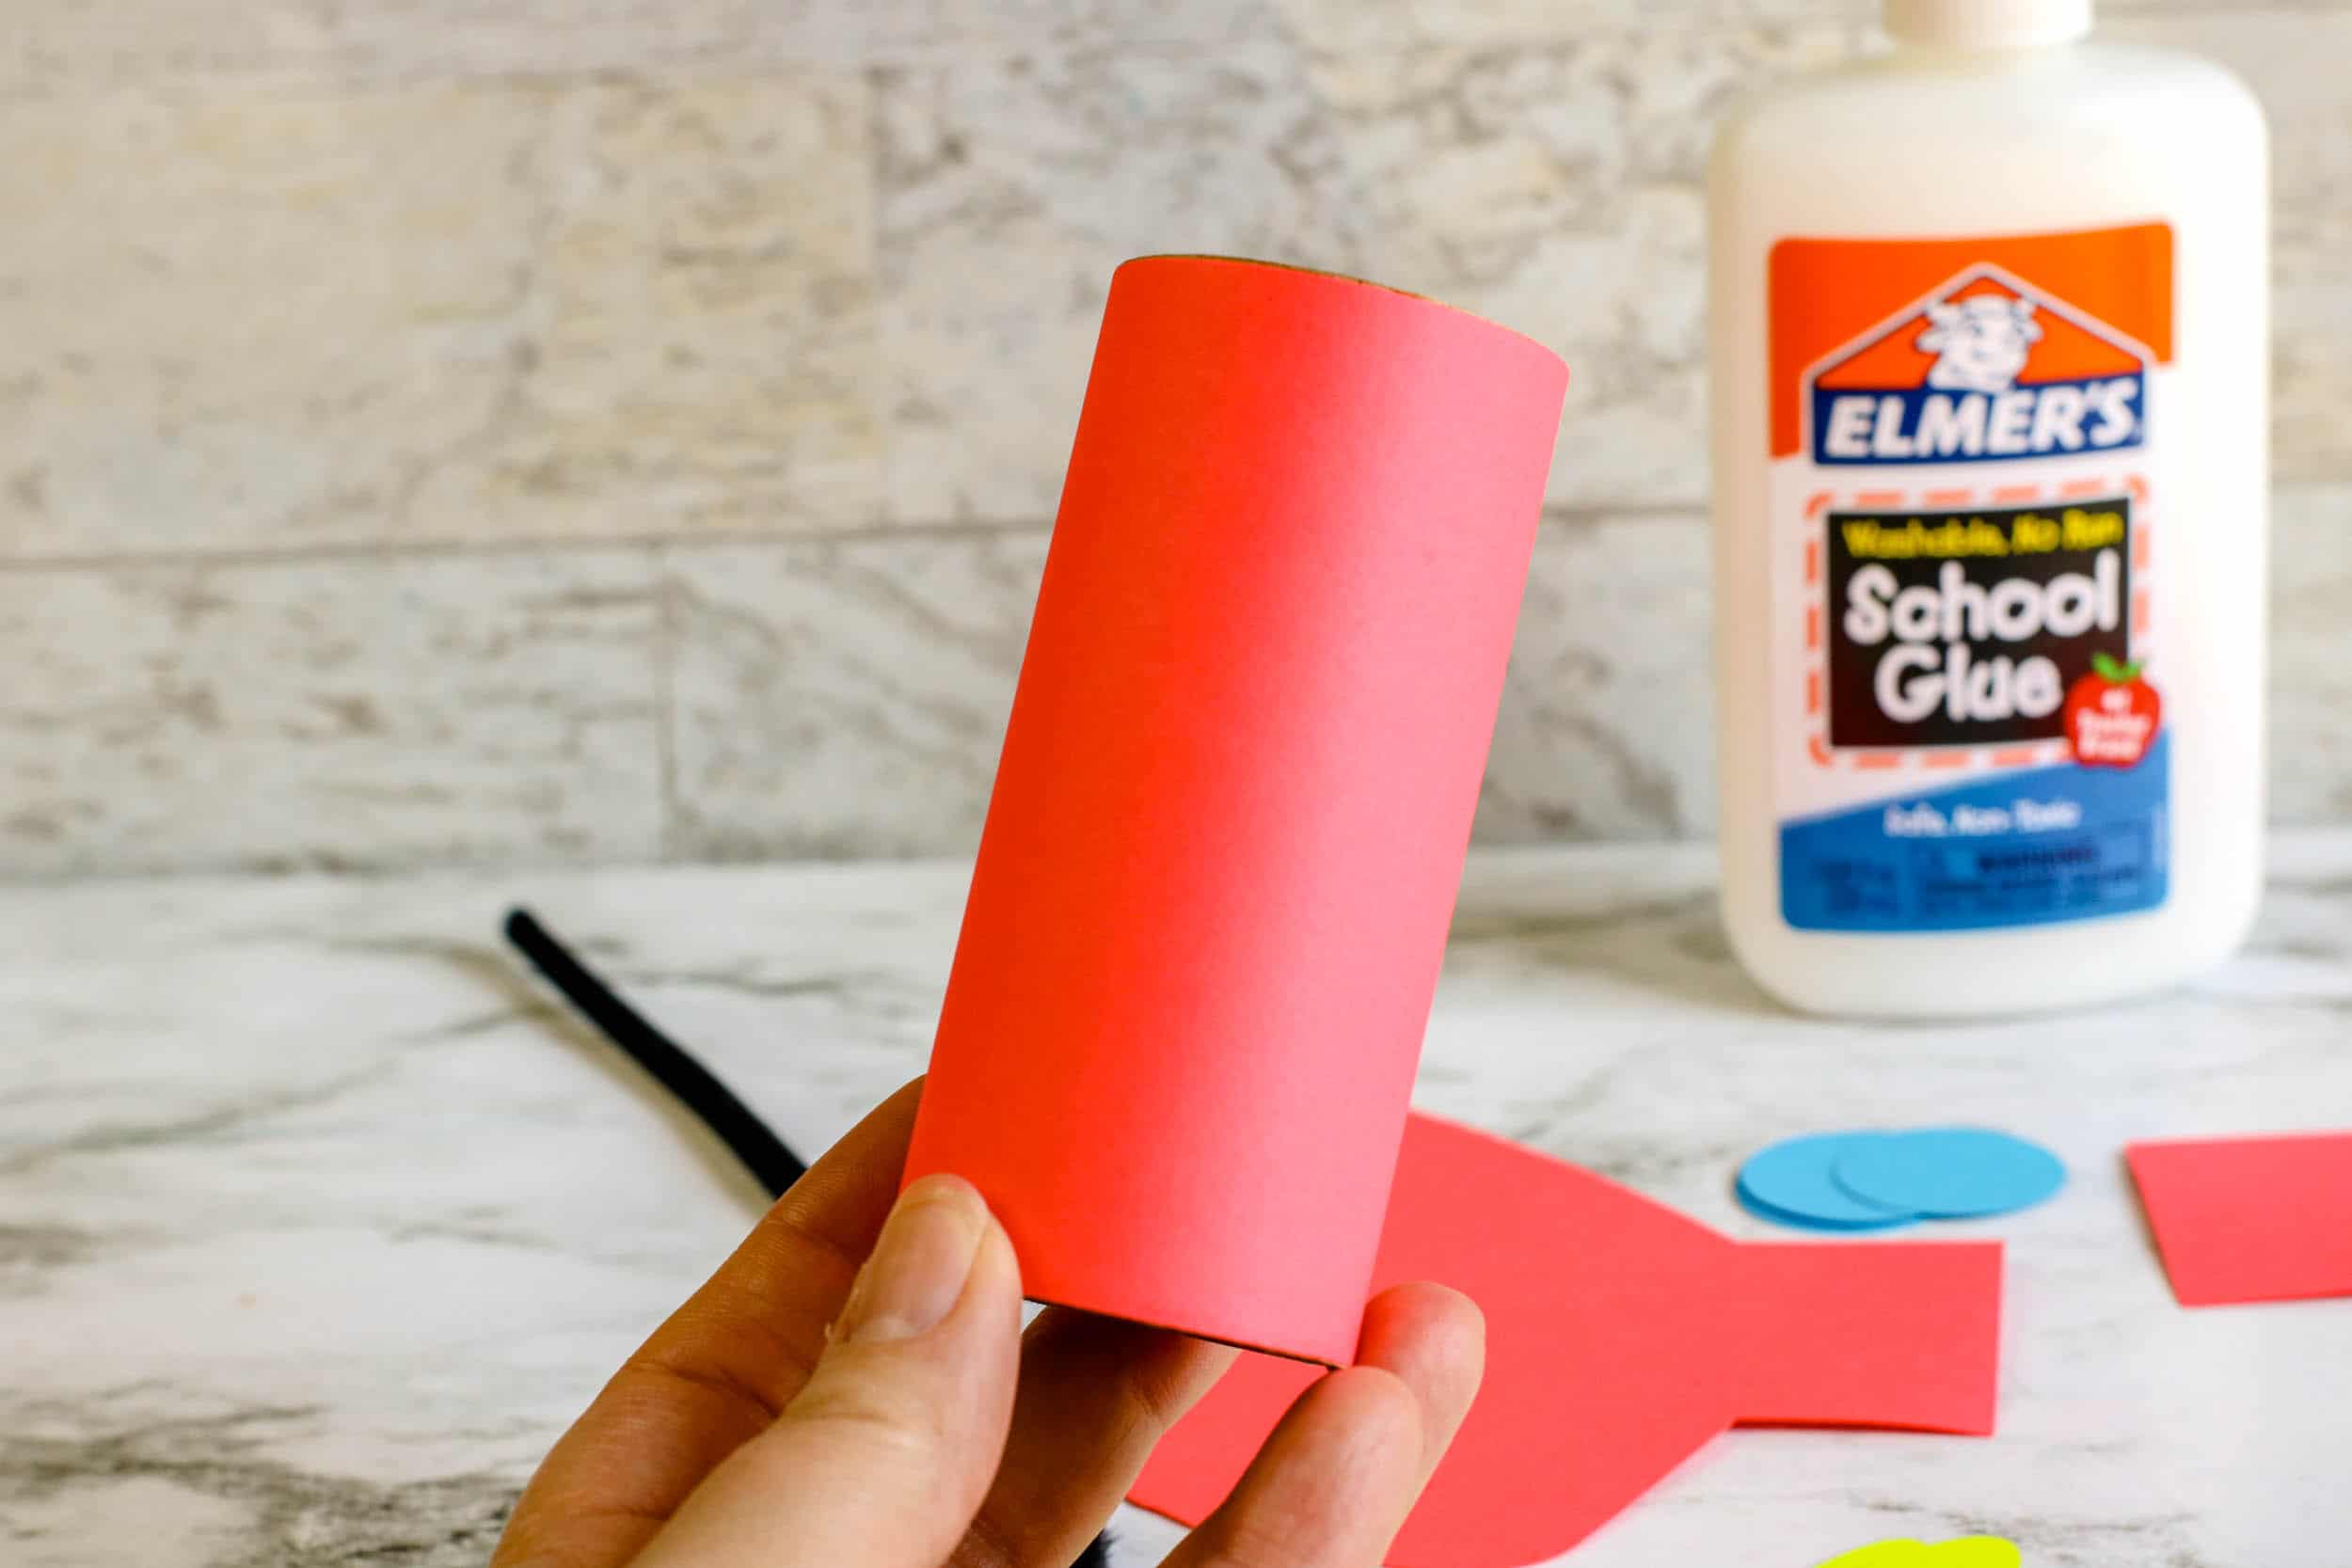
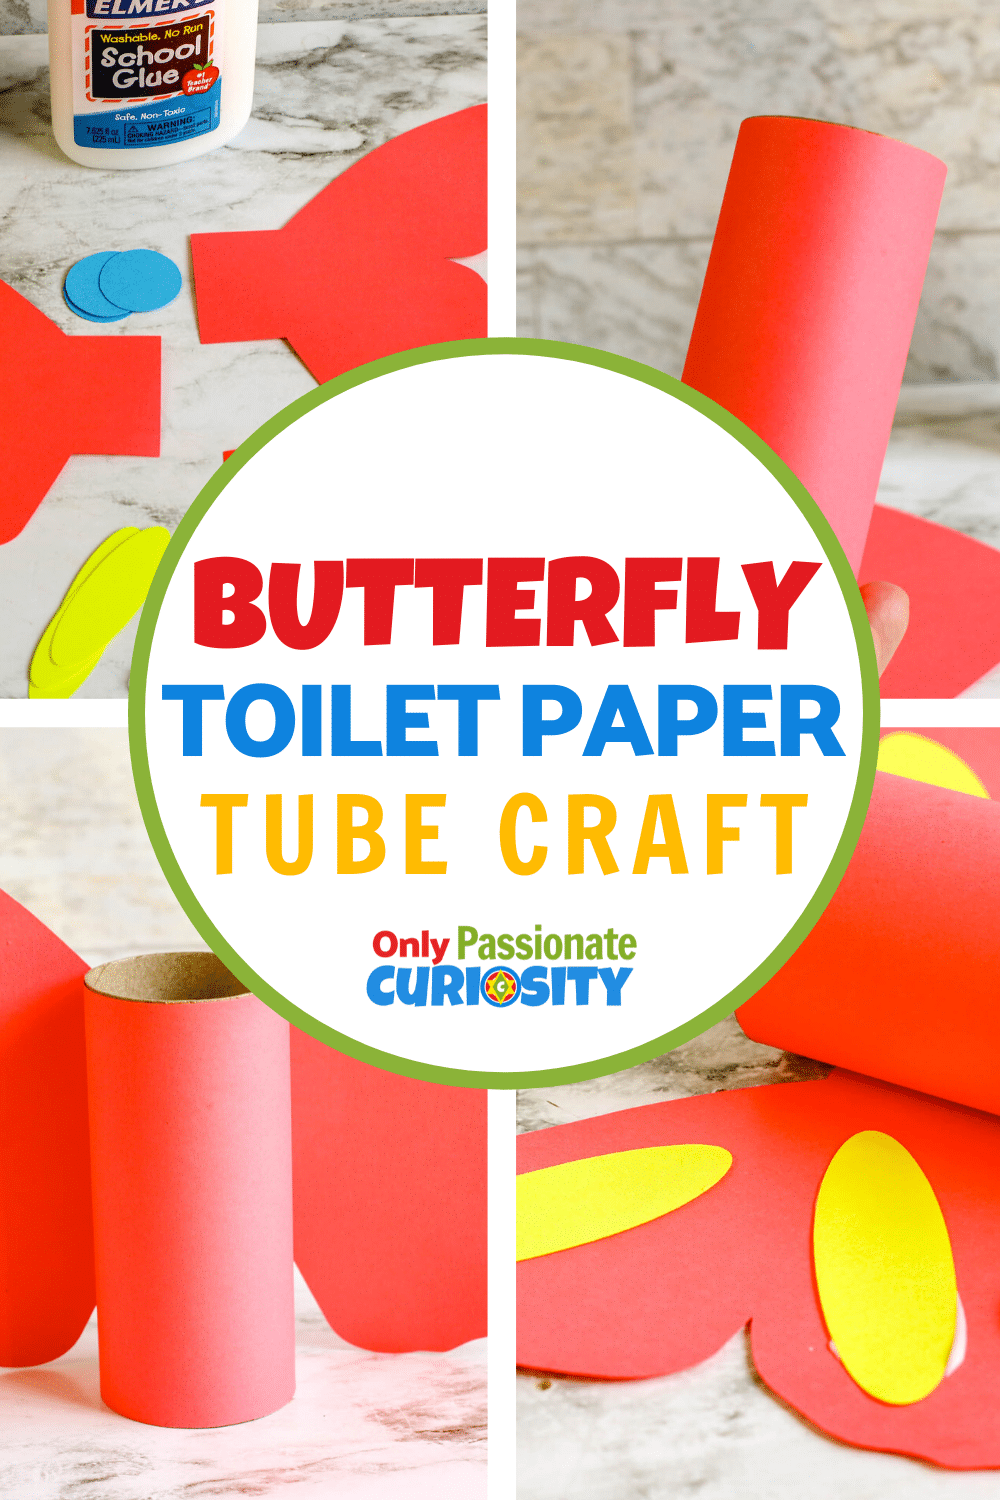
Next, you’ll need to cut out the template pieces for the wings and decorations. There are a couple of different ways to do this. The first way is the one you are probably most familiar with: cut out the template pieces with scissors, trace them onto the colored papers of various colors, and cut them out.
If you craft a lot then you may also want to try a more tech savvy cutting device, which cuts out patterns directly from templates. To use a cutting device (such as Cricut Explore), use the PNG images. Upload to your machine software. Size the images as follows:
- Wing pieces = 6 inches height
- Smaller circles = 2 inches wide
- Larger circles = 3 inches wide
- Ovals = 2.54 inches wide
Whether you use the old-fashioned approach or a newer technology, the end result is the same: all of the pieces that you need for your butterfly. Make sure to use different colors for the wings, ovals and circles. It will really make your finished product pop!
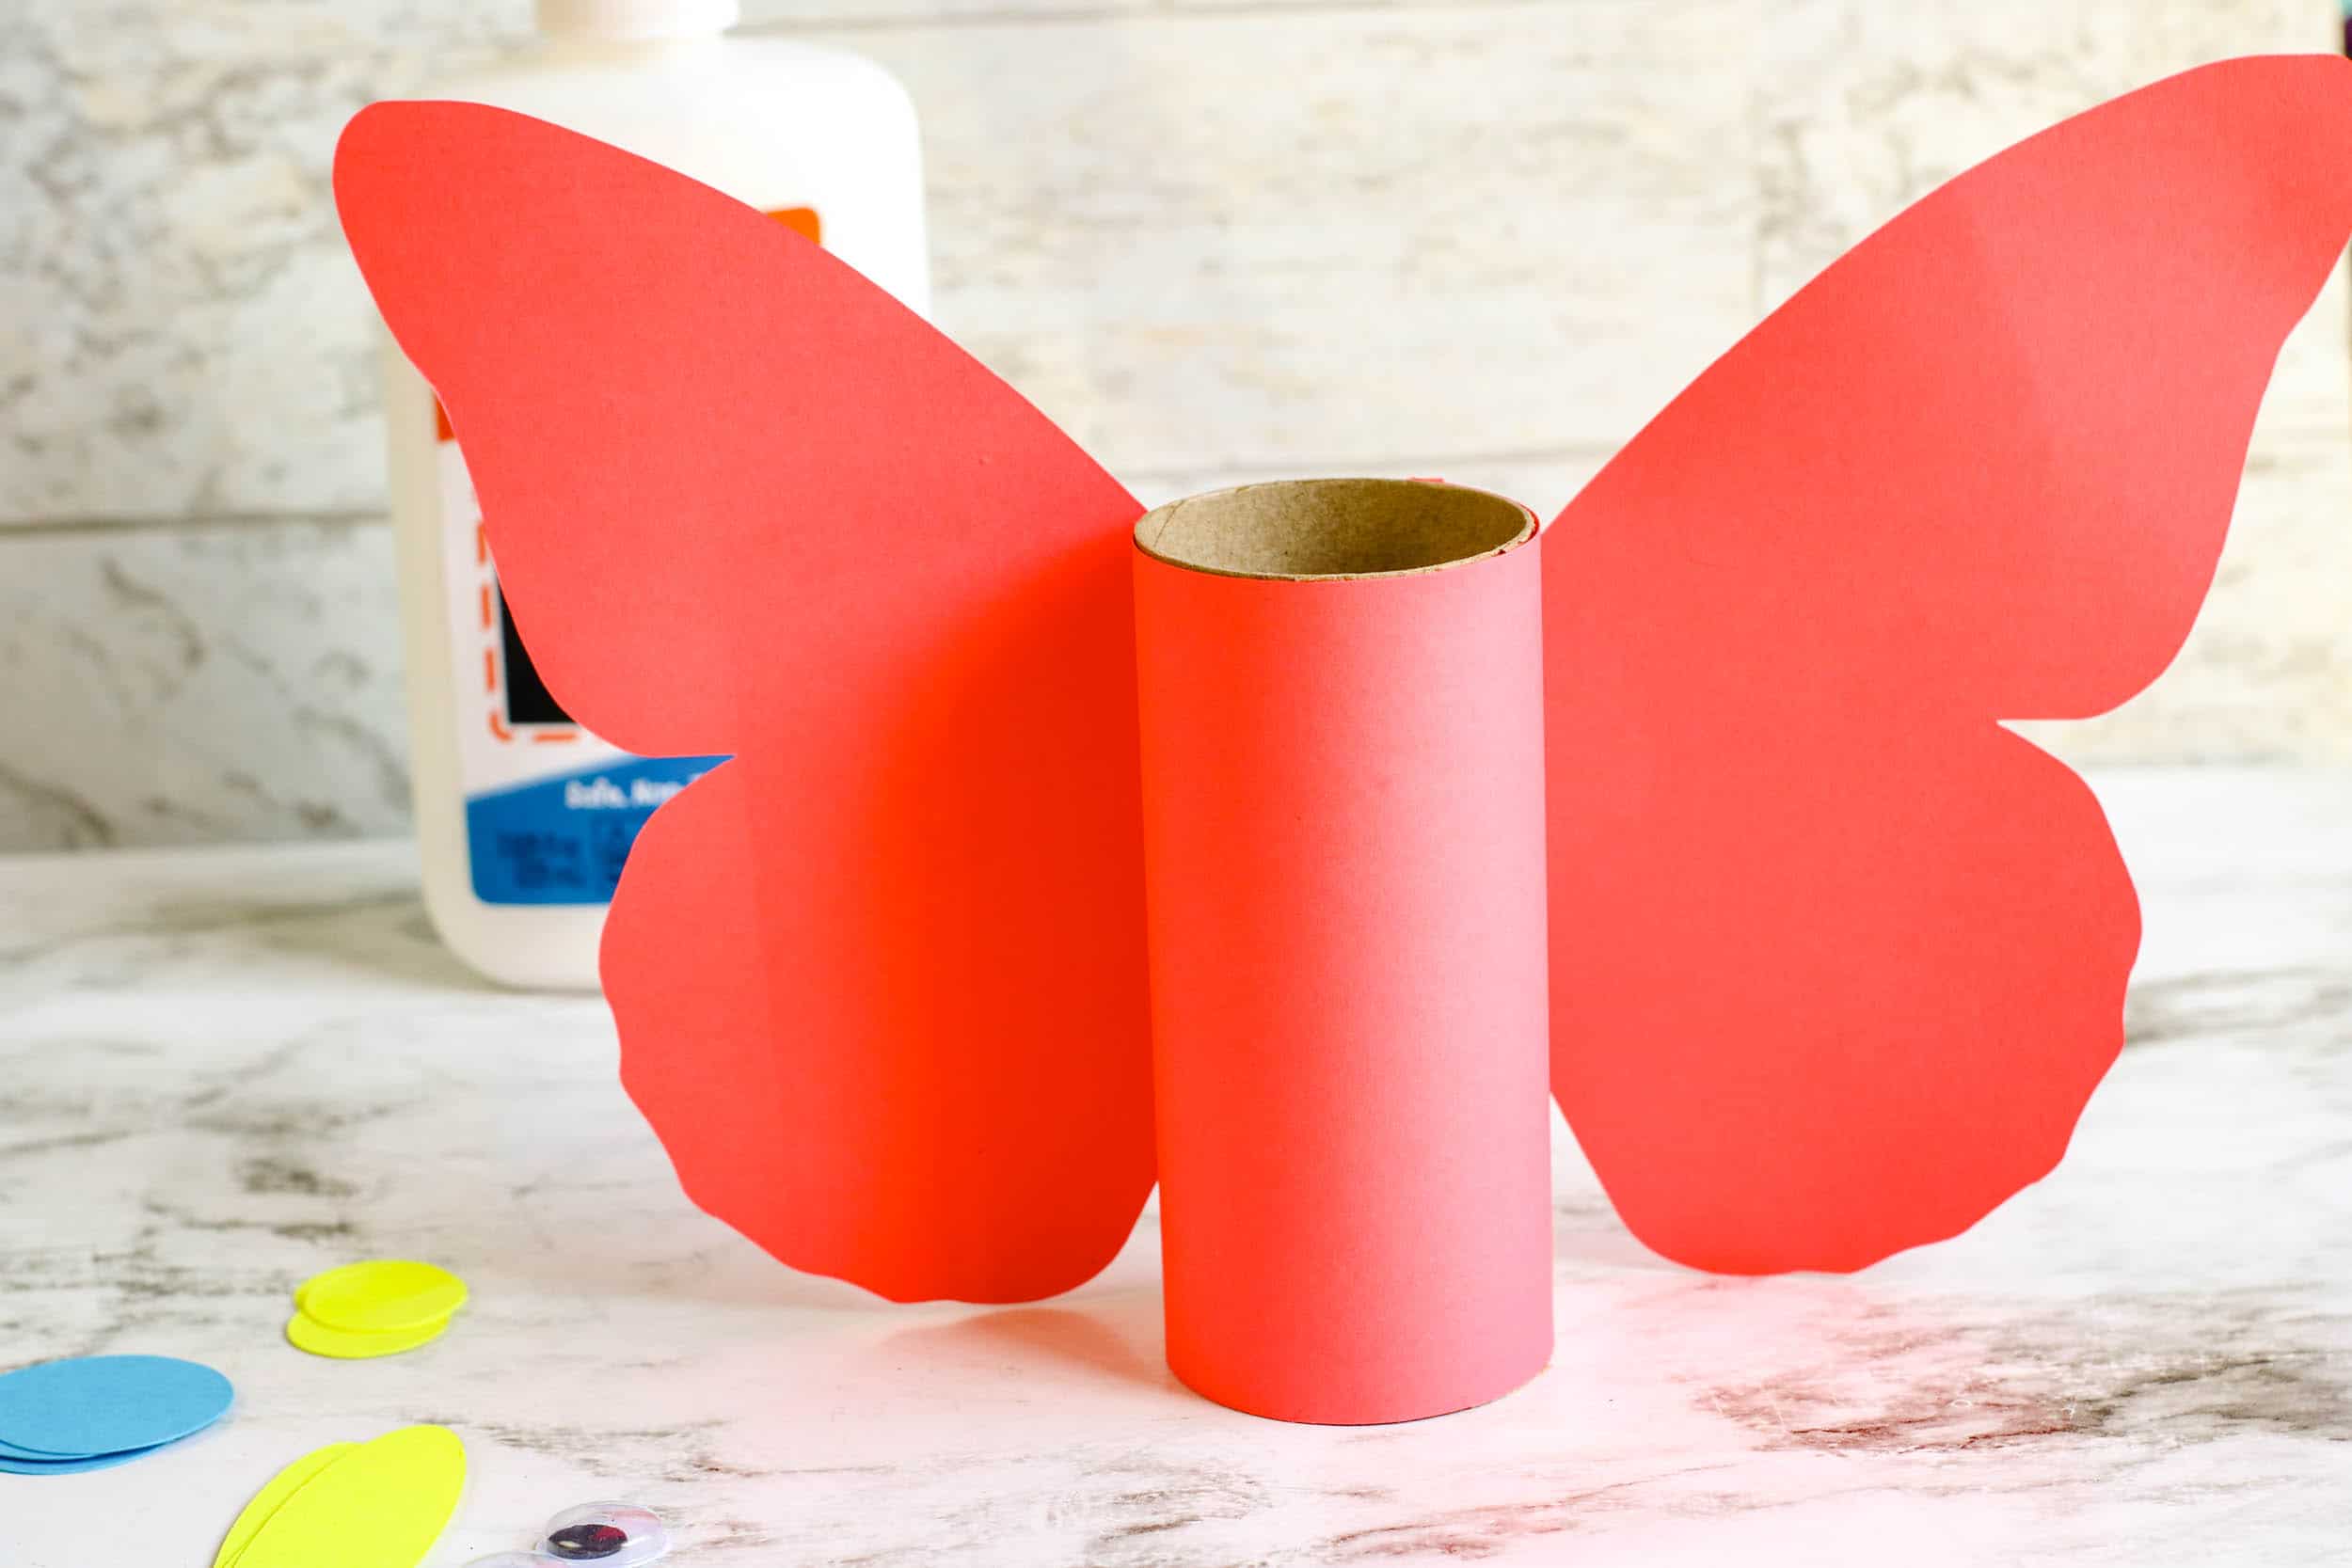
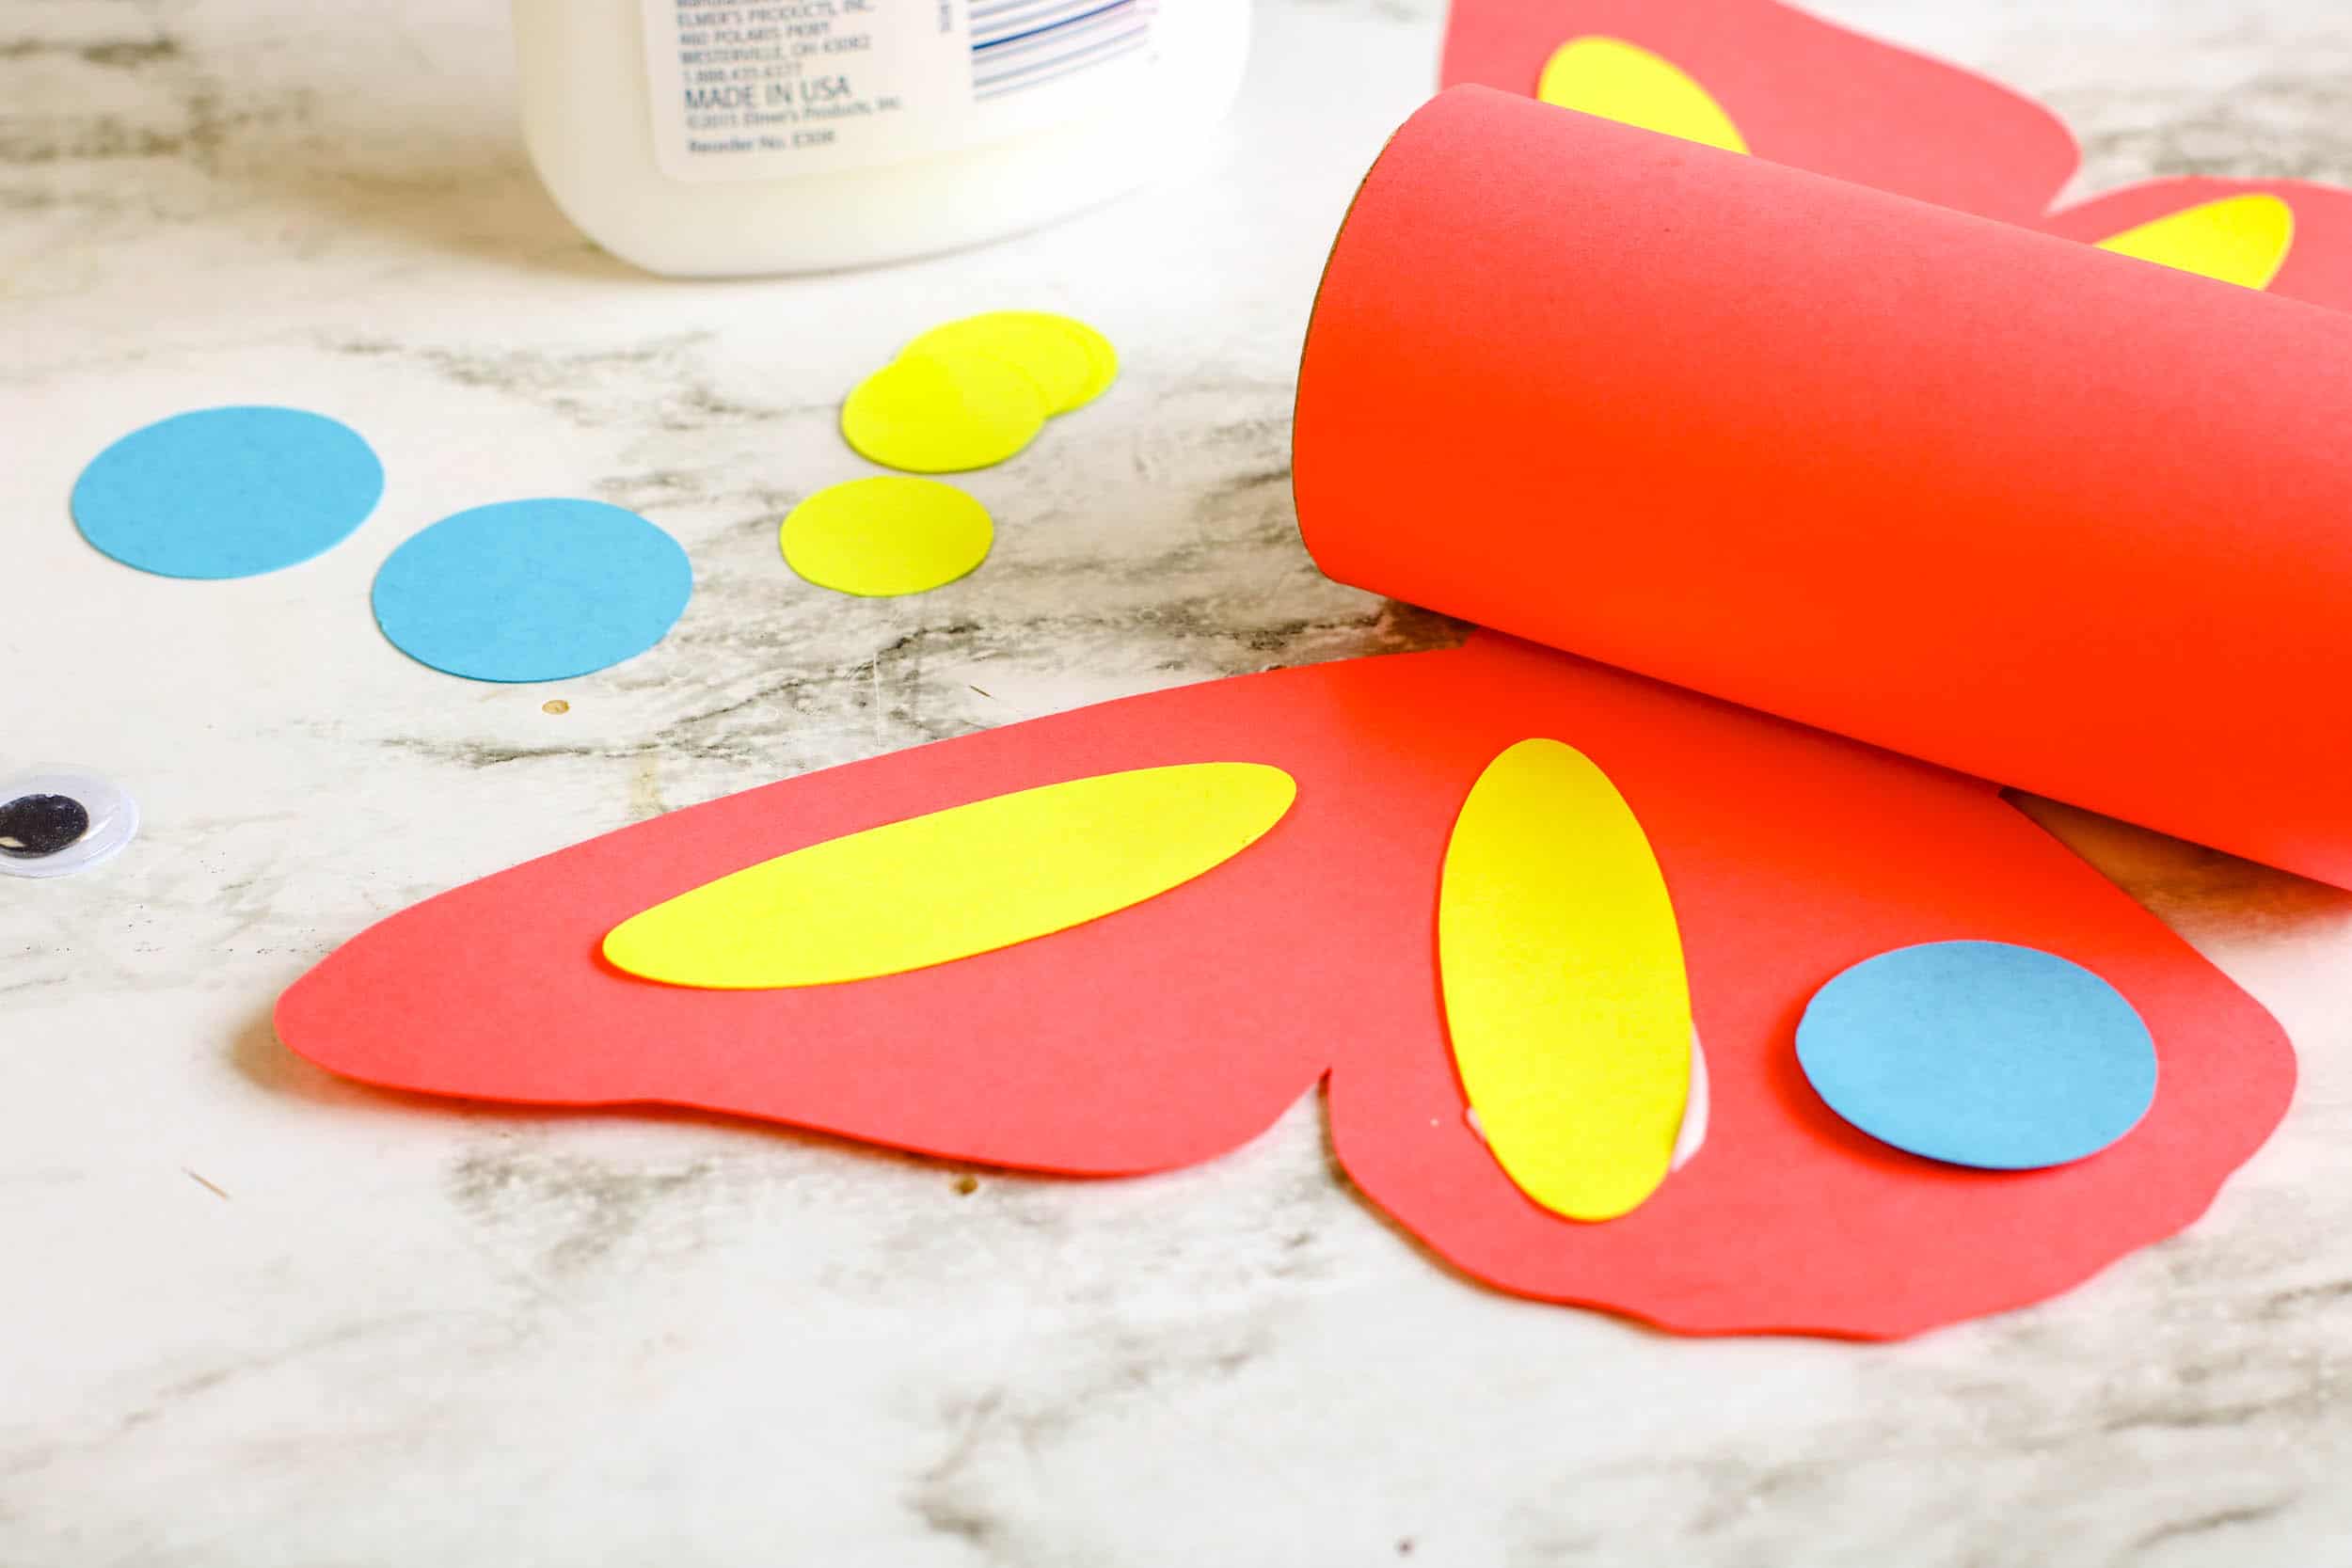
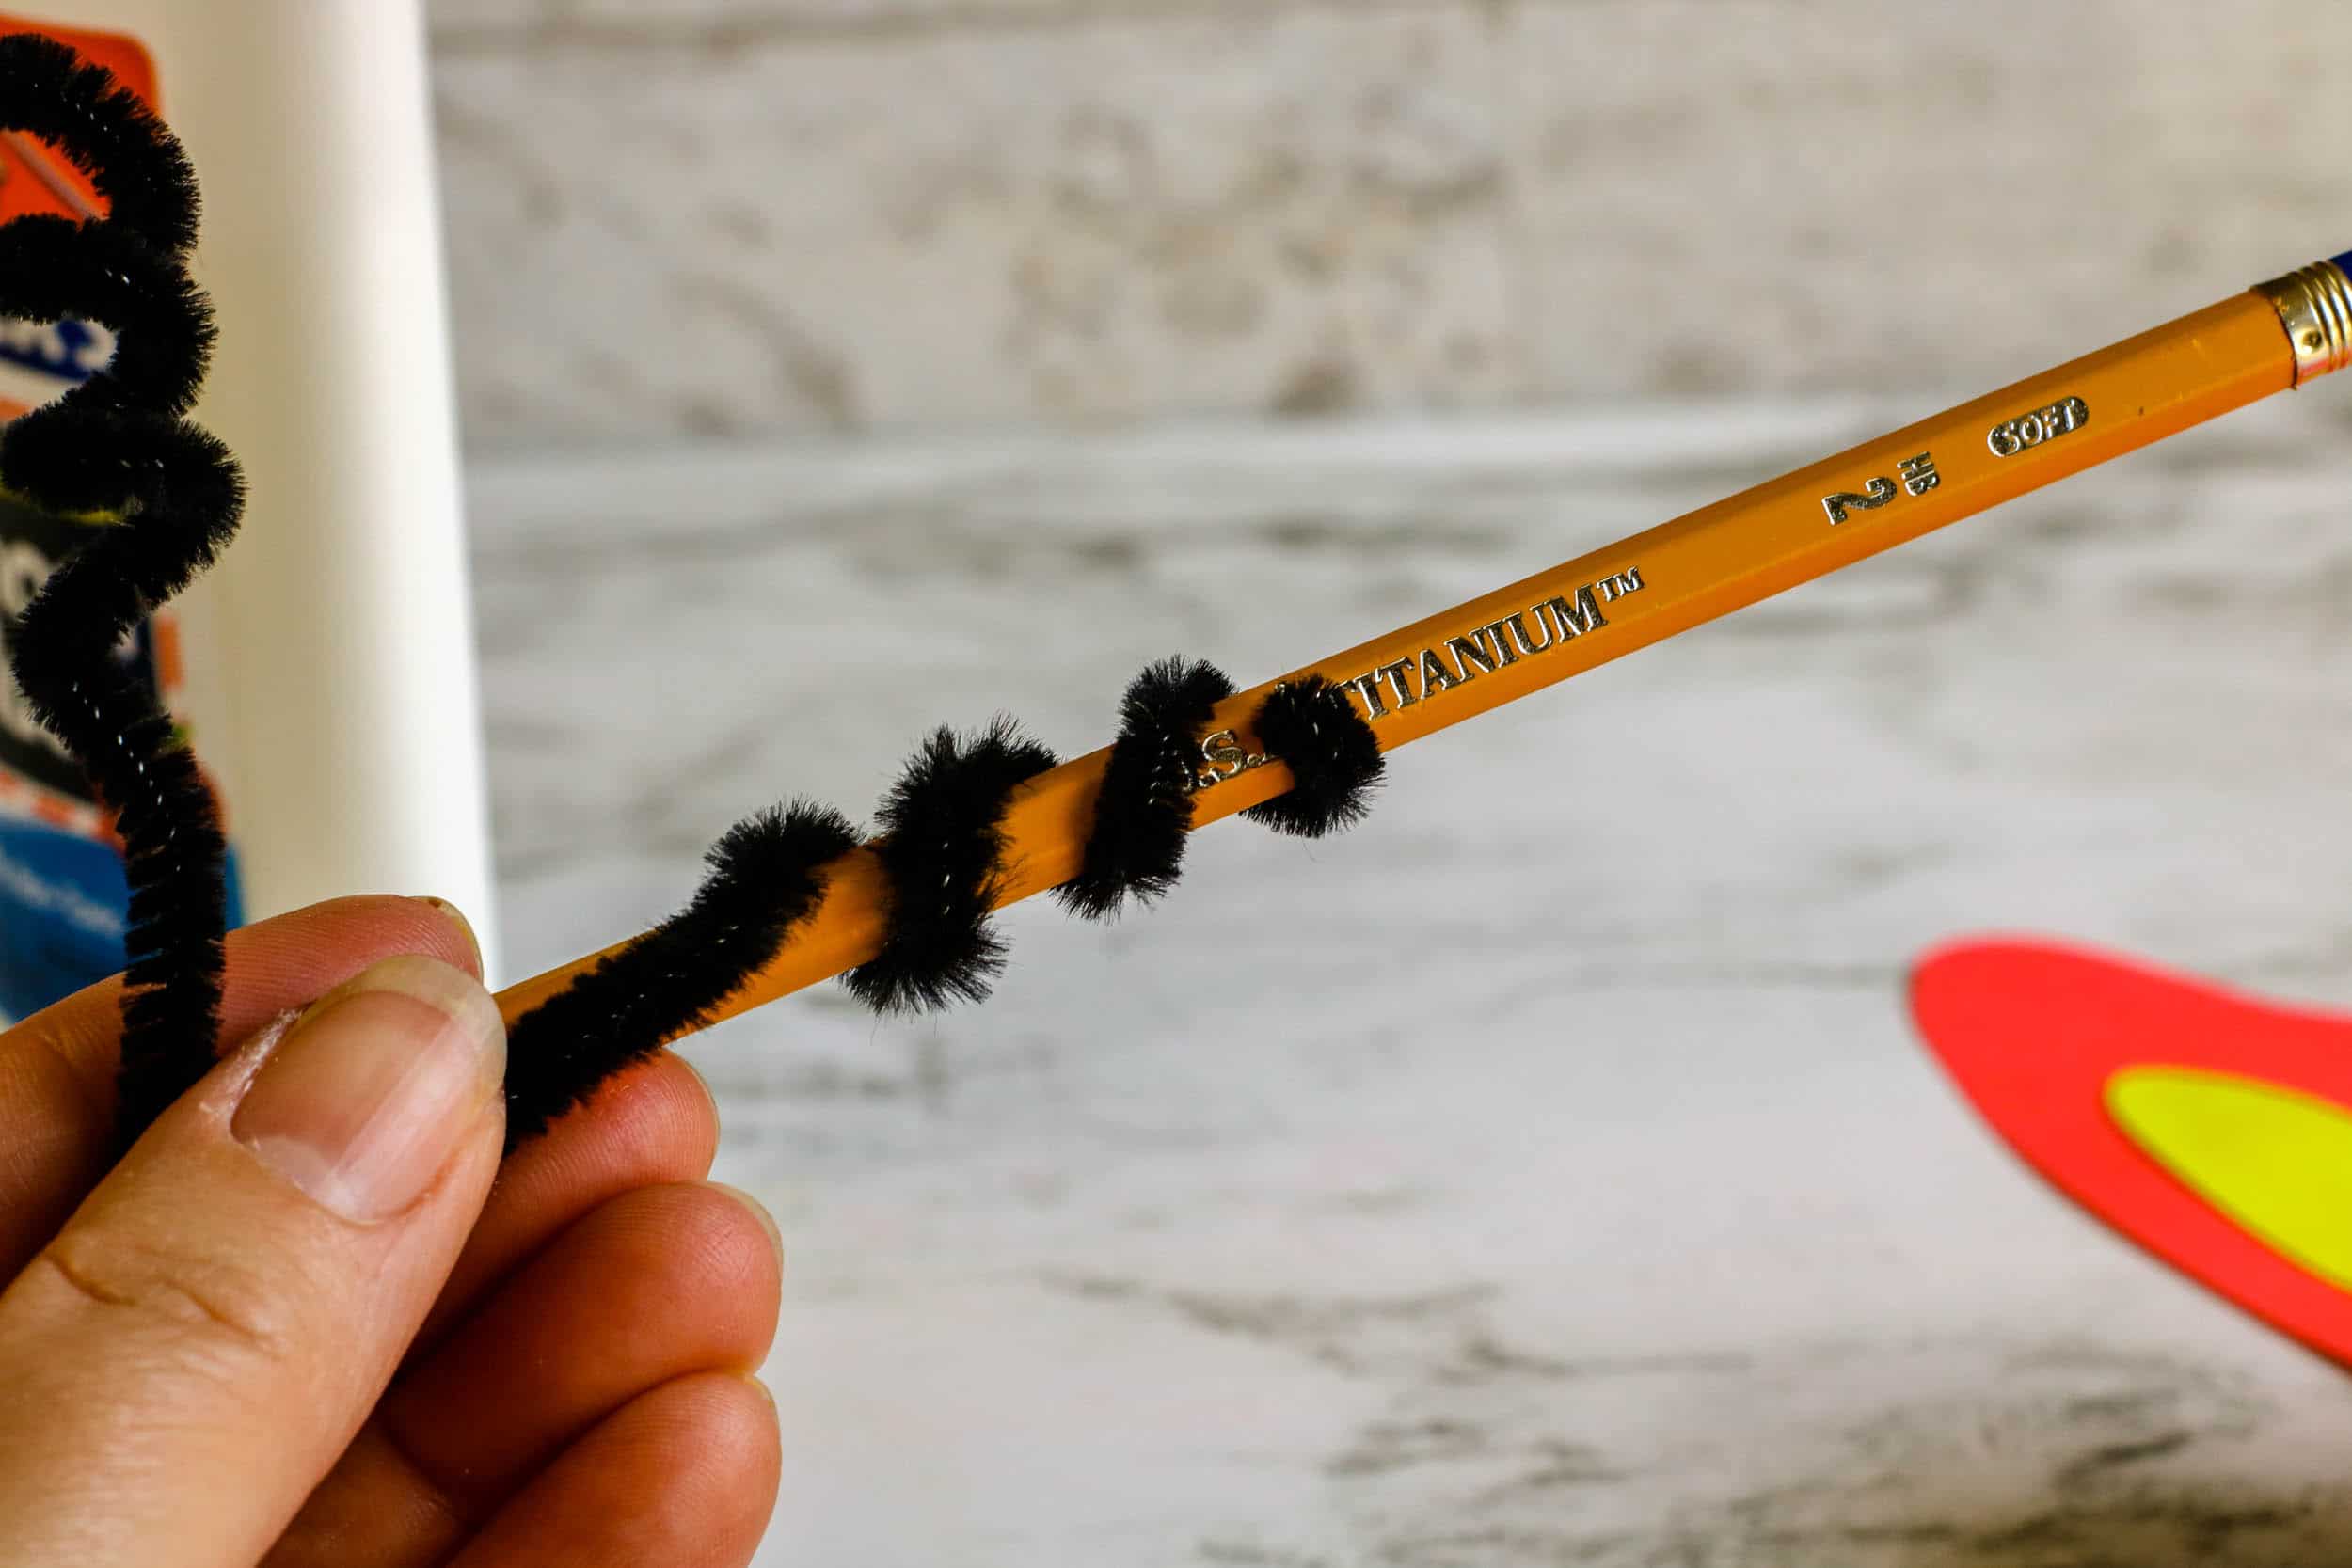
Allow your butterfly craft to dry completely before letting children play with it and then have fun watching all the ways they can enjoy their creations!
CLICK HERE to go to the Only Passionate Curiosity store to download the templates to make this project.
More Butterfly Resources
Want to conduct this craft in conjunction with more learning about butterflies, nature or insects? Here are some fun books and learning resources you may want to use alongside this craft!
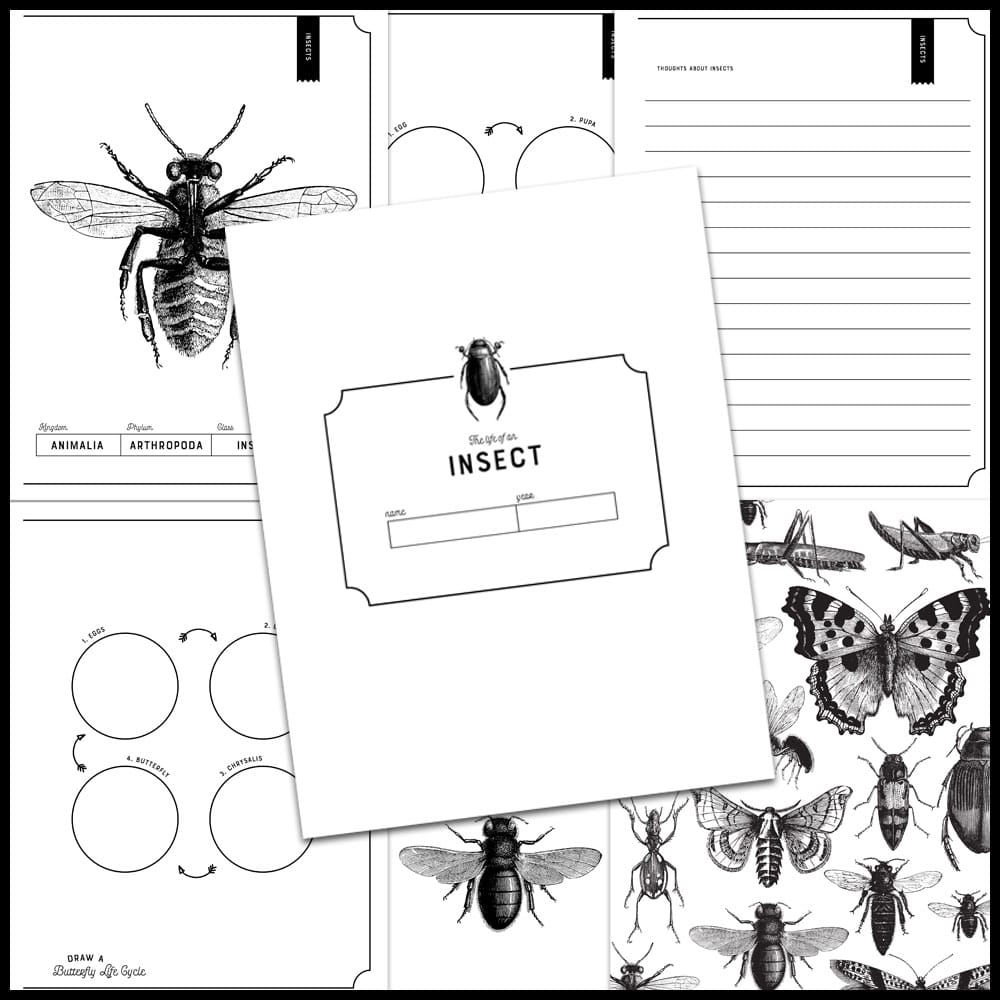
Life of An Insect Notebooking Pages
This resource is perfect for studying different kinds of bugs with your elementary-school aged child! Grab it here to help your child learn more about insects from observing, drawing, and making notes like a true entomologist.
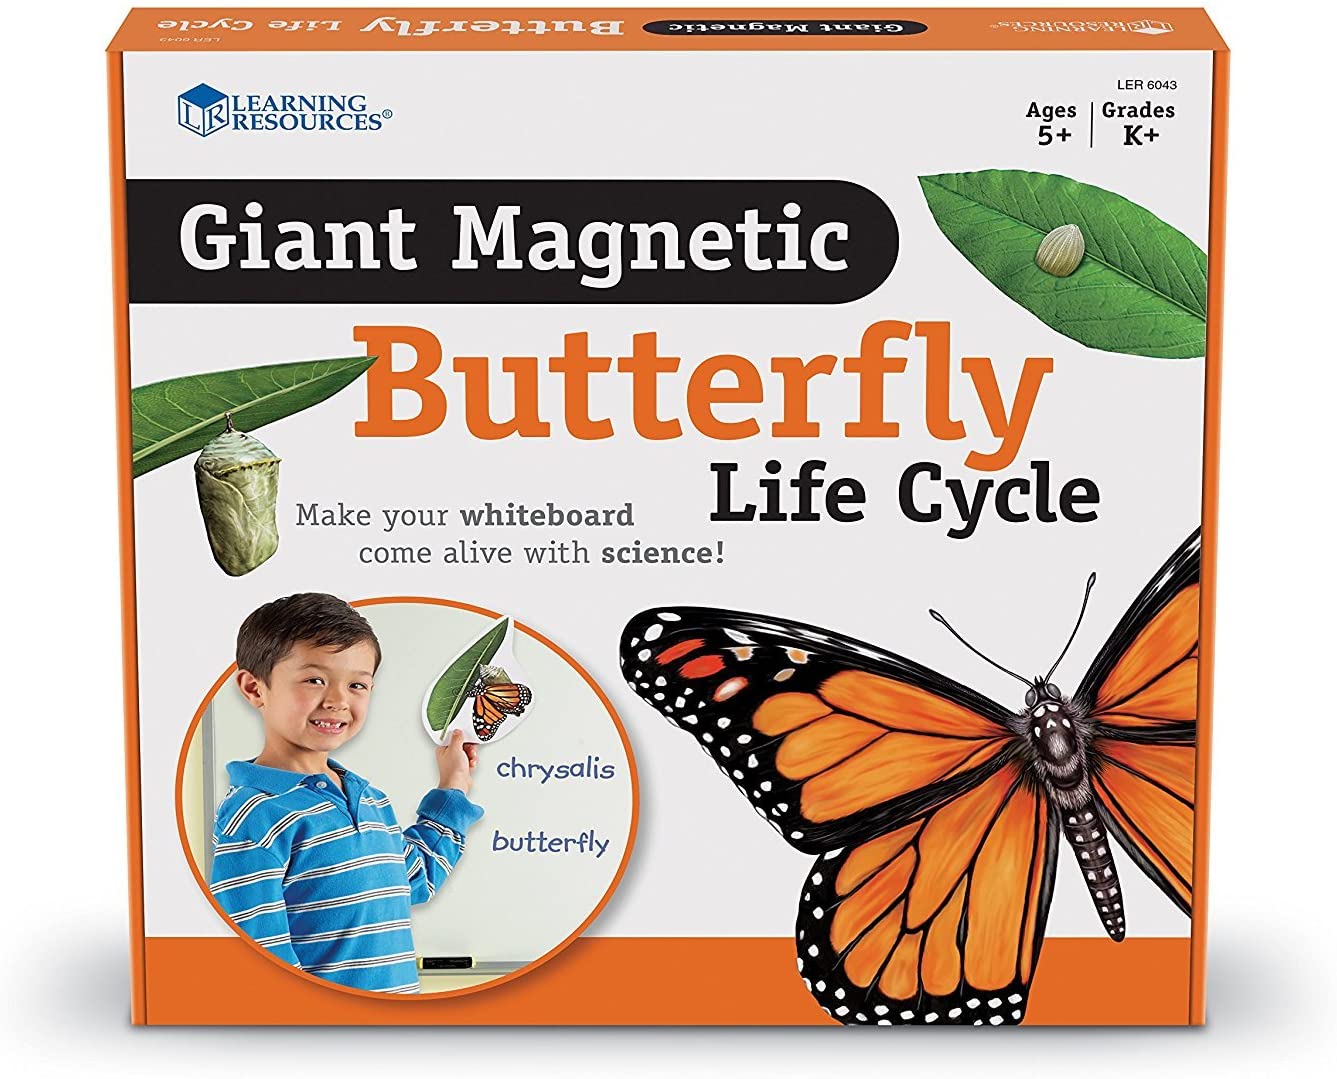
Learning Resources Butterfly Life Cycle
This is an amazing resource for teaching little ones (and older kids too) all about the butterfly life cycle. It comes with giant magnetic pieces that children can move around as they learn about butterflies and the different stages of the butterfly life cycle. Get it by clicking this link.
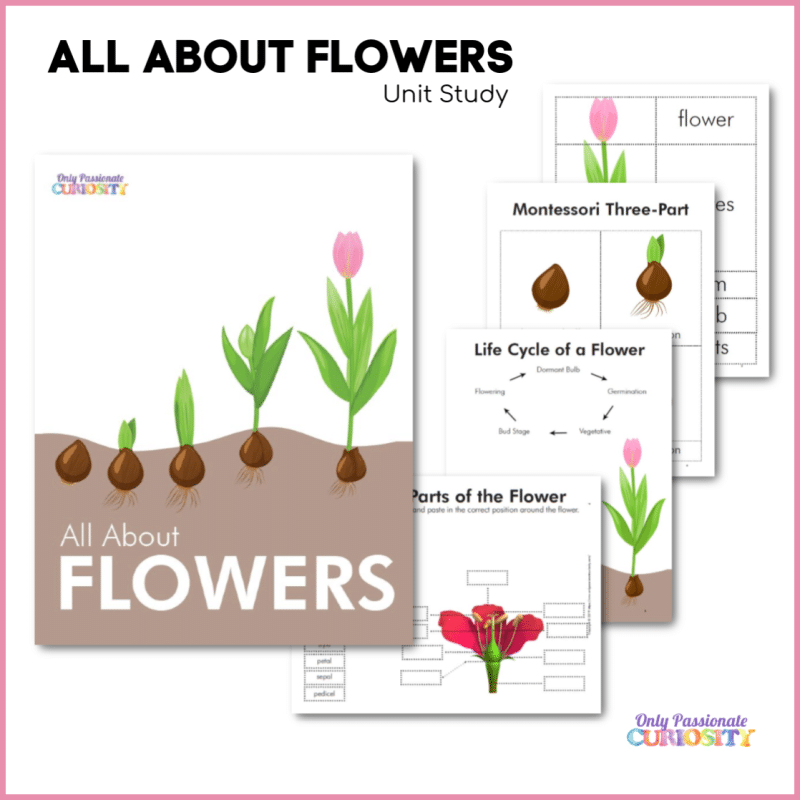
All About Flowers Unit Study
This flower unit study would also pair well with the featured butterfly craft. After all, what do butterflies love more than flowers? So many things are in bloom in spring and summer, making this the perfect time of year to study flowers. Grab it here!




Adorable! Now maybe you need to come up with an original haiku to go with each craft! ??
Ah, I’ll let you do that, my sweet sister! You’re so good at it! <3