3 Ingredient Density Fireworks!
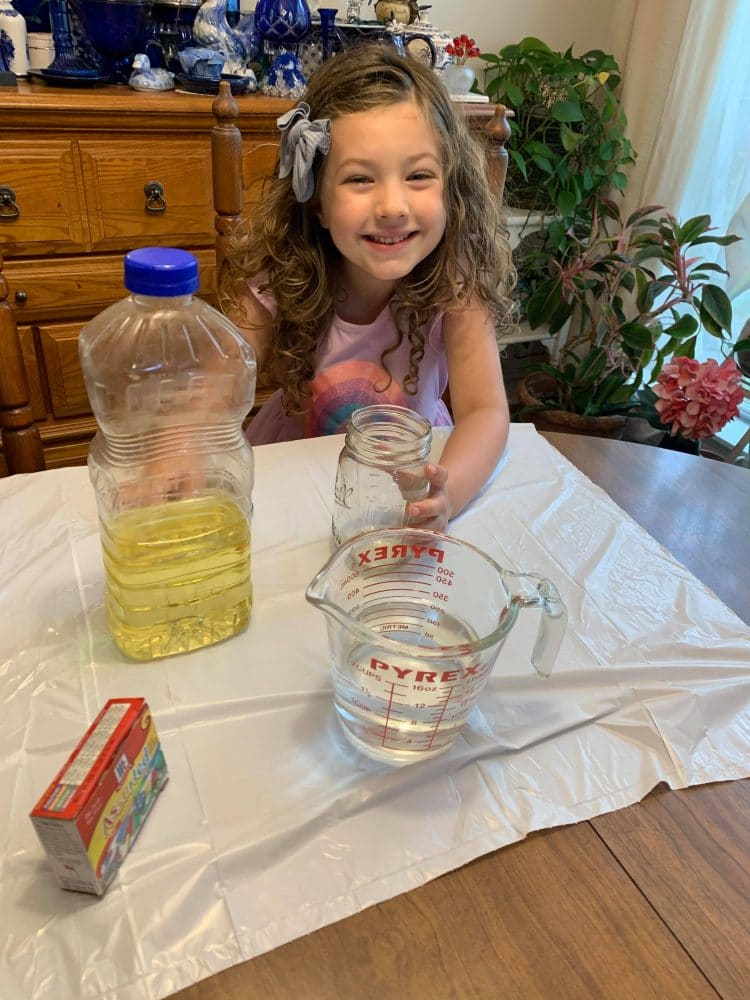
I don’t know about you, but I’ve yet to meet a kid who doesn’t enjoy hands-on learning. This is especially true when it comes to science! I was never a “science-y kid” growing up (literature nerd all the way), but my young daughter is very interested in the “hows and whys” of science, so we’ve been diving into the world of hands-on science: AKA science experiments!
Doing science experiments at home has been such a fun way for her to learn about asking questions and forming and testing a hypothesis! The experience has actually turned me into something of a science-lover, too! And one “real-life” thing I’ve learned in the process? Science experiments at home do not need to be complex, and they don’t have to require a ton of supplies! This 3 Ingredient Density Fireworks experiment is a great example of that! It’s simple to recreate, doesn’t require a ton of fancy or expensive equipment, and is a great way to introduce your kids to some foundational scientific principles.
This 3 Ingredient Density experiment is a great way to introduce your child to scientific concepts like:
- Mixtures versus solutions
- Density
And maybe most importantly. . .
- Asking questions, forming a hypothesis, and making observations! With this – and any hands-on science experiment- be sure to constantly talk to your children about what they observe, what they think will happen, and why! This lays important groundwork for talking about the scientific method. (By the way, if your children are ready to start learning about the scientific method, grab this printable to help!
What You’ll Need
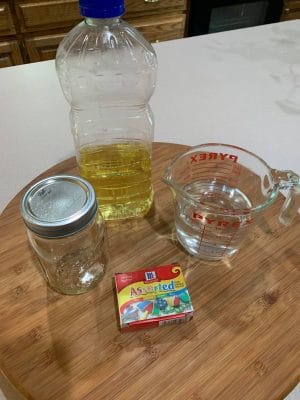
You’ll just need a few things for this simple experiment! You probably have most of them at home already.
- Vegetable Oil
- Water
- Food Coloring
- Equipment: A clear glass jar or cup. I really love a mason jar with a lid for this one!
Because this experiment can be a little messy, I also suggest covering your table with a plastic tablecloth (or a garbage bag, which is one of my go-to methods simply because we always have them around). Or if you have a folding table that you like to use for art or science, go ahead and pop that up!
How to Do It:
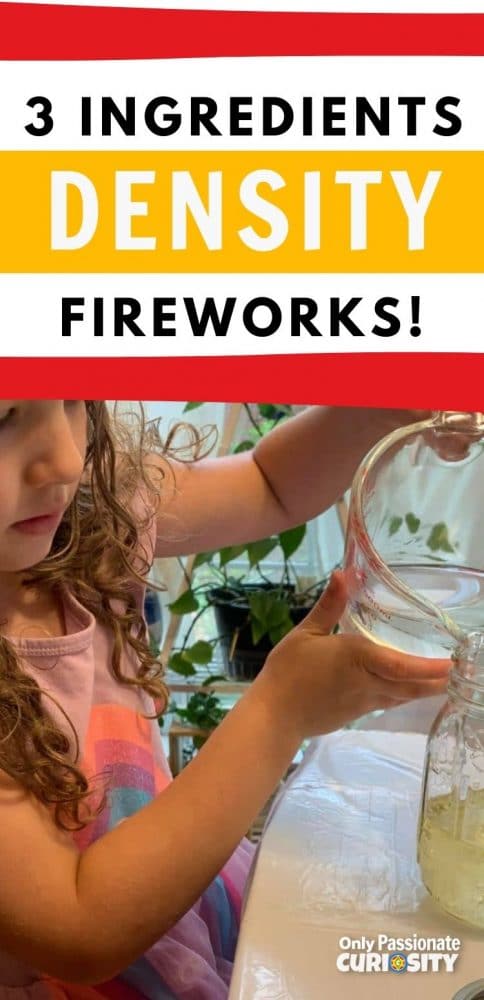
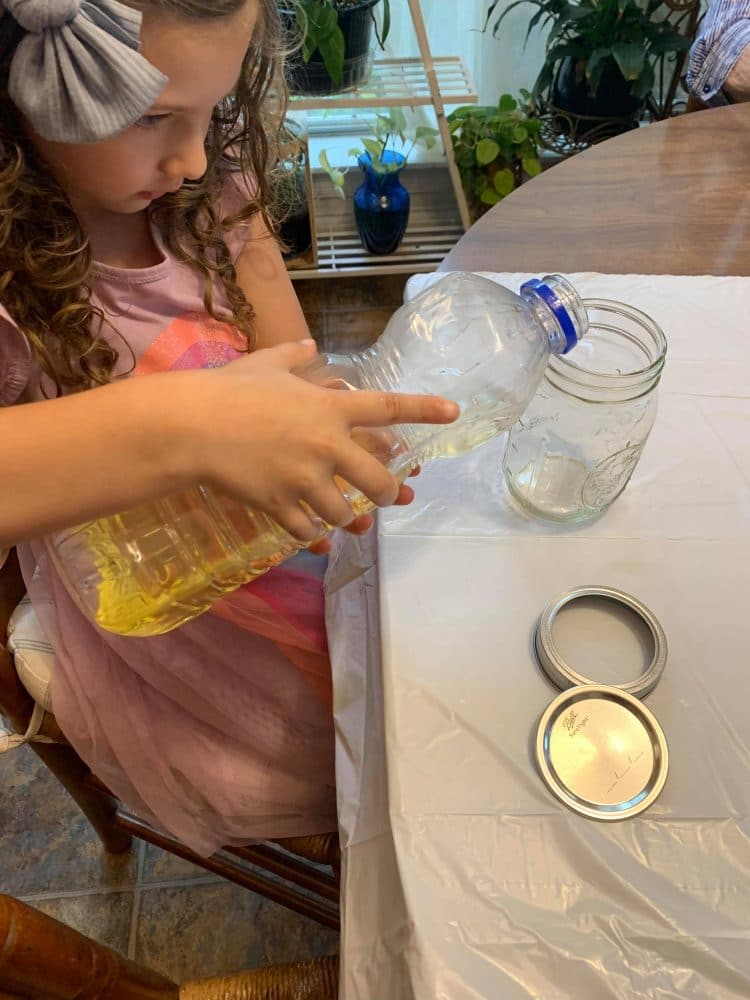
To get started with this experiment, have your young scientist pour some of the vegetable oil into the jar. The amount does not have to be precise, but you want to have a layer that isn’t too thick: about 1 inch is perfect. However, if you accidentally pour too much, use it as a learning experience! This happened to us on our first attempt, and it affected – but did not ruin- the experiment.
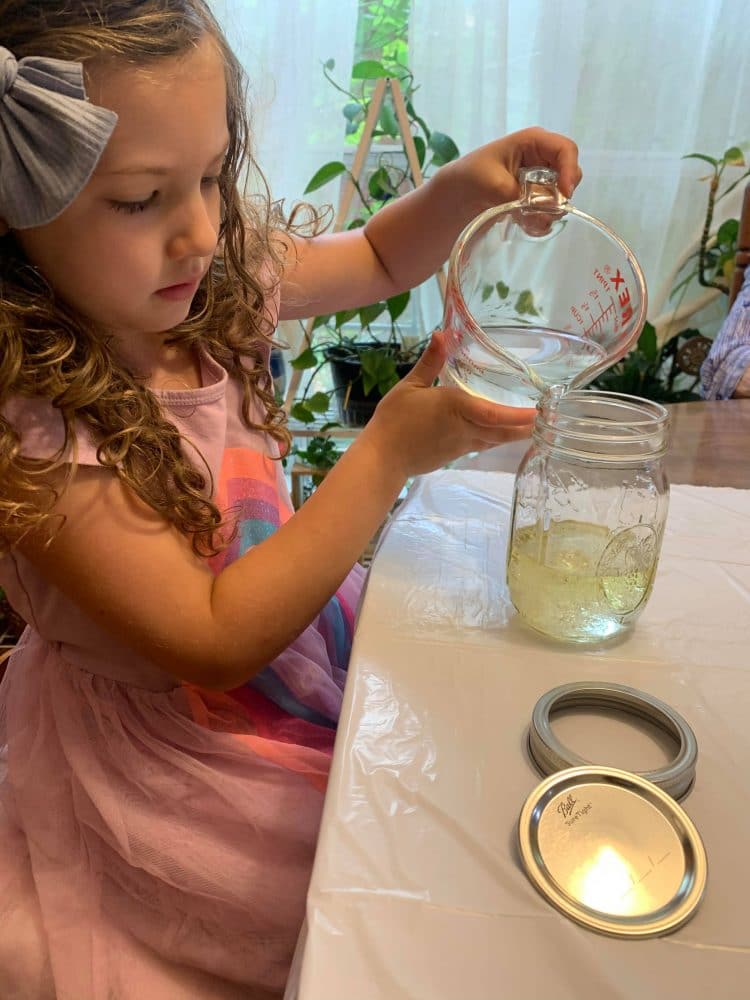
Next, fill the glass or jar about 3/4 of the way full of water.
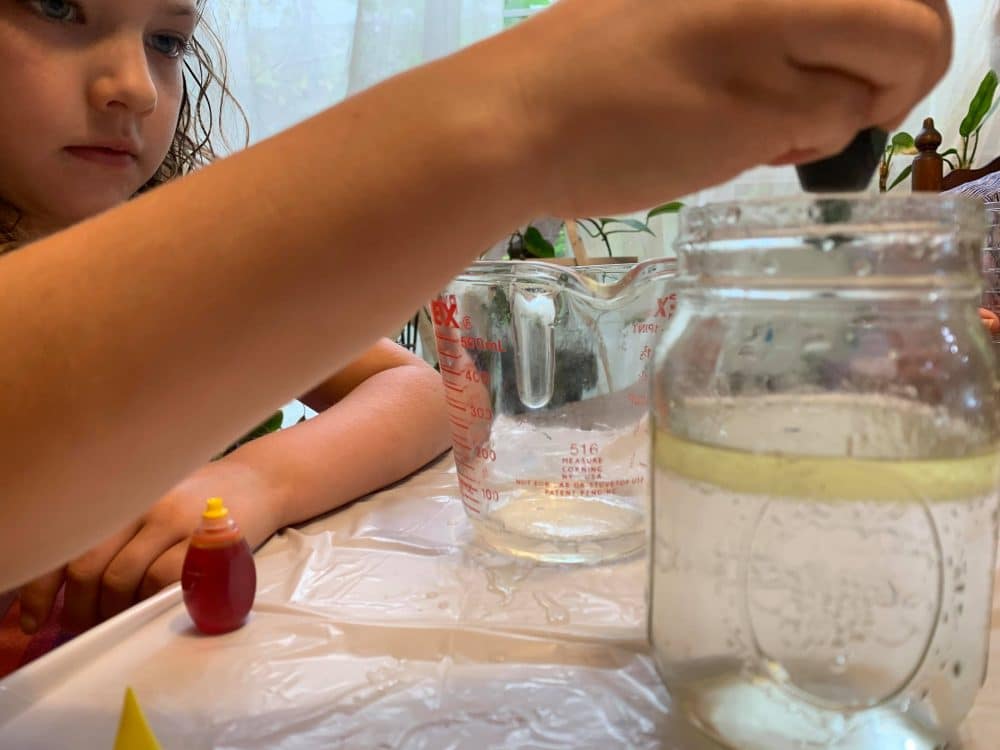
Ask your kids what they notice! The oil and the water will not mix because they have different chemical structures. Water molecules are polar; they have a positive charge on one end and a negative charge on the other. They are therefore attracted to other water molecules! Oil molecules are evenly balanced, so they do not bond to the water molecules.
Mixtures versus solutions: When you combine two or more ingredients that retain their distinctive properties (like oil and water) you have a mixture. This is different from a solution, in which two or more ingredients combine to create something new. For example, if you dissolved salt in warm water, it would make saltwater! That would be a solution. Explain to your child/ren that you have just made your very own mixture!
You can also ask your kids about the position of the water layer versus the oil layer. Which one is on top? And why do they think that is? The answer is it is a simple matter of density! Density can be a difficult concept to explain, but the visual part of this experiment makes it easier to grasp. When a material or liquid has greater density, its molecules are packed more tightly together and it is heavier. In this experiment, the water has greater density than the oil, which is why it sinks to the bottom while oil floats on top.
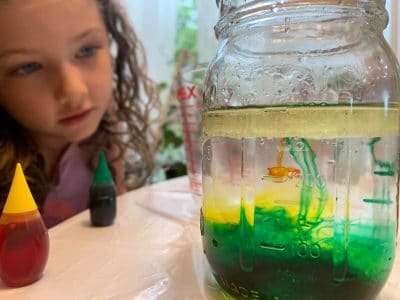
The next step is to squeeze just a few drops of food coloring into the top of the jar. (Before you do, don’t forget to ask your child what he or she thinks will happen!)
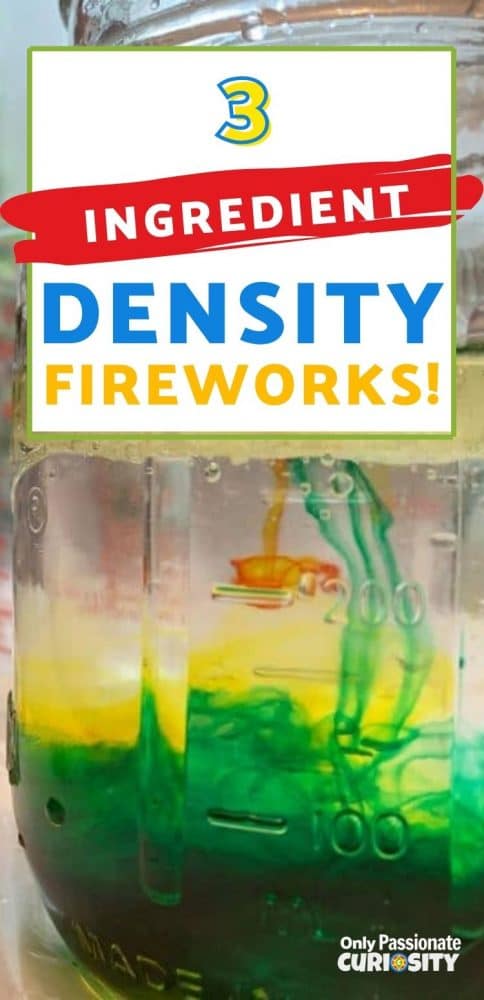
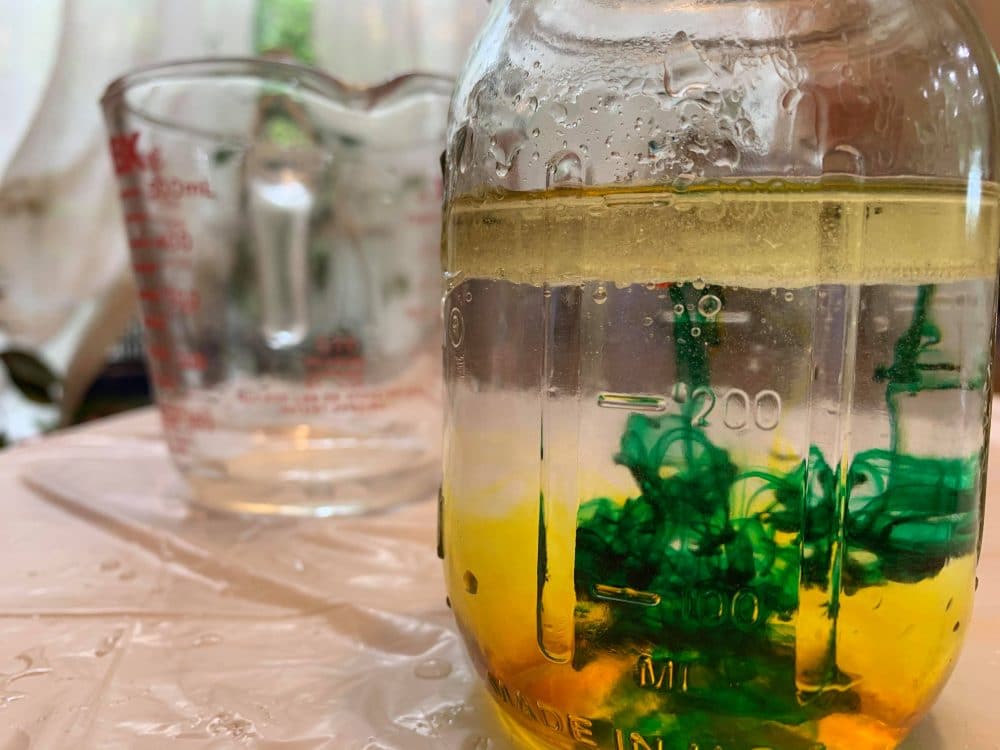
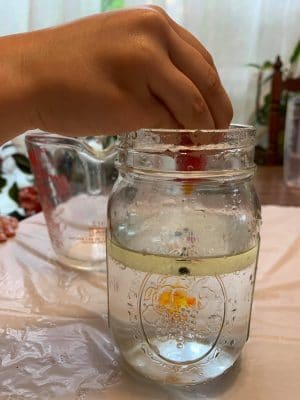
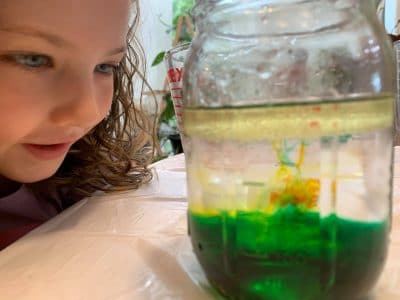
The food coloring is water-based, which makes it denser than the layer of oil! Each drop of dye will form an oil-coated little ball as it goes straight through the layer of oil to join its fellow water molecules.
And when it gets through the oil to join the water layer? The coating of oil will disperse, and the color will create a “firework” effect in the layer of water. Check it out!
And of course, you can keep adding colors and watching those fireworks until the water turns black! (That’s what we did!)
Science can be fun, easy, and even beautiful! I hope you try this fun project out in your homeschool to explore concepts like density, mixtures and solutions, and the art of making predictions and observations!
You May Also Like:
Love science? Check out these other hands-on experiments and printable activities! These are perfect for some summer fun!
Homemade Bubble Recipe and the Science Behind Bubbles
5 Easy STEM Activities to Do at the Beach


