3 Simple Penguin Crafts & Life Cycle Study
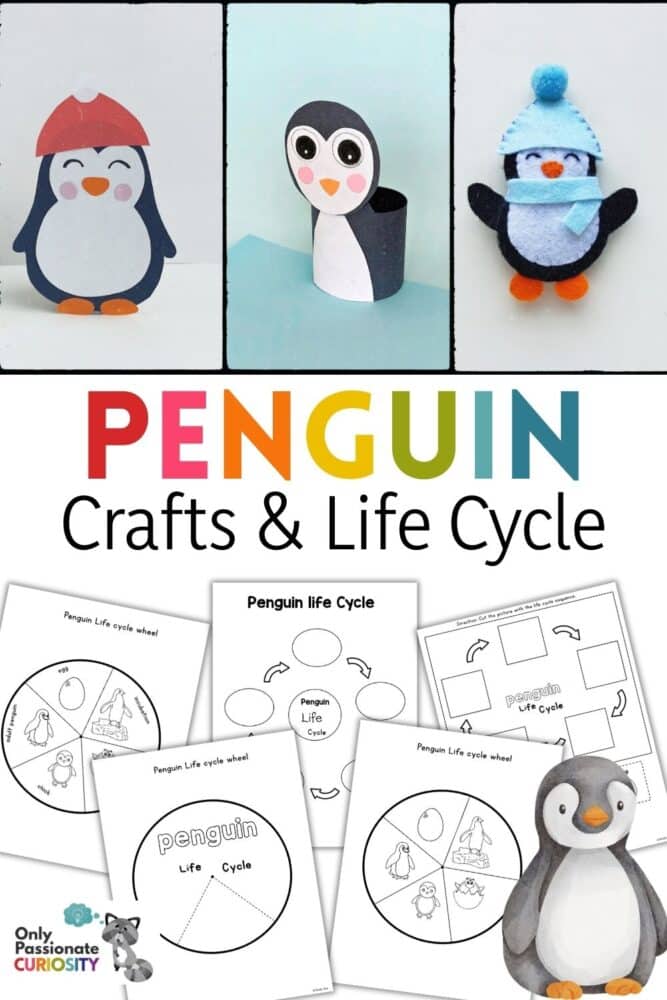
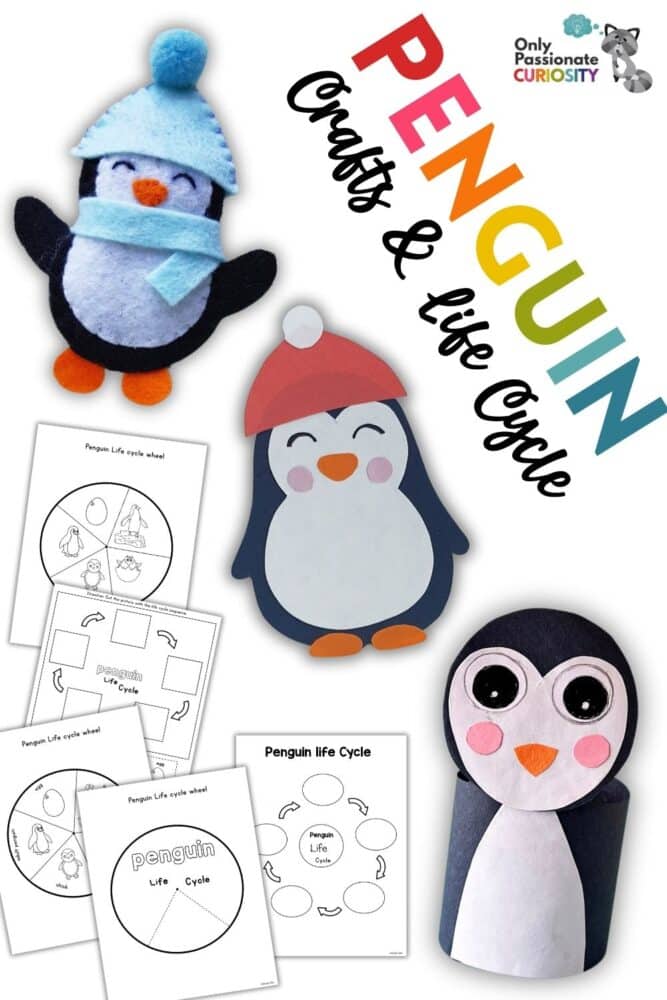
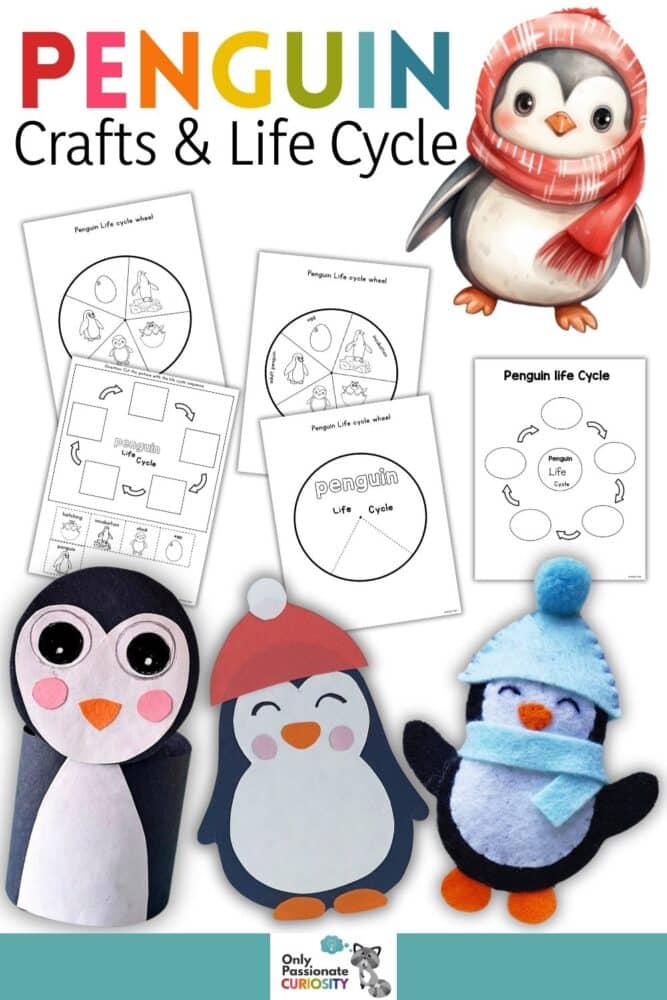
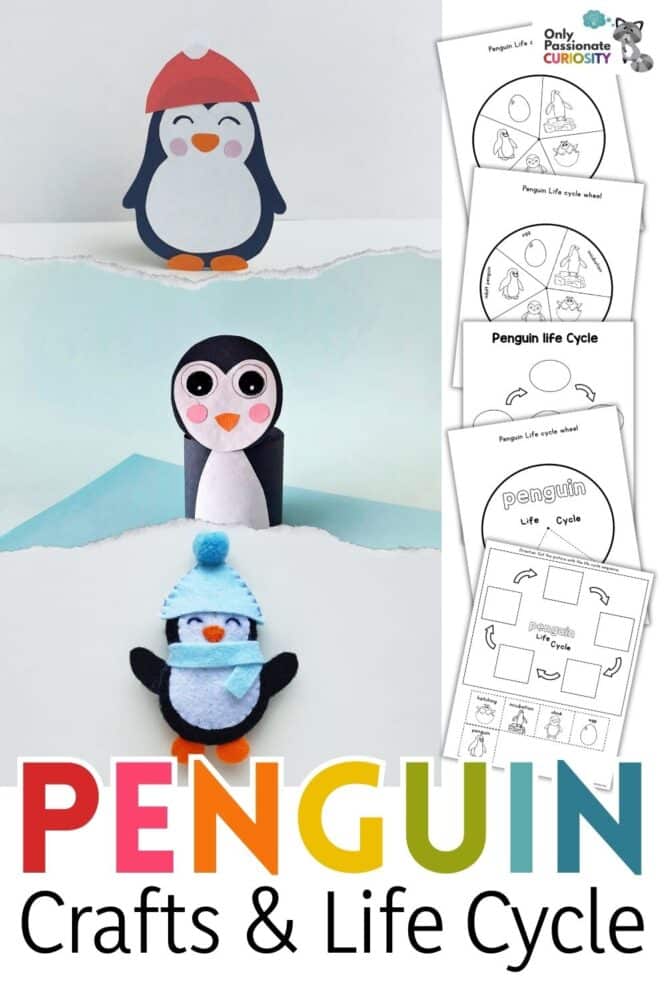
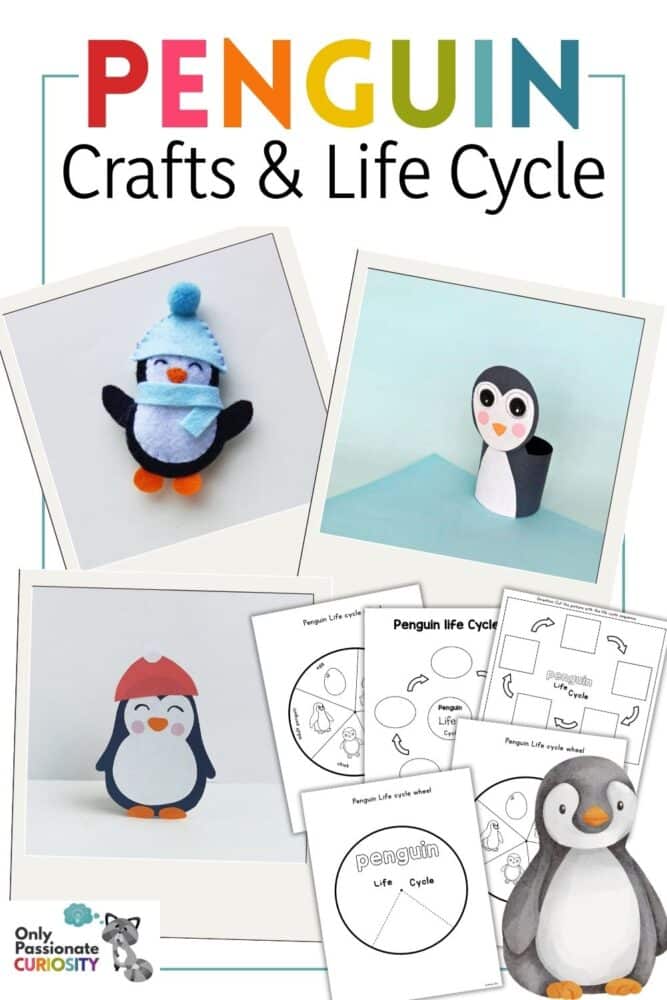
It’s the perfect time of year to teach your kids about penguins with these fun and simple penguin crafts. Expand your craft time into a mini unit study by teaching your class about the life cycle of a penguin with the printable below (after the penguin crafts).
Penguins are fascinating birds that live in the cold regions of the Southern Hemisphere. Penguins have special feathers that keep them warm in icy waters. They are excellent swimmers and use their wings to glide gracefully through the water. Some penguin species can dive as deep as 1,800 feet to find food!
Penguins lay eggs and take turns keeping them warm by balancing them on their feet. Once the baby penguin, called a chick, hatches, both parents work together to feed and protect it until it grows big enough to survive on its own.
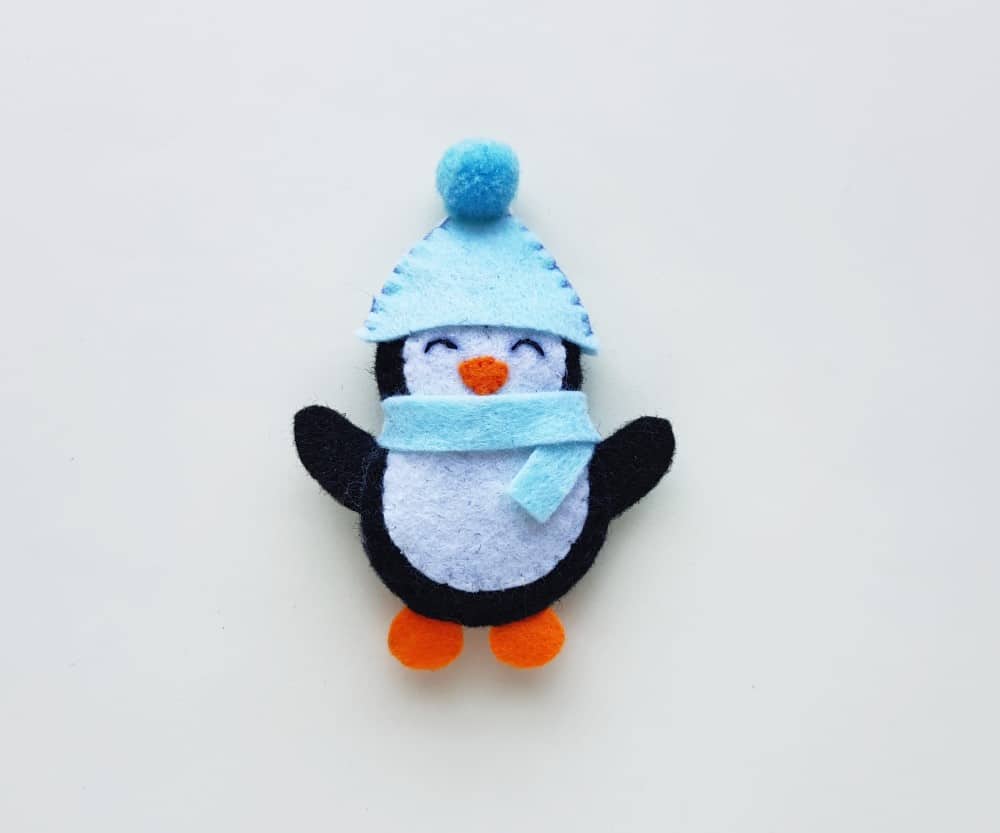
Felt Plushie Penguin Craft
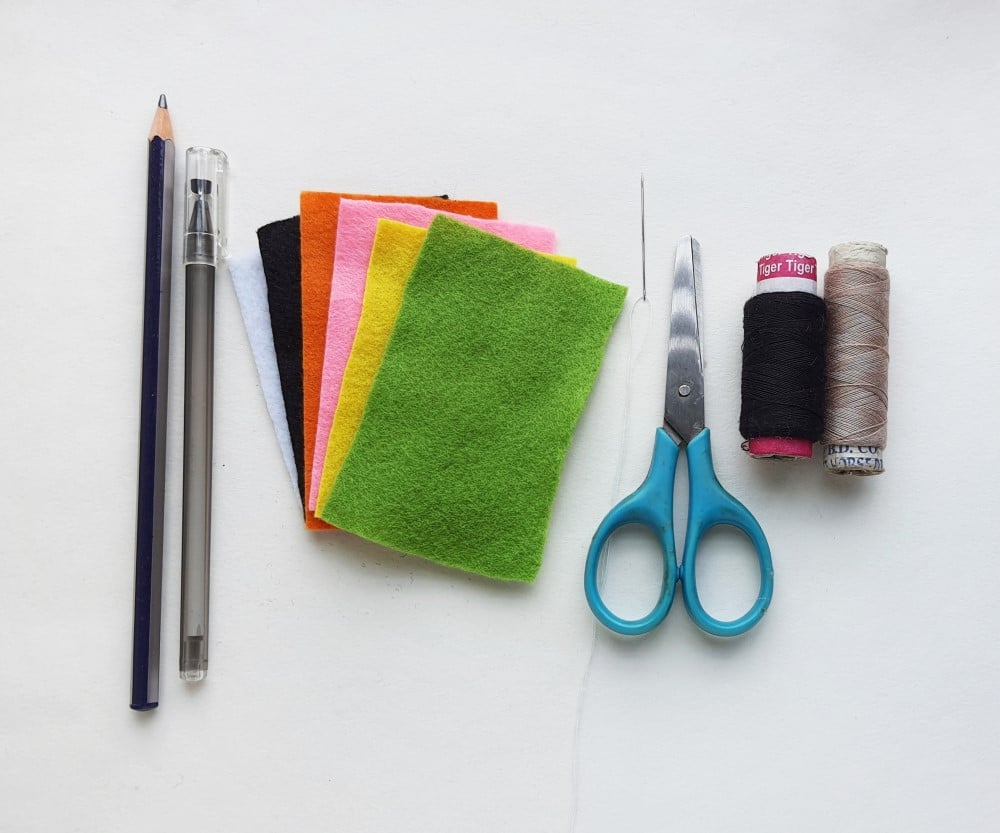
List of Supplies for Plushie Penguin Craft:
- Felt fabric
- Needle and thread
- Scrap felt or cotton balls
- Pencil
- Scissors
- Penguin Plushie Template
Instructions for Plushie Penguin Craft:
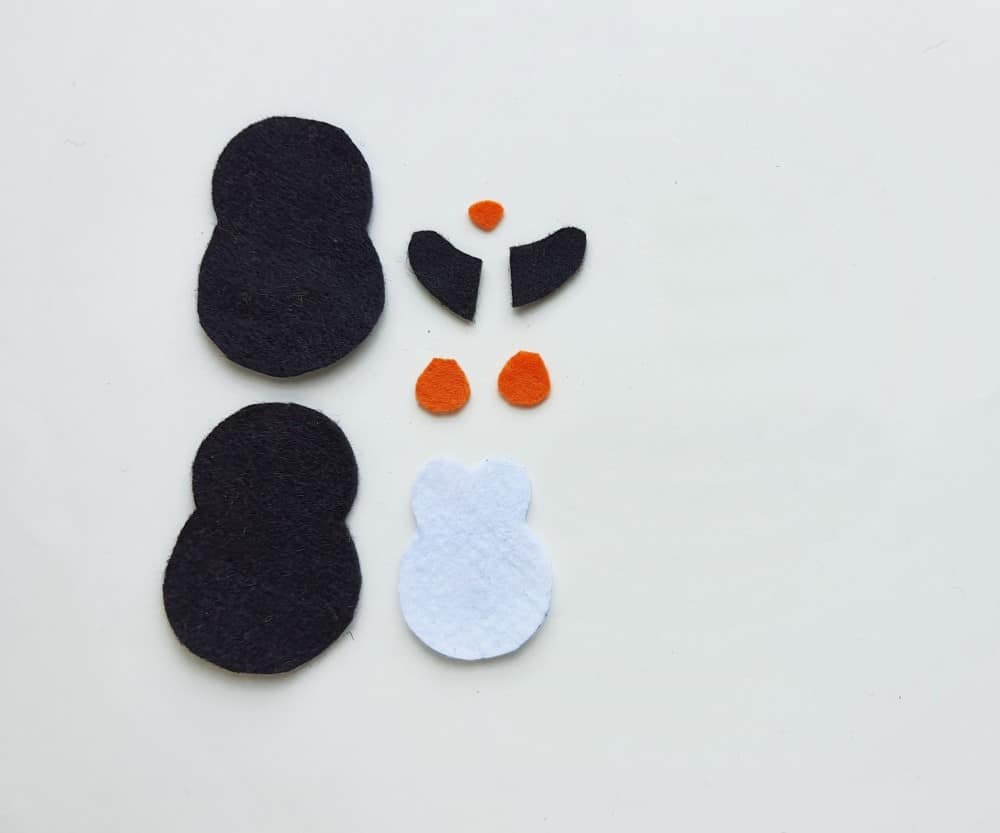
Step 1:
Select black, white, and orange felt for the penguin pattern. Trace and cut out the patterns. The template includes 2 base patterns, 2 wing patterns, 1 beak, 2 feet, 1 front pattern, 2 hat patterns, and 1 muffler pattern.
Step 2:
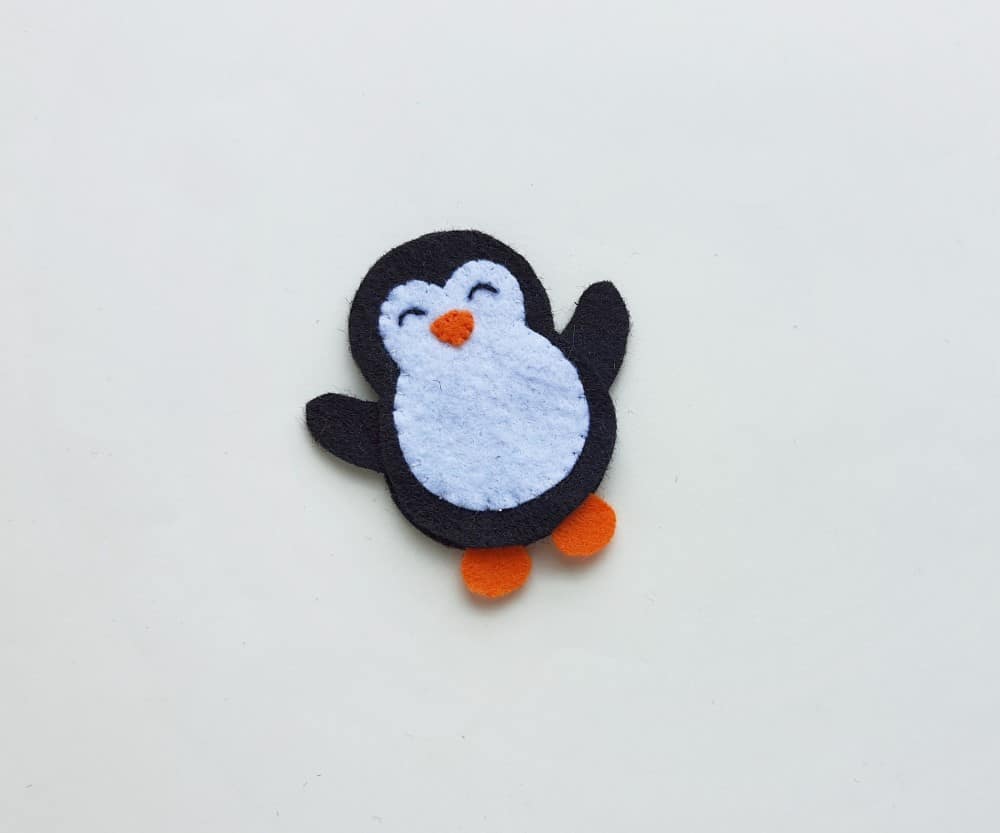
Stitch the beak on the top part of the front pattern. Use black thread to stitch the eyes on both sides of the beak.
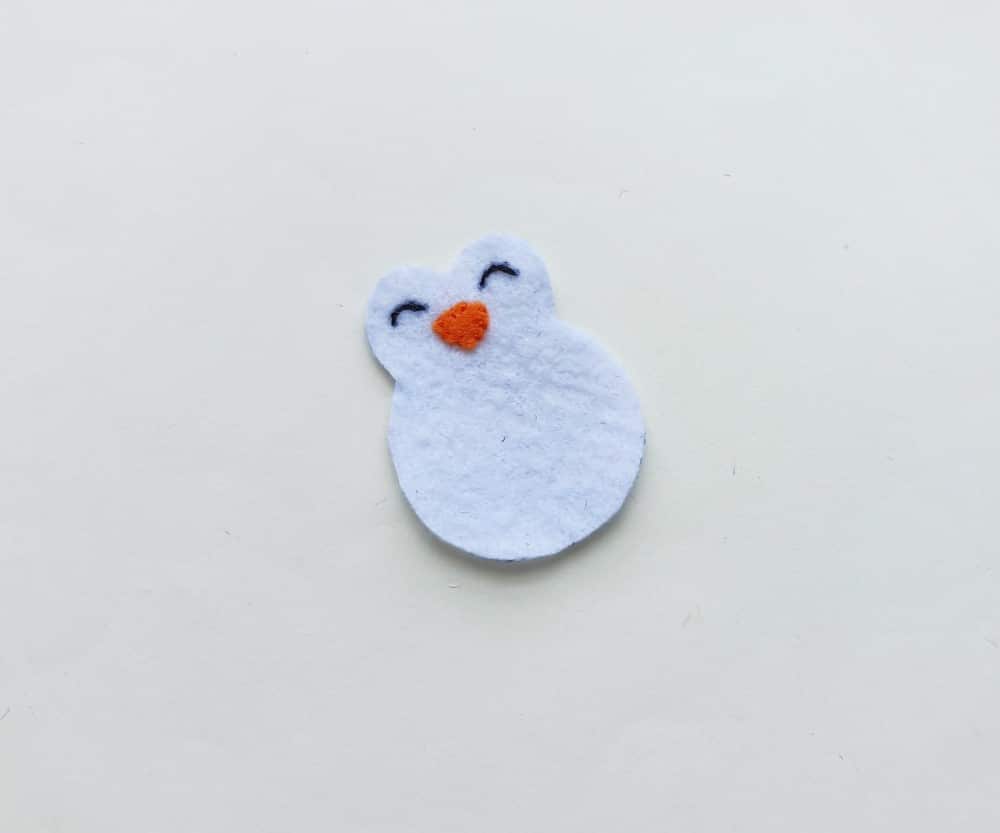
Step 3:
Place the front pattern on any one of the base cutouts and stitch the front pattern with the base pattern using white thread.
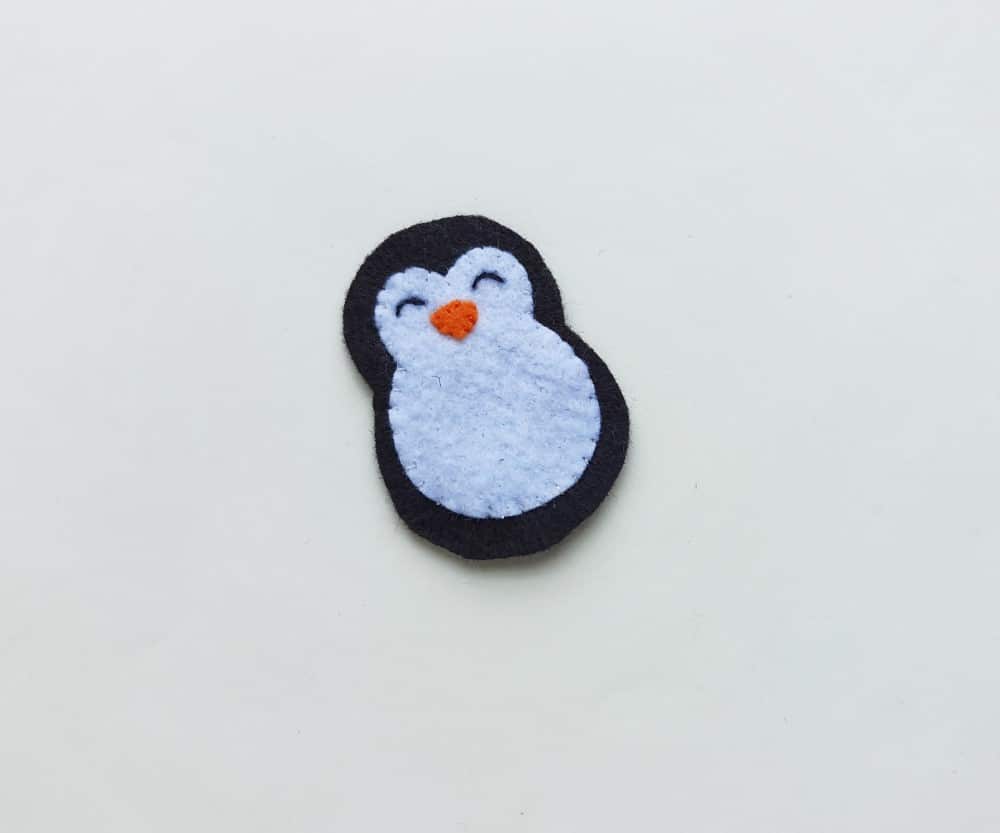
Step 4:
Take the other base cutout and place the wing cutouts on both sides of the base, with the round edges of the wings facing outwards. Place the feet cutouts on the bottom side of the base, with their round edges facing outwards as well.
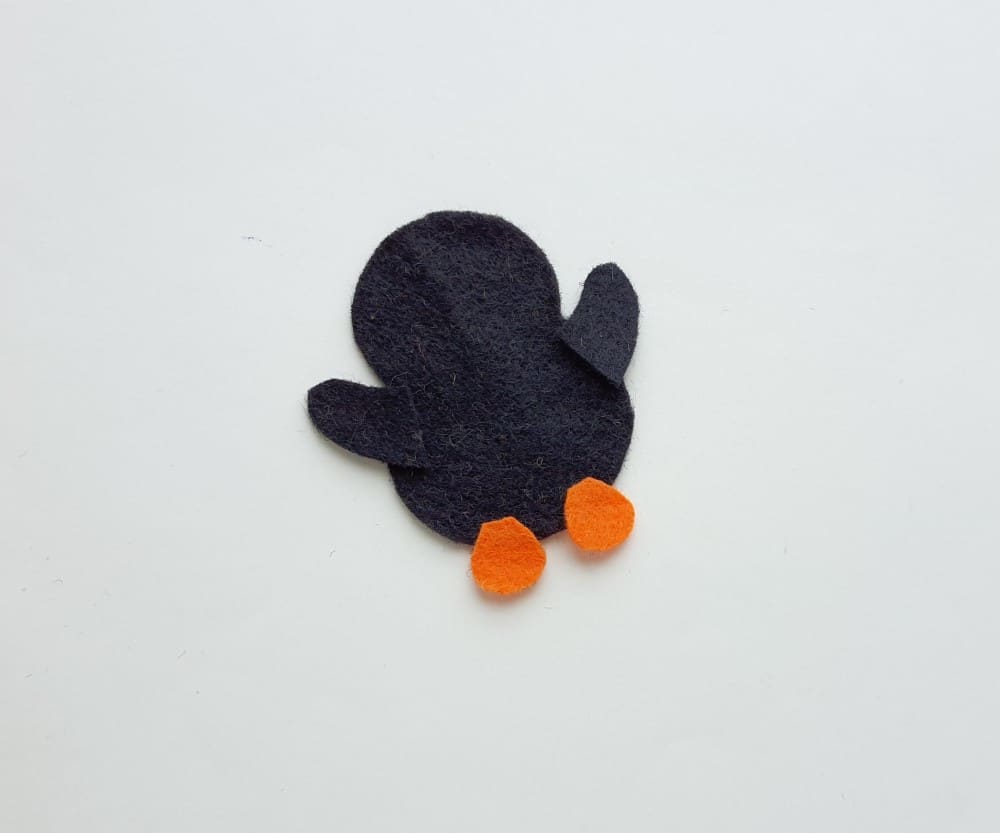
Step 5:
Now, place the front base on the top of the plain base, keeping the wings and feet between both base layers.
Step 6:
Stitch around the sides of the base patterns to join them together. Remember to keep a small opening to stuff the penguin felt pattern with cotton or scrap bits of felt.
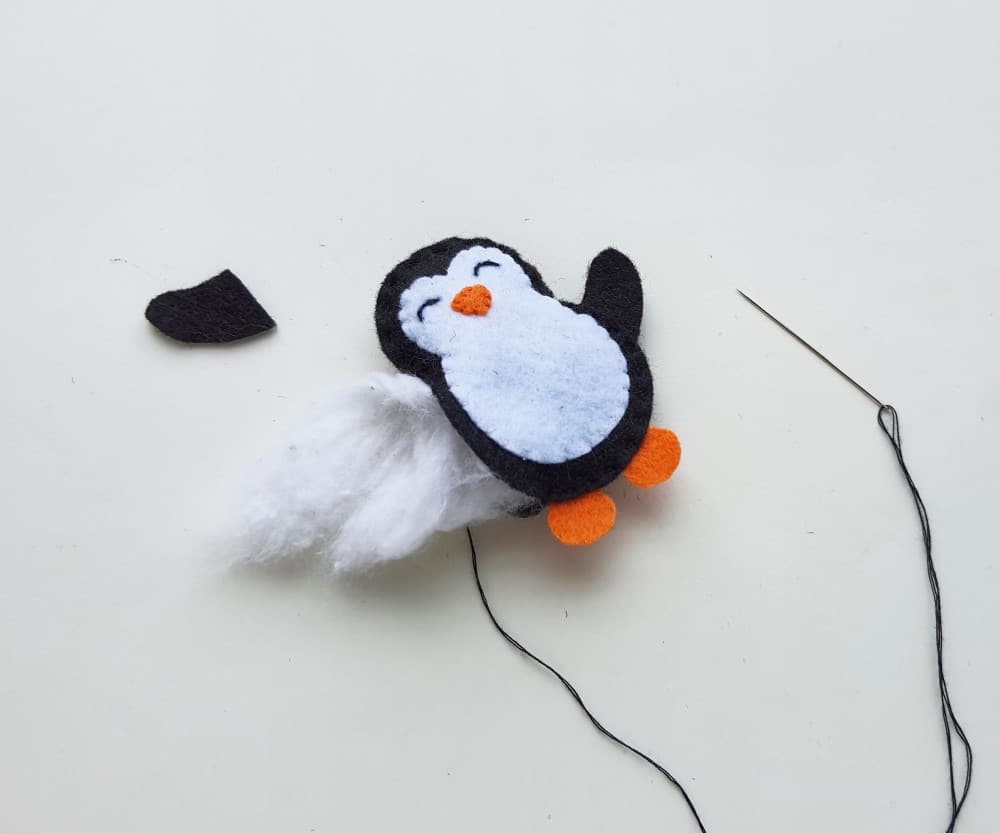
Step 7:
Stitch the opening to close it after you’re done stuffing the felt penguin craft.
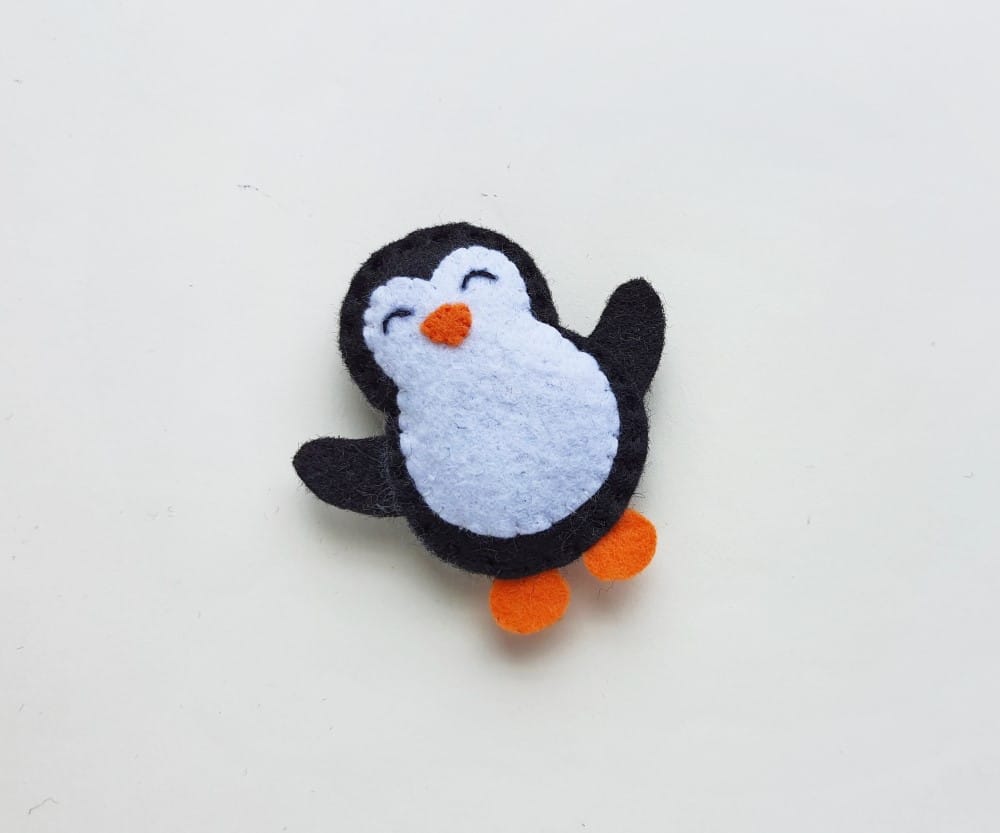
Step 8:
Prepare the felt hat patterns and take a piece of pompom.
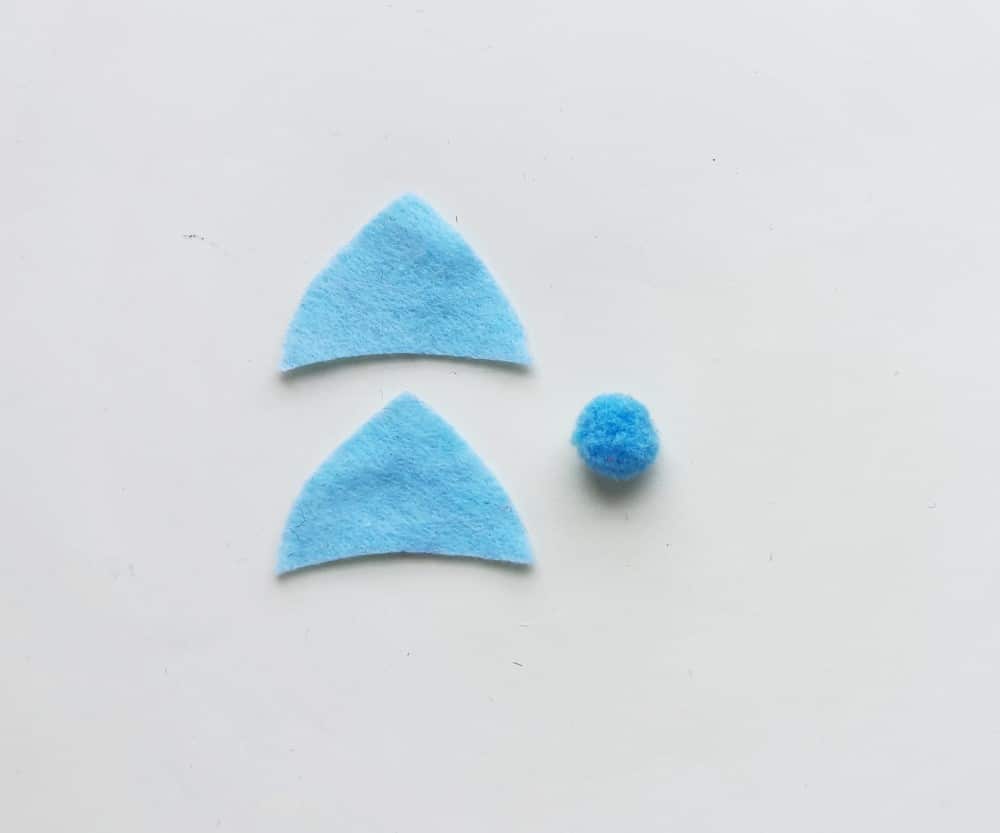
Step 9:
Place the 2 hat cutouts together and stitch both sides (but keep the bottom side open). Put the felt hat and muffler on to complete the plush penguin craft.
Toilet Paper Roll Penguin Craft
List of Supplies for TP Roll Penguin Craft
- Empty TP roll
- Colored craft paper
- Craft glue
- Pencil
- Sharpie
- A pair of scissors
- Penguin Craft Template
How to Make the TP Roll Penguin Craft
Step 1:
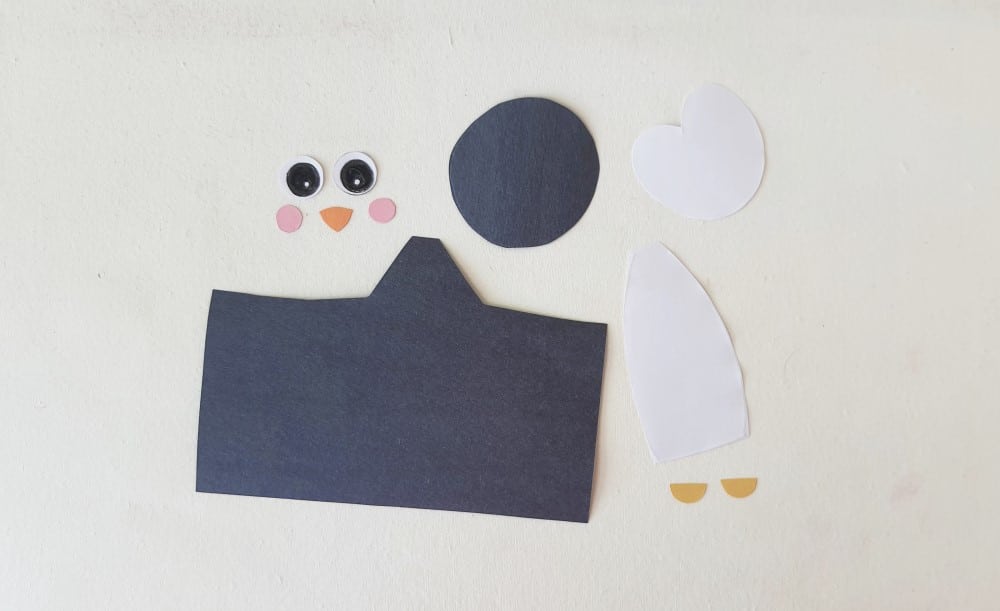
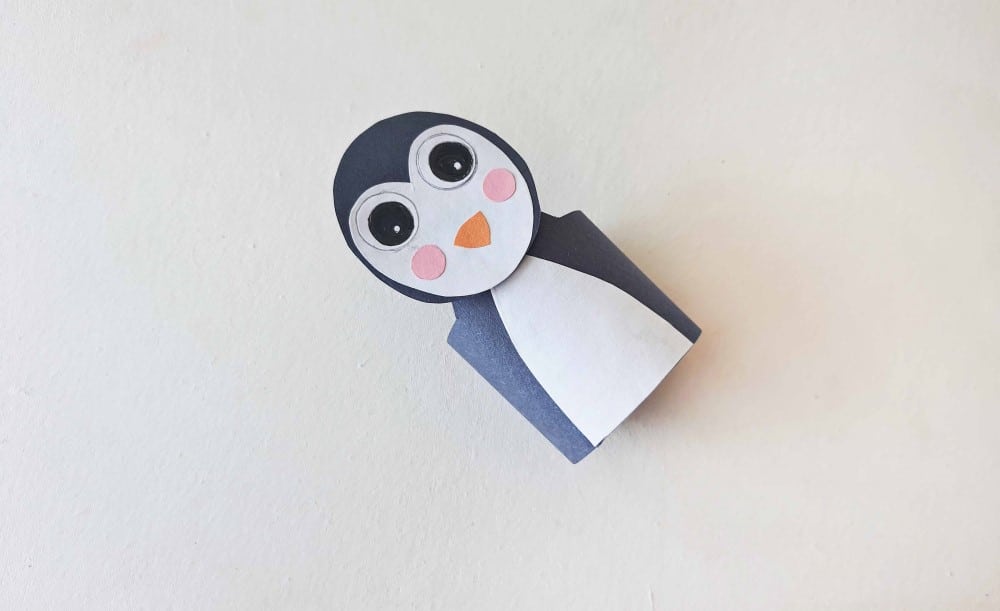
Select white, black (or dark blue), orange, and pink craft paper for the penguin craft and prepare the template patterns. The template includes the head, face, beak, blush, eyes, feet, body part, and front part of the body patterns. Trace the patterns on the selected craft papers and cut them out nicely.
Step 2:
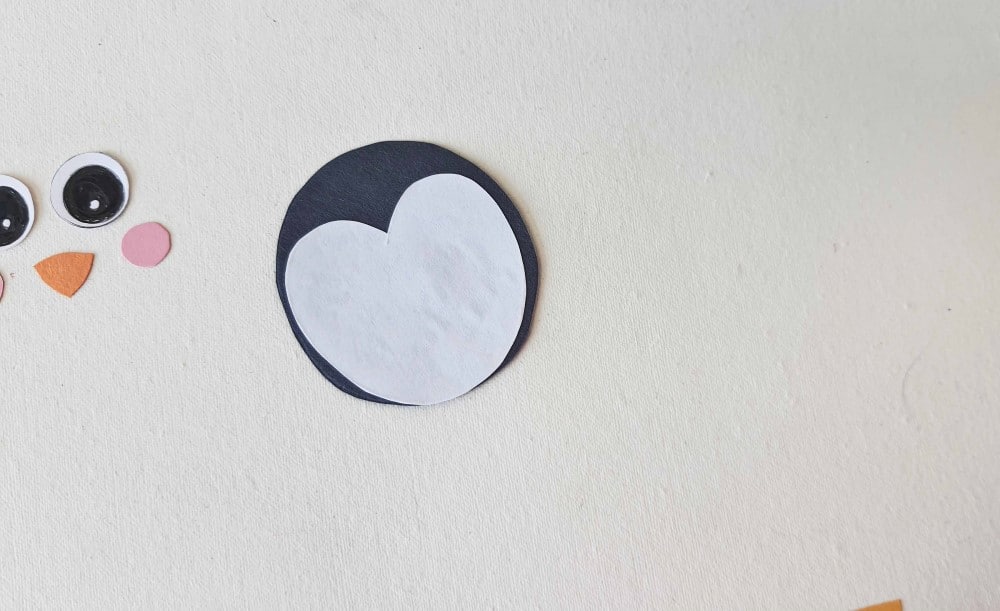
Glue the face cutout on the head cutout.
Step 3:
Glue the eye cutouts on the face part, along the top side of it.
Step 4:
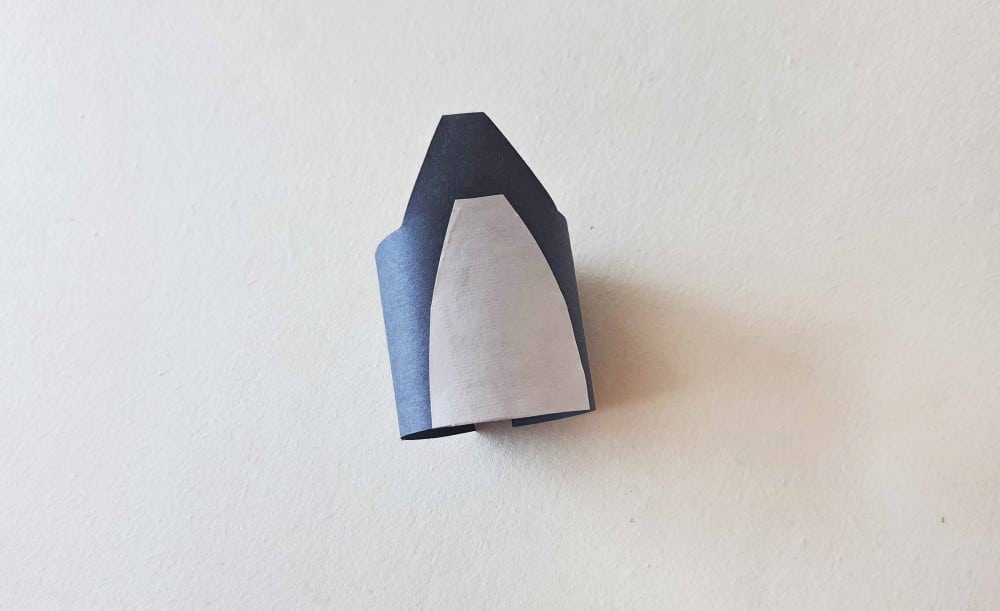
Select an empty TP roll and cut out along the top by keeping the neck part for the TP roll penguin figure. Or, you can keep the TP roll intact.
Step 5:
Take the pattern prepared for the body part (to cover the TP roll). Glue the front part of the body on the middle part of the body cutout.
Step 6:
Cover the TP roll with the body pattern.
Step 7:
Attach the head pattern on the top side (neck part) of the TP roll body to complete the penguin craft.
Paper Penguin Craft
What You’ll Need for the Project:
- Colored craft papers
- Cardstock paper
- Sharpie
- Craft glue
- Pencil
- Scissors
- Penguin Template (opens in new tab)
How to Make the Penguin Paper Craft:
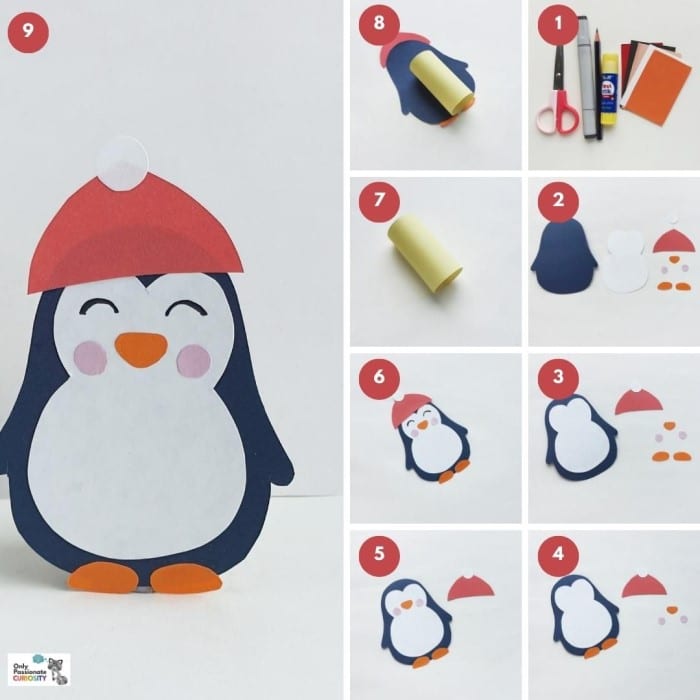
- Gather your supplies.
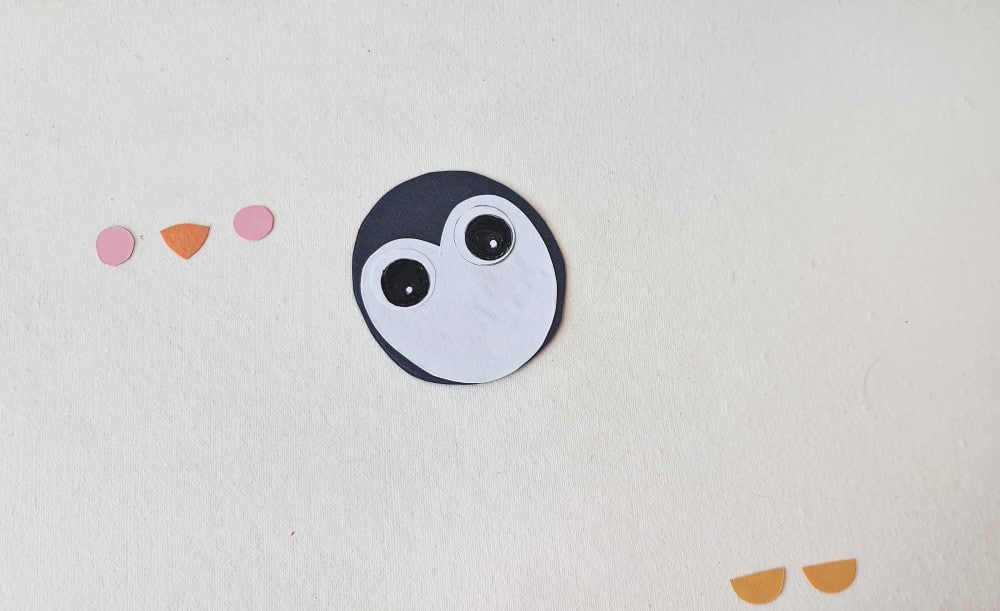
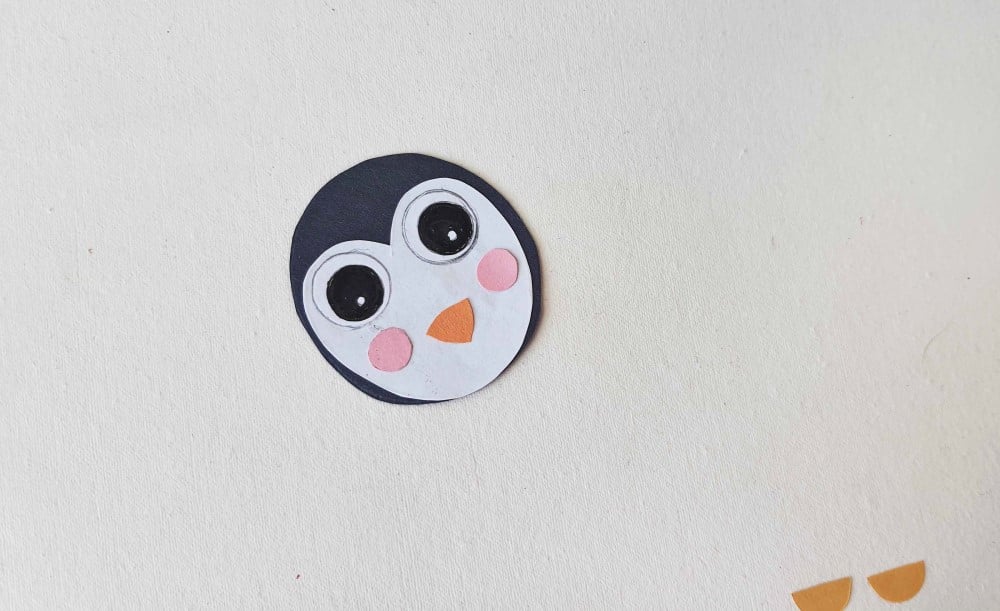
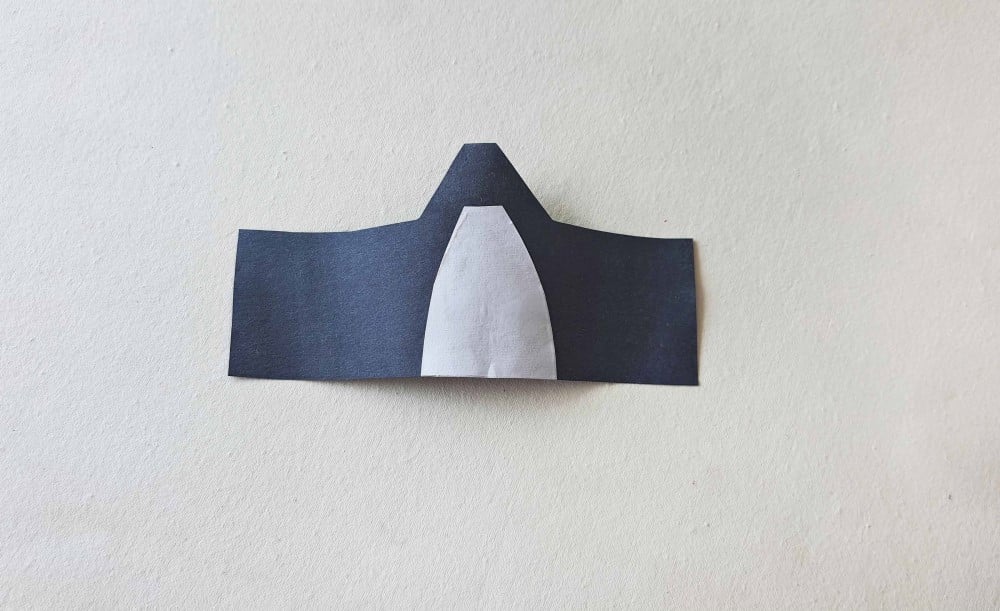
- Select black or dark blue, white or cream, orange, pink, and red craft paper for the penguin papercraft. Trace the body base on black paper, the inner base on white paper, the beak and feet on orange paper, the blush on pink paper, and trace the hat patterns on colored craft papers of your choice. Cut out the traced patterns nicely.
- Attach the inner base in the middle of the body base cut-out. Glue the small round cut-out (pompom) to the top pointy end of the hat cut-out.
- Attach the feet cut-outs on the bottom side of the body pattern.
- Attach the blush and the beak cut-outs on the head part of the inner base pattern.
- Use a sharpie to draw the eyes of the papercraft penguin figure. Glue the hat to the top of the head, overlapping the head slightly.
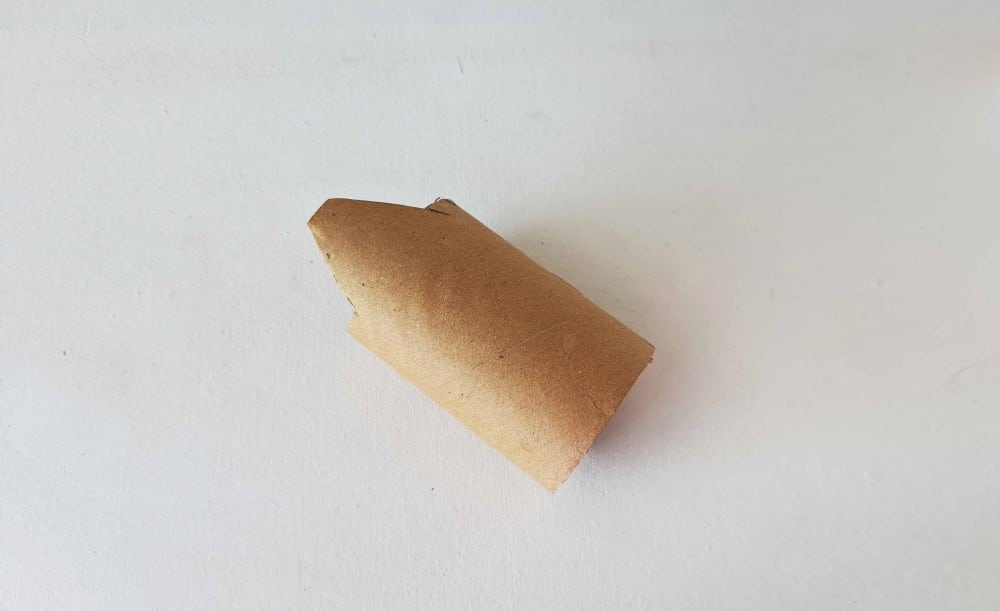
- Prepare a piece of cardstock paper and create a cylinder-shaped piece with it. The height of the roll should be less than the height of the papercraft penguin.
- Attach the papercraft roll on the backside of the papercraft penguin, near the bottom side. The roll should be positioned in a way to make the penguin stand.
- Check if the papercraft penguin can stand with the roll attached and the craft will be complete.
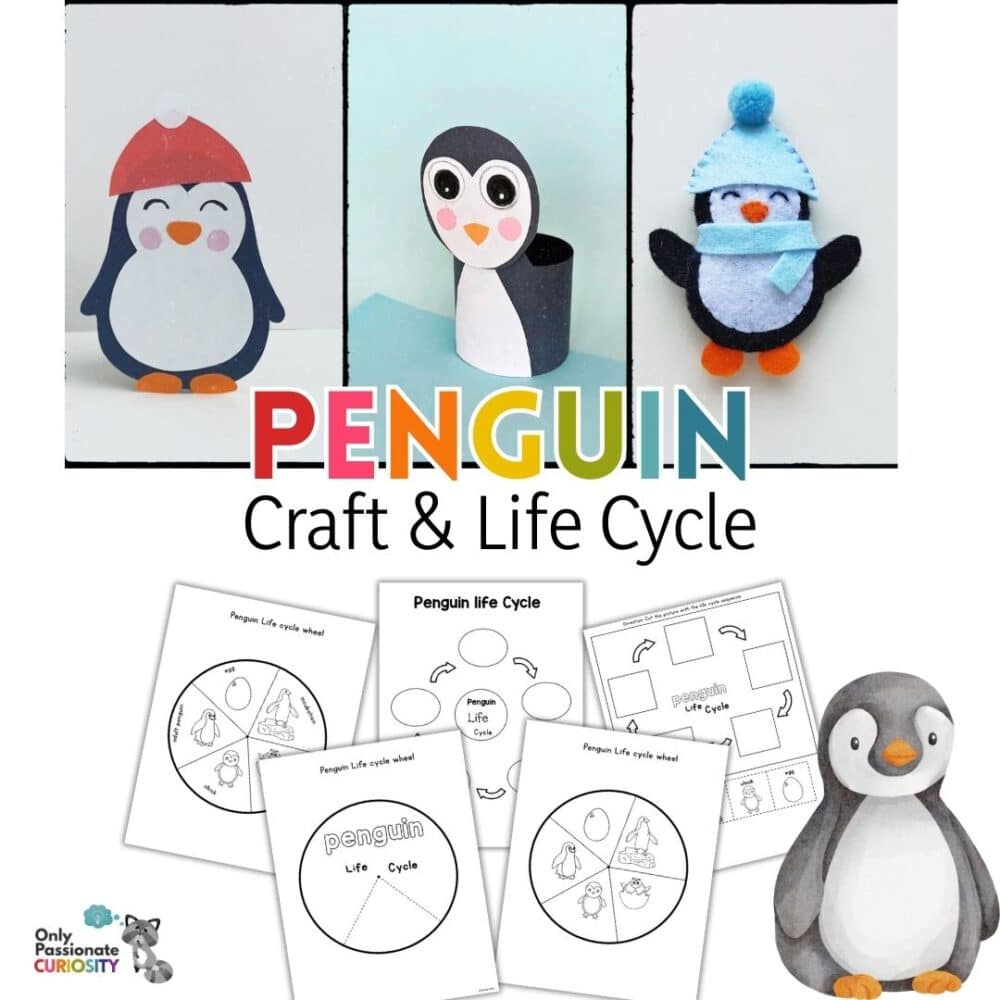
Learn about the Penguin Life Cycle

How to Use the Penguin Life Cycle Pages
- Print out the pages that have cut-out shapes that you can put together. Cut them out and assemble them to create a penguin.
- Print out the wheel and the wheel card. Cut out the wheel and glue it onto the penguin’s body shape. Make sure the wheel is aligned with the appropriate sections of the penguin.
- Print out the coloring pages and read the sentences about penguins. Color the pages.
- Use the Penguin Life Cycle cut-and-paste page. Cut out the pictures of the penguin life cycle and paste them into the corresponding sections on the page
- Refer to the Penguin Life Cycle wheel to learn and discuss the different stages of the penguin life cycle.
- Add a penguin life cycle to the worksheet. Cut out the pictures of the penguin life cycle and paste them into the provided spaces on the page.
You might also enjoy this cute clay penguin craft.