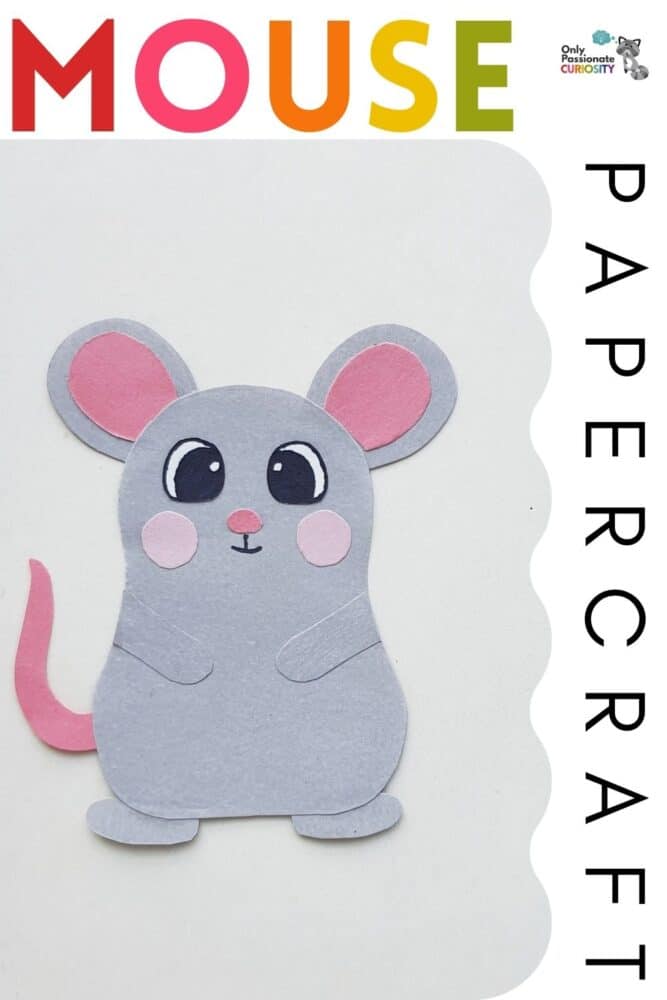
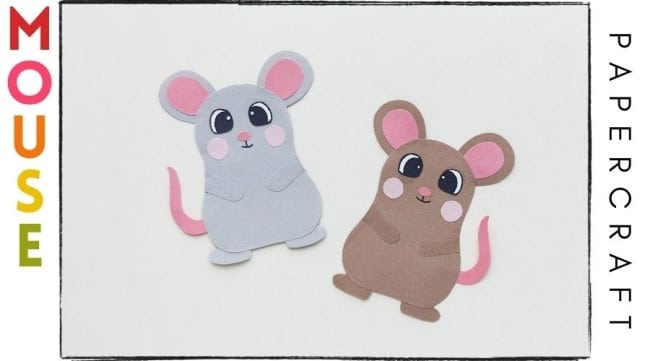
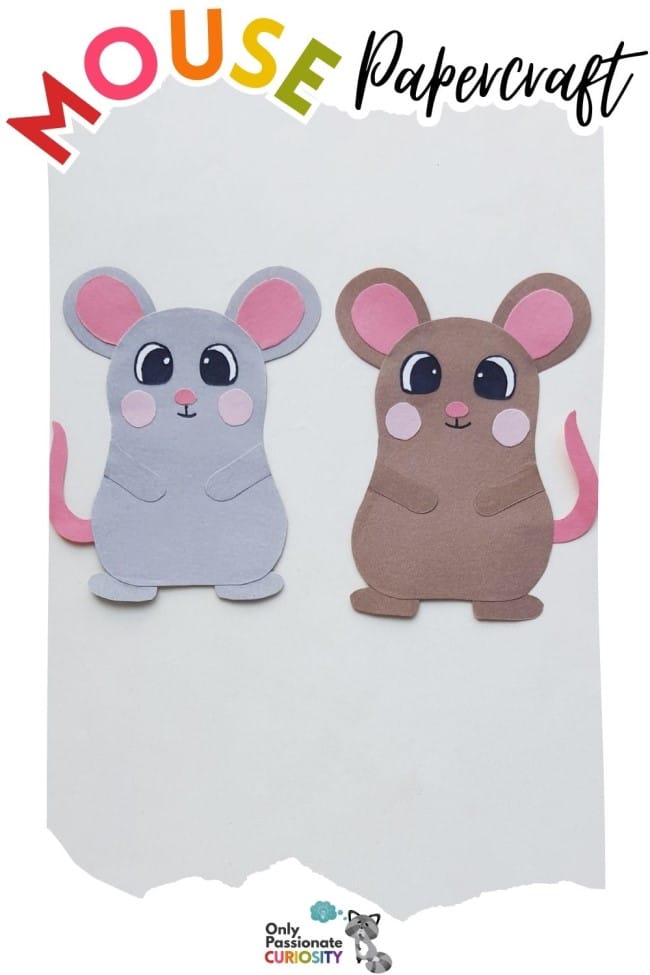
Mouse Papercraft and Bookmark
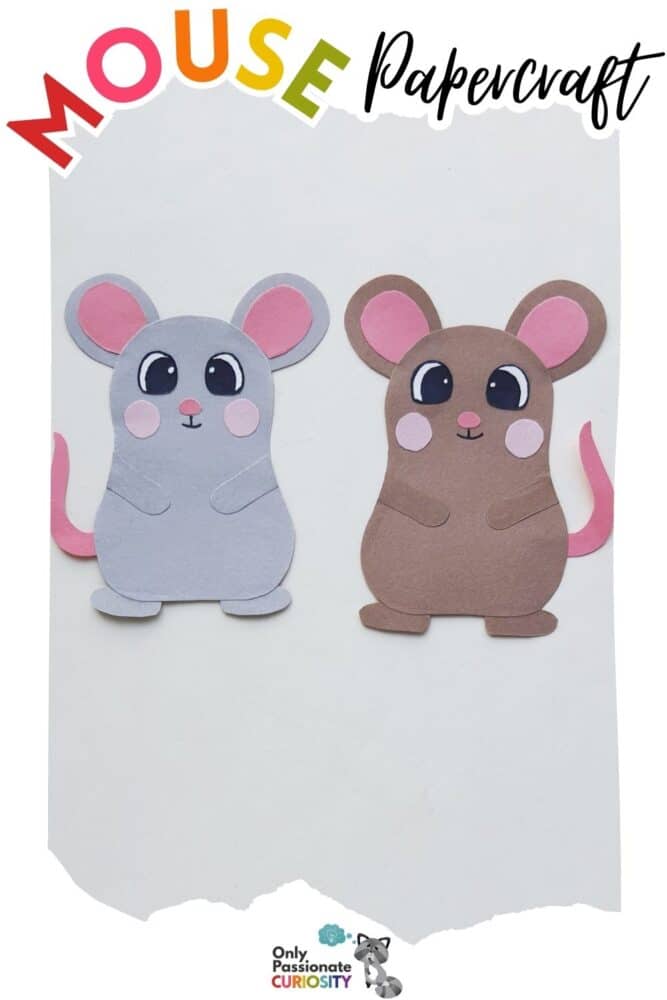
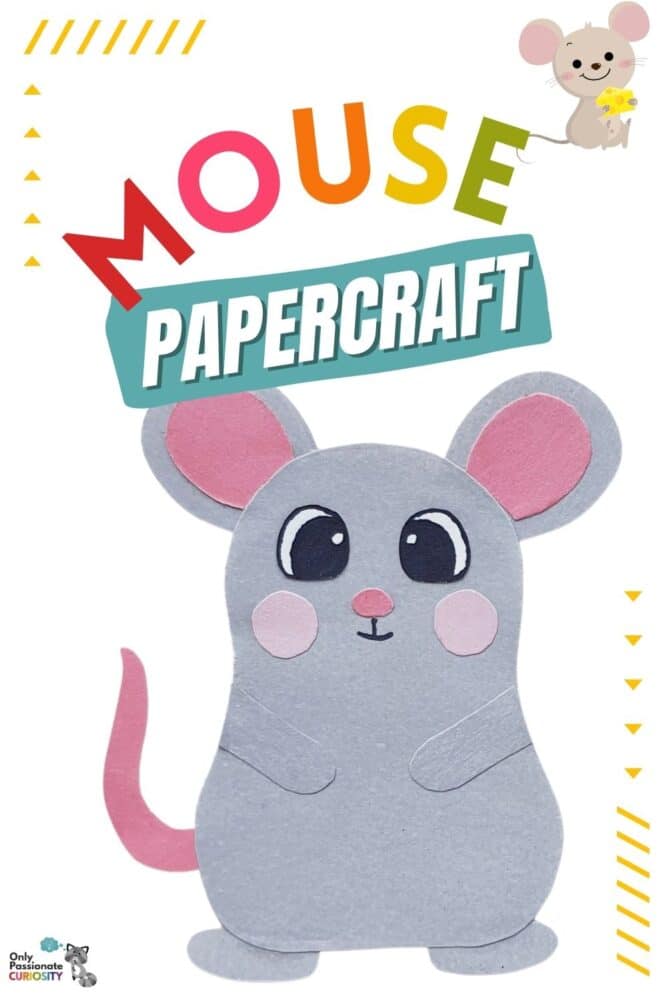
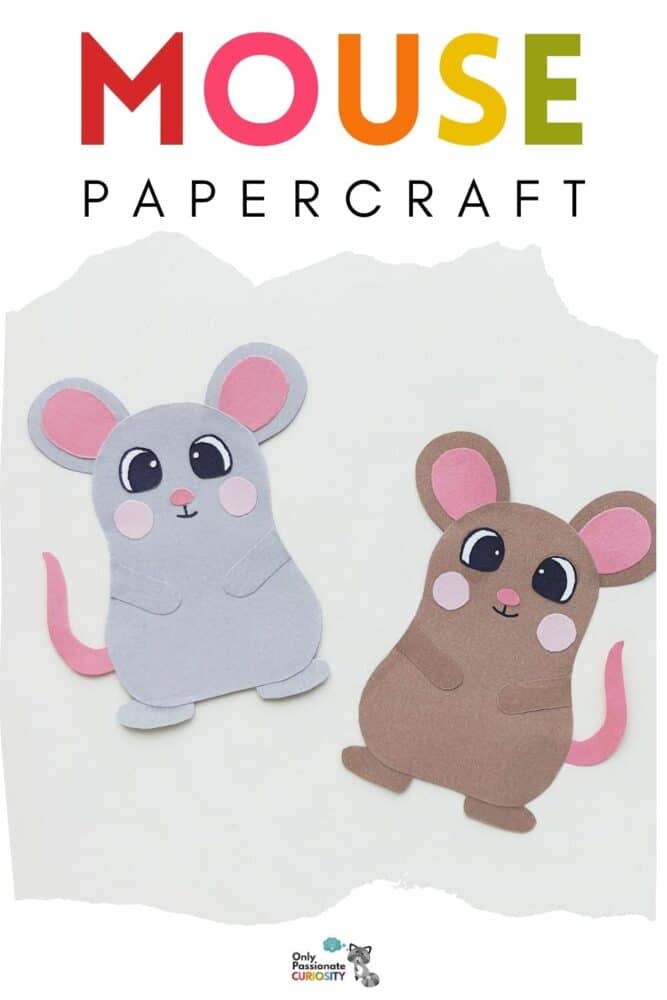
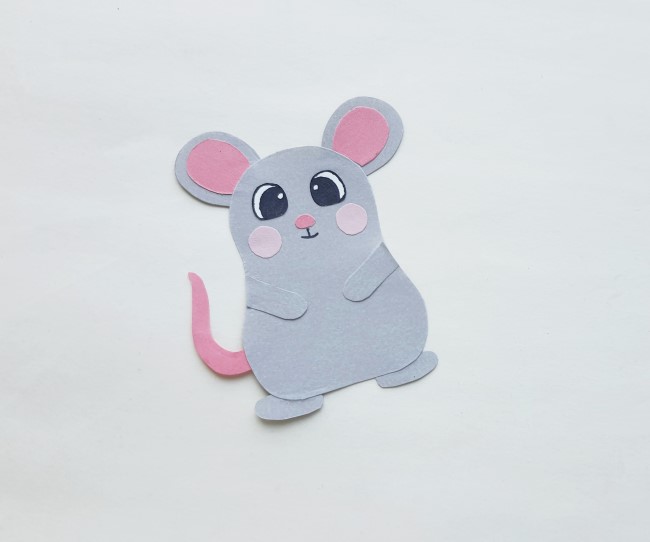
We all know mice can be pesky little things, but as this mouse papercraft shows, they can also be really cute! The craft is designed especially for little hands, and will hopefully also captivate little minds. With a few simple materials and step-by-step instructions, children can bring a charming little mouse to life (at least in their imagination).
This mouse papercraft encourages fine motor skills and promotes concentration and patience, so it’s a great project for easing into a new school year. And the best part? These adorable mice can also be used as bookmarks, so your kids or students will be able to keep their place in their favorite storybook.
List of Supplies for the Mouse Papercraft:
Let’s gather our supplies and let the crafting journey begin!
- Colored craft paper
- Sharpie
- Craft glue
- Pencil
- Scissors
- Mouse Papercraft Template (opens in new window)
Instructions for Mouse Papercraft:
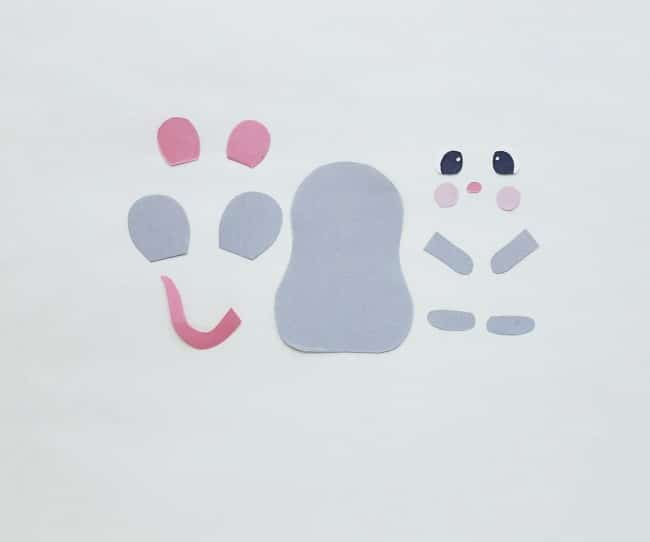
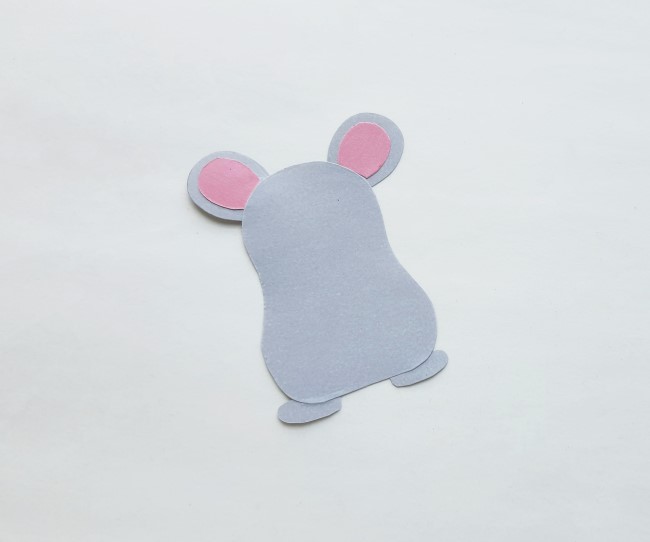
Step 1:
Take some sheets of grey and pink craft paper for your mouse papercraft. You might want to do this part yourself or demonstrate as your kids follow on their own pieces of paper.
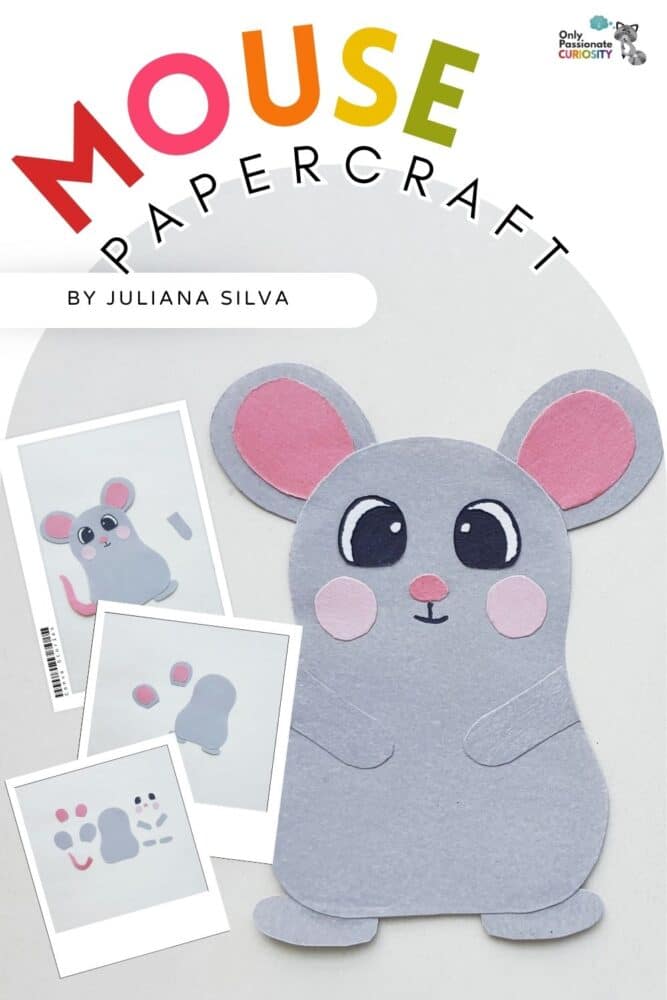
Carefully trace the nose, tail, blush, and inner ear patterns on the pink paper. Then, trace the outer ear patterns, body base, lower legs, and upper legs on grey craft paper. Your kids or students can then cut out the traced patterns nicely.
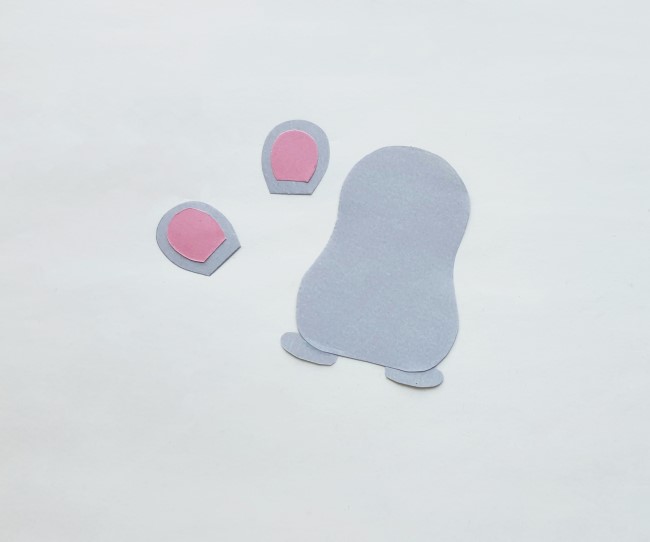
Step 2:
Now your kids can glue the inner ear cutouts to the middle of the outer ear cutouts. Next, they’ll need to glue the lower legs on the bottom side of the body base, as in the image below.
Step 3:
Okay, the next step is to attach the ear patterns on the top side of the mouse papercraft body base pattern with glue. You can see the mouse papercraft beginning to come together now, right?
Step 4:
Now your kids can attach the nose and blush cutouts on the head part of the body base. Then attach the tail cutout on either side of the body base pattern.
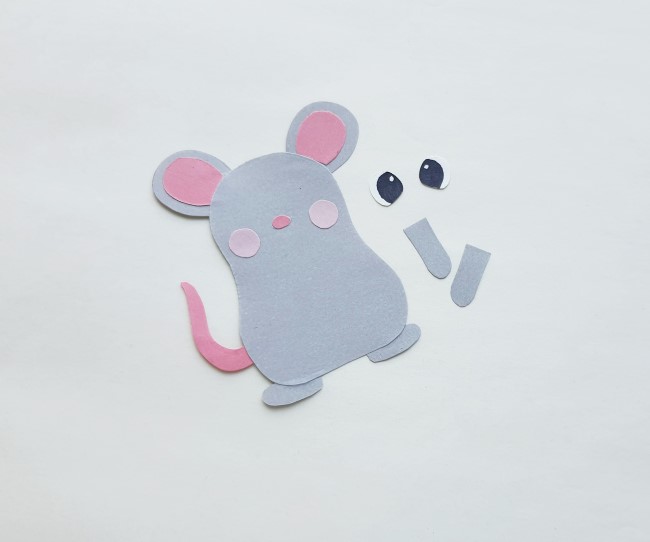
Step 5:
Moving back to the head pattern, glue the eye cutouts above the nose. Then use a sharpie or gel pen to draw the mouth of the mouse papercraft figure. Isn’t it cute?
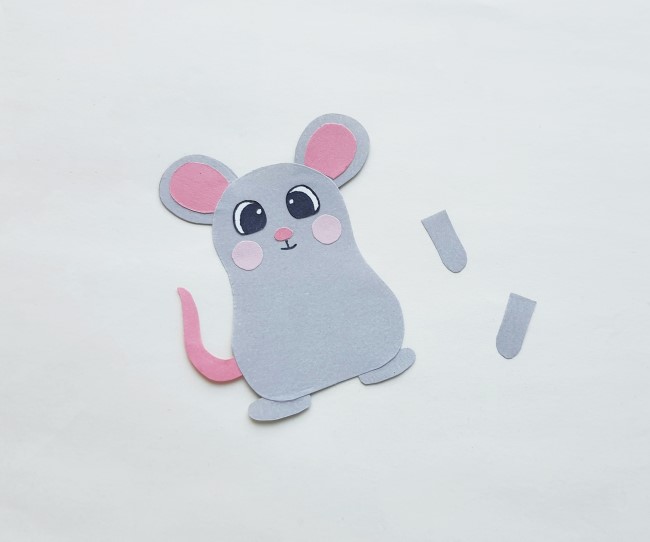
Step 6:
Apply glue along the side of the body base and attach the upper leg cutouts on the side, making sure to keep the rest of the upper leg free from glue. This is how you’ll be able to use this mouse papercraft as a bookmark as well.
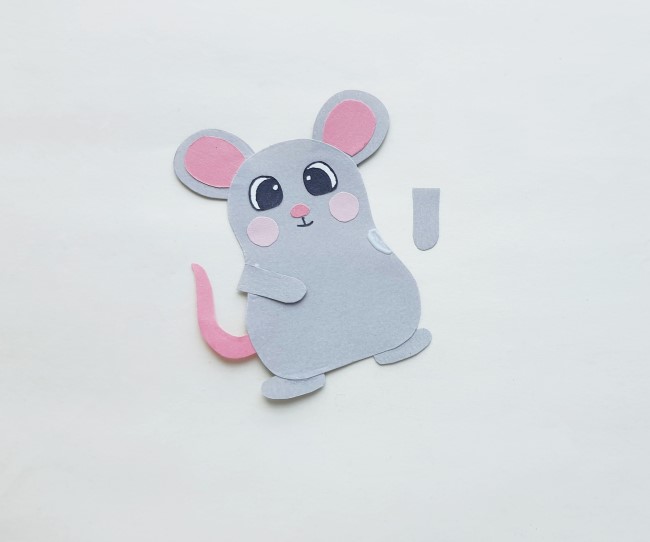
Step 7:
Similarly, attach the other upper leg on the other side. Your students will love their little papercraft mouse/bookmark, and they can also experiment with the colors, such as making a little brown fieldmouse.
Step 8:
To use the mouse papercraft as a bookmark, you can simply slide a page under the upper legs, between the upper legs and the body base.
Additional Activities
One of the most well-known mice is that mouse who got a cookie … and the story goes on from there. Here are some fun “If You Give a Mouse a Cookie” unit study activities for your kids. And you can even use the above craft as a bookmark for the story!
And speaking of cookies, if you’re looking to expand your craft project into a wider study, head into the kitchen with your kids and try out these triple chocolate chunk cookies made with honey and pecans.
Or how about these easy chocolate-striped cookies?
Here is another creative animal craft project to do alongside your mouse papercraft: a koala craft.
And a list of insect and animal ideas and activities for kids.
By the way, are you a homeschool teacher of several students at the same time? In other words, do you teach siblings? Here is a post to help you remember that teamwork makes the dreamwork, even with siblings in a homeschool setting!
If you’re heading into the summertime, check out these educational outdoor summer boredom busters for your kids.
A Few Recommended Books
Whether you’re actively reading stories to your young kids now, or looking for a few books to save for the grandkids, here are a few recommendations of books on the theme of mice: