Make Your Own Clay Nativity Set
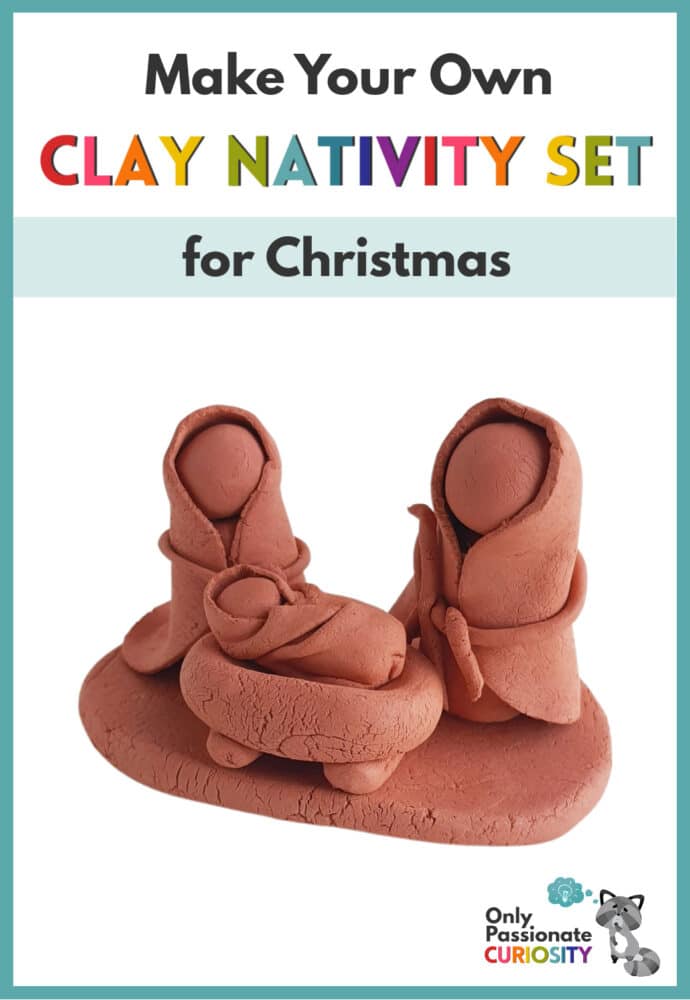
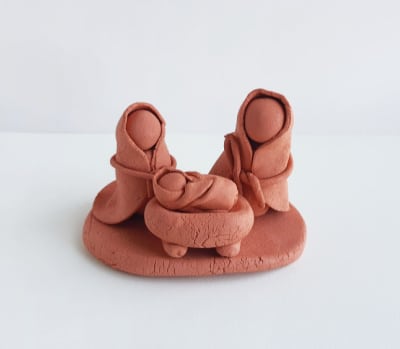
I love nativity sets! I have many of them from states and countries all over the world. I have some I’ve bought while I was traveling, some my kids have made, and some that have been gifted to me. But one thing that’s new to me (until this year) is making my own nativity set! This year, I’m making my own nativity set from air-dry clay!
The thing I love most about this clay nativity set is that it’s a great activity for all ages. Got little kids? Their nativities won’t look as perfect and polished as those made by older kids or adults, but they’ll be something you’ll treasure forever. Got elementary ages or middle schoolers? They will definitely be able to handle this activity with or without help from you. (But this would make a great family activity, so I vote for working with them!) Got teens or even young adult “kids”? Make a set together or have each person create one.
If you want to make your clay nativity sets even more special and personalized, get creative! Try ideas like painting them, using bits of fabric or ribbon to create clothing or backdrops, or taking the information you used to create your nativity sets and make animals, stars, or angels to add to your scene.
But the most important thing to remember is to enjoy spending time with your family (or friends!) making your nativity sets and talking together about the reason we celebrate Christmas.
You’ll only need a few supplies for this craft:
Follow the simple steps below. You may also want to download the written instructions from our shop!
Step -1:
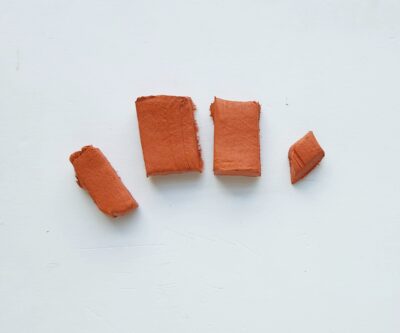
Let’s start with the Joseph clay figure. Cut out 4 slices of clay of the following ratio, 0.75:2:2:0.5. The 2 large slices are for the scarf and the body, the medium slice is for the head, and the smallest slice is for the rope to tie around the waist of the clay figure.
If you’re doing this with older kids, it’s a great time to talk about ratios! If you’re doing it with young children, you can simply have them cut out a small piece, a medium piece, and 2 large pieces.
Step -2:
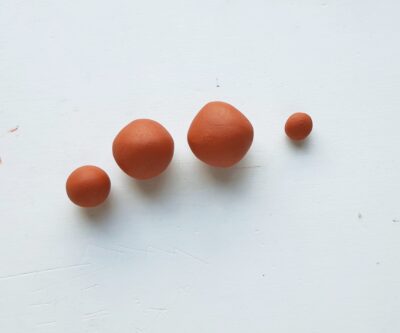
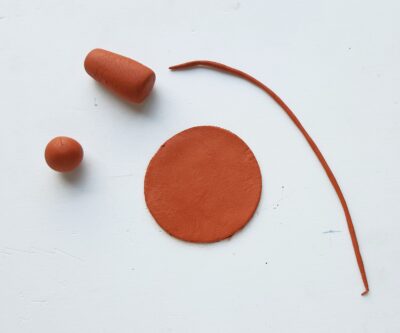
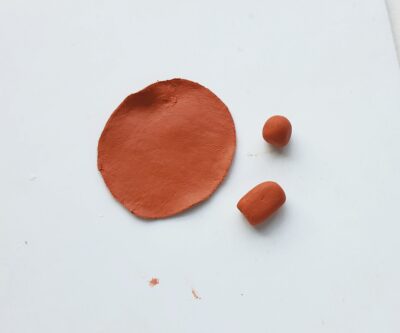
Knead and roll all the clay slices into round ball shapes.
Step – 3:
Roll the smallest clay ball into a long thin rope. Keep the (medium) clay ball for the head as it is. Flatten one of the biggest clay balls into a thin circular disc. Shape the other clay ball into a cylinder-like shape for the body.
Step – 4:
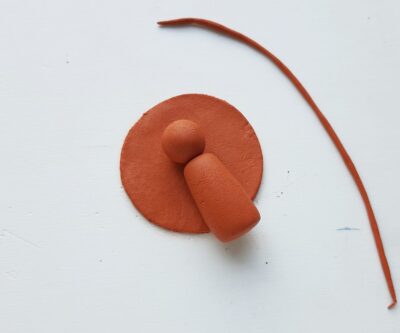
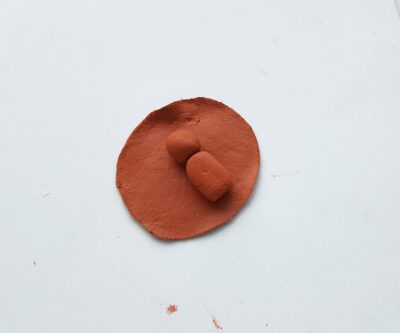
Place the clay ball (the head) on the flat disc near the top. Place the body shape on the disc right below the head.
Step – 5:
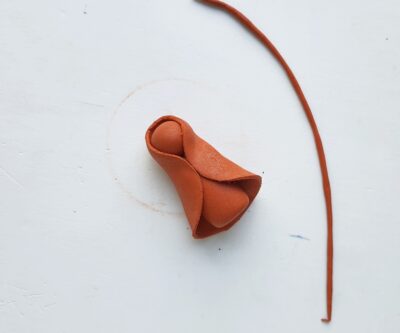
Wrap the clay head and body shapes with the disc. Be sure to “fit” the disc to the head and body.
Step – 6:
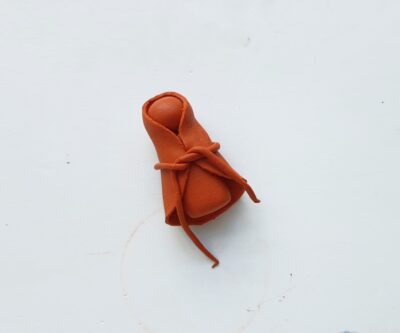
Carefully wrap the clay rope around the waist of the clay figure and tie it in the middle.
NOTE: If your rope belt breaks, just re-roll it and try again! Or you can use a piece of ribbon or fabric to make a belt if you’d rather. It’s up to you!
Step – 7:
Cut off extra parts of the rope if required and use the extra clay to form the cane. Attach the cane on a side of the clay Joseph figure.
Step – 8:
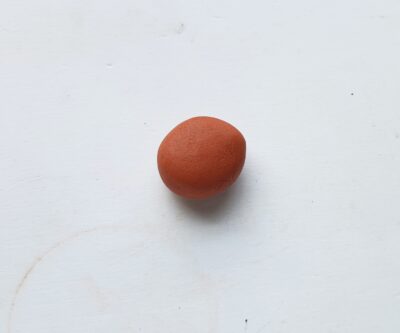
Cut off a slice of clay to craft the manger pattern.
Step – 9:
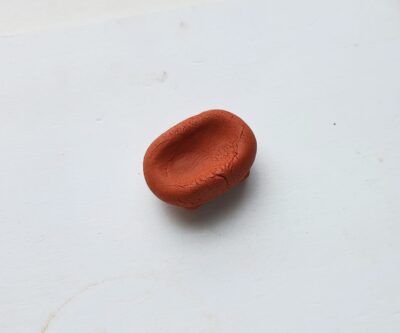
Shape the clay piece into an oval shape and then use your fingertip to indent the middle.
Step – 10:
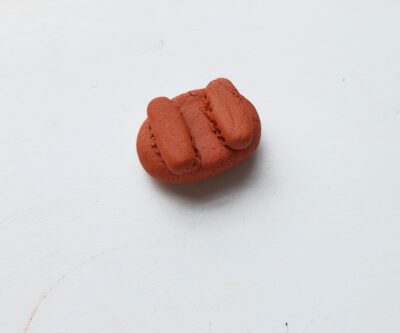
Use 1/3 amount of clay (compared to the amount used for the manger) to craft 2 cylinder-like shapes and attach them to the bottom side of the manger.
Step – 11:
Measure and cut out 3 clay pieces to craft the head, body, and flat round shape (to wrap the baby Jesus figure) for the baby Jesus clay figure.
Step – 12:
Place the clay head and the body on the flat clay piece.
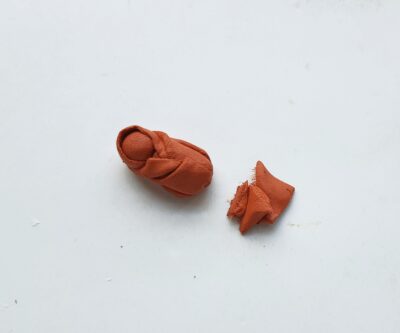
Step – 13:
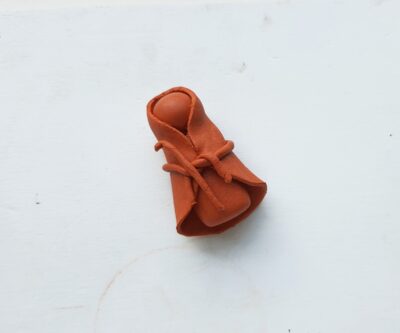
Wrap the baby Jesus clay figure with the flat clay piece as nicely as you can. Cut off the extra part of the flat clay piece after wrapping the baby Jesus.
Step -14:
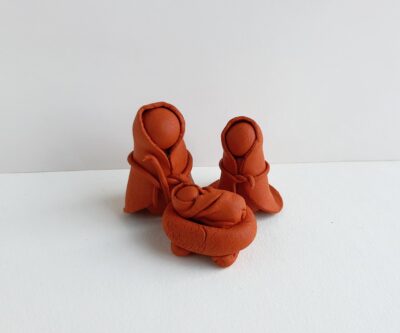
Place the baby Jesus clay figure on the clay manger.
Step -15:
Use more clay to craft a flat piece as a base/floor for the clay nativity dolls. Allow the clay craft to dry entirely.
To download your free instructions for making your own clay nativity set, click here!
More Nativity-Related Ideas and Activities
If you’d like more nativity-related ideas and activities to use in your homeschool during the holidays (or just for fun or to celebrate the real reason for the Christmas season), you’ll love these ideas!
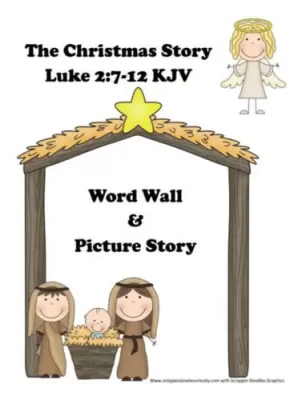
Nativity Word Wall and Picture Memory Verses
This Nativity Word Wall and Picture Memory Verses worksheet set is great for those who have young children! You can use it for:
- teaching/learning about the Christmas story
- memorizing verses
- practicing reading and writing verses related to Christmas/the Christmas story
Nativity Coloring Pack
Many kids love to color. But even those who don’t can enjoy looking at this Christmas Story Coloring Pack coloring pages and hearing/learning about the Christmas story. In this coloring pack, you’ll find color, read, and write pages for the words: angel, baby, manger, Mary, Joseph, wise men, shepherd, camel, and donkey.
Watch The Nativity (by Beginners Bible) with Your Children
There are many children’s videos about the birth of Jesus available on YouTube! If you’d like to watch others, I suggest watching them with your children or (preferably) watching them before you allow your children to watch just to be on the safe side.
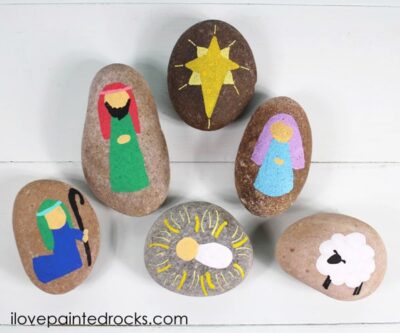
In addition to your clay nativity set, create a painted rock nativity set!
You’ll find all the information you need on the I Love Painted Rocks site when you read their Nativity Set Painted Rocks Craft tutorial!
I hope you and your family have a wonderful holiday season celebrating the birth of Jesus!






I love, love, love this idea!!! I’m doing it!
I love this idea here, not sure why I never thought of doing this before. Now I need some clay : )