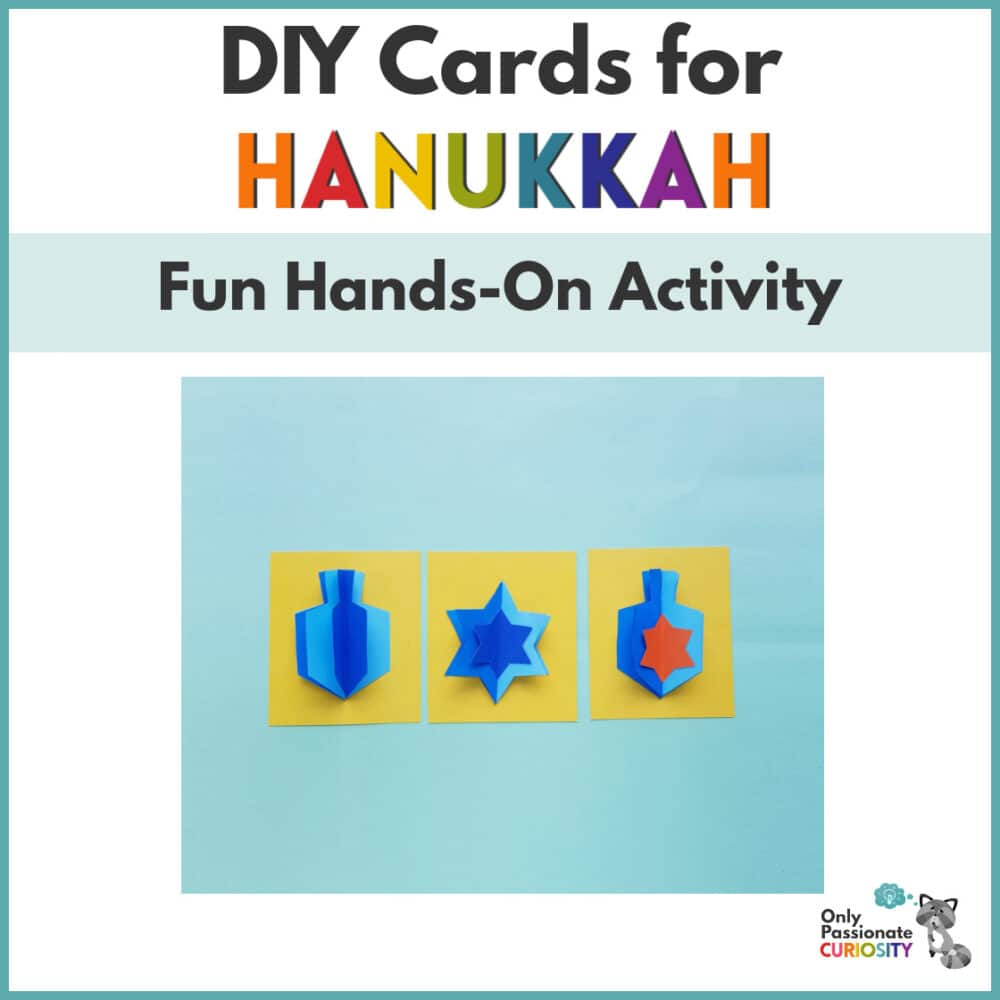
Hanukkah Craft
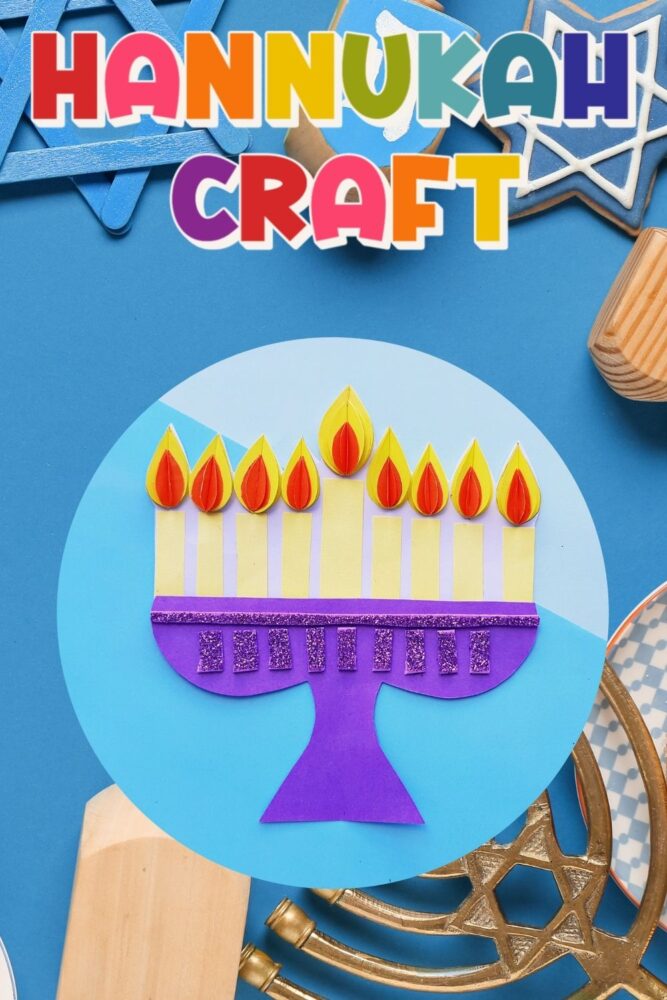
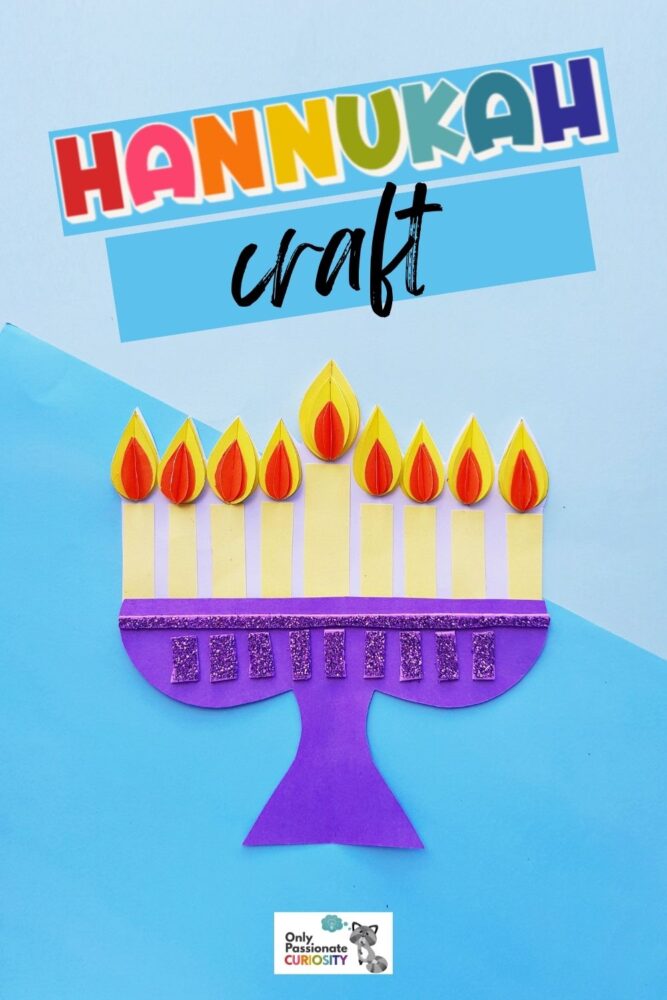
Whether your family celebrates Hanukkah or not, this paper Menorah is a terrific Hanukkah craft to teach your kids more about the Jewish faith and an important aspect of their holiday celebrations.

Before we get started with the Hanukkah craft, here are some interesting facts about Hanukkah and the Menorah!
Fun Facts About Hanukkah
- Hanukkah is also called the Festival of Lights and lasts for eight nights.
- Hanukkah remembers a time when a small group of people called the Maccabees stood up for their beliefs over 2,000 years ago.
- After the Maccabees won, they wanted to light the special lamp in their temple, but they only had enough oil for one day. The oil lasted for eight days, which is why Hanukkah is celebrated for eight nights.
- Many Hanukkah foods, like latkes (potato pancakes) and sufganiyot (jelly donuts), are cooked in oil to help remember the miracle of the oil.
- Playing with a dreidel is a popular Hanukkah game. Each side of the dreidel has a Hebrew letter that tells part of the Hanukkah story.
Fun Facts About the Menorah
- The special candle holder used during Hanukkah is called a hanukkiah, and it holds nine candles.
- Eight candles are for each night of Hanukkah, and the ninth candle is called the shamash, which means “helper.” The shamash is used to light the other candles.
- One new candle is added each night, making the menorah brighter and brighter as Hanukkah goes on.
- The candles are usually lit after sunset, and families often sing songs or say blessings together.
- The menorah is often placed in a window so others can see the light and remember the Hanukkah miracle.
Let’s go ahead and start the project!
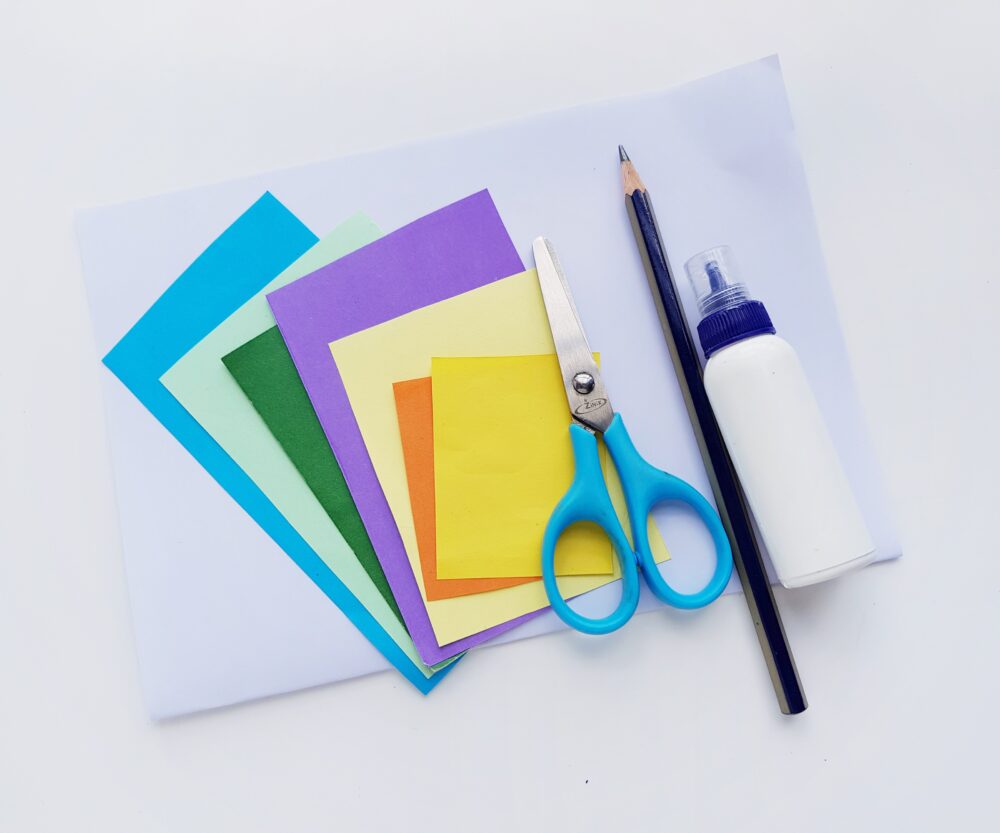
List of Supplies for your Hanukkah Craft:
- Colored craft papers
- White paper
- Pencil
- Scissors
- Craft glue
How to Make the Paper Menorah:
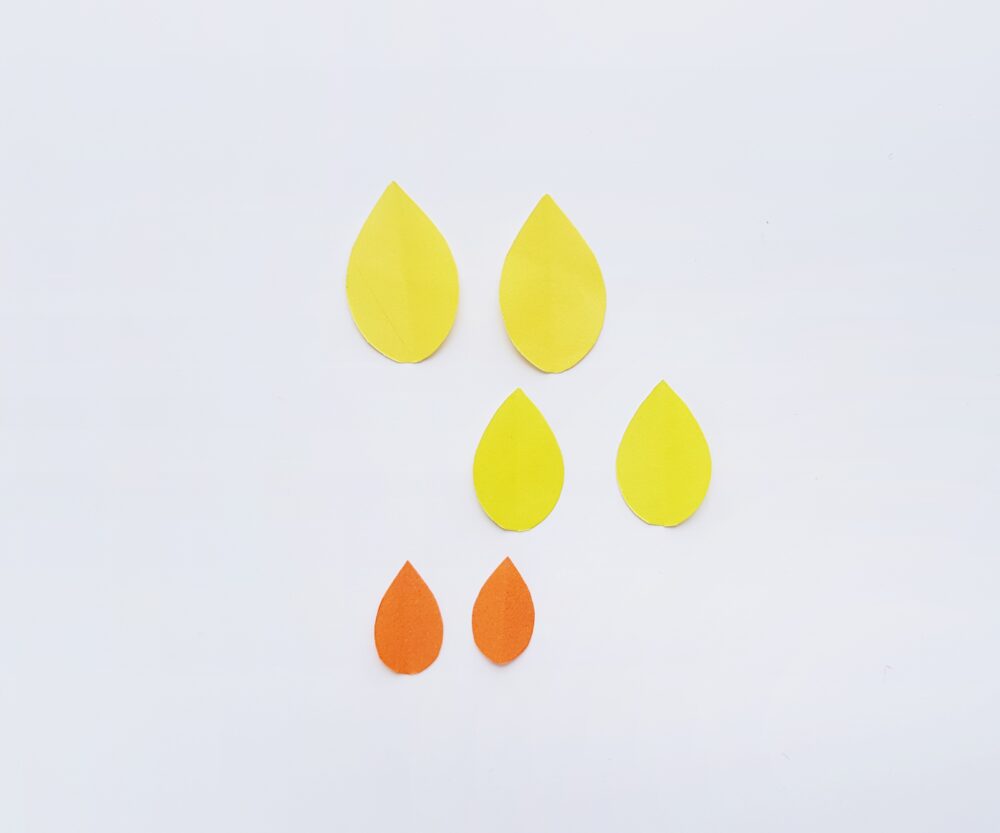
Step 1:
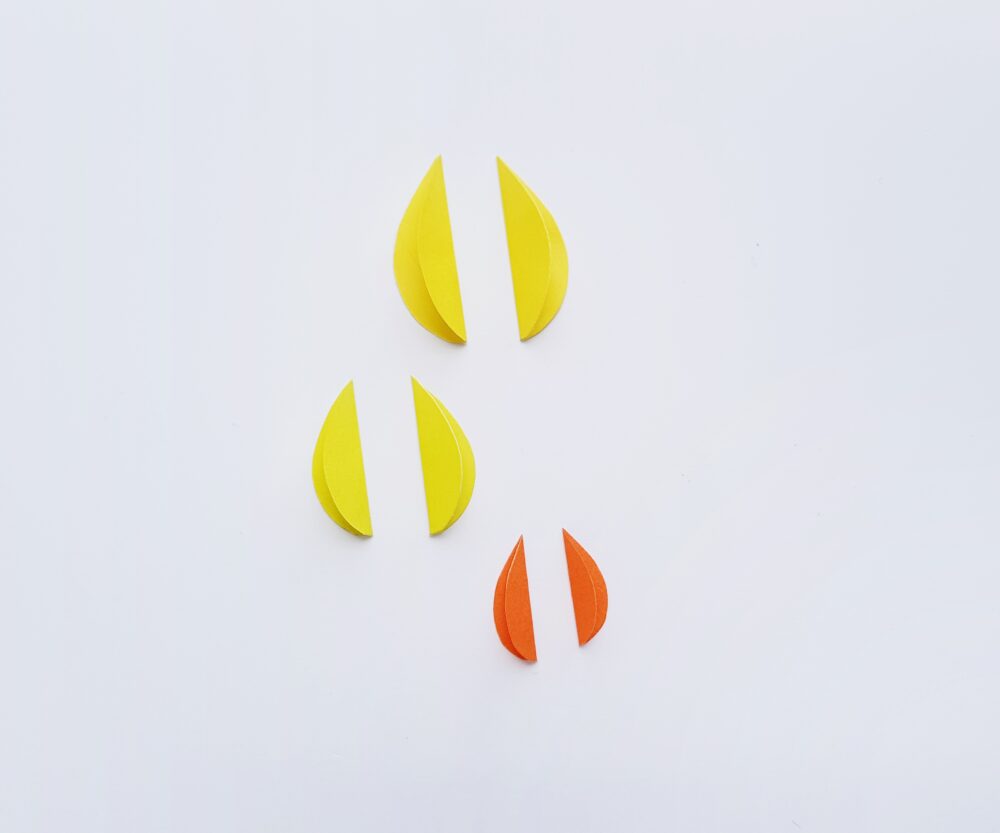
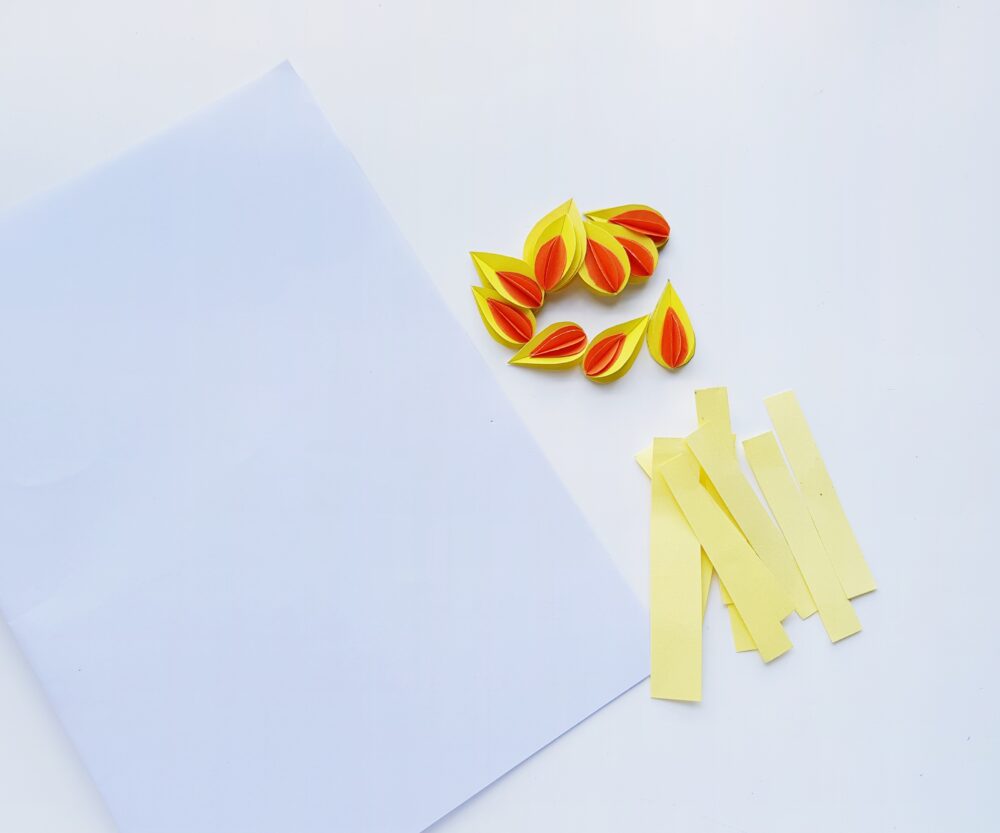
Select orange and yellow craft paper for the flames. Determine the size you want for the flame and trace 2 teardrop shapes of the same size on yellow craft paper. Cut out the traced shape nicely. Now trace 2 relatively smaller teardrops of the same size from yellow craft paper and cut them out. Finally, trace 2 teardrops on orange craft paper, smaller than the previous teardrops. Cut them out as well.
Step 2:
Fold all 3 pairs of paper teardrop cutouts into half lengthwise.
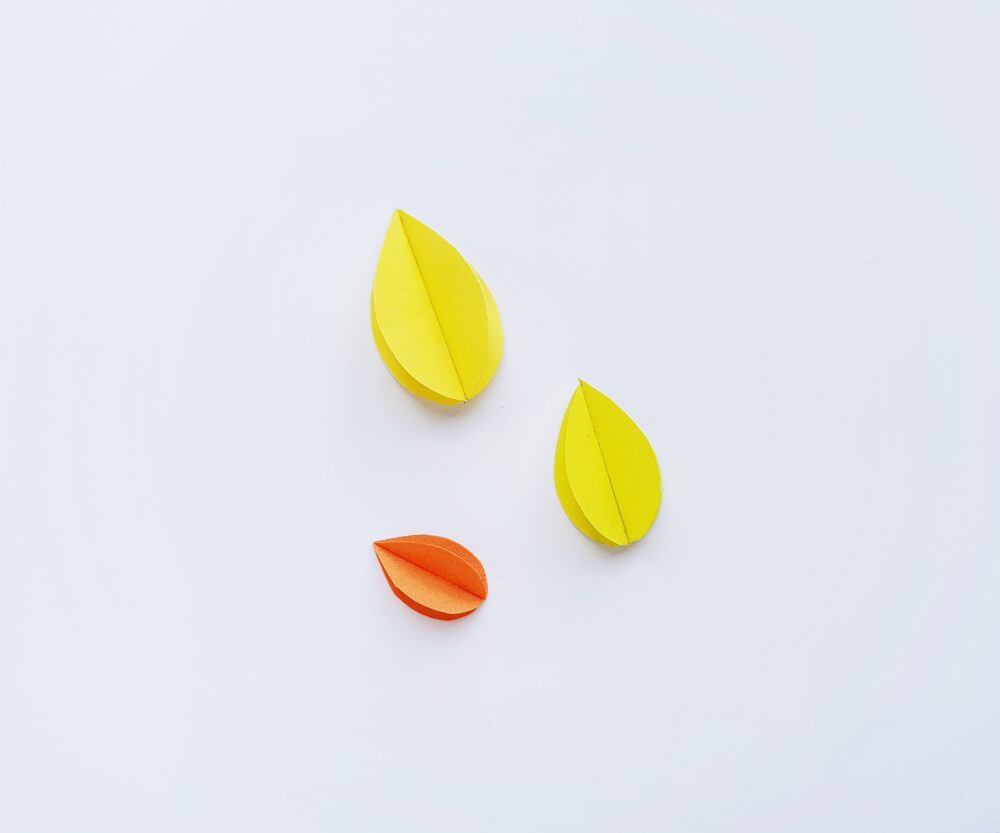
Step 3:
Grab 2 of the half-folded teardrops and glue them side by side along the closed ends.
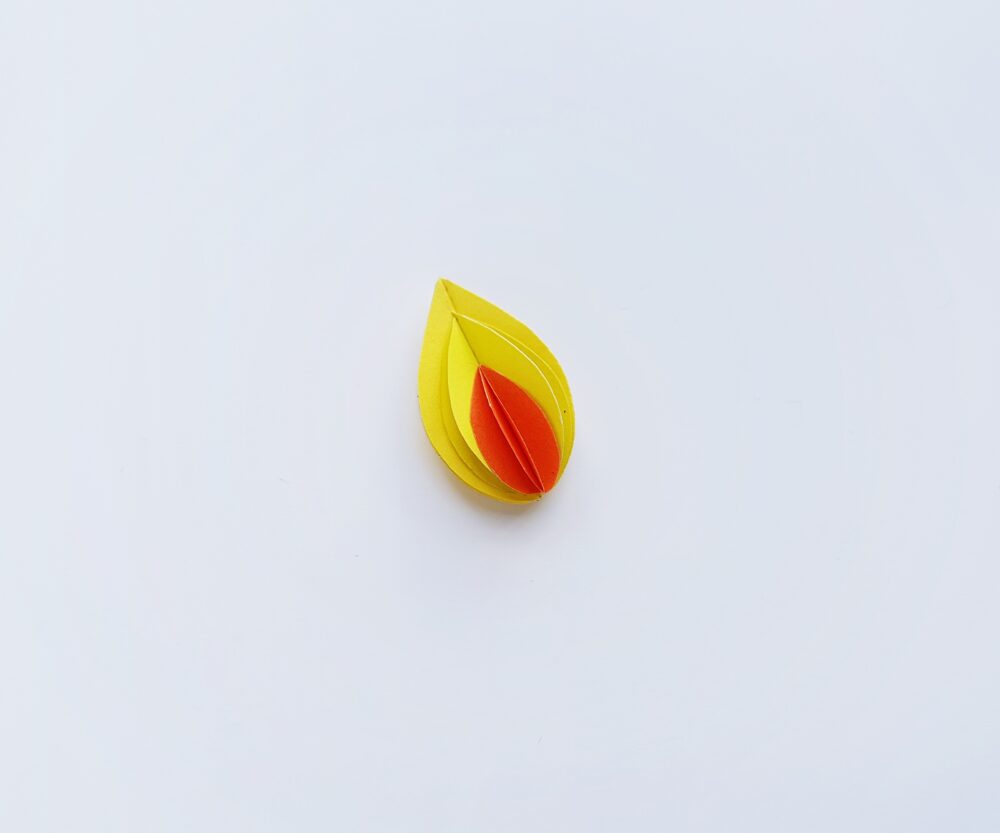
Step 4:
Now attach the smallest teardrop layer to the medium teardrop and then attach the medium one on the big teardrop shape. The 3d paper flame is ready!
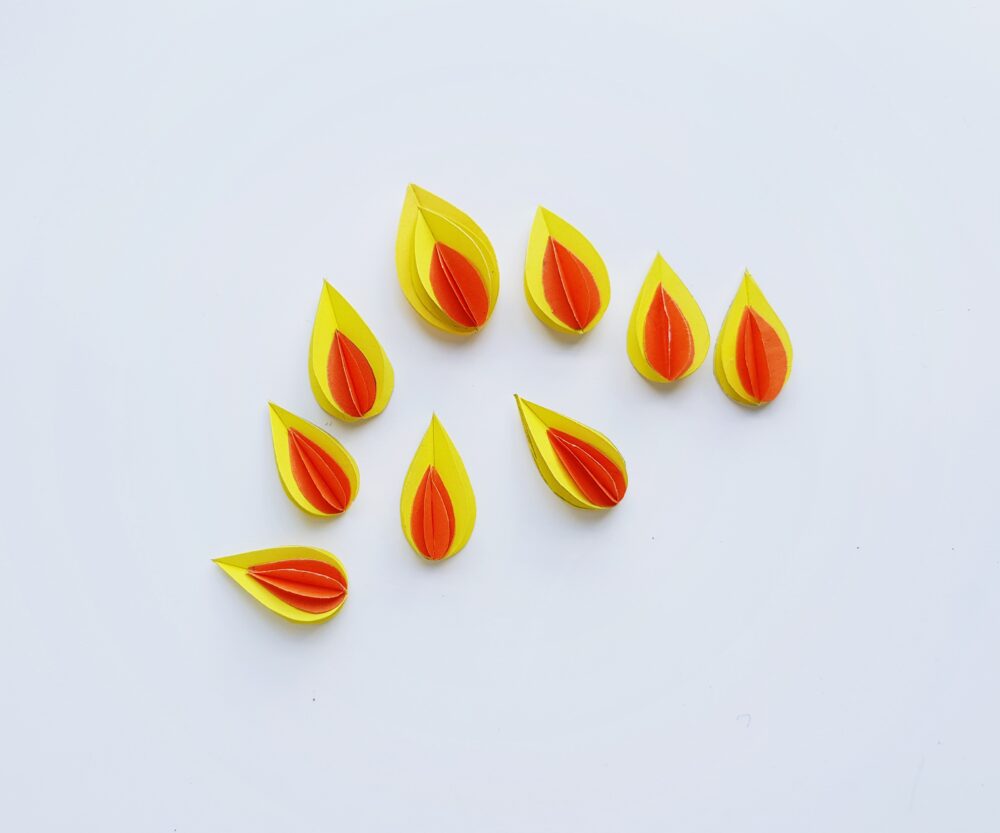
Step 5:
In the same fashion, make 8 more paper flames. For the other flames, you can use 2 layers of teardrop shapes if you want to.
Step 6:
Grab a piece of regular stationery paper and cut 9 strips from any colored craft paper you want for the candles.
Step 7:
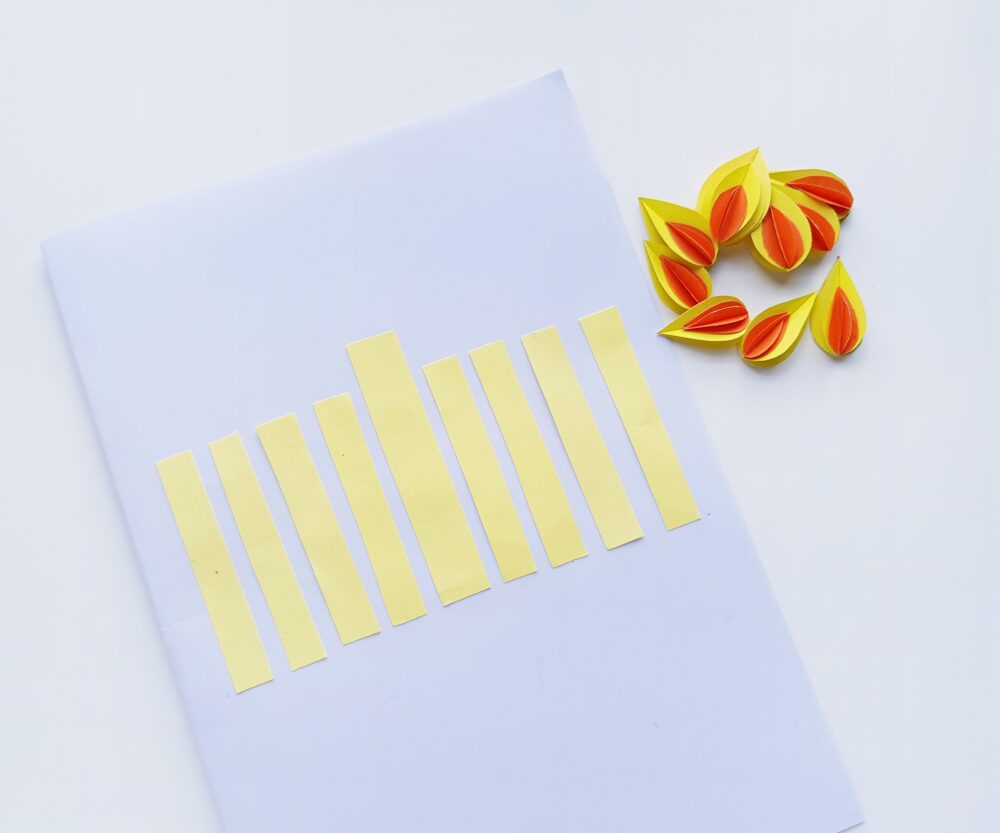
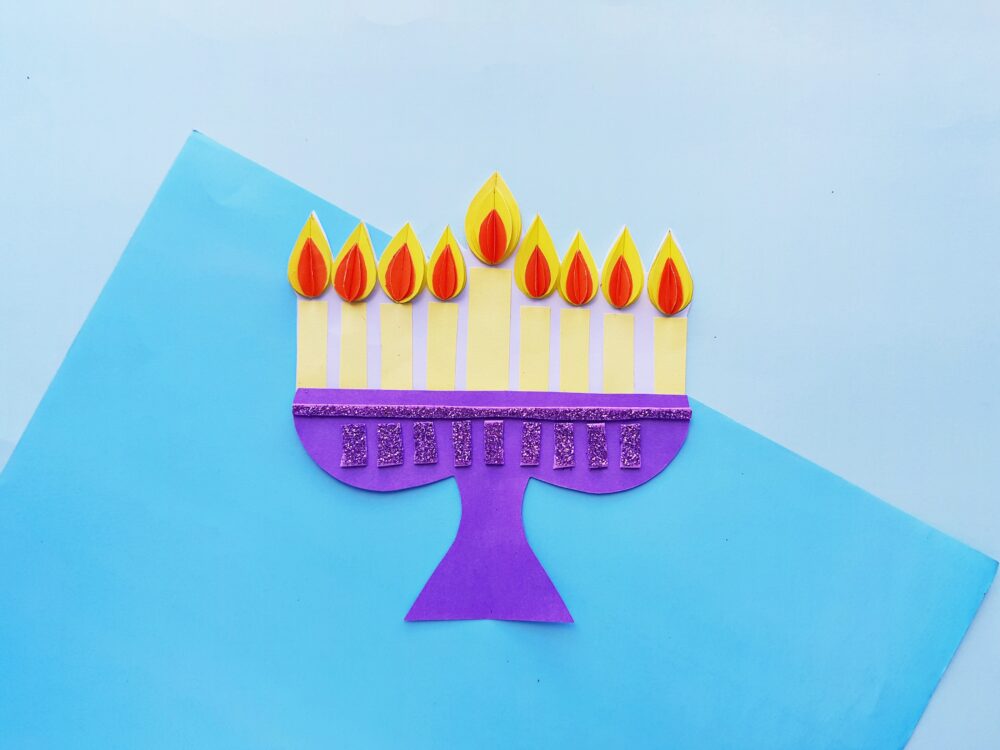
Attach the 9 candle paper strips to the white paper. Make sure that the strips are aligned nicely. I’ve attached a big candle on the middle with 4 small candles on both sides of it.
Step 8:
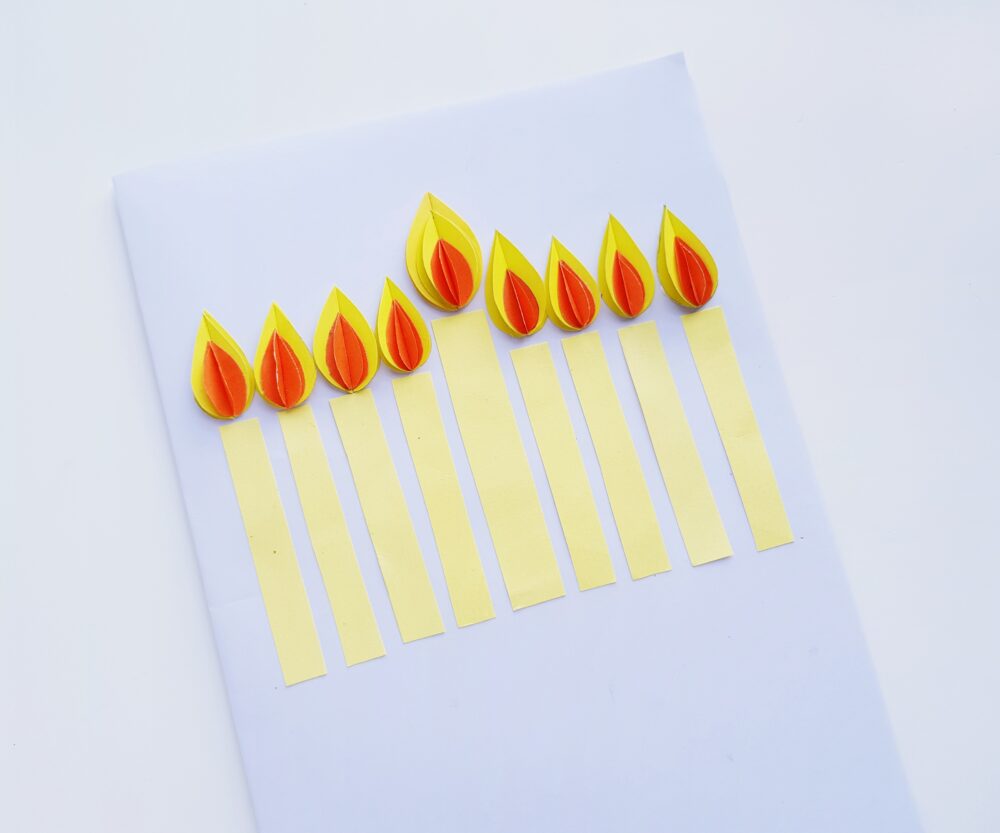
Attach the flames to the top ends of the candle strips.
Step 9:
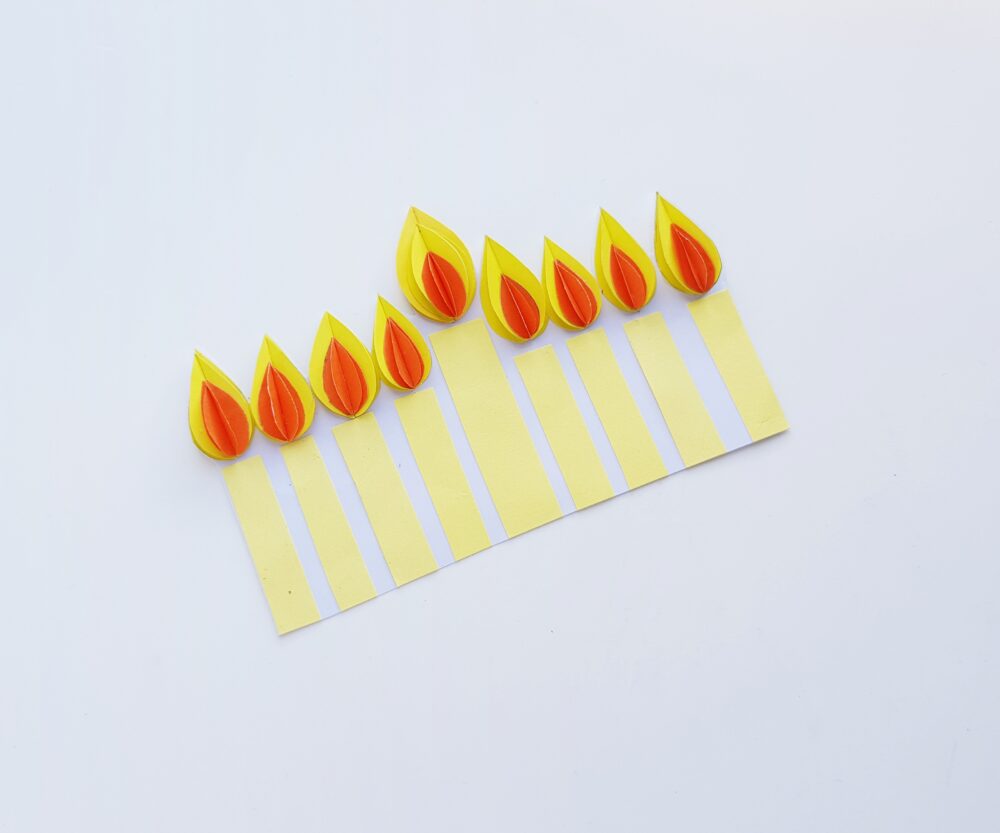
Now cut out the 9 candle paper craft from the white paper. Simply cut around the outer border of the Hanukkah craft.
Step 10:
Select a colored craft paper for the candle holder and trace it on that paper. Cut out the traced pattern using scissors. Use glitter paper or any colored craft paper to decorate the candle holder.
Step 12:
Attach the 9 candles made in step 9 on the top side of the candle holder.
Other Hanukkah Crafts and Projects
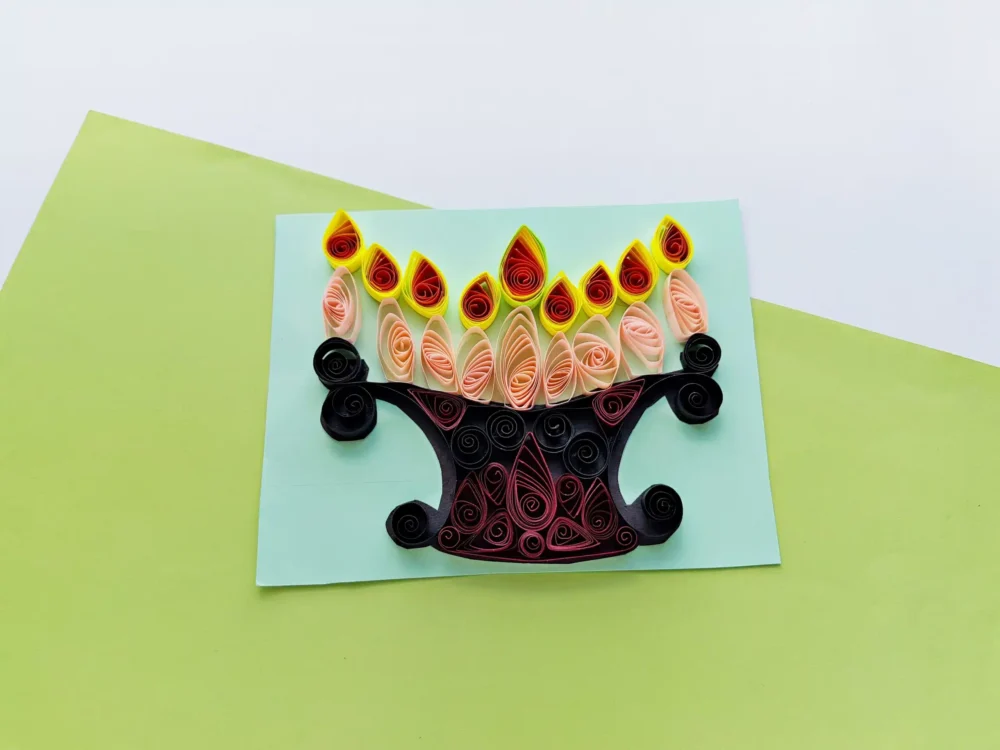
Beautiful Quilled Menorah Craft for Hanukkah