Felt Flower Life Cycle Craft


Craft a Felt Flower Life Cycle with Your Kids
If you’re teaching your kids about life cycles, this felt flower life cycle craft is the perfect accompaniment to your unit study lessons or even an extended botany unit study!
This fun craft will also help your students develop fine motor skills as they can do some sewing practice.

List of Supplies for Felt Flower Life Cycle


Request the Flower Life Cycle Template
Instructions for the Felt Flower Life Cycle

Step 1
Print and cut out the template patterns. The template includes patterns for roots, a butterfly, a cocoon, a twig, leaves, eggs, and a caterpillar. Trace the patterns on the selected felt fabrics and cut out the traced patterns using scissors.

Step 2
Prepare a base from blue felt (7” x 8”) and a piece from brown felt (7” x 2.5”) to represent the soil. Place the soil cutout on the bottom side of the base cutout.

Step 3
Place a seed cutout to the left side of the soil part and a seed with a small root an inch away from the first seed. Stitch the seeds to the soil and base cutouts.


Step 5
Place the seedling right above the small root. Place the medium-sized plant above the medium-sized root. Stitch the seedling and the plant with the base.

Step 6
Place the stem cutout of the final stage plant above the big root. Stitch along the stem.

Step 7
Place the leaf cutouts on both sides of the stem and stitch them to the base as well.

Step 8
Place the flower pattern on the top end of the final plant.

Step 9
Stitch the center of the flower with the base.

Step 10
Place the sun and the cloud cutouts on the top part of the blue base.

Step 11
Stitch the clouds and the sun to the base using matching threads. Place the raindrops below the left cloud.

Step 12
Stitch the raindrops to the base to complete the craft.
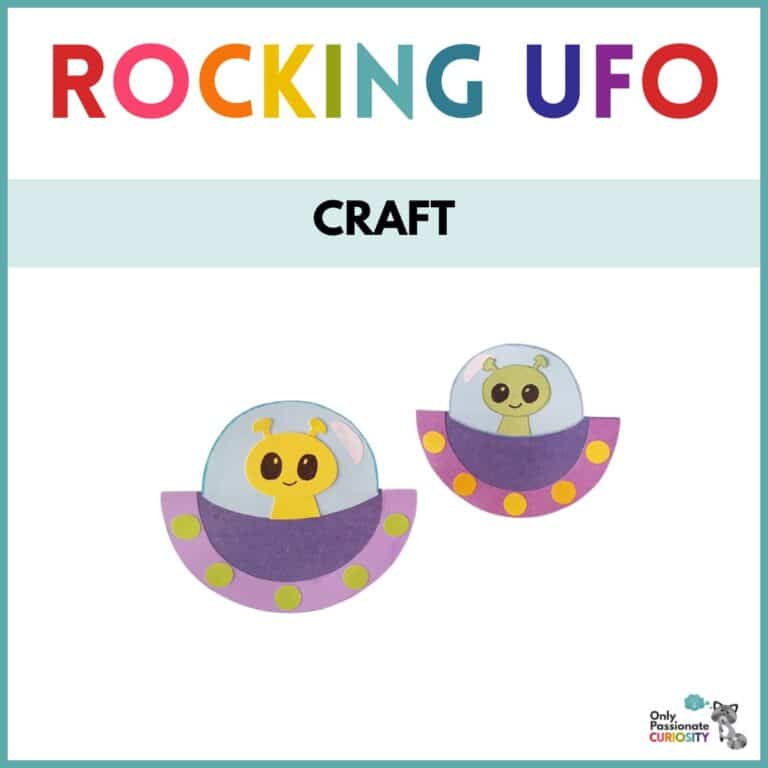
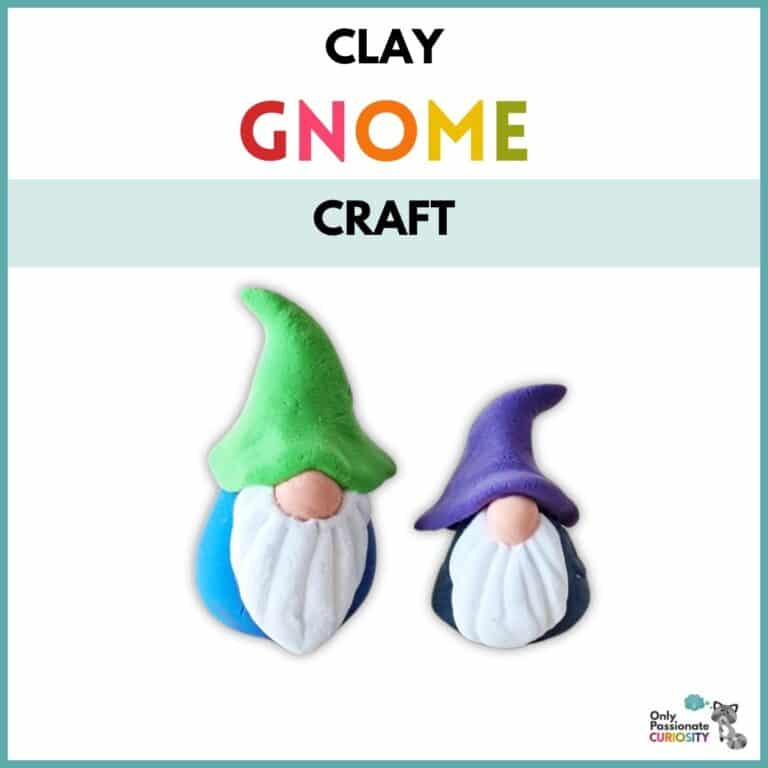
Here are some more felt crafts:
If you enjoyed this felt flower life cycle craft, here are a few more ideas of craft time with felt!