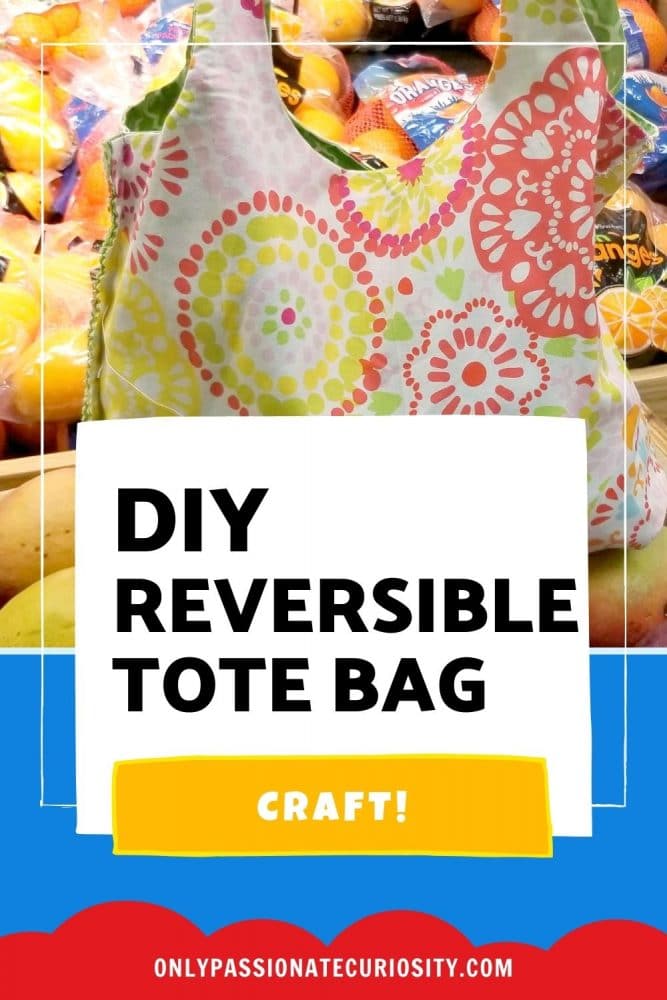
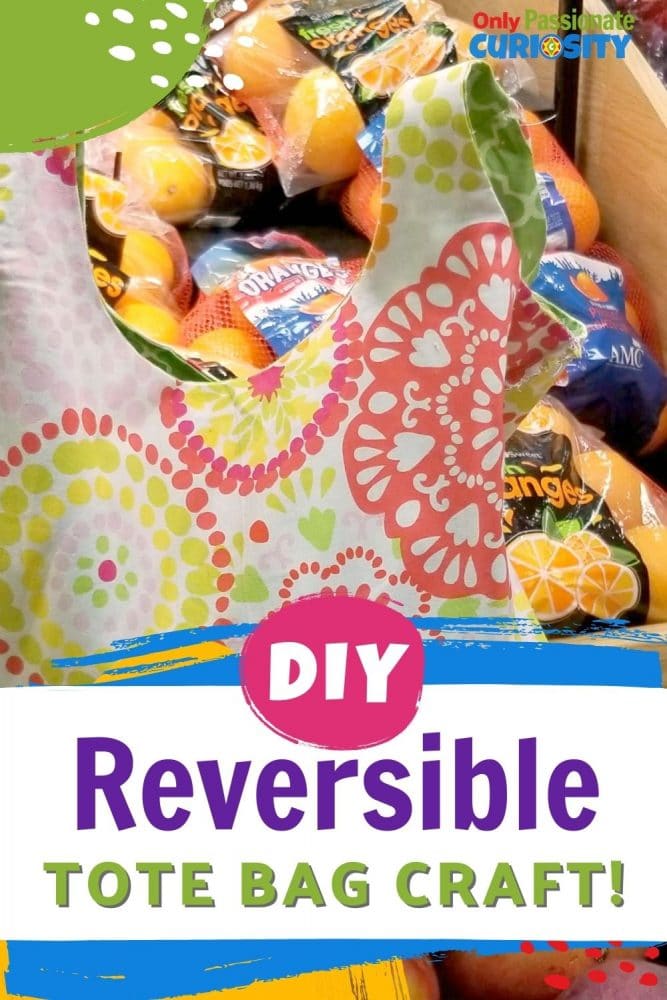
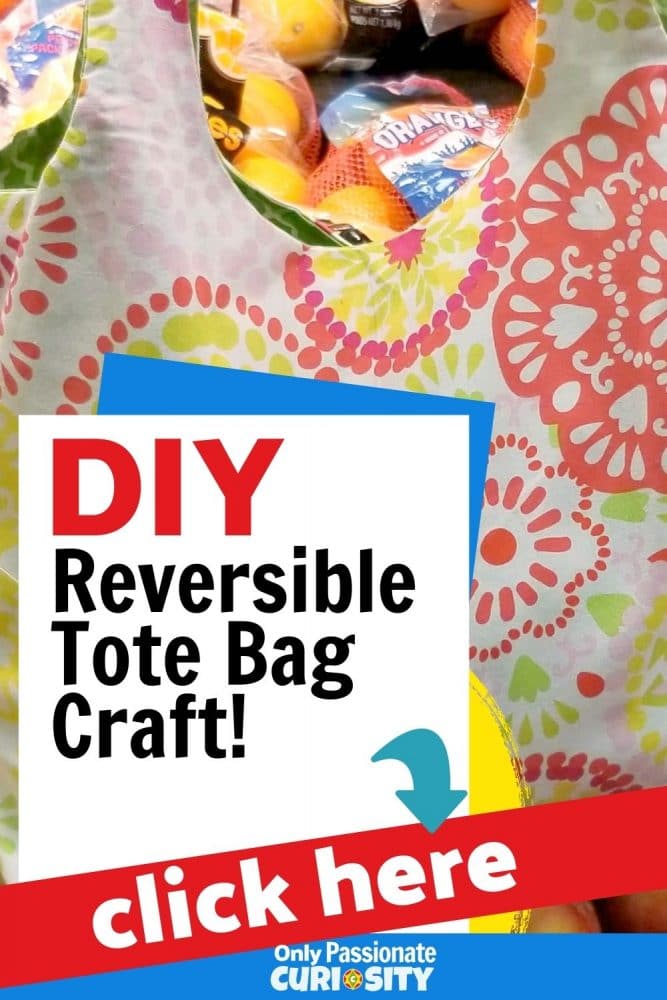
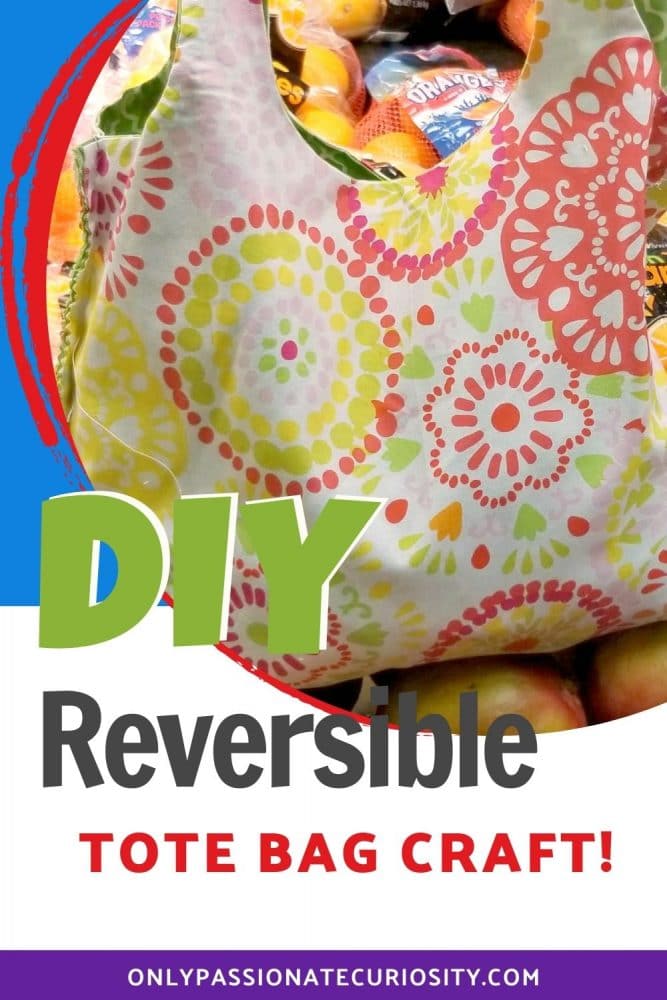
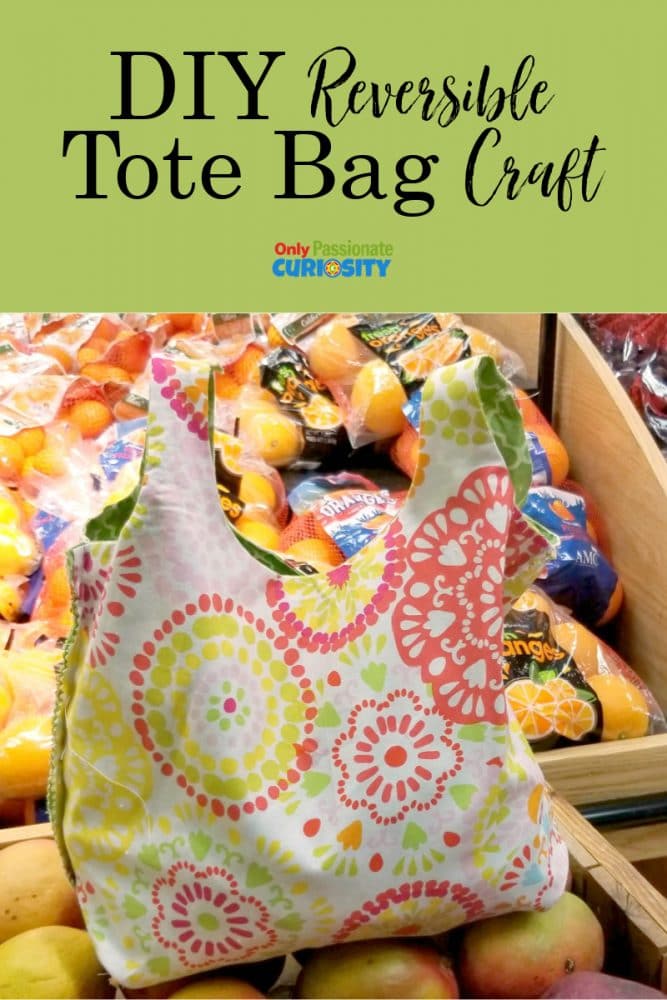
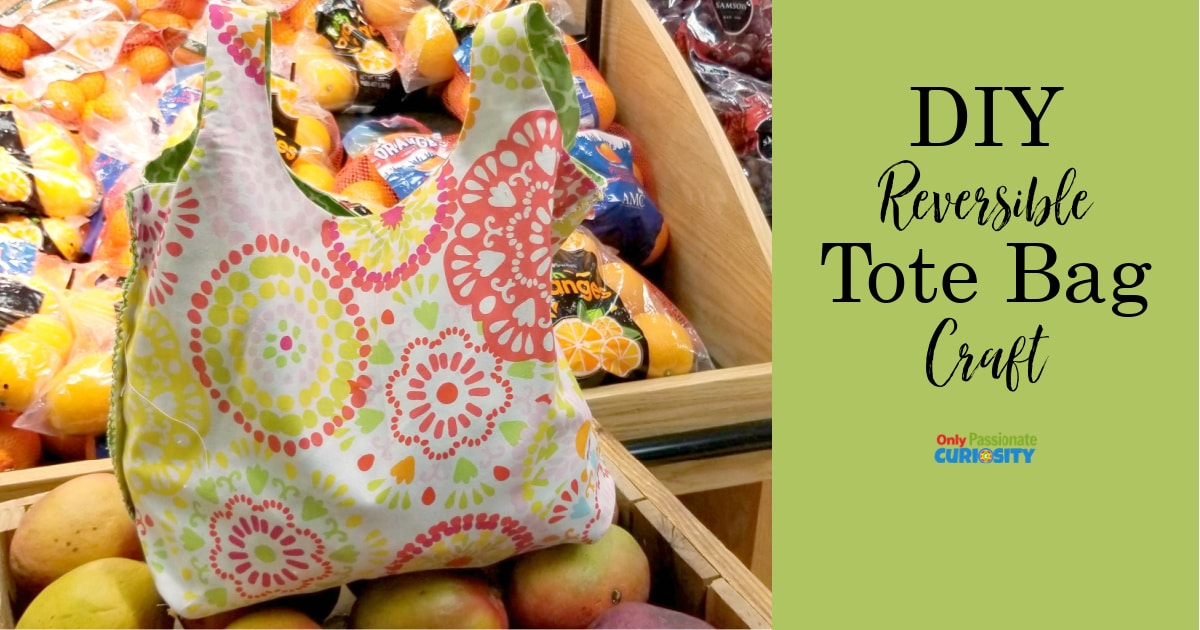
DIY Reversible Tote Bag Craft!
Do your kids enjoy creating things with their hands? Sewing is a great life-skill to learn (and to incorporate into your homeschool!) Not only is it fun, but being able to sew something that can be used or enjoyed by others also gives kids a sense of accomplishment! Today, we’re sharing this craft tutorial that you can use with your kids to create cute, versatile, cloth tote bags!
This great, simple sewing project would make a fantastic DIY gift project for the holidays! I think it’d be fun to choose special fabrics from your local craft store in order to make the bags even more customized for gift recipients. Because they’re reversible, you could choose a more understated fabric for one side, and maybe a fun pattern or design for the other!
What You’ll Need:
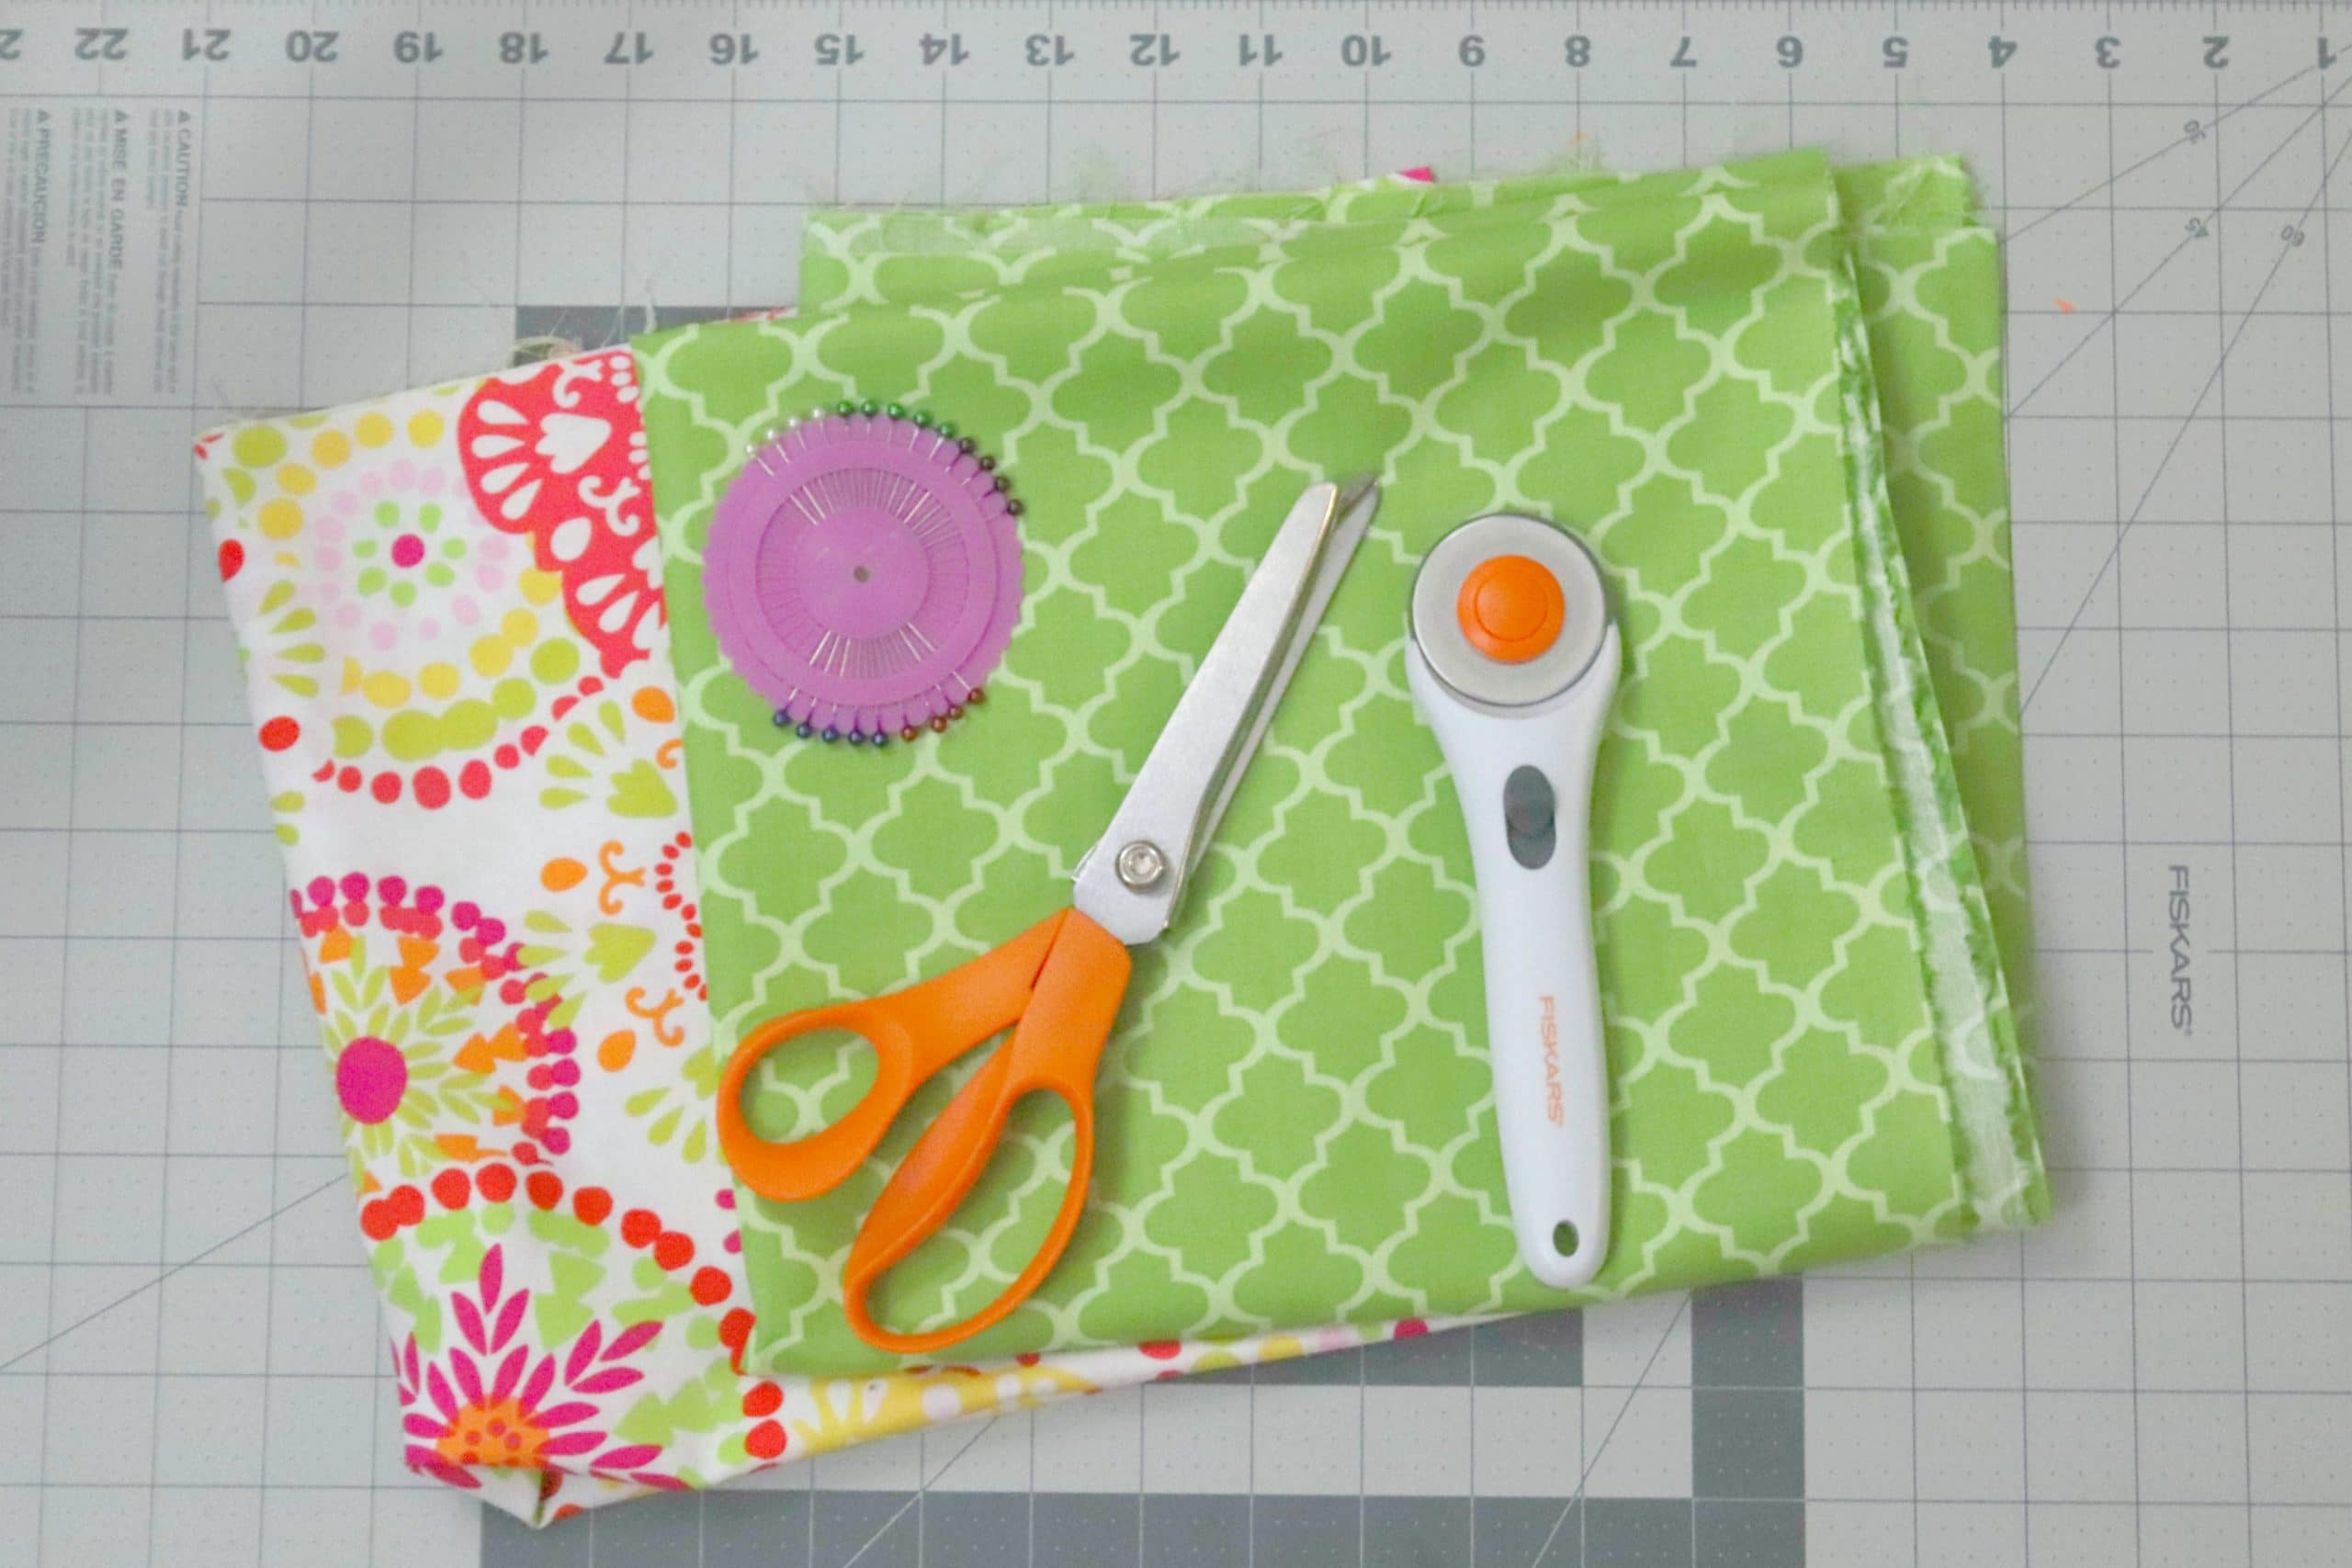
- 2 different designs of complementary fabrics that are both at least 1/2 yard diameter, each (You can get bundles of various designs on Amazon here)
- Washable fabric pen
- Rotary cutting mat set (I got mine from Amazon)
- Scissors (I prefer pinking shears)
- All-purpose thread
- Wonder sewing clips or pins
- Optional but recommended: Sewing machine
- Printable PDF Template (You can grab this by clicking the link at the bottom of this tutorial).
**This pattern is based on a plastic shopping bag. The dimensions of that are 12 inches across and 22 inches high. In
order to make your bag this size from the PDF template, you need to increase the size in your printer to 315%.
This will print in multiple pages, of which you will match the pieces and tape them together to make your pattern
match the dimensions of the original size. With that said, you can make your shopping bag any size you like, just make
sure your proportions are in line with the original**
How to Make It:
You’ll start on your project by cutting out the shapes that you need from your two fabric choices. To do this, grab one of the squares of fabric and fold it in half, lengthwise. Pin your template to the fabric and trace/cut out the pattern. (The pattern is supposed to be used with fabric that’s folded in half, so that the two sides are exactly the same.) Repeat this step with the other piece of fabric.
Tip: To make sure my cutting was even, I pressed the fold together with my fingers and pinned the opposite (open) side together. This will help prevent your fabric from slipping as you trace/cut it.
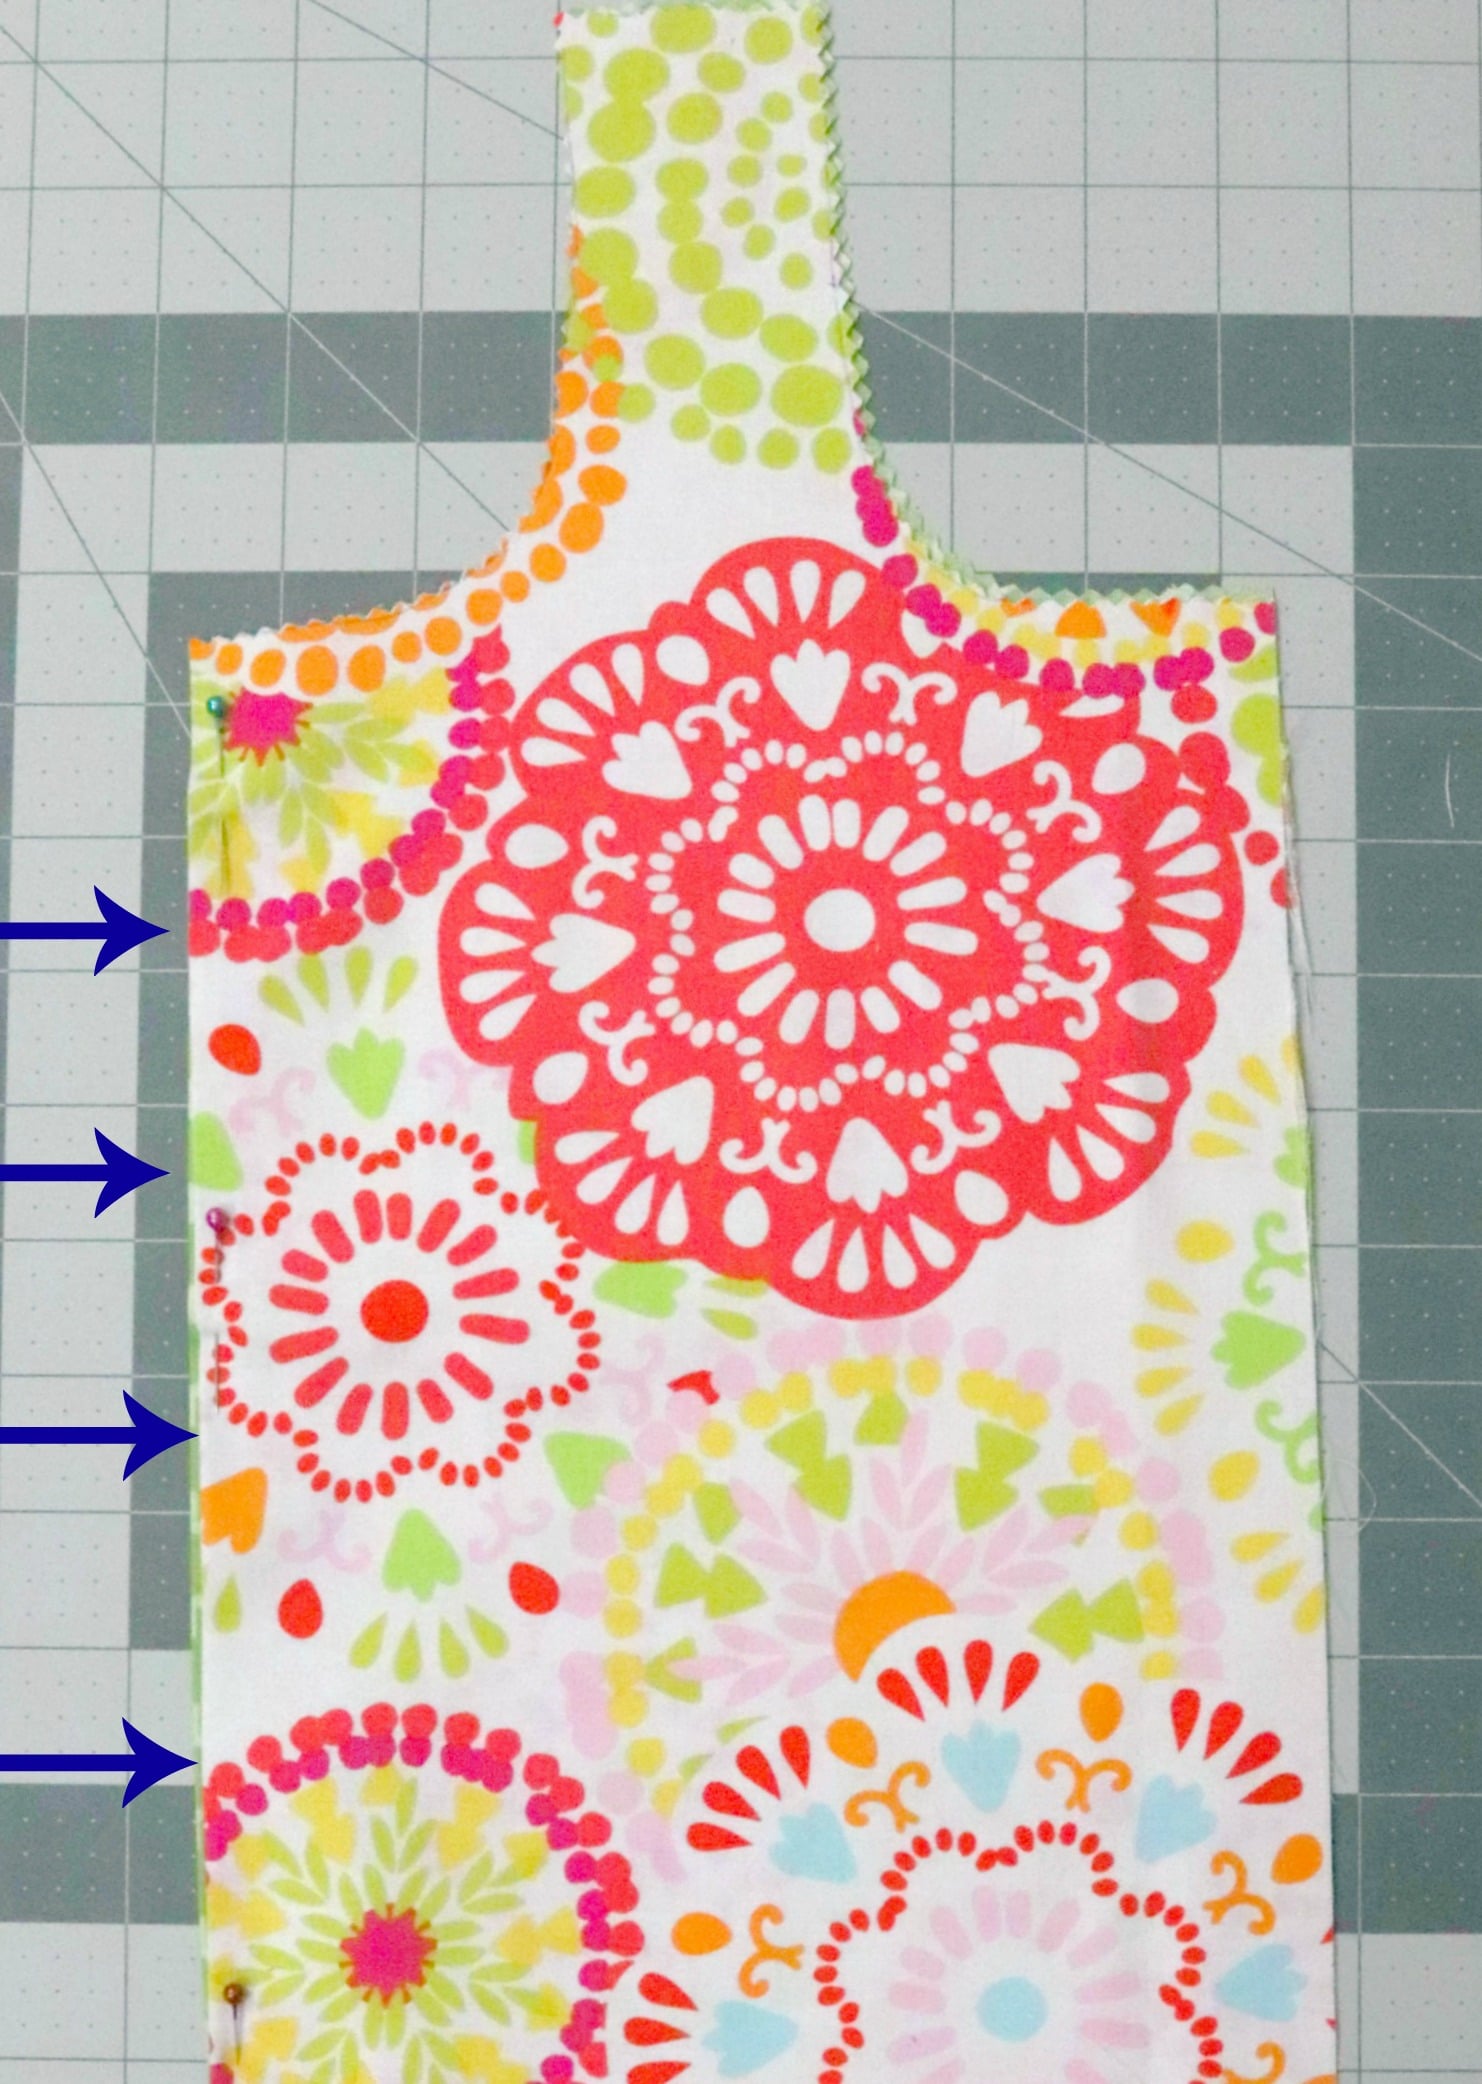
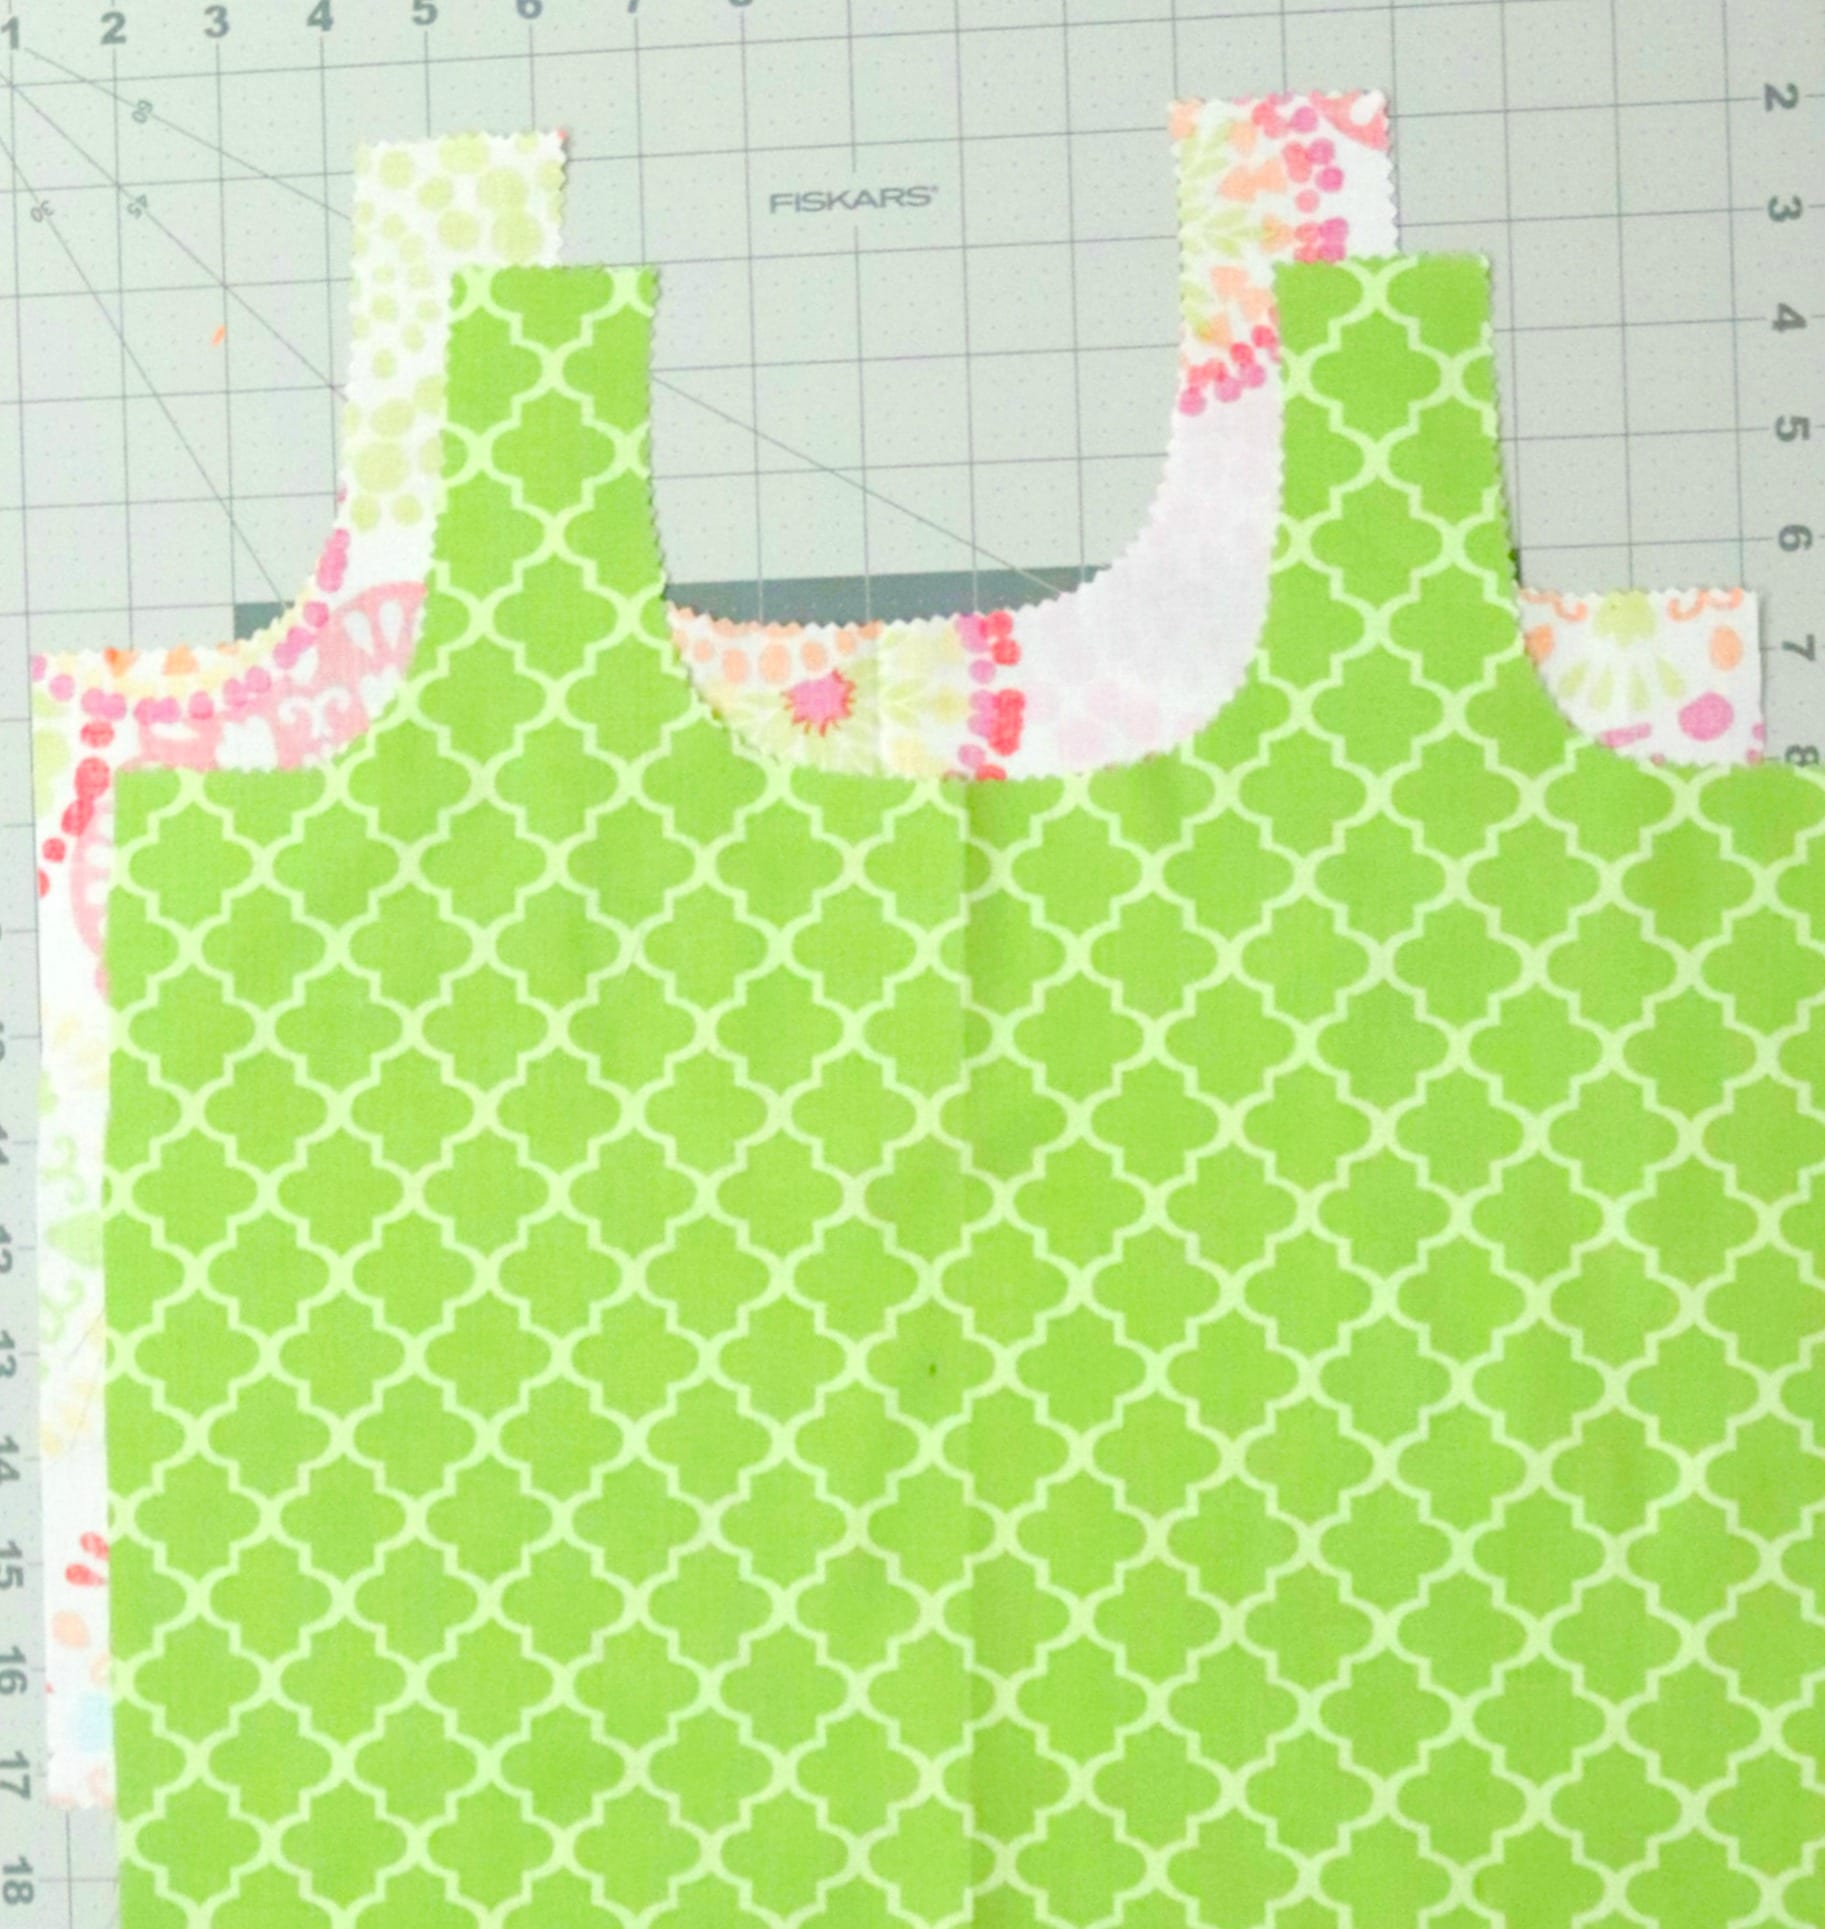
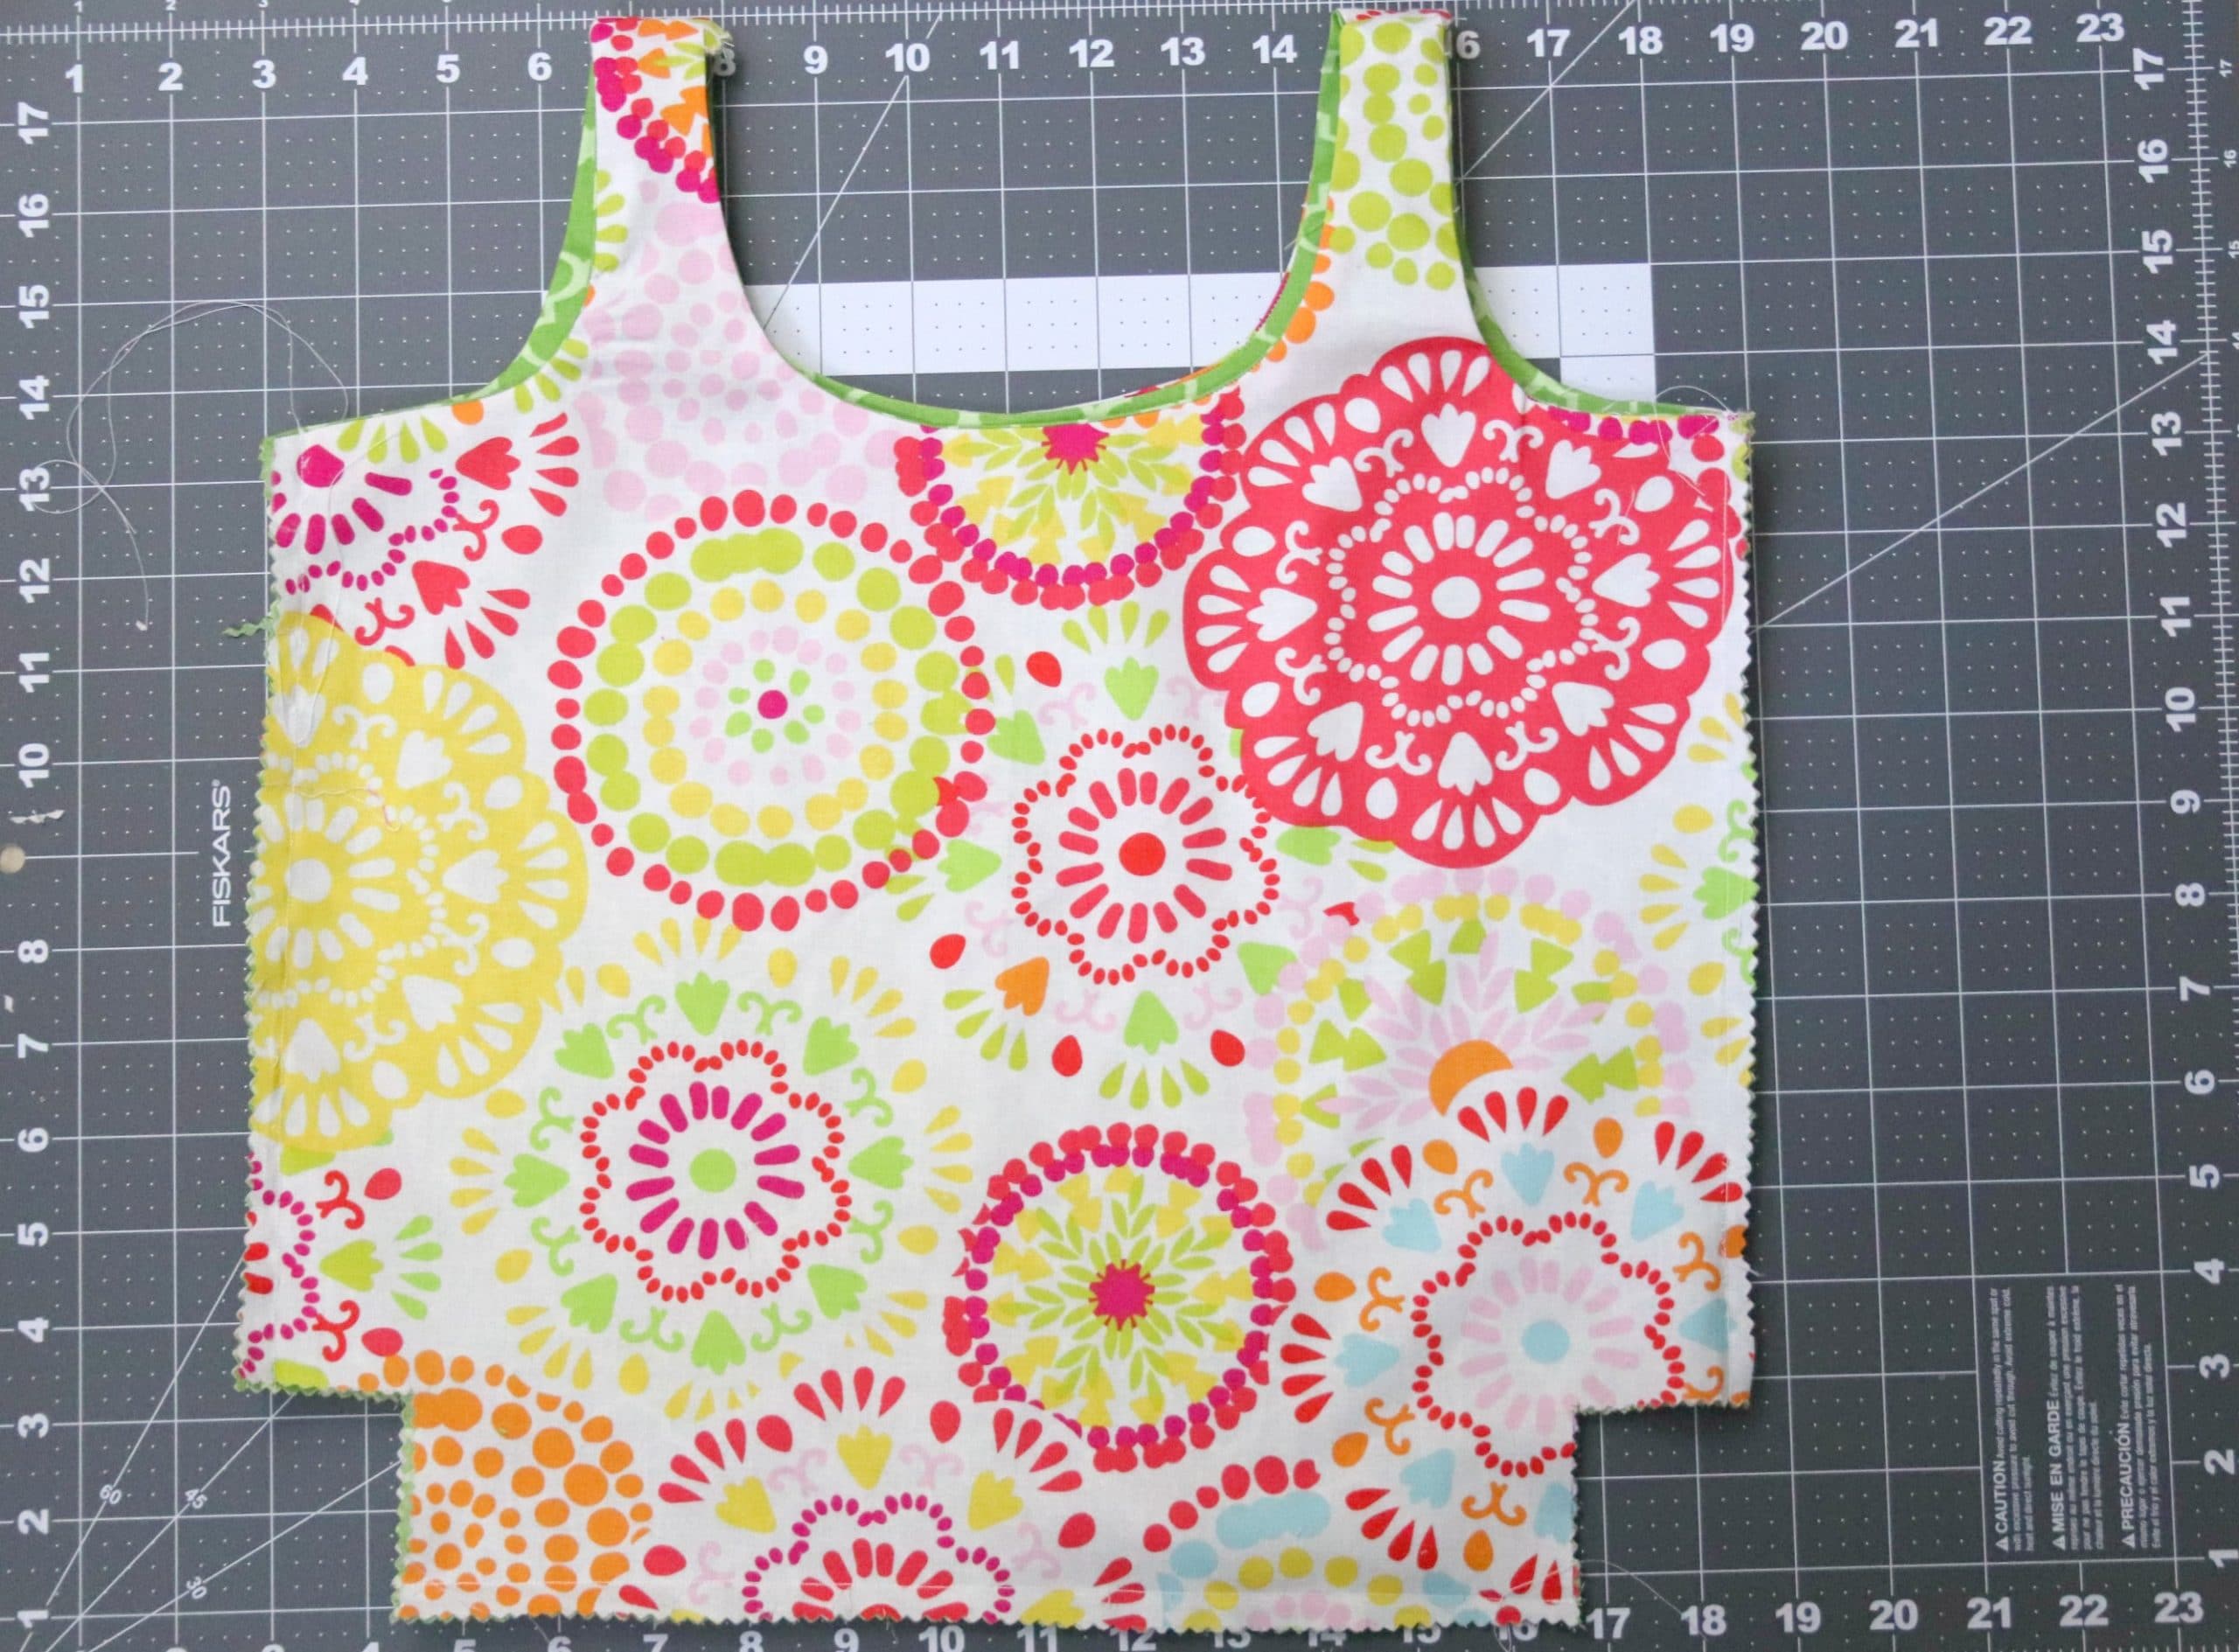
When you’ve done this with both pieces of fabric, you should have two pieces that look like the picture below. Next, unfold fabrics and place them on top of each other. Mark each corner 9”x6” (6” going horizontal and 9” going vertical) and cut.
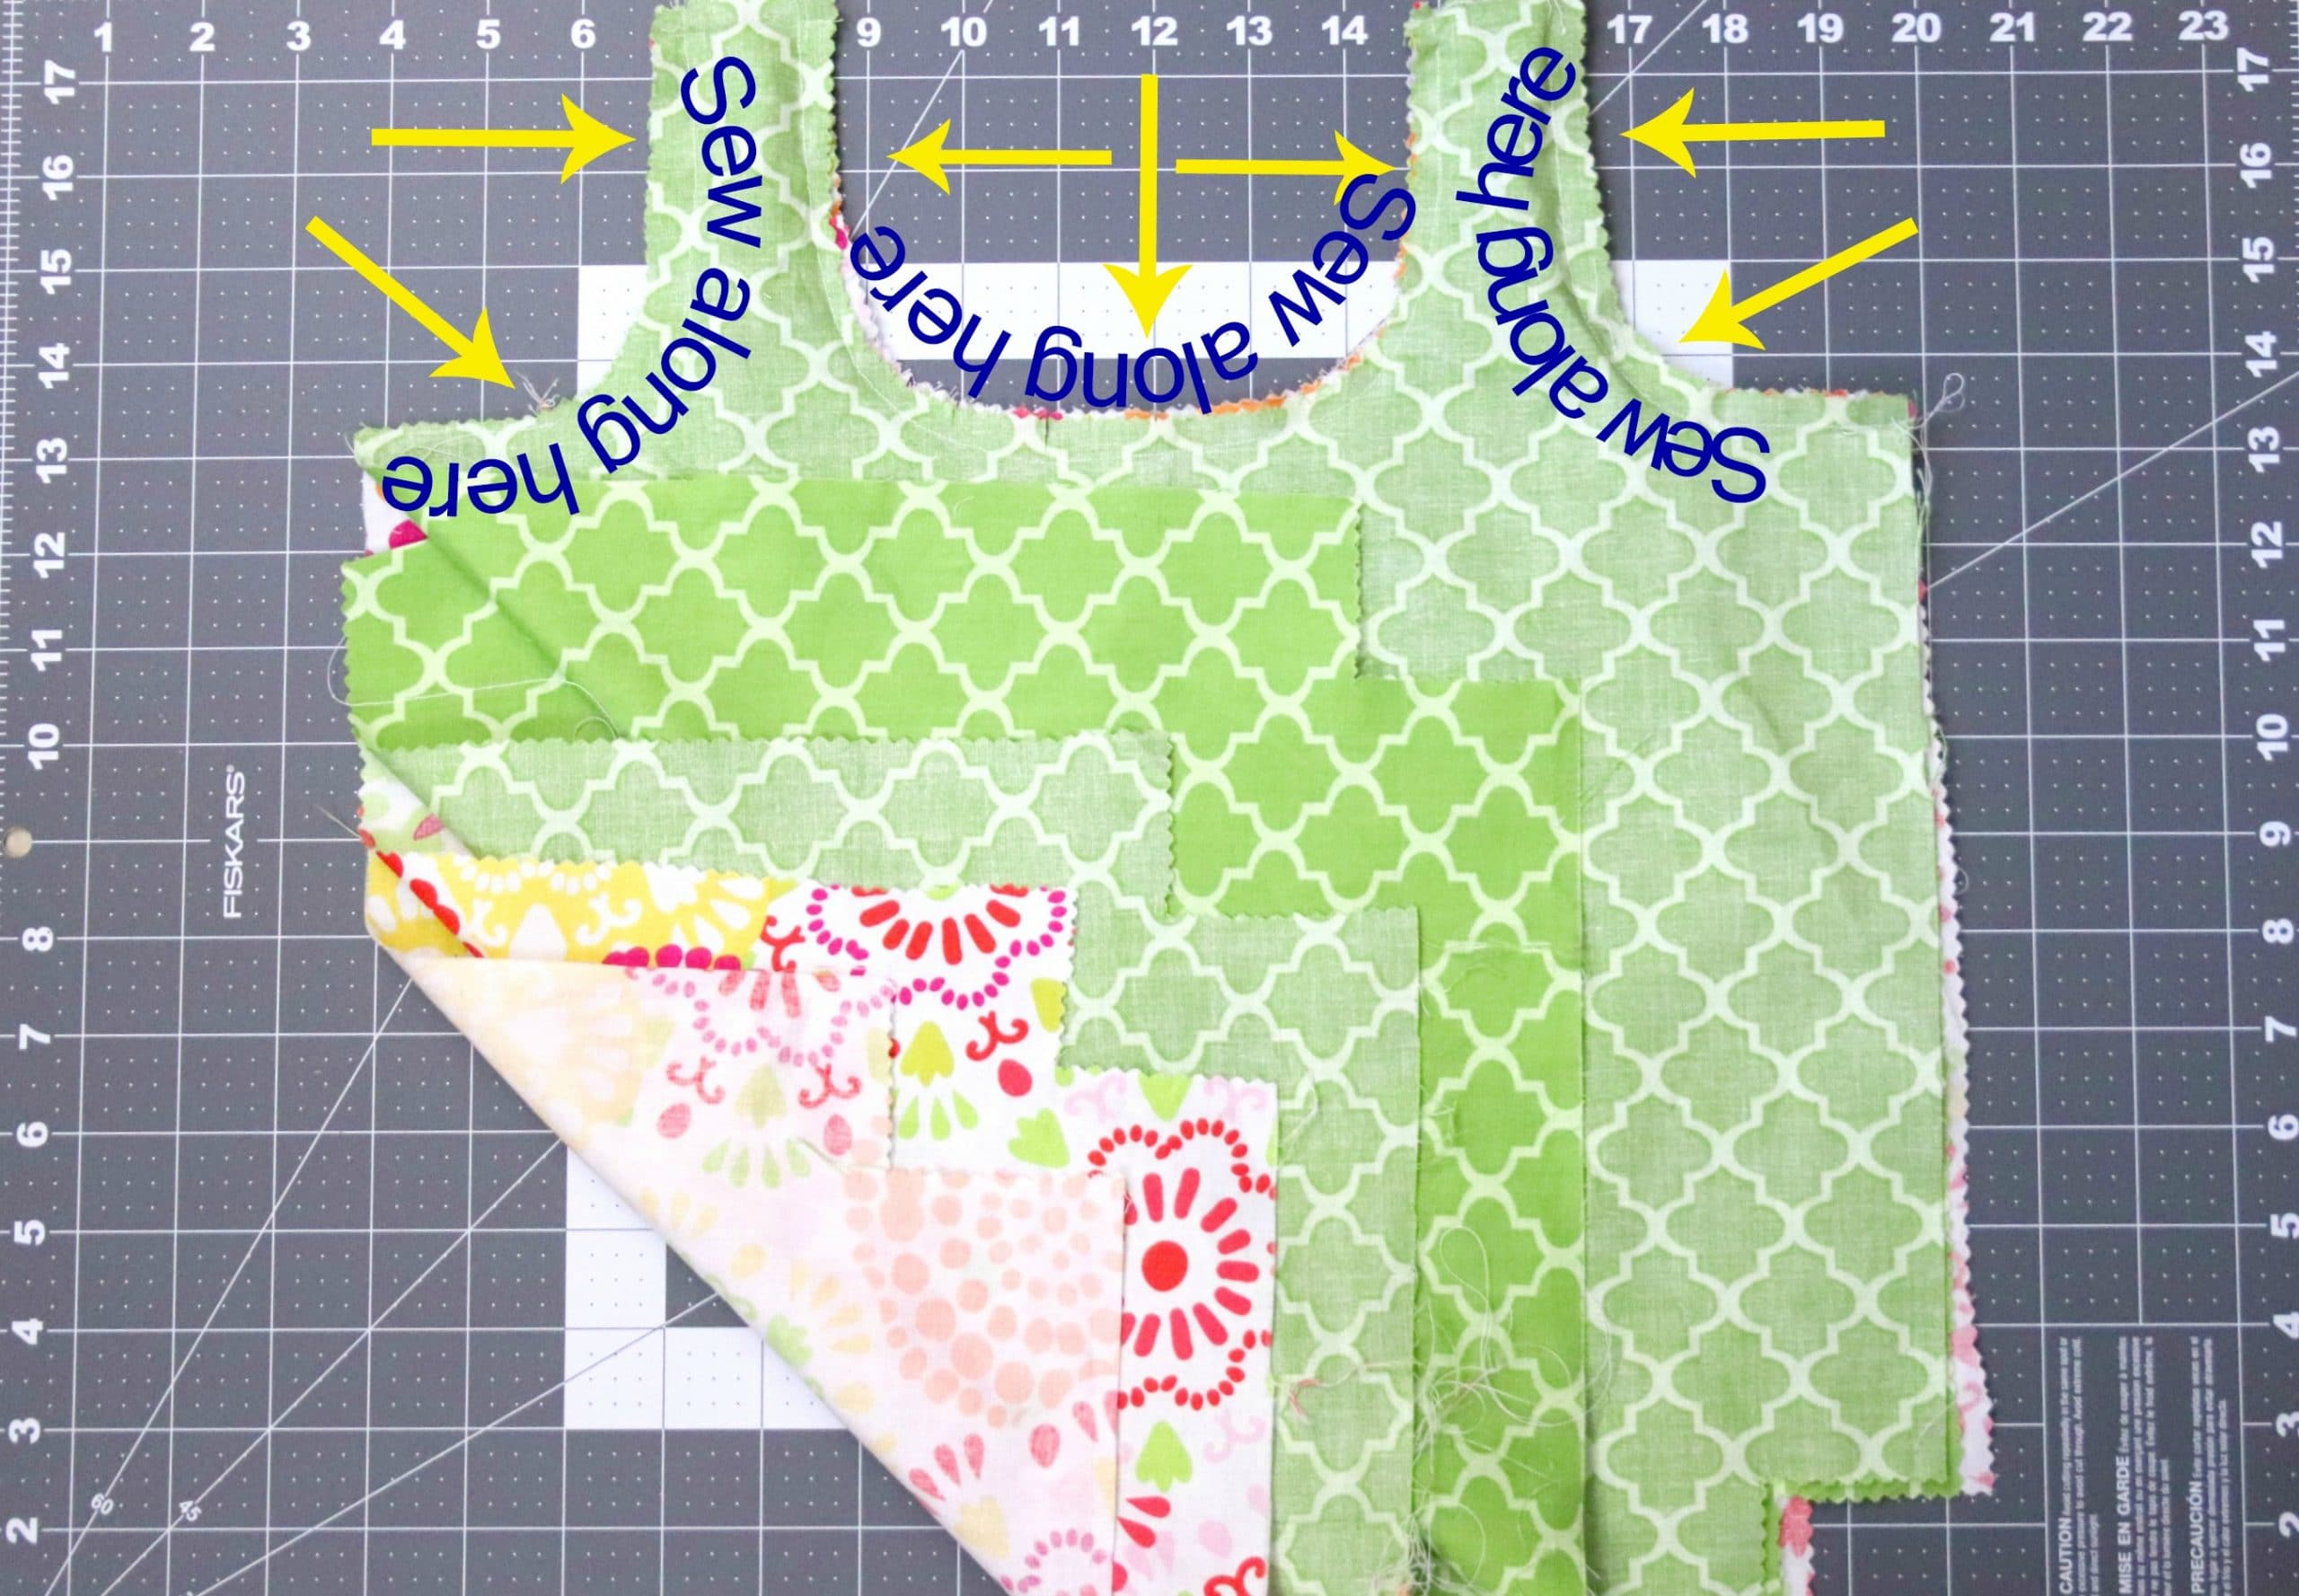
After you’ve marked the corners, place each set of fabrics together. Sew each set along the curved sides as shown in the photo. Carefully cut small notches along the curves (don’t cut through the seam.) Then use your fingers to press both pieces smooth where you’ve just sewn.
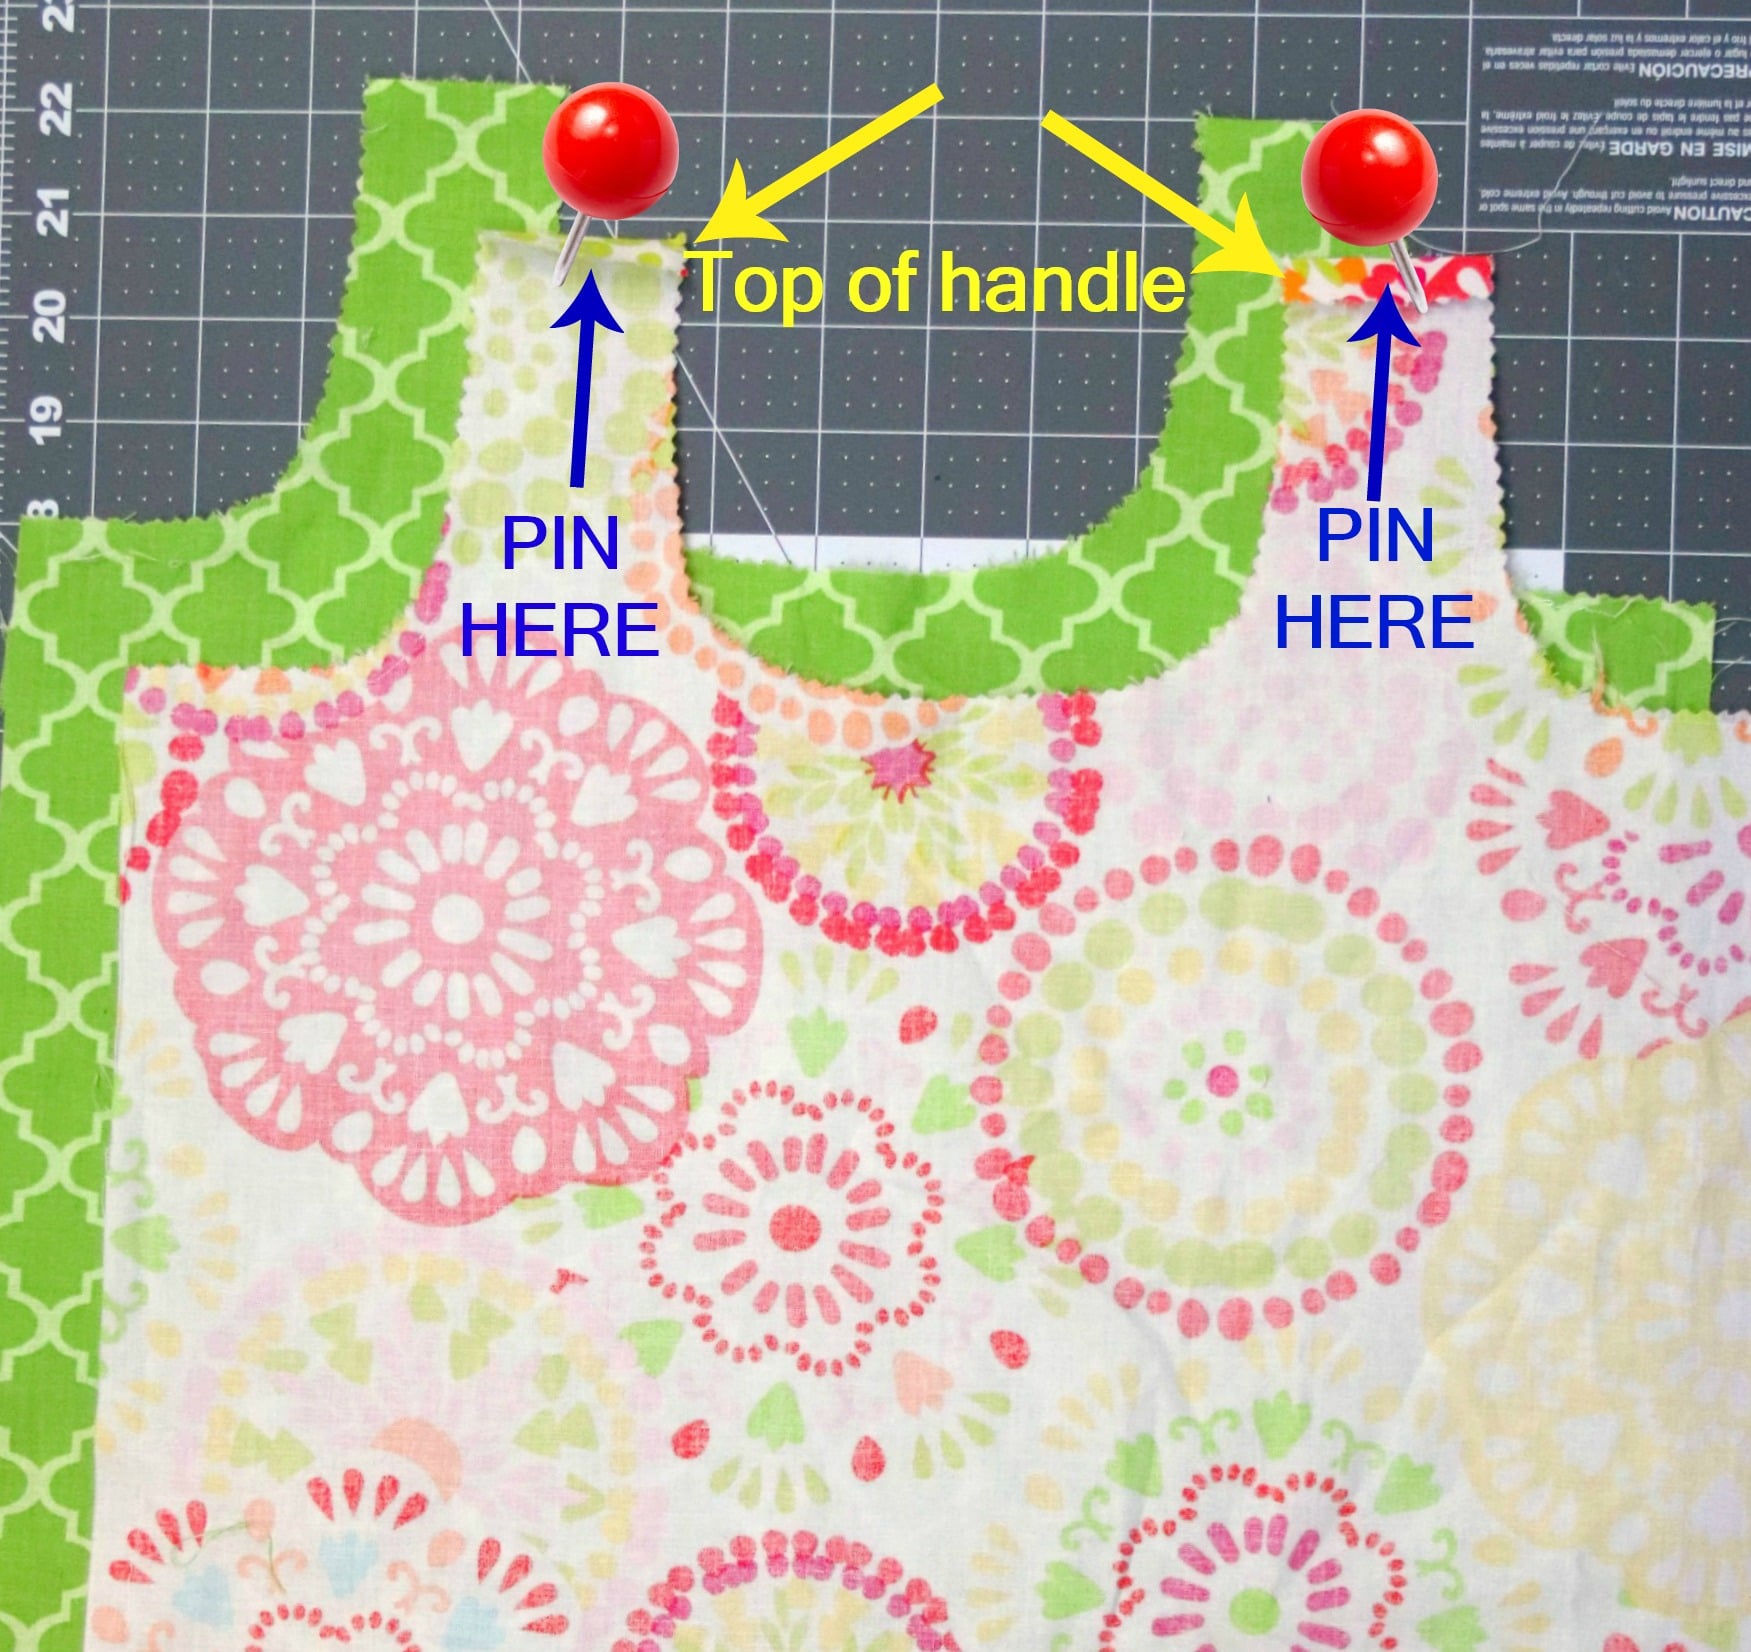
 Next, open one set right-side-out (piece 1) and press it once it’s open. Using a safety pin, pin the top of each handle of piece 2 (as shown in the photo) and slide the pin into the top of the bag’s handle.
 Using the safety pin, pull each handle of piece 2 through the handles of piece 1, like you would if you were threading
cording through a hoodie, pants, etc. Do this until the openings of both sets of handles are flush with each other. Then sew the openings at the tops of the handles closed. Trim any excess fabric so that they are even. (Mine was a bit uneven where the opening didn’t match exactly.)
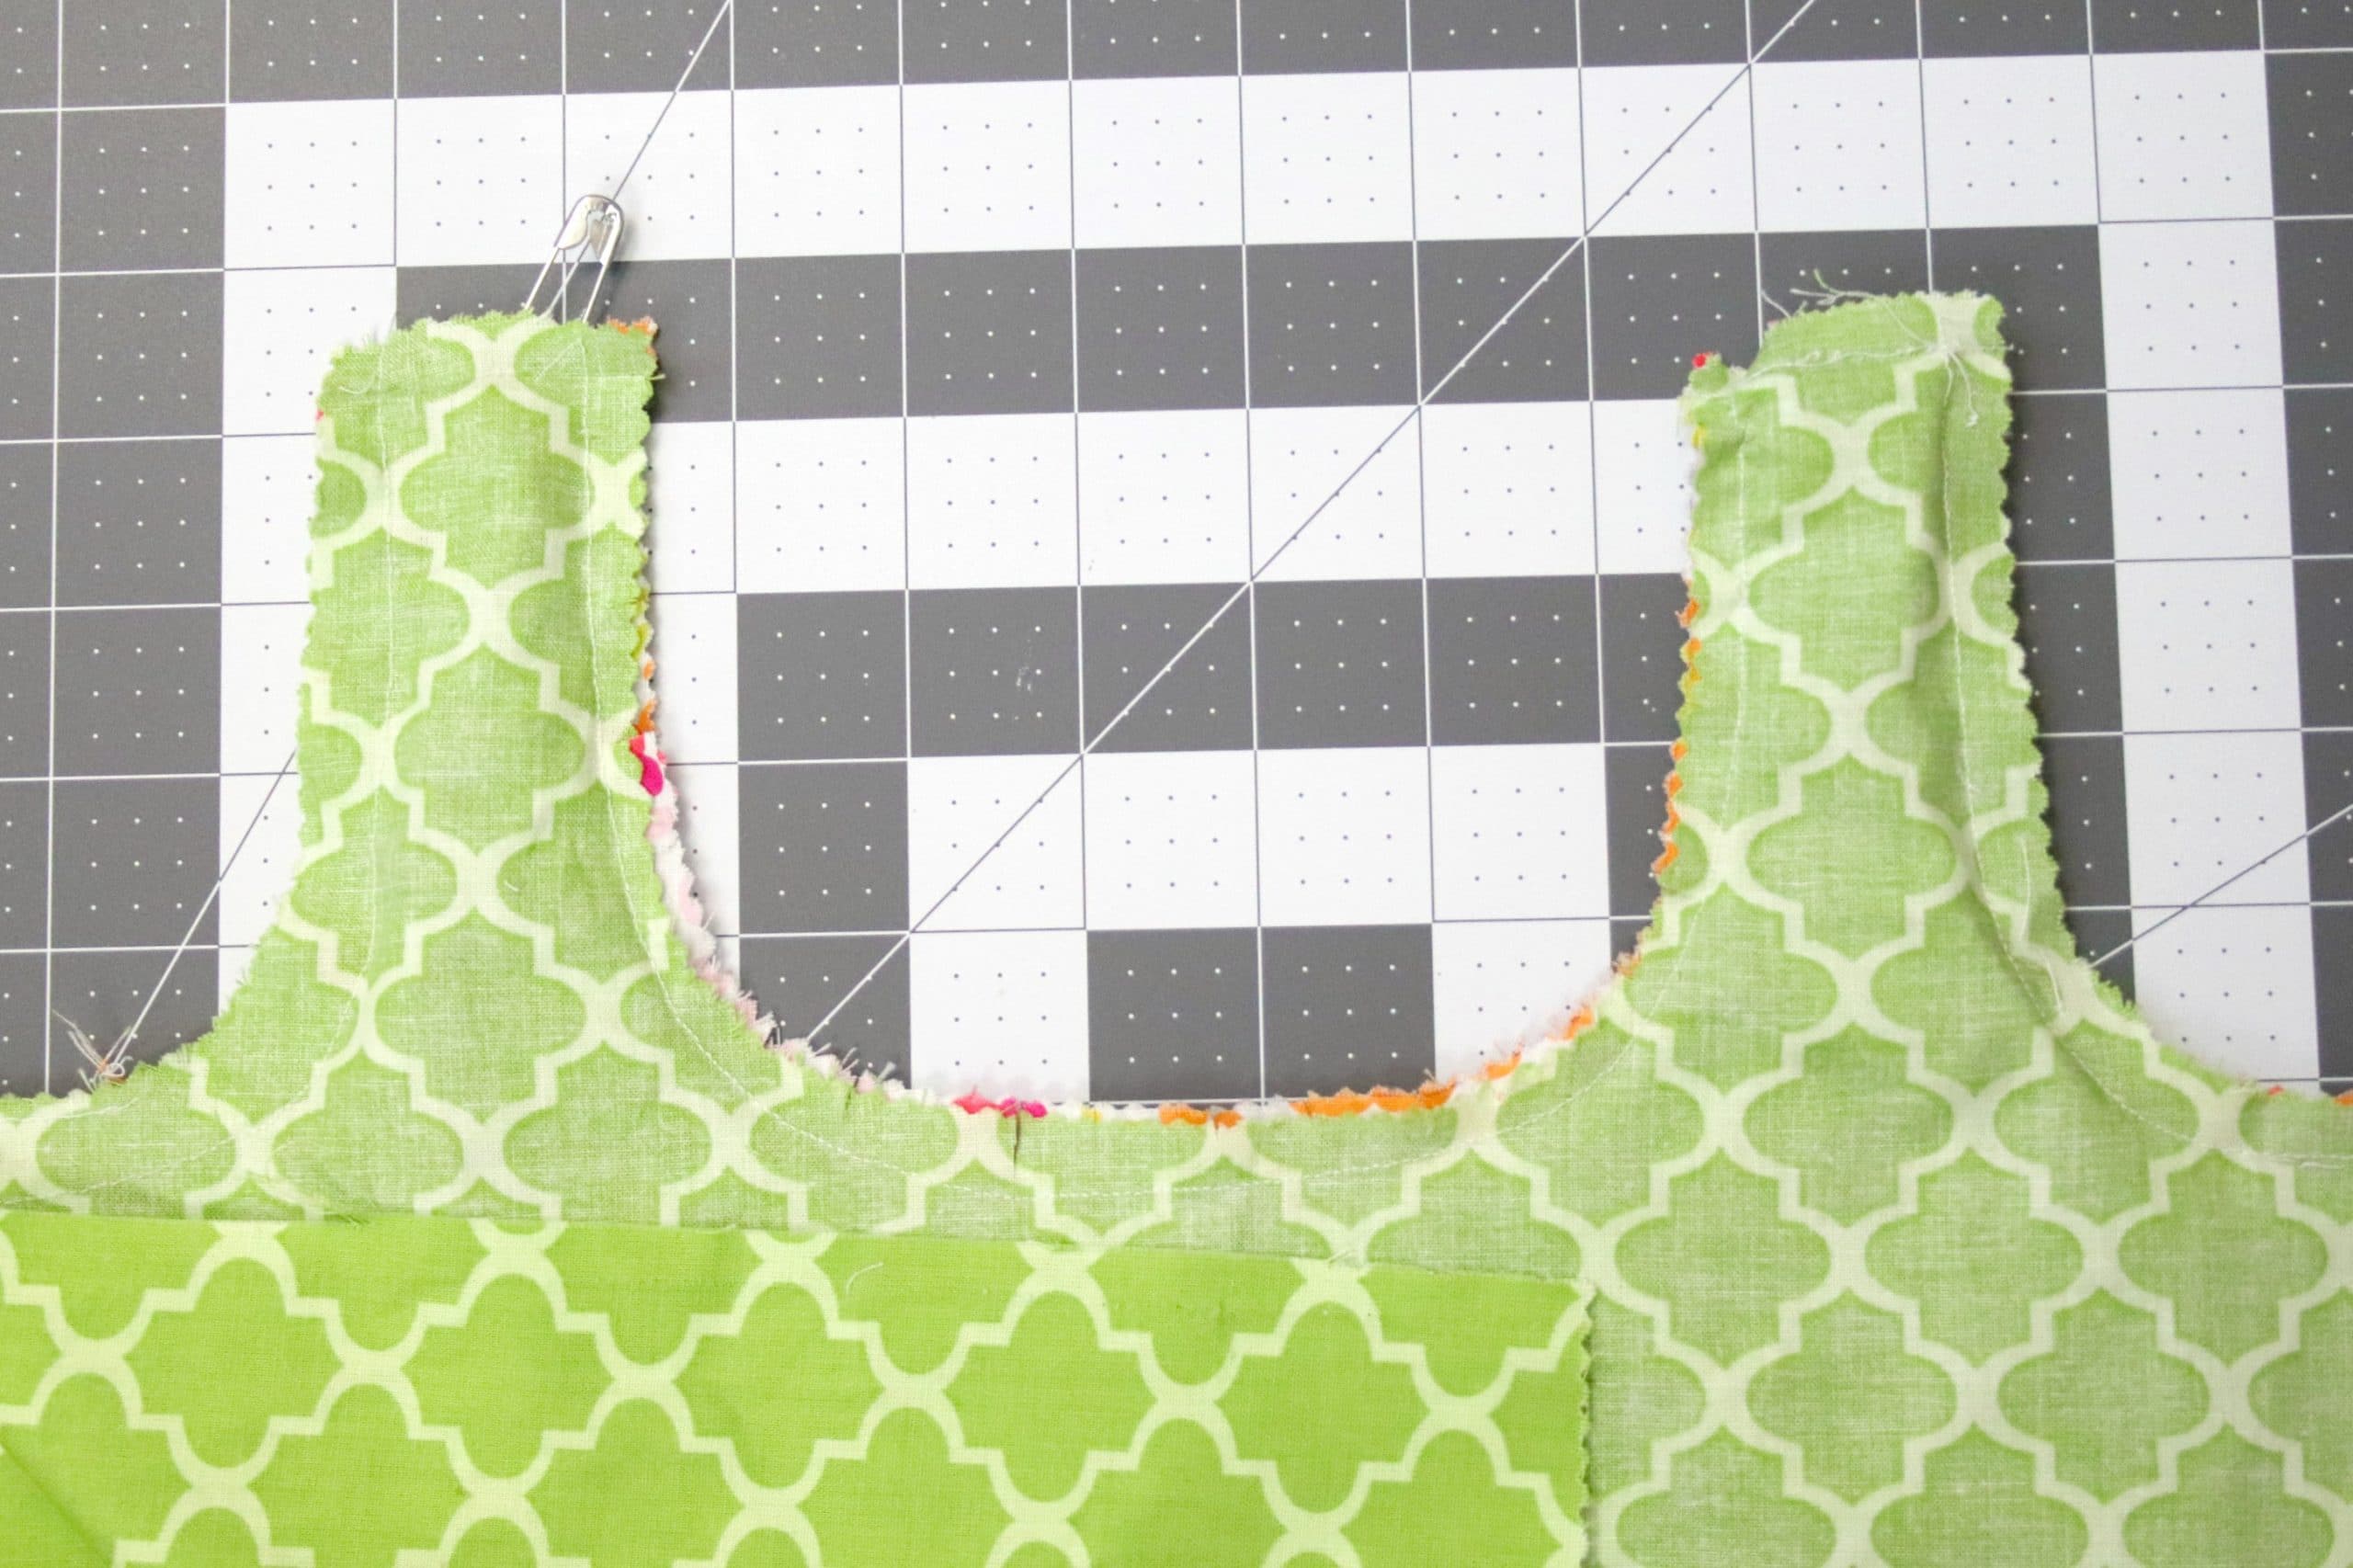
Once the handles are securely sewn together, turn piece 2 right-side-out. Fold the pieces at the top and press. This will leave the handles looking much more “finished” (see photo below). Then sew along the sides and the bottom, leaving the corners open.
Next, you’ll work on closing up the corners. To do this, turn the bag on its side and pinch opening of the corner (as shown in the below photo.)
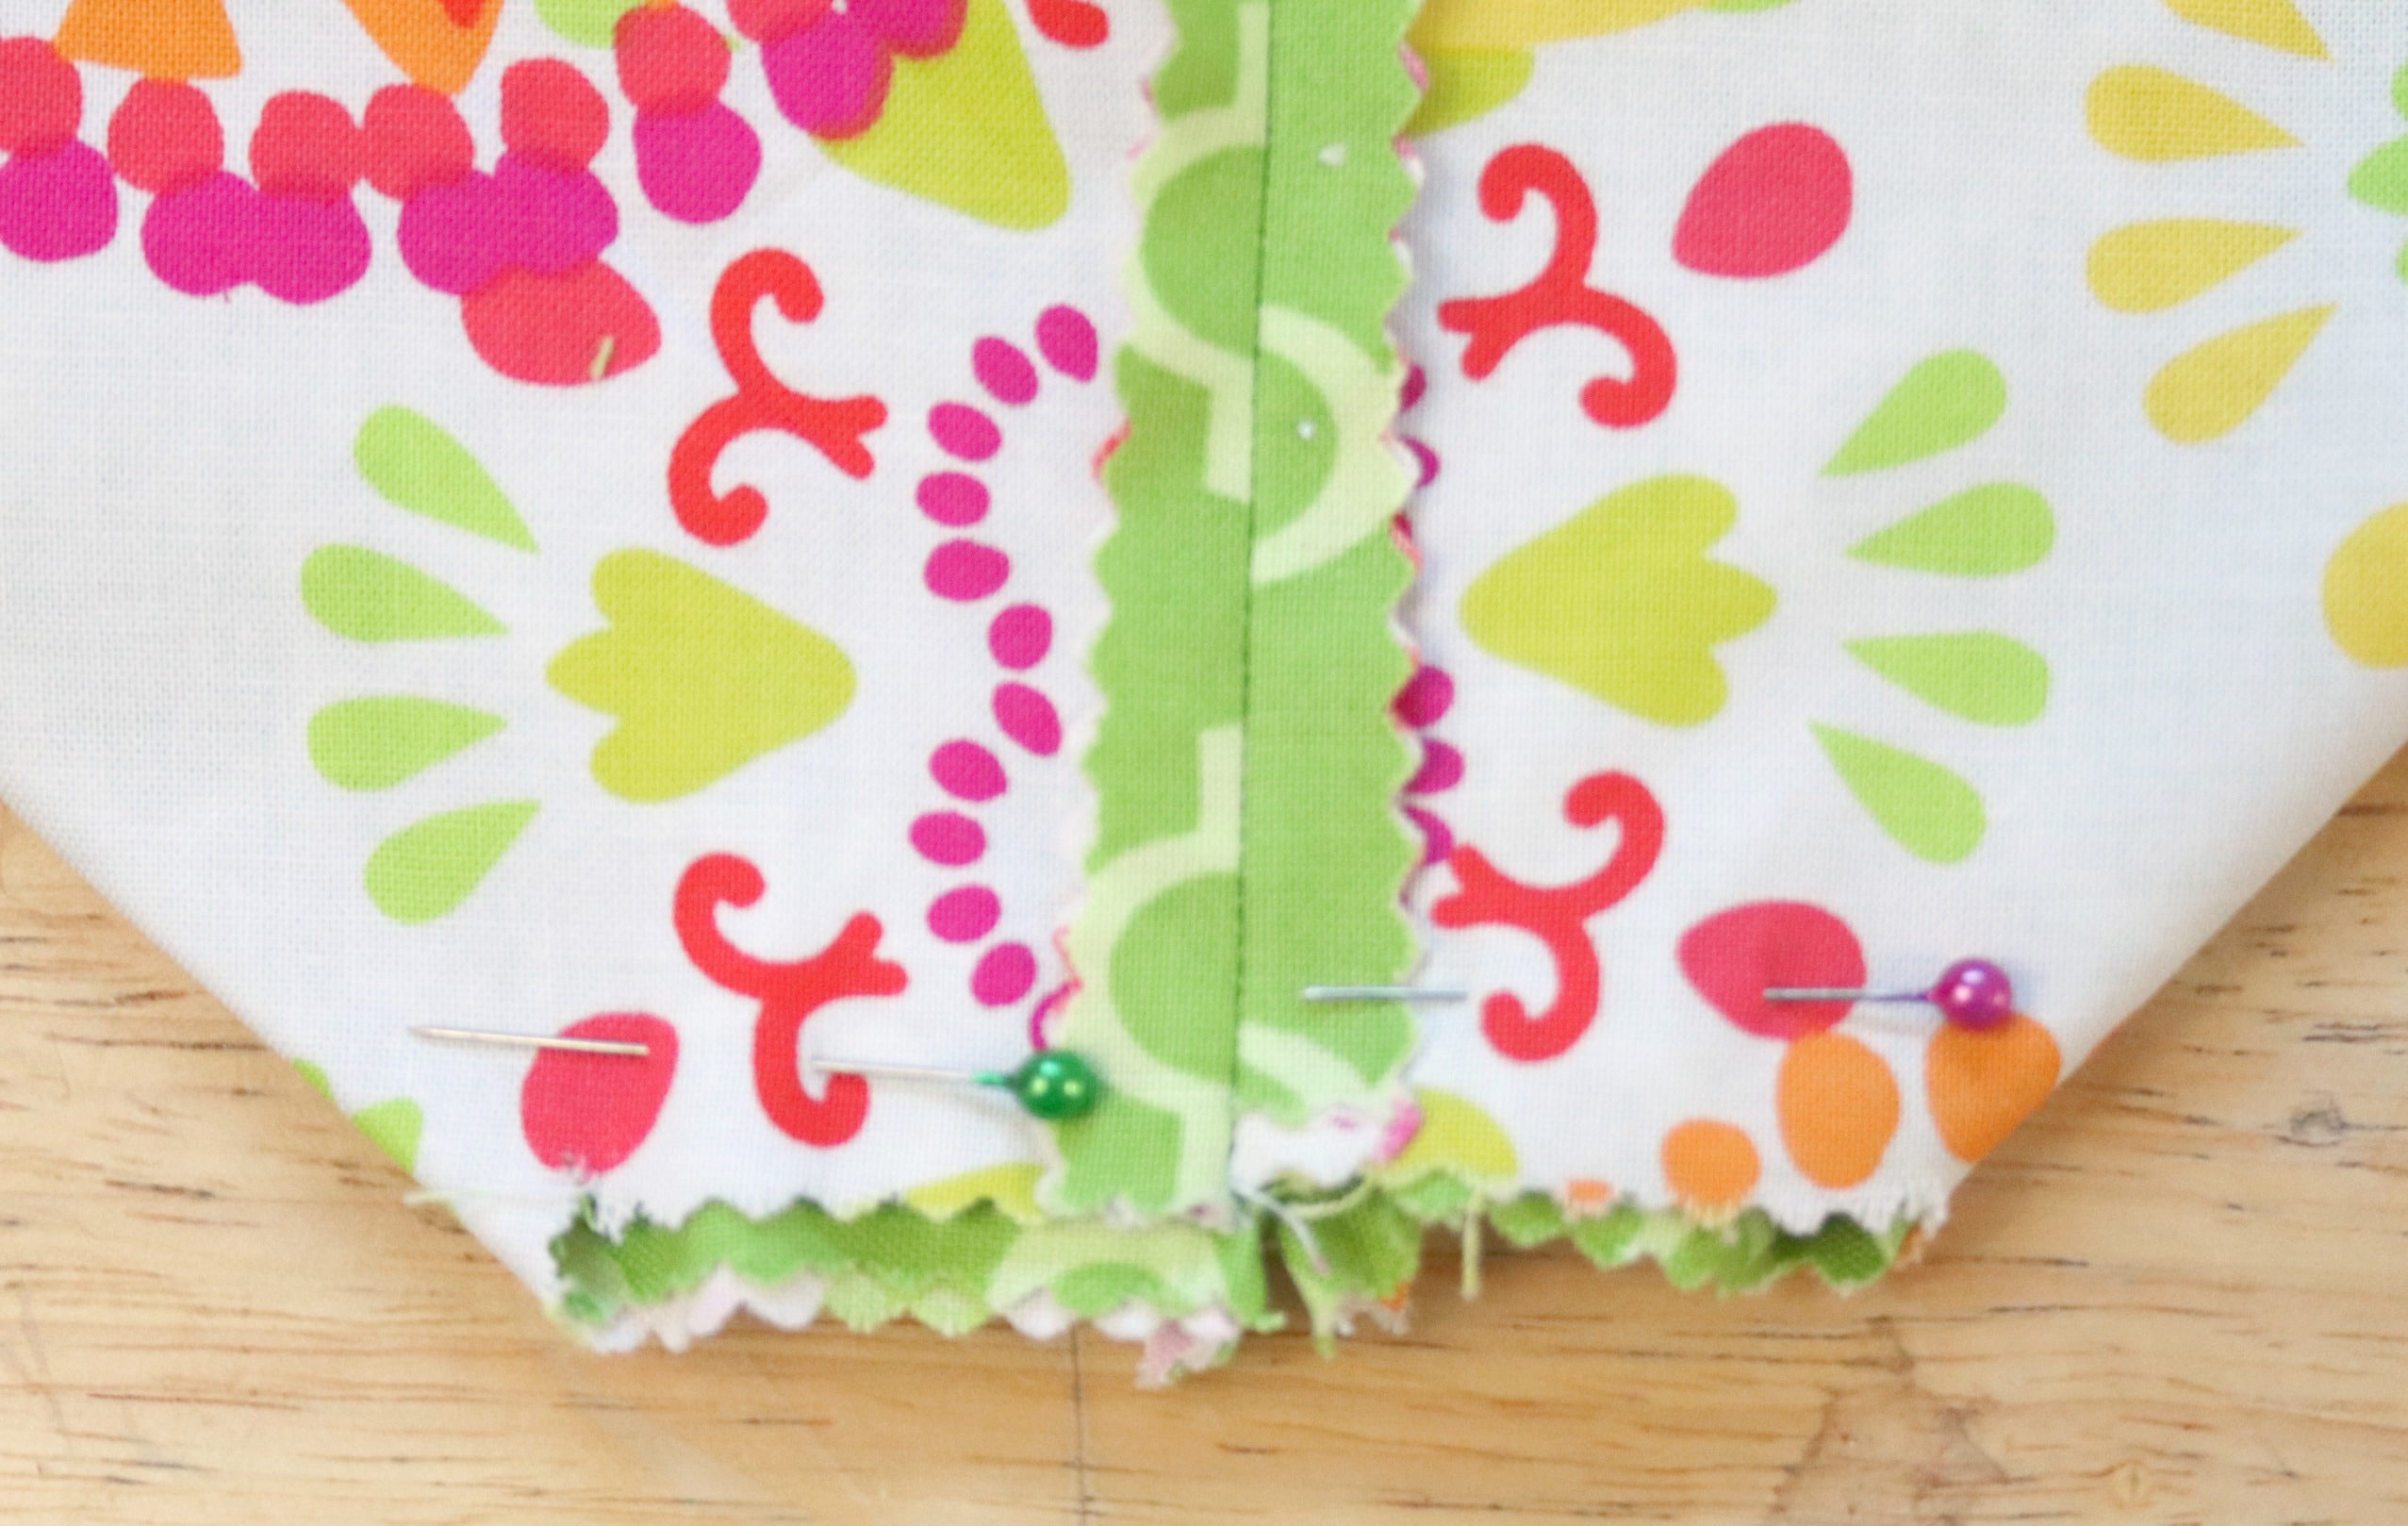
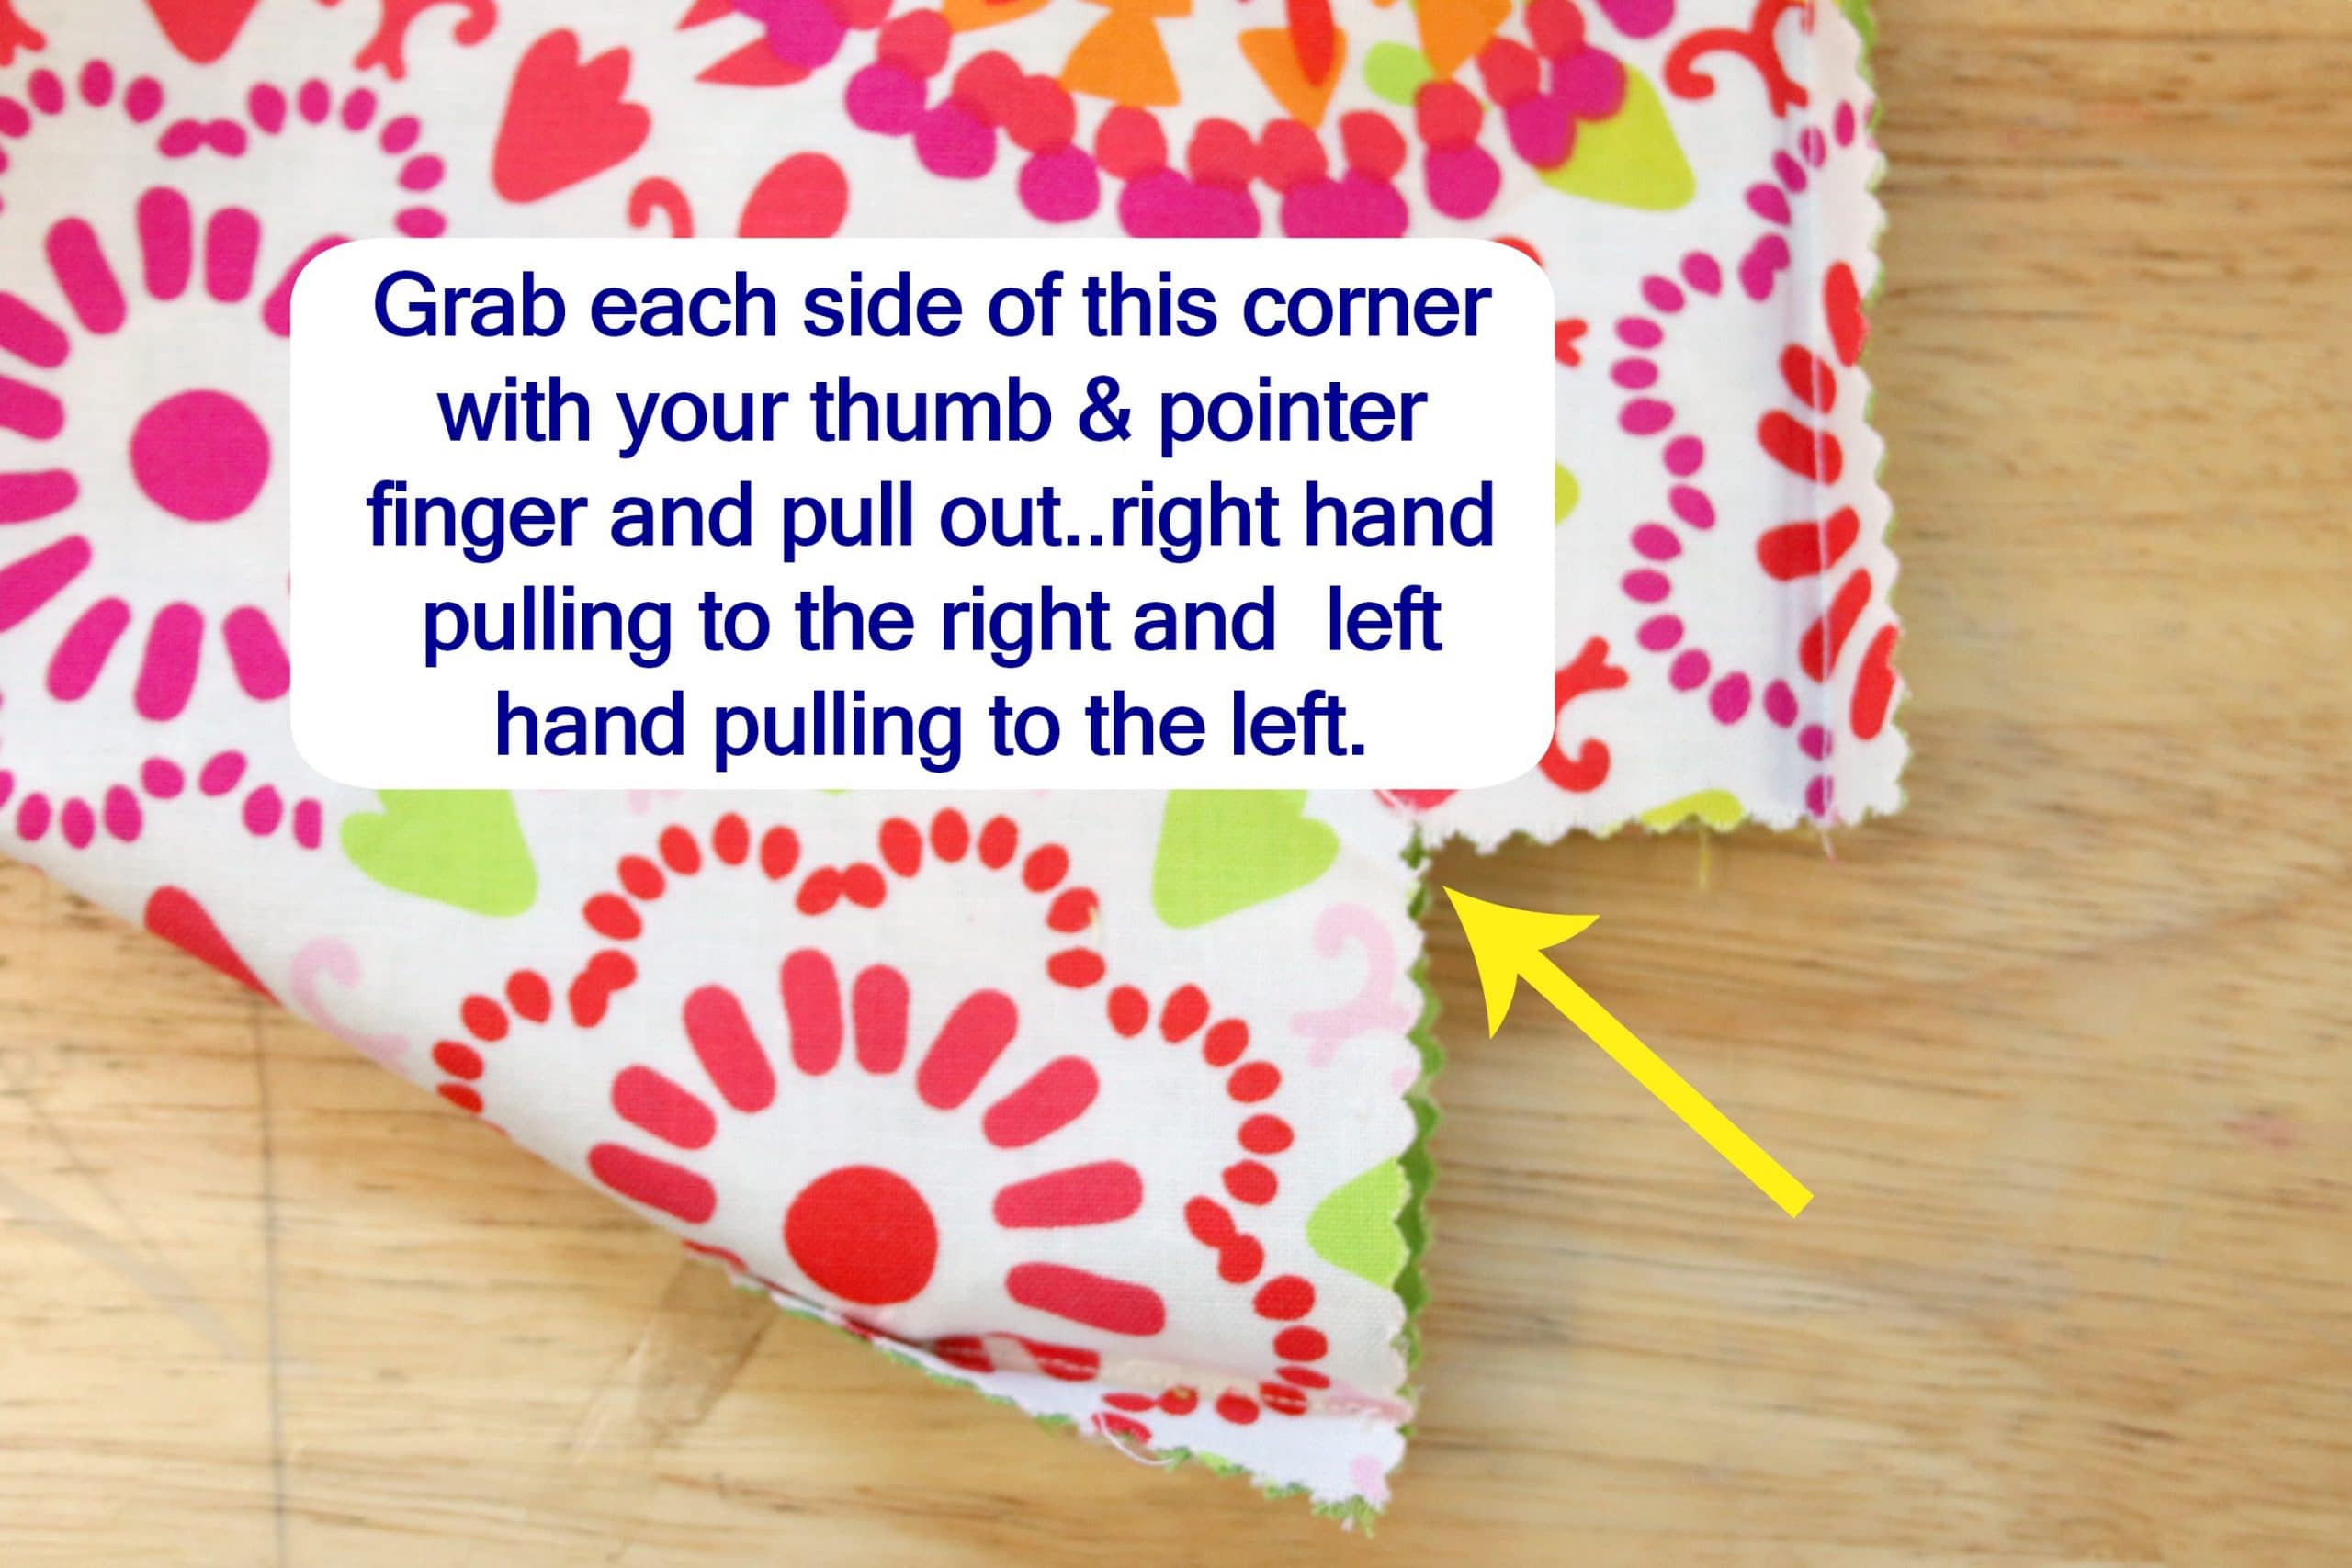 Use your fingers to close the opening by lining up the seams and pressing them together.
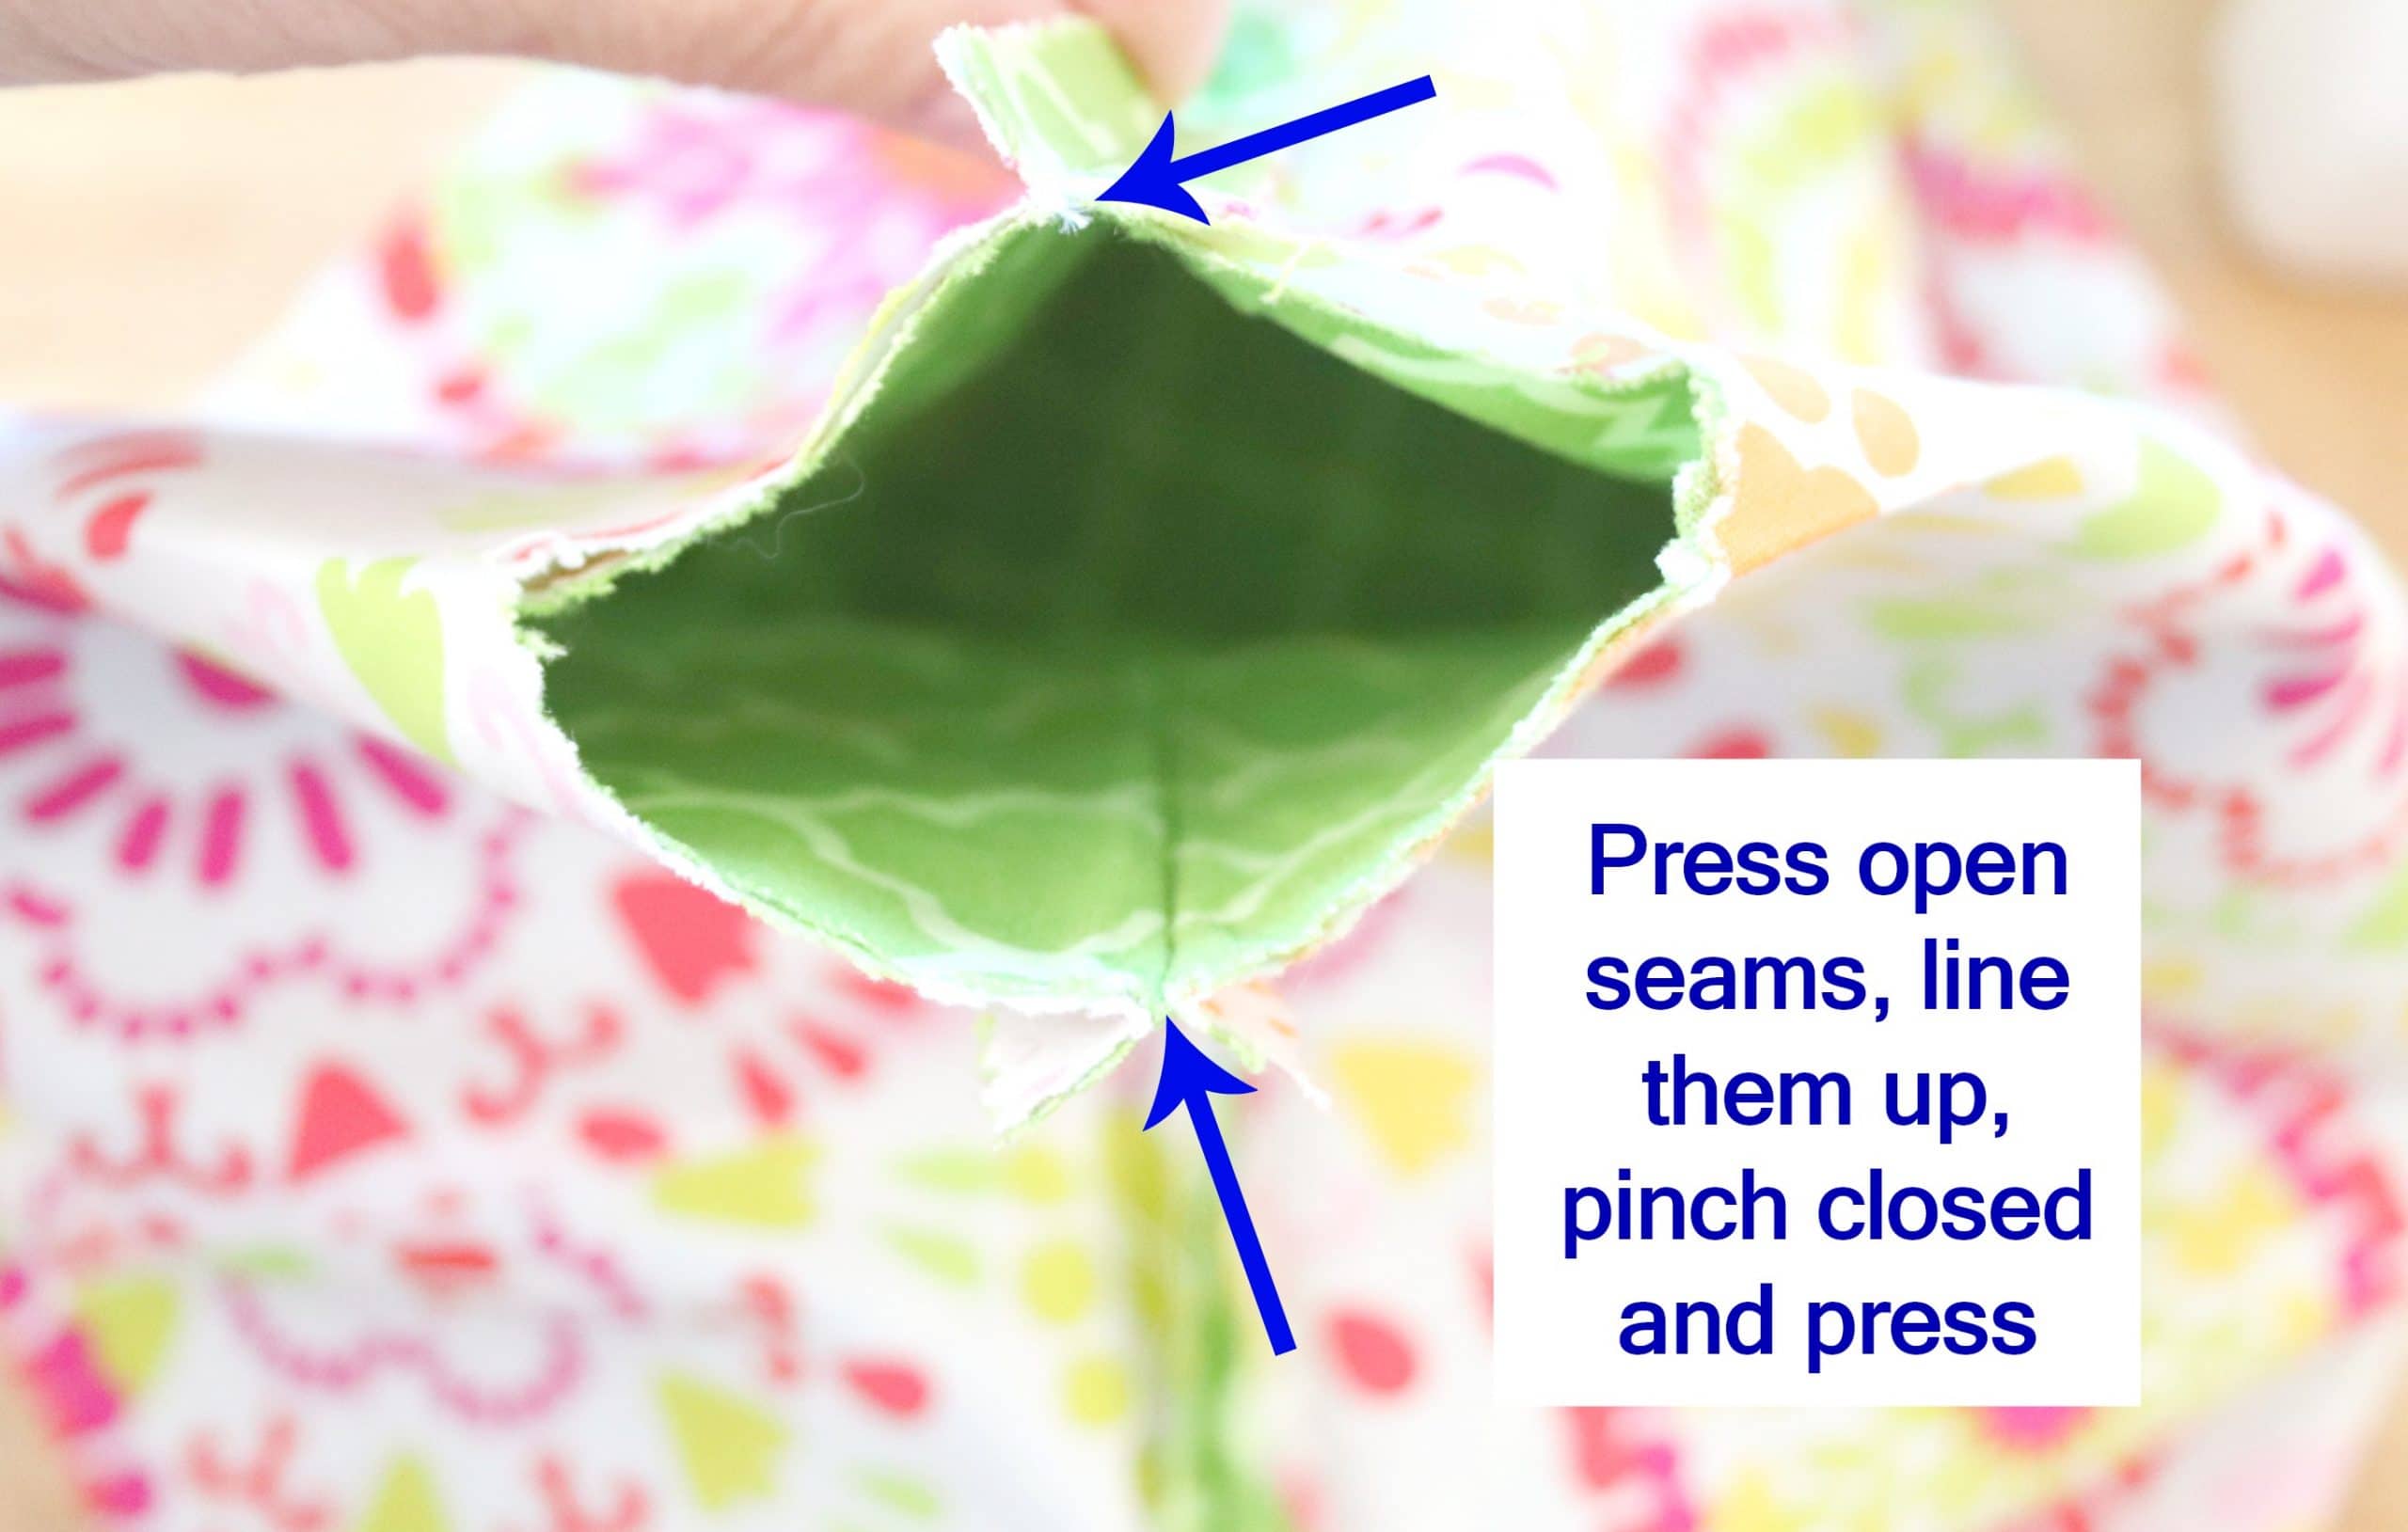
Once you have the seams lined up and pressed together, you can pin the opening and sew it closed. Especially if you are using a sewing machine, you may want to over the stitching a few times to reinforce it.
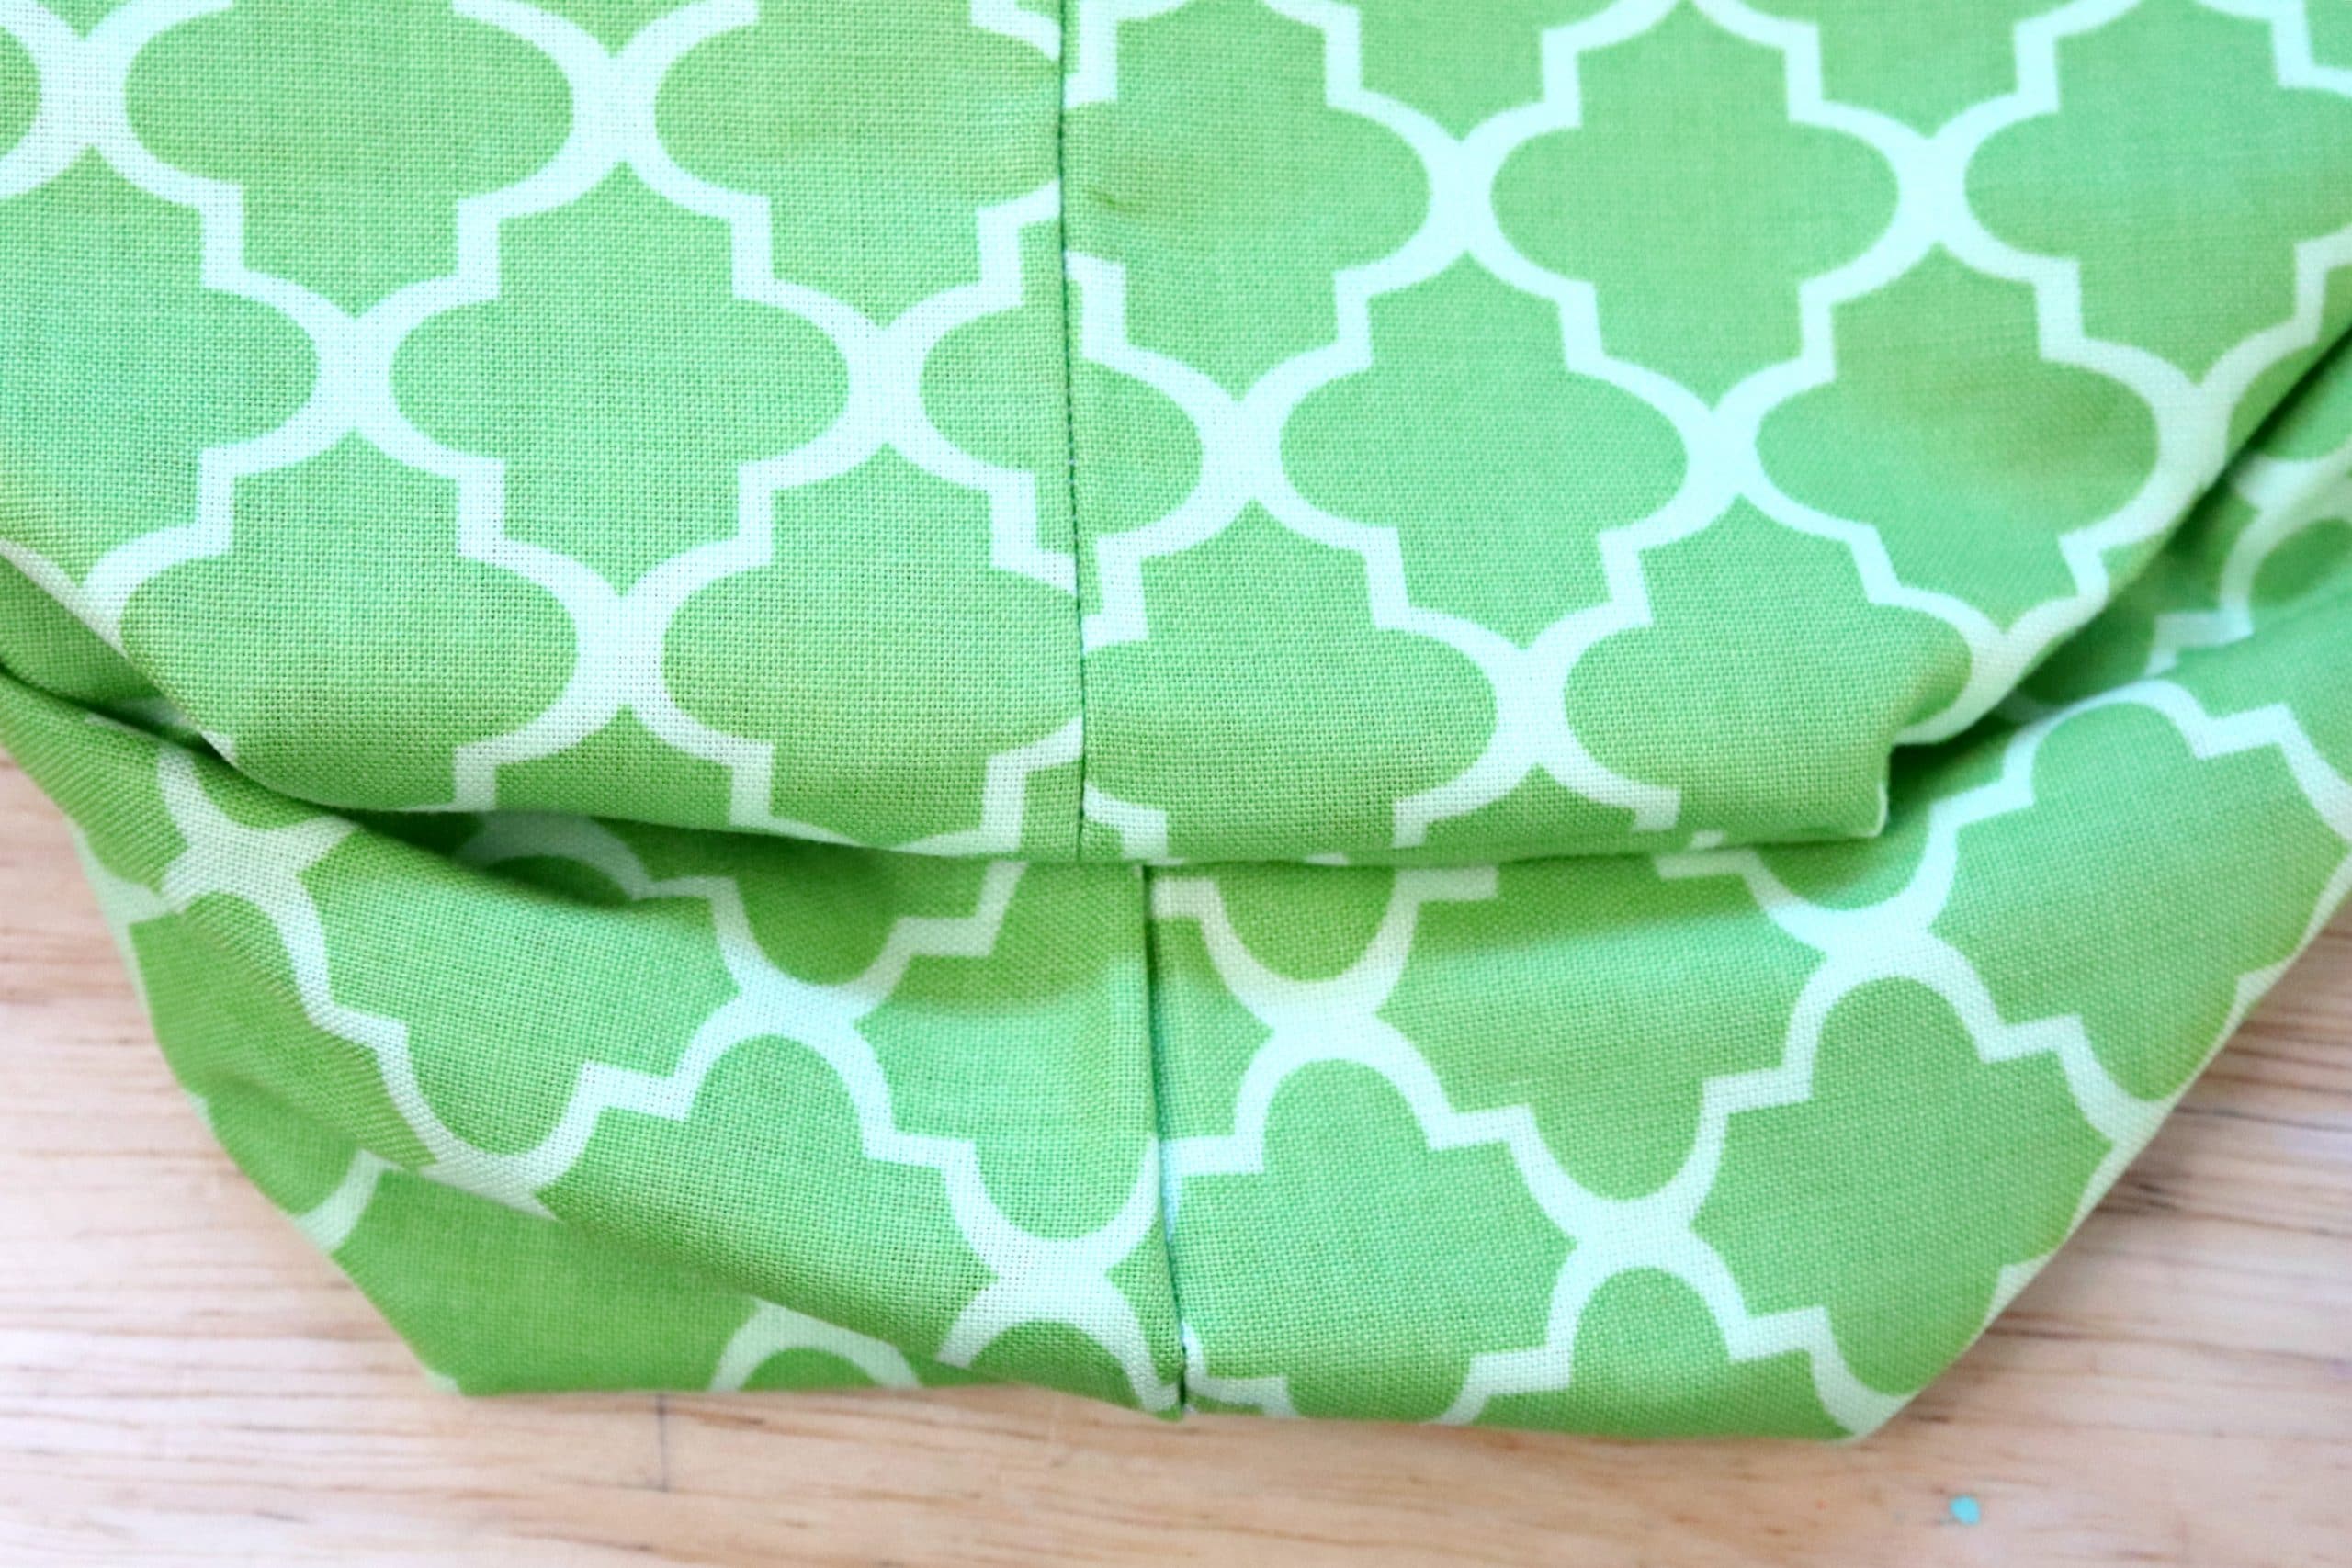
Your bag is already going to be somewhat reversible because of the two different patterns you’ve chosen. However, if you want it to look polished on both sides, you can trim the seams very short (1/8″) or you can serge the edges if you have the proper machine to do so.
 Lastly, turn your bag right side out (so that the primary fabric/the side without any seams is showing). I used the blunt end of a pen to push the corners out.
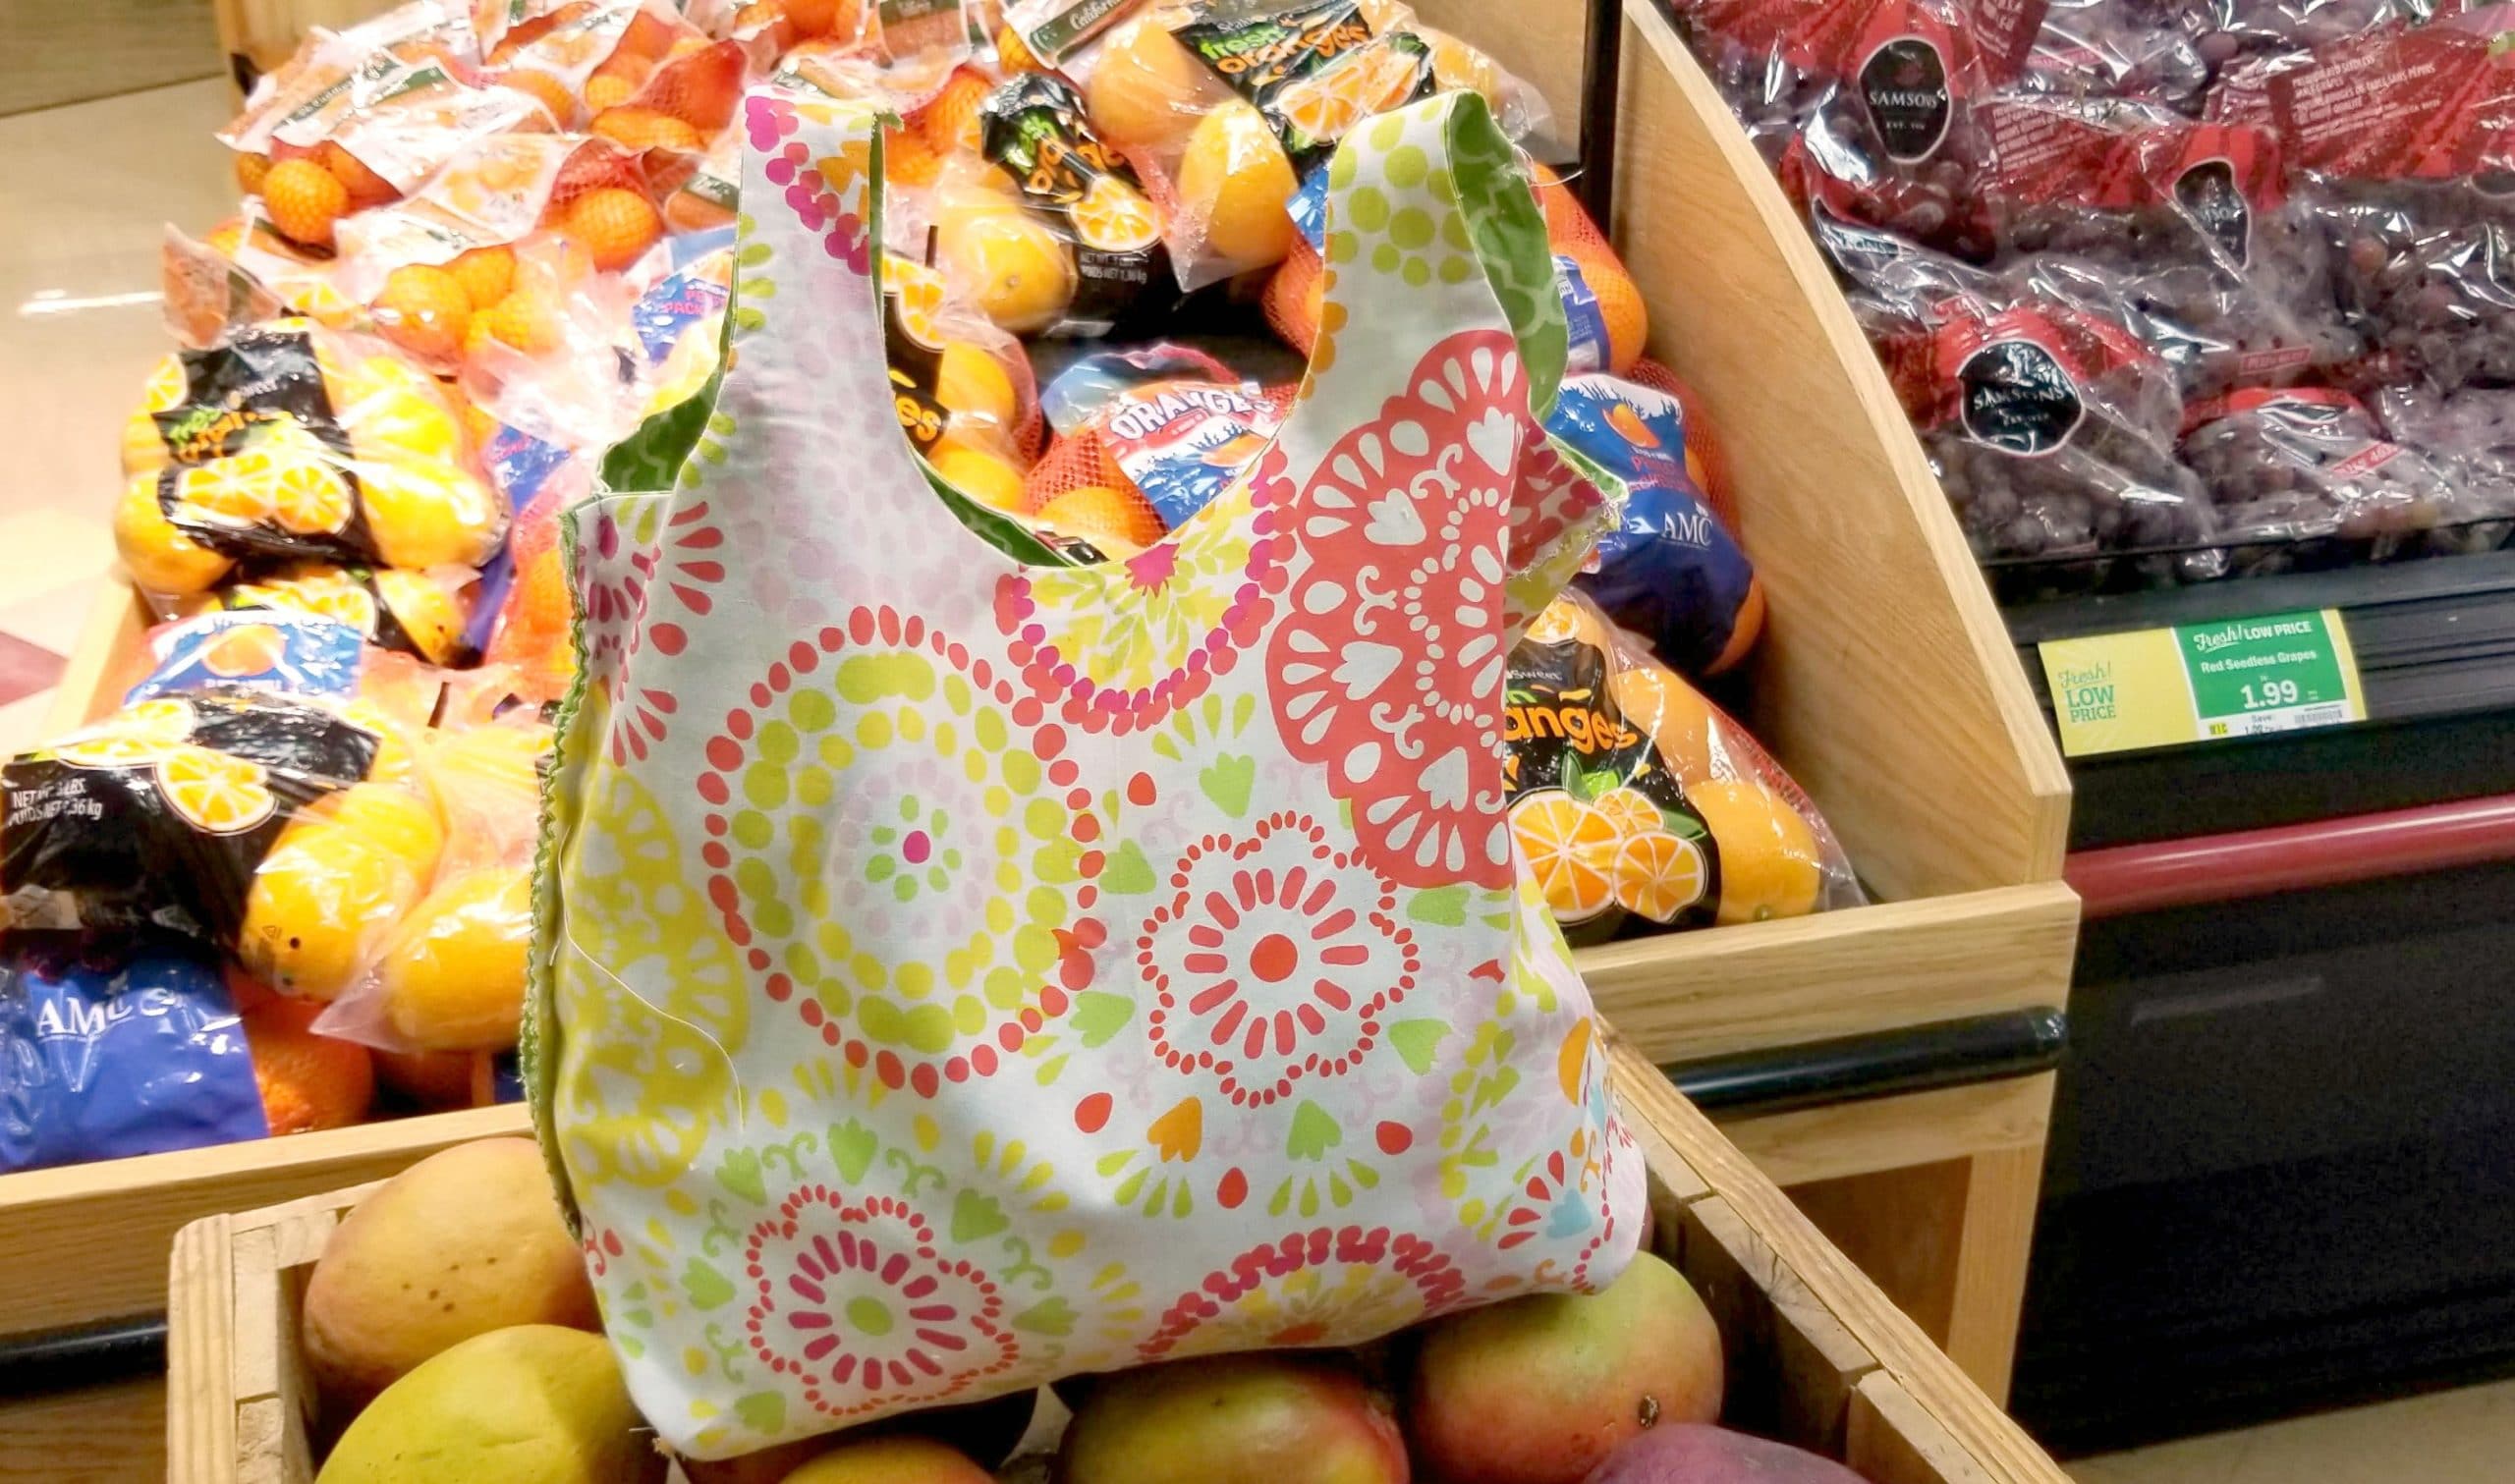
Once that is done, your reversible bag is complete! Your final product should be pretty sturdy, so you and/or the recipients of this cool, reversible cloth bag can use it to tote groceries, library or school books, art supplies (or whatever you can think of!) We hope you enjoy making this DIY. If you post pictures on social media, please tag us (@onlypassionatecuriosity). We’d love to see how your final products turned out!
Grab the Template for your DIY Reversible Tote Bag, Here!
Looking for other DIY gift ideas? You might like the crafts below!
All of the following DIY tutorials are great to do with kids and would make good holiday gifts!

Basic DIY Essential Oil Lip Balm
This simple recipe makes a refreshing, all natural lip balm that anyone would like!
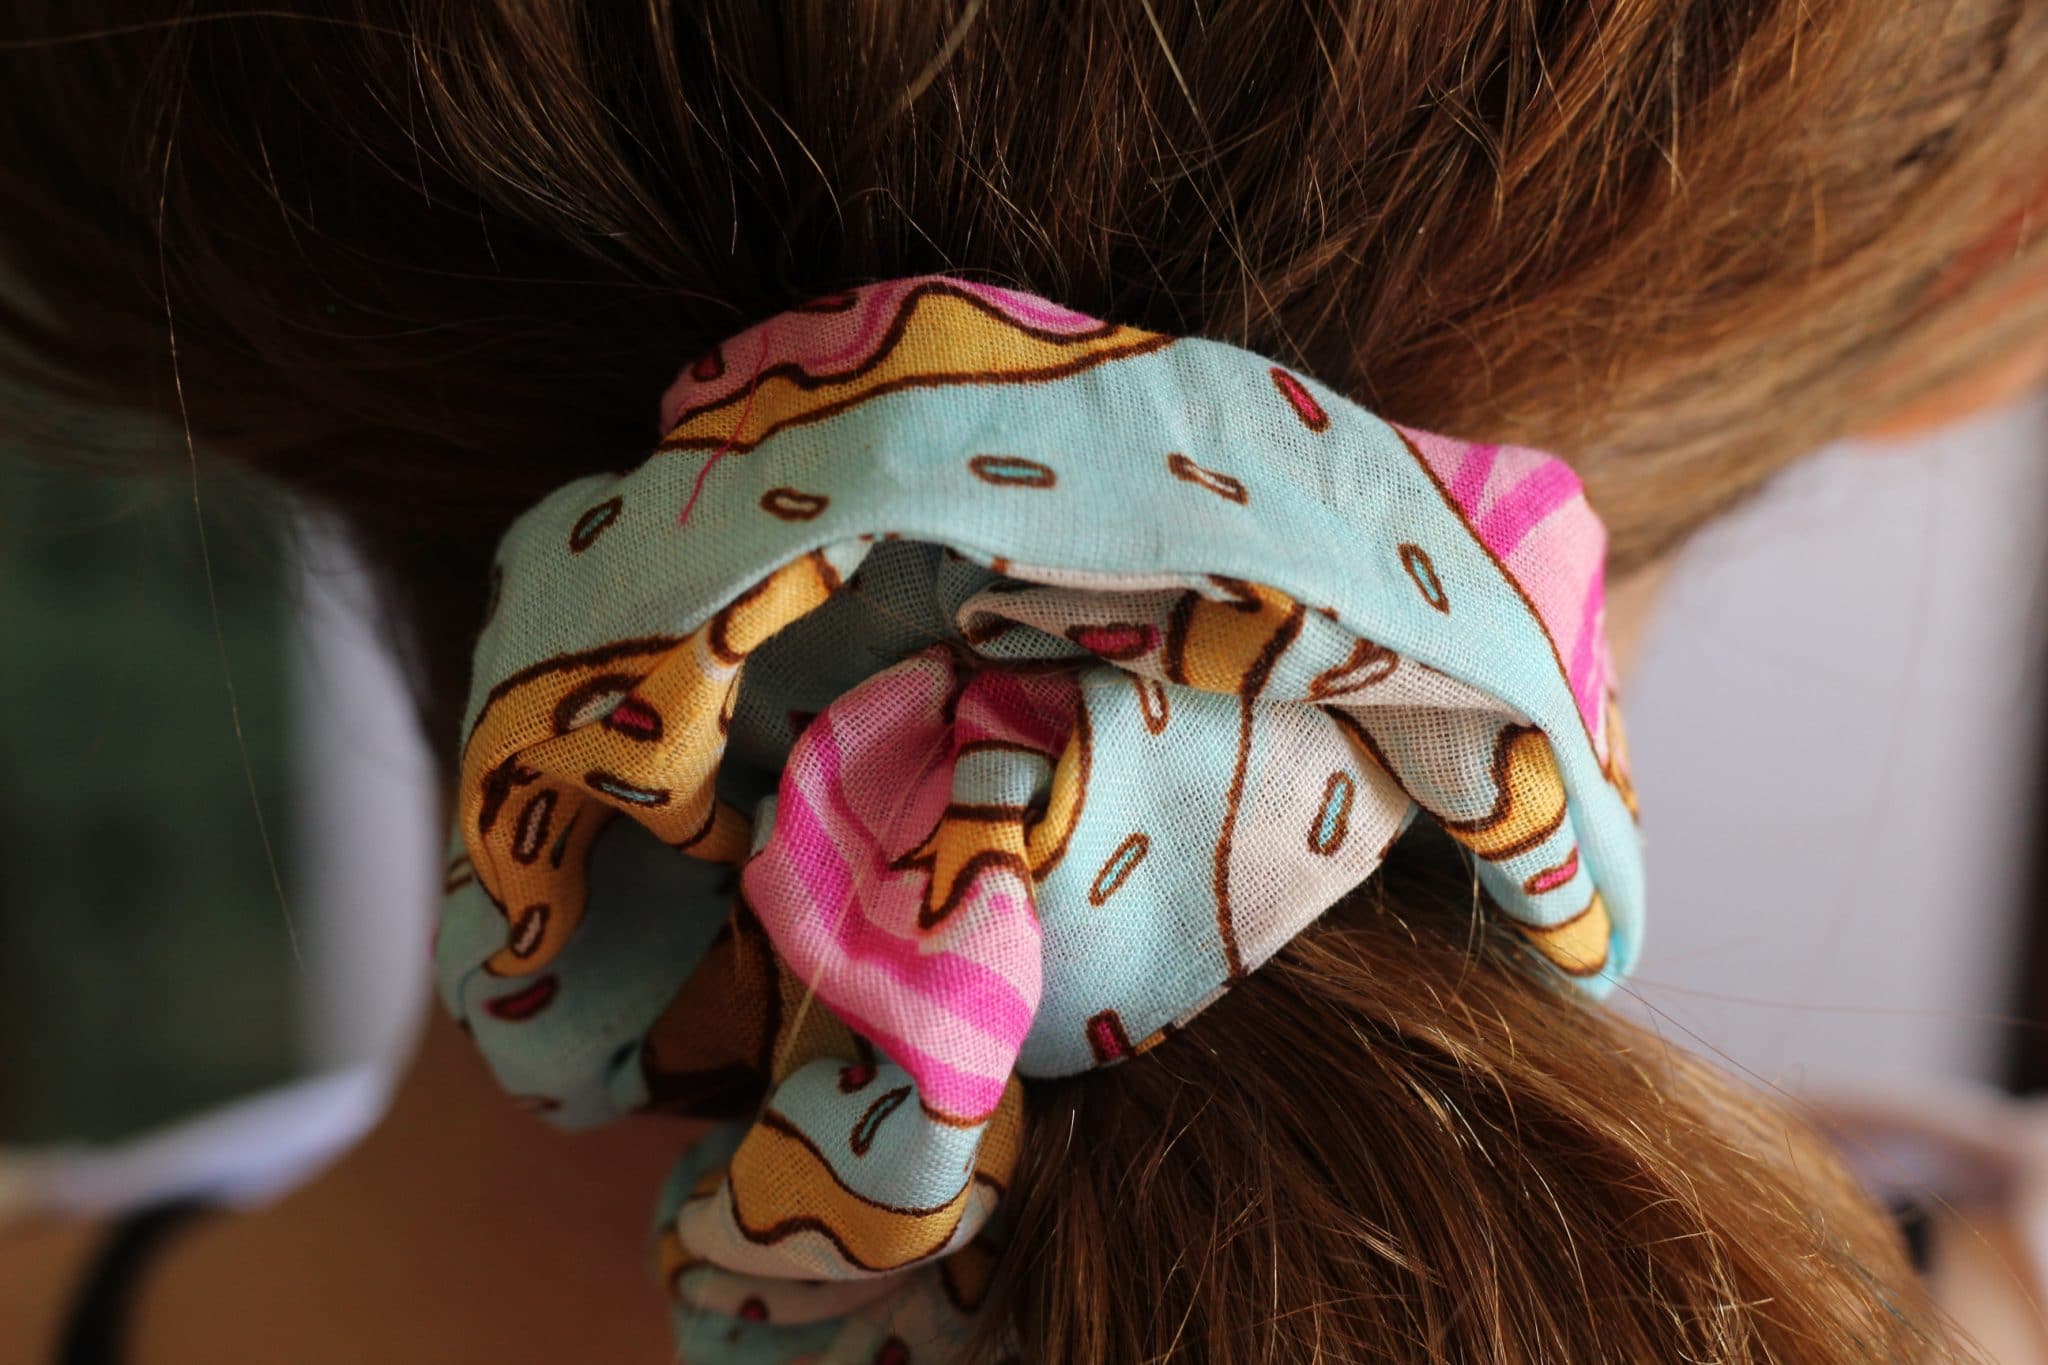
DIY Girl Gift Handmade Scrunchie
If you or your child has caught the sewing bug, this is a fun (and really easy) sewing project for creating DIY scrunchies!
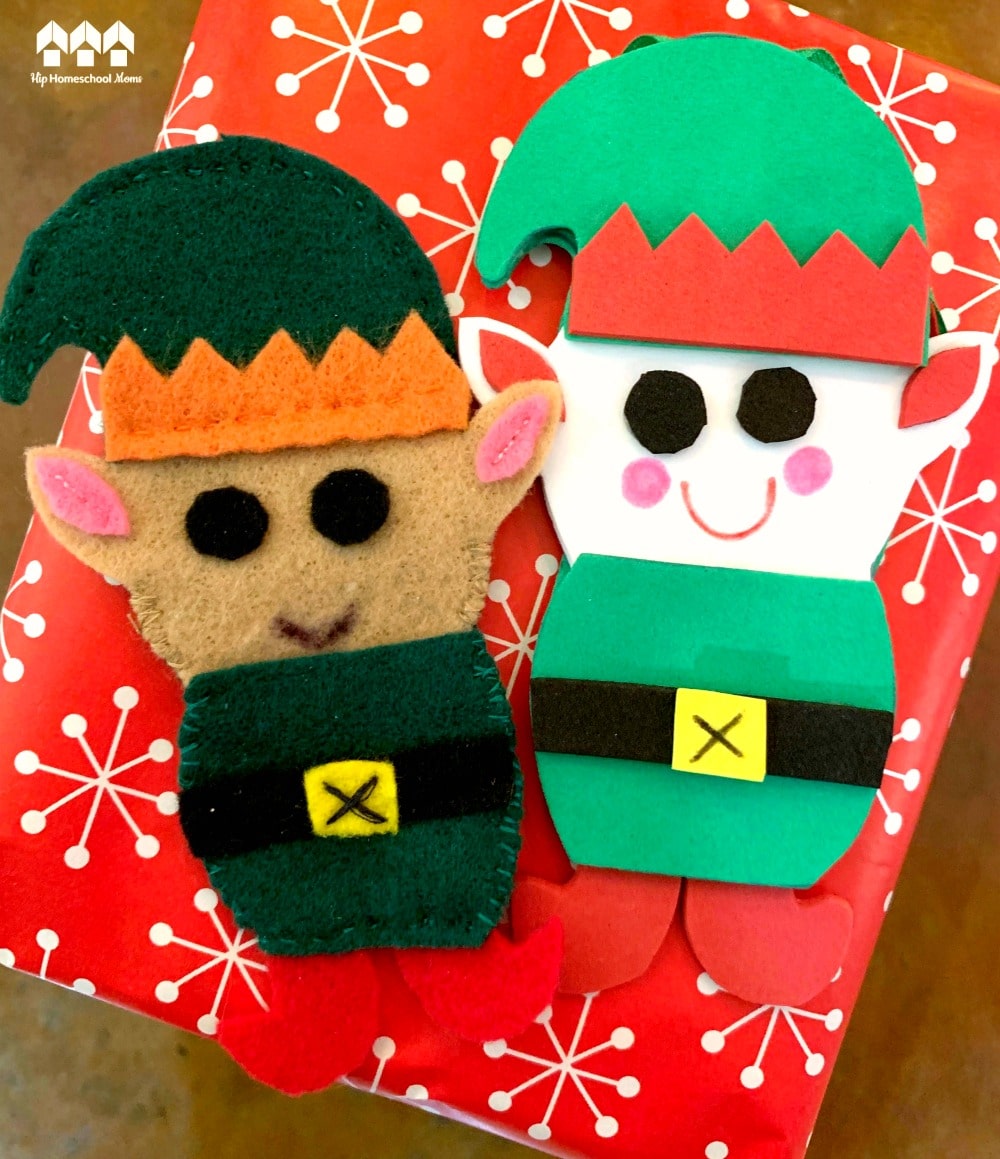
Cute Felt Elf Ornament
How adorable is this felt ornament? It’s easy, too! This would be a great first sewing project for younger kids, and it would be an awesome DIY for this time of year so that you can use it in your holiday decorations!