Adorable Bunnies Toilet Paper Tube Craft
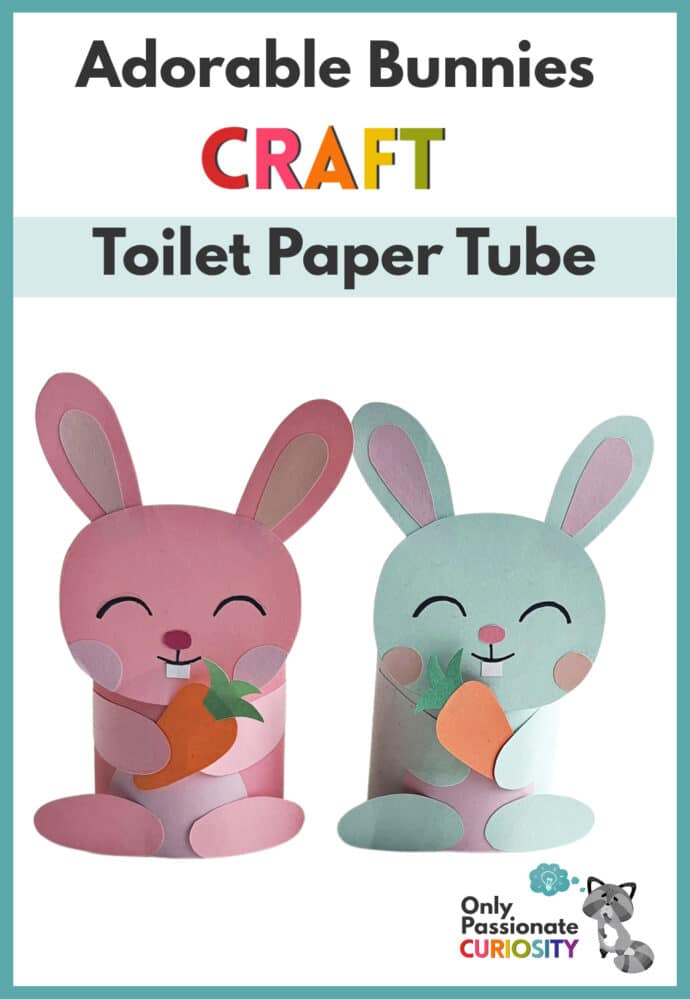
If you’re getting ready for Easter, want to celebrate spring, are studying animals (specifically rabbits/bunnies), or just want to have some fun doing a little crafting, try making our adorable bunnies toilet paper tube craft! This would make a cute decoration for Easter, for an Easter basket, to make and share with grandparents, or to display in your own home, too.
If you’re making this craft with little ones who can’t yet trace patterns or use scissors well, you may want to download the template and cut out the shapes ahead of time. If your kiddos are old enough, though, they’ll enjoy doing those steps themselves.
Don’t worry if the results aren’t perfect! When my children were little, I always loved seeing their arts & crafts results however they turned out! Perfection was not necessary. In fact, I would much rather see projects made by kids than the ones mostly made by adults “helping” the kids.
Before I share the tutorial with you, I’m going to share some ways you can get creative with this adorable bunnies toilet paper tube craft! There are lots of ways to add an educational element to this activity (if you want to do that). Or you just enjoy spending some crafting time with your kids. It’s up to you!
10 Creative (and Educational) Ways to Use Your Adorable Bunnies Toilet Paper Tube Craft
- Experiment with color. Let your children choose what color paper to use for this craft! Let them experiment with different colors or combinations of colors. You could even use this as a way of talking about contrasting or complementary colors if you like. This article, Easy Art Class–The Color Wheel, will help guide your discussion if you’re not sure where to start. (Use the code HHMFREE to get the Color Harmonies Workbook for free. You’ll see it mentioned in the article.)
- Change the templates. Make the ears longer or shorter. Make different arms or legs for your bunnies. Add a cotton tail.
- Make clothing for your bunnies! What would they wear for cold weather? How about hot weather? What if they’re outside on a rainy day? Will they need little umbrellas or rain boots? Or maybe your bunnies need glasses
- Write stories with your bunnies as characters. If your children are too young to write for themselves, have them narrate their stories for you to write down. If they’re older, let them write their own stories. For even more fun, have them illustrate their stories and share them with friends or relatives.
- Make videos. After their stories are written, record your children reading their stories aloud. Share the videos with distant friends or relatives as spring or Easter greetings.
- Write poems! This can be really fun and can help encourage your children to enjoy poetry. Write an acrostic, a haiku, a limerick, or whatever kind of poem you want to try. My sister and I have an ongoing challenge. Now and then, one of us writes a haiku and sends it to the other. The other has to answer with a haiku. The rule is that it must be a conversation. (We each have to stick to the topic being discussed.) The first one to make a mistake with the number of syllables in the haiku loses the contest. It’s silly but lots of fun!
- Practice your photography skills. Allow your children to use your phone or a camera to make photos of the bunnies. Does lighting matter? How does the background affect the photos? Do the pictures look nicer if they’re taken outside or inside?
- Make homes for your bunnies. Go outside and build a little house for your bunnies. Use bricks, sticks, leaves, or whatever else you can find. Let the bunnies “try out” their homes and make more photos!
- Be TV or newspaper reporters. One child can speak for the bunnies and one can be the reporter. Have the reporter interview the bunnies about their lives, where they live, what they eat, how they live, etc. A bonus is that this may require some research about rabbits, so you’re adding some research and science studies too!
- Have the bunnies interview a person. After the reporter interviews the bunnies, change roles! Have the child who’s playing the role of the bunnies interview another child (or you). Answer the same kinds of questions the bunnies answered. How/where do people live? What do they eat? What do they do for fun, work, or school? You may even want to make videos of the interviews to enjoy watching together or to share with others.
How to Make Your Toilet Paper Tube Bunnies
Supplies:
First, gather your supplies. (Check out the list below this picture.)
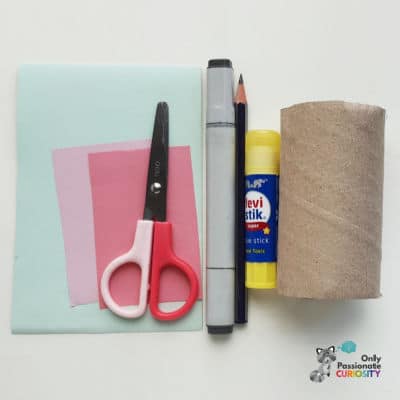
- colored craft papers
- empty toilet paper tube rolls (one per bunny)
- Sharpie marker(s)
- craft glue
- pencil
- scissors
Instructions:
Now you’ll want to read through the instructions and then download the template for the cutouts. (You’ll find the link for the template beneath this list of instructions.
Once you’ve downloaded the template, choose the colors you want to use to make your bunnies. These instructions are for making bunnies as pictured, but you can change the colors however you like!
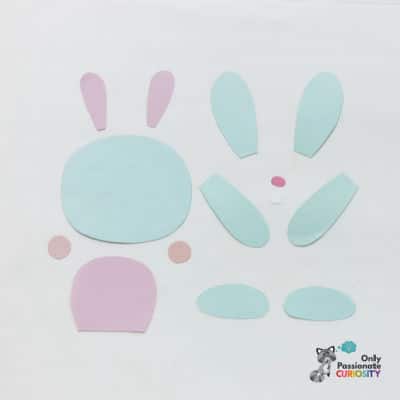
Trace the head, outer ears, legs, and upper legs on whichever craft paper you selected.
Trace the blush (cheeks), nose, belly, and inner ear patterns on pink craft paper.
Trace the teeth pattern (the small square) on white craft paper.
Carefully cut out all of your pattern pieces.
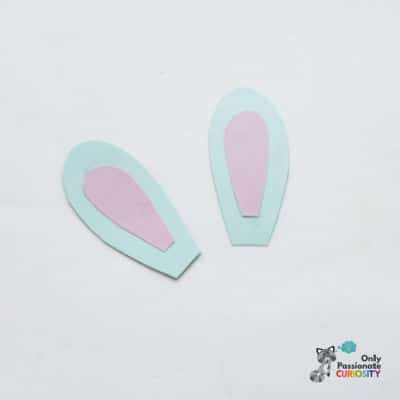
Glue the inner ear cutouts in the middle of the outer ear cutouts.
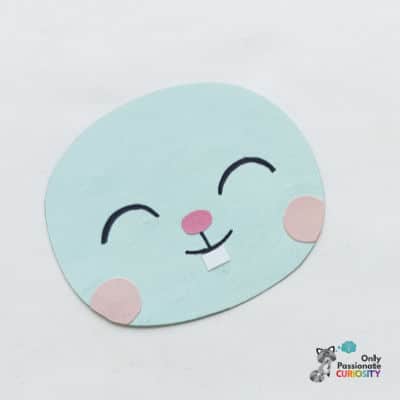
Attach the nose cutout somewhere in the center of the head.
Use a Sharpie to draw the mouth below the nose.
Attach the teeth cutout along the bottom of the mouth.
Attach the blush cutouts on each cheek. (Cut off the extra–outside of the head–if necessary.)
Draw the bunny’s eyes.
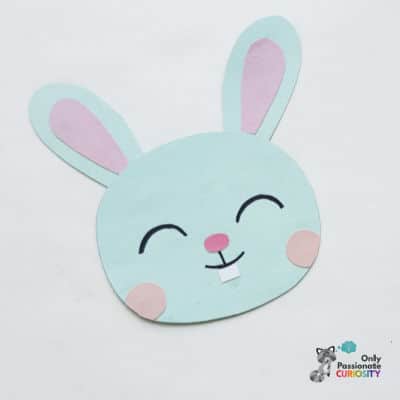
Attach the ears on the top of the head.
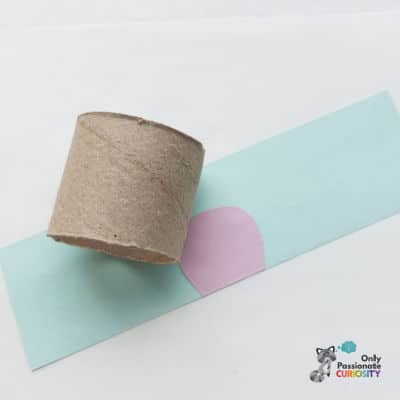
Cut one toilet paper tube in half. Cut a strip of craft paper to cover it.
Attach the belly cutout in the middle of the strip of paper.
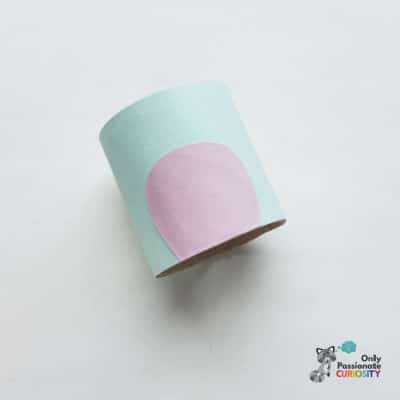
Cover the half of the toilet paper tube with the strip of paper by placing glue on the ends and wrapping the paper around the roll.
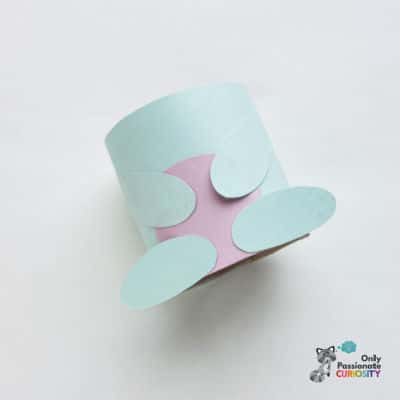
Add the leg cutouts (upper and lower legs) to the body.
NOTE: When attaching the upper legs, be sure to keep the “fronts” of the legs free of glue so they’ll have a 3D-effect (won’t stick flat to the body). Similarly, when attaching the lower legs, be sure to keep the “backs” of the legs free of glue. This also allows you to insert papercraft items (like clothing or accessories) to the finished bunny if you wish.
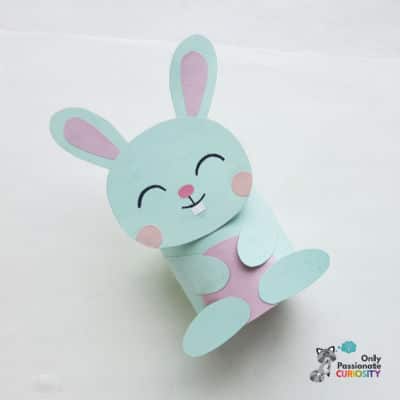
To complete the craft, attach the head to the top front side of the toilet paper tube.
CLICK HERE to download templates for the craft from the Only Curiosity Store.

You May Also Like
For even more toilet paper tube crafts, use the search bar to type in toilet paper tube. When you do that, you’ll also find toilet paper craft tutorials to make a butterfly, airplane, pumpkin box, and pirate! And we’ll continue to add more toilet paper tube crafts to this series, so come back for more fun.