TP Roll Snowflake Craft


Snowflakes are a quintessential part of the winter season, and you can make an ornate snowflake craft with an empty TP roll and a few other materials.
This craft would go well with a mini unit study on snowflakes. If you’re looking for more snowflake-related activities, crafts, and information, at the end of this post, we’ve got links to a few terrific resources.
Let’s get started with the snowflake craft!

Supplies for The Toilet Paper Roll Snowflake Craft
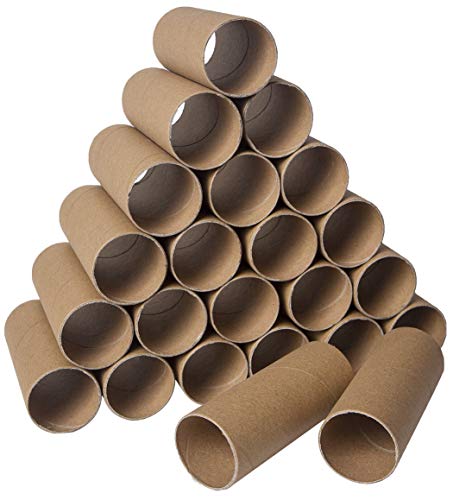
- VALUE PACK– 30 sturdy craft rolls, long lasting value bundle. THICK cardboard tubes (our tubes can withstand heavy pressure) NOT the flimsy tubes found in your toilet paper roll
- ROLLS SIZE– 1.57 x 1.57 W x 3.9 L inches, 0.04 inch thickness. Great for arts and crafts, School craft projects, Classroom craft projects, Scouts craft projects
- MANY USES– The rolls can be painted, glued, cut to create different designs. Ideal use for making DIY Crafts, Building, Constructing Projects
- CRAFT ROLL CONTENT– 30 rolls made of thick and sturdy cardboard, NOT the flimsy tubes found in your toilet paper roll. Clean smooth surface for safe handling
- 100% COMPLETE SATISFACTION– If for ANY reason you not satisfied with your purchase on our ‘’30 Pack Craft Tubes”, 100% easy hassle free return within 30 days after purchase for FULL REFUND or exchange with no questions asked!
Instructions for The Snowflake Craft
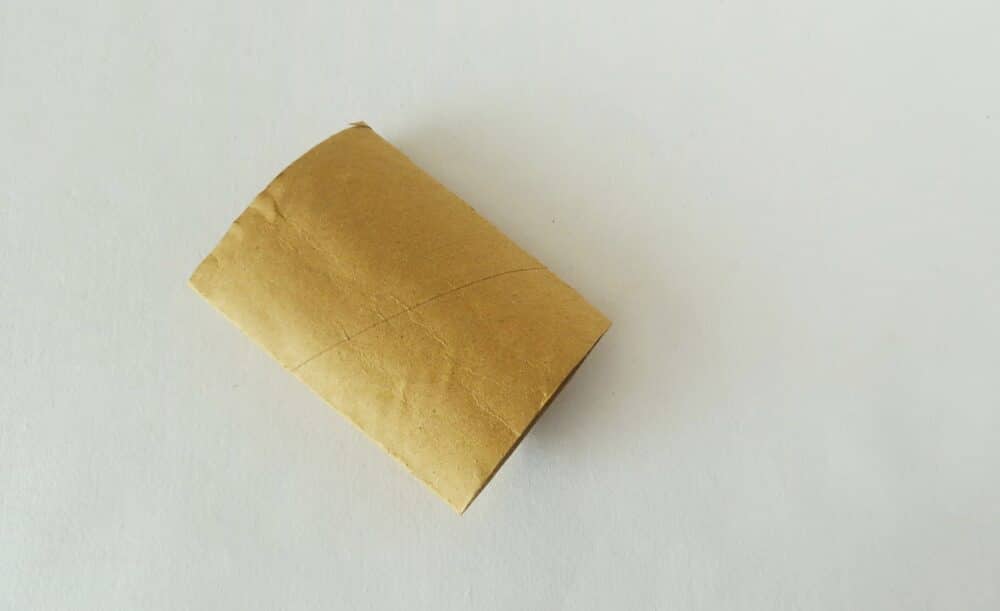
Step 1:
Take an empty TP roll and flatten it neatly on a flat and even surface.
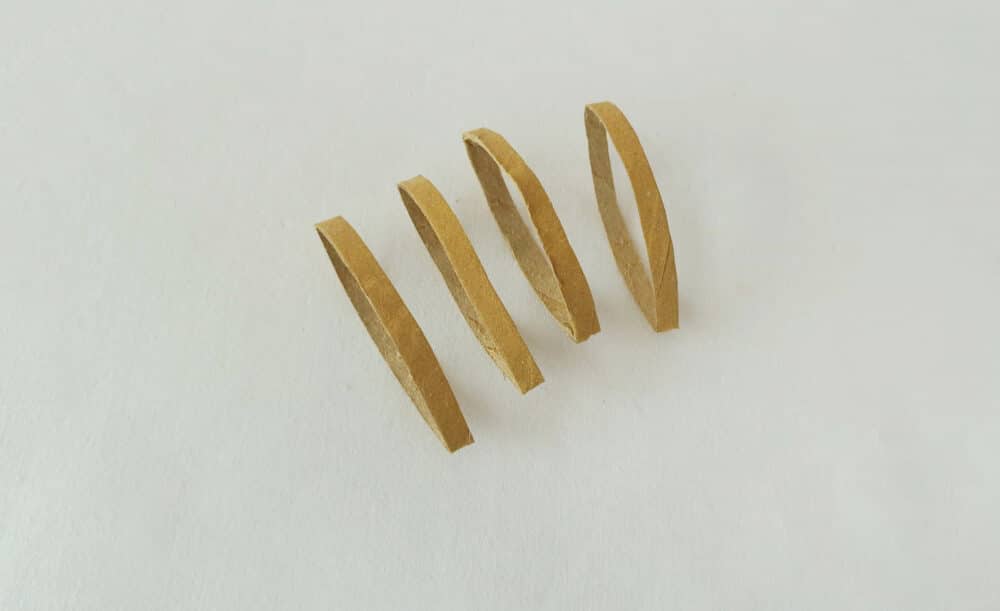
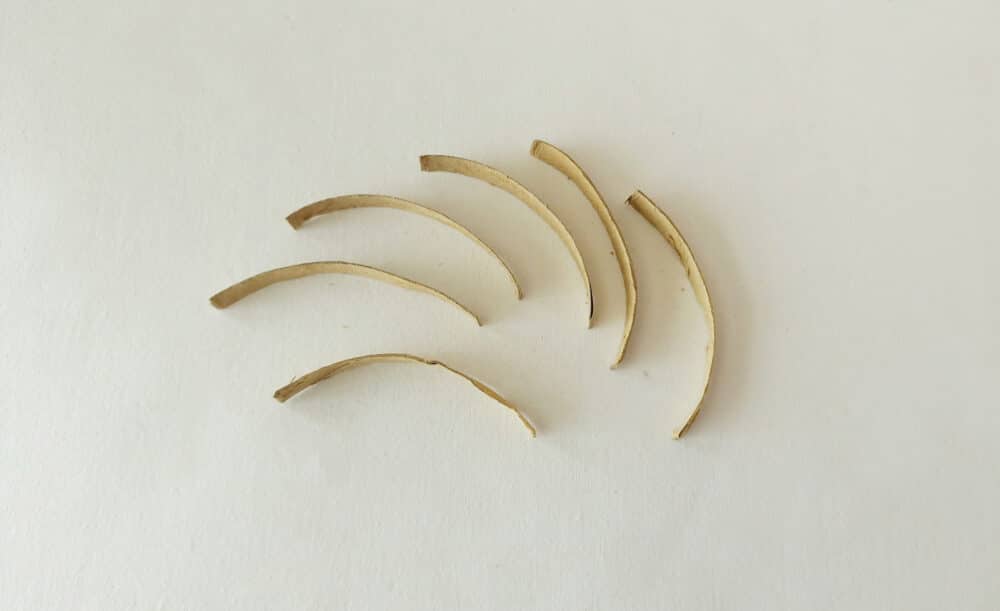
Step 2:
Cut out some strips (0.75cm) from the flattened TP roll.
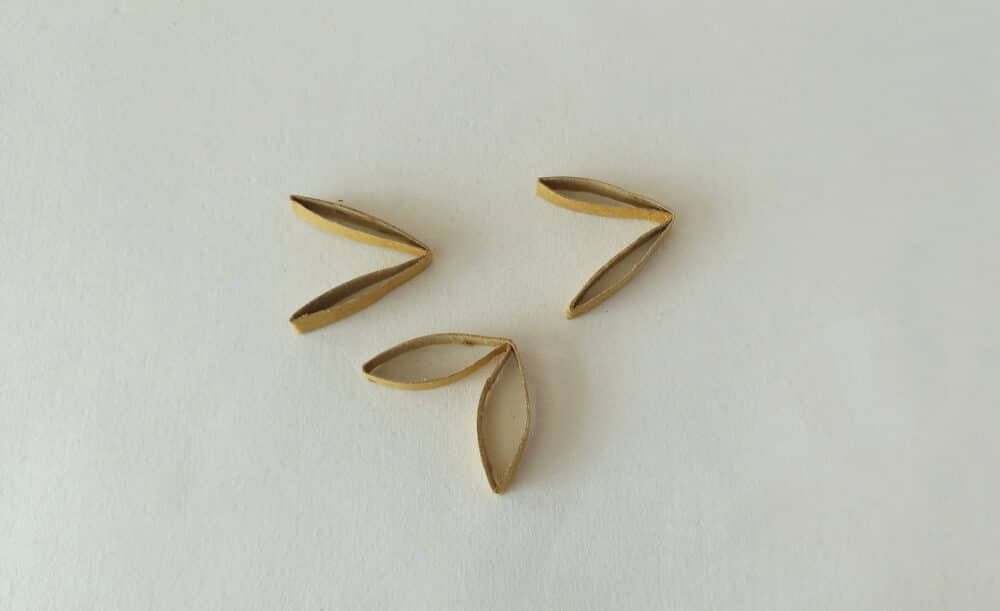
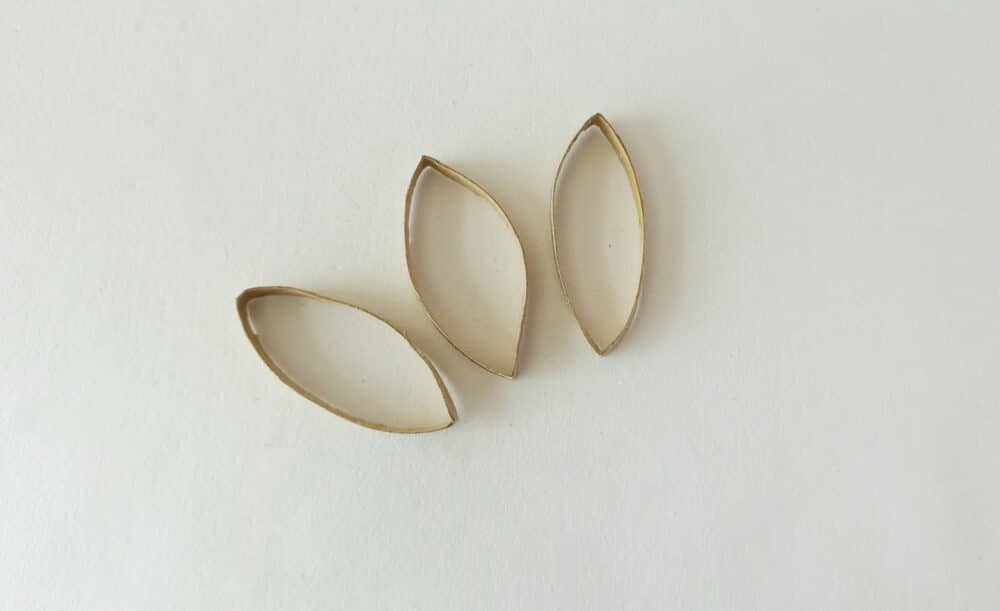
Step 3:
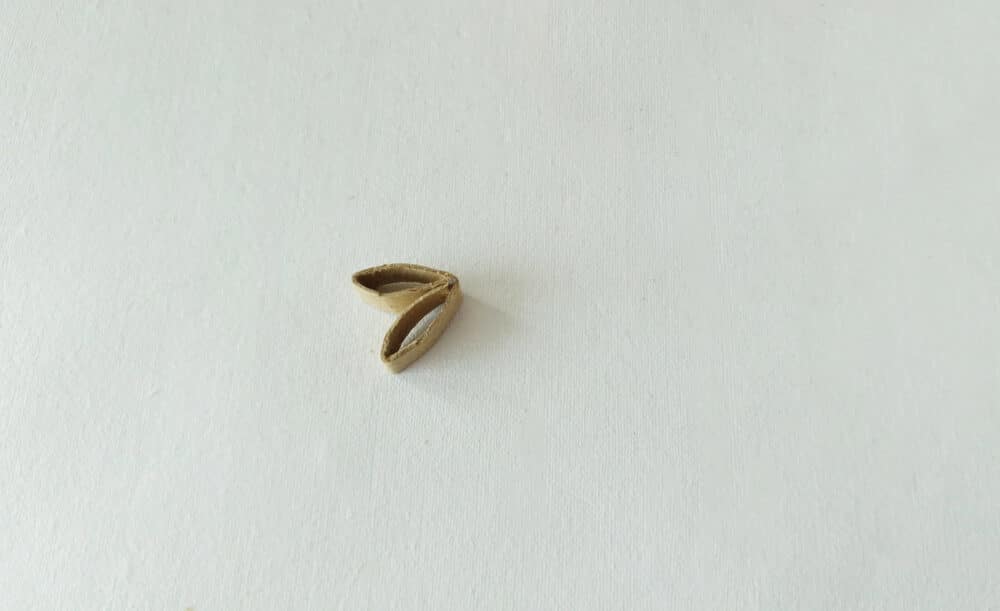
Take any 3 strips and fold them in half.
Step 4:
Slightly open the inner space of the strips after making the half folds.
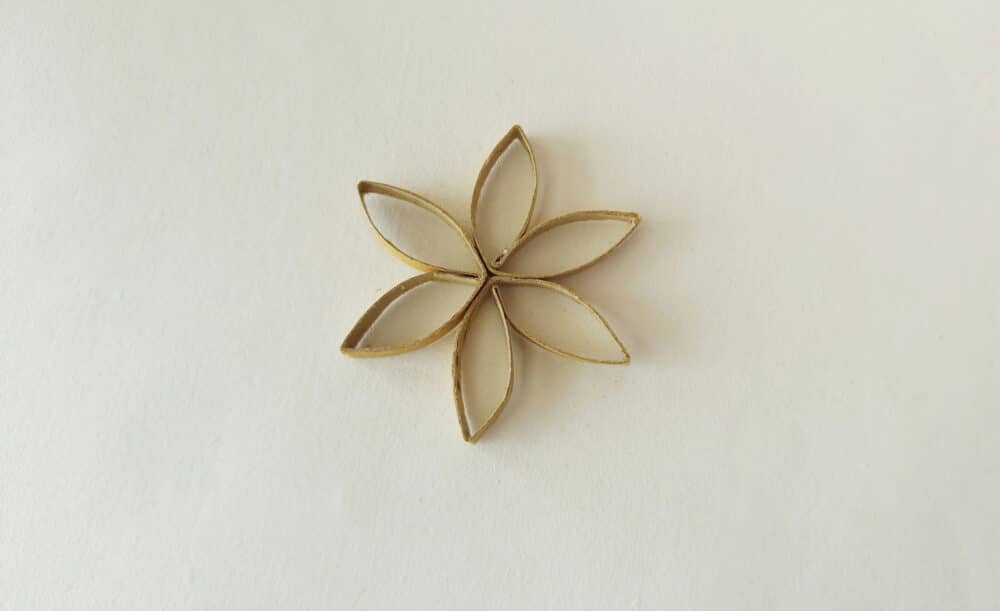
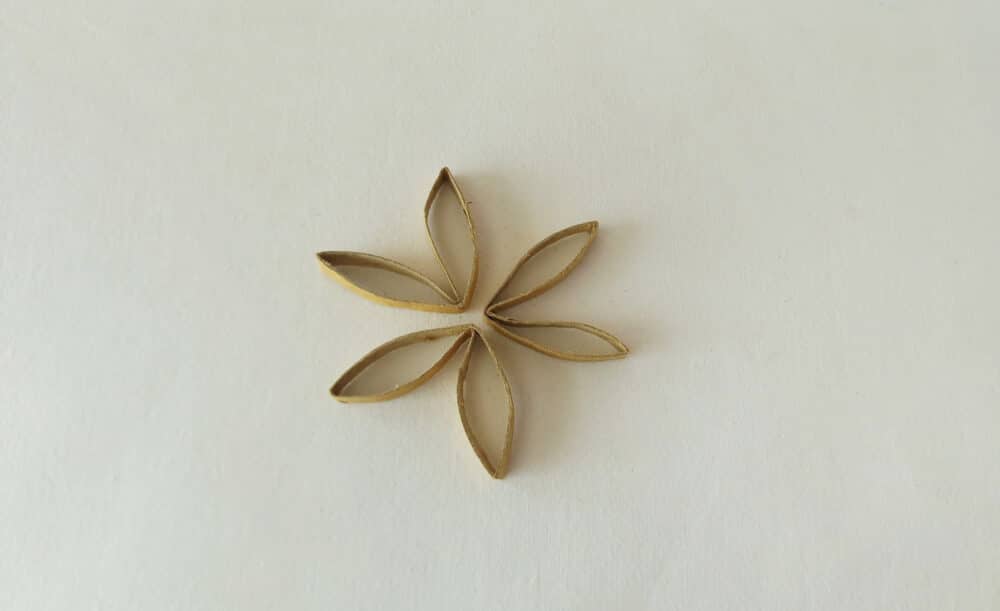
Step 5:
Join the closed ends of the folded strips and form a 6-point star shape.
Step 6:
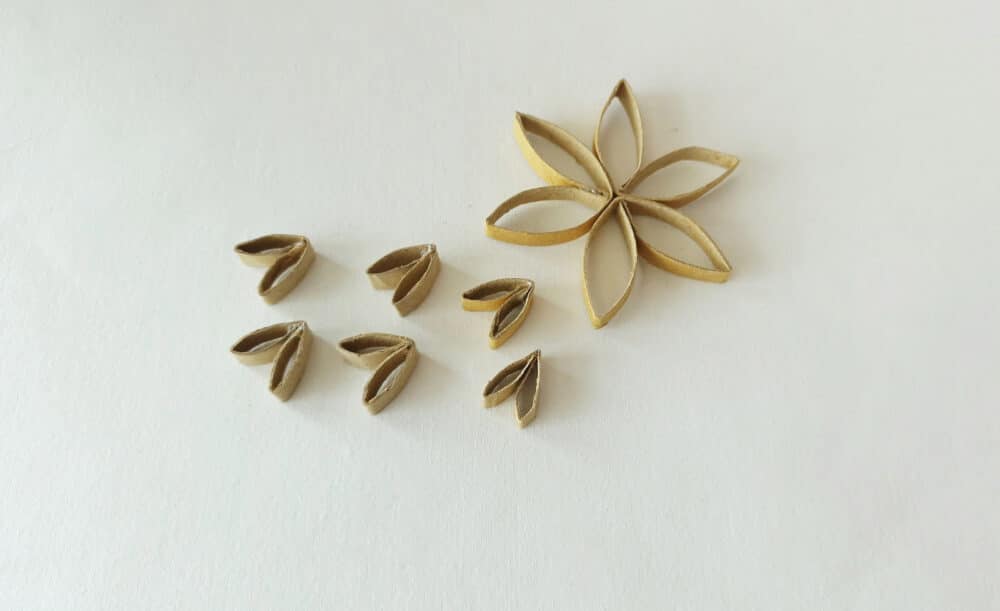
Take 3 more strips.
Step 7:
Cut the strips into 2 even parts and you’ll have 6 strips.
Step 8:
Fold a strip in half.

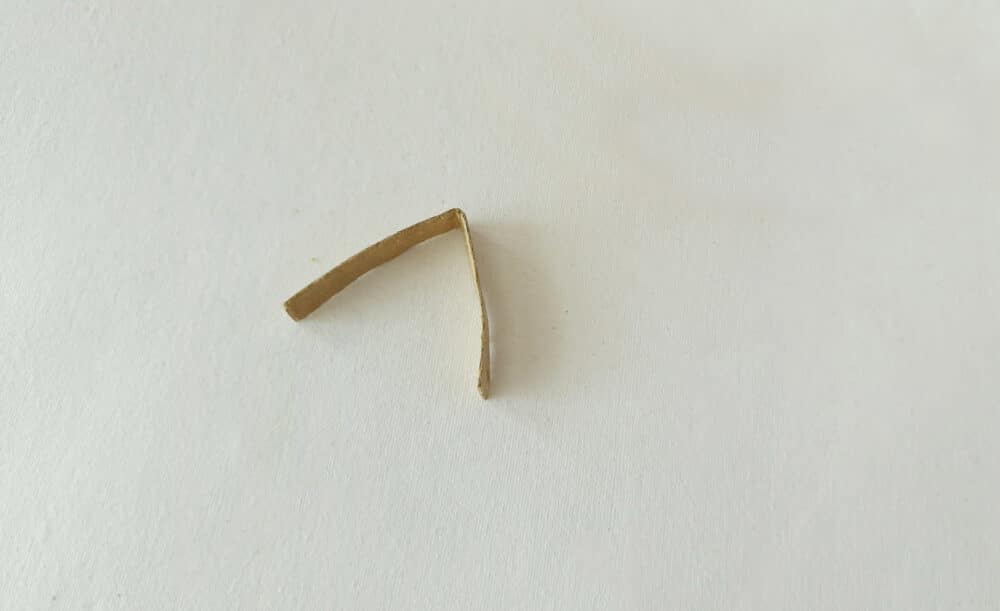
Step 9:
Fold in the open ends to the middle.
Step 10:
Now, form a V shape with the current pattern.
Step 11:
Similarly, prepare the rest of the 5 strips.

Step 12:
Join the small V shapes between every 2 points of the base shape.

Step 13:
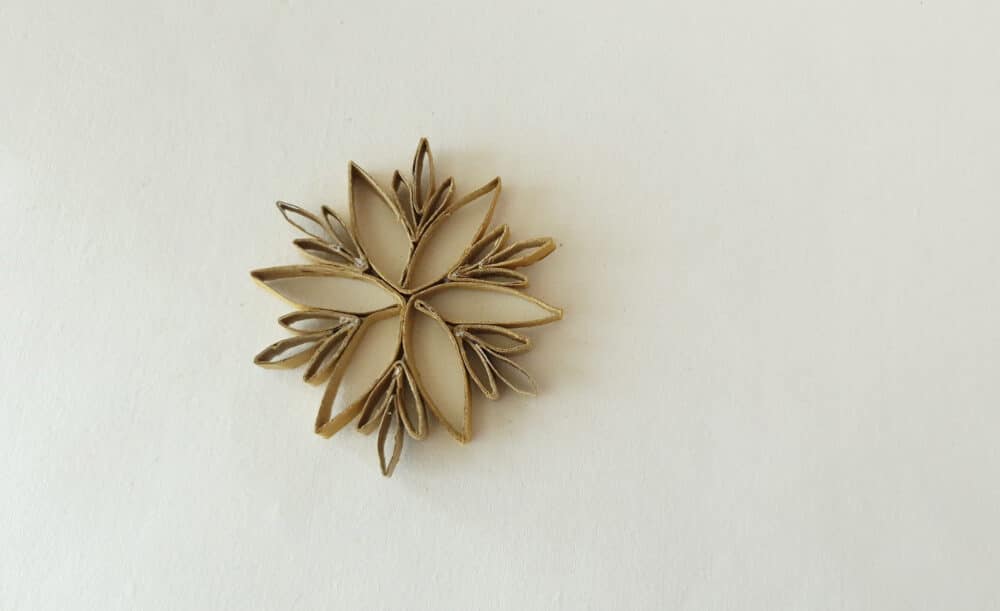
Take a few more strips and cut each strip into 4 even parts. Fold the strip in half.
Step 14:
Apply glue and join the open ends of the half-folded small steps between the medium strip parts.
Step 15:
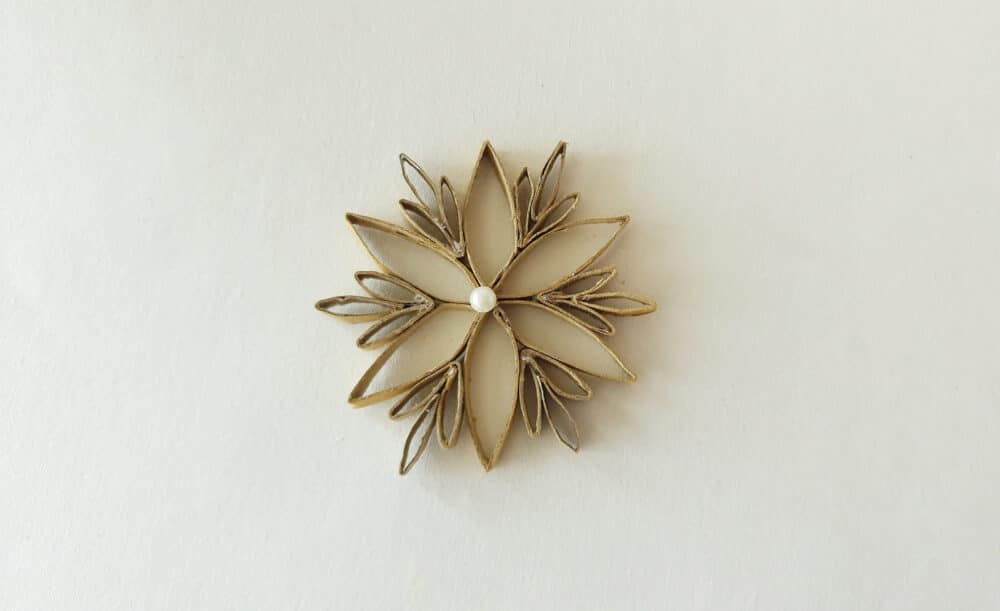
Attach a bead to the center of the snowflake pattern.
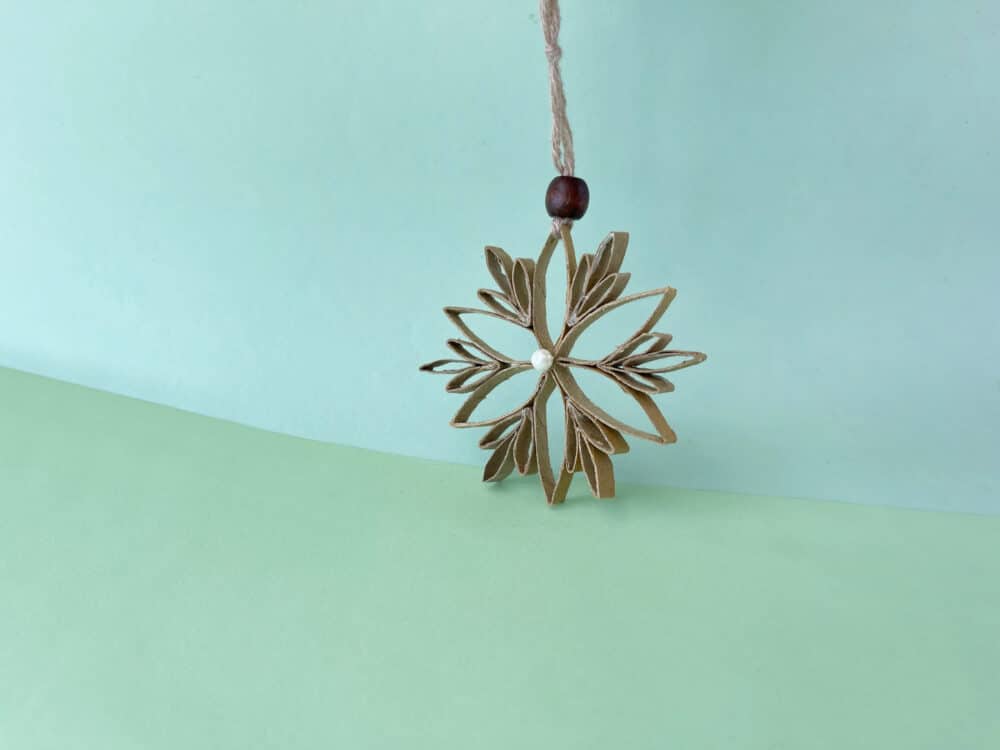
Step 16:
Attach a ribbon or string loop to the final craft to complete the ornament.
More toilet paper roll crafts
if you thought this snowflake craft was fun, here are a few more creative crafts and activities you can do on the theme of snowflakes:
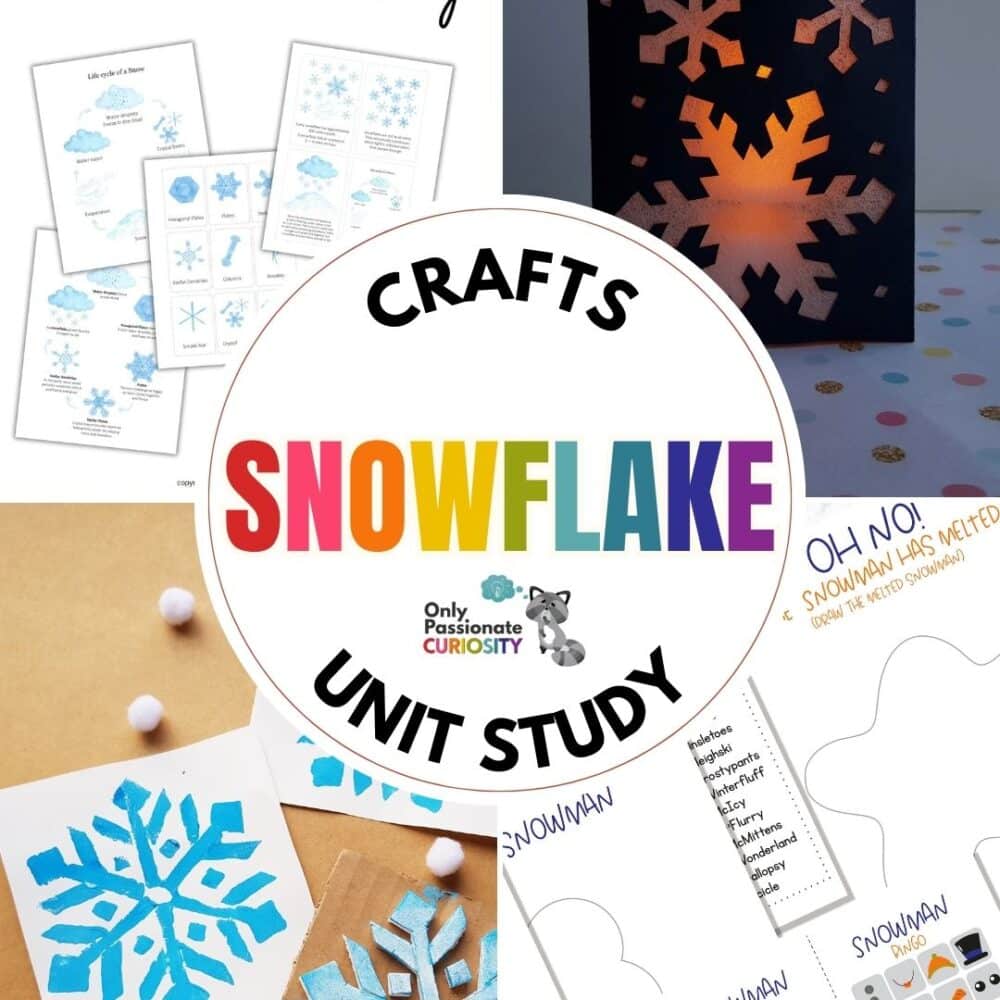
This post has 20+ snowflake crafts, a printable unit study, and lots of other activities and ideas all focused on snow and snowflakes.
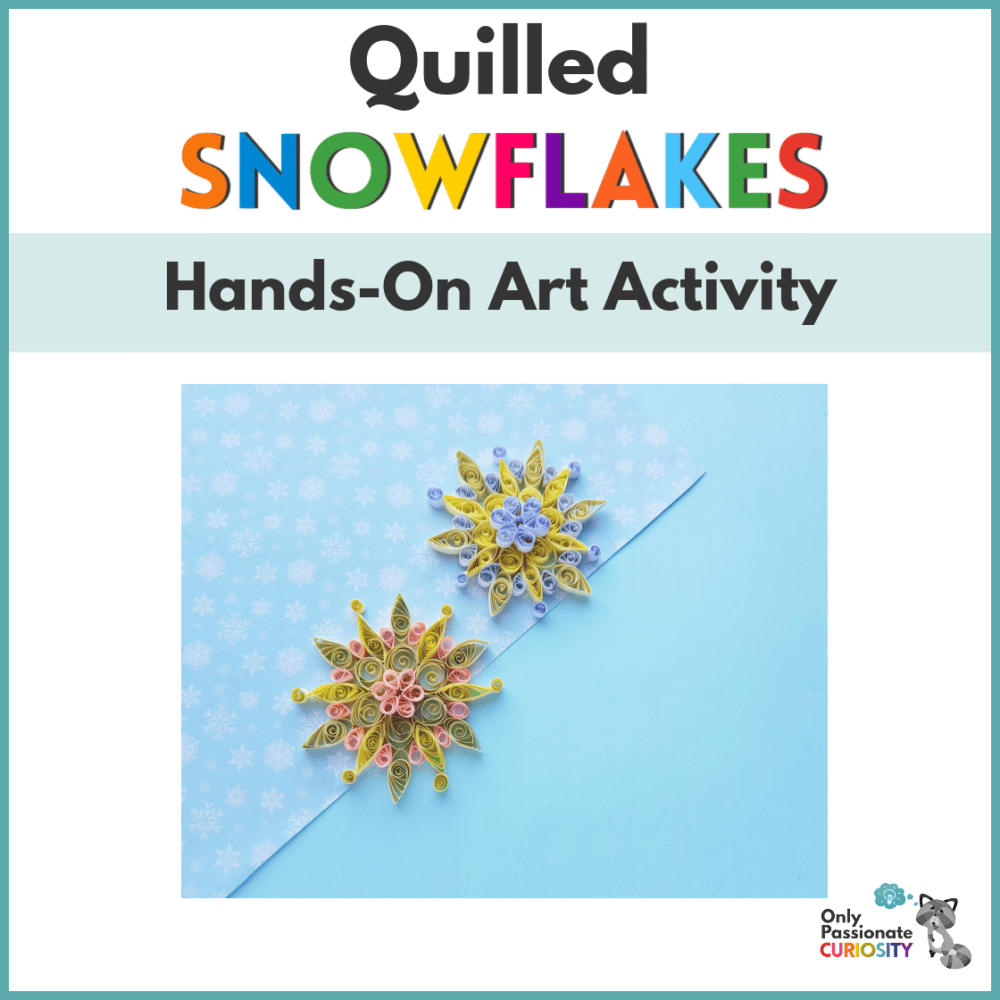
Paper quilling crafts are so beautiful and intricate-looking, which is why this quilling craft goes perfectly with one of the most beautiful and intricate objects in nature– the snowflake!
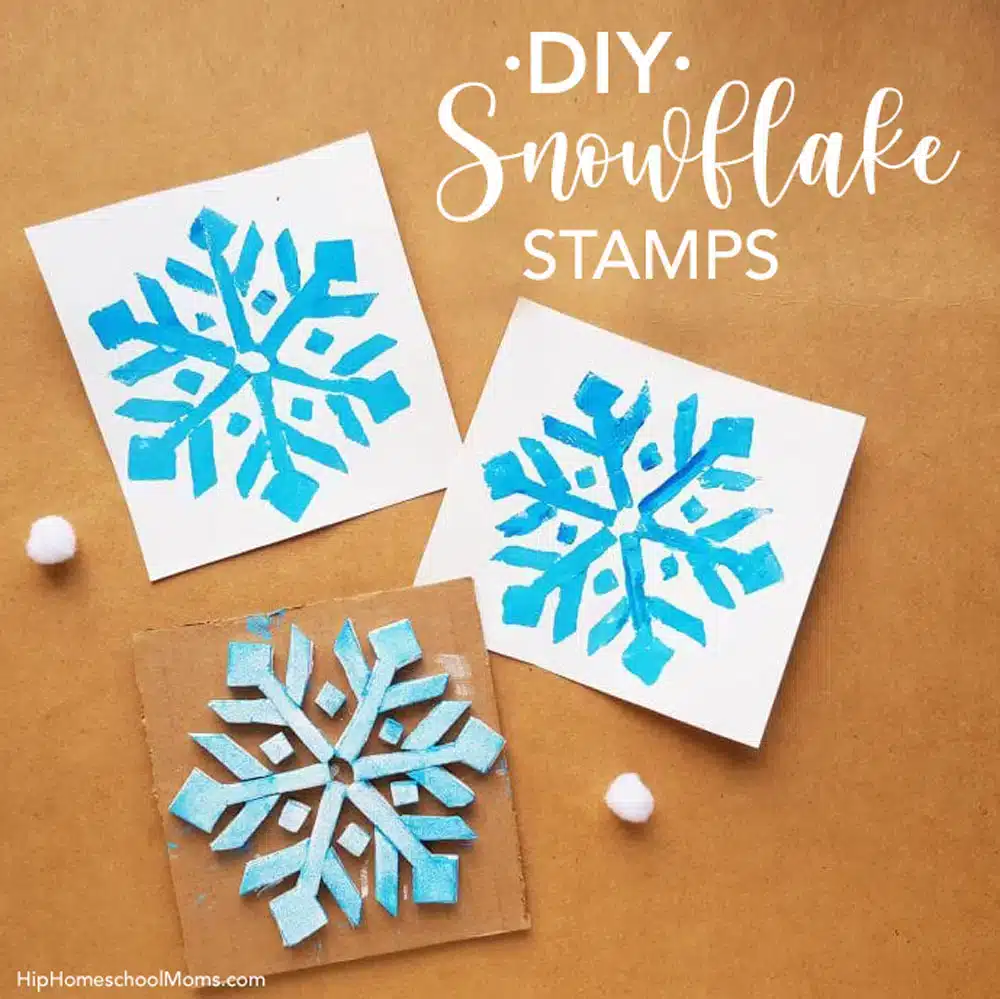
If it’s cold and snowing in your part of the country (or even if it’s not!), you and your children will enjoy making and using these DIY Snowflake Stamps!