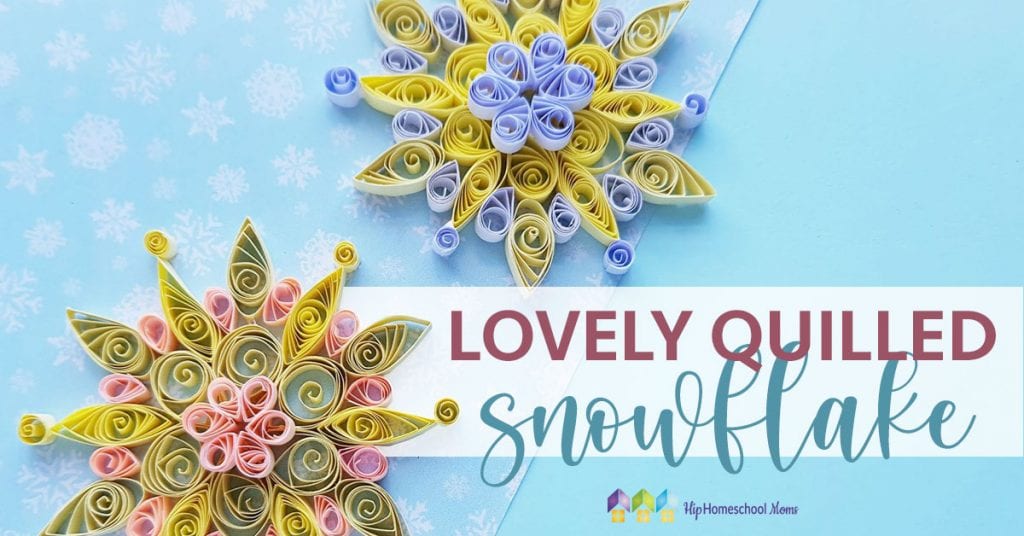
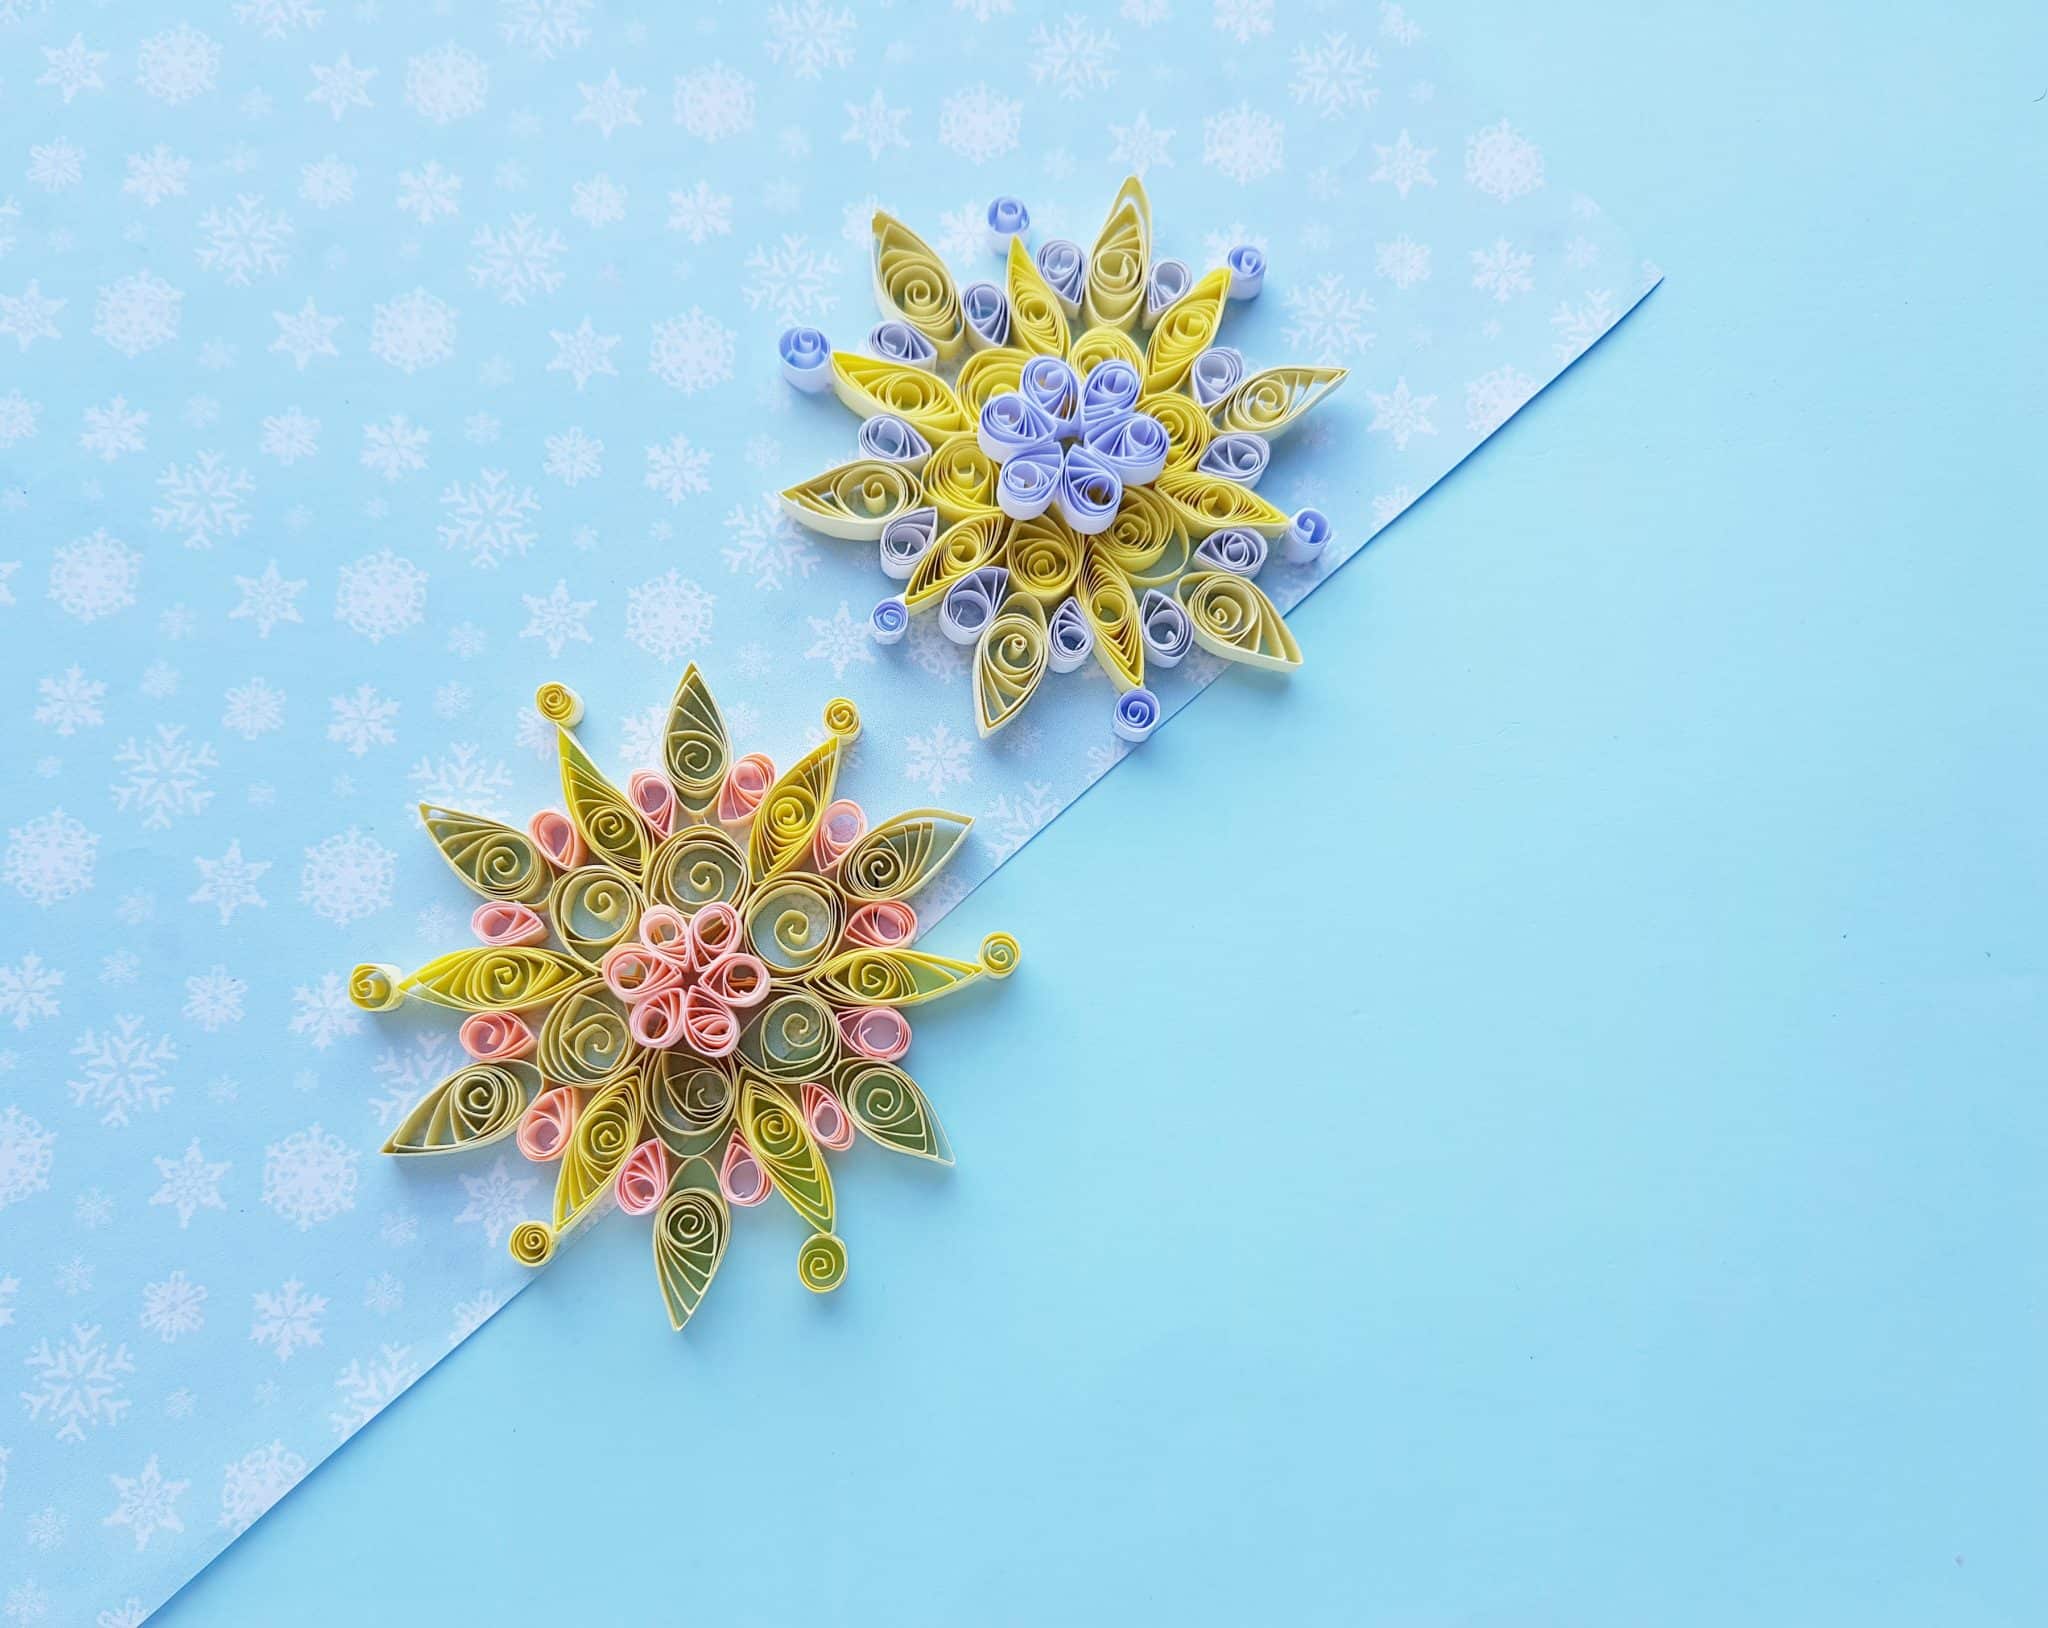
Lovely Quilled Snowflake
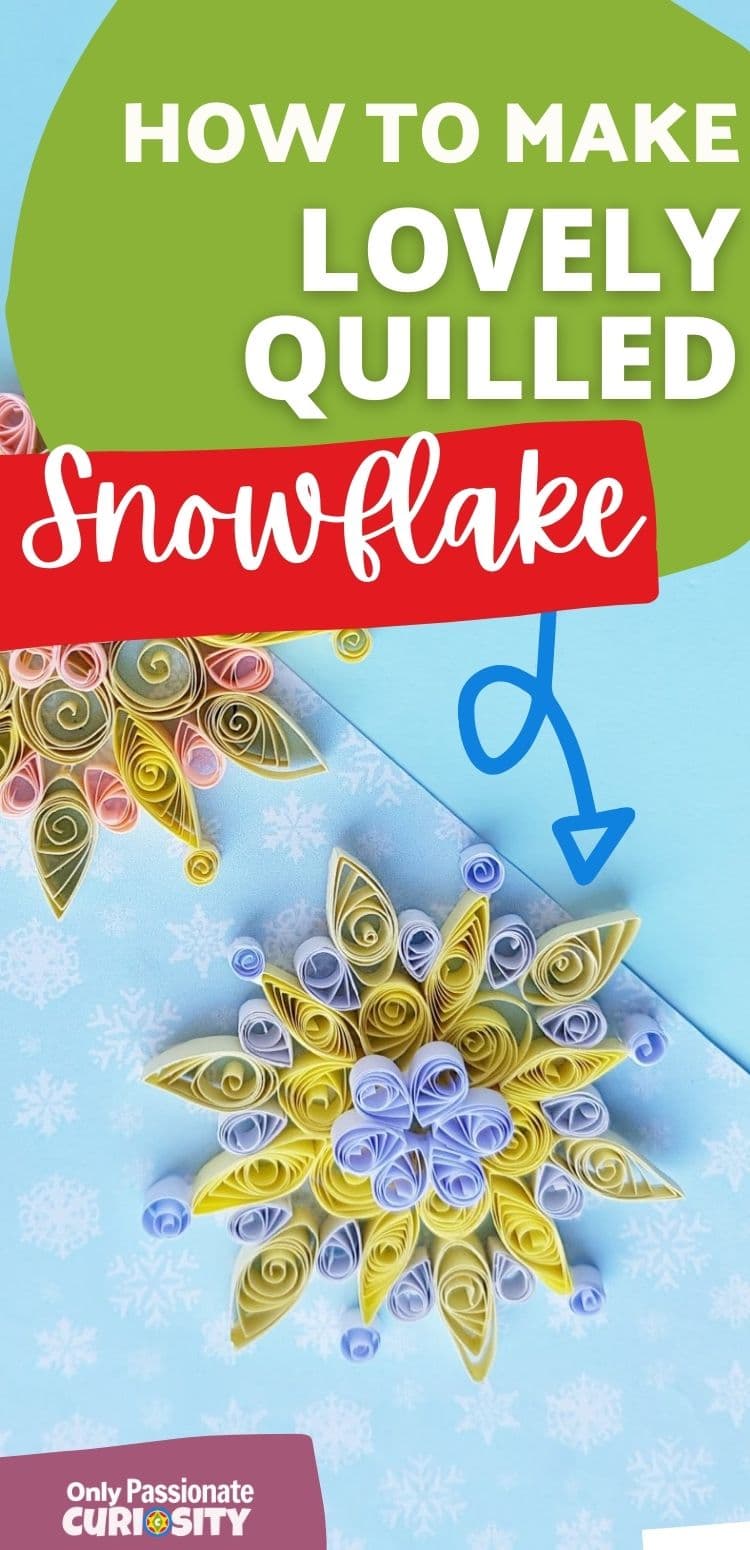
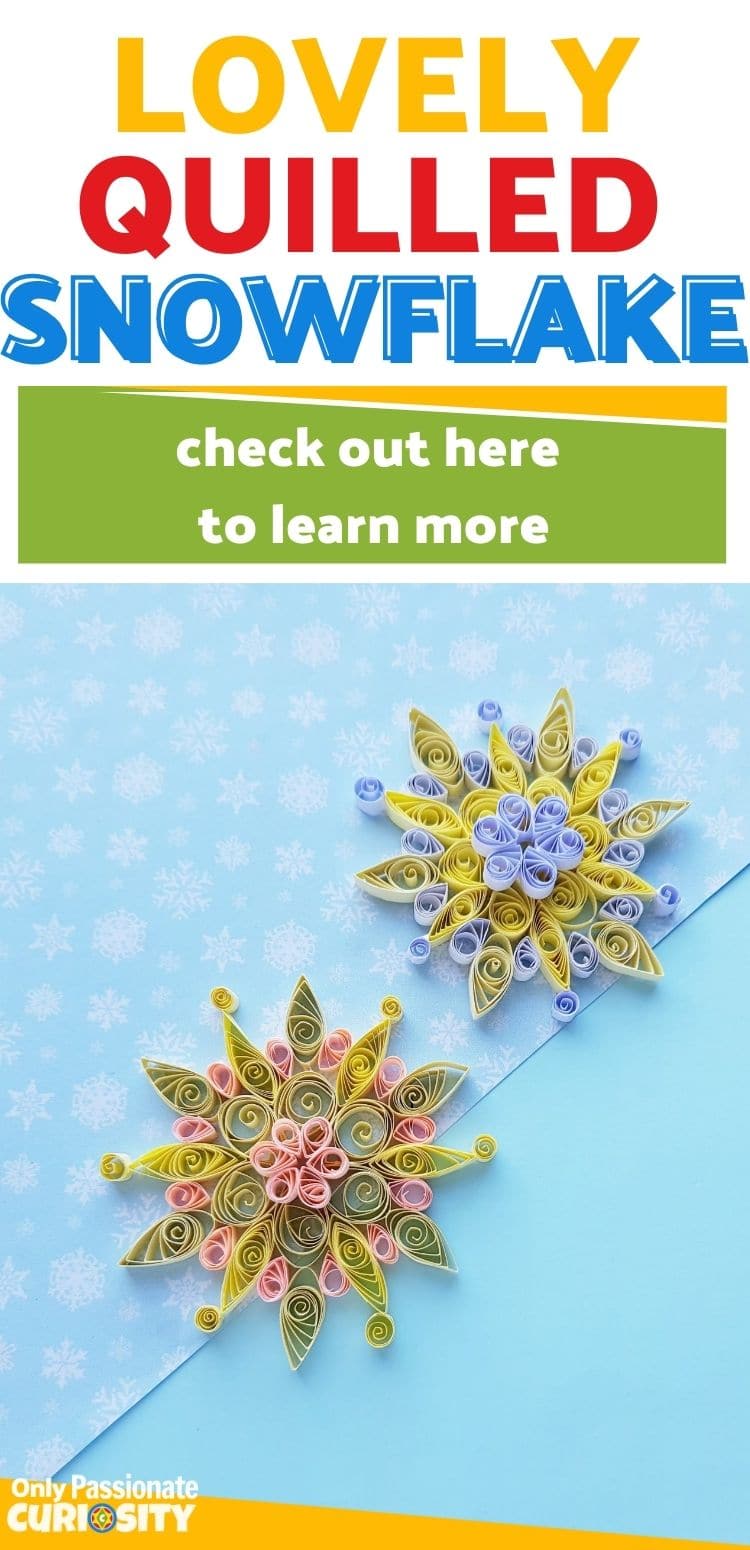
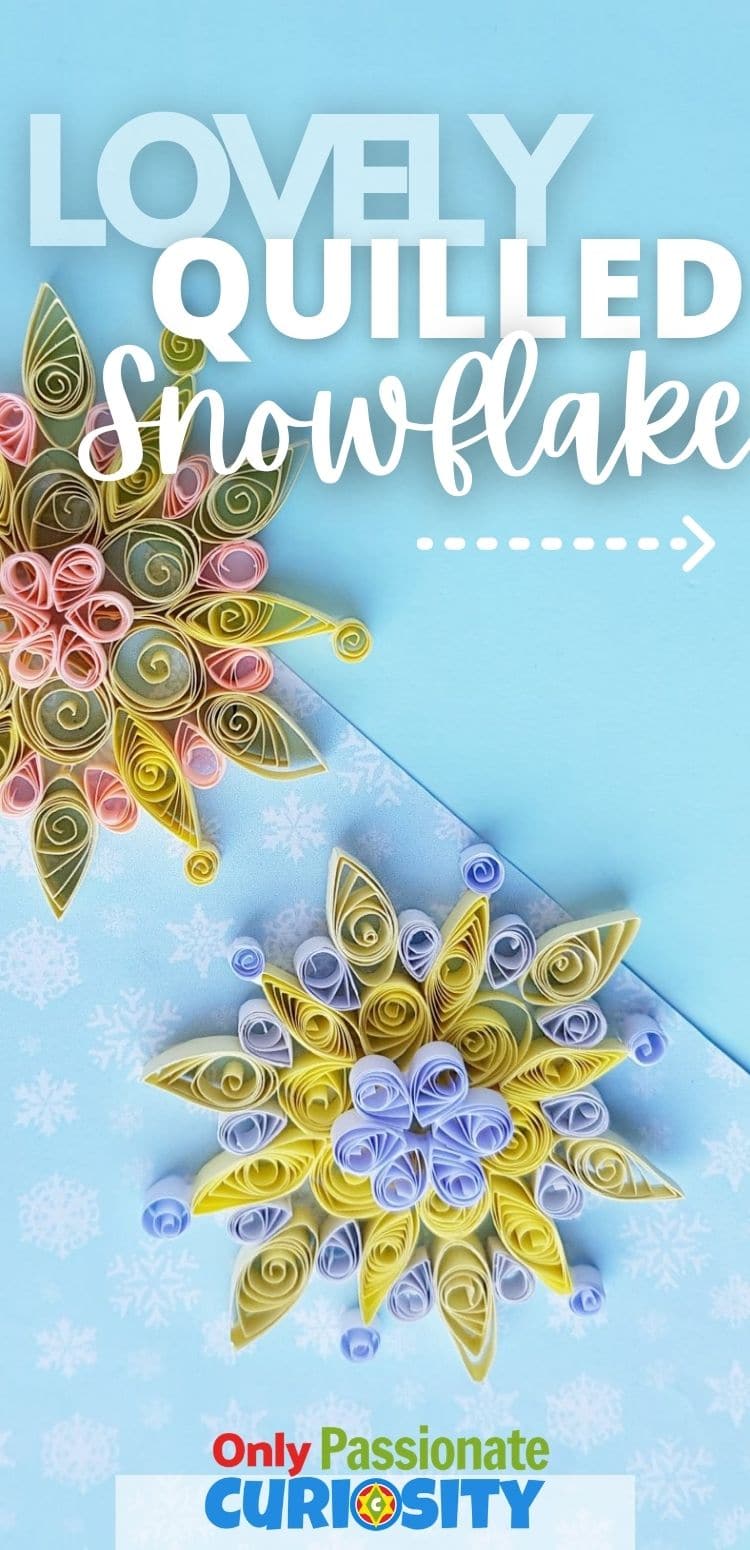
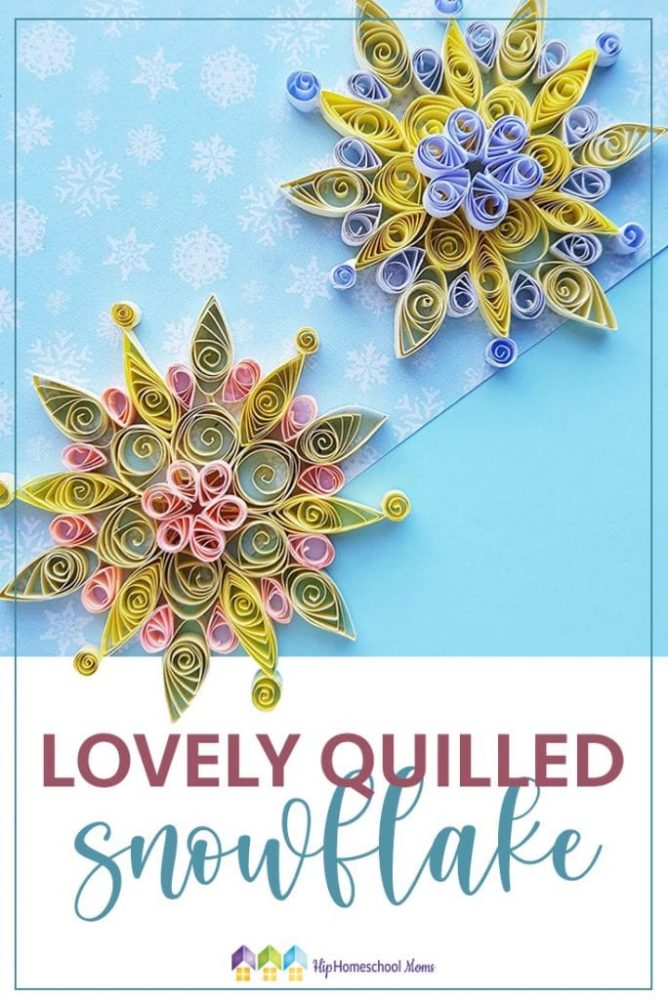
Paper quilling crafts are so beautiful and intricate-looking, which is why this quilling craft goes perfectly with one of the most beautiful and intricate objects in nature– the snowflake! But don’t worry, this Lovely Quilled Snowflake Craft is actually a lot easier to replicate at home than you might think! In fact, this festive winter craft is great for all ages!
Here are just a few reasons you may want to bring some quilling crafts into your homeschool:
- Paper quilling is fun and doable for all ages.
- It fosters creativity and helps children to recognize patterns.
- There are no sharp, pointy objects or hot glue to worry about!
- The finished product always looks gorgeous.
We also loved these quilled snowflakes because they are just as lovely as the real thing…but you can keep them as long as you like! We think you and your children will love making these pretty, quilled snowflakes and using them to decorate your home! Enjoy!
What You’ll Need:
- Paper quilling strips
- Colored craft paper
- Slotted quilling tool
- Scissors
- Craft Glue
- Quilling tweezers (Optional but helpful)
How to Make It:
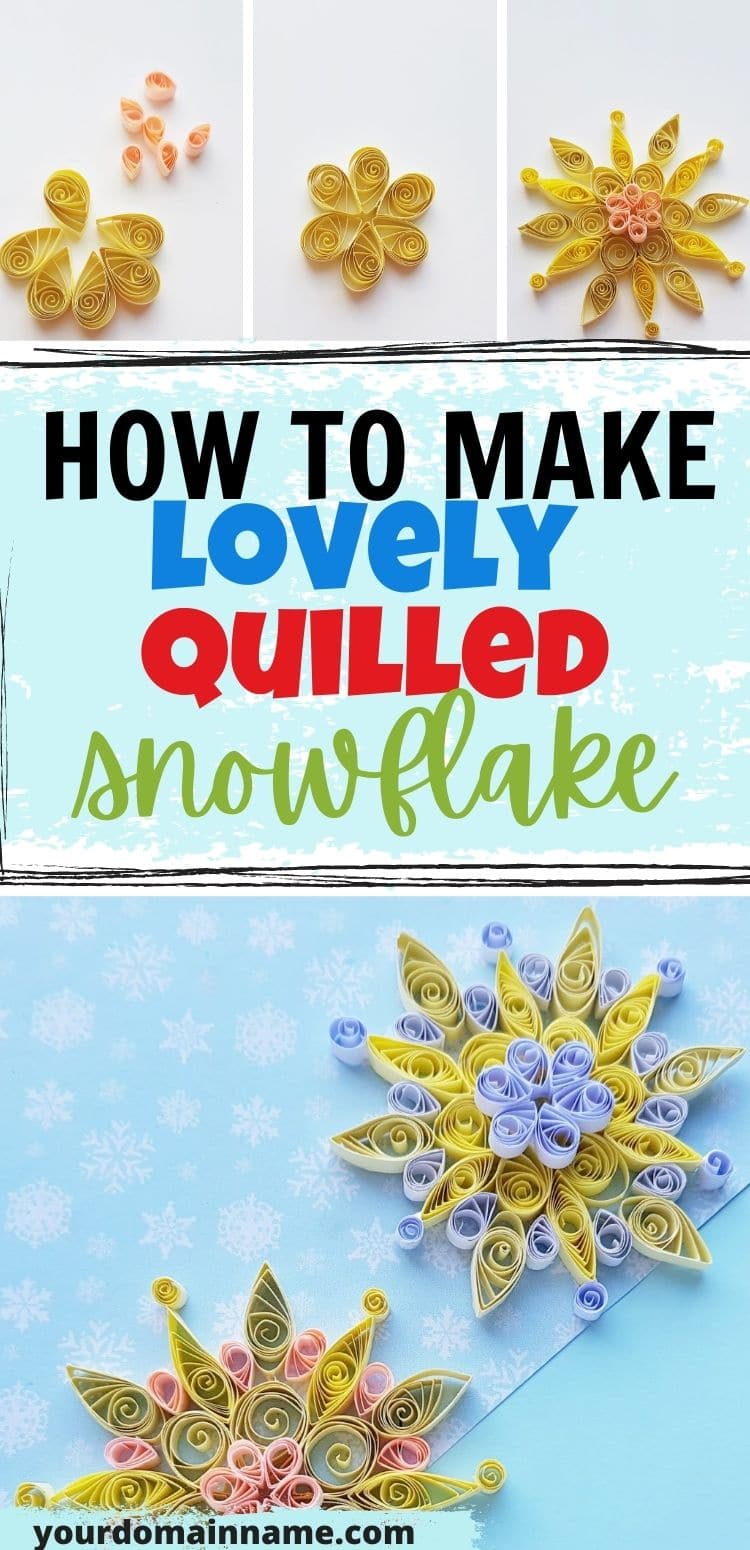
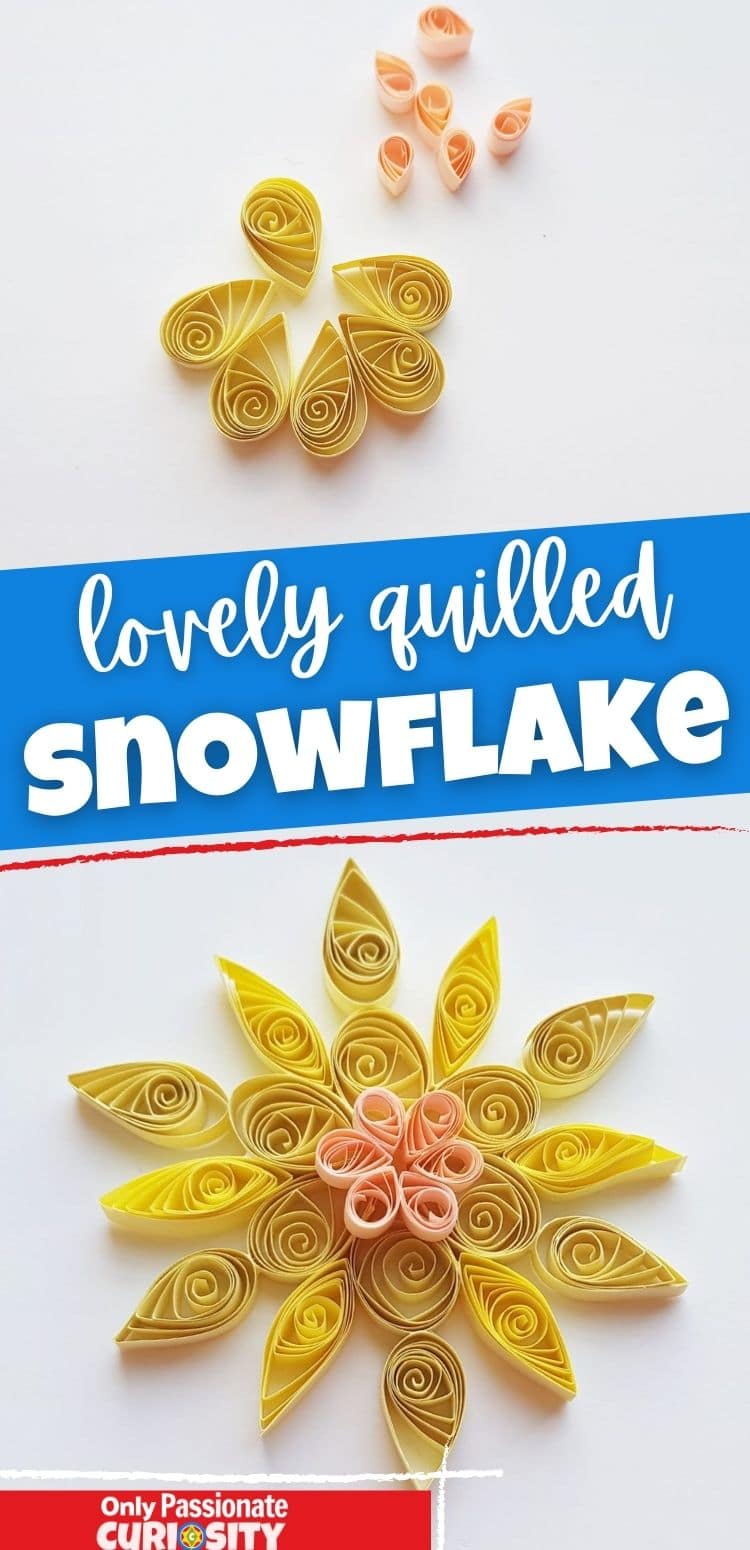
You will need to create a few different quilled shapes for this Lovely Quilled Snowflake. I find it easier to make all of the shapes first and then arrange them into the final design. Here are the shapes you’ll need to make.
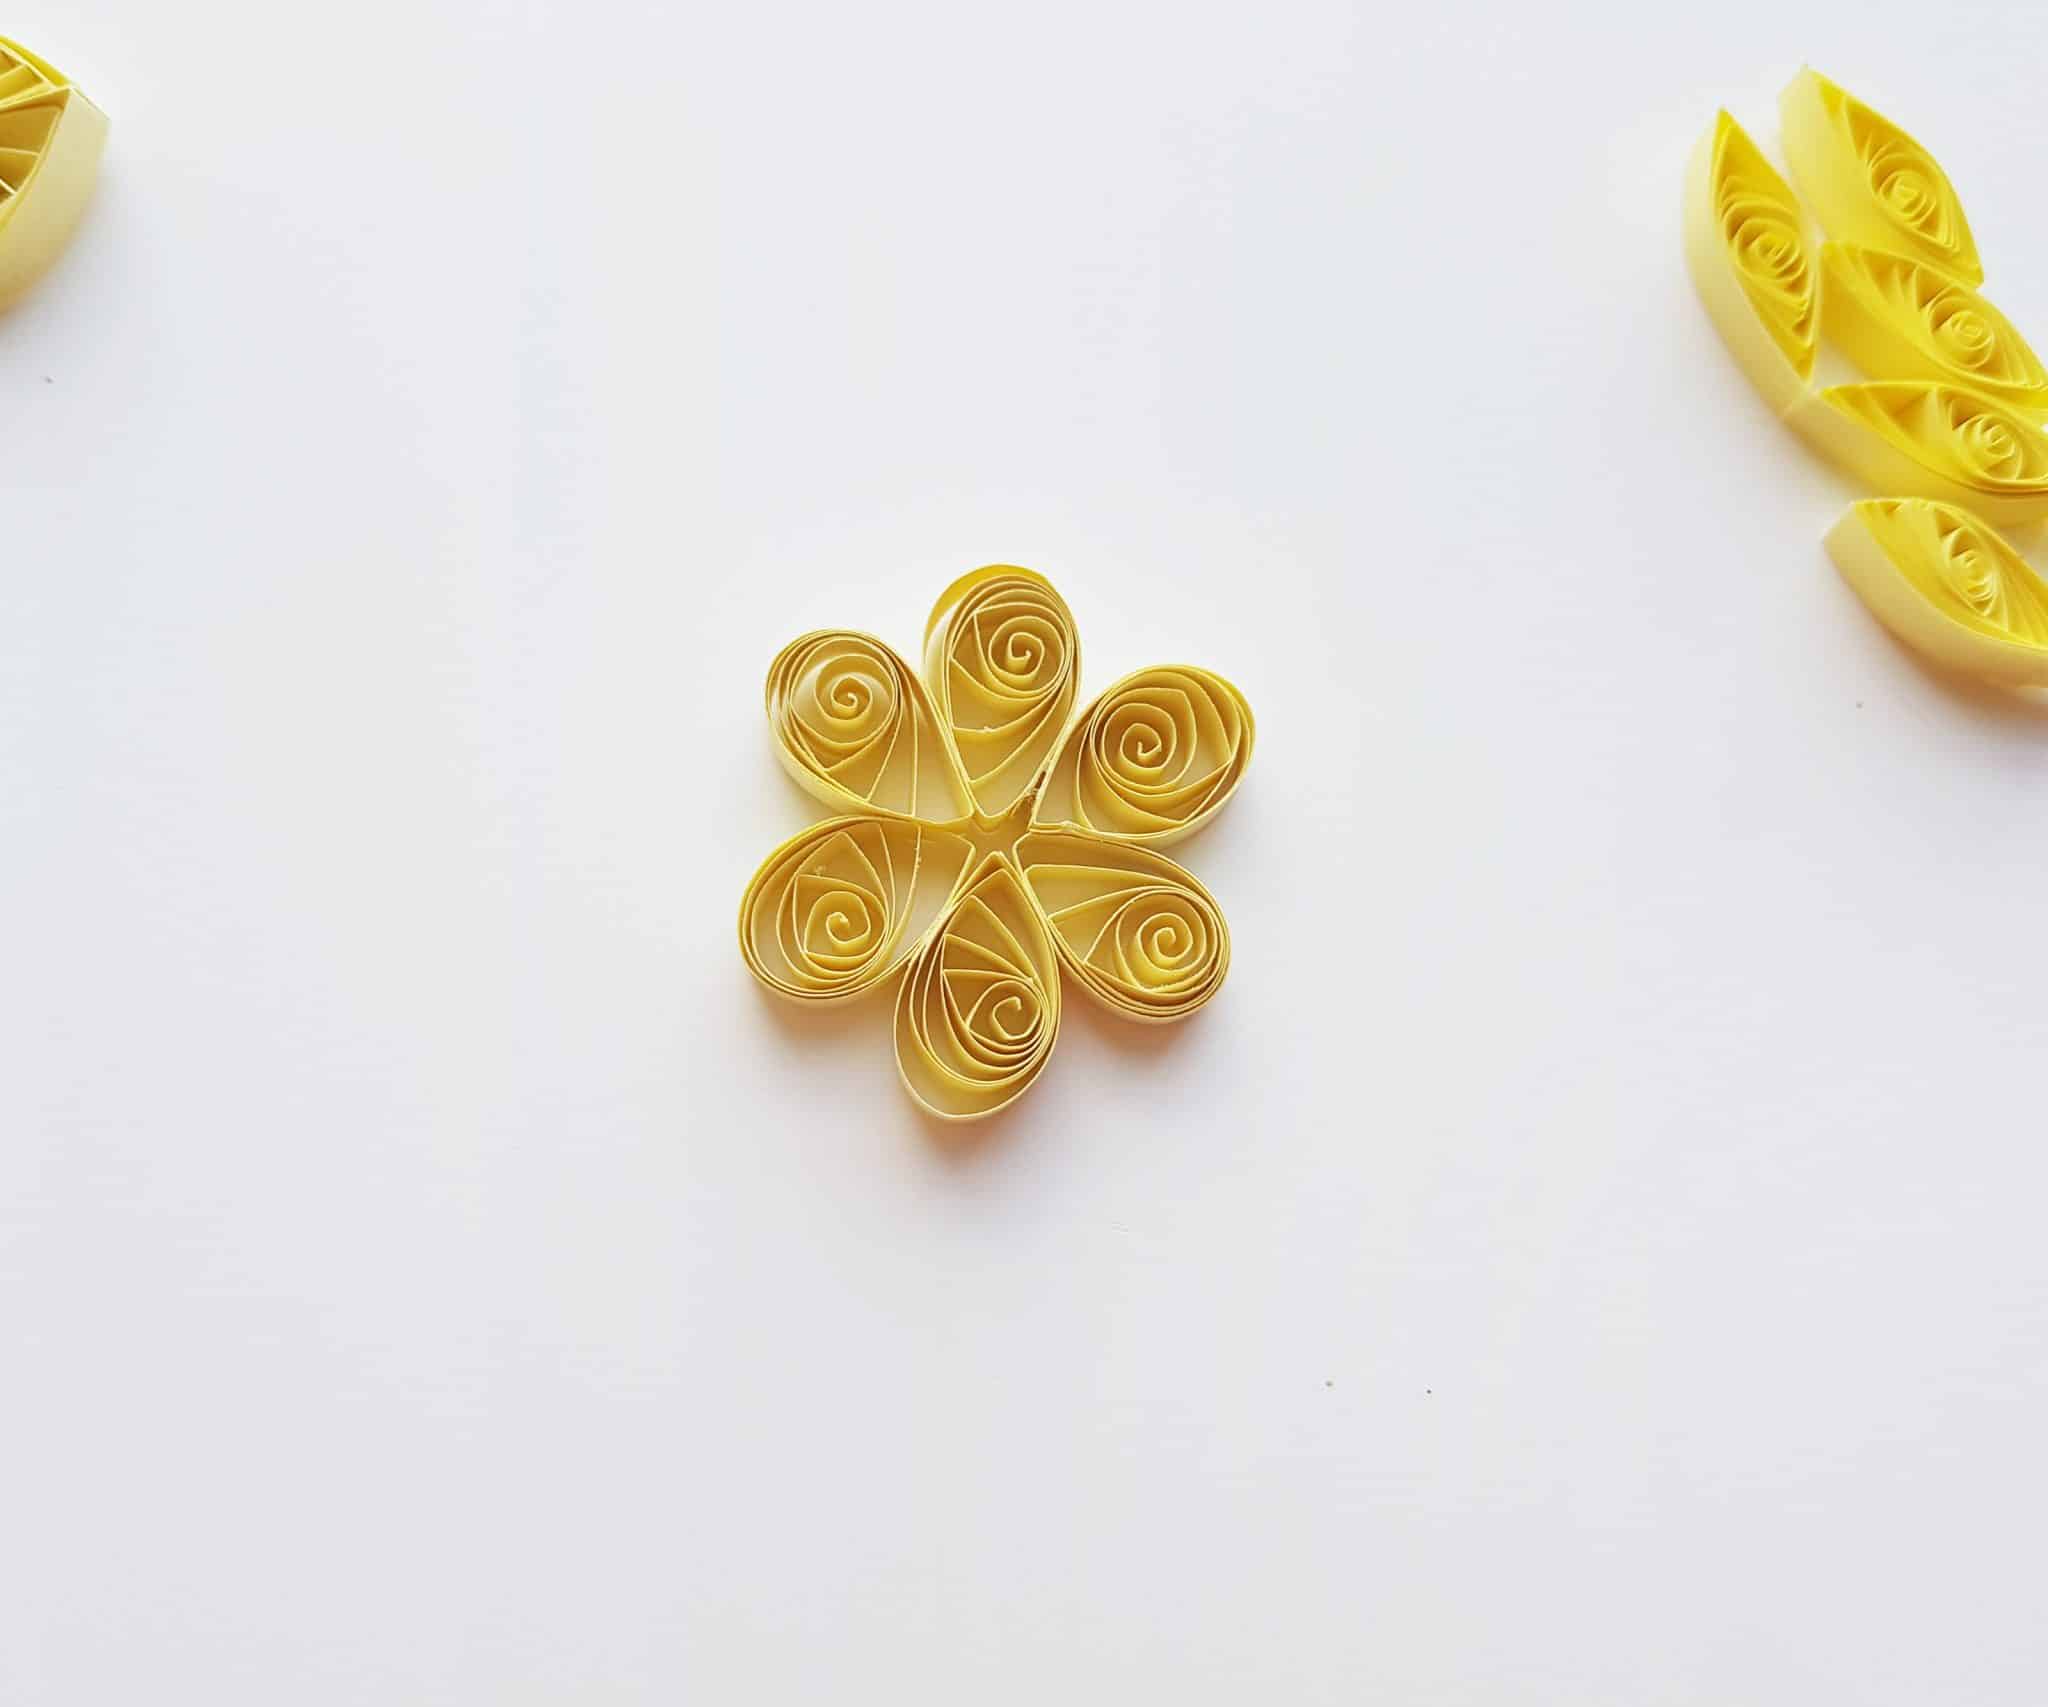
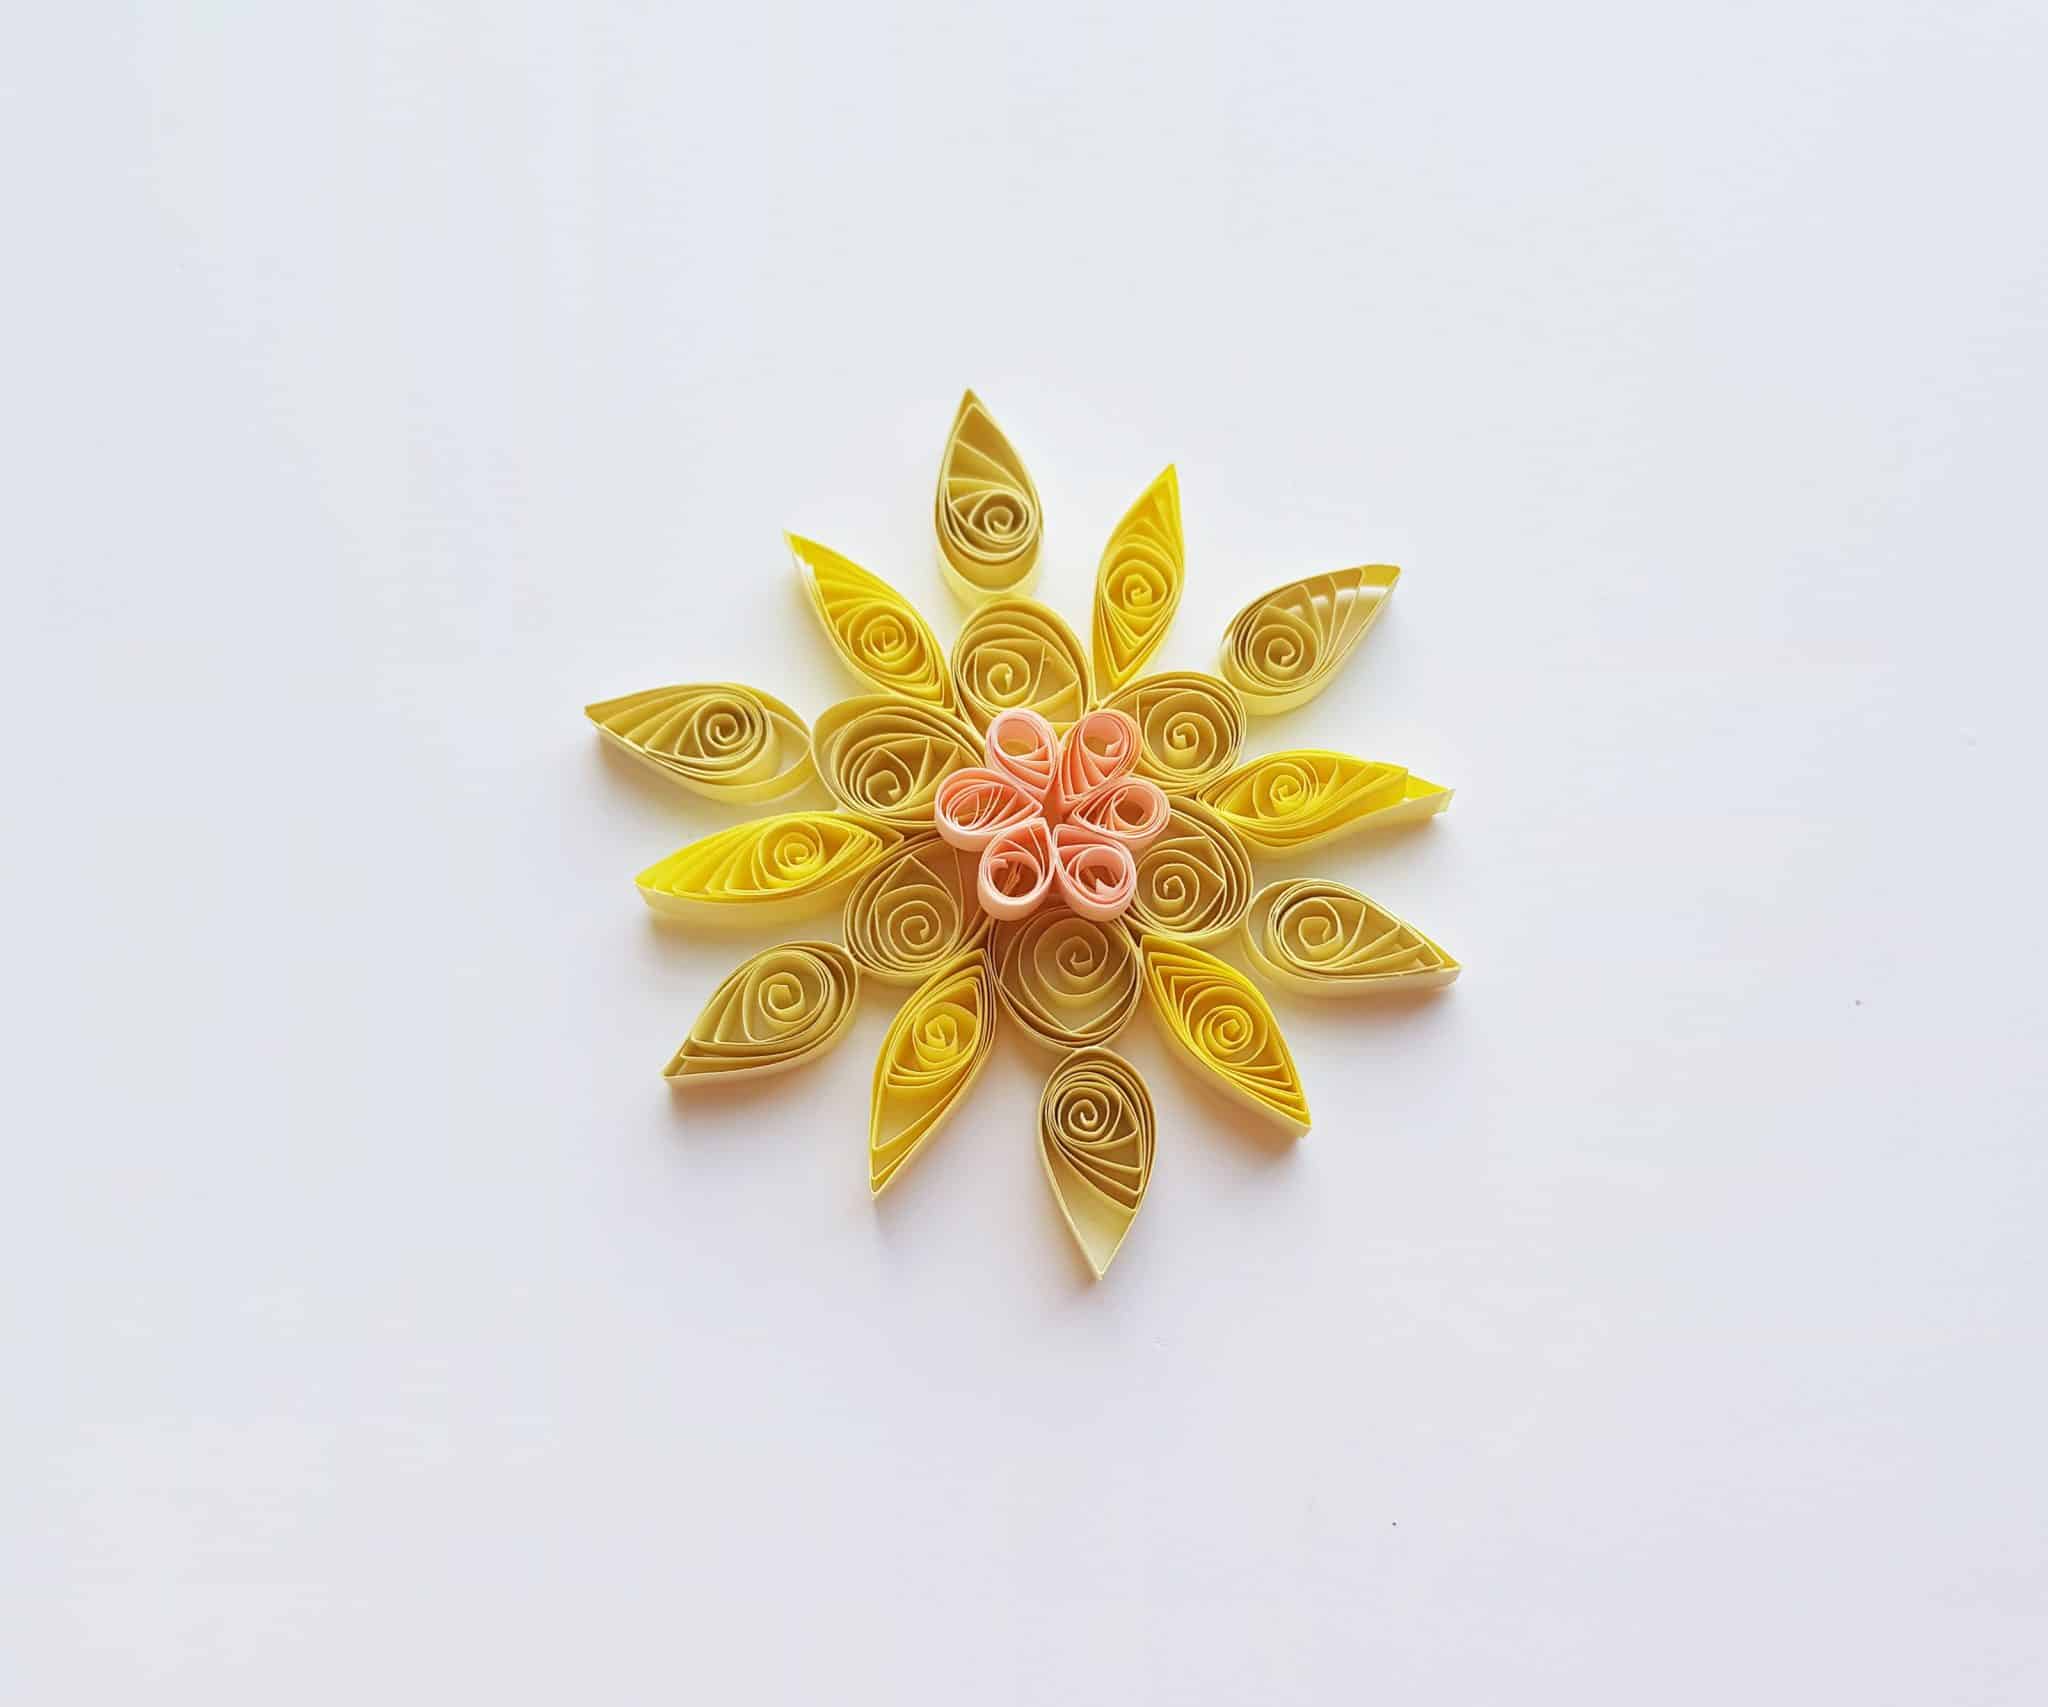
The Teardrop
To start working on your snowflake, the first step is to make some teardrop designs. The teardrop shape is really common in quilling projects and very easy to make! For the teardrops in this project, you will need 6 longer quilling strips (16 cm) and six shorter (8 cm) quilling strips. They don’t have to be the same color. In fact, I think that the more colors you choose for this project, the prettier the end result will be!
To make a teardrop design, use the quilling tool to create a coil from each strip of paper. Then, simply pinch the part of the coil with the open end of the strip (and you can also fold the end of the strip over the point of the teardrop or use the quilling tweezers to help you pinch it into shape). Once you’ve done them all, you should have six small teardrop shapes and six larger ones.

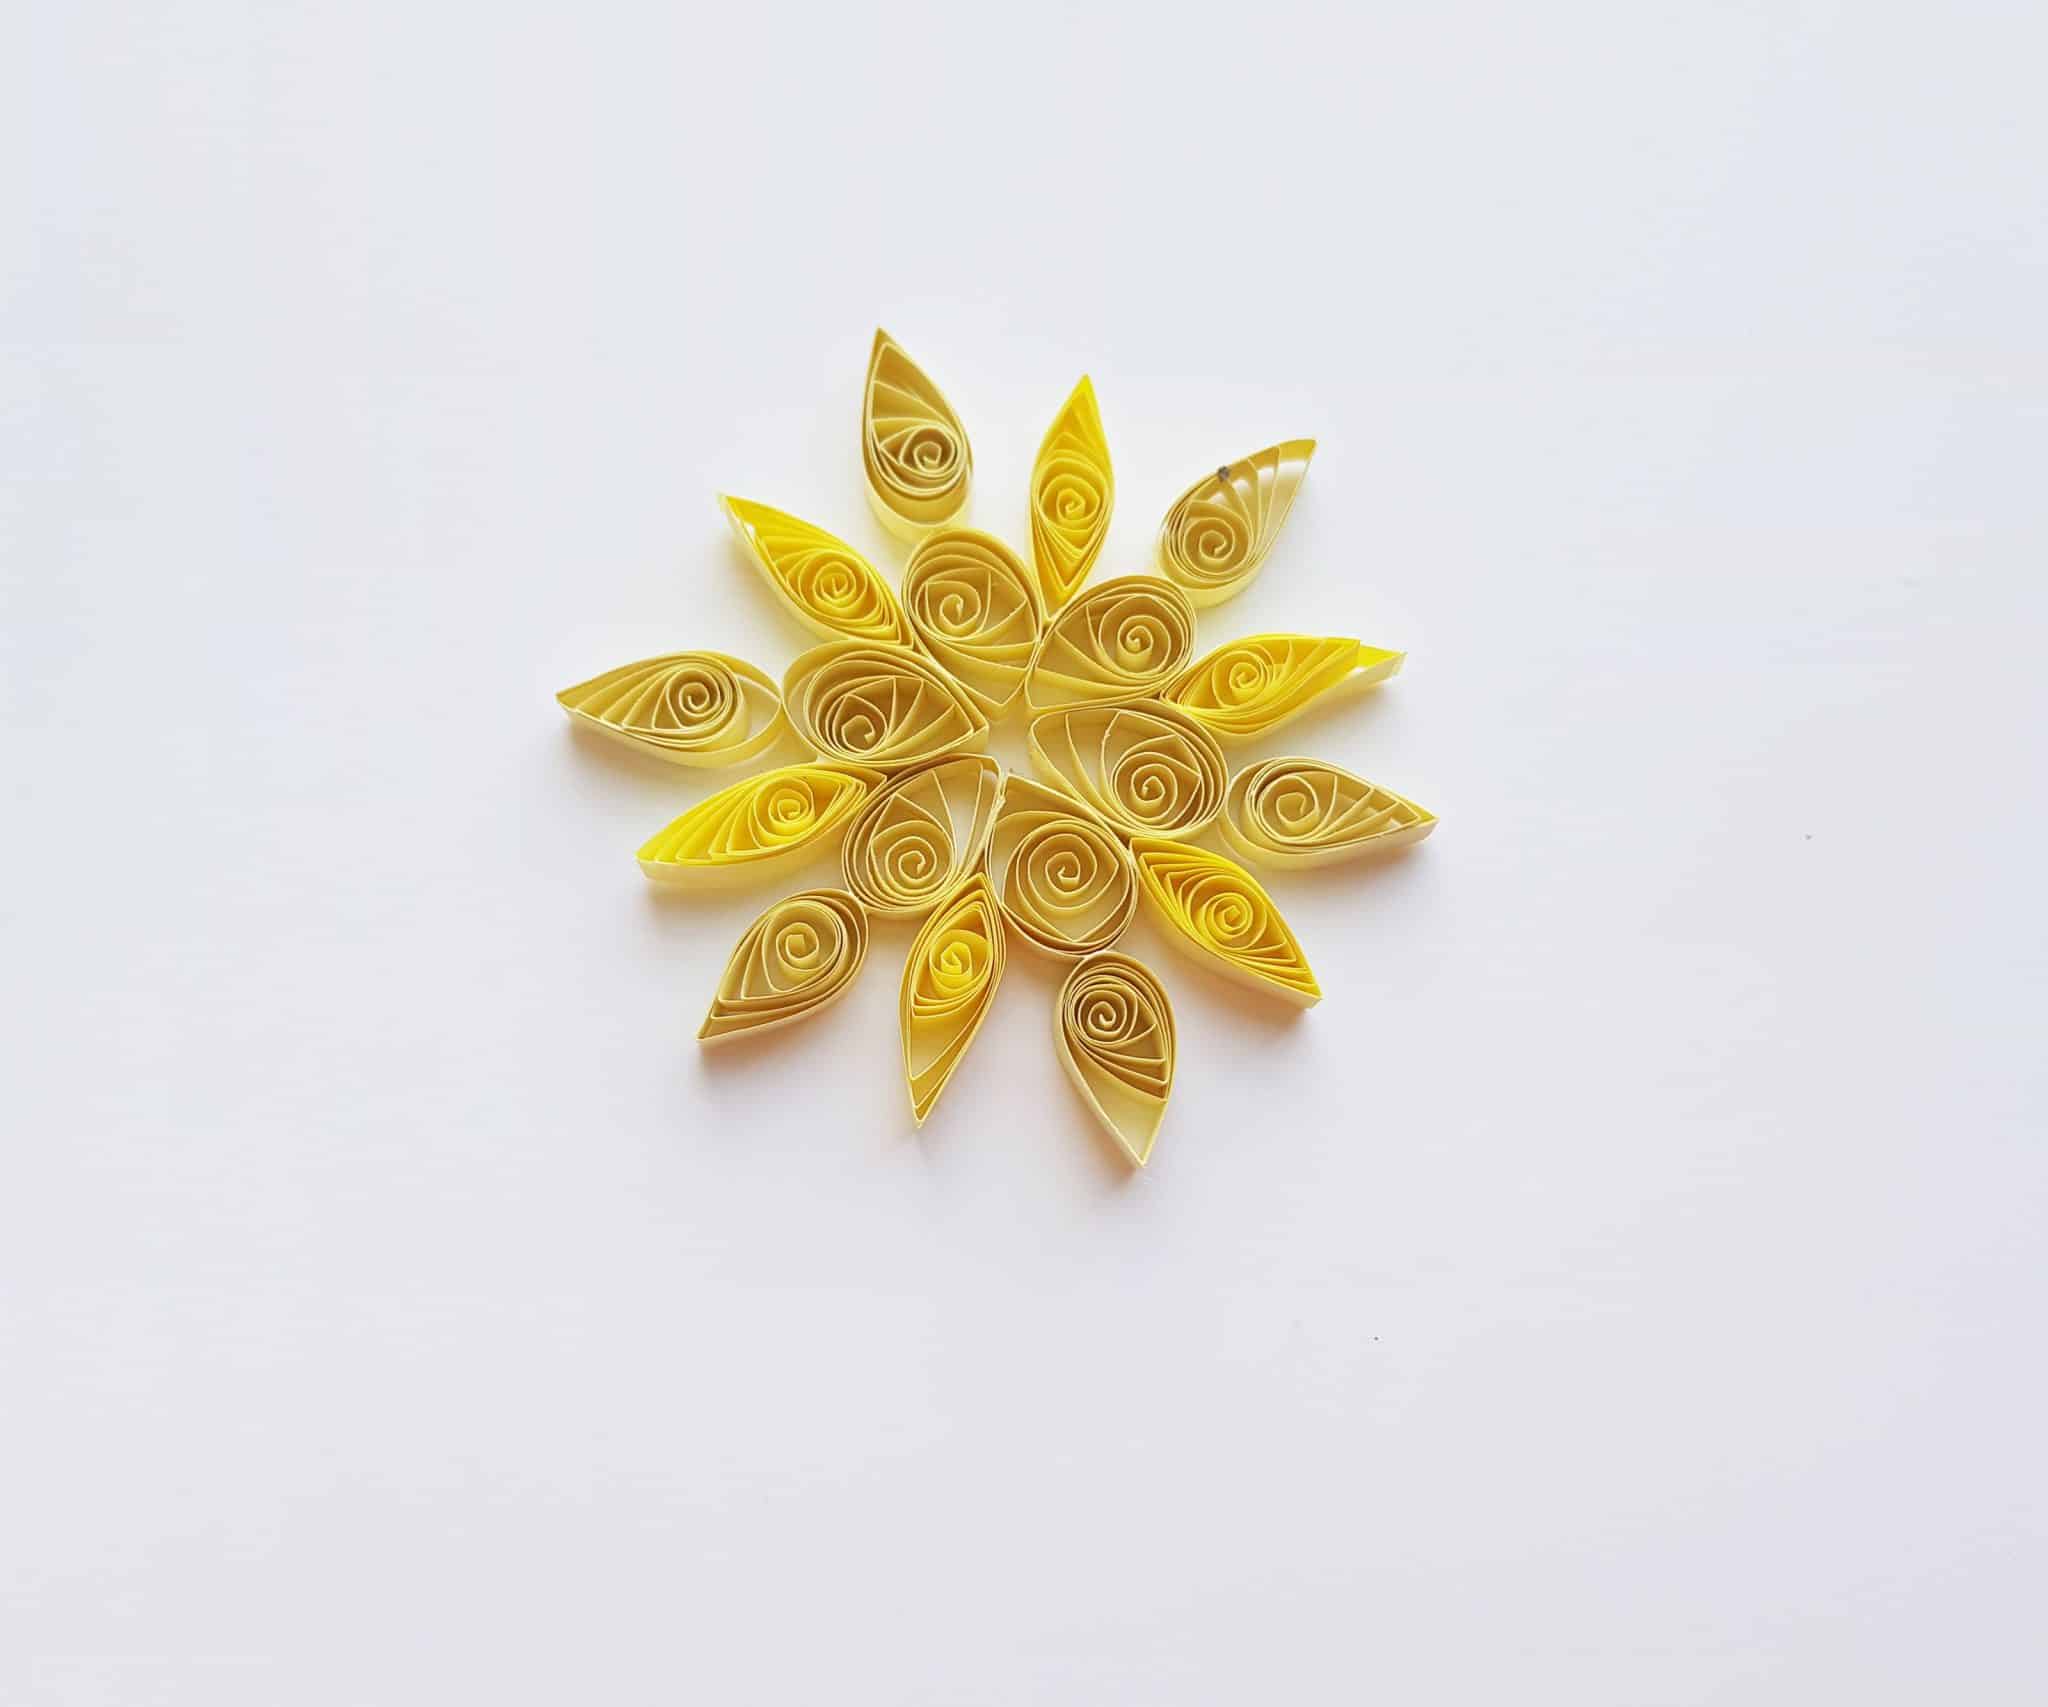
The Eye
The “eye” shape is also very easy to make. All you have to do is repeat the same process as for making the “teardrop” shape and pinch down both sides (with your fingers or the quilling tweeers), instead of just one. You’ll want this shape to look like – you guessed it- an eye! For this project, you will need to make six of these shapes, using 12 cm long quilling strips. Once again, pick a different color that you think will go nicely with the other colors you’ve chosen!

The Loose Tear Drop
The name tells you all you need to know to make this shape! Again, you’ll start by quilling a strip of paper. Then, you’ll simply allow the coil to unfurl (loosen) a little bit before shaping it into a tear drop shape. This results in a tear drop shape that is larger, and less tightly coiled inside, than the others you’ve made so far. You’ll make six of these, from 16 cm quilling strips.
Assembling Your Quilled Snowflake
Once you’ve made all of your shapes, it’s time to put everything together! Use craft glue to assemble the pieces; remember to allow time for drying between each step.
First, take the six, large “loose tear drops” and arrange them in a flower pattern with the pointy ends pointed toward the center. Apply glue between each shape and allow this to dry.
Next, take the six, pointy, “eye” shapes and place one between each of the large tear drops, as shown below. Once again, use a bit of glue between the pieces and let them dry.

Next, you’ll take the six large teardrop shapes (the ones that are a little bit less loose) and arrange/glue them on top of the loose tear drop shapes, this time with the pointy ends pointed outwards.
For the finishing touch, take the six small teardrop shapes. Arrange them on top of/in the center of the snowflake into a flower pattern and glue them into place.
Once the glue has dried, your Lovely Quilled Snowflake is finished! You can use these intricate creations as decoration on your Christmas or New Year’s table, glue them to a piece of paper for a card, hang them up with a little bit of fishing line–or just enjoy the process of creating something beautiful.

Have you ever tried any quilling crafts? Let us know if you decide to tackle this one and what you think of it!