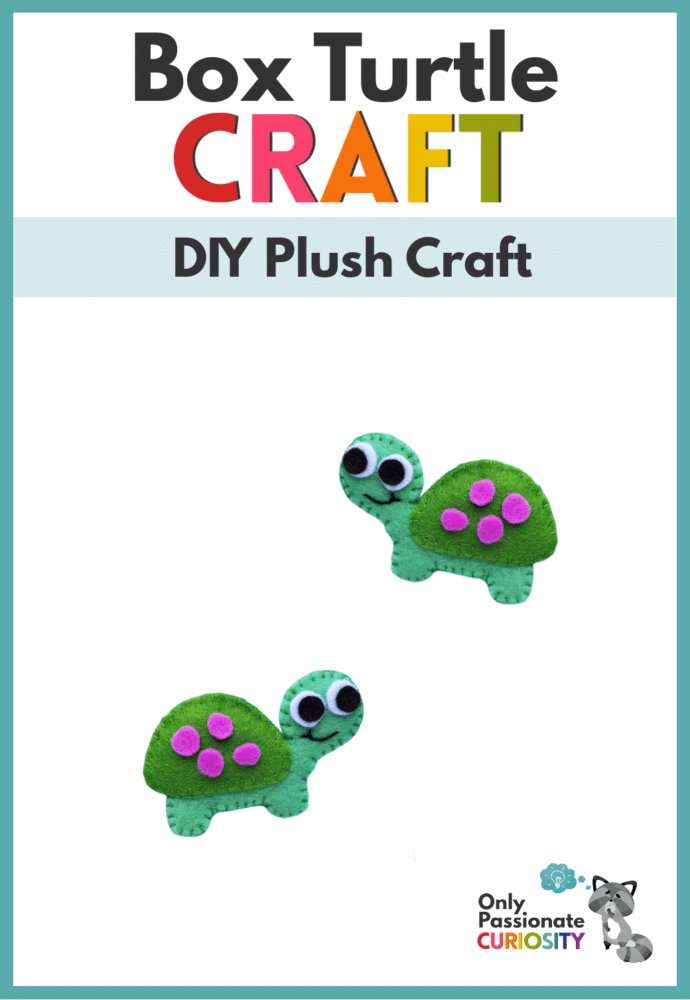
Box Turtle DIY Plush Craft
Are you learning about some of nature’s fantastic creatures this summer? Today, we’re bringing you a fun craft that you can try out with your kids while studying box turtles! One of our favorite things about homeschooling is the freedom to learn through hands-on and creative activities! Of course, it’s always a bonus when the activities can be used for a variety of ages or when they teach practical skills and educational skills (because homeschool moms know how to multi-task!). This DIY Box Turtle Plushie Craft ticks all the boxes. It makes for a perfect activity to pull out on a rainy day when you want to make crafting fun part of your study of turtles.
Tips for Using this Craft with Different Ages:
Sewing is a great practical skill that is also good for motor development! This craft works well with a basic over-stitch that would likely be doable for ages 6 and up.
Do you have an older child or teen that you’d like to challenge a little more with this craft? Try getting them to use the blanket stitch instead! (If you aren’t sure how to do an-over stitch or a blanket stitch, check out these short videos!)
If you have toddlers on deck while you are working with older children on this craft, you can give them some different colors of felt cut-outs to sort and play with. (Kids always seem to love felt!) If you have a child who is old enough to follow directions (but still too young to handle a needle), you could ask him to arrange the pre-cut shapes into the turtle design. (You can sew it, or even hot glue it, later.) There are many ways to involve children of any age in hands-on crafts like this one!
What You Need:
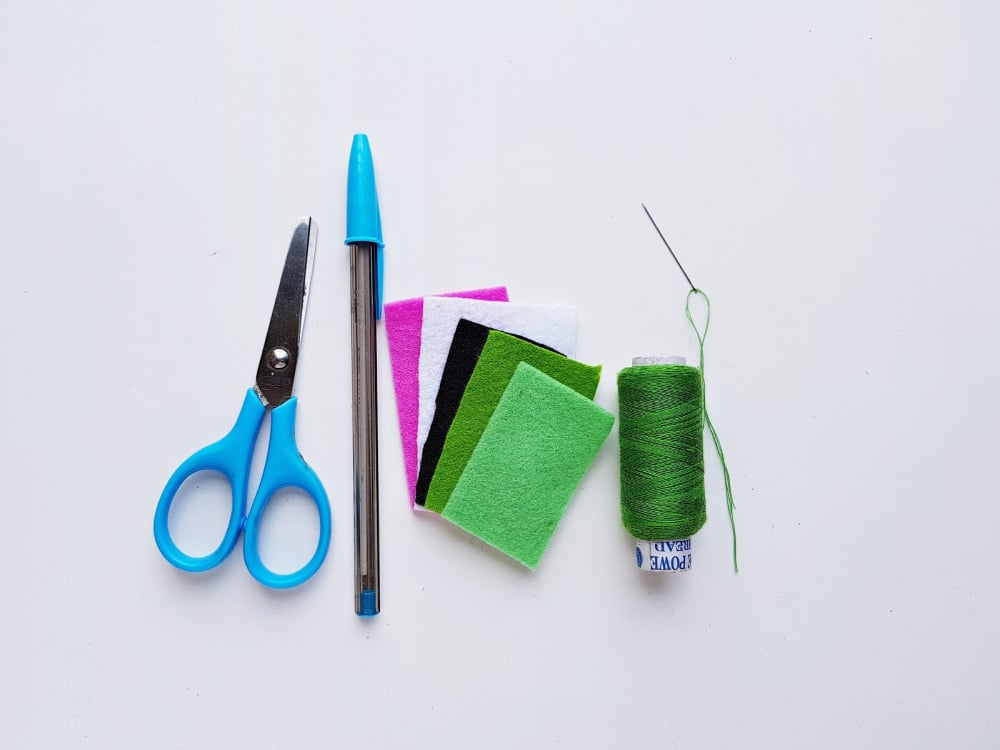
For this Box Turtle Plushie Craft, you will need:
- Felt fabric: if you want it to look like ours (pictured below), you’ll need two different greens, white, black, and pink!
- Pencil or pen – for tracing the template
- Kid-friendly scissors
- Needle and thread
- Cotton or scrap felt
- Hot glue (optional)
You may also want to grab our printable template for this craft, which is available via the link at the bottom of this article.
How to Make It:
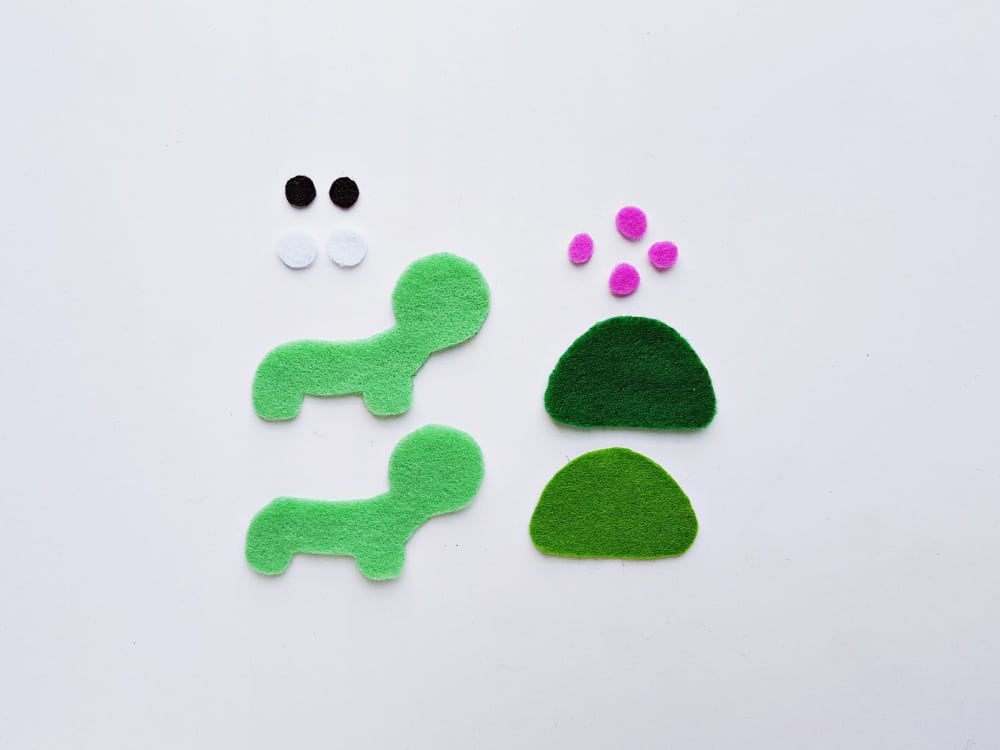
First, you’ll need to out the shapes (pictured below) from felt. You can make this easy by printing out the turtle template and cutting the shapes out from the paper. Next, lay the paper cut-outs on top of the felt and just cut around each shape using the scissors. Some children may be more comfortable tracing the shapes on the the felt before cutting them out.
The template includes the following shapes for your Box Turtle Plushie:
- 2 body patterns
- 2 shell patterns
- 3 dots
- 4 circular shapes for the eyes
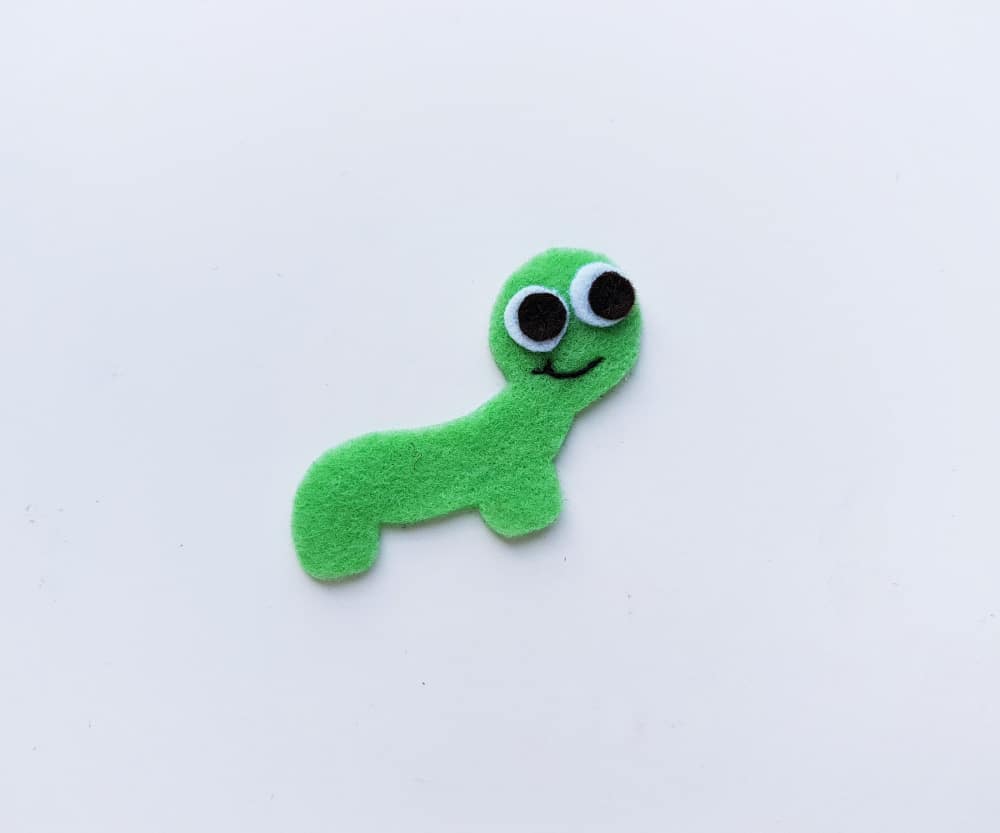
Let’s start by making the eyes.
You should have cut out two small black circles and two larger white ones. Place the smaller black circles onto the larger white ones and arrange both eyes onto the head portion of the body cutout. Use a simple stitch through the black part of each eye to secure the eyes to the turtle’s head.
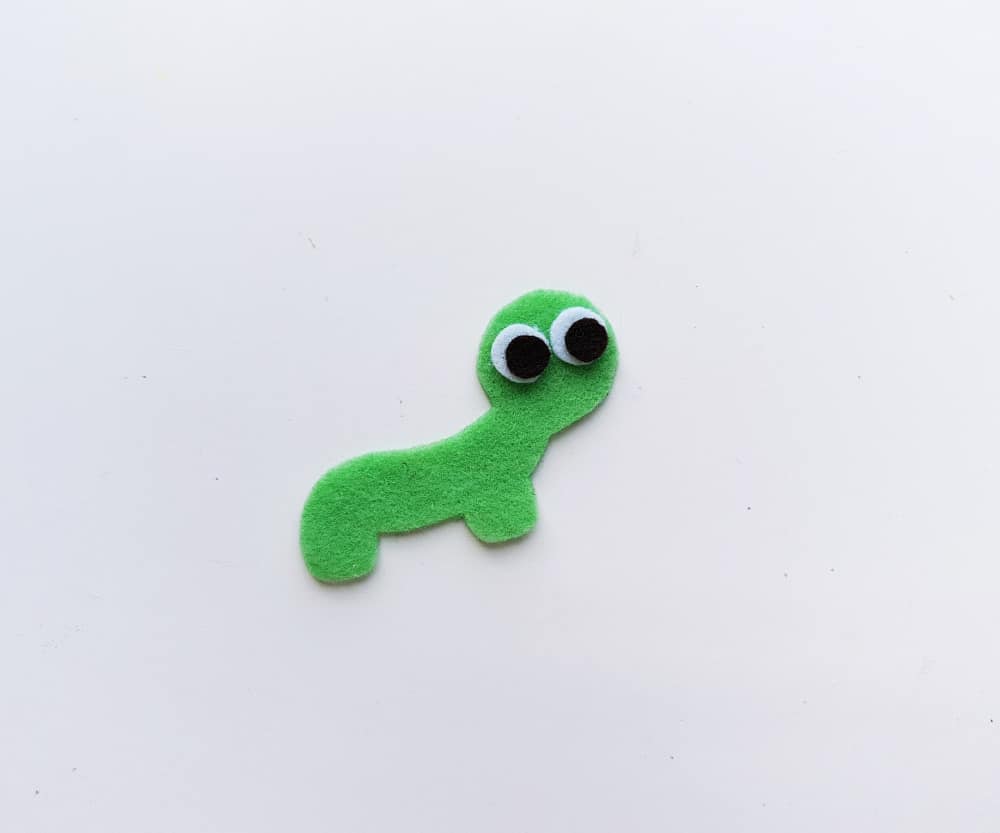
Next, you’ll give your turtle an adorable little smile. This is made up of a longer running stitch (with a little slack thread pulled into a slight curve in the middle) and two smaller running stitches to form dimples. Isn’t he cute??
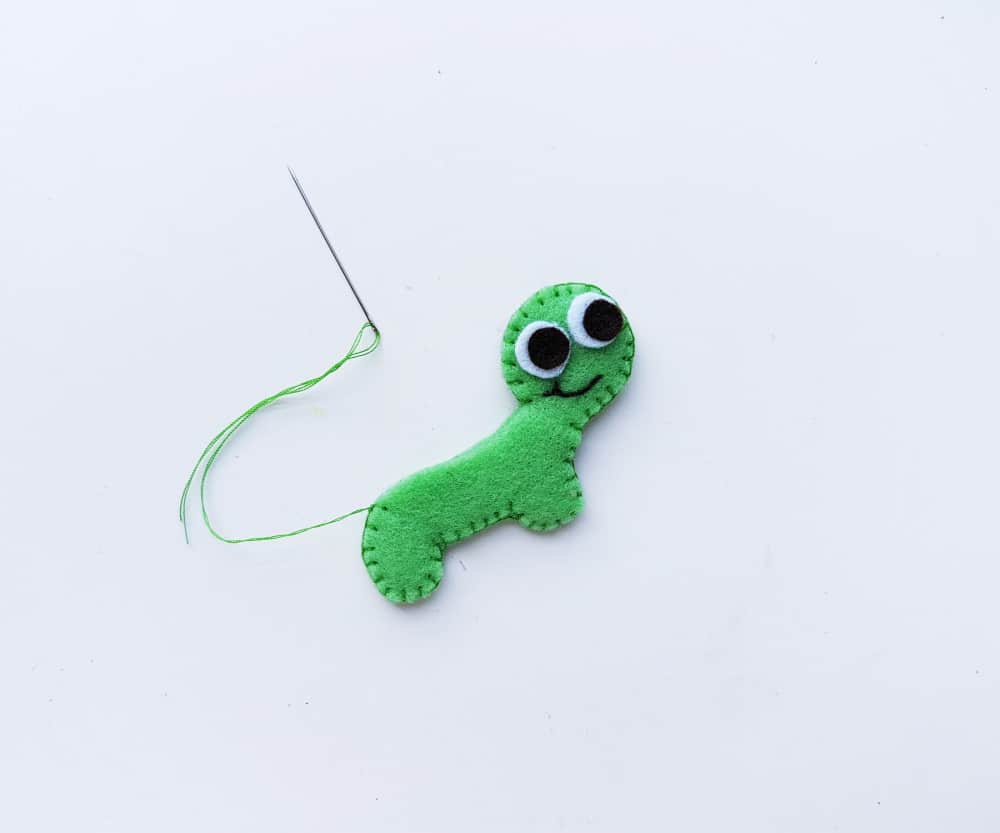
Now that your little guy is starting to get some personality, you’ll give him a firmer structure to support his “plushiness.” To do this, get the other body cut-out and line it up with the one you just created the face for.

Next, use a simple over stitch (or a blanket stitch, to make it a little more challenging) to connect the two pieces together.
However, don’t seal it up yet!
Before you stitch your turtle all the way around, pick up a few small pieces of the felt/cotton scraps and stuff them into the small opening until your turtle is full and plush. When you’re satisfied with his appearance, complete the stitches around the shape of the body. Then make a knot to tie it off and trim the excess.
You’ll repeat this process for the turtle’s shell. Line the two pieces up and use the same stitch that you used before to stitch together the curve that forms the top of the shell.
When you get to the bottom line of the shell shape, position the shell onto the turtle’s body and press your stitches through– into the top layer of felt that makes up the body.
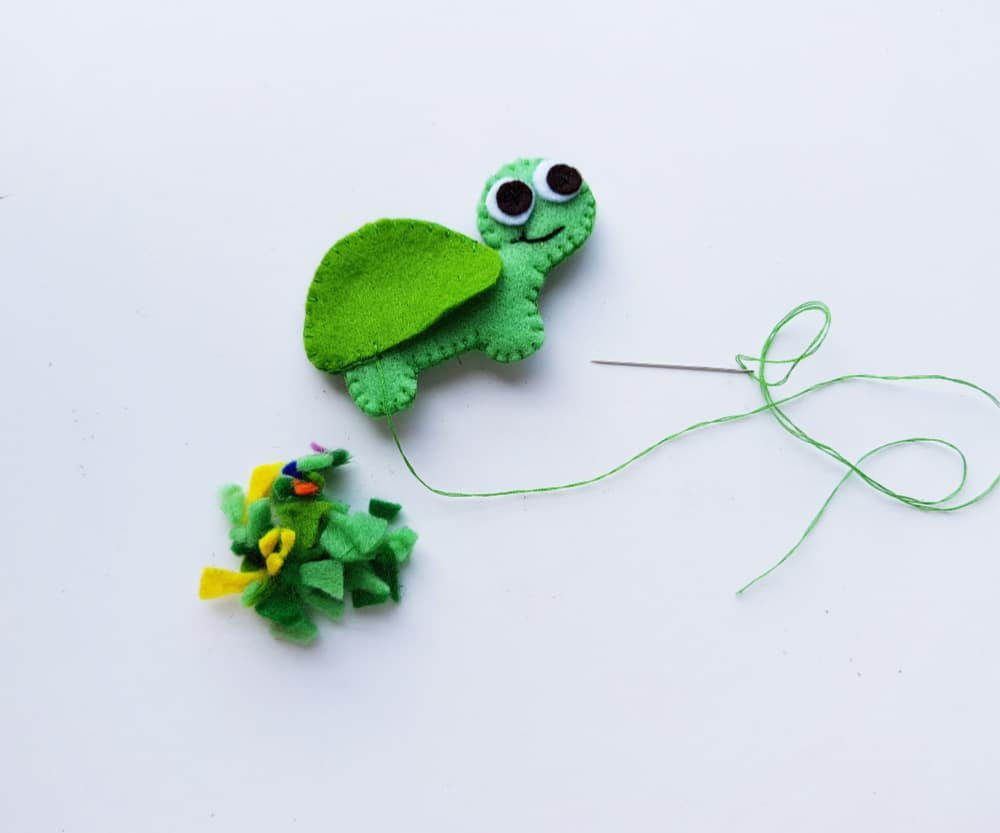
Just like in the previous step, don’t seal the shell up yet! Leave a small opening to fill the shell with small scraps that give it a full, cushion-like feeling.
For the finishing touch, stitch (or glue) the pink circular shapes onto the turtle’s shell in a design of your choice. (This could offer a good opportunity to talk about the different designs that real turtles carry on their shells.)
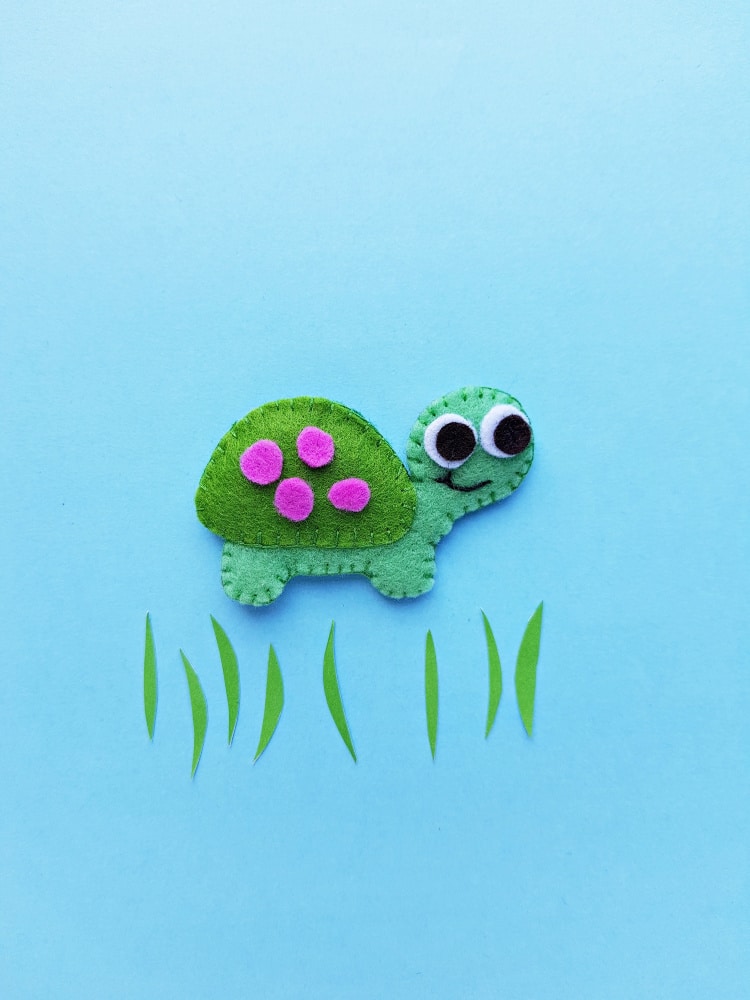
Voila: your DIY plush turtle is finished and ready to enjoy! There are a lot of ways your child (or children) may want to play with the finished product. It could be used in imaginary play and/or even educationally (to act out a story or information you’ve learned about turtles). Your children are sure to be proud that they were able to make this play item by themselves! Don’t forget to grab the printable template for this craft by clicking the link below!
Click here to grab your printable template for this Box Turtle Plush Craft.
Are you and your crew learning about turtles? We love turtles and hope that this adds to your study of them. Let us know if you made and enjoyed this BoxTurtle Plushie Craft!
You May Also Enjoy:
If you are looking for more hands-on activities to go with studying animals, you may also want to check out the below activities!