Papercraft Christmas Tree

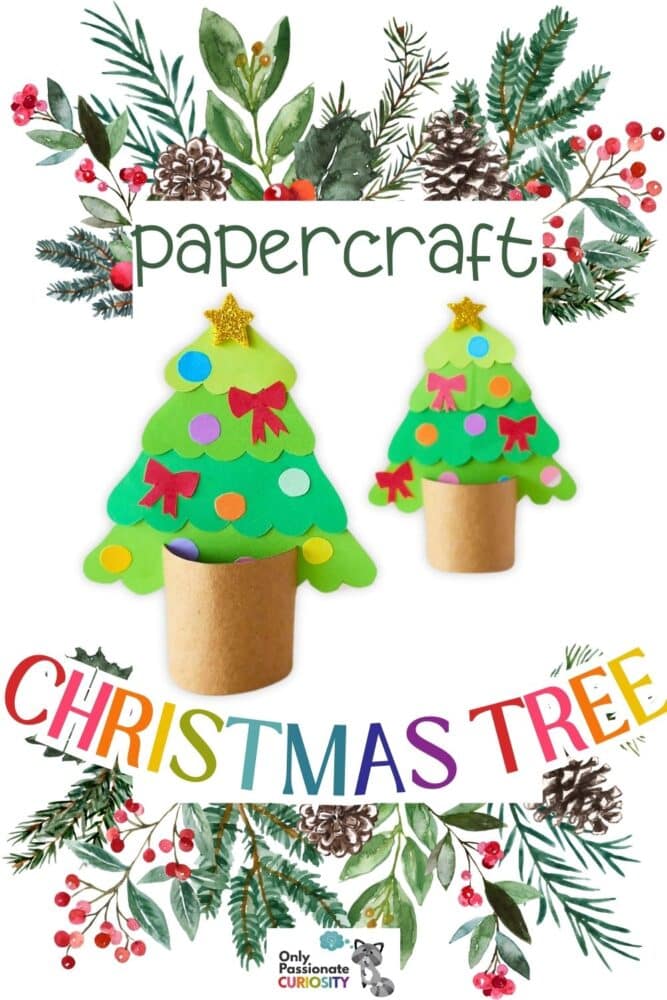

Here’s a fun December project: a 3D papercraft Christmas tree that you can make with your kids!

List of Supplies for your Papercraft Christmas Tree


How to Make Your Papercraft Christmas Tree

Step 1
Select medium-weight craft paper for the green parts and the decorations. Use cardstock paper for the trunk part. Select papers and trace the template patterns on them using a pencil. Cut out the traced patterns using a pair of scissors.

Step 2
Take the tree base and the big layer cutout. Attach the big layer on the base, keeping a 2 cm space from the bottom of the base.

Step 3
Attach the medium layer right above the big one.

Step 4
Attach the small layer to the tip of the base. Our green part of the tree is ready.

Step 5
Attach the star cutout to the tip of the papercraft tree.

Step 6
Attach the bow cutouts to the tree.

Step 7
Apply a drop of glue on the papercraft Christmas tree’s top surfaces to mark the spots for the round decorative pieces.

Step 8
Place the small round cutouts on each of the glue drops.

Step 9
Use the cardstock cutout to form a cylinder shape. Use glue along the overlapped open sides to secure the shape.

Step 10
Cut 2 slits on 2 opposite ends of the cylinder shape’s top side.

Step 11
Insert the bottom end of the papercraft tree through the slits to join it with the cylinder shape. Add more decorative details to the craft if you want to.
More Papercraft Projects and 3D Scenes:
- Clay Rudolph Craft
- DIY Pinecone Christmas Tree Craft
- Huge Collection of Christmas Printables
- The Very Hungry Caterpillar 3D Diorama