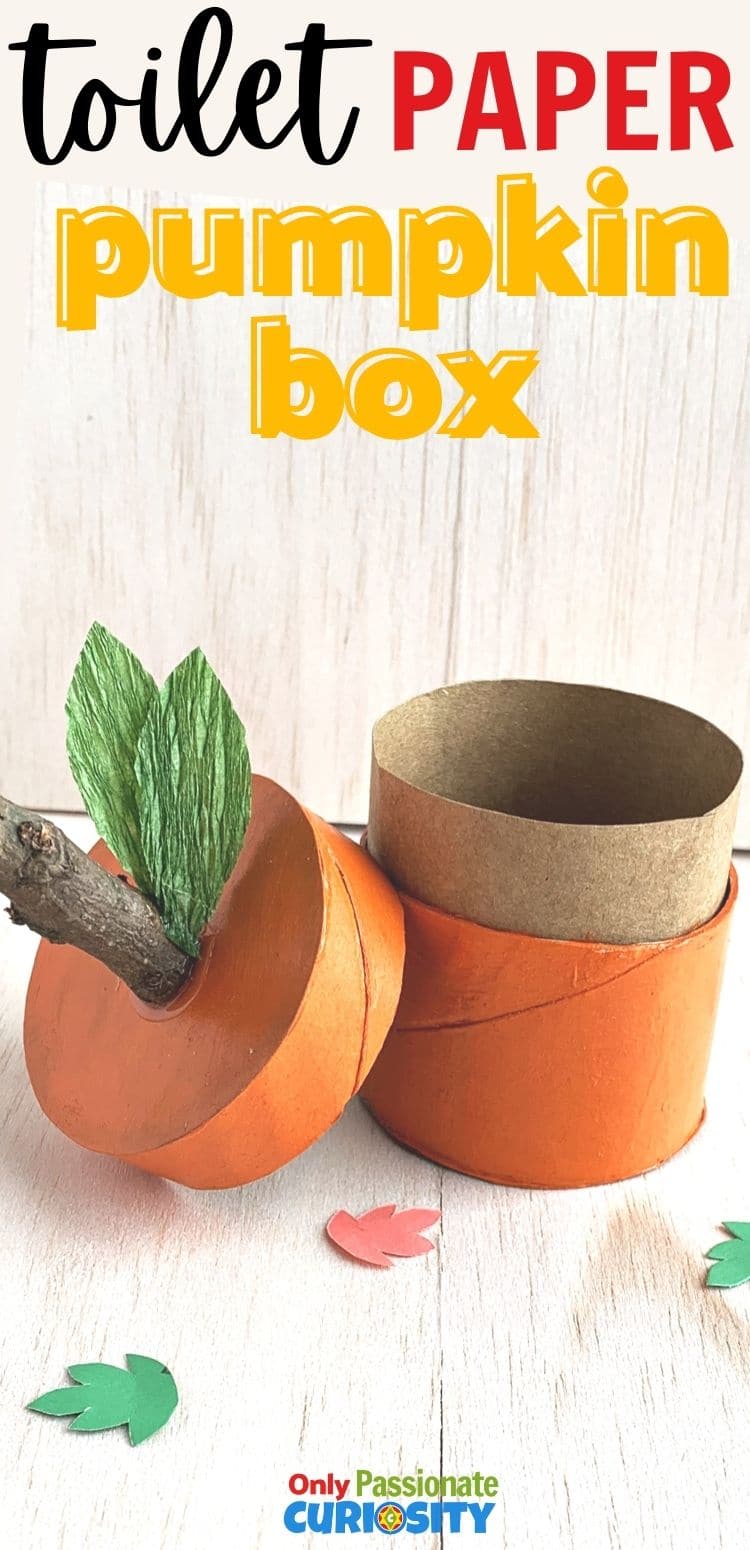
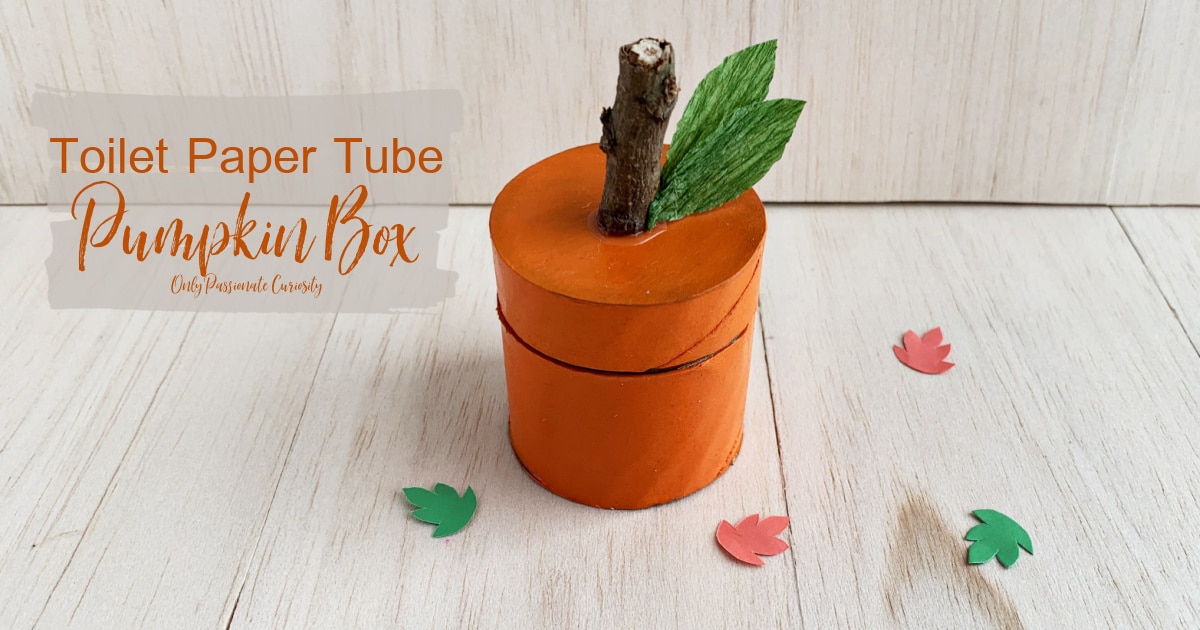
Toilet Paper Tube Pumpkin Box
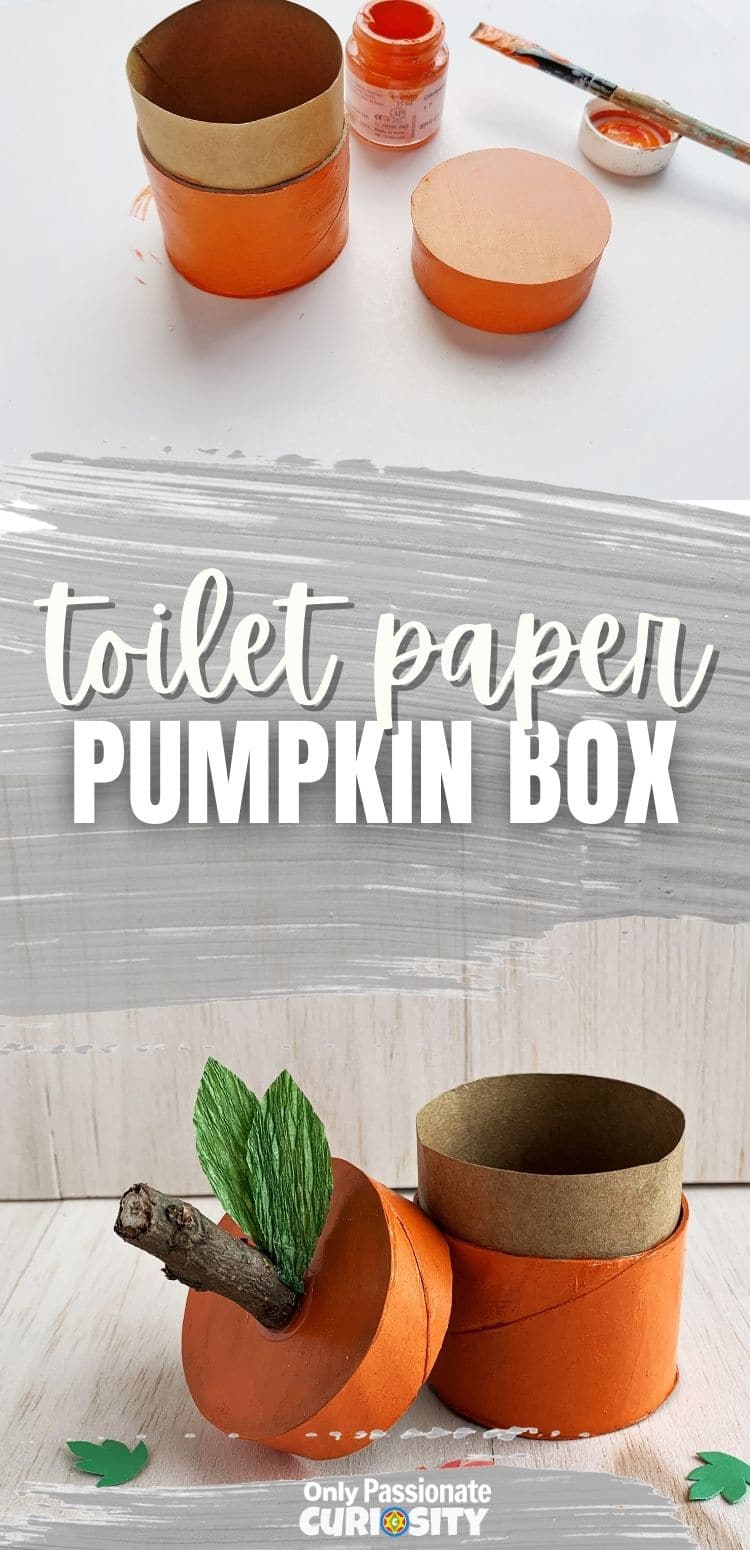
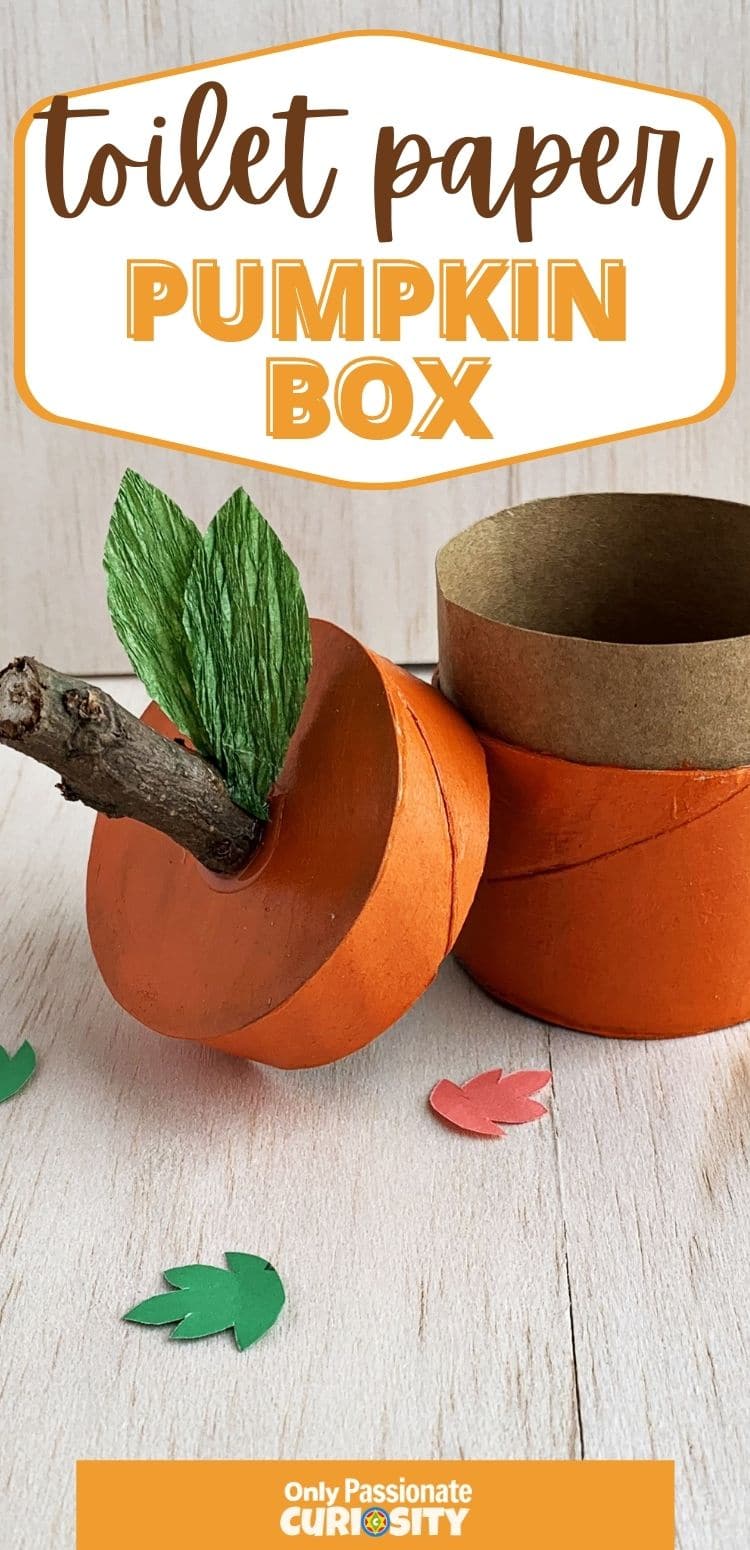
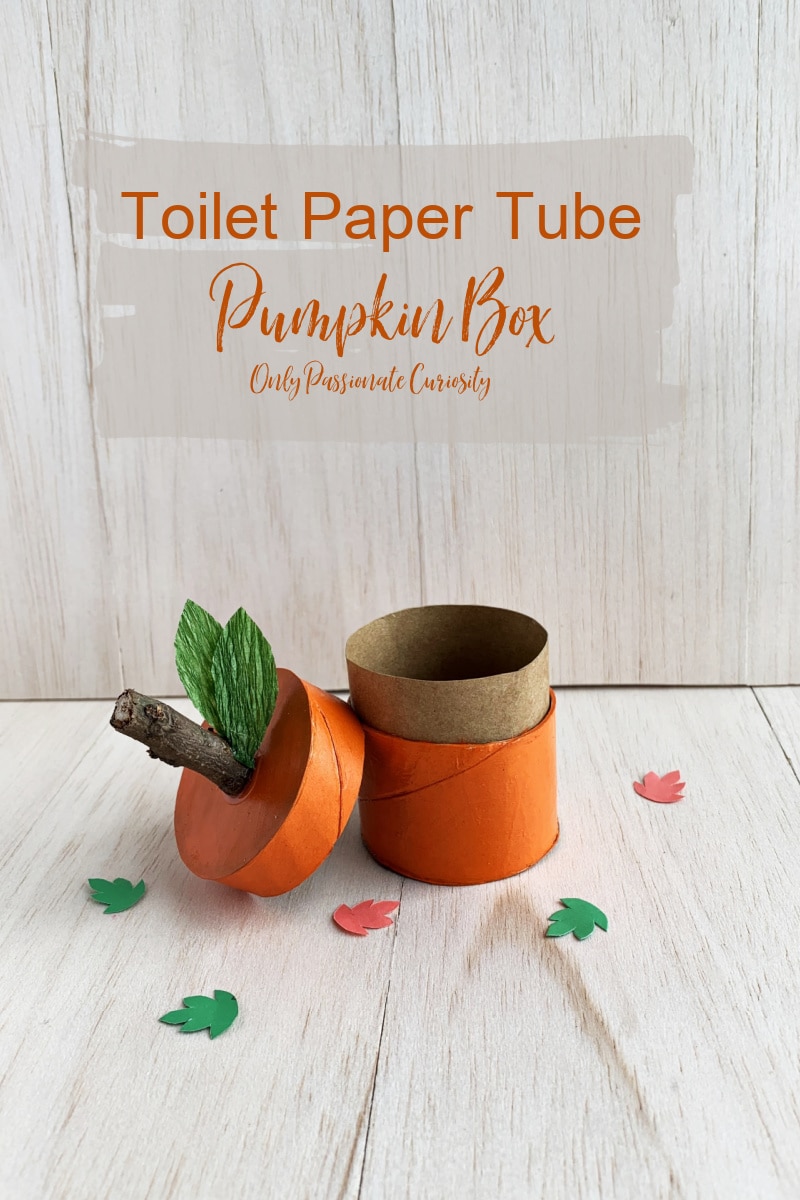
If you’ve been following our toilet paper tube craft series (or even if you haven’t!), we have a fall-themed toilet paper tube craft to share with you! It’s super cute and actually makes a nice little decoration to use throughout fall, Halloween, and Thanksgiving. You could also use it to store little treats, tiny little Lego creations, miniature handwritten notes or drawings, or whatever else is small enough to fit inside!
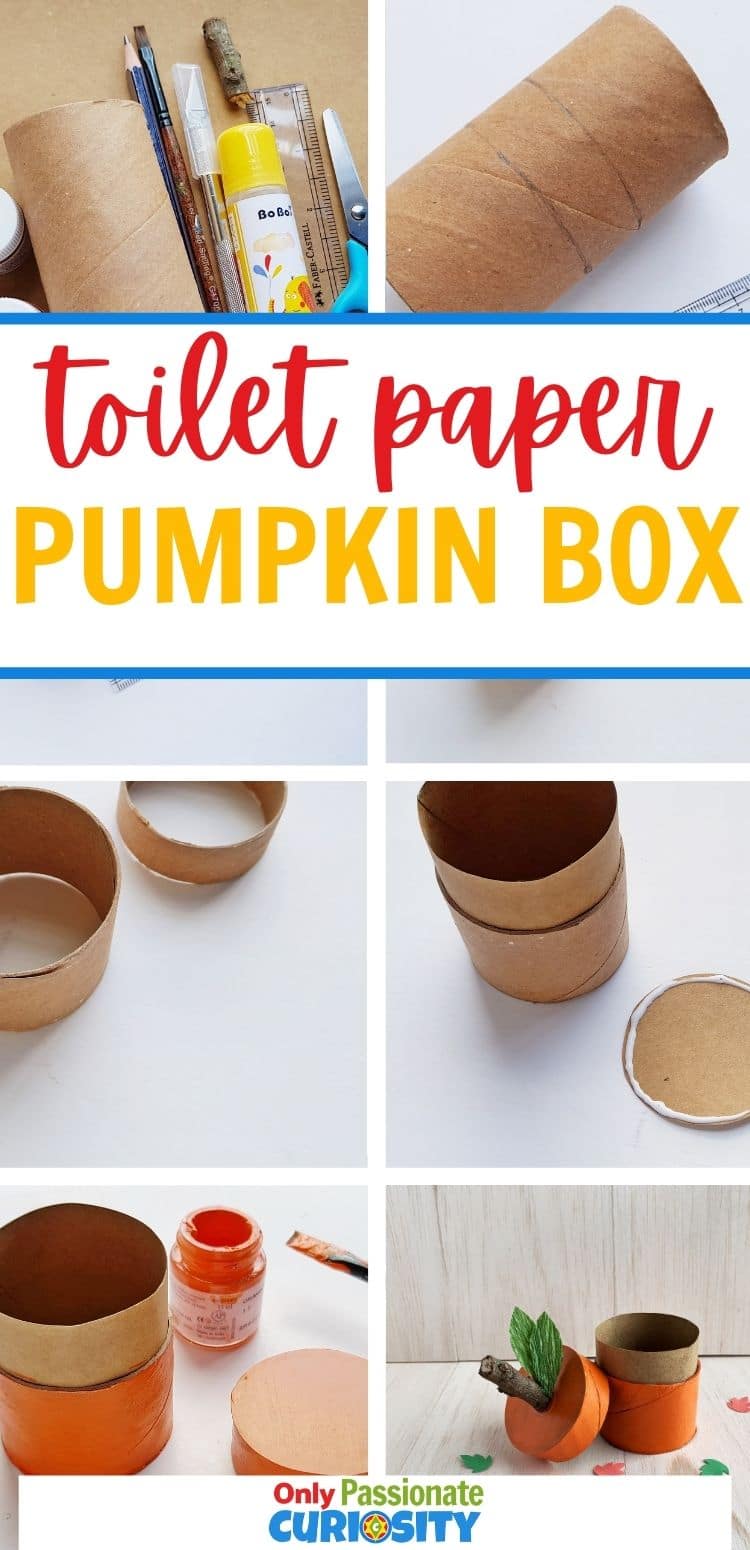
First, you’ll need to gather your supplies. (You probably have most of them already.)
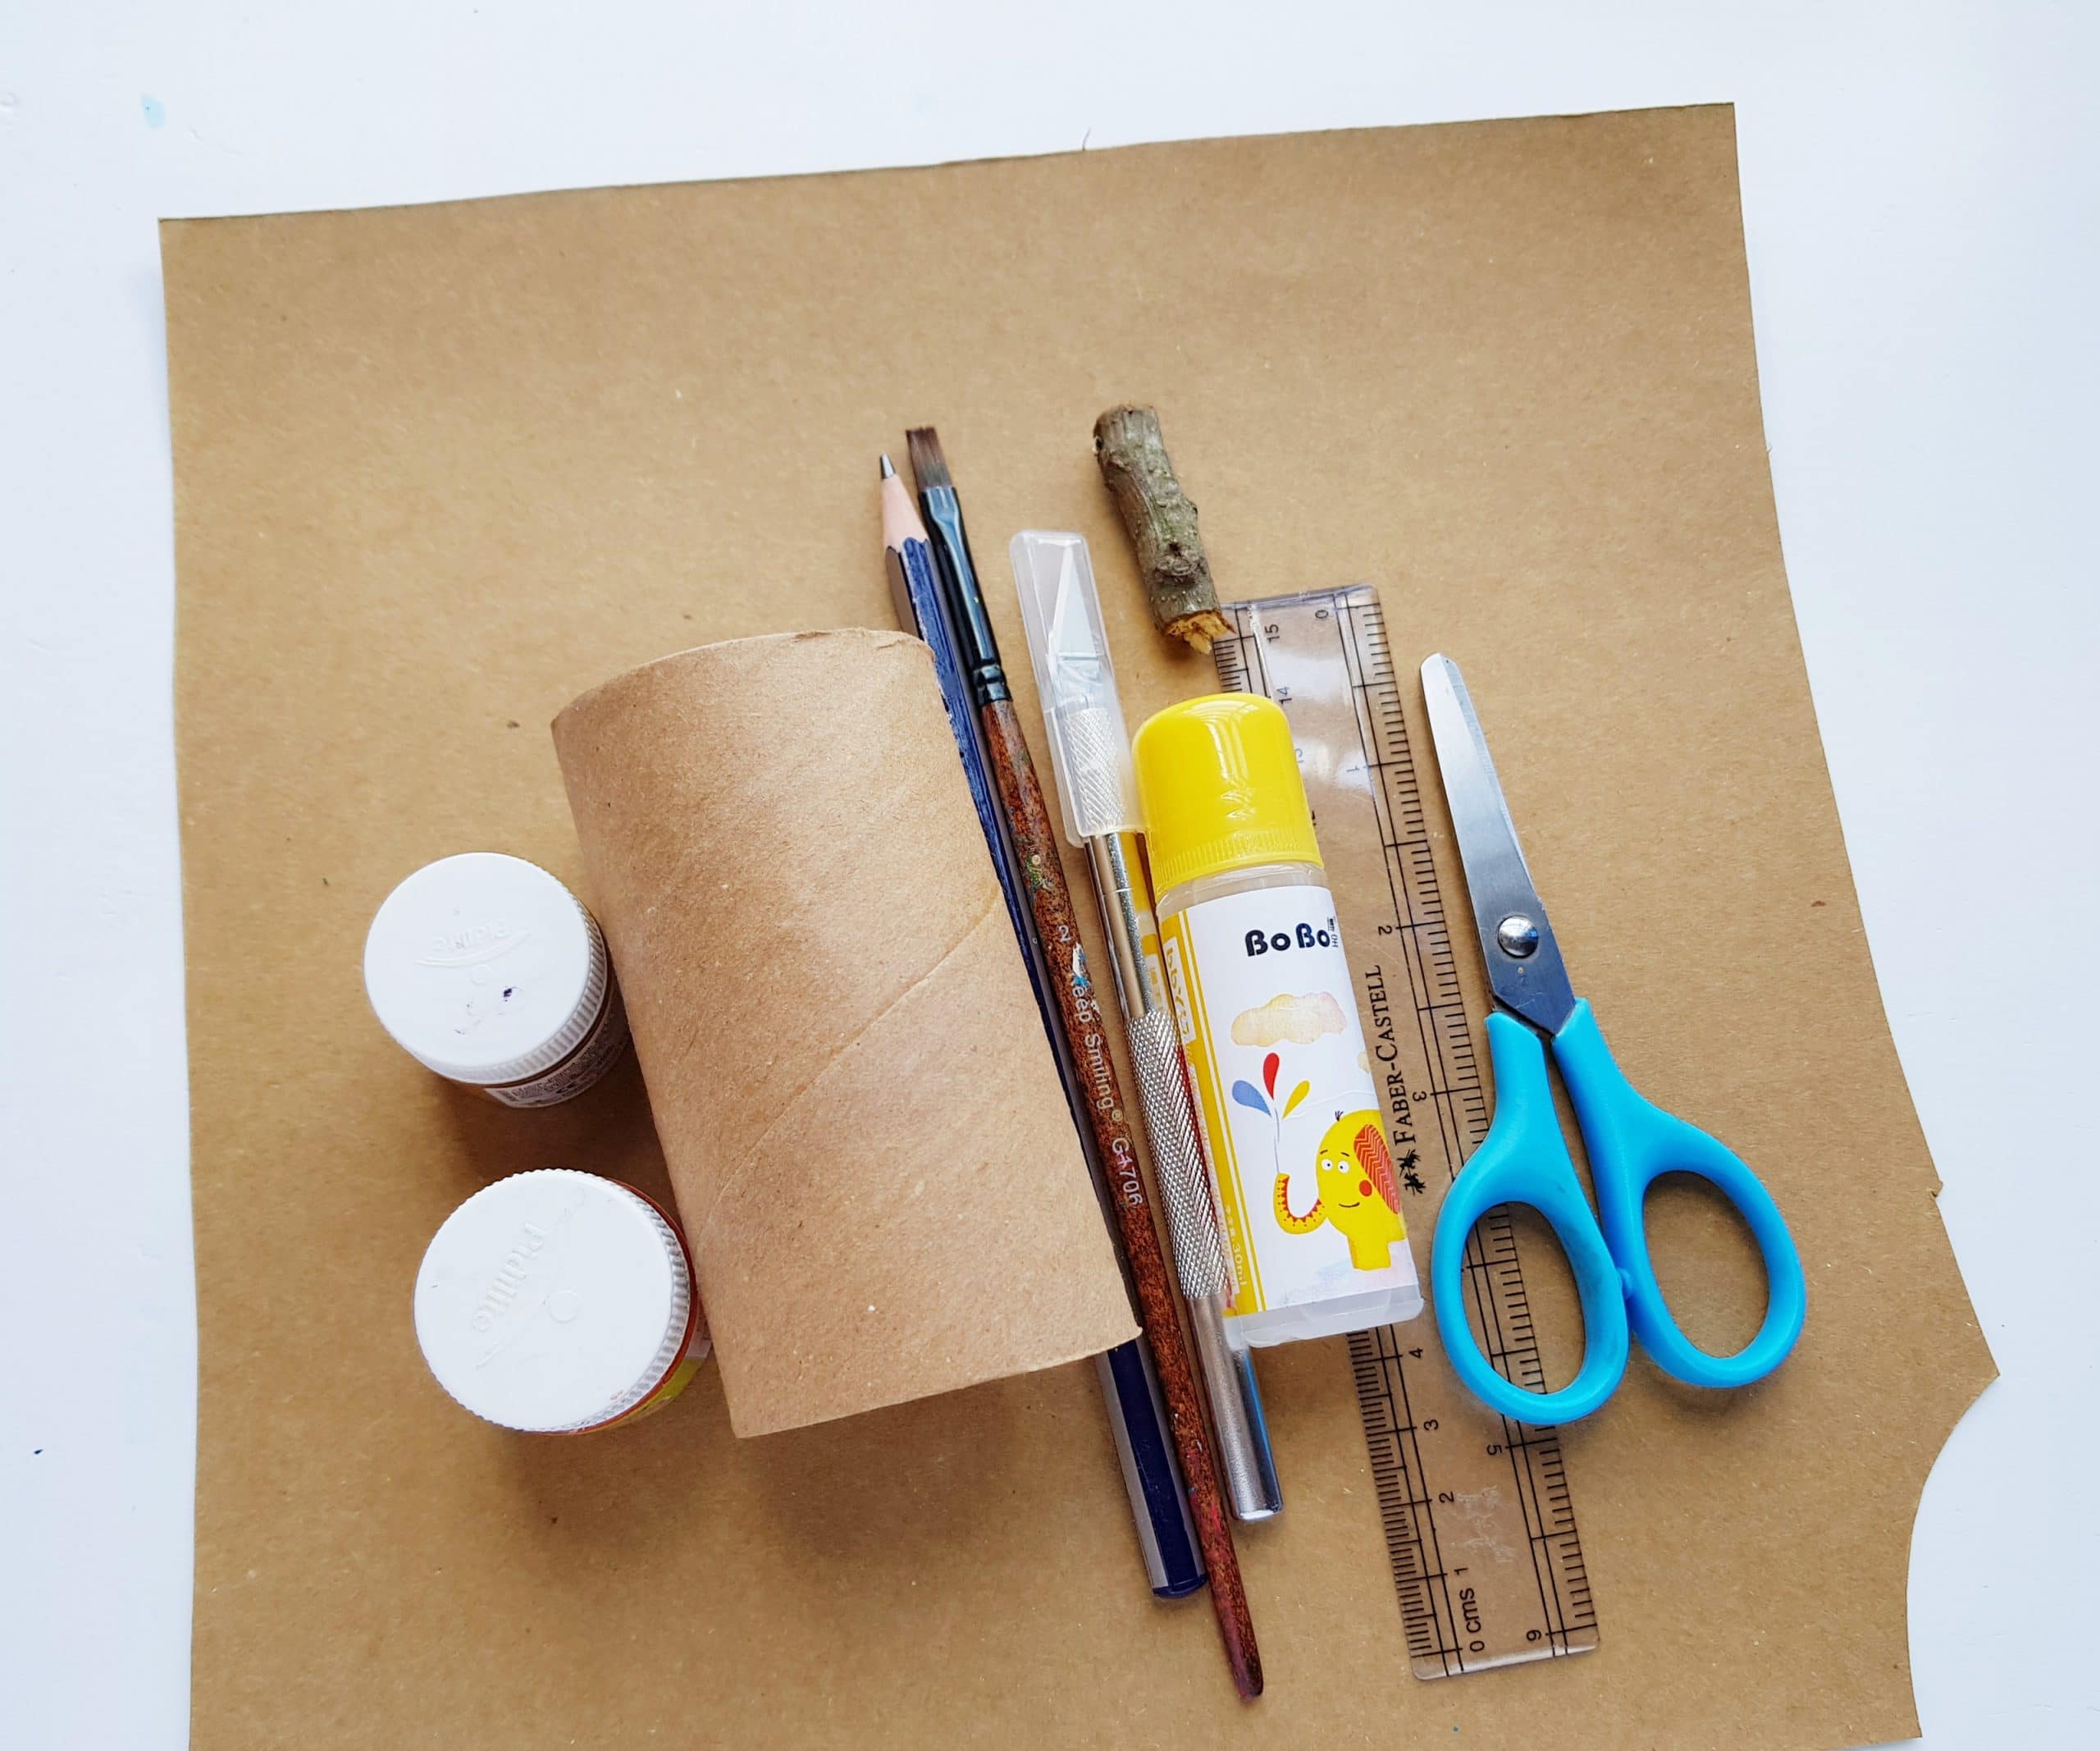
Supplies
- toilet paper roll
- cardstock paper
- pencil
- scissors
- ruler
- X-acto knife
- craft glue
- acrylic paint
- paint brush
- dry twig
- small silk or paper leaves (optional)
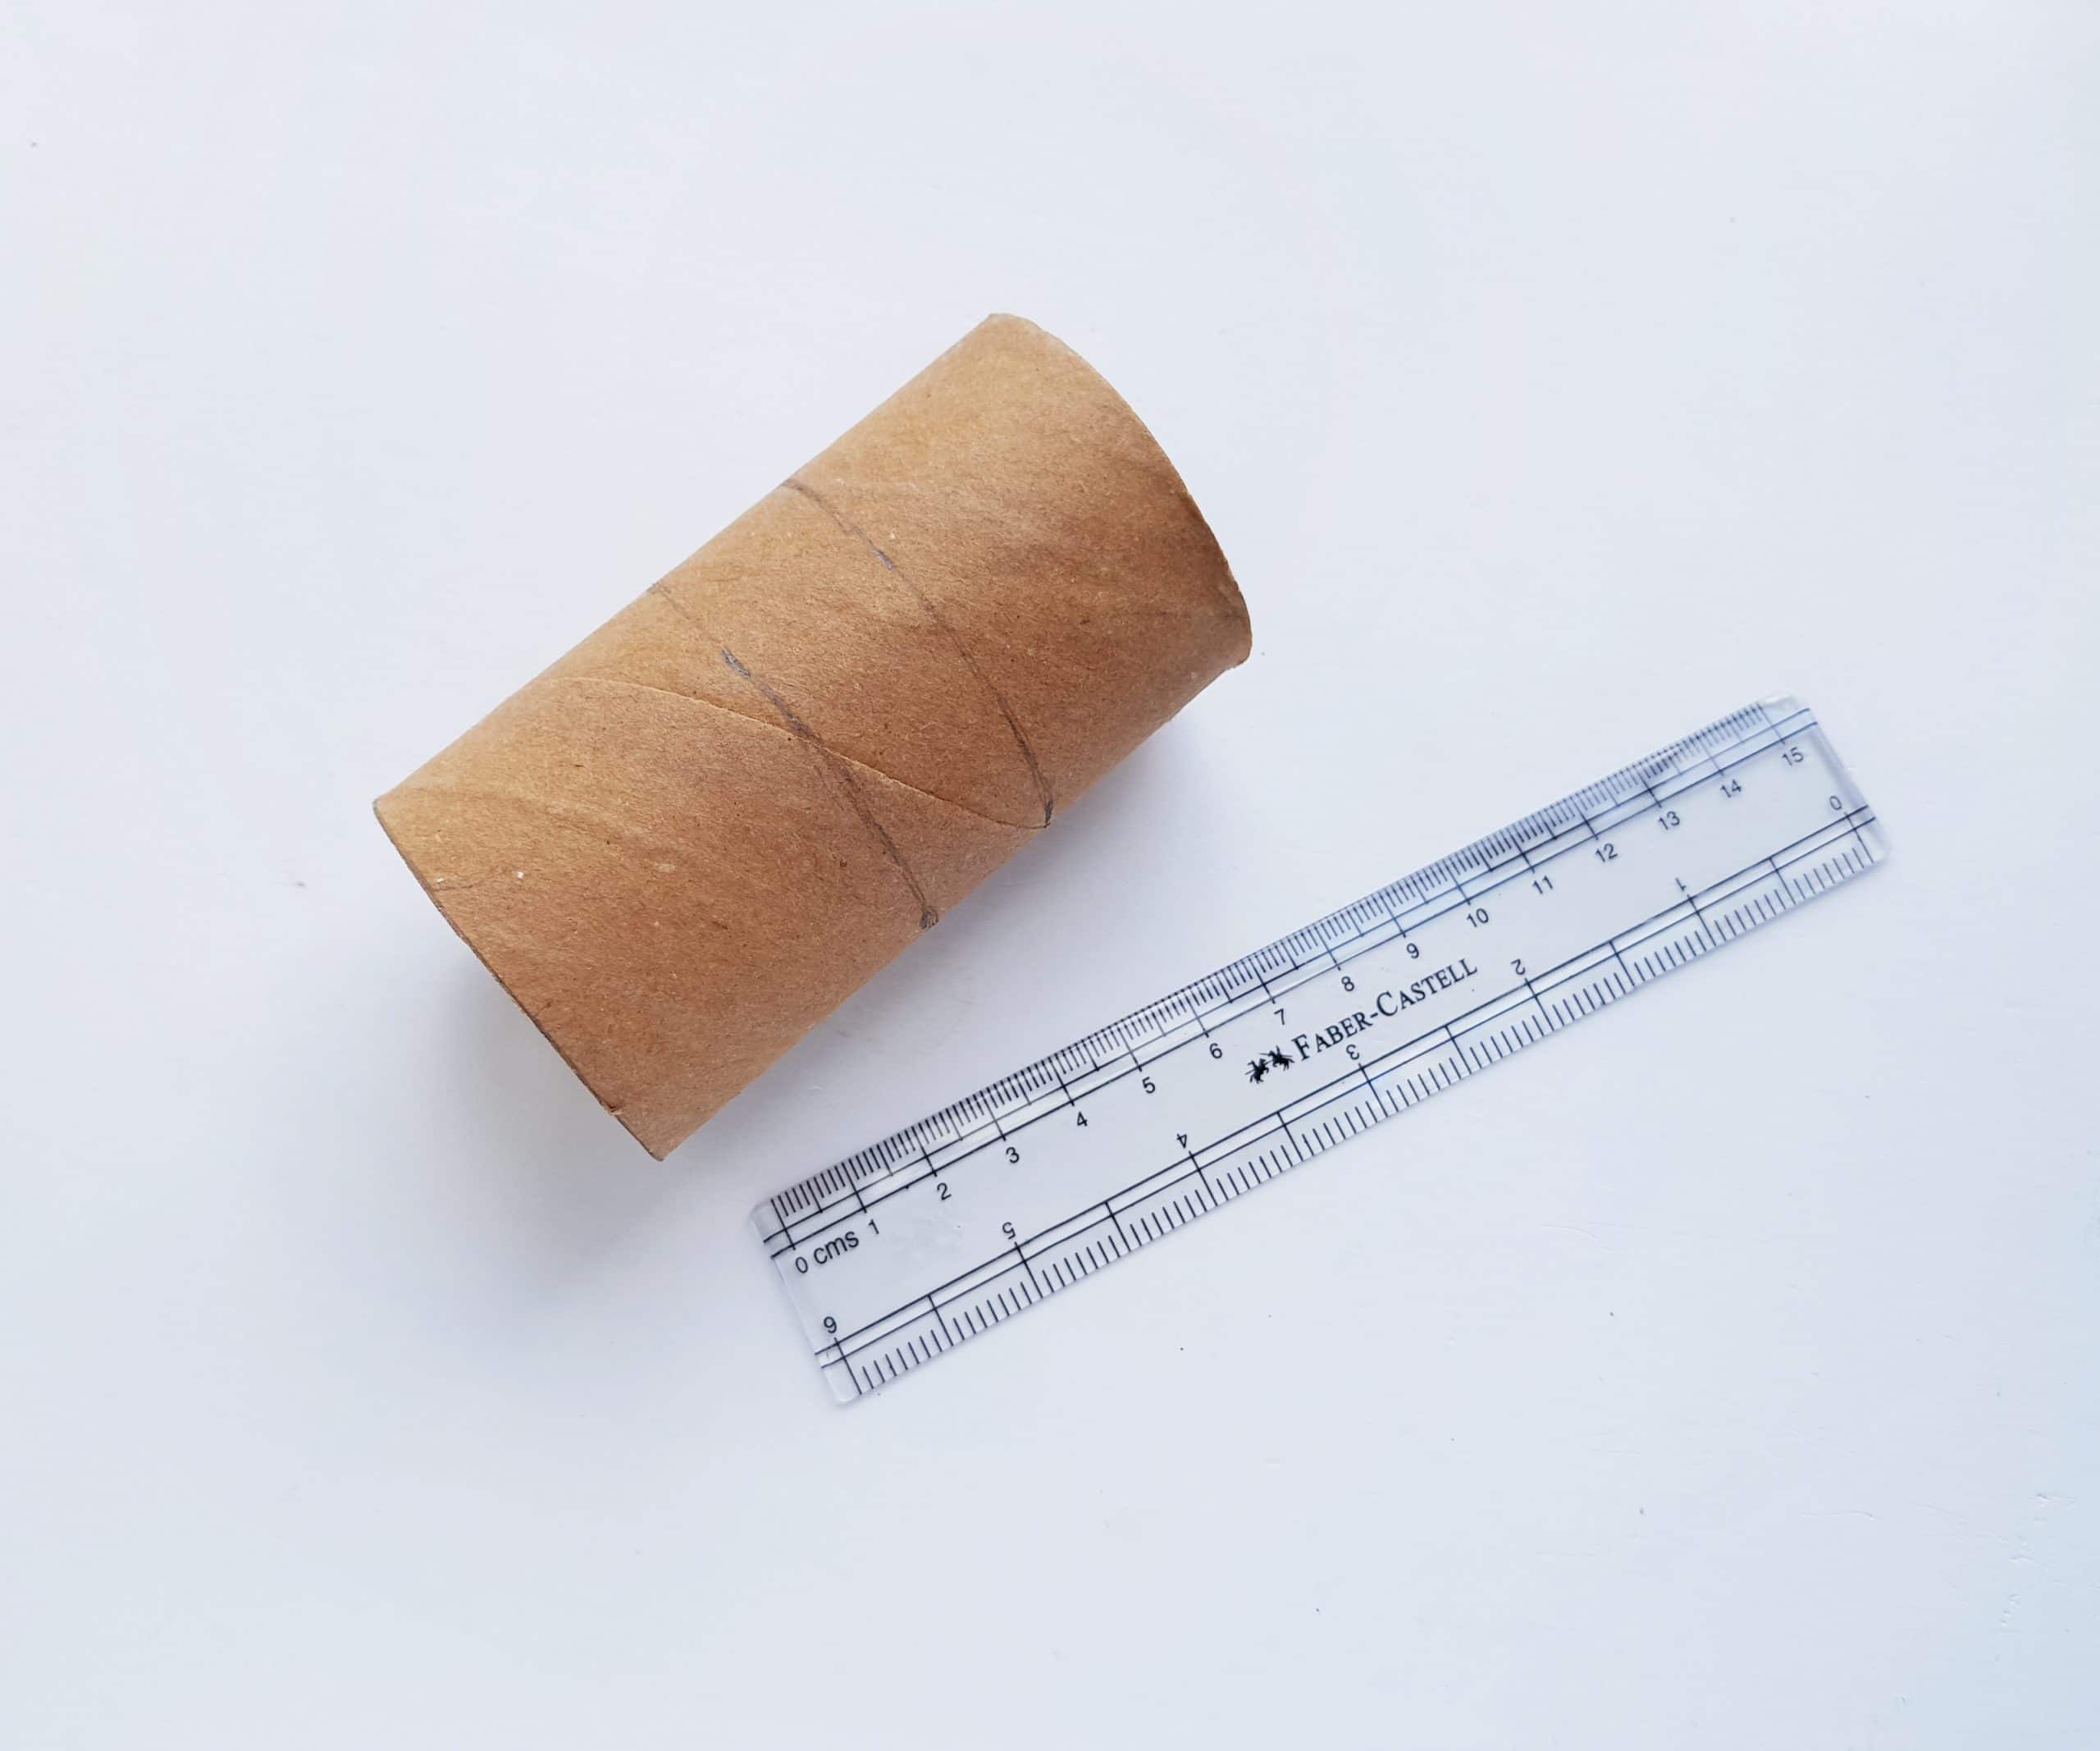
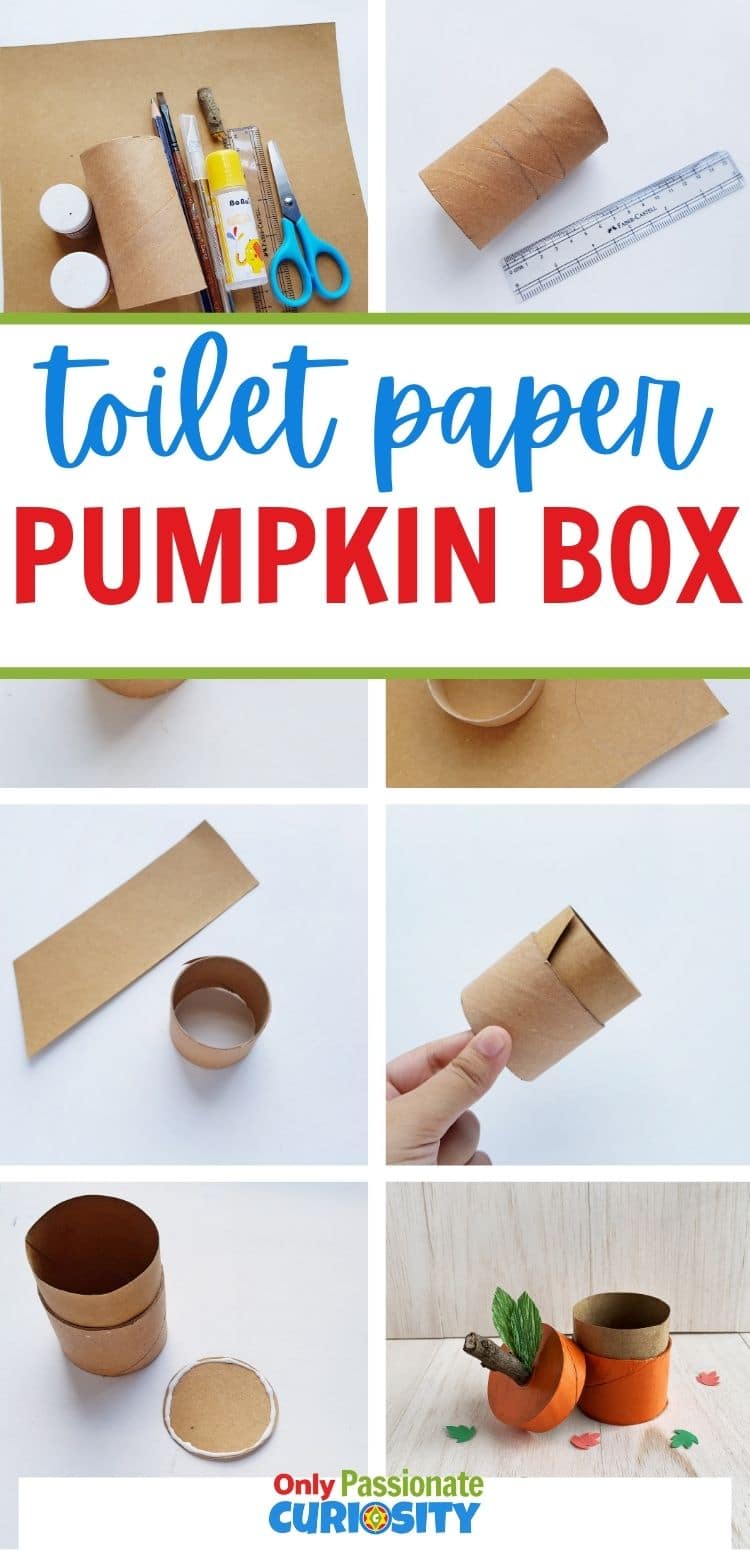
Now you’ll grab a toilet paper roll and a ruler. Determine the sizes you’d like for the box and the lid. Use a pencil to mark the determined height for the box and the lid. Make it taller or shorter depending on what you plan to put inside. Or make some of various sizes for a pretty grouping!
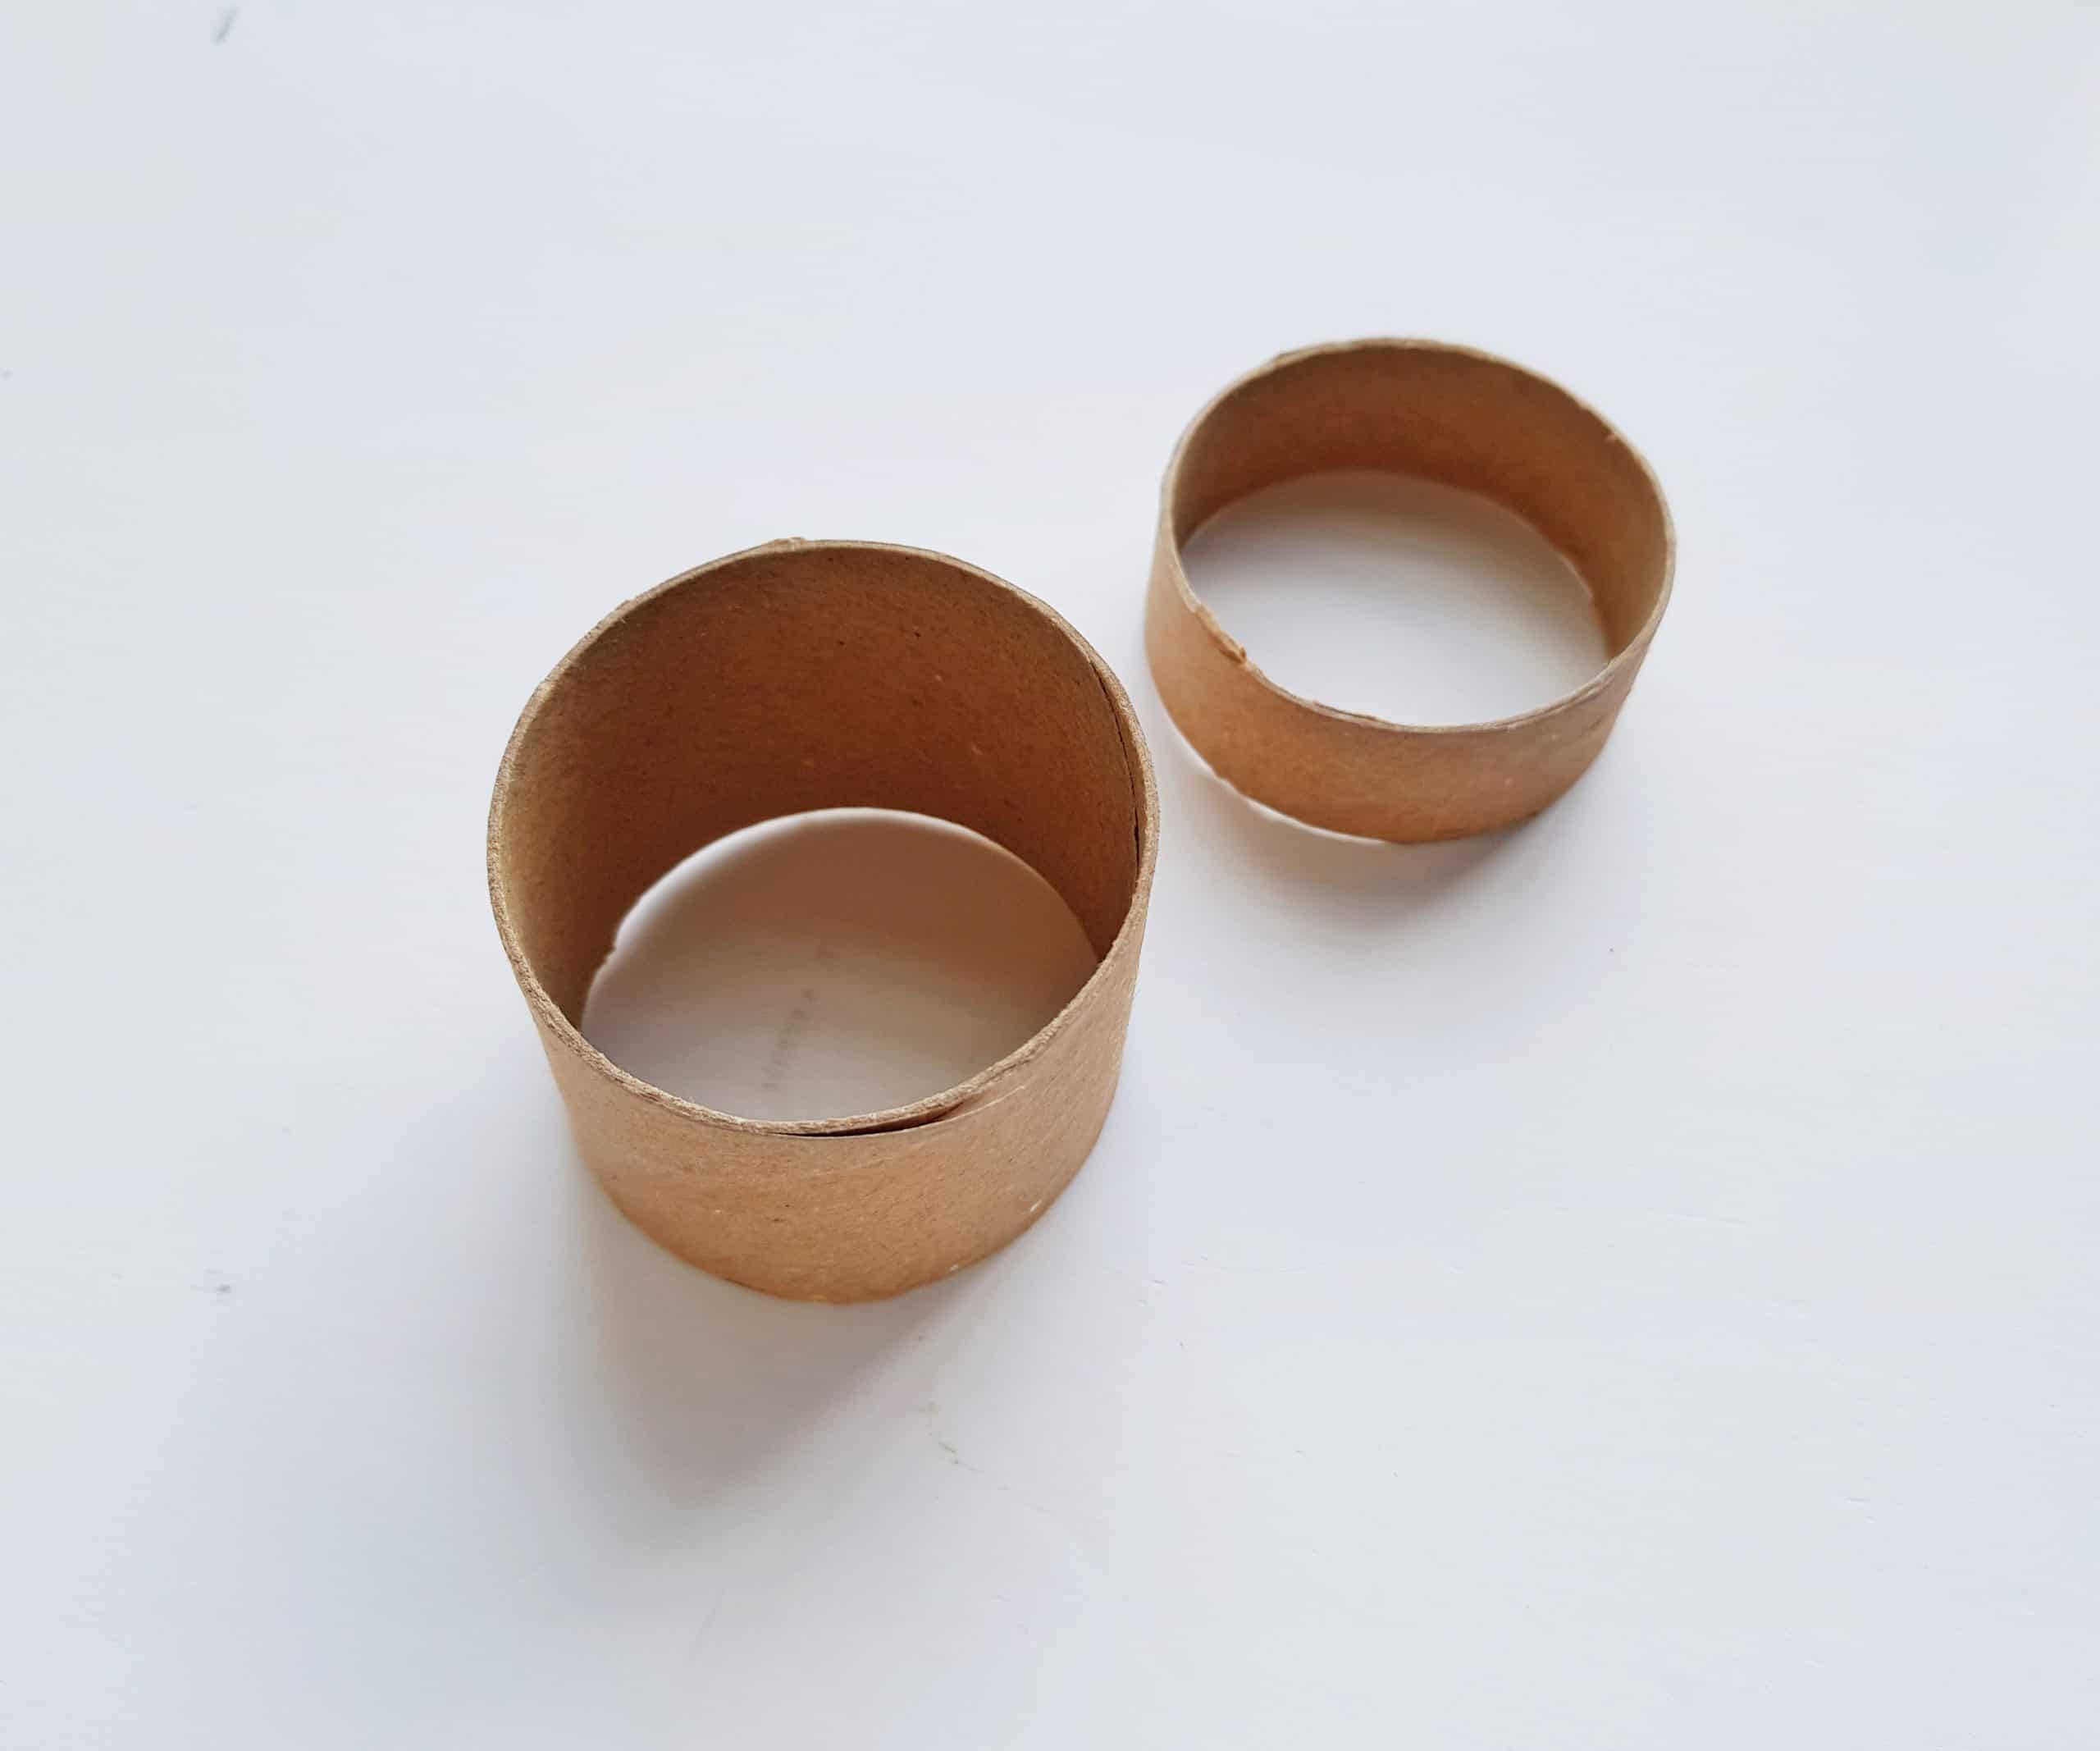
Use an x-acto knife to cut out the parts for the box and the lid from the toilet paper roll (a job for an adult).
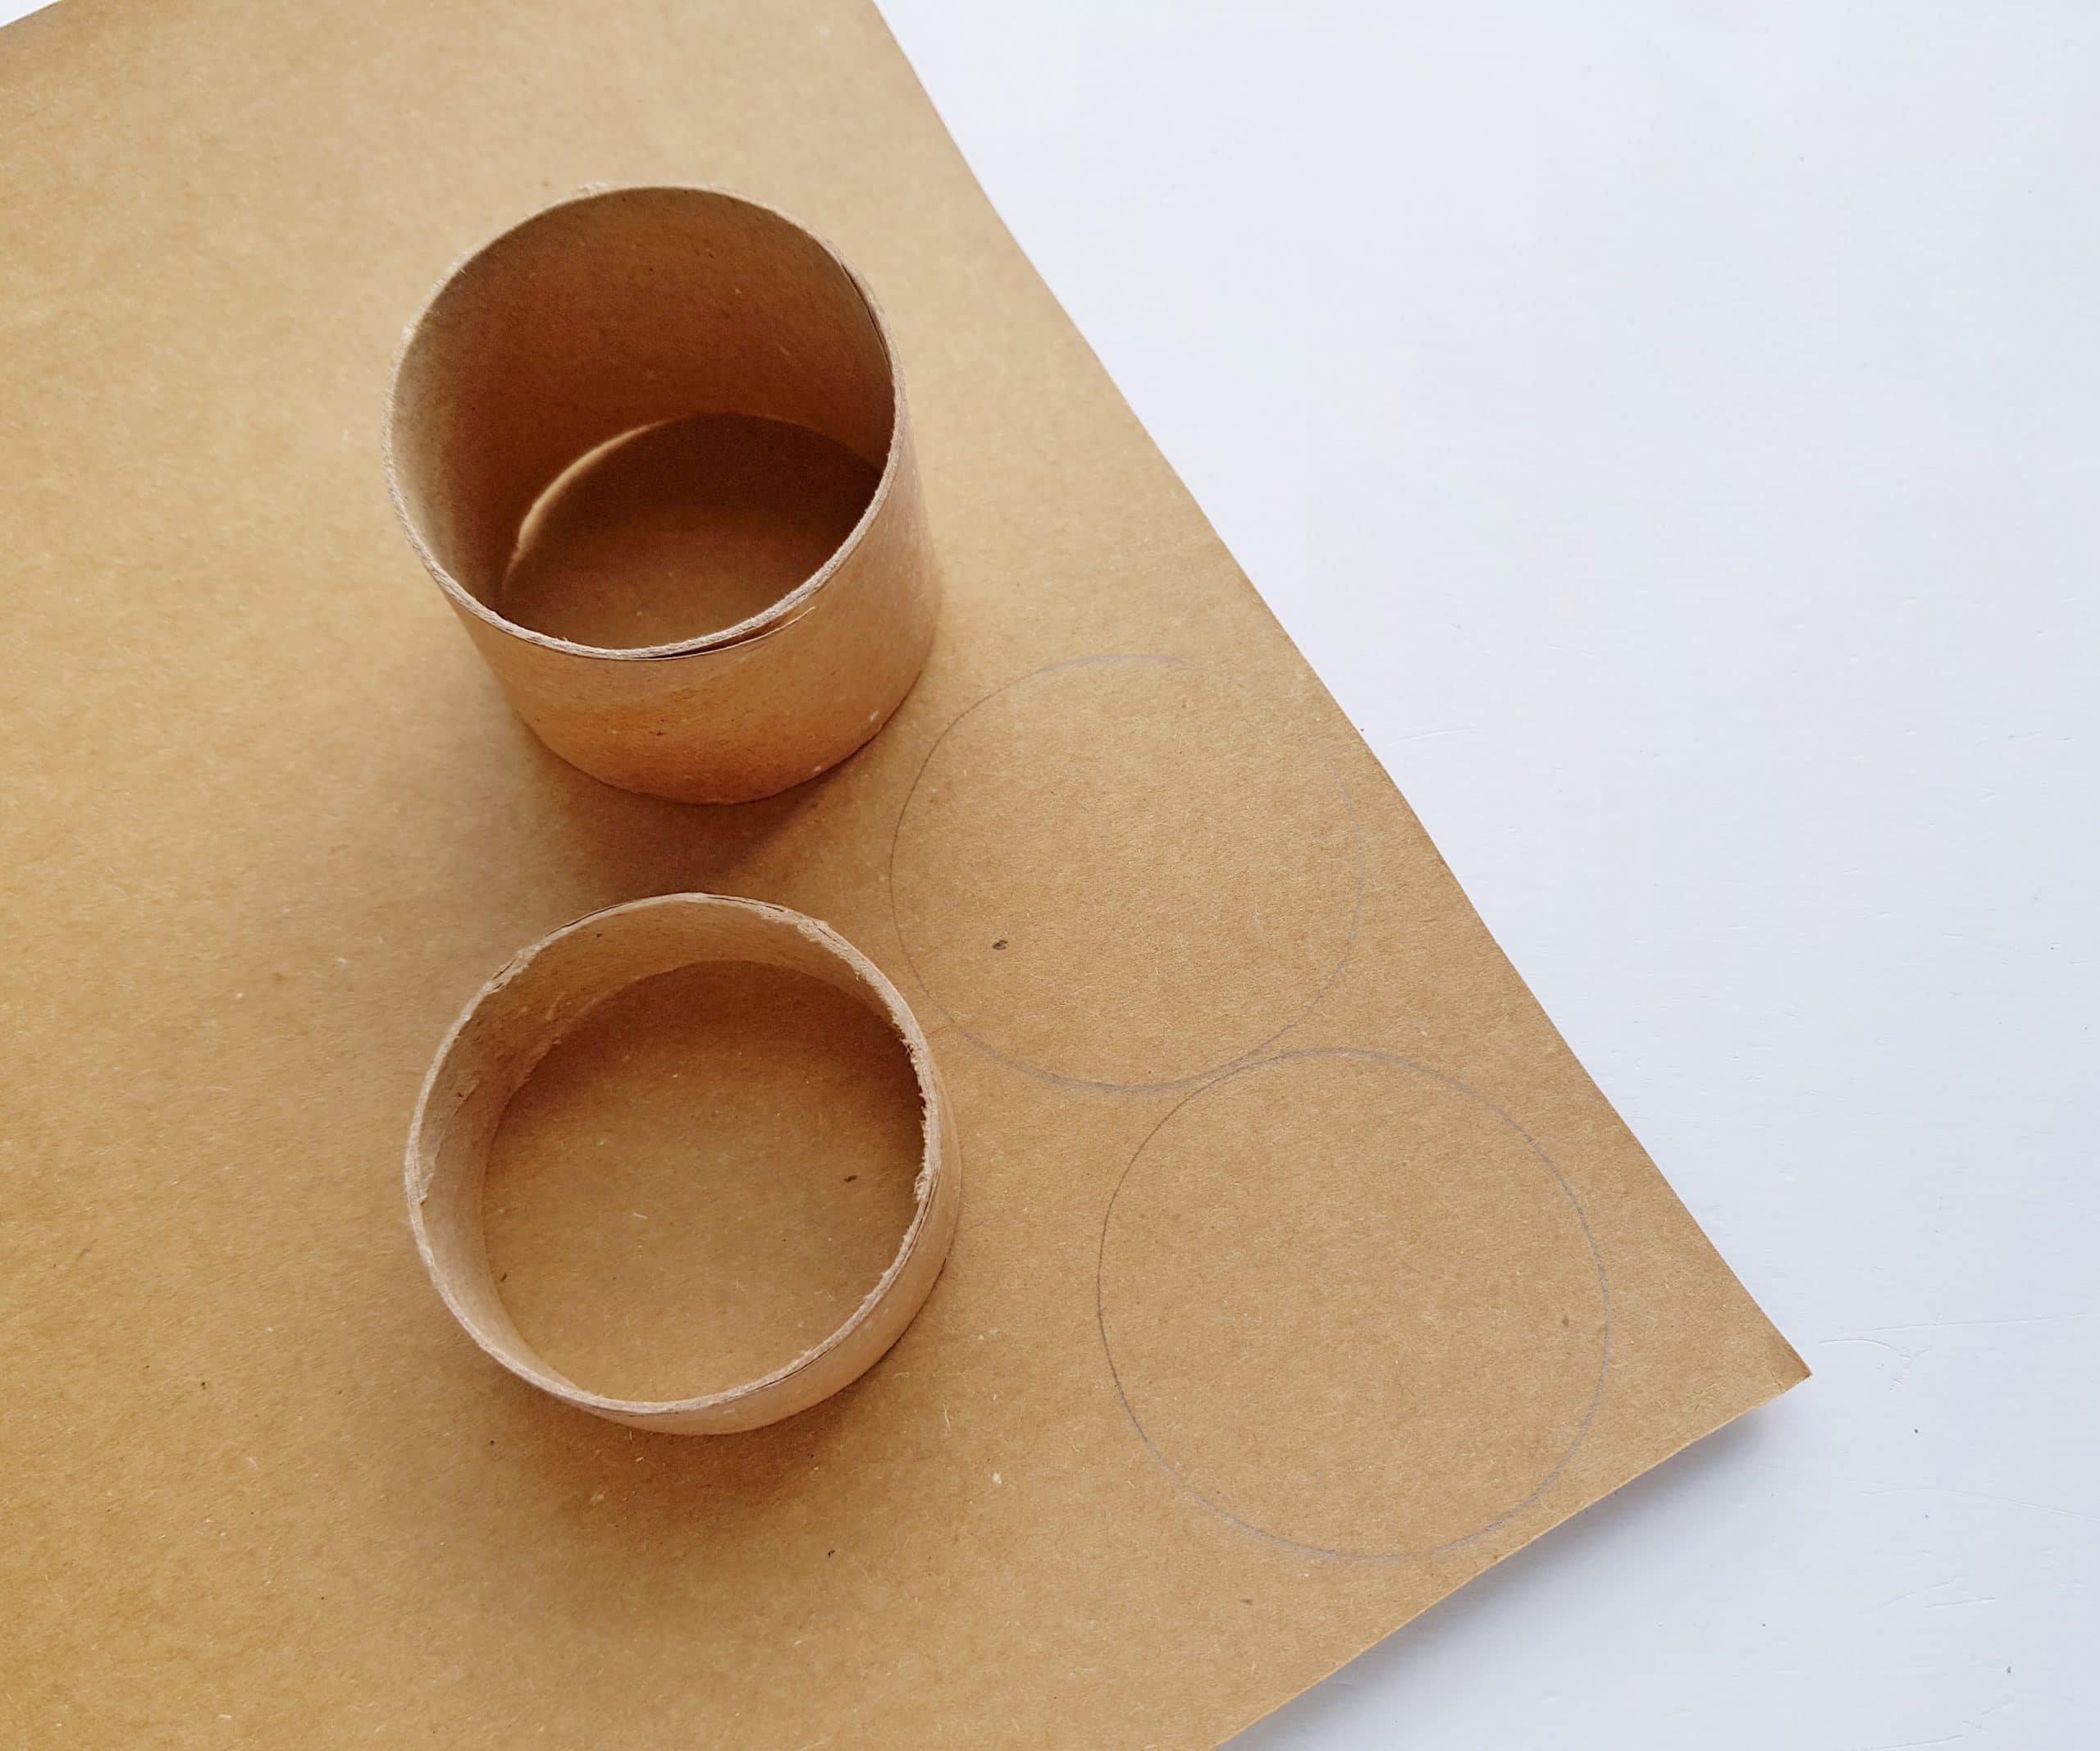
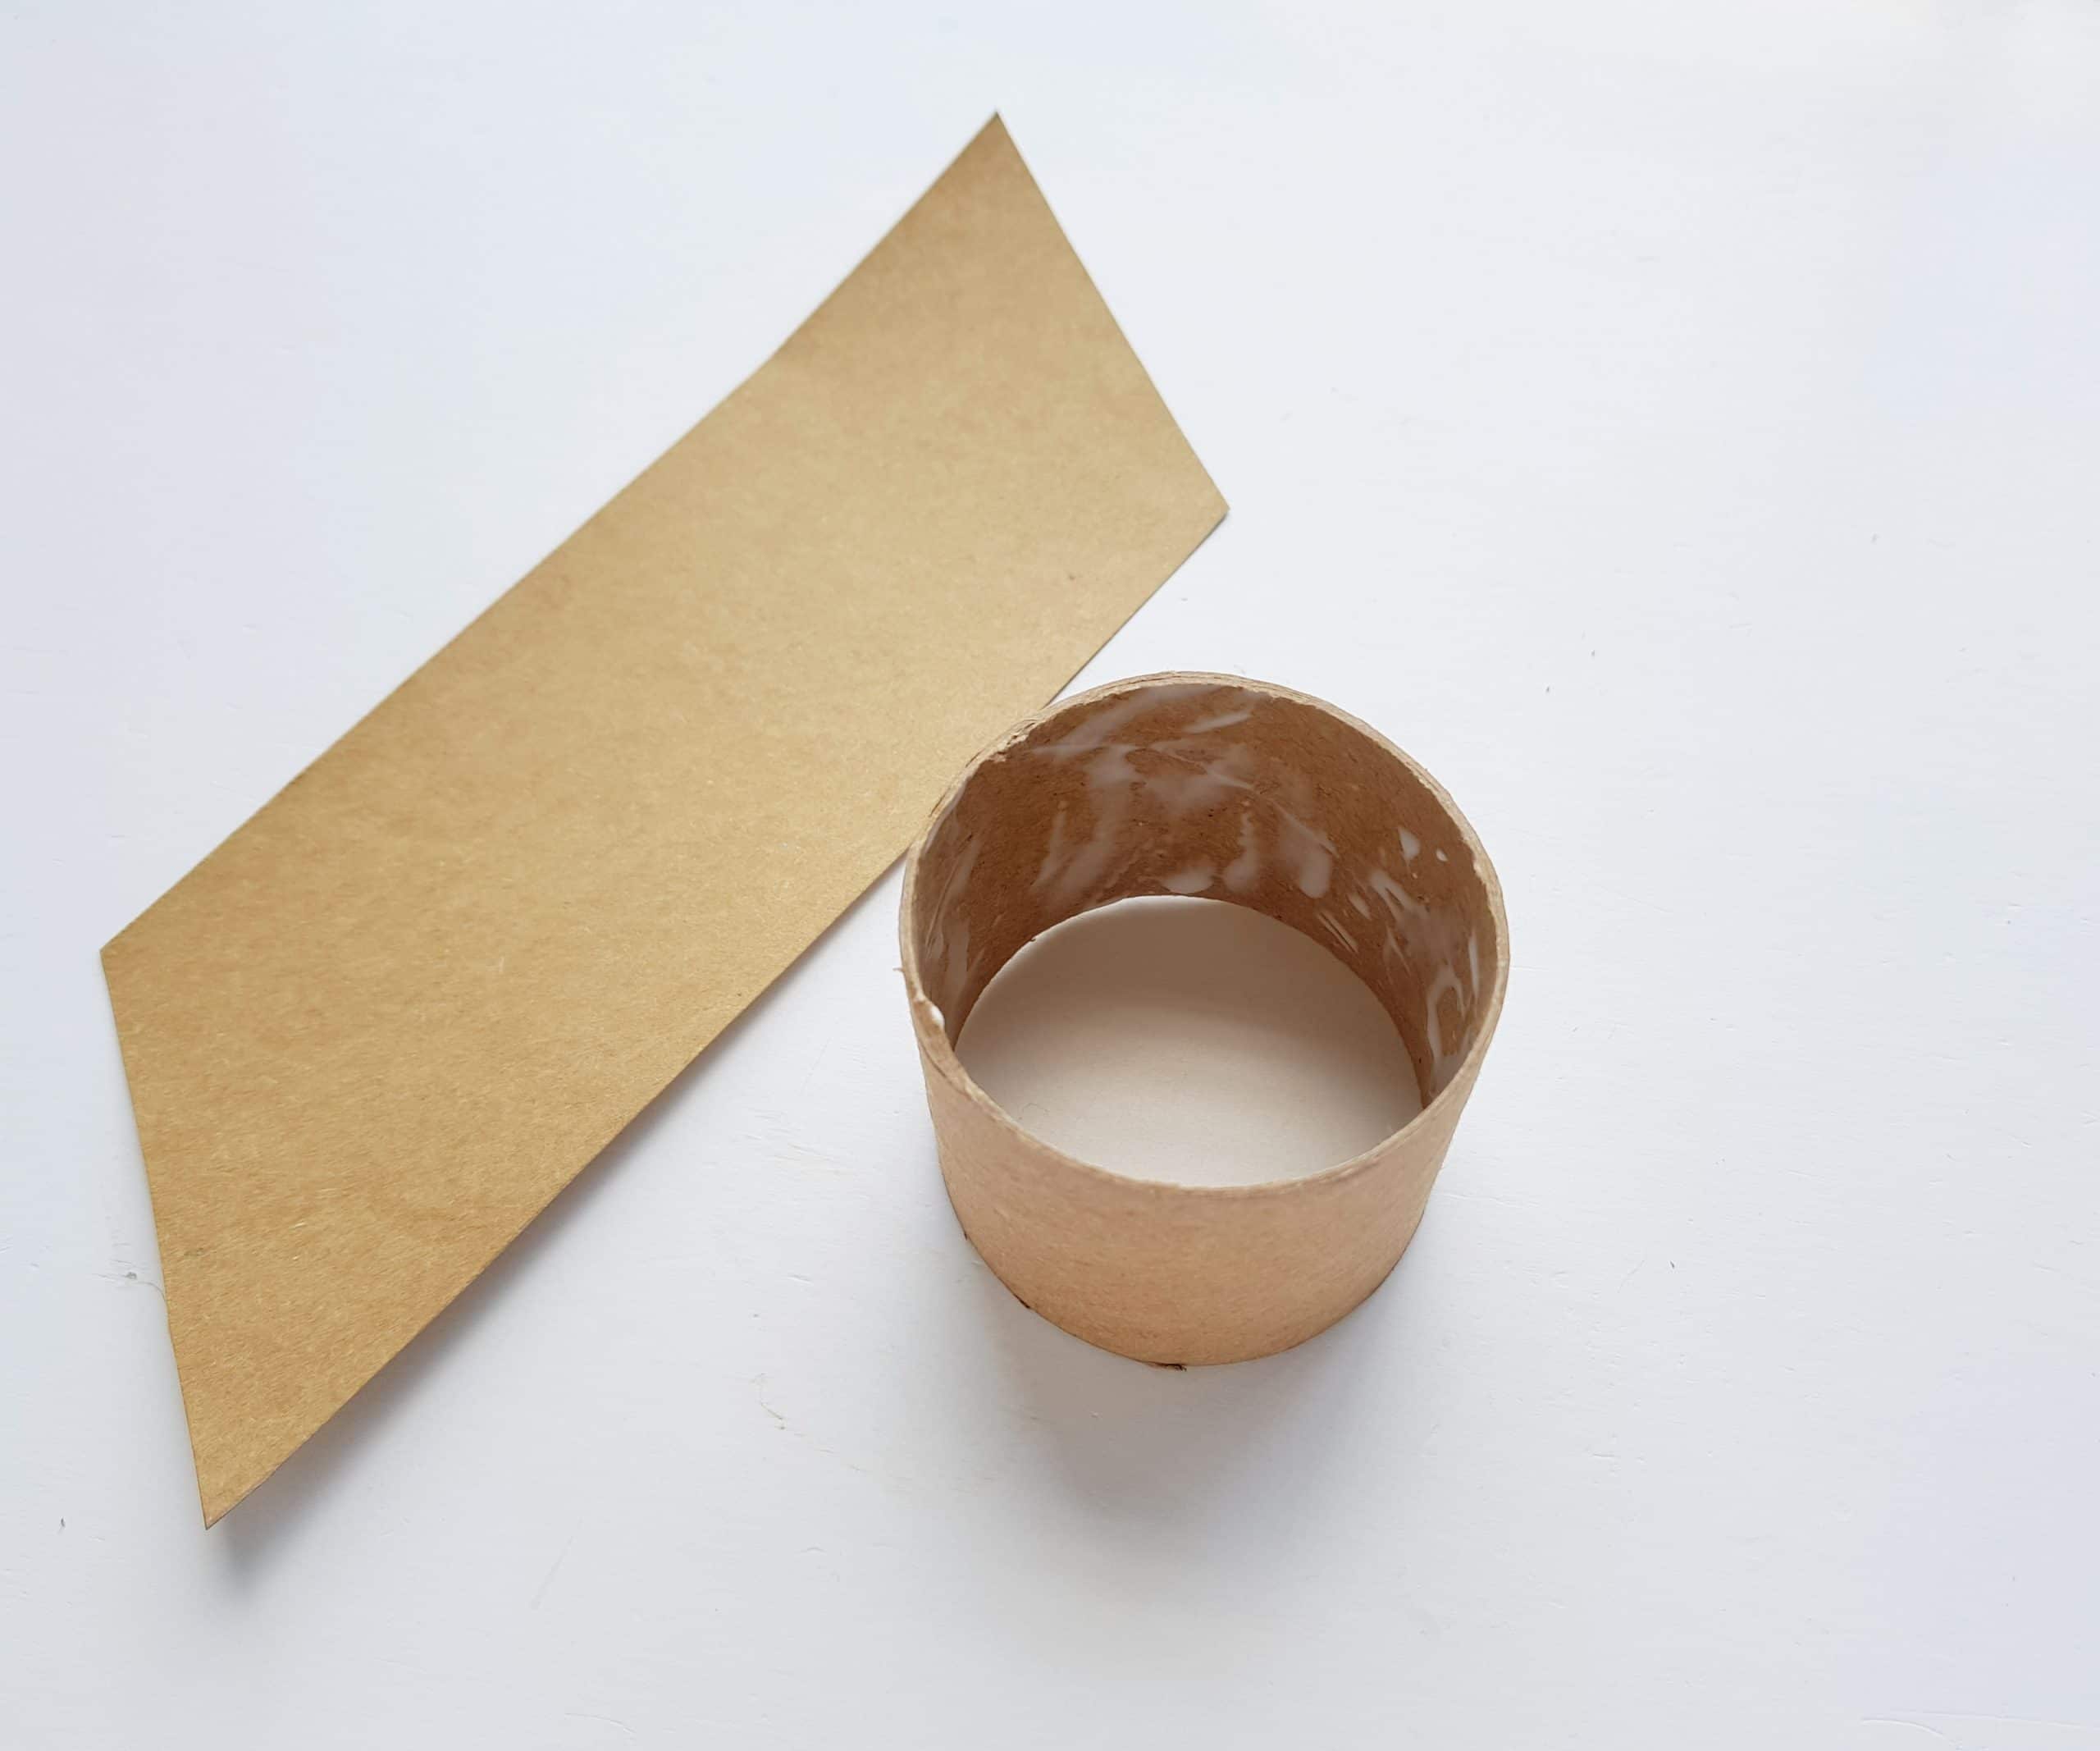
Place the toilet paper tube on a piece of your cardstock and trace around the outer border of the tube. You’ll need to do this twice so you’ll end up with two circles–one for the bottom side of the box and one for the top of the lid.
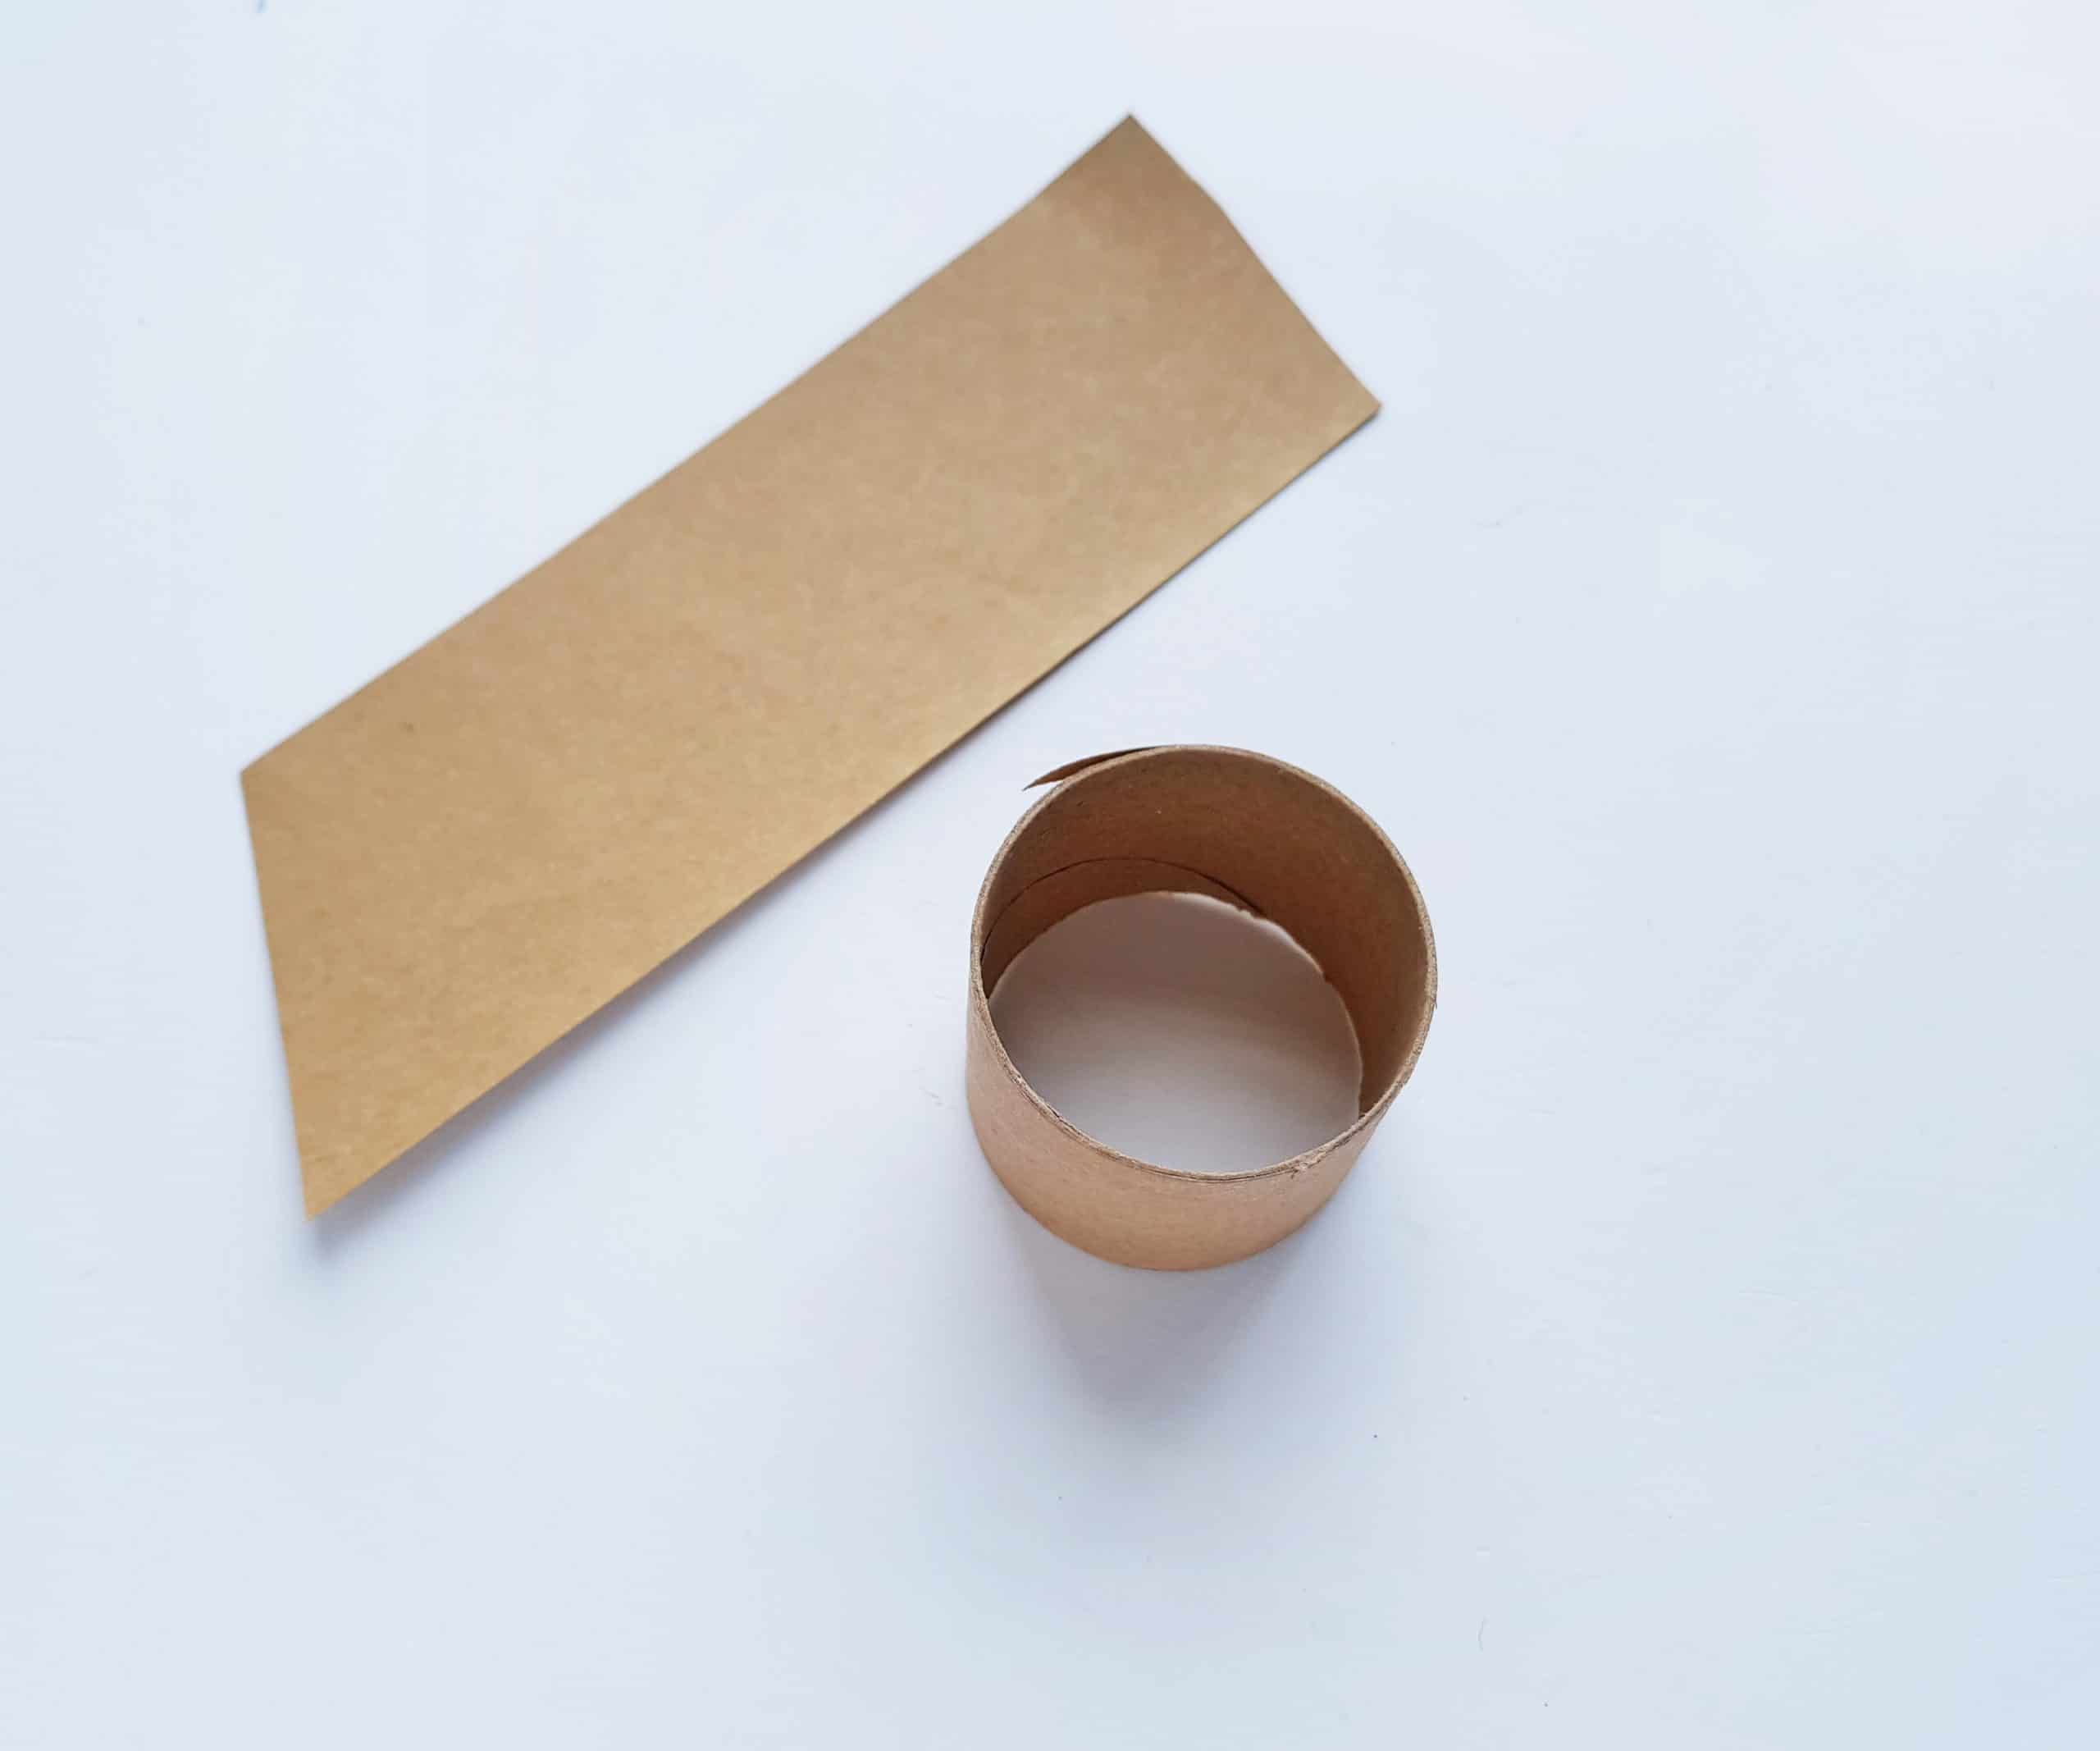
Next, cut out a long strip of cardstock. It doesn’t matter much how long it is, but the width needs to be equal to the sum of the height of the box and the lid. (See the photo below.)
Roll the strip and place it inside the part of the toilet paper roll that you cut out to serve as the box. Make sure that the bottom end of the rolled cardstock is level with the bottom end of the box.
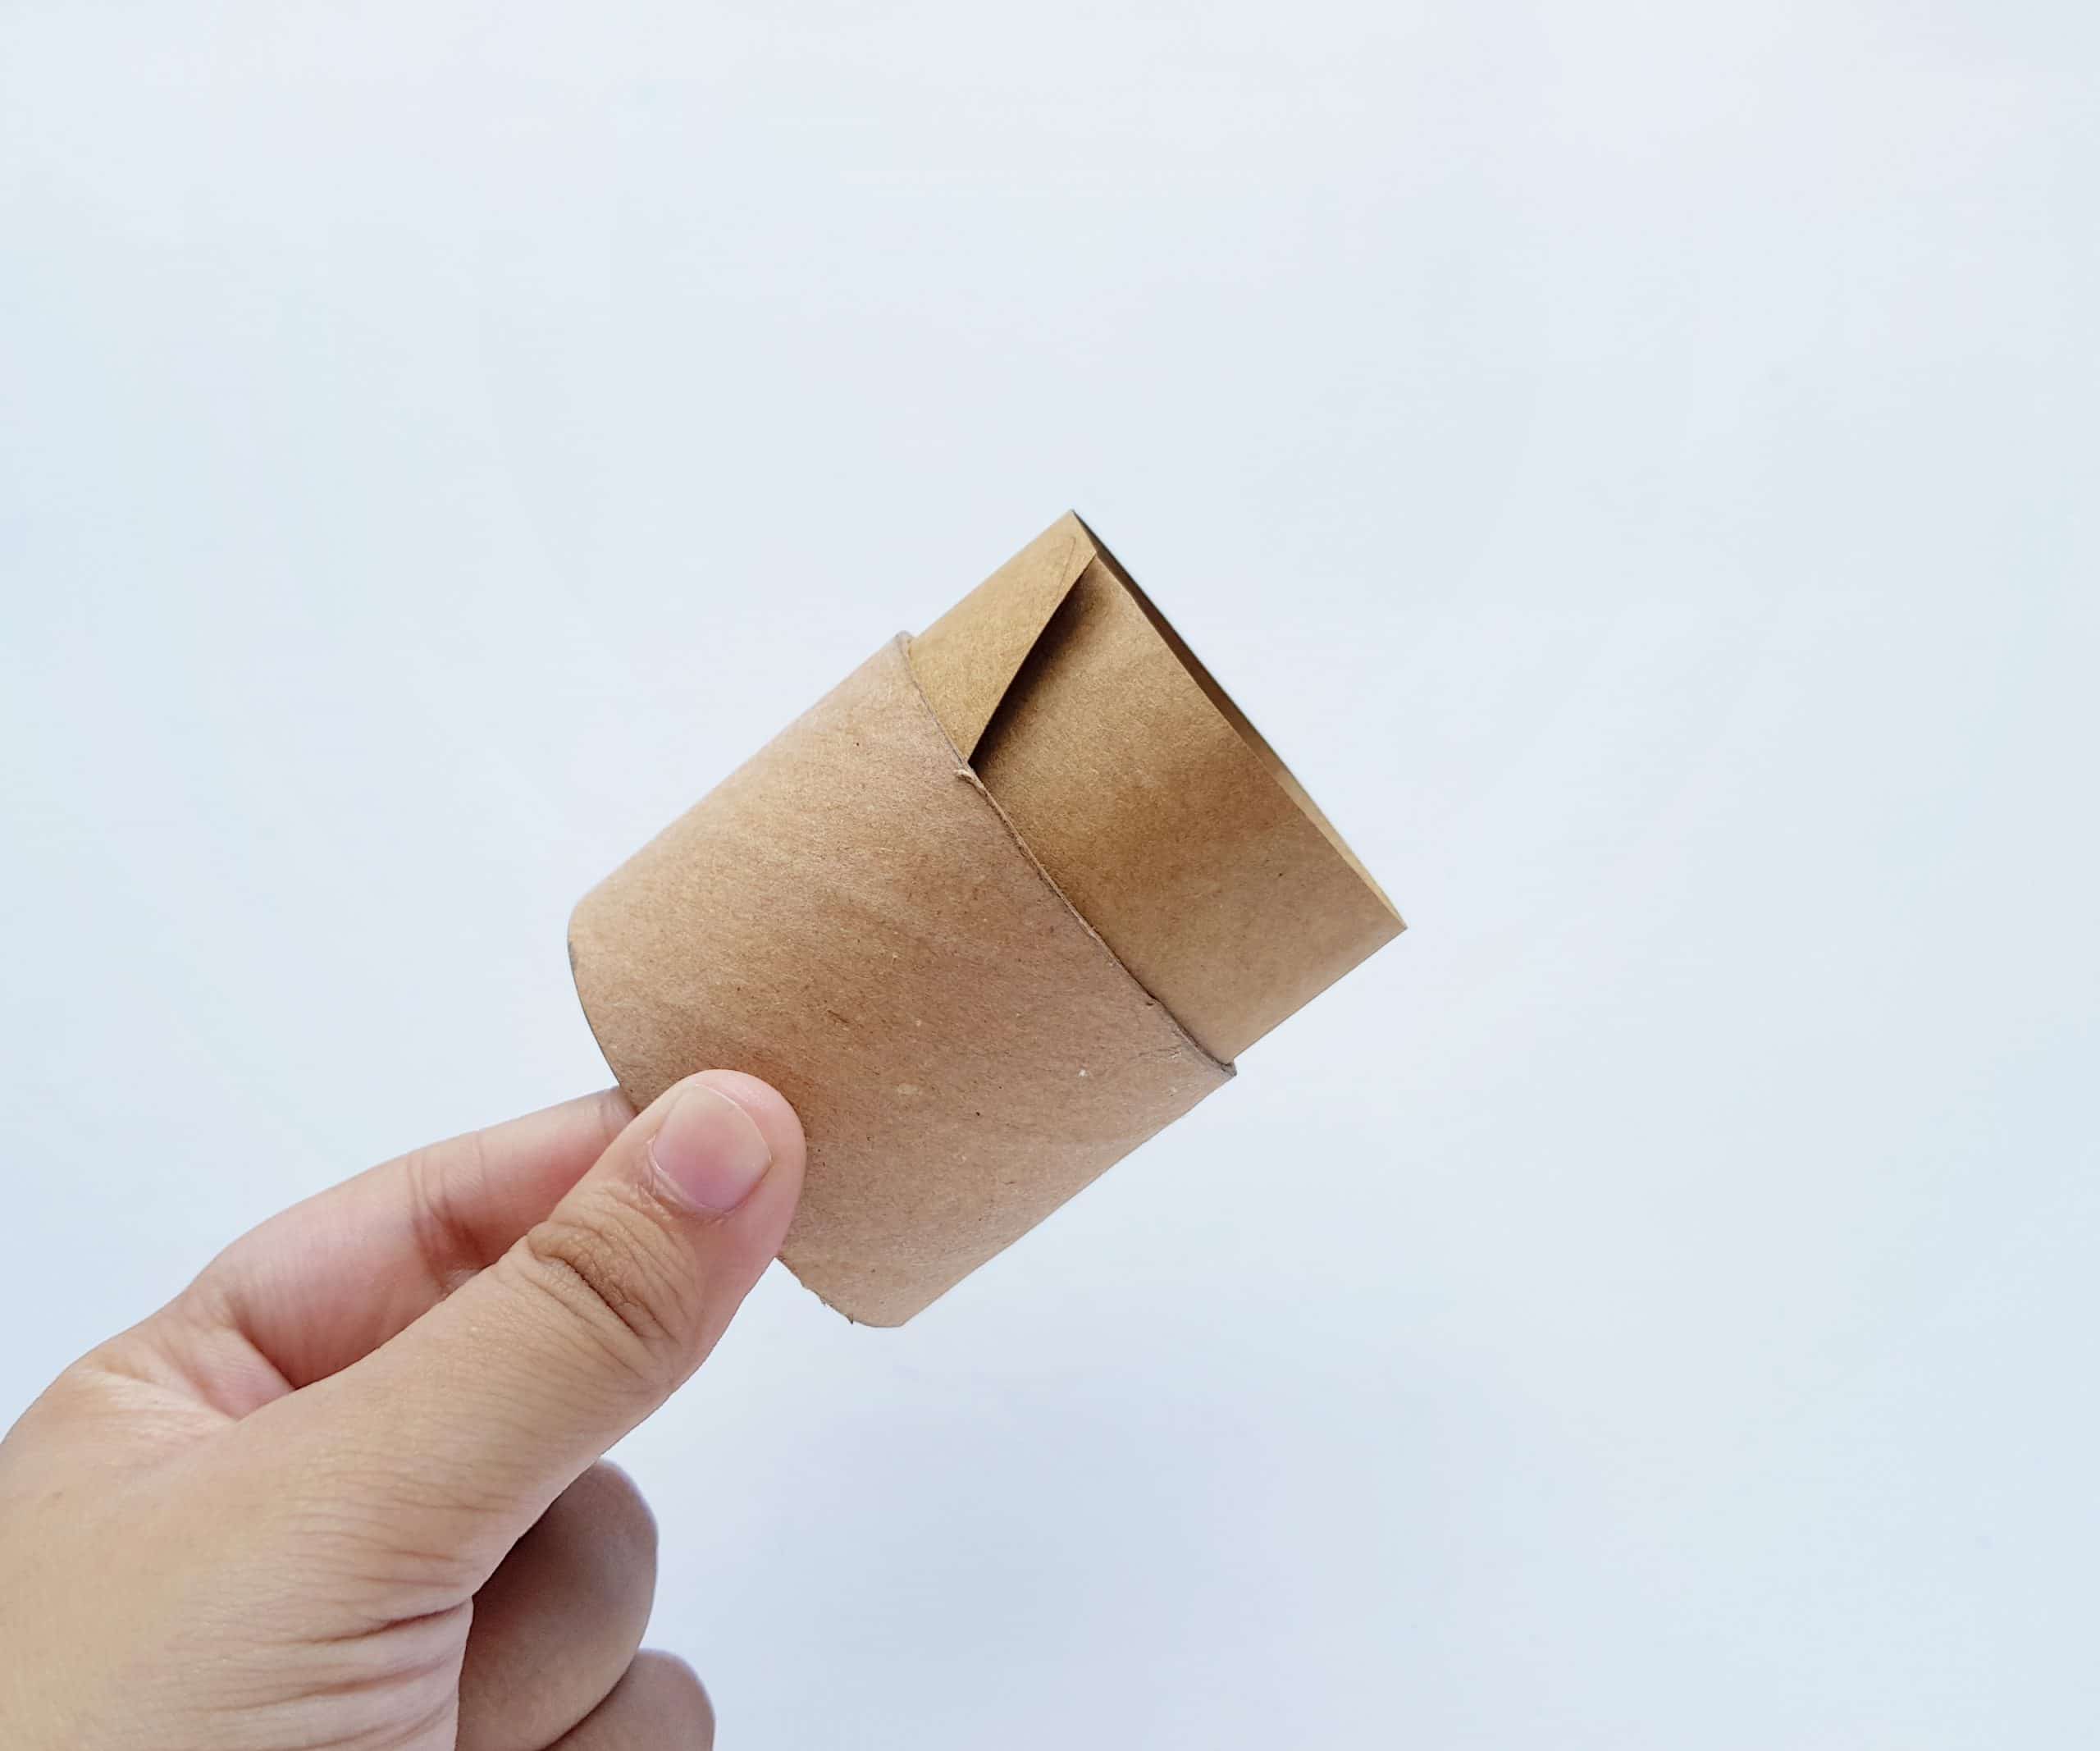
Take the cardstock back out of the box and apply craft glue to the inside surface of the box.
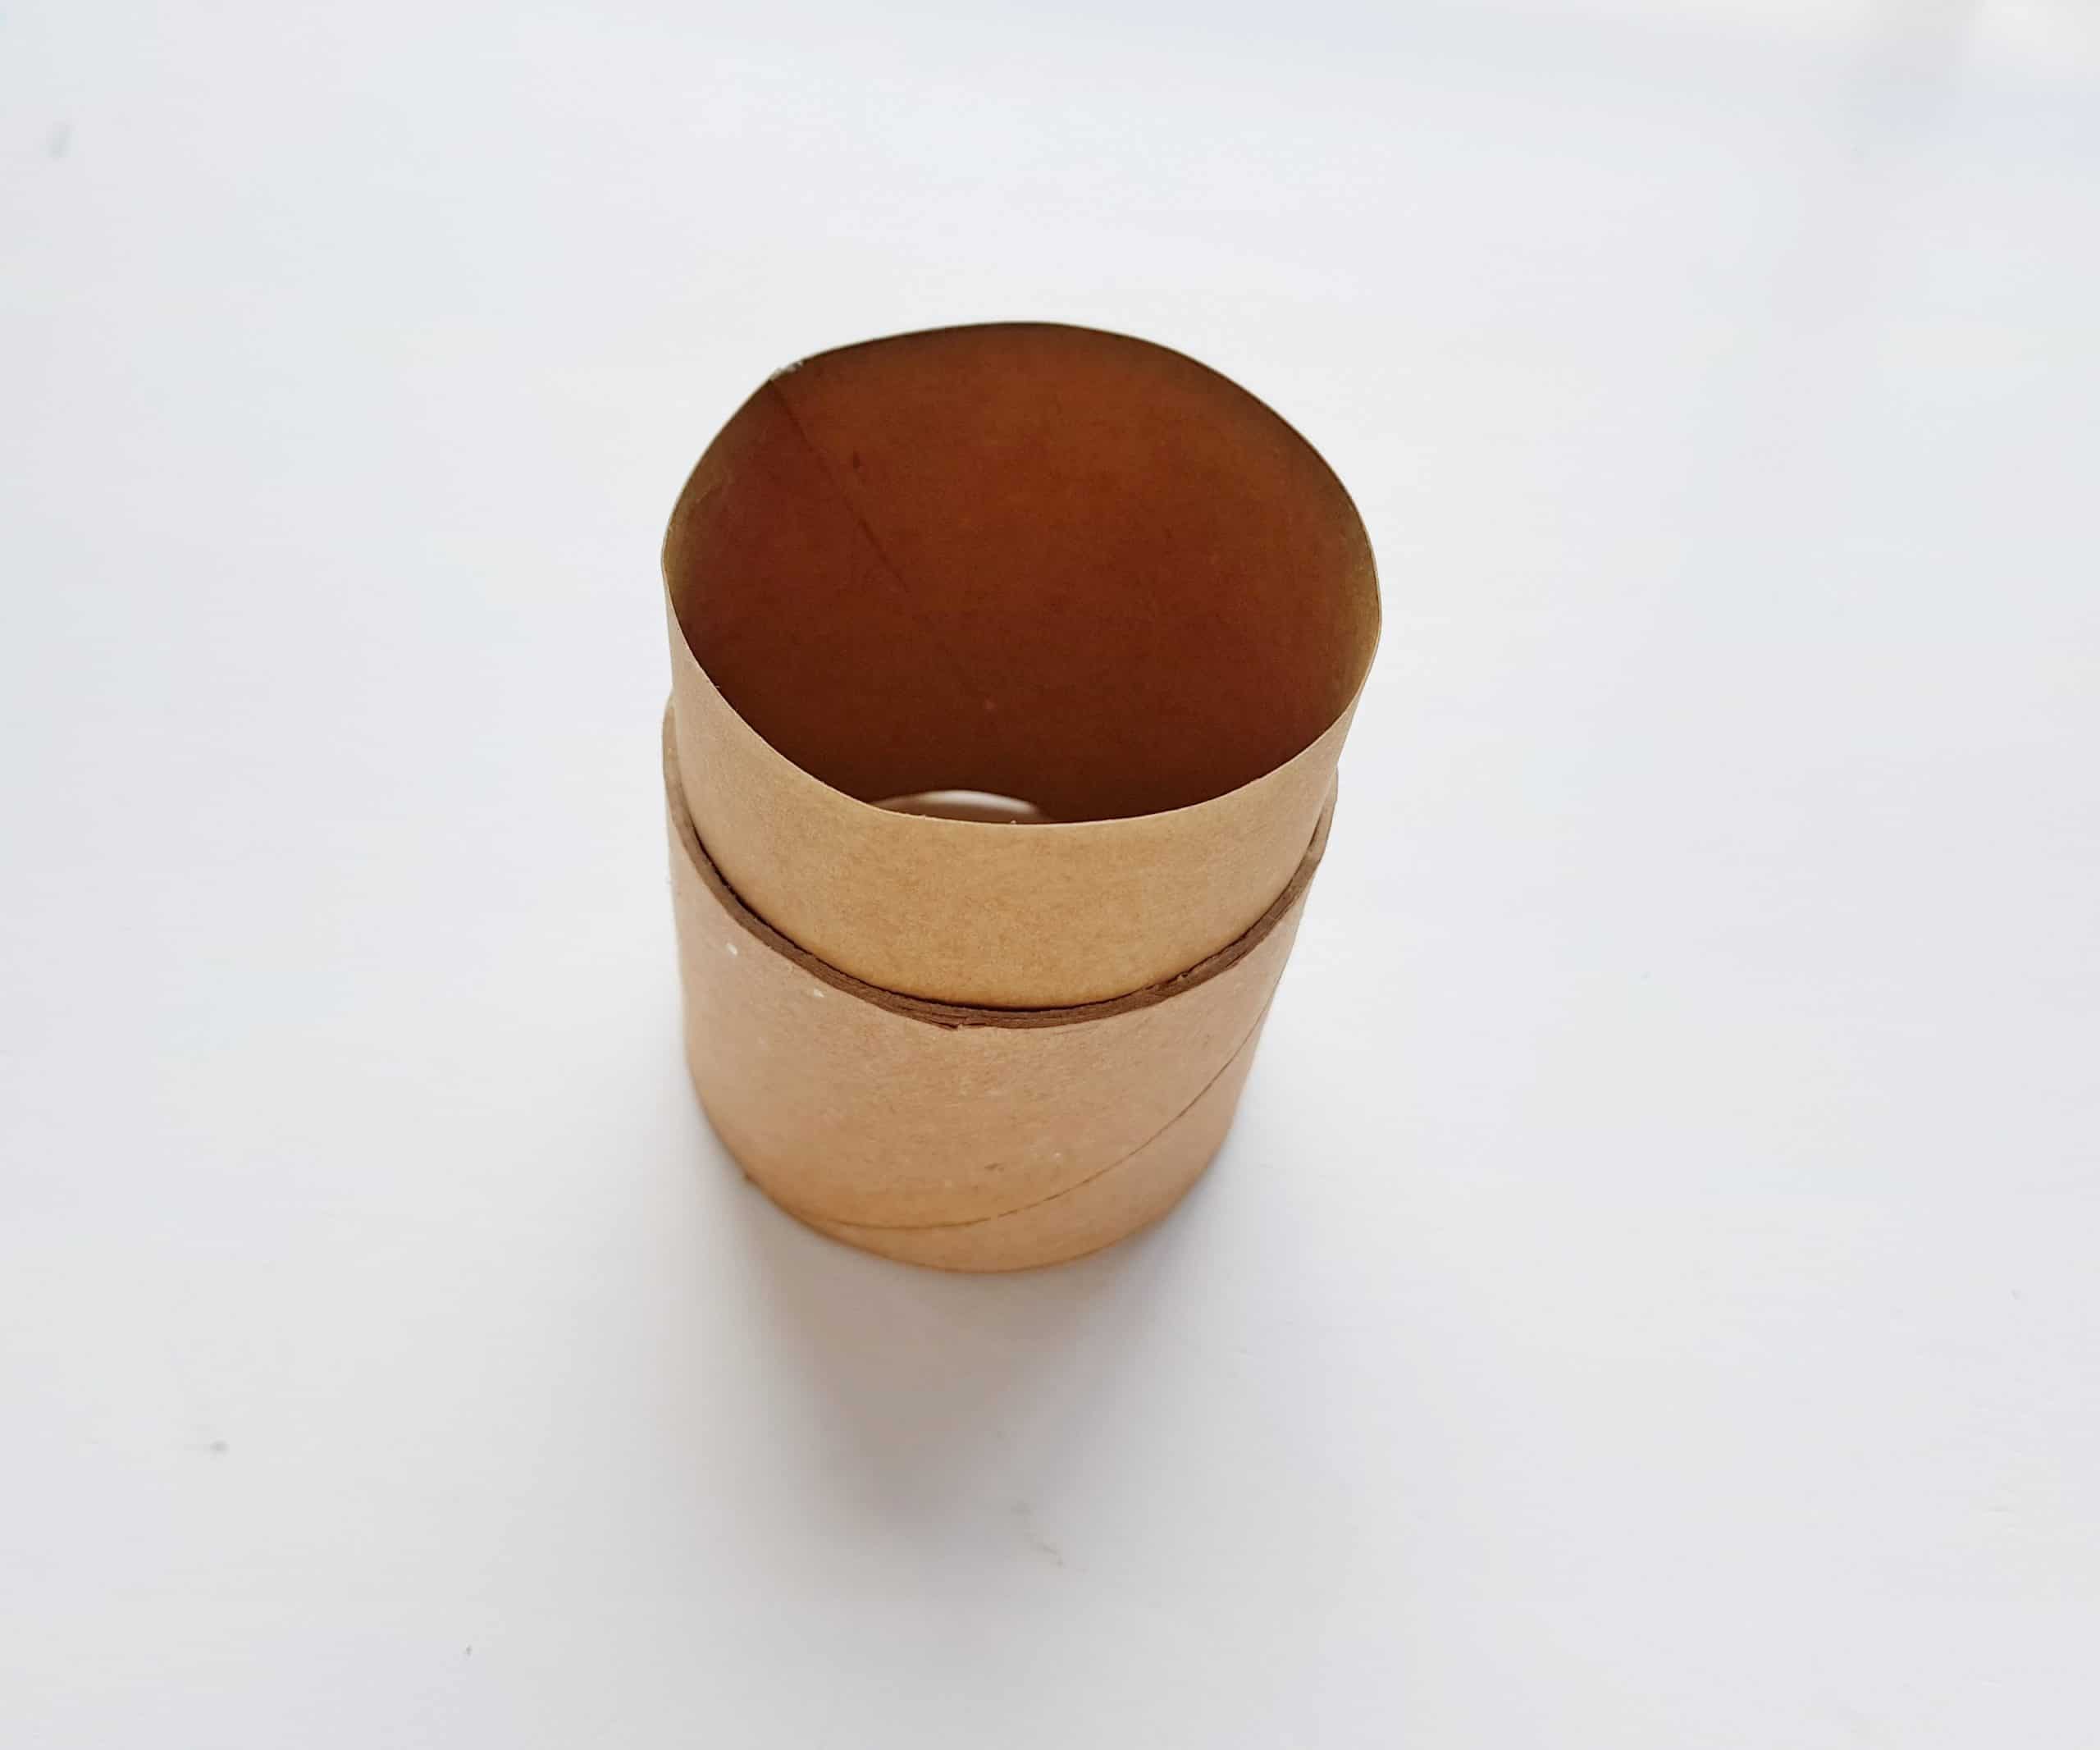
Now carefully roll the cardstock strip up again and place it inside the box. Press the cardstock roll against the inner surface of the box to make sure they are glued together securely.
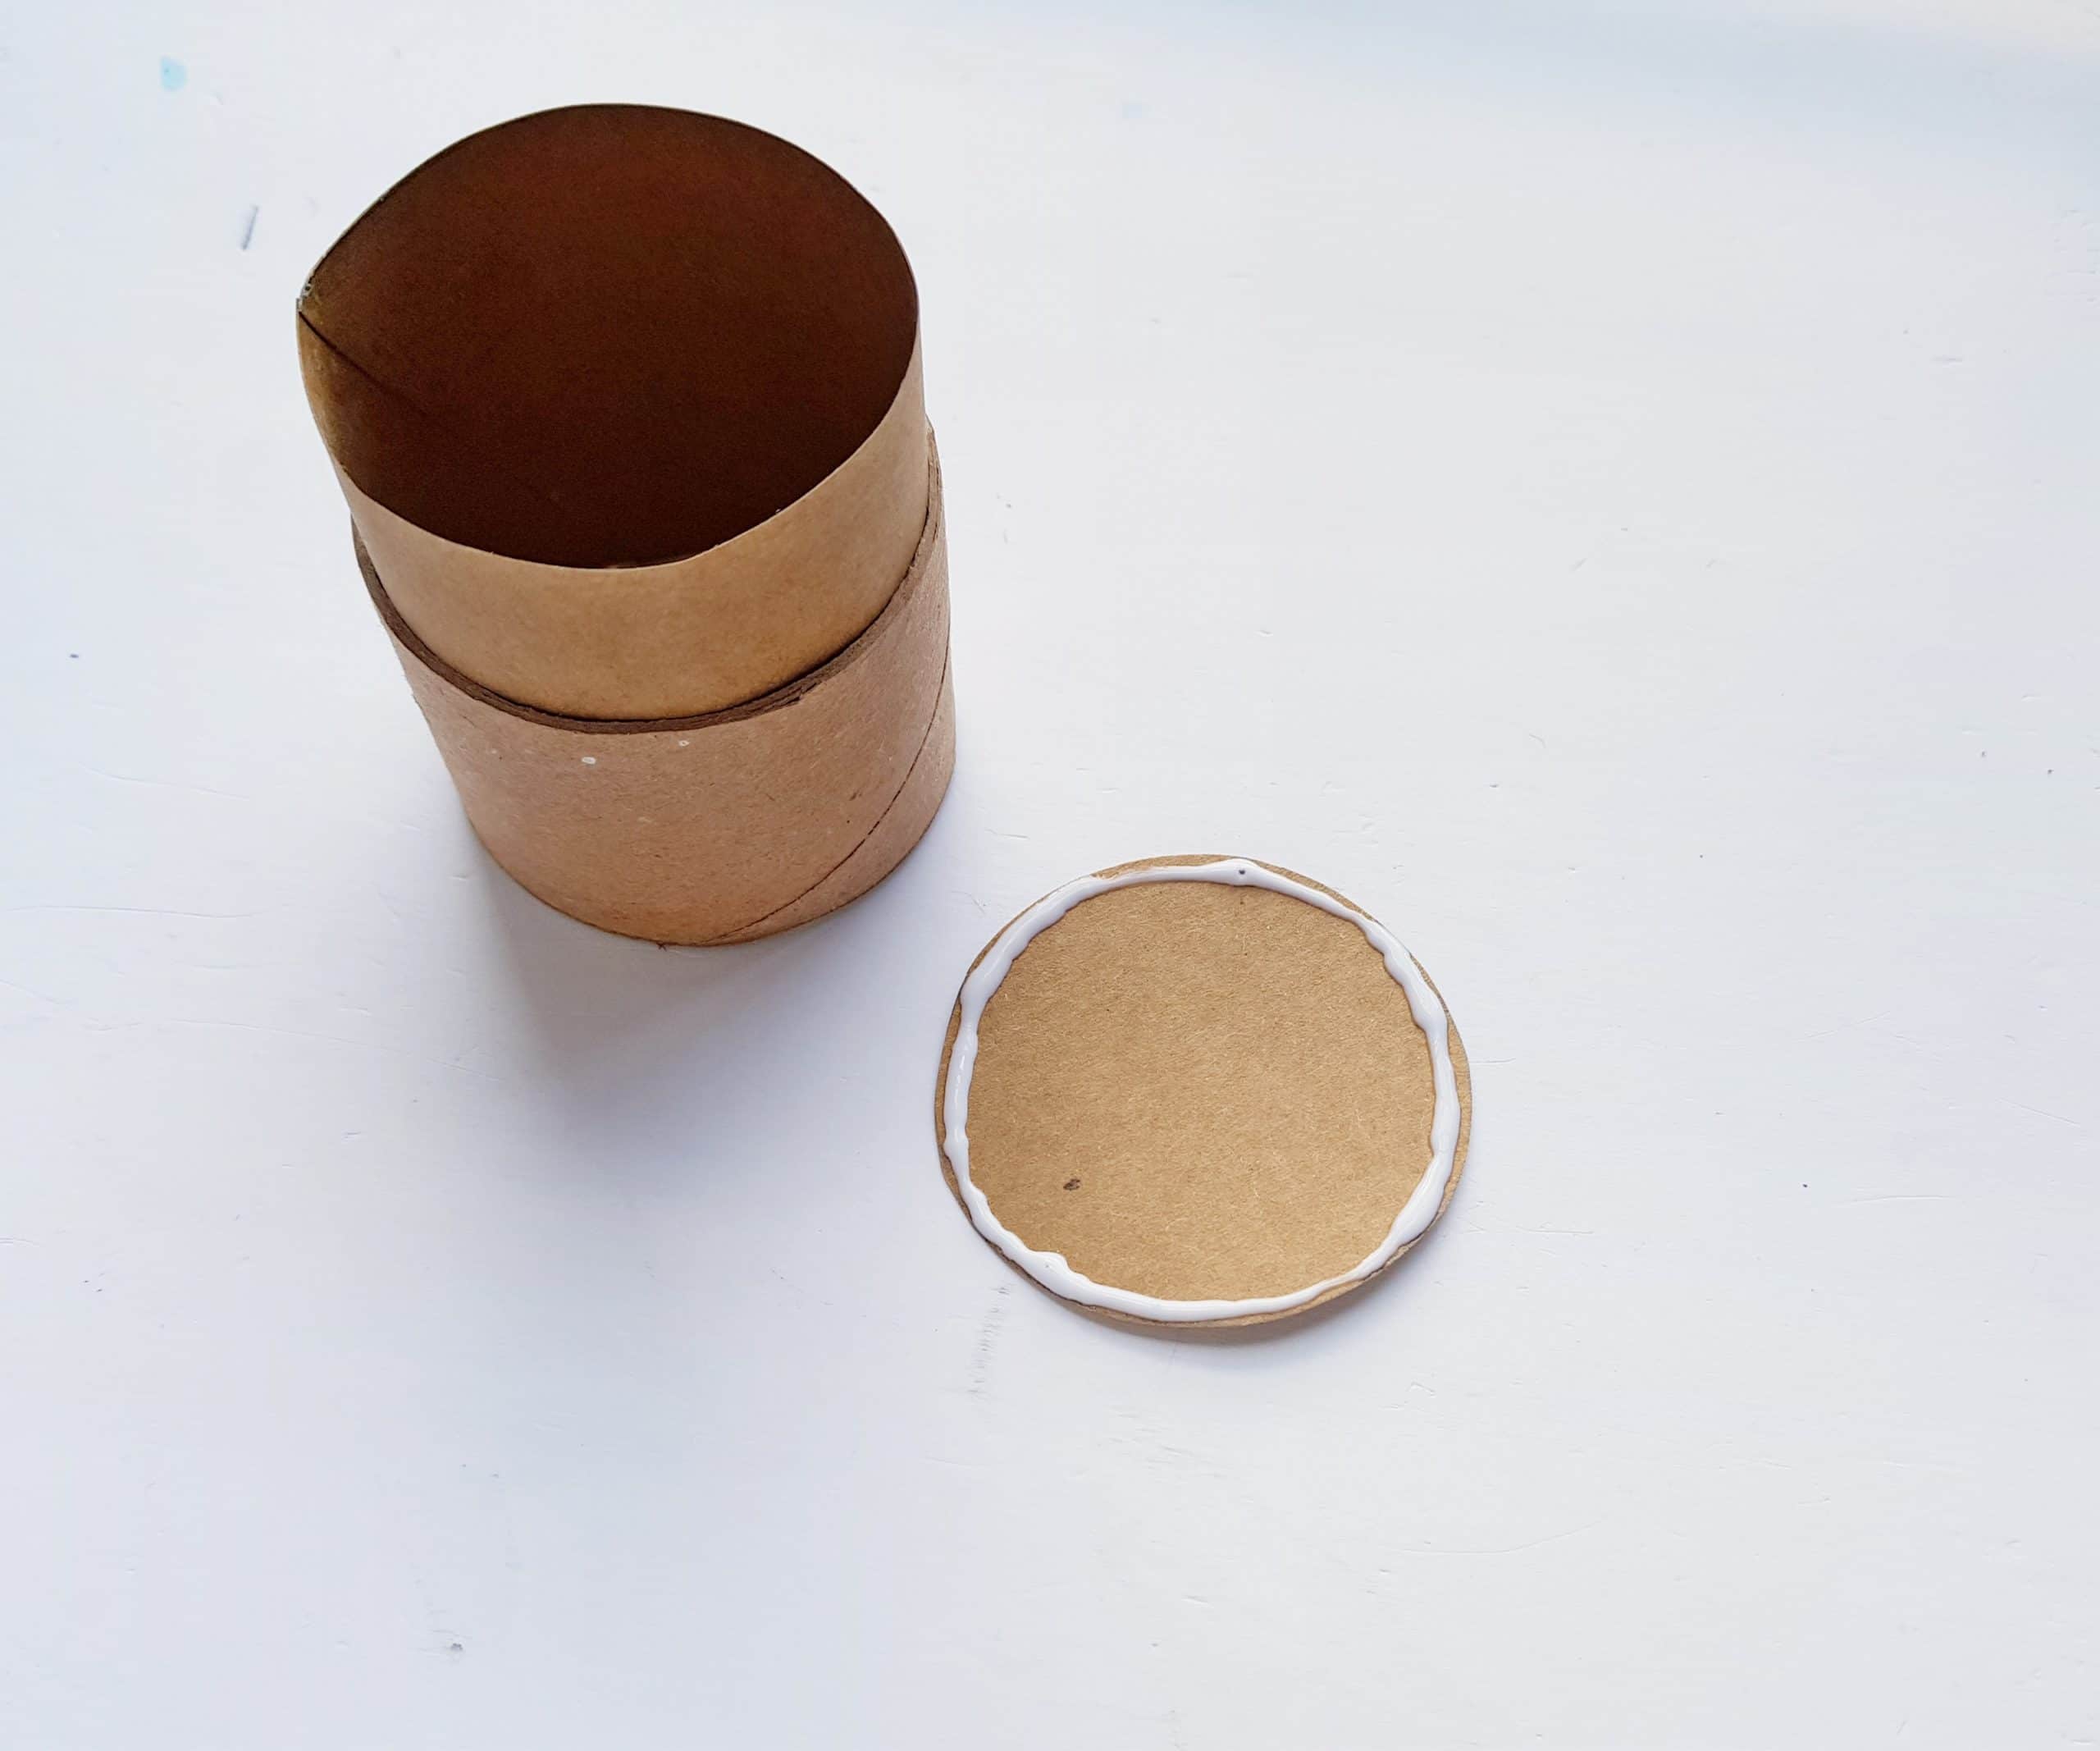
Cut out the two circles that you traced on your cardstock (if you didn’t cut them out already). Carefully put glue on the outside edges of the circles.

Attach one of the circle cutouts on the bottom side of the box (the side that is level with the cardstock strip you rolled and placed inside) and attach the other circle on the top side of the piece that serves as your lid.
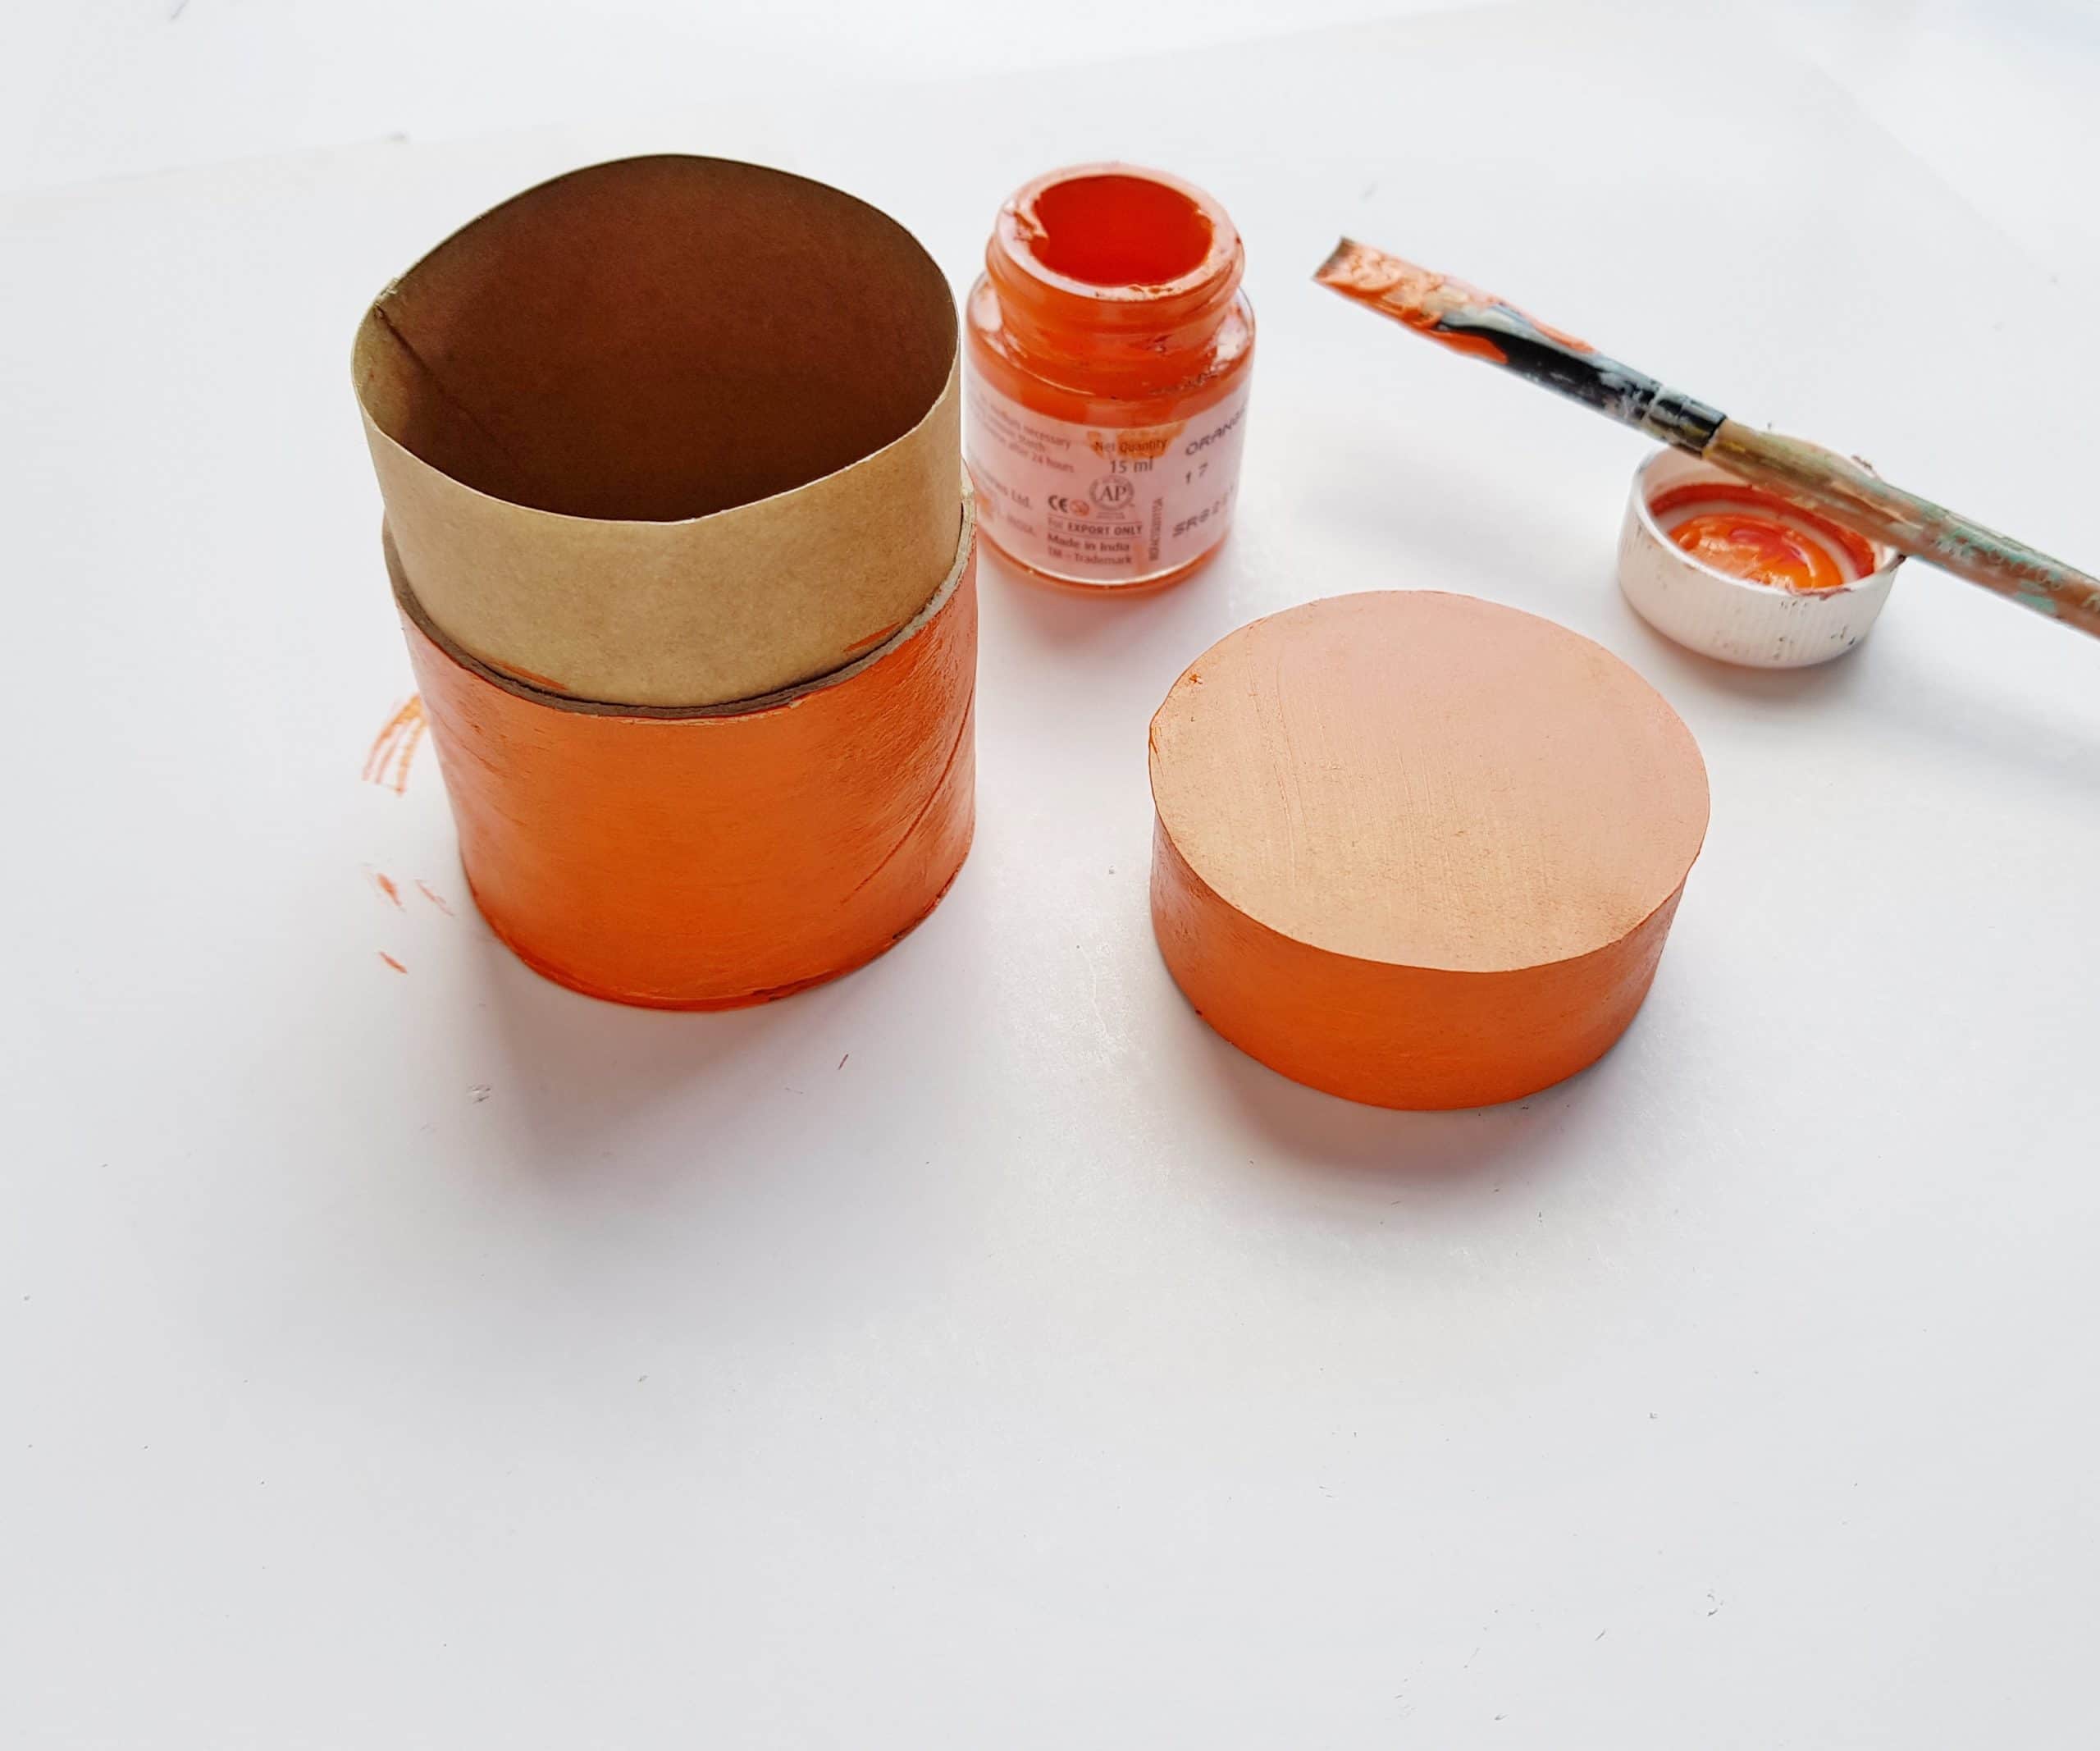
Apply one or two coats of orange acrylic paint on the outside of toilet paper roll box and lid. Allow the paint to dry completely.
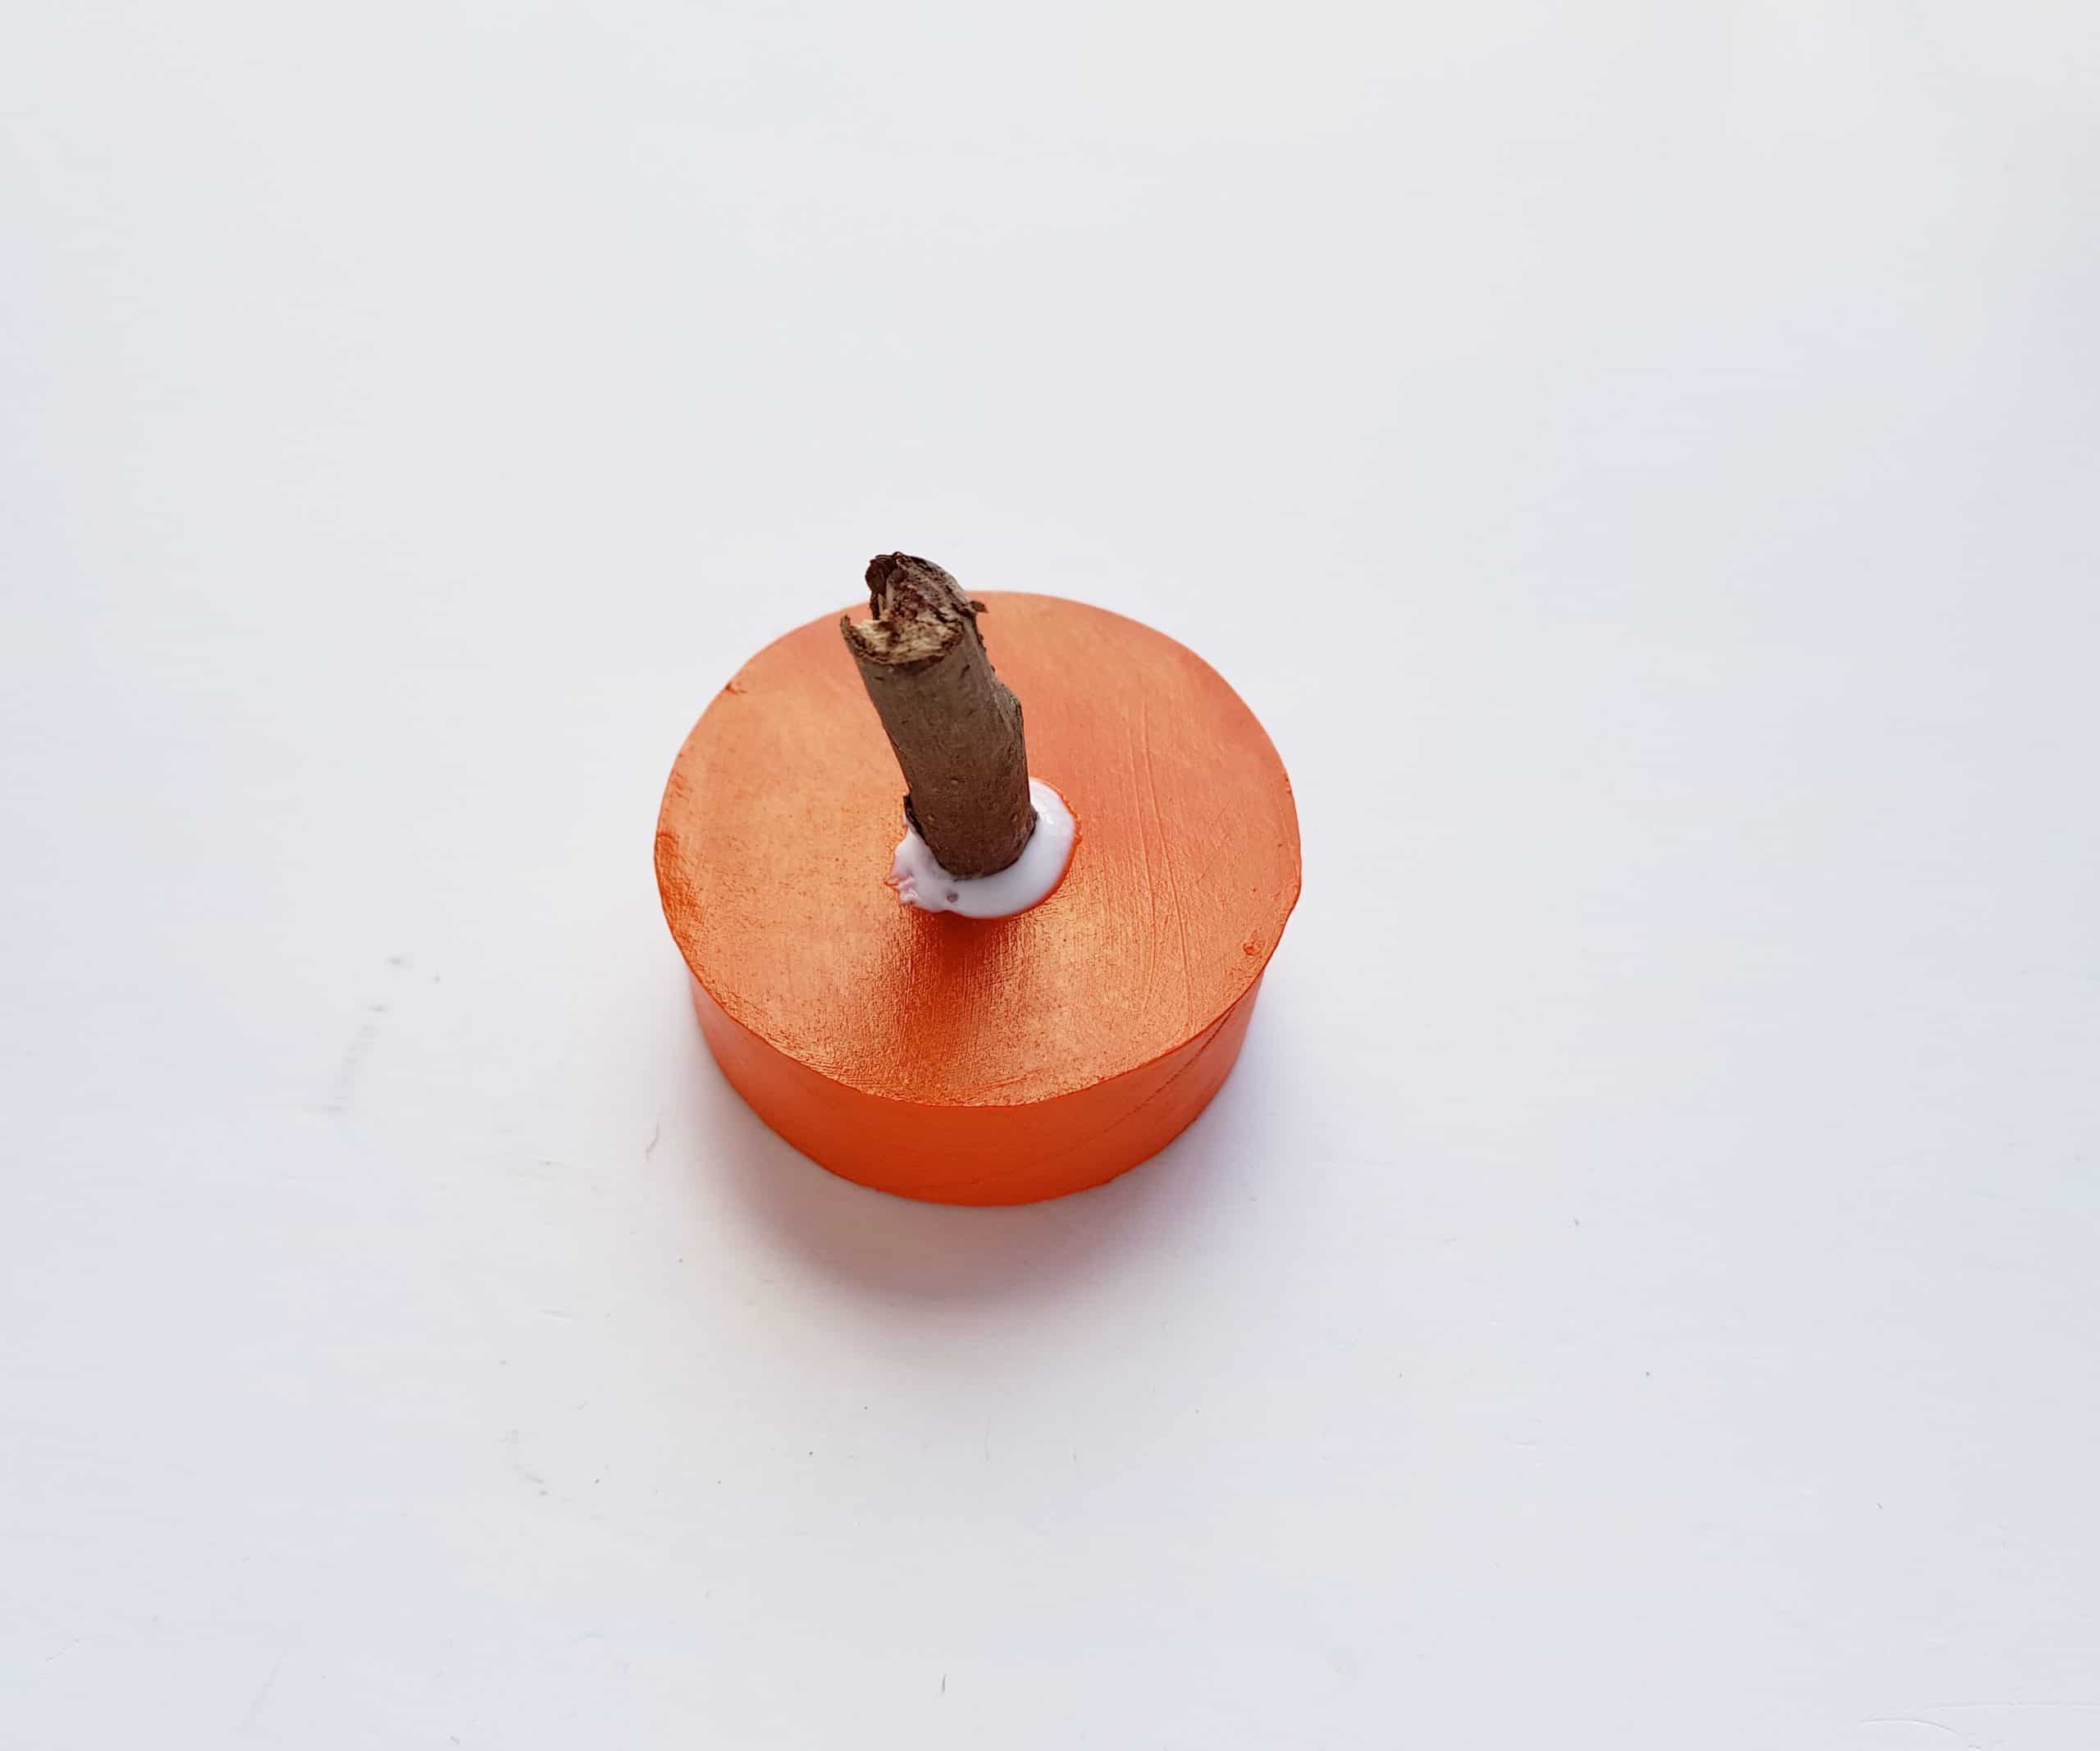
Once the paint is dry, attach a small dry twig on the center of the lid’s top. Add leaves (real ones, silk ones, or paper ones) if you want to make your box look even prettier.
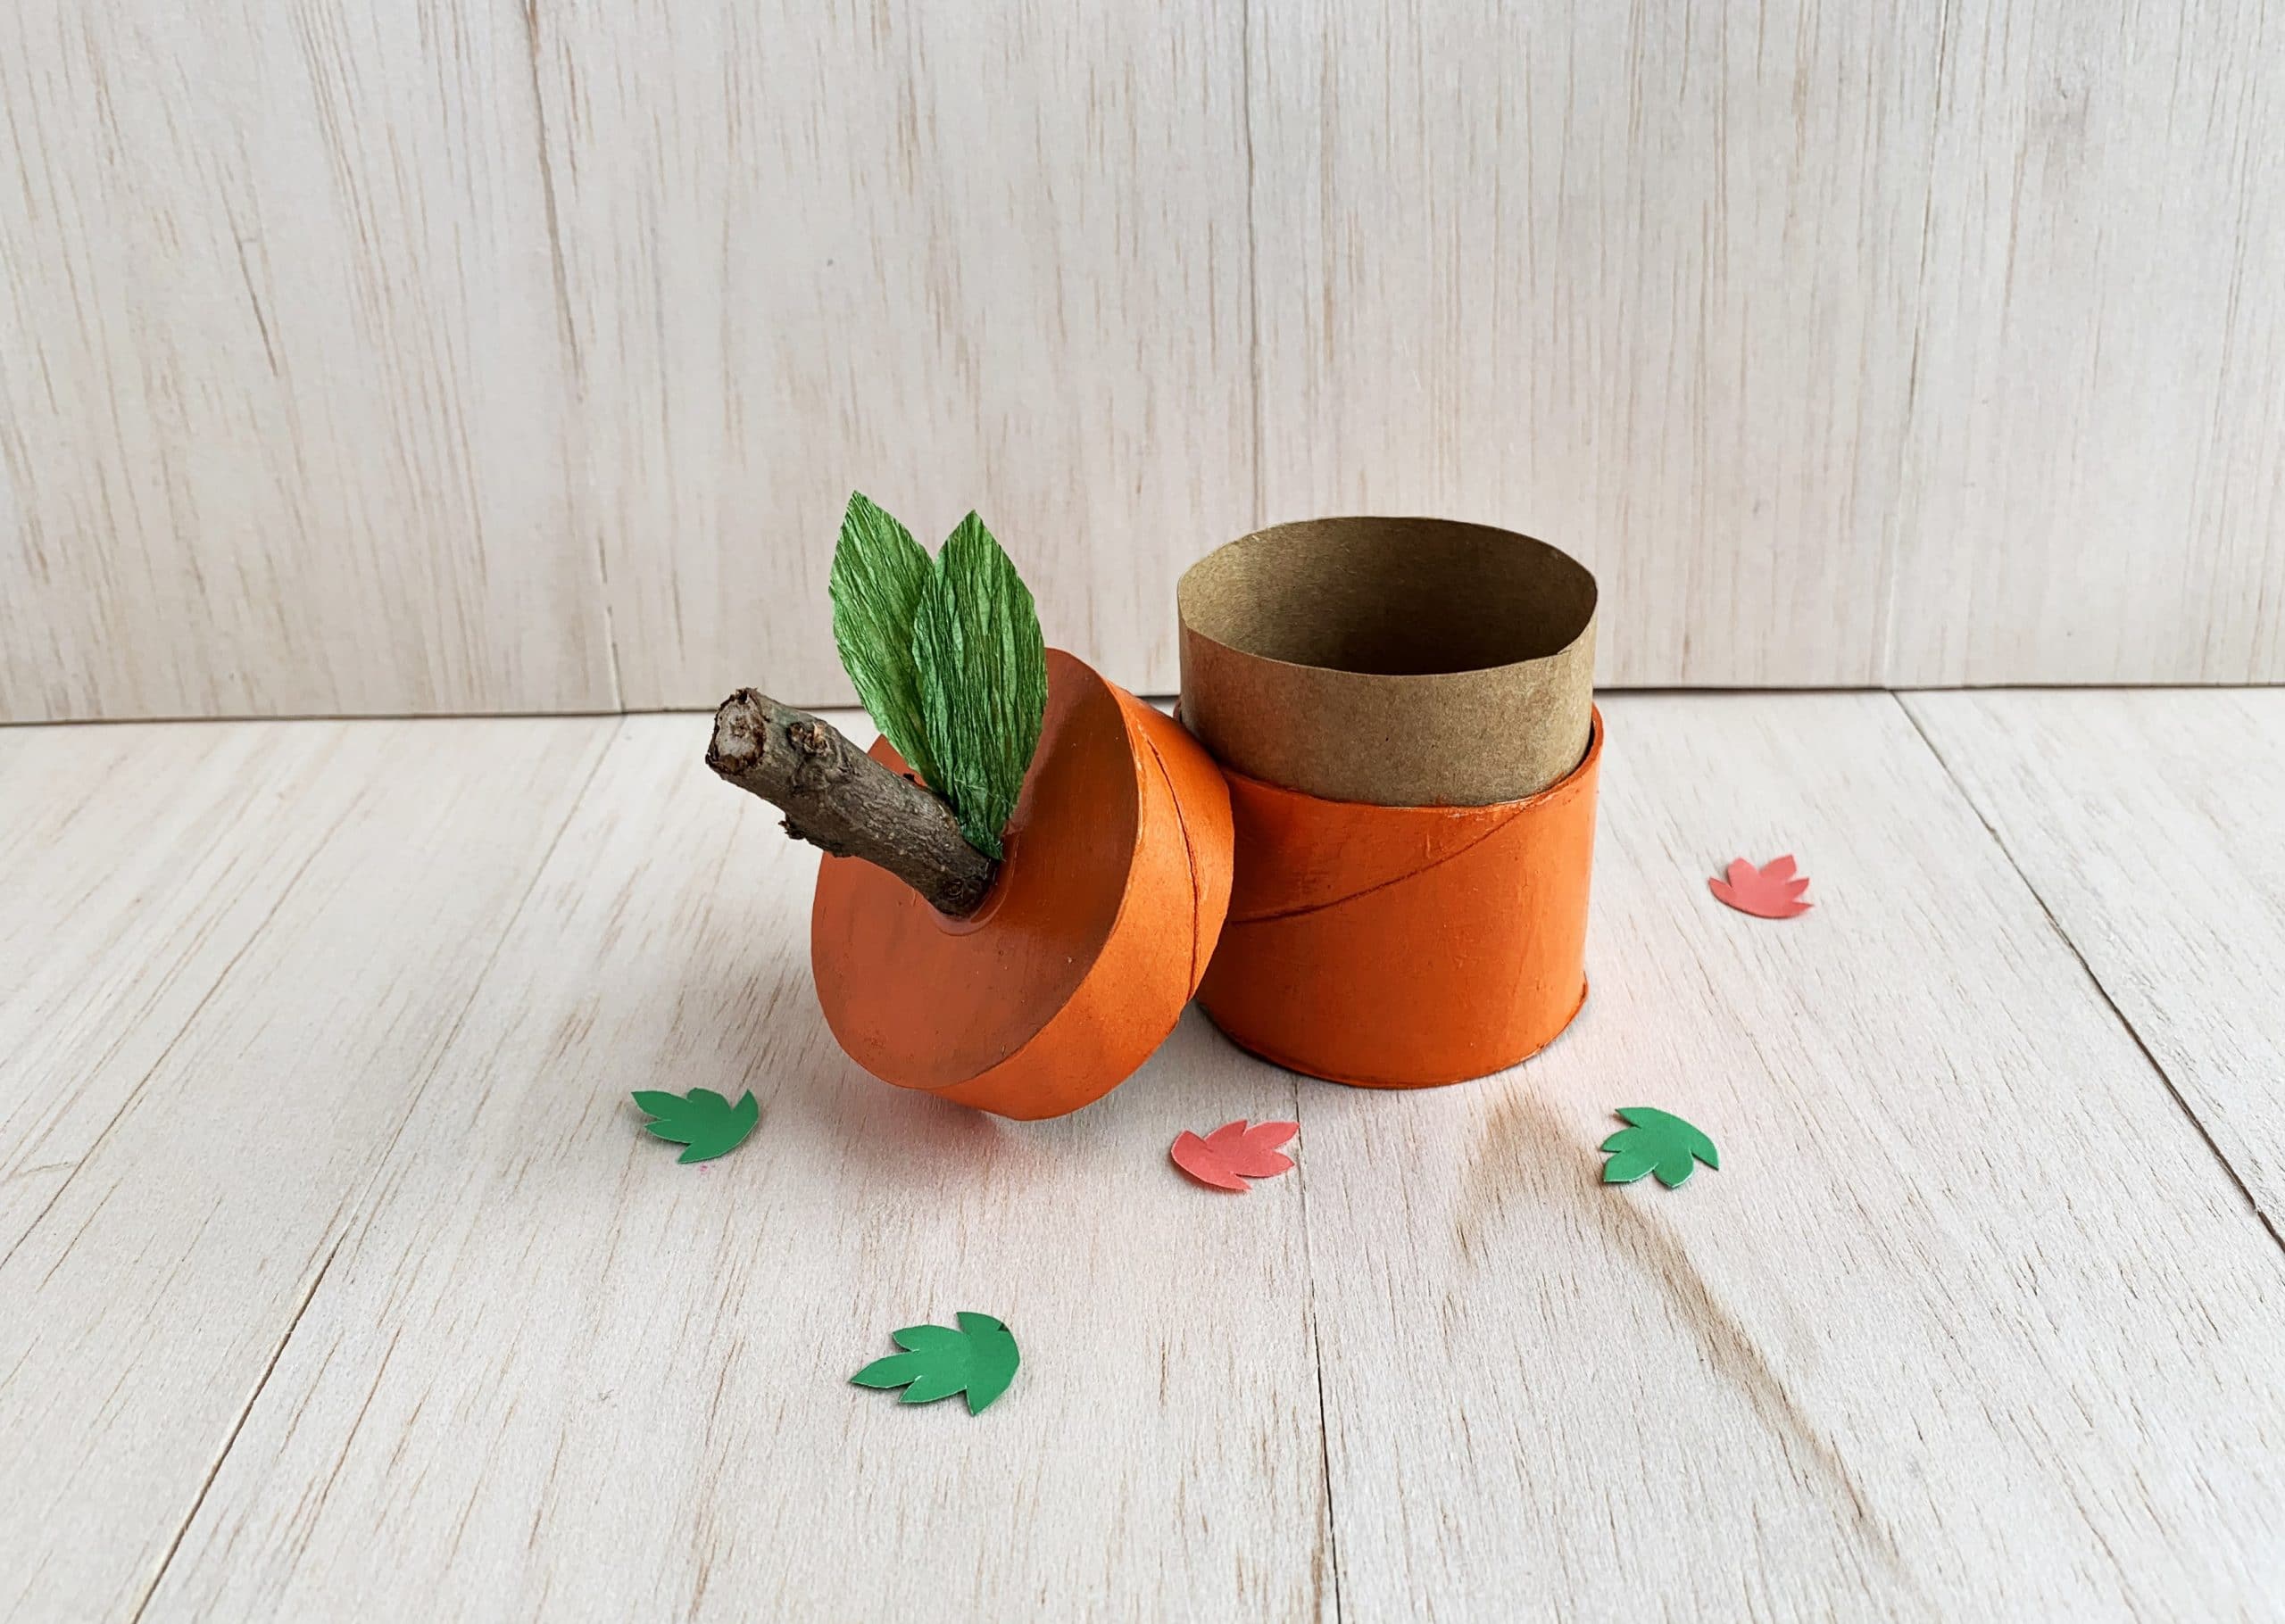
Now your box is complete! Make sure you allow the entire box to dry completely before you put the lid on the box and before you use the box for storing treats, tiny toys, or letters!
Want to make this craft part of a study of pumpkins or fall? Here are some ideas for that!
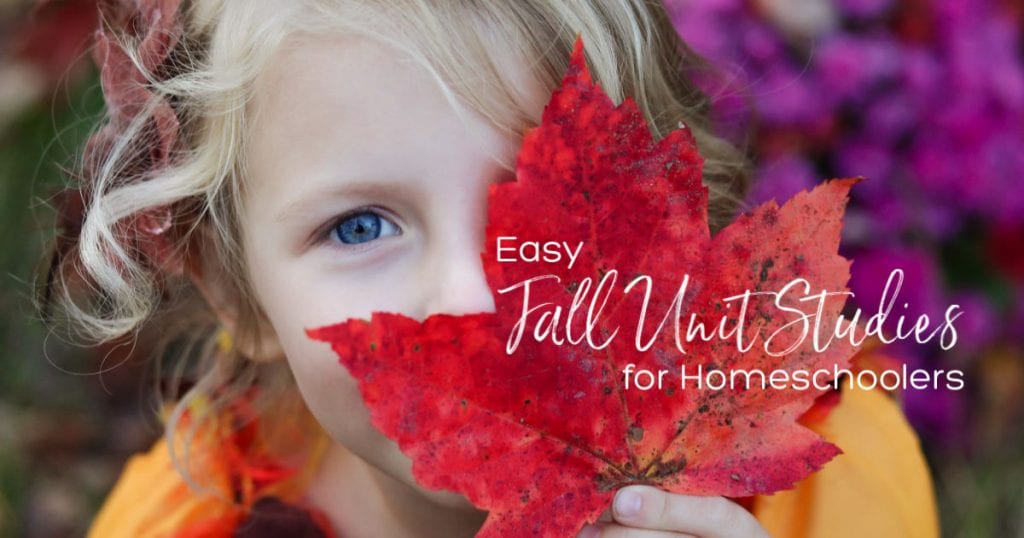
Easy Fall Unit Study Ideas for Homeschoolers
This article shares easy ideas for resources you can use to add fall fun to science, literature/language arts, arts & crafts, math, and more!
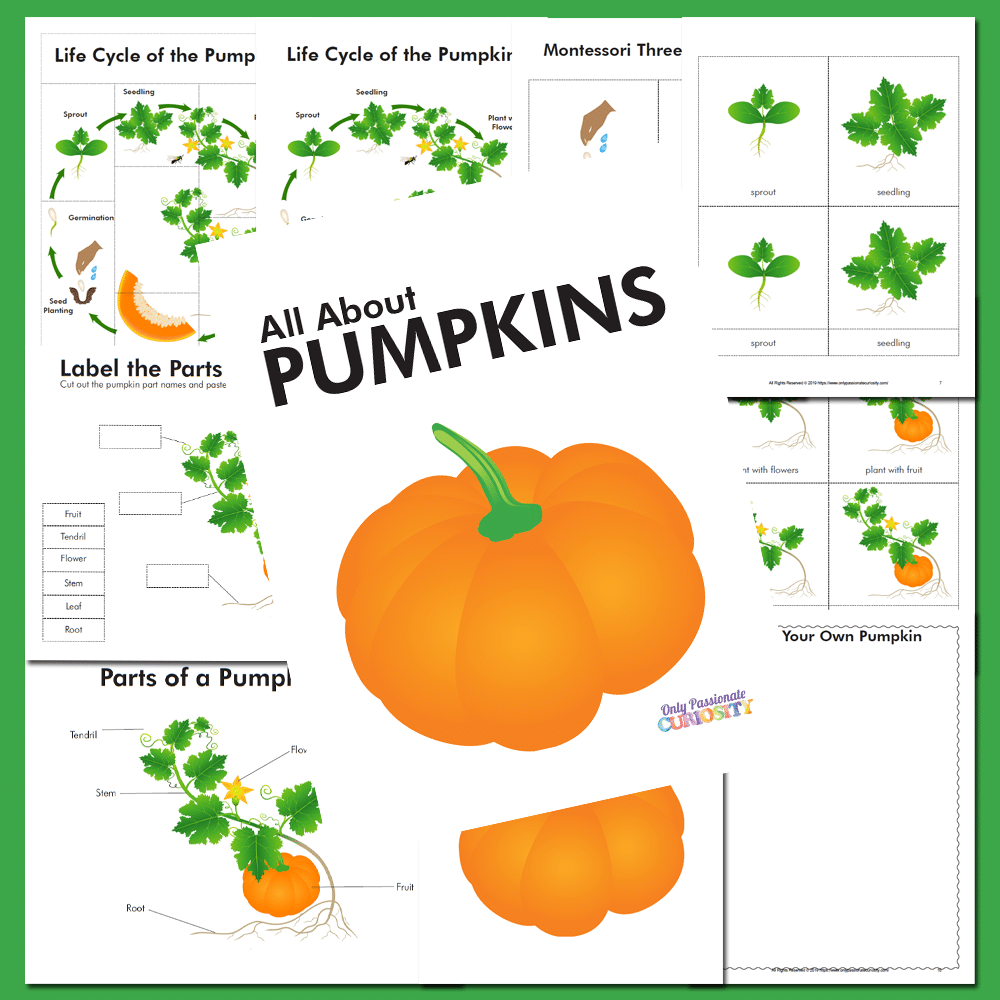
This unit study is…you guessed it…all about pumpkins! It includes 16 pages of pumpkin-related information, activities, and ideas.
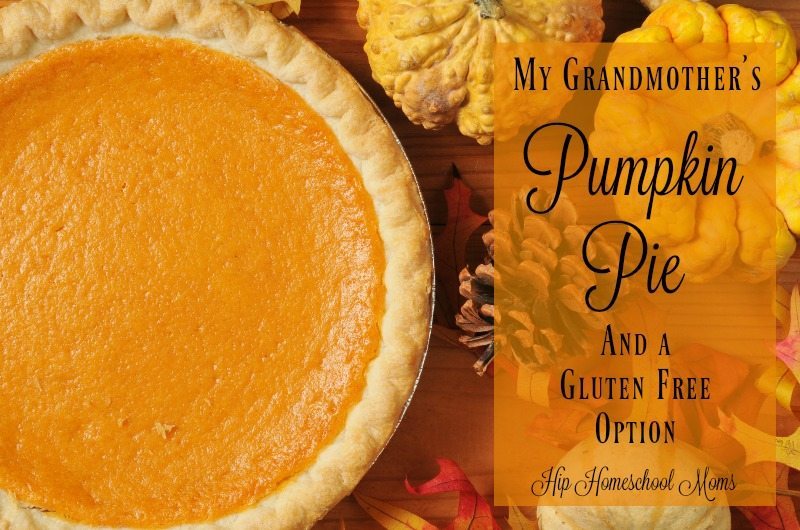
And how about some pumpkin recipes?
Cooking and baking are educational activities that should be part of your homeschool! Here I’m sharing a few pumpkin recipes to try out. The first two are actually savory–not sweet! Most pumpkin recipes are sweet, so it might be fun to try these just because they’re a little different. You could actually make several pumpkin recipes and have an entire pumpkin themed meal!
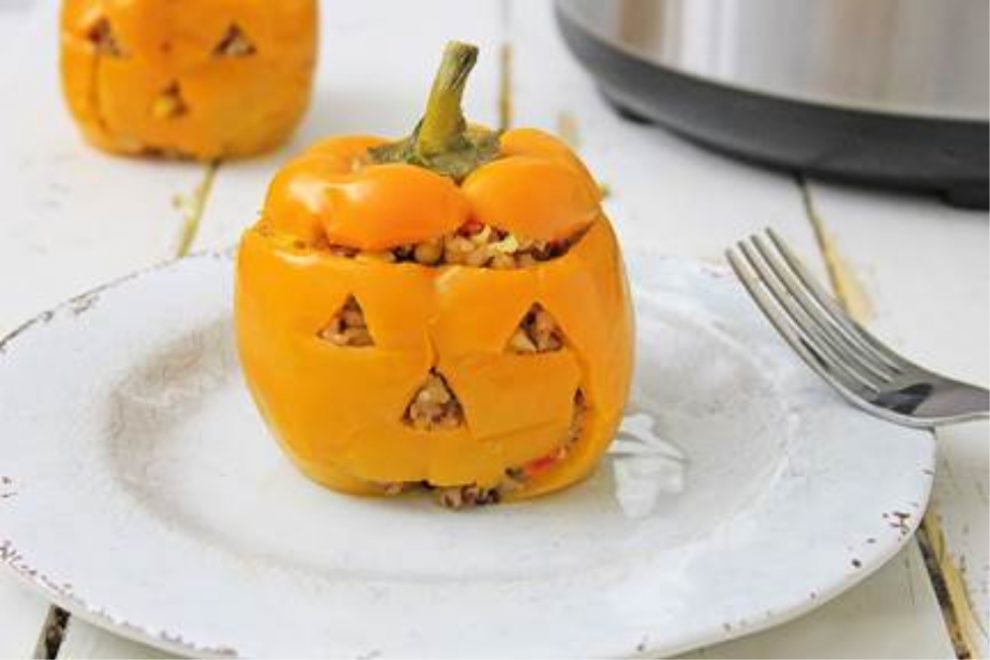
Festive Jack O Lantern Stuffed Peppers (Instant Pot and Oven Options)
This recipe doesn’t actually contain pumpkin, but it still works for a pumpkin-themed meal since these stuffed peppers look like pumpkins!
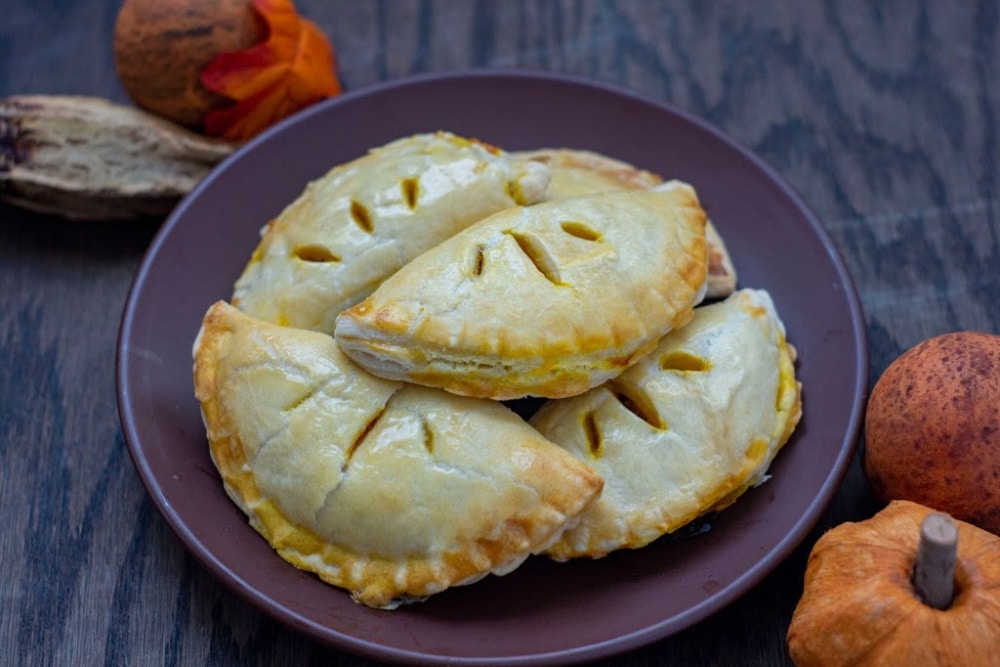
And these Savory Pumpkin Pasties don’t look like pumpkins, but they do contain pumpkin! They are essentially little savory pies that can be eaten as a snack, appetizer, or even for lunch or along with a meal.
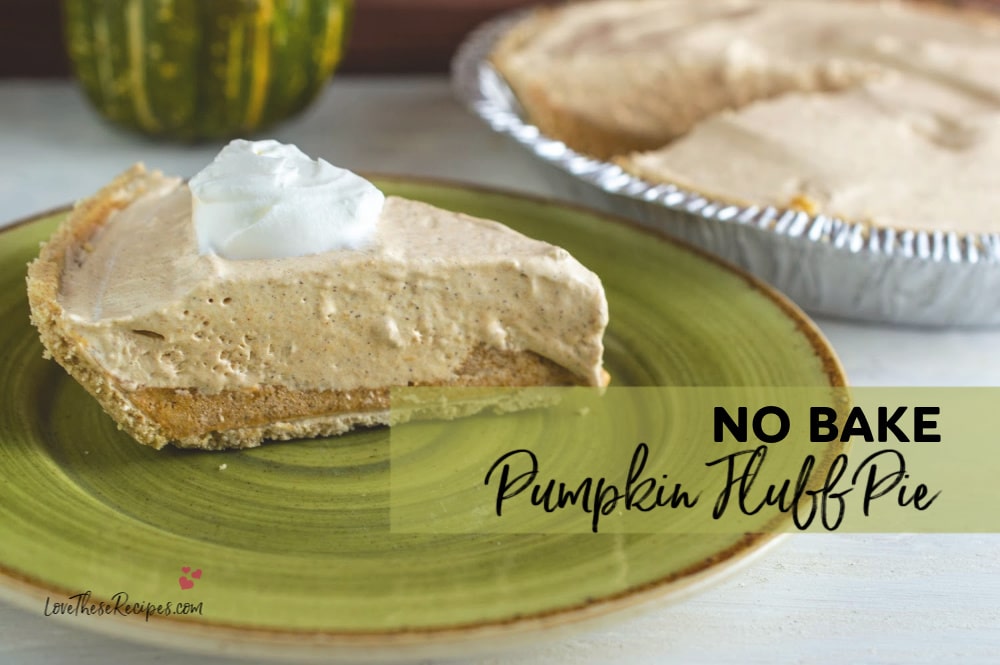
This No Bake Pumpkin Fluff Pie is a sweet, delicious pie that’s perfect for a party or dessert after Thanksgiving dinner. If you’ve never tried it, you should!
I grew up eating this deliciously different pumpkin pie. I don’t like pumpkin pies that are spiced with lots of clove and nutmeg. They just taste too heavy. This recipe is much lighter-tasting–more like a custard, and I think it’s sooo delicious! (Even friends who don’t like pumpkin pies love this one!)
I truly hope you enjoy these ideas, activities, and recipes for the fall and Thanksgiving seasons!
![]()
P.S. – If you want to receive an email when we upload a new craft, printable, or project here on Only Passionate Curiosity, use the newsletter sign-up form below! Our printables are FREE for two weeks after publication, so you’ll be sure not to miss any of them while they’re free!