Toilet Paper Tube Rocket Craft
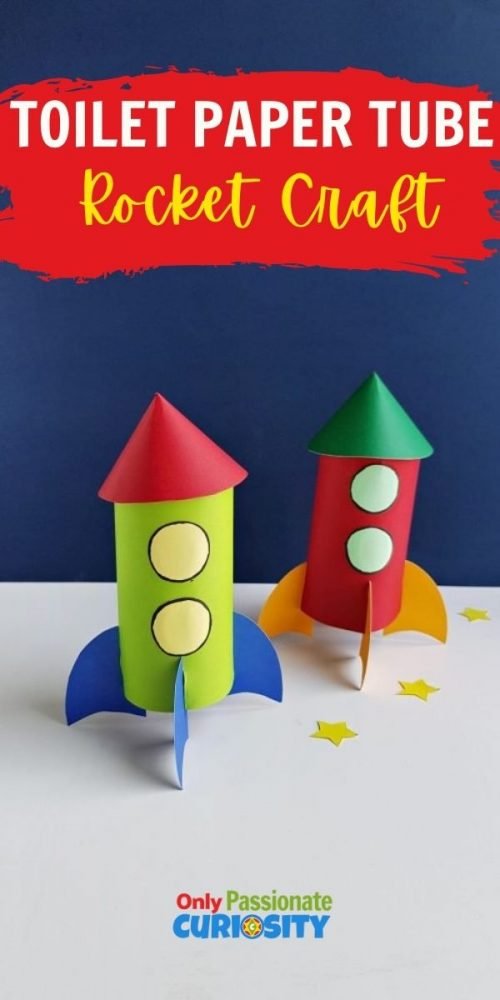
I think I can probably speak for most moms when I say that I love crafts that don’t require an expensive trip to the store. For making your kids smile and not stressing yourself out, cheap and simple crafts are the bomb! Today, we’re bringing you a fun and easy craft that you can use to create a rocket–using a toilet paper tube (because we all have those) and a few other supplies that you probably already have at home!
Rockets and space have always been a big hit with kids, but the recent revival of space engineering and exploration makes it an awesome educational topic to cover with your kiddos right now! Today’s craft would be a fun addition that you can use with kids of all ages as part of your space studies!
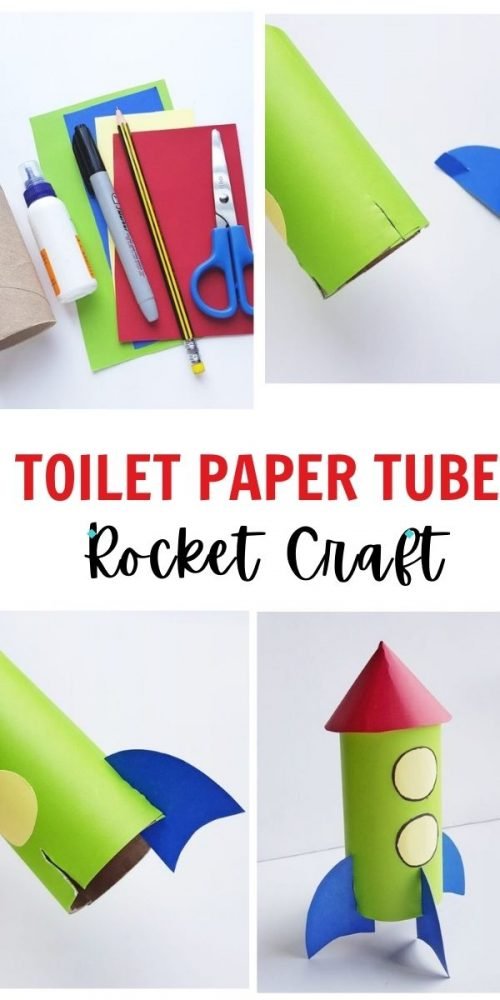
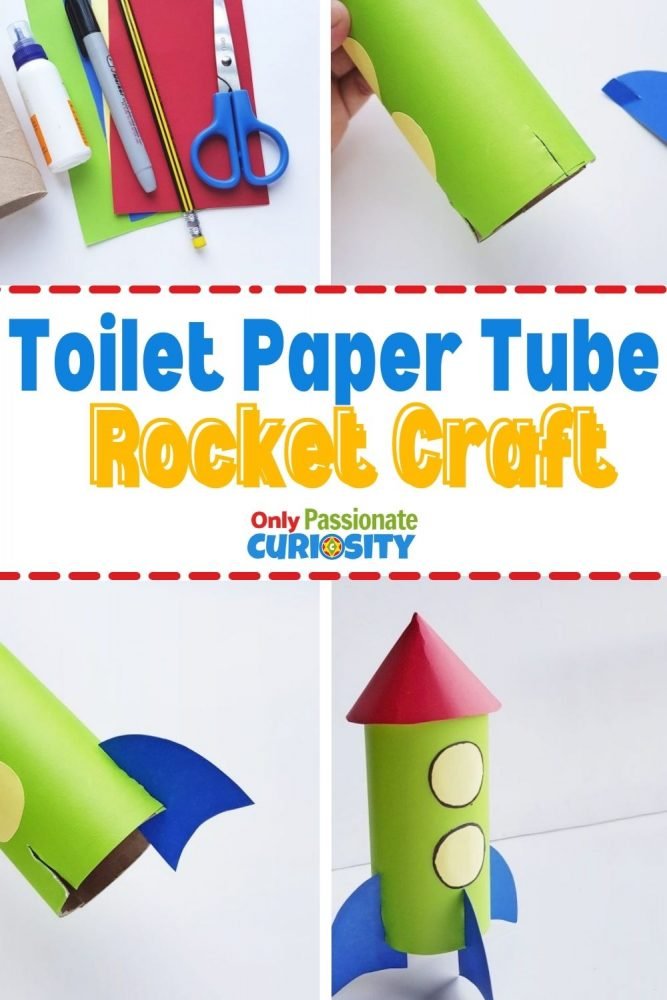
What You’ll Need:
- toilet paper roll
- colored craft papers
- colored cardstock paper
- pencil
- scissors
- craft glue

First, pick out the colors you’d like: one in cardstock and two in construction paper. Bold, contrasting colors work really well for this: like green/red, orange/blue, yellow/purple (etc.) The construction paper will cover the body of the rocket, while the sturdier card stock will make up the nose and fins of the rocket. Once you’ve got your colors selected, cut out a rectangular piece of construction paper that is the same length as the toilet paper tube. Then wrap it around the toilet paper tube so that it covers the whole thing, and glue it down.

Next, trace two small circles onto the second color of construction paper. These will be the windows for your rocket! Use the craft glue to secure them to the body of the rocket. To make your life easier, we do have a template for this craft which includes the exact shapes/sizes for the nose, windows, and fins. If you’d like to grab that, you can get it by clicking the link at the bottom of this article.
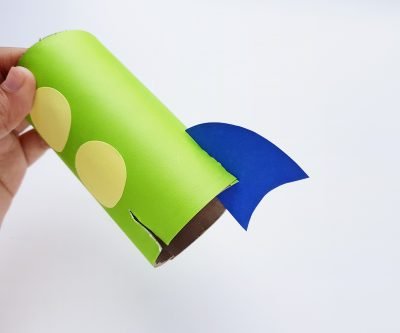
Next, you will cut the rocket’s fin shapes out from the cardstock. These are the same shape as shark fins and should be about 2″ tall. Again, you can use the template at the bottom of the tutorial for the exact shape and size. Once you’ve cut out your fins, use scissors to cut 4, 1″ slits at the bottom of your rocket’s body. You will also cut a small slit at the top of each fin shape, as shown in the picture below.

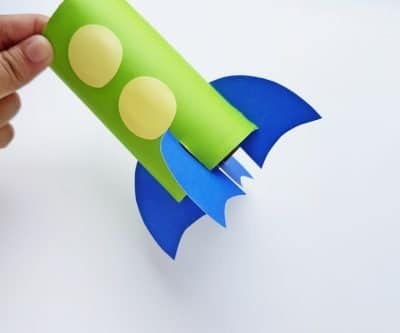
Insert each fin into the slit at the base of the toilet paper roll, so that the slits make a crisscross pattern. You may want to apply a small dot of glue where the slits meet.
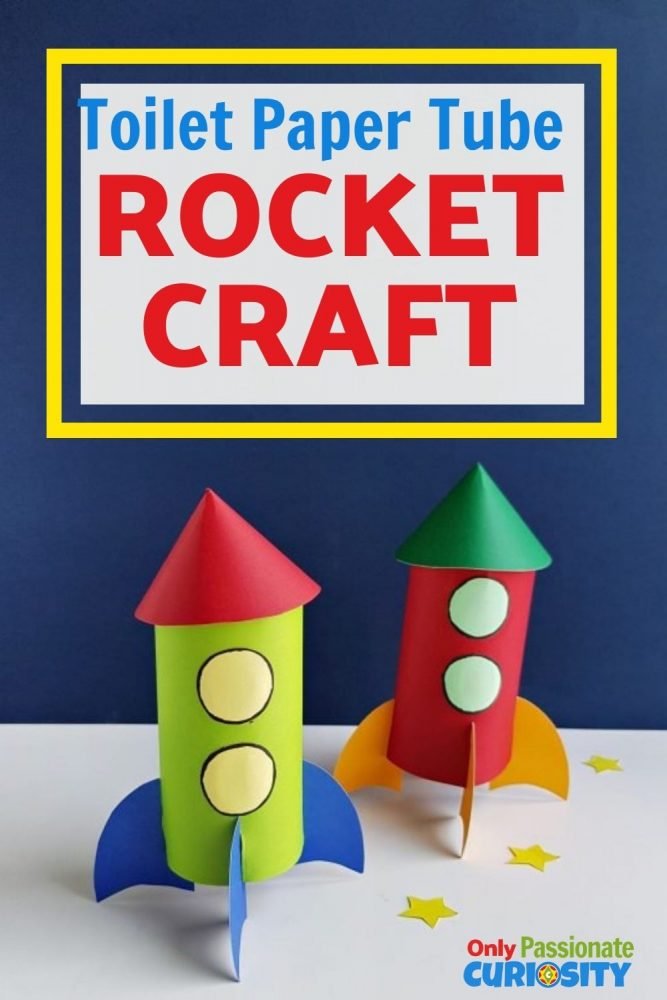
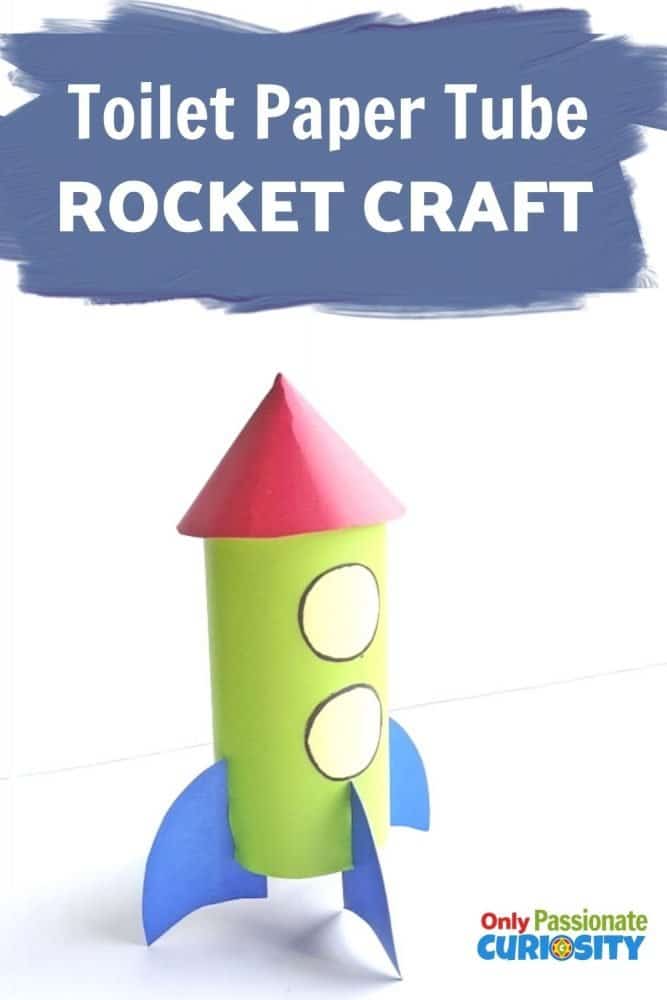
Once all four fins are attached and the glue has dried, your rocket should be able to stand up independently!
Lastly, trace and cut out the cone shape for the nose of the rocket (this is also included in the template). Carefully roll and glue it into a cone with a pointed top. Once it has dried into shape, glue it onto the top of the rocket.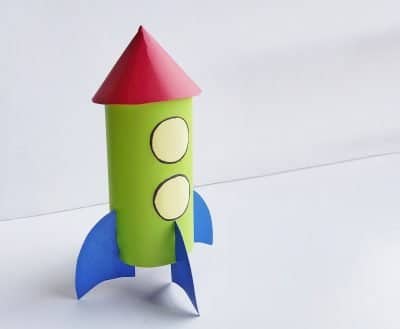
Once everything has dried, your rocket is ready for take-off! Don’t forget to grab our template using the link below. You may want to also check out some of our other space-related activities to go with this craft.
Click here to grab your Toilet Paper Roll Rocket Template

You May Also Like:
If you are looking for other fun, space-related activities, check these out! 
This Rocket Bookmark Craft is another fun and simple craft for your young space enthusiast to enjoy!

Check out these fun and easy solar system activity ideas, too!