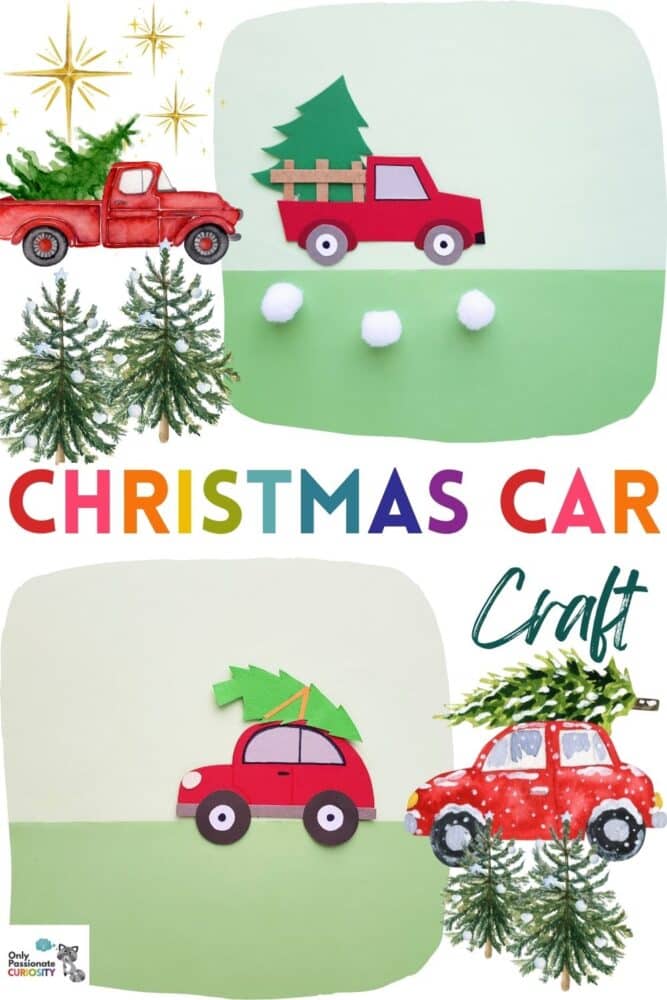
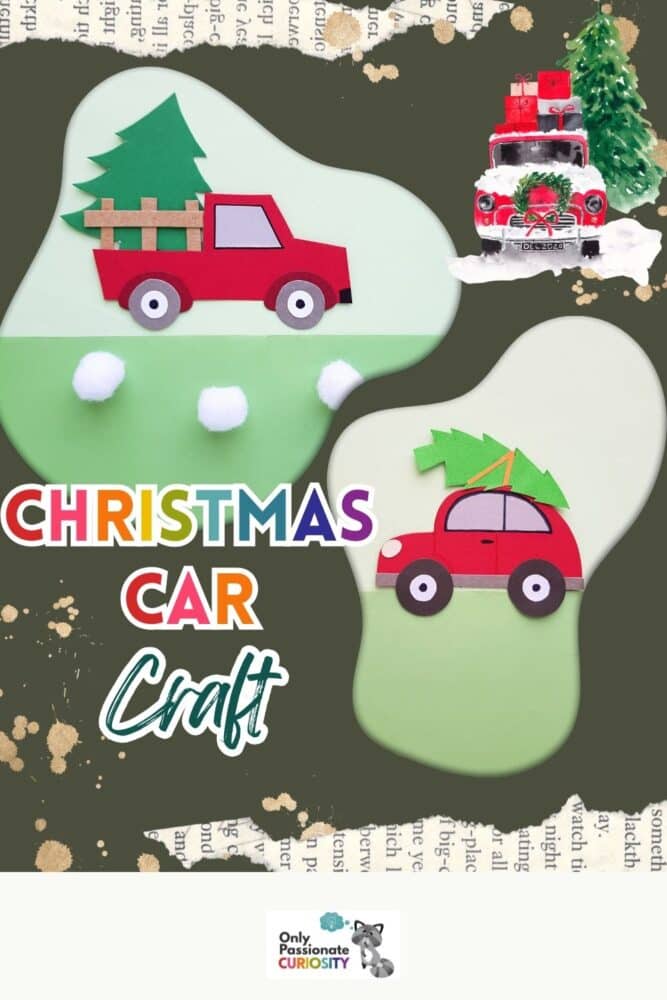
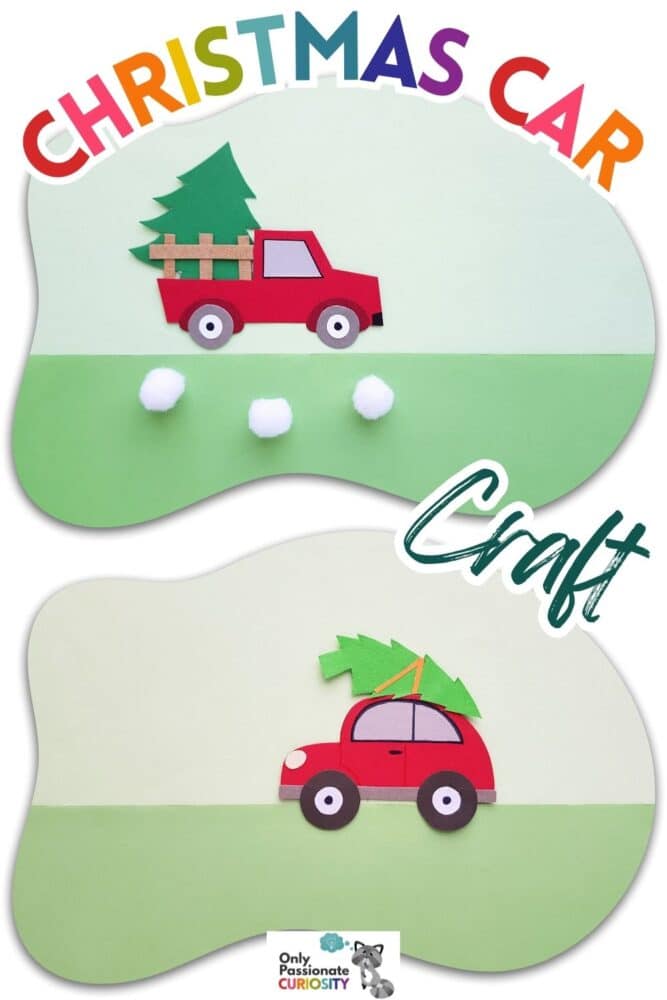
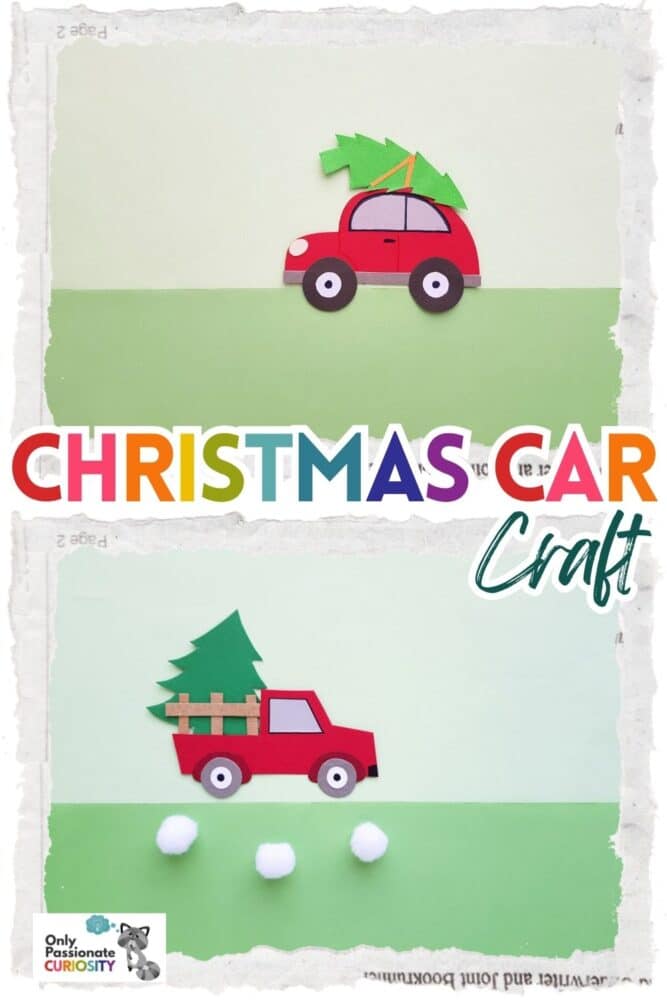
Two Cute Christmas Car Crafts
If you’ve got boys, you know that boys love cars! This Christmas car papercraft is a cute and easy project for young kids, giving them practice in cutting, gluing, and learning about shapes, too!
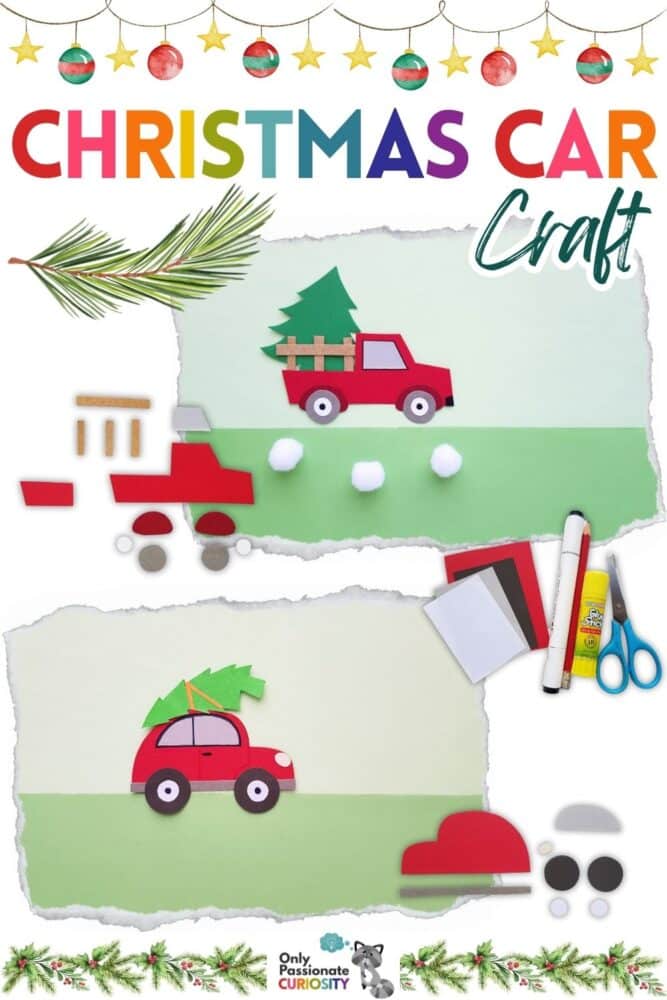
What You Need for the Christmas Car Craft
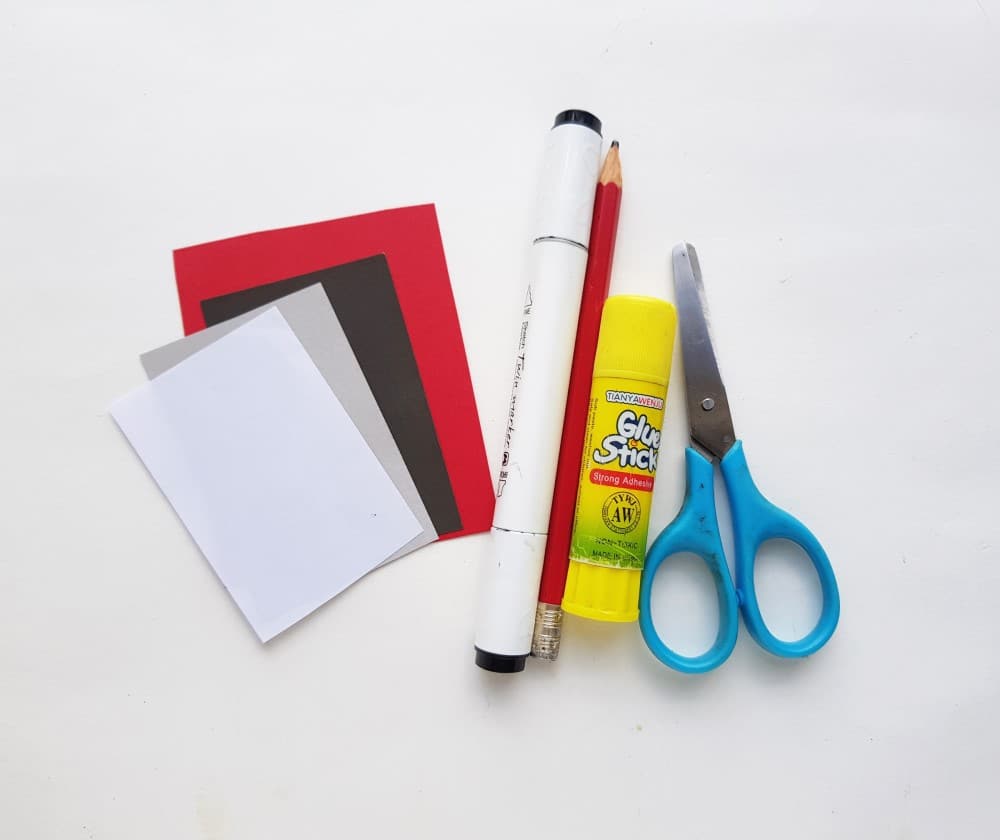
- Colored craft paper
- Craft glue
- Pencil
- Scissors
- Christmas Car Template
How to Make the Christmas Car Papercraft
Step 1:
Select red, white, black, and gray craft paper for the car craft. Select green-colored craft paper for the Christmas tree. Trace the template patterns on the selected papers (car base on red, big circles on black, small circles on white, and the strip and half-circle pattern on gray colored paper. Cut out the traced patterns nicely.

Step 2:
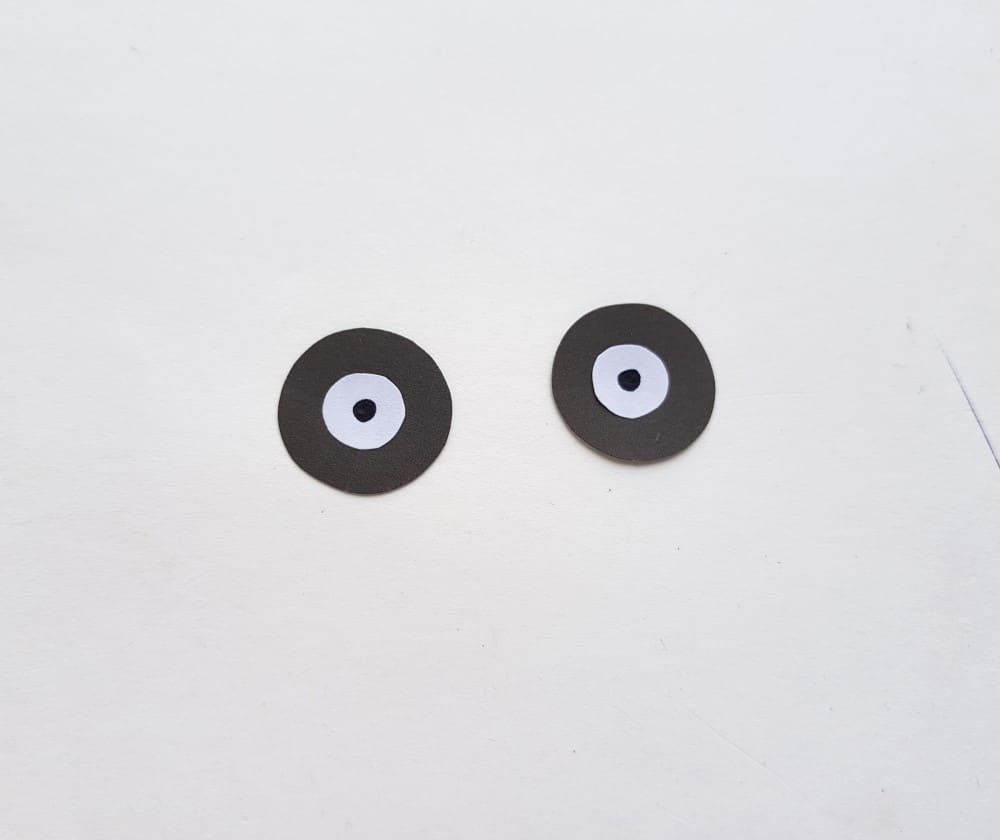
Stick the small white circles in the center of the big black circle cutouts. Use a pen to draw a small dot in the center of the white circle. Or you can draw any other pattern as you like for the paper wheels.
Step 3:
Stick the gray strip along the bottom straight end of the car base.

Step 4:
Stick the half-circle cutout within the top half-circle part of the car base.

Step 5:
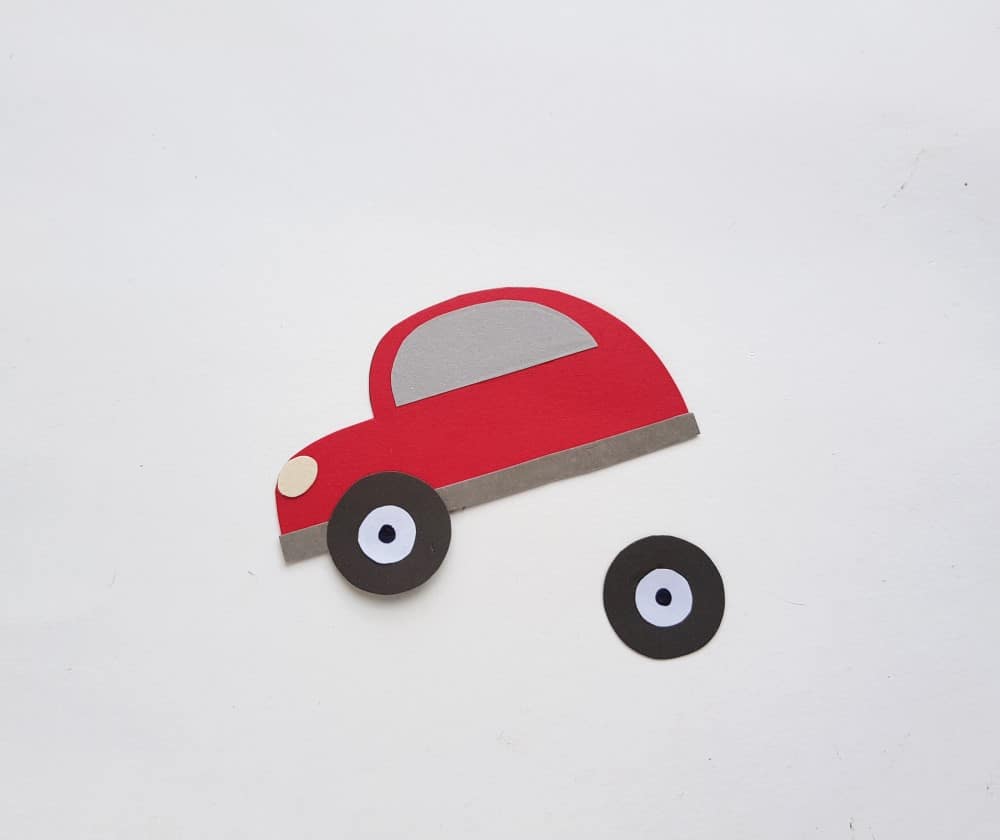
Stick the small oval-shaped piece (front light of the paper car) to the front side of the car base. Attach the paper wheels along the bottom side of the car.
Step 6:
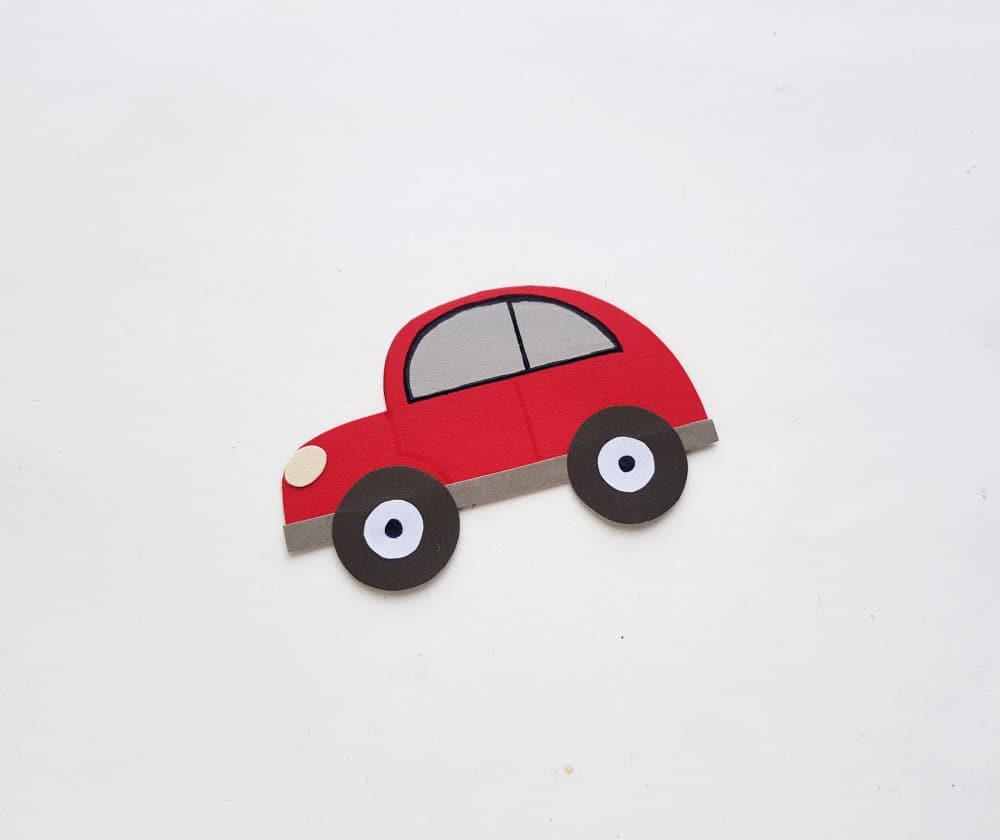
Attach both paper wheels to complete the paper car craft. Use a pen to draw outlines of the car window (half circle).
Step 7:
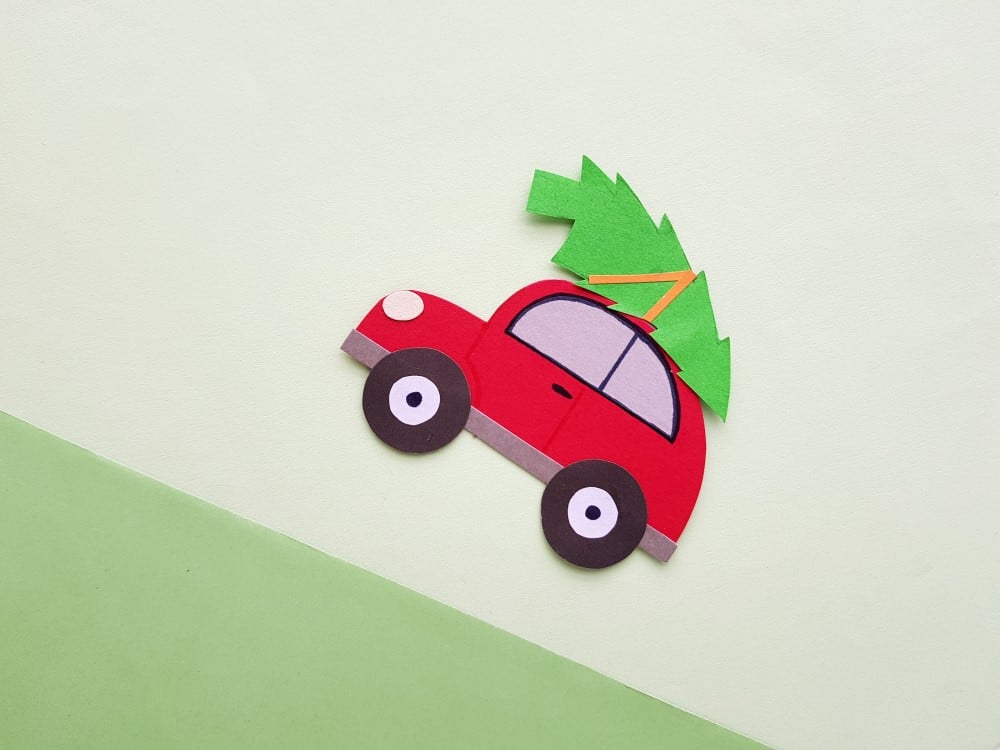
Attach 2 thin strips criss-cross-wise on the tree and then stick the tree to the top side of the paper car to complete the craft. Isn’t it a cute Christmas car craft?
Download the Christmas Car Template
Okay, now it’s time to make the Christmas truck!
List of Supplies for Christmas Tree Truck
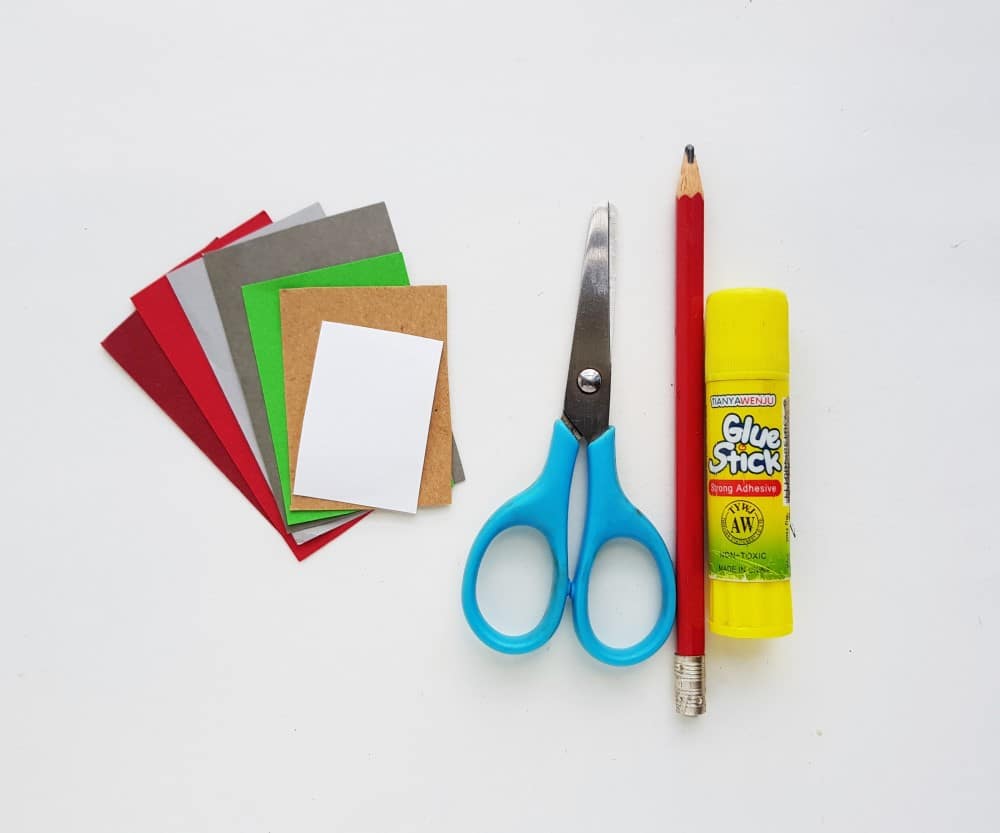
- Colored craft paper
- Craft glue
- Pencil
- Scissors
- Christmas Truck Template
- Christmas Tree Template
How to Make Your Christmas Tree Truck
Step 1:
Select red, gray, white, green, and brown craft paper. Trace the truck and half-circular patterns on the red papers. Trace the 4 strips on the brown paper and the square window on gray paper. Trace the wheel patterns (4 round shapes of 2 sizes) on gray and white paper.
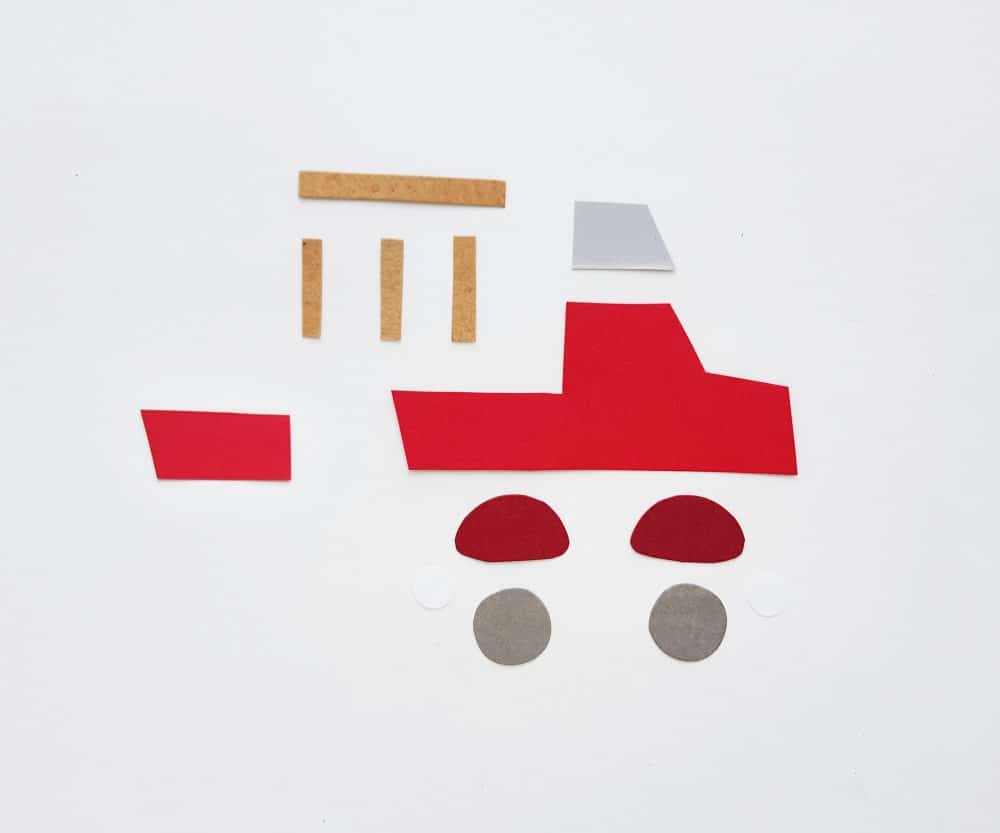
Step 2:
Stick the window square cut-out on the front side of the truck pattern.
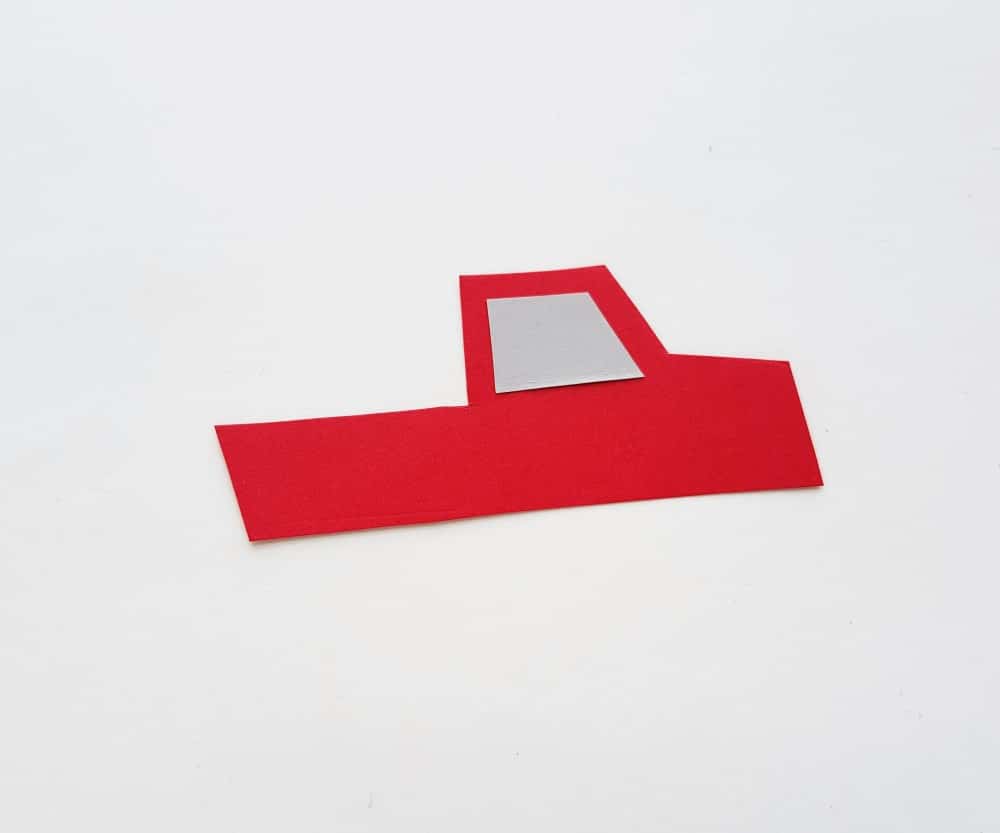
Step 3:
Stick the small round cutouts in the center of the big round cutouts to craft the wheels.

Step 4:
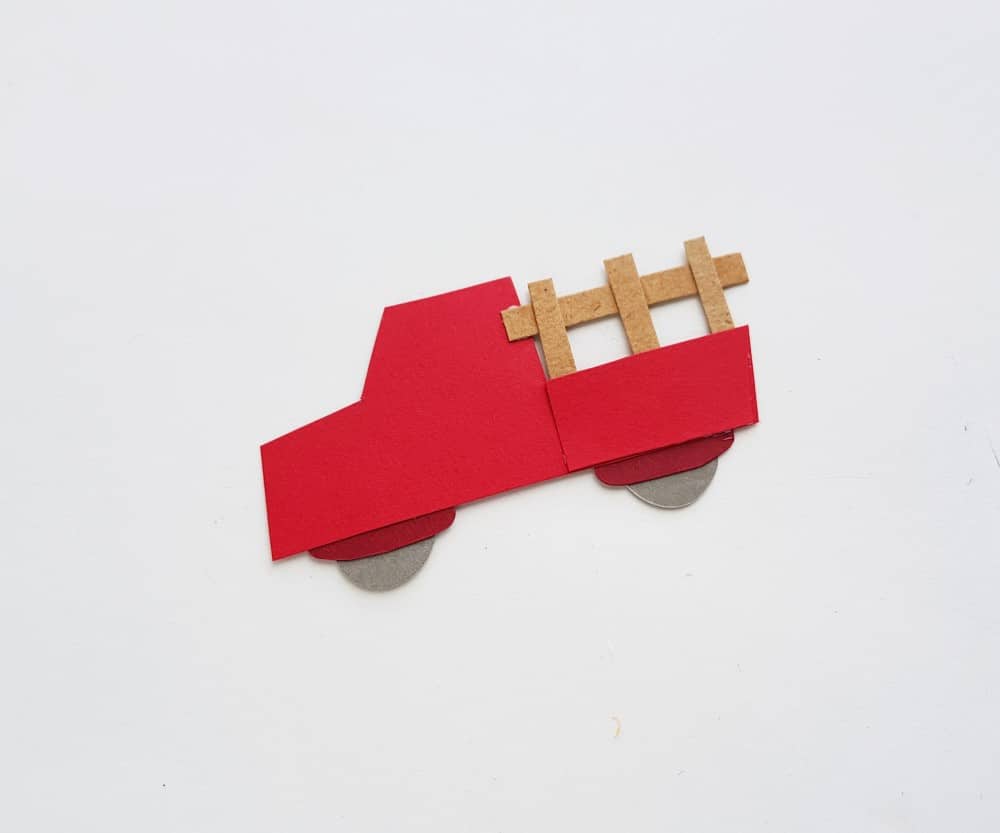
Place the longer strip on a flat surface horizontally. Stick the 3 short strips on the long one vertically, making sure to keep even gaps between the 3 short strips.

Step 5:
Stick any one of the half-circular patterns on the bottom side of the truck pattern. Stick any one of the round wheel patterns near the bottom side of the half-circular pattern. Similarly, attach the other wheel.

Step 6:
Flip the truck pattern to the other side. Stick the brown strip pattern on the top-back side of the truck pattern. Apply glue on both sides and the bottom side of the truck’s backside.
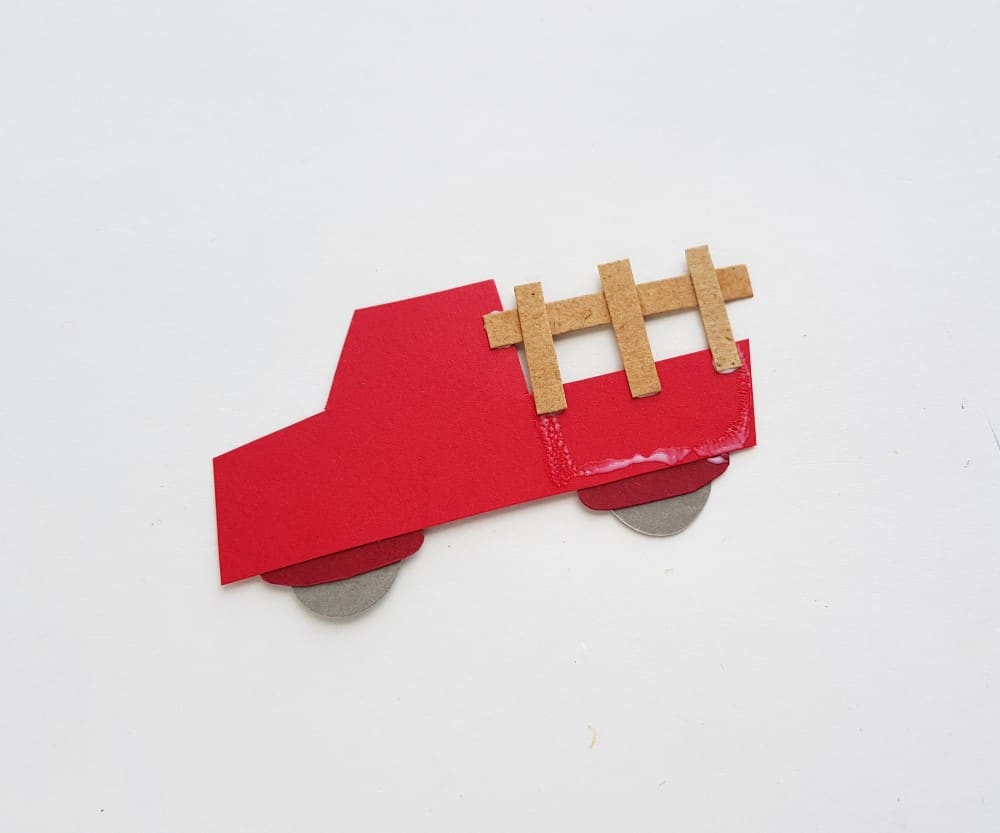
Step 7:
Place the rectangle piece on the glued part, keeping the op side intact (open).
Step 8:
Flip the truck papercraft to the right side.

Step 9:
Trace and cut out a tree pattern from green paper. Insert the tree into the back pocket of your truck papercraft. And there you have it! A cute Christmas tree truck!

More Holiday Activities for Children
- Christmas Countdown Printable
- Christmas Kindness Calendar
- Nativity Word Wall and Picture Memory Verses
- The Christmas Story Copywork
- Hanukkah Playdough Mats
- Christmas Money Math – Counting and Adding Coins
- Counting Candies on Cookies Math Cards
Here Are Some Christmas Baking Ideas


