Learn about the Water Cycle: Make a Terrarium!
Did you enter our History Rocks! Giveaway?
I just love when we accidentally stumble on a unit study. In Lesson 6 of our Grade 3 Oak Meadow curriculum, Bug was introduced to the Water Cycle with a simple experiment with water evaporation (no pictures thanks to technical difficulties in the form of small children re-arranging our water evaporation pans… toddlers can be such punks!).
This week, Bug will learn some about condensation with Oak Meadow, but he was really interested in how the water disappeared, and what would happen next. So…. what else is a delight directed homeschooling mama to do, but throw together a last second unit study on the Water Cycle?
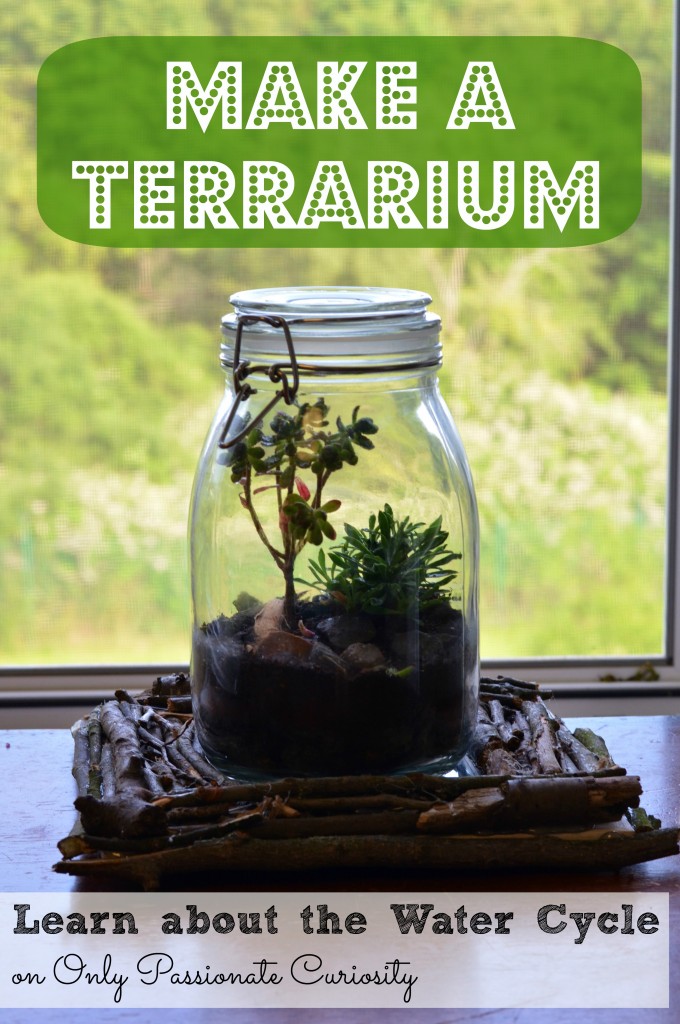
The cool thing about a closed Terrarium is that the water cycle happens inside the glass, meaning that you don’t have to water it (so, those of us who stink at gardening won’t murder them easily). Once it’s made, it’s very low maintenance and you just get to enjoy it.
Supplies Needed:
- A lidded glass container. Mine is a jar I used to keep dry pasta in (I think I got it from the kitchen section at Ikea), but you could use a large Mason jar, or something pretty like this lidded glass container also. Anything with an air tight seal will work.
- Small Rocks
- Activated Charcoal (apparently you can find this in garden centers and pet stores)
- Soil
- Small Plants- succulents and mini-bonsai work well
- And any other decorations you like 🙂
Assembly Instructions:
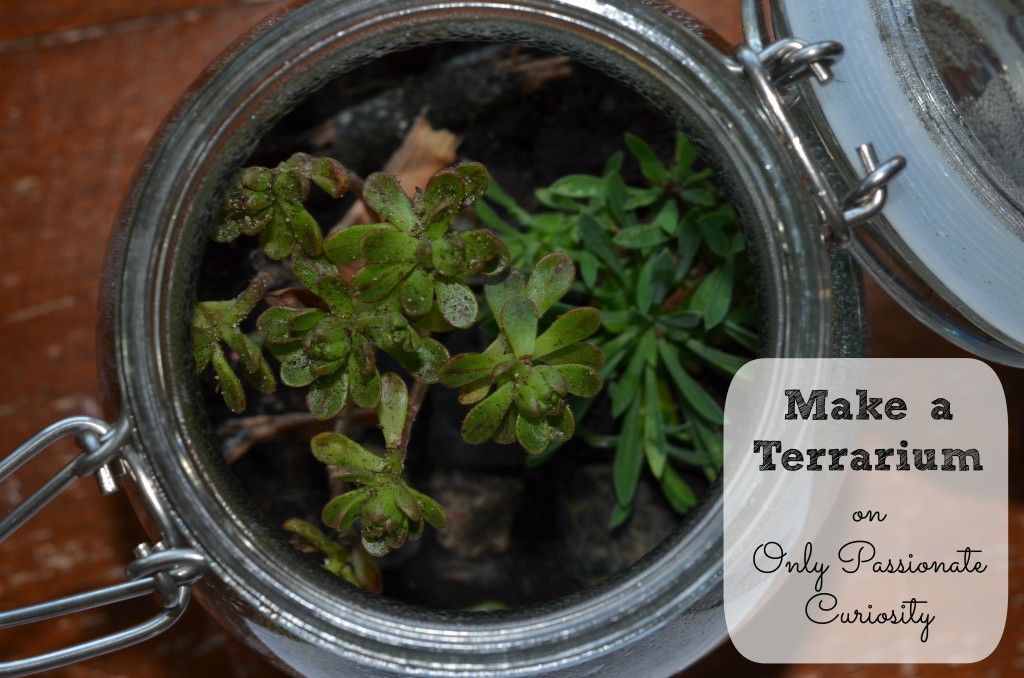
We layered small rocks in the bottom of the container, then I put a small layer of soil, and two plants. I bought little ones that looked like a bush and a tree because I wanted it to be a miniature of our yard, and then filled the space around them with soil. We decorated the bottom with some small rocks and twigs.
Then, you add a tiny bit of water, and close the top.
The activated charcoal is supposed to help your terrarium by preventing mold growth, but I couldn’t find any. If you notice a little mold, open the lid and let it dry out a little. If your plants start to droop and look dried out, open the jar and spray them with a small amount of water. Ideally, you’ll just get lucky before you close the jar the first time, and put the right amount of water.
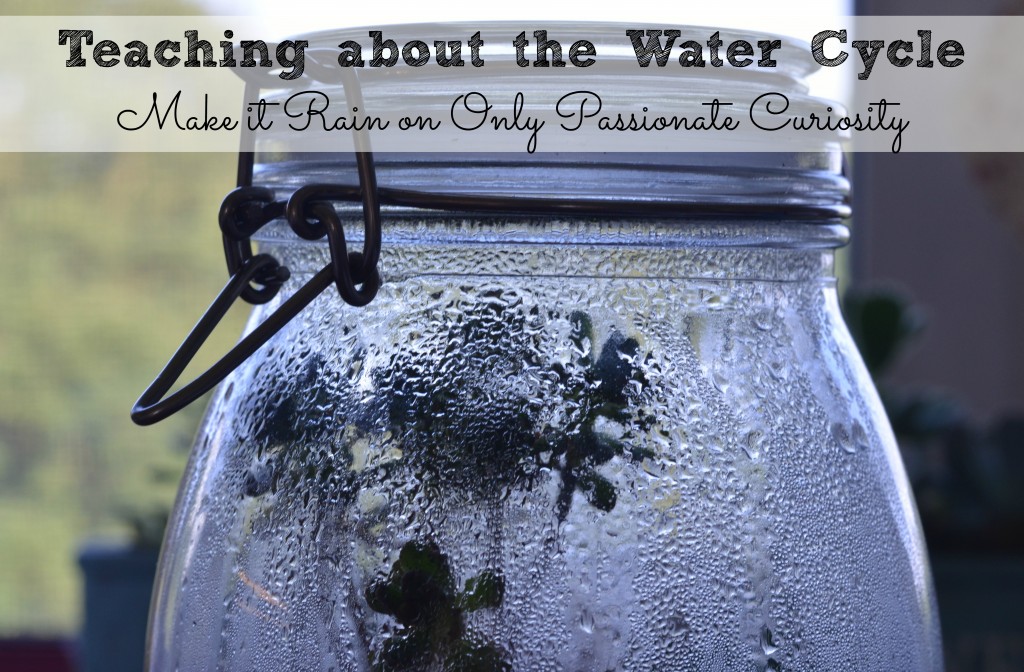
After that, your child will be able to see drops of condensation forming on the glass, and then getting heavy, and “raining” down on your plant. You can then explain that the plant soaks up the water in its roots, then “breathes” with respiration, releasing the water (and oxygen) into the air, which then condenses on the glass and rains.
*Poof* mini-water cycle in a jar!
We added in some fun reading with this unit to drive the message home:
A Drop Around the World is one of my favorite science picture books. It follows a water drop around the world, as it travels through the air, streams and plants. It’s a beautiful book! I just found out today that there is a teachers manual that uses this book for a 6 week unit study, so I am picking up a copy to dig even deeper into the water cycle! Score!
Lets Read and Find Out: Down Comes the Rain is in a series of picture books that cover early science topics in easy to understand way. I use these books a lot as the “spine” for simple week long science unit studies for Mr. Man. They all include a hands on activity of experiment in the back, too!
We can’t forget Magic School Bug: Wet all Over. I’m telling you, there is nothing I can teach my kids when it comes to elementary science, that Mrs. Frizzle hasn’t already beaten me to, and taught better. Between the books and the DVD’s I feel like the kids have a solid science foundation.
I’m excited that Bug is excited about this unit, and am even happier that the Terrarium is a pretty science project I don’t mind keeping on the bookcase. I was really pleased at how inexpensive and easy it was to make. I think I spent about 4 euro on the 2 plants I purchased, and the soil and rocks came from our yard. The glass has the potential to cost, but a left over Mason jar will work for cheap!
Build one this Summer!






Jude loves retelling the water cycle every time it rains…we will have to try this!
Great lesson. I remember when terrariums were all the rage.
Blessings
Diane
That looks so lovely!
cool
I love it