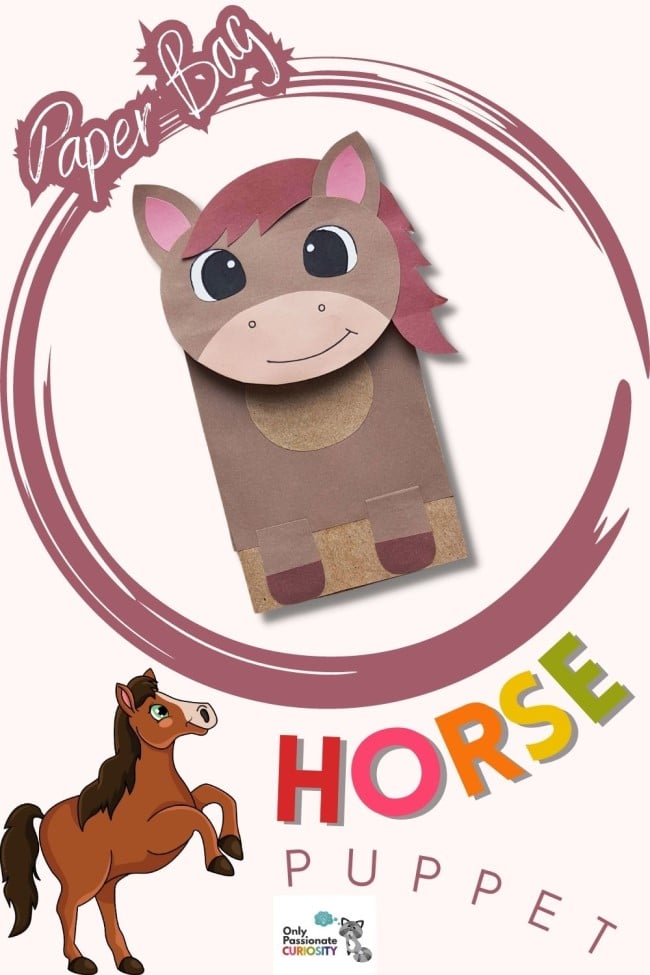
Fun Paper Bag Horse Puppet
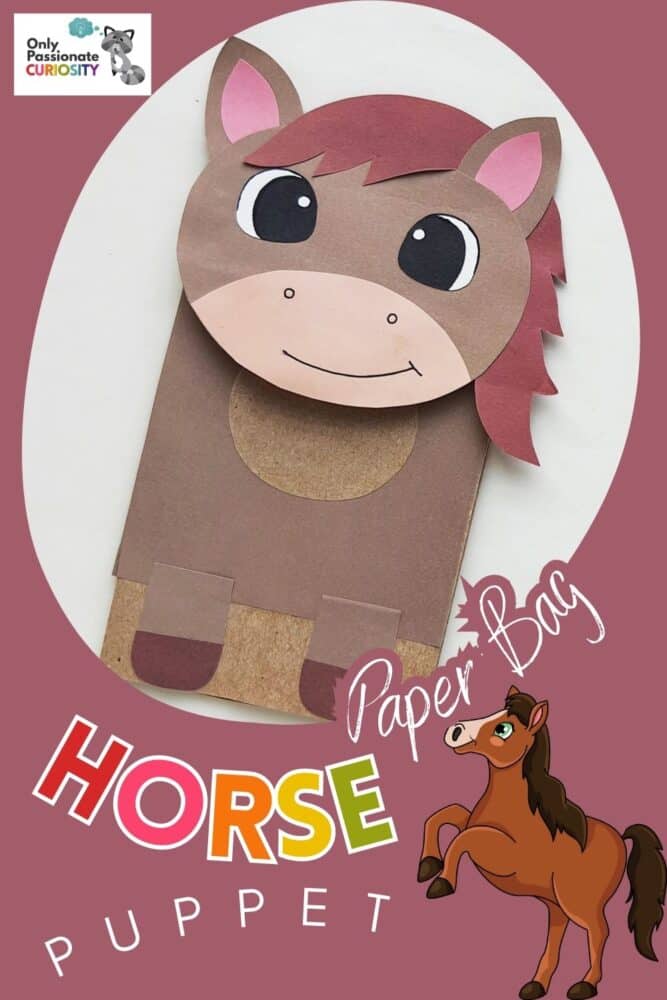
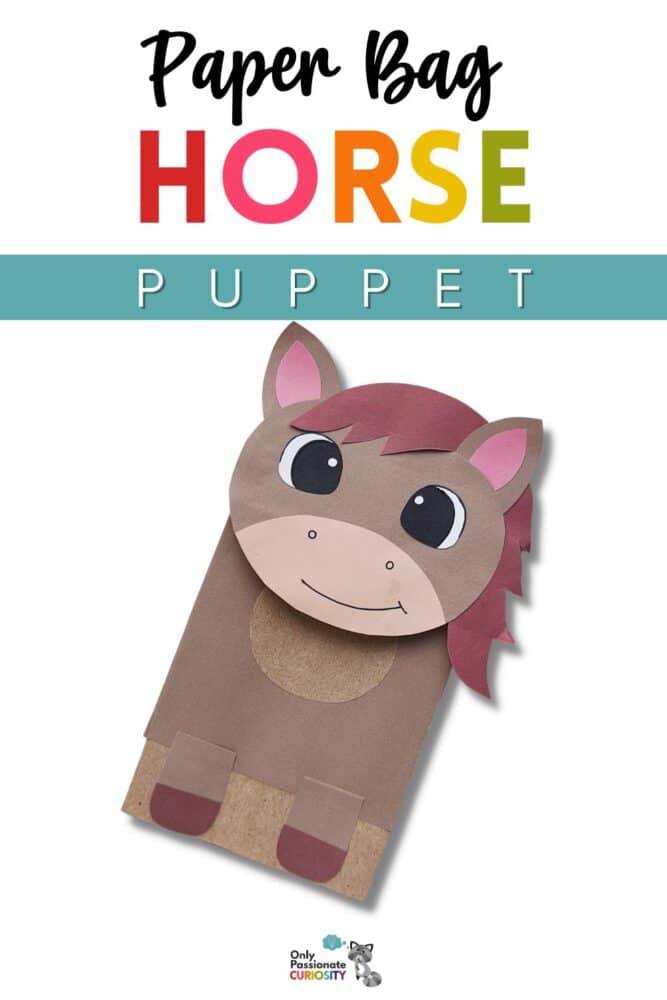
If you’re on the lookout for an engaging and imaginative activity for your little ones, we’ve got just the thing: paper bag puppets! In this blog post, we’ll guide you through the simple steps of creating a paper bag horse puppet. This project has the potential to inspire ongoing times of imaginative play.
Whether you’re a parent, a teacher, or both (as a homeschool parent), paper bag puppets are an excellent way to foster creativity in children while also helping them develop their fine motor skills. By using everyday materials like paper bags, colored paper, and some basic craft supplies, you can create a world where your kids can unleash their imaginations.
In this tutorial, we’ll provide you with a step-by-step guide to crafting paper bag horse puppets. We’ll cover everything you need to know: from gathering the supplies to cutting and assembling the pieces to adding those special finishing touches that will make your horse puppet truly unique.
Once the horse paper bag puppets are complete, we’ll explore a few related activity ideas to accompany this craft.
These puppets can become beloved characters in your little one’s stories, encouraging them to engage in imaginative play, improve their communication skills, and develop their own narratives.
So, whether you’re looking for a fun craft to keep the kids entertained during a rainy day, searching for a hands-on activity for a playdate, or even planning a puppet-themed party, horse paper bag puppets are an ideal choice. Let’s gather our supplies and embark on this delightful crafting adventure together!
List of Supplies for Paper Bag Horse Puppet:
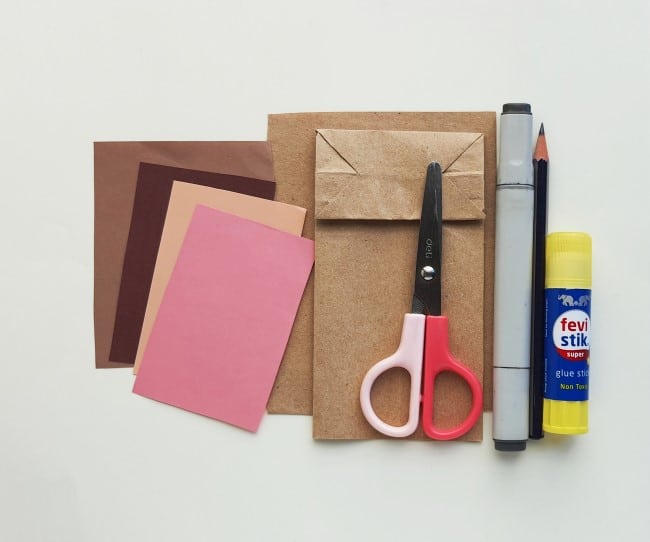
- Brown paper bag
- Colored craft paper
- Sharpie
- Craft glue
- Pencil
- Scissors
- Horse Puppet Template (opens in new window)
Instructions for Making Paper Bag Horse Puppet:
Okay, let’s look at how to make this cute paper bag horse puppet step by step, with pictures to show exactly how it’s done!
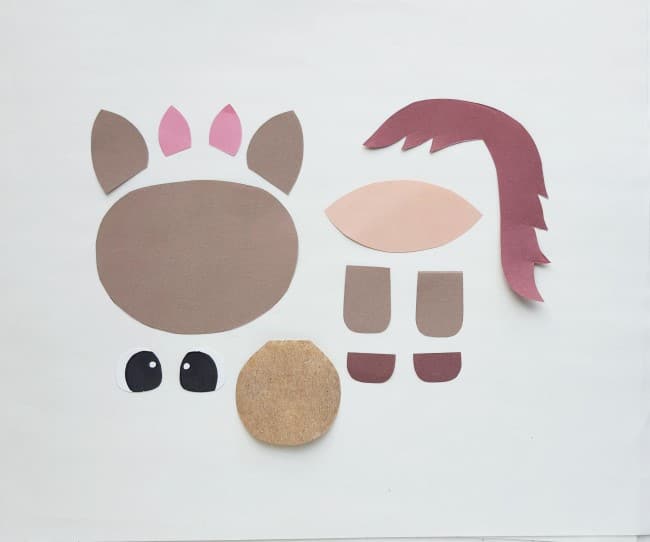
Step 1:
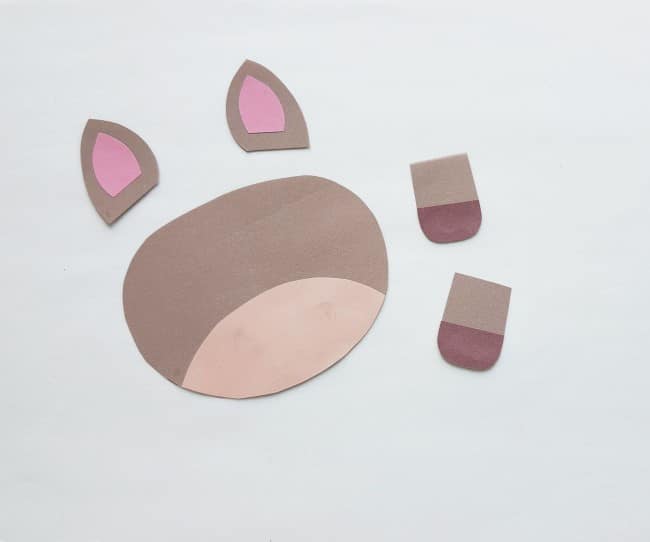
Select 2 or 3 different shades of brown craft paper for the horse puppet. Trace the mane and the hoof patterns on the dark brown craft paper. Trace the head, ears, and leg patterns on the medium shade of brown paper. Next, trace the inner ears on pink paper and the mouth part (bottom side of the face) on light pink or pink paper. Finally, trace the belly pattern on the light shade of brown paper.
Cut out the traced patterns nicely and then you’re ready to start putting it together.
Step 2:
Attach the hoof cutouts on the bottom side of the leg cutouts with glue. Then glue the inner ear cutouts to the middle of the outer ear cutouts and glue the face part near the bottom side of the head cutout, as in the photo below.
Step 3:
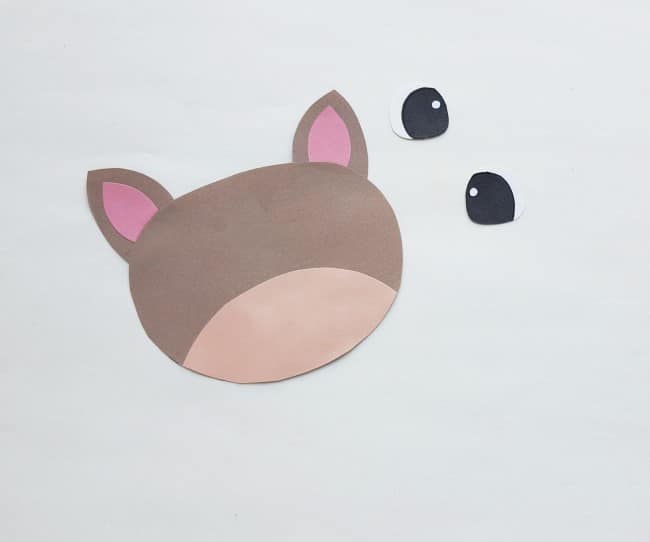
Glue the ear patterns to the top side of the head pattern, keeping the pointy ends facing upwards.
Step 4:
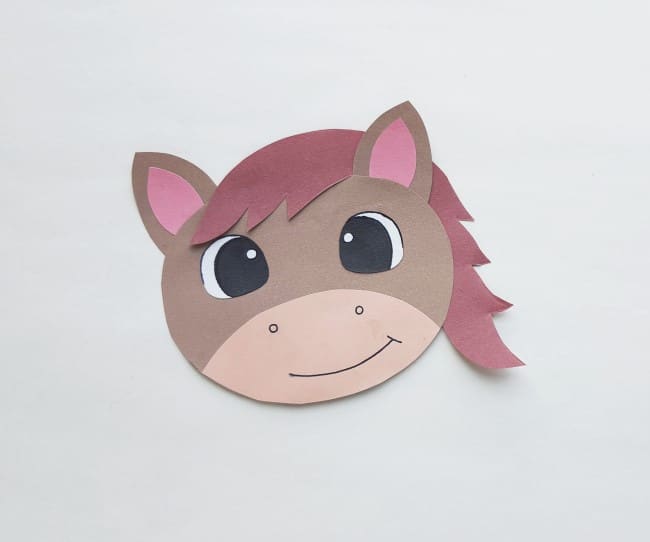
Attach the eye cutouts on the top part of the head pattern. Use a black sharpie or gel pen to draw the mouth line and nose of the papercraft horse puppet. Now you can see the horse puppet starting to come together.
Step 5:
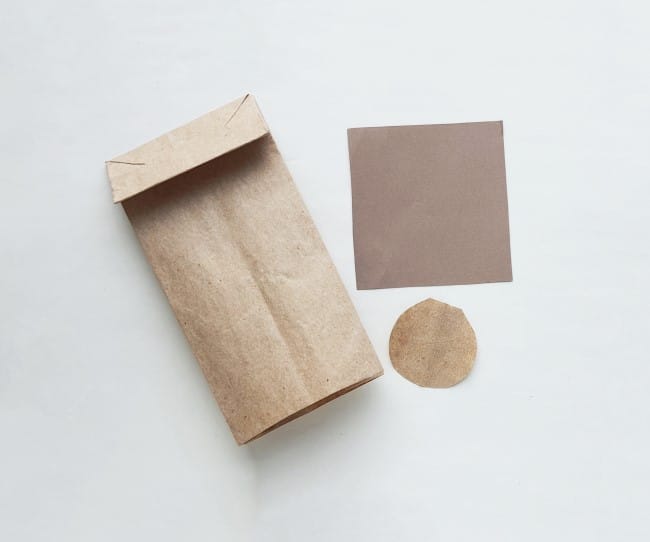
Now take a paper bag and prepare a piece of paper to cover any one side of the paper bag (this will be the front of the horse puppet).
Step 6:
Glue the prepared paper onto the paper bag, making sure it covers the bag nicely. You can keep a small space near the open side of the paper bag (the open side of the bag will be the base of the horse puppet). Glue the belly cutout onto the paper that is already attached to the bag.
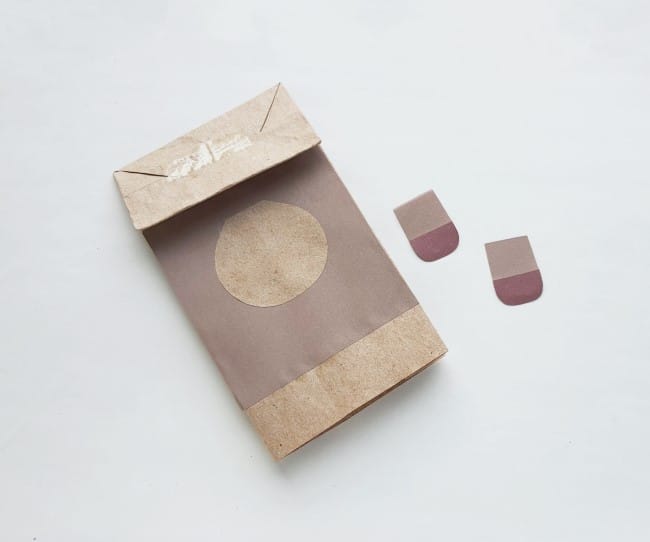
Step 7:
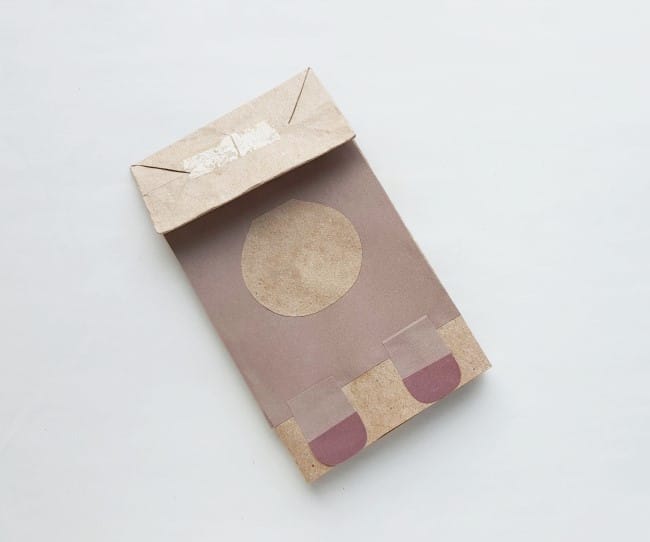
Glue the leg patterns near the open end of the paper bag, keeping the hoofs aligned with the open end.
Step 8:
Flatten the bottom side of the paper bag and attach the horse head pattern on the bottom side. Allow the glue to dry.
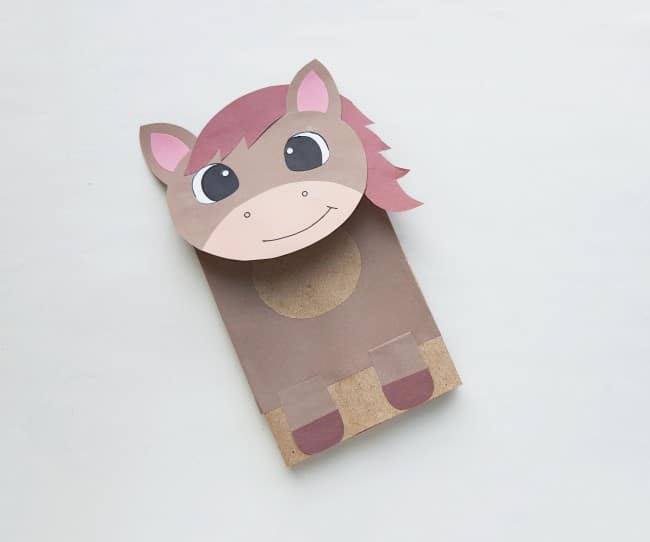
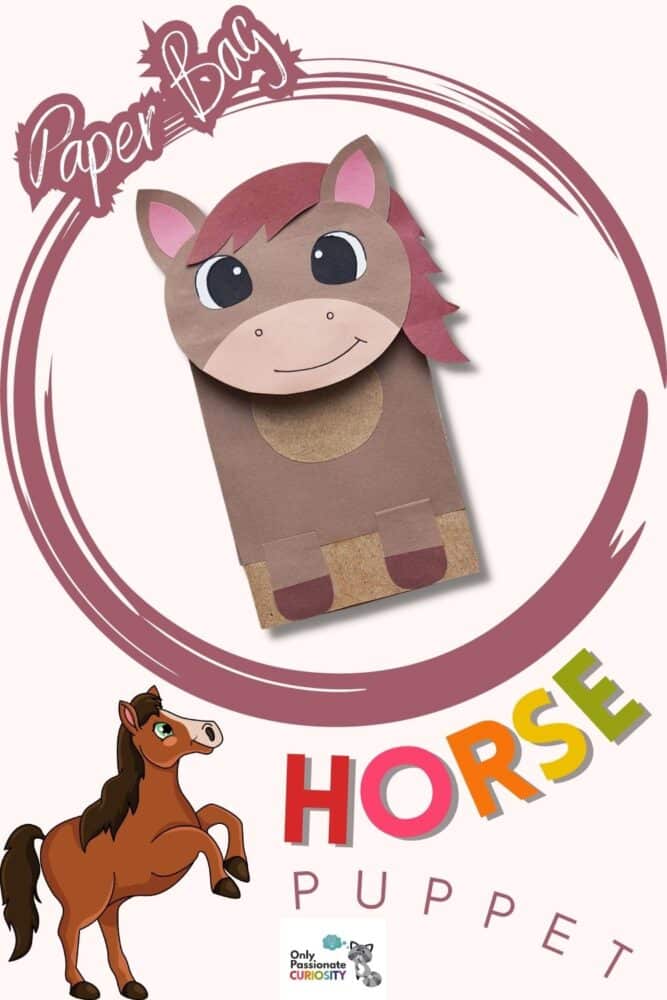
Now your cute paper bag horse puppet is ready for creative plays and hours of pretend!
Additional Activities:
Handcrafted puppets are great fun because they are only the beginning!
- If your child is interested in using dolls alongside their paper bag horse puppet, here’s how to make corn husk dolls!
- Or if you just want to focus on paper bag crafts, check out this easy apple paper bag craft or a whimsical autumn tree paper bag craft.
- Are you a homeschooler looking for some ways to expand your child’s education? What about considering the idea of homeschooling with horses?
- My kids enjoy creating puppet and stuffed animal plays from stories they have read, and here are several more fun ways to get young learners thinking about literature.
- Surprisingly, sometimes teenagers have just as much fun with things like puppet shows and plays as young children do. If this is something your family might enjoy, how about you all try your hand at making a puppet theatre?
When it comes to creativity, the possibilities are endless, and they can all be a part of education in the homeschool family!
Books about Horses
Last but not least, these books will provide some fun and interesting facts about horses, stickers, and more for the horse lover in your life. They are affiliate links that help to support this website and enable us to continue providing content for homeschoolers of all ages.