

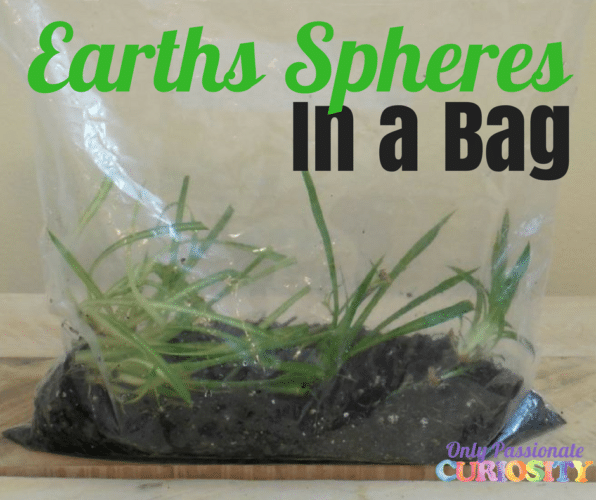
Earth’s Spheres in a Bag
Did you know that you can create a terrarium to learn about the four major spheres of our planet? You can! You and your children have probably built (or at least seen) terrariums for the purpose of learning about self-sustaining plant ecosystems or even just for fun, but this one will help you teach your children about the atmosphere, biosphere, geosphere, and hydrosphere!
The four spheres make up one larger system of Earth that keeps everything in balance.
- The atmosphere is made up all of the gasses on, above, and surrounding the planet.
- The biosphere includes all of the living things on the planet, from plants to animals and even microscopic life, like bacteria.
- The geosphere, also known as the lithosphere, is comprised of the solid parts of Earth. These include Earth’s crust and interior, mountains, rocks and minerals, sand and the non-living parts of soil.
- The hydrosphere is all of the water, (liquid, solid, and gas) on the planet, including moisture in the ground and the atmosphere.
Modeling is an incredible scientific tool, particularly when the concepts are too large to be held in your hand. To create this model of Earth’s spheres, you’ll need the following:
- a gallon-size ziptop baggie (If you are planning to keep and observe your Earth system bag for a while, you’ll want to get the sturdy, name-brand bags).
- soil (from outside or potting soil)
- several small plants from outside, or houseplants
- water

First, fill the bottom of the bag with soil. Your system will be more interesting if you have collected soil from outside if possible. In my example, I’m using potting soil, as the snow is preventing me from digging up anything outside!
The amount of soil you include is up to you–this is an investigation after all! You can investigate different conditions in your model by making more than one and comparing. There should be enough soil to generously cover the roots of the plants you have chosen.
Once you have your soil, you can plant your plants! Again, you’ll have more interesting and realistic results if you’re able to find some plants outside. Weeds work great! If the weather is preventing you from doing so, then houseplants will work. I’ve used spider plants in my example. I trimmed them down a bit to fit in the bag.
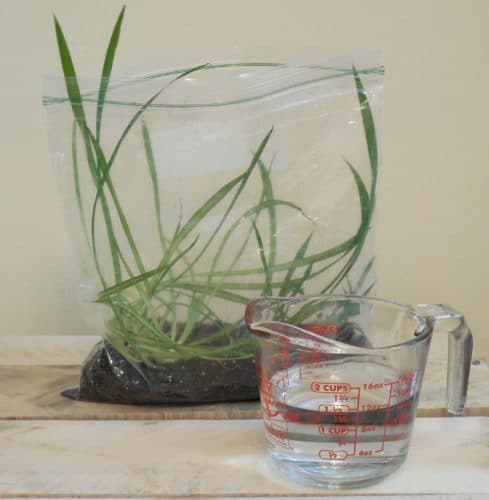
Then, add some water. Again, the amount is up to you, however, I would caution you not to add so much that it pools up on top of the soil, as it will be more water than the system can handle.
Finally, close up the bag. You do not need to push the air out before you seal it up, in fact, it is better not to. If you want to be sure that your bag stays sealed, tape the top with a sturdy tape like masking tape or duct tape.
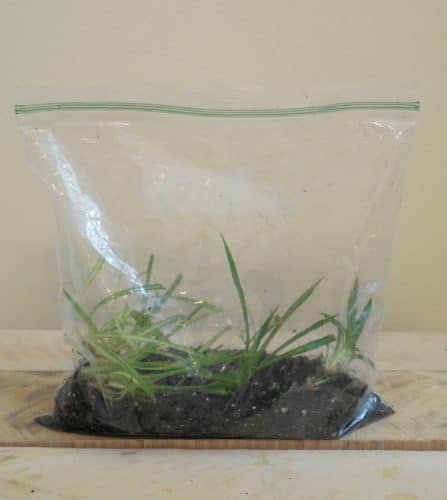
Place the bag in an area that gets some natural sunlight. You can observe and keep the bag for as long as you want. Be sure to have students identify the different spheres you have created in the model.
- What part of the model represents the biosphere?
- What part of the model represents the atmosphere?
- What part of the model represents the geosphere?
- What part of the model represents the hydrosphere?
Another important Earth science concept to understand by using the model is how the four spheres interact with one another. For example, the plant (biosphere) soaks up water (hydrosphere) with its roots. The plant uses minerals (geosphere) and nitrogen (atmosphere) to grow.
You can even try modeling the four spheres in different ecosystems. Create a desert example by replacing the soil with sand and growing succulents, like cacti.
If you are looking for another great Earth science model, check out this one illustrating the Earth’s water. It really makes an impact with kids!


I Like It
Thank You! I”m going to use this with my 4th and 5th graders this week for Earth Week!
Angie