Eagle DIY Plush Craft
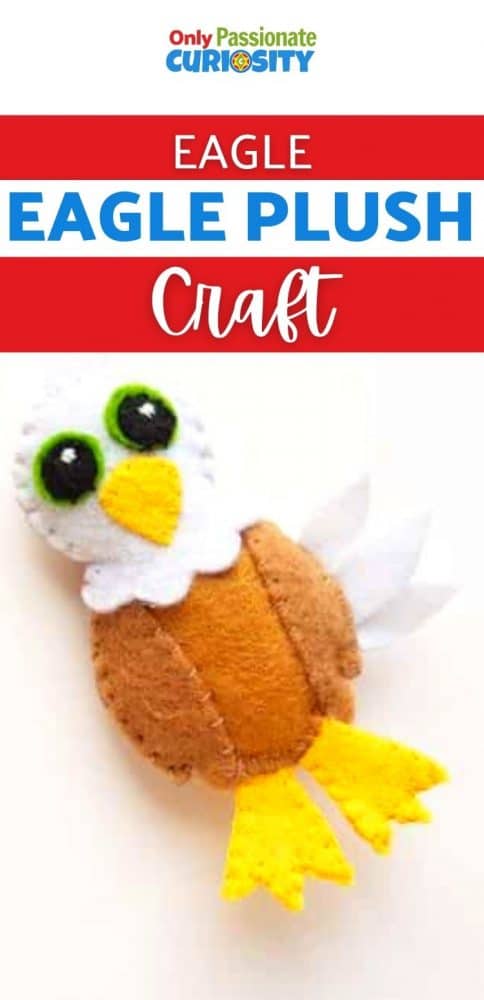
Are you looking for some fun hands-on activities to do in celebration of Independence Day? Today we are bringing you a DIY Eagle Plush Craft that you can use when introducing your kids to the Bald Eagle, one of our nations oldest mascots!
Eagles have long been symbols of strength, power and independence throughout the world. Perhaps this is the why the Bald Eagle -which is indigenous to North America – was officially selected to represent our country in 1989! Below you’ll find everything you need to recreate this craft at home. If you are looking for more 4th of July related crafts and activities, be sure to also check out this article on our sister site with all kinds of fun Independence Day crafts, recipes and learning ideas!
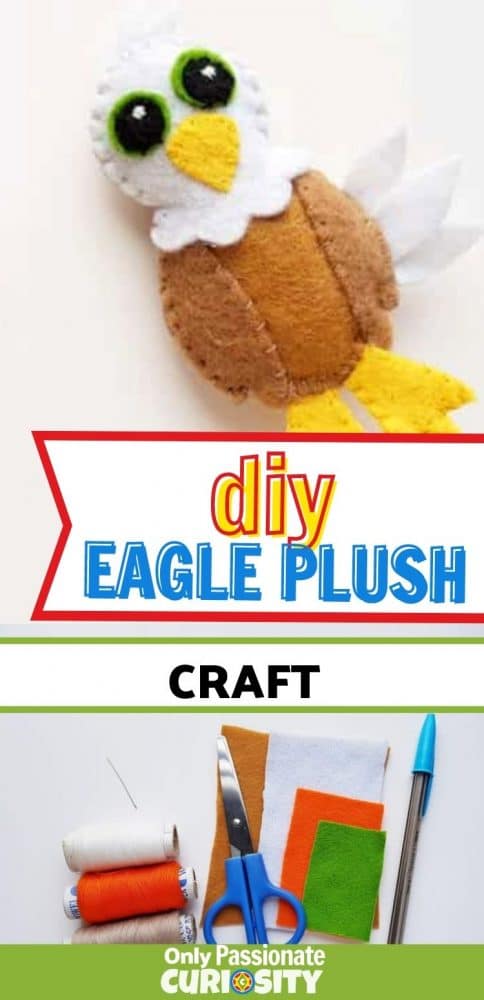
What You’ll Need for This Activity:
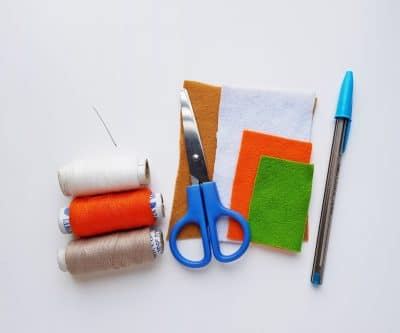
- Felt fabric
- Pencil or fabric marker
- Scissors, needle and thread
- Cotton or scrap felt
To help make this craft easier, you’ll also want to download our free, printable template! You can grab it by clicking the link at the bottom of this article.
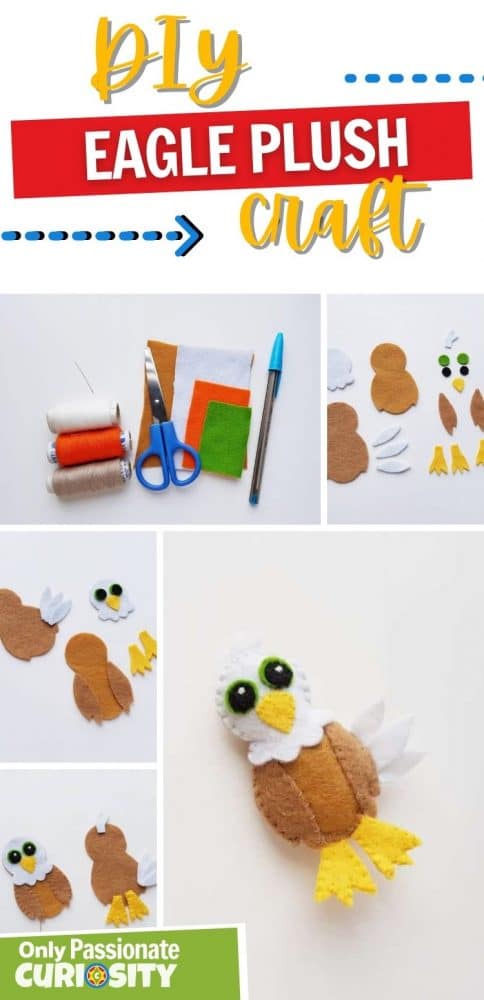
How to Make Your DIY Eagle Plush:
First, select the felts that you want to use for this project. To create a realistic looking eagle, you’ll need: black, white, yellow, green and brown felt or fabric. Prepare the template patterns by printing and cutting them out. You can use a fabric marker or pencil to trace the patterns on the selected felts, and then cut out the shapes.
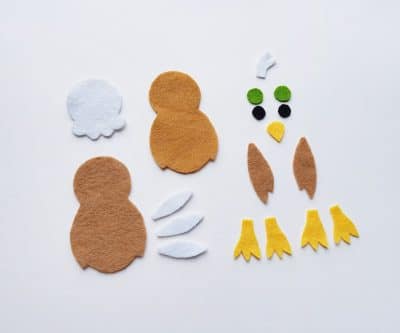
The downloadable template in the link below includes:
- 2 body patterns (front and back)
- 3 tail feathers
- 2 big circles& 2 small circles (for the eyes)
- 1 beak pattern
- 4 leg patterns (2 for each leg)
- 1 crown feather pattern
- 1 upper body (head) pattern
- 2 wing patterns
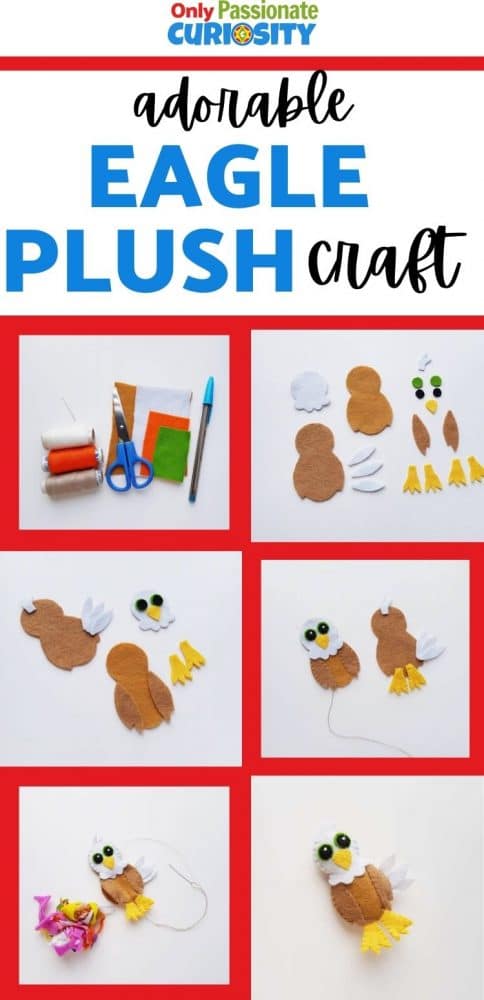
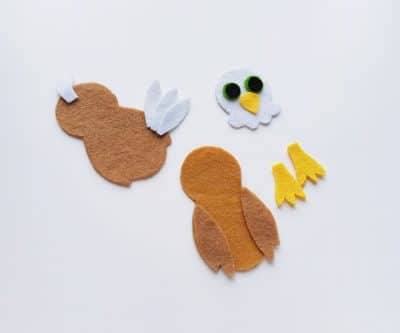
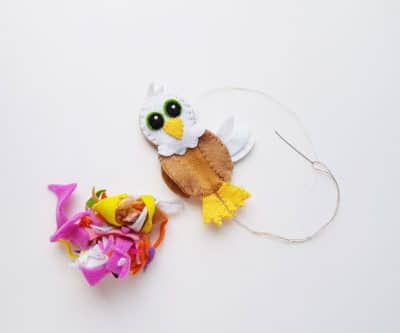
After you’ve made sure that you have all of the patterns cut out, you’ll arrange the pieces before you start sewing! Start by taking any one of the body patterns and place the 2 wing patterns on both sides of it. You will also place both pairs of leg patterns together. Then you’ll take the upper body pattern (the head) and arrange the eyes and beak patterns on it to make the eagle’s face. Together, your arrangements should look something like this:
Got it? If so, you’re ready to sew! Prepare your needle and thread (making sure that the thread matches the felt to stitch). You will start by sewing the smaller pieces together. This includes:
- Sewing together both pairs of the eagles feet.
- Sewing the wings to the front of the eagle’s body.
- Sewing the eagle’s head/face onto the body.
Note: you don’t have to sew on the tailfeathers or crown feather. That will be taken care of in the next step!

With those smaller pieces attached, you’ll place the front piece of the eagle’s body on top of the back (blank) piece. The feet and feathers should be sticking out between the two pieces. Keeping the two body pieces lined up this way, you’ll stitch almost all the way around the eagle’s body, leaving a gap/hole that is large enough to cram with stuffing!
Now you will use those leftover scraps of felt and cloth to make your DIY eagle “plush.”
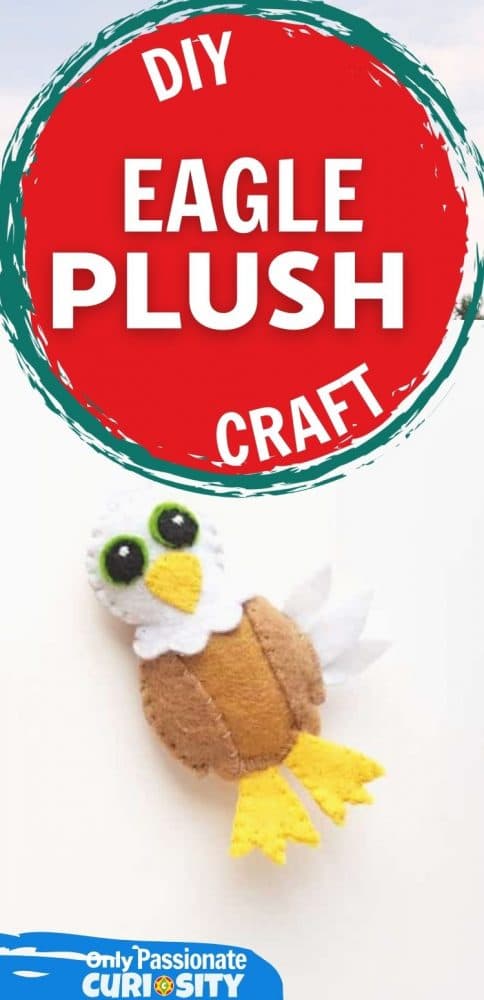
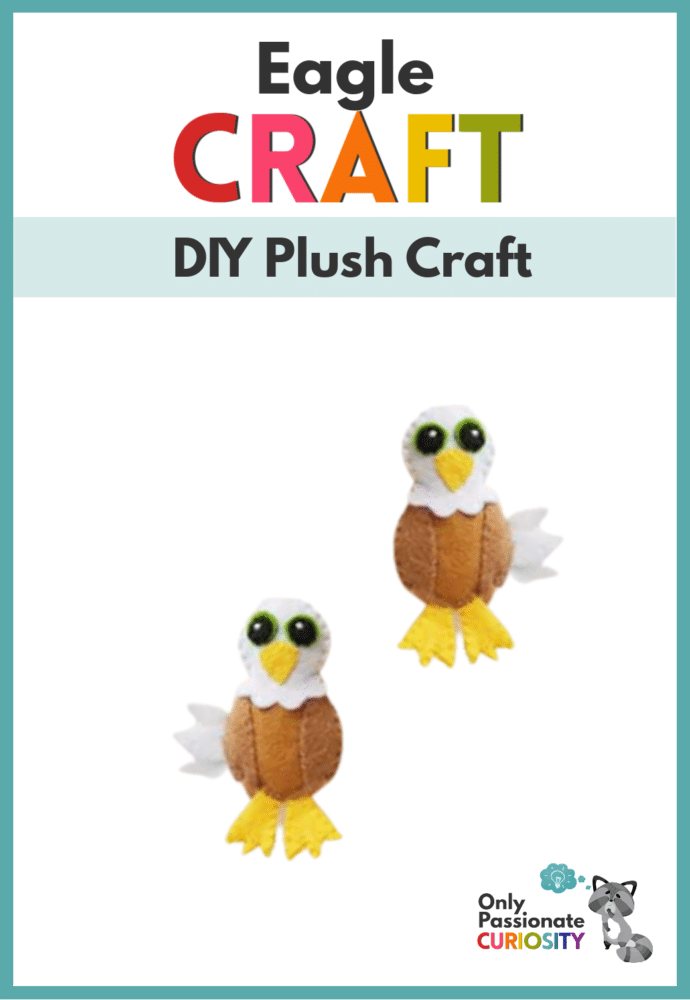
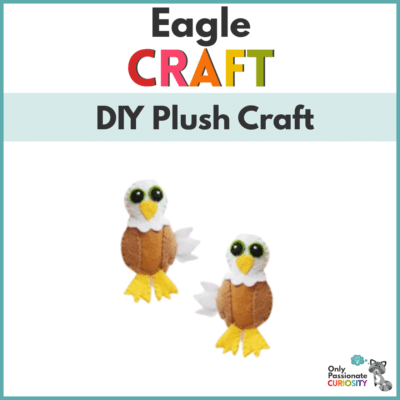
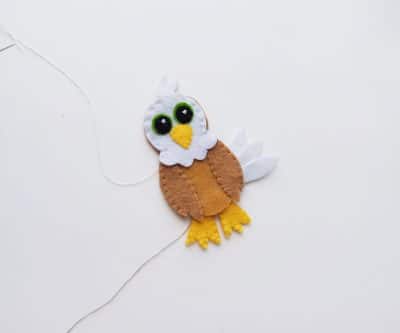
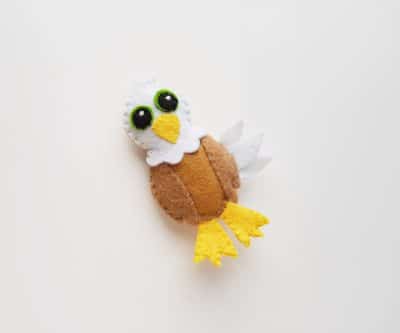
Stuff scrap fabric into the hole until your eagle is nice and plump, and then finish stitching around the side! When your eagle is done, he will look something like this!
You can use your DIY Eagle Plush as decoration for the 4th of July, or just as a cute handmade toy that your kids will be extra proud to display/play with because they helped make it! We hope you have fun with this craft and have a Happy 4th of July! Also don’t forget to grab your free printable template by using the link below.
Click Here to Grab The Template for This Craft!