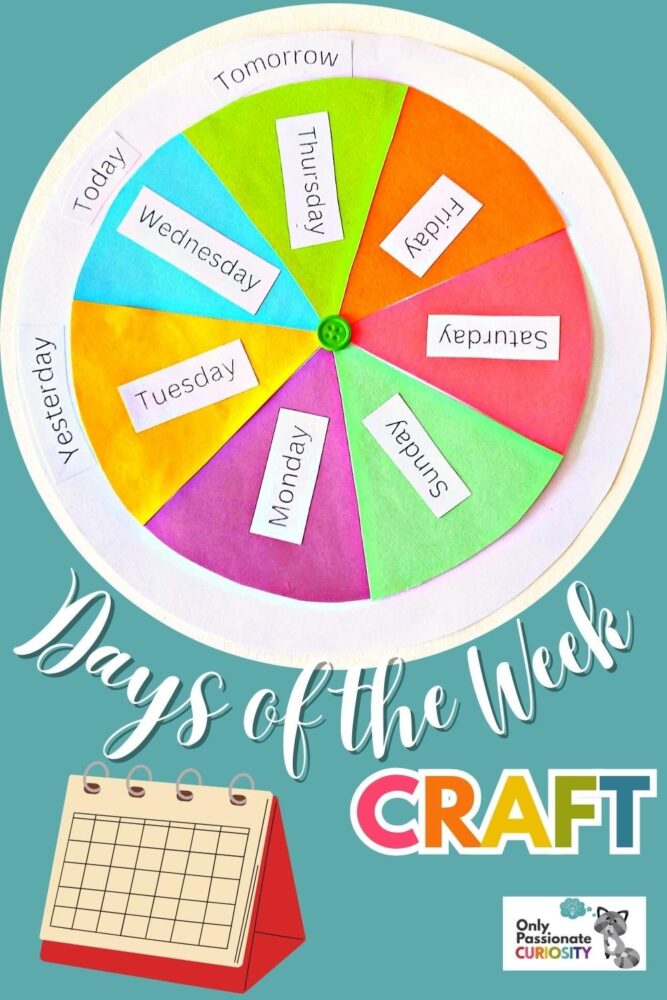
Days of the Week Craft
When you jump into a new homeschool year, especially when you’re teaching little ones, one of the first things you often need to teach your kids is the days of the week. This way, they can learn to keep track of time and discover how the days follow each other.
There are plenty of methods for learning the days of the week, but this craft gives your kids a hands-on method for keeping track of the weekdays. Depending on your kids’ ages and skill levels, they can help to write out the days of the week and cut out the pieces of paper.
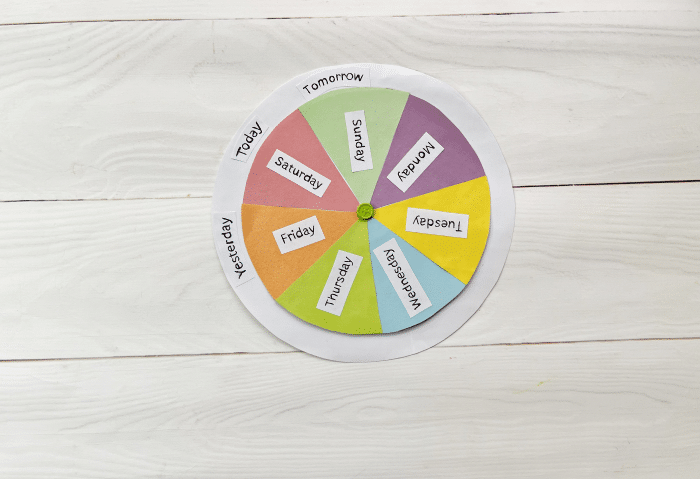
And of course, even very young children can help with the gluing part, as they glue the colored papers to the base and then glue the days of the week on top of the colored pieces of paper.
Here are the step-by-step instructions, along with images, for this fun “days of the week” craft for kids.
Days of the Week Craft
Step 1:
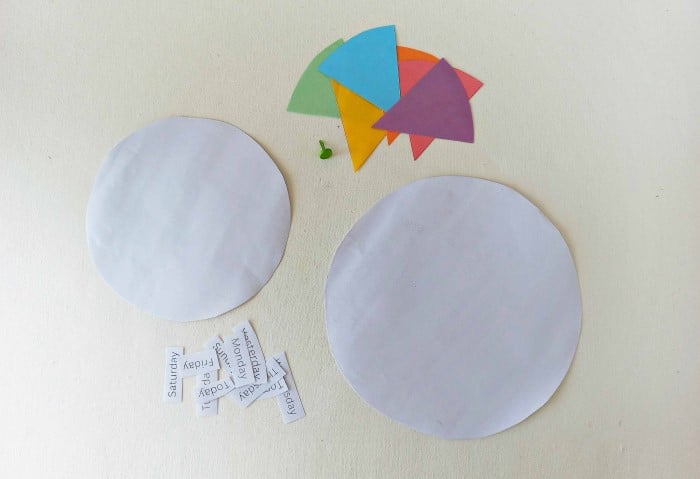
We’re using cardstock paper for the base pieces (the 2 round bases, one of which will be larger than the other) and colored craft paper for the 7 “slices” or days of the week. Use a different colored paper for each slice. Trace and cut out the provided template patterns from the selected papers.
On small rectangular pieces of paper, write down the names of the seven days and these three words, which will help your children track the days of the week:
- yesterday
- today
- tomorrow
Step 2:
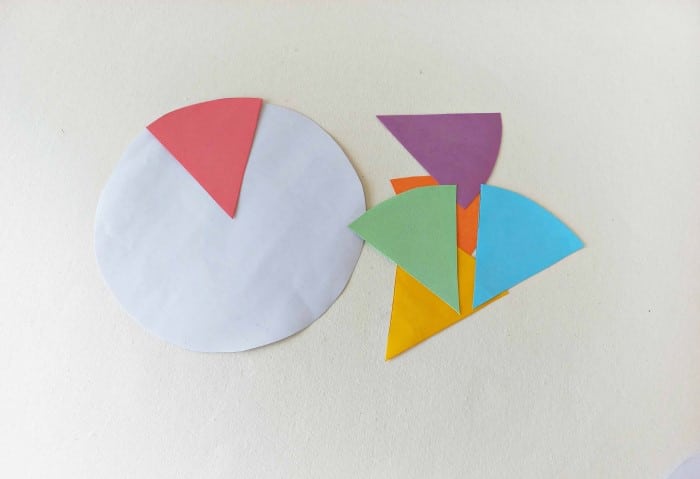
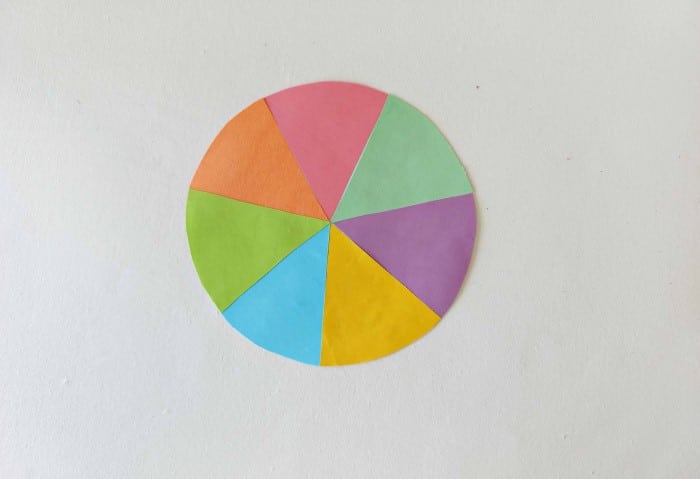
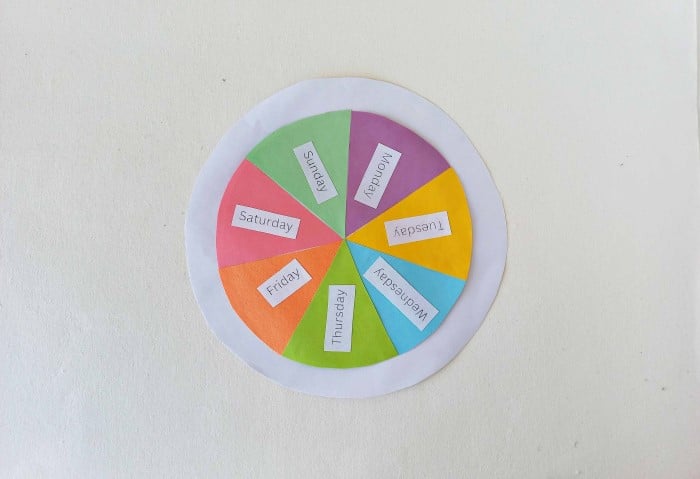
Take the small base cutout and start attaching the slice cutouts to the small base with glue. Keep the pointy ends placed in the center of the base, basically like a pie or pizza with slices.
Step 3:
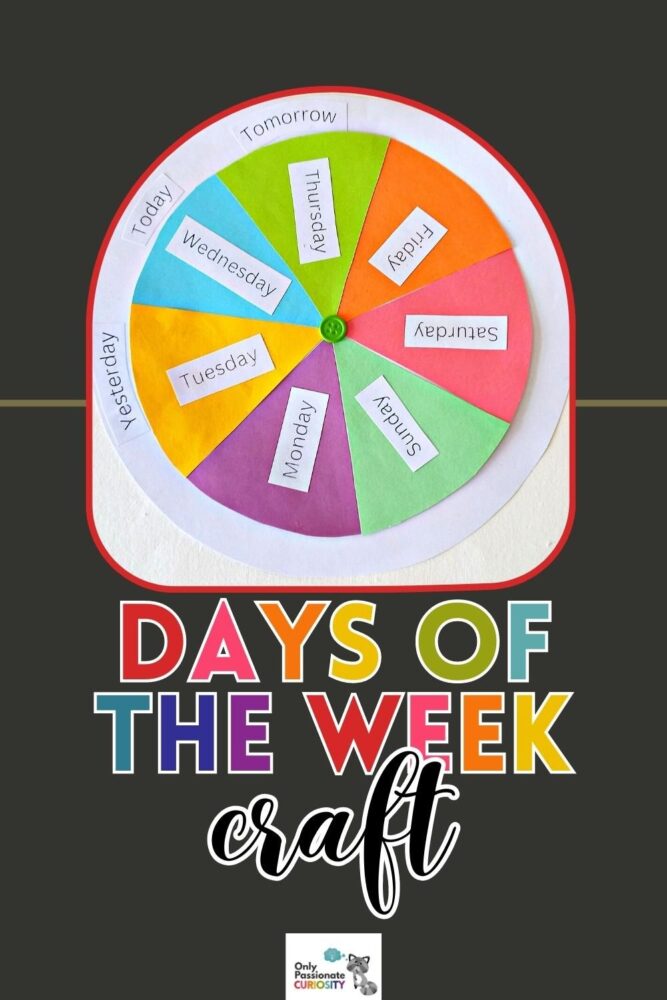
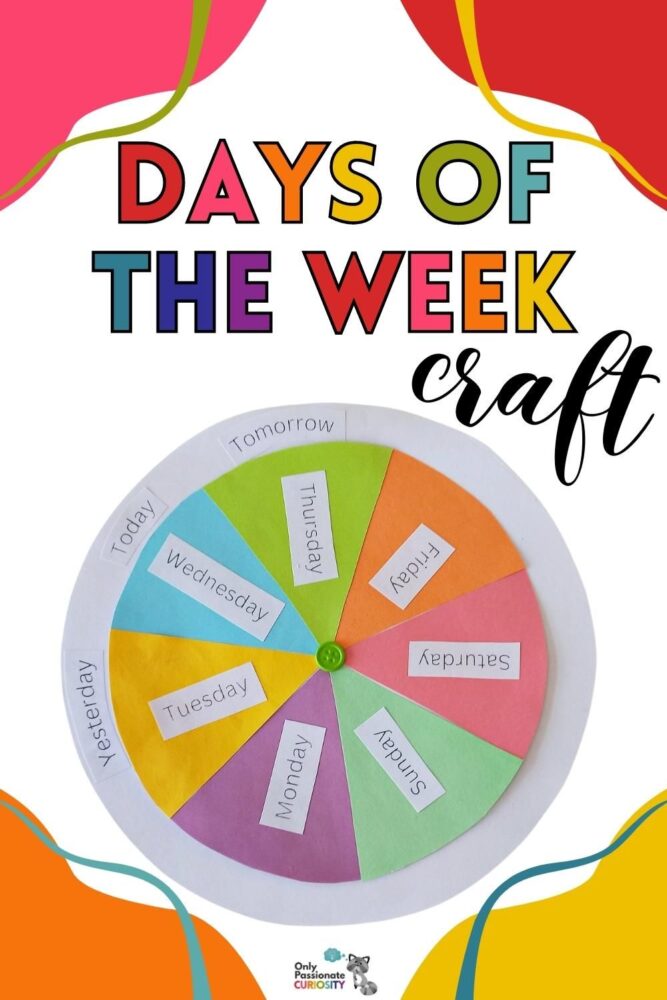
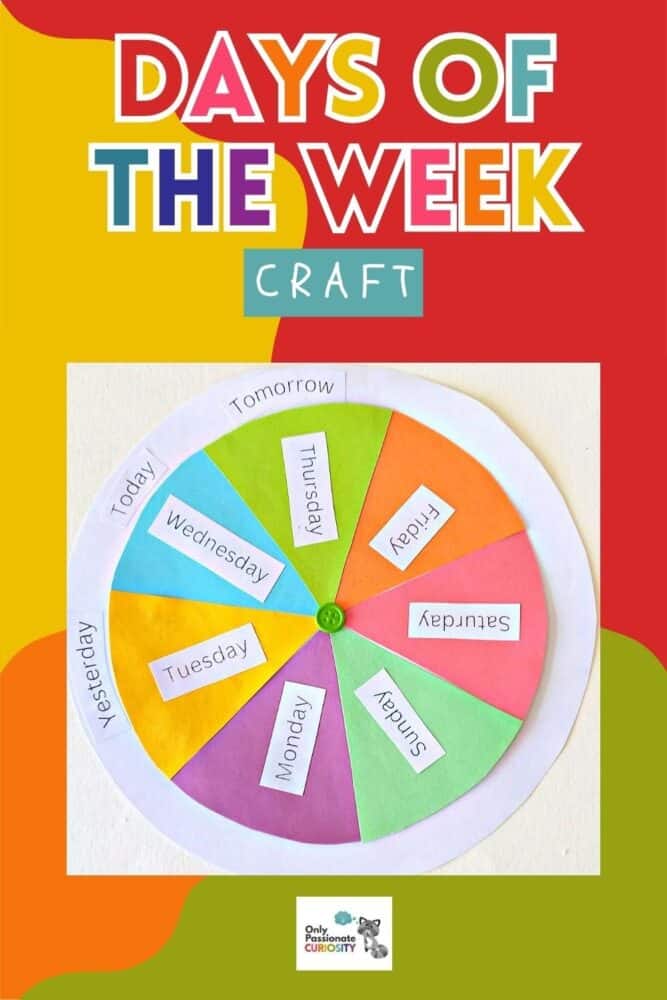
Glue all seven slices on the small base. It should look something like the following image, though with your own choice of colored paper.
Step 4:
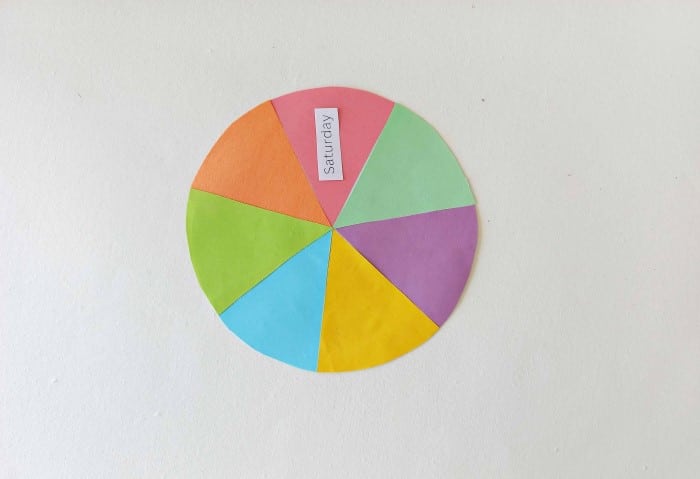
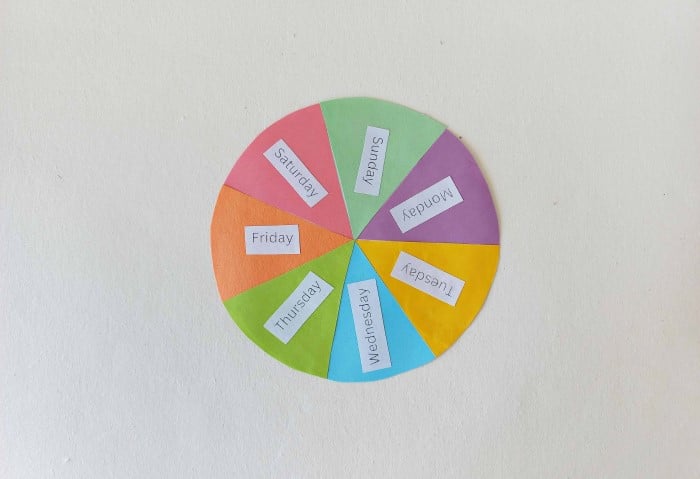
Attach the day paper cutouts on the slices, with glue.
Step 5:
Make sure to keep the order of days correct while attaching them to the slices. If you are doing this activity with your kids, give them the days of the week in the right order as you work on the craft. Repeat the seven days of the week in order with them a few times, to help them grasp the concept you are teaching them.
Step 6:
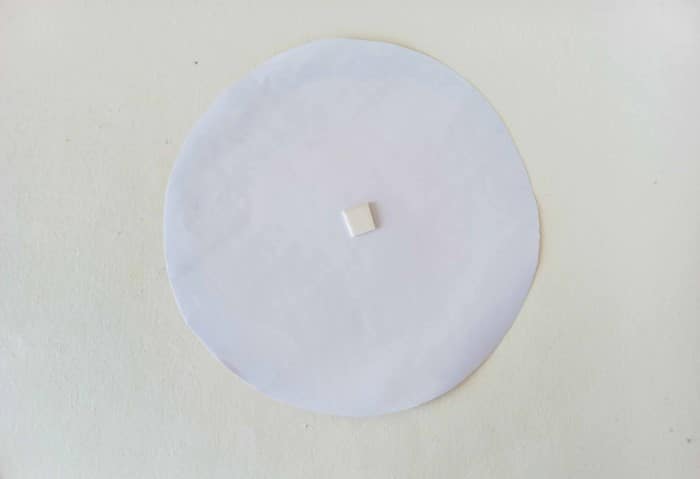
Take the big base cutout and attach a small piece of cardstock paper or foam sheet in the center of the base (or as close to the center as you can get it).
Step 7:
Place the small base cutout on the top of the big base, making sure that the centers of both bases are matched nicely.
Step 8:
Use a sharp object, such as a large sewing needle, to make a small hole in the center of the bases.
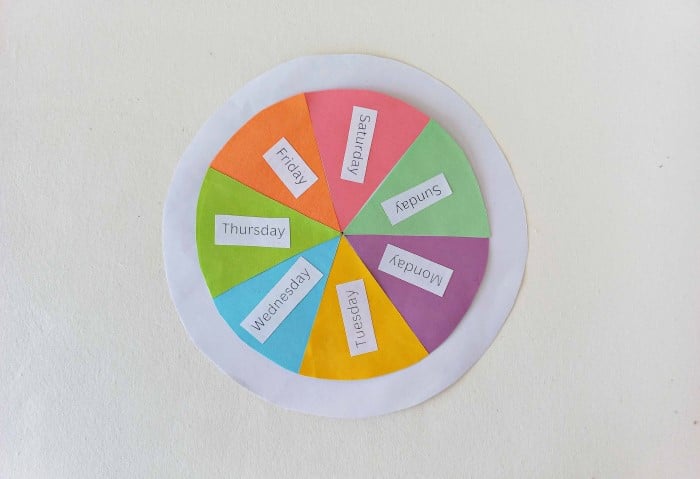
Step 9:
Join both bases through the center hole using a Brad pin.
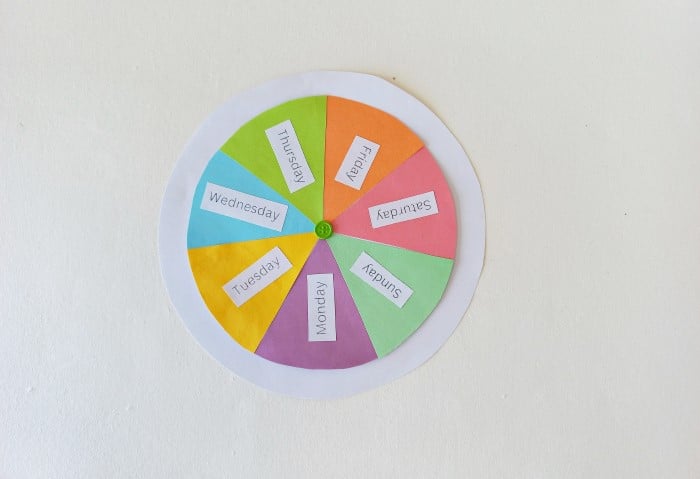
Step 10:
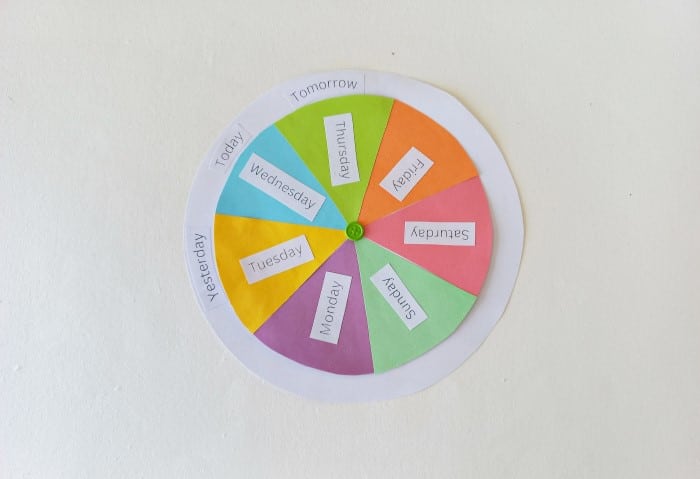
Attach the “yesterday,” “today,” and “tomorrow” paper cutouts on the big base, one after the other, far enough apart so that each of them is placed above a separate day of the small base. Use the image below if needed to help you get this part done accurately.
While doing this part of the craft with your child, you can talk about time together. Help them understand the concept of today, the present; yesterday, which is what happened before they slept and got up this morning; and tomorrow, which will take place after they go to sleep tonight and wake up again in the morning.
How to Teach the Days of the Week
Here are a few creative ways you can help your children learn the days of the week:
- Daily Routine: Incorporate the days of the week into your daily routine. For example, you can say, “Today is Monday, and on Mondays, we do X.” This helps them understand the concept of days in a practical way.
- Songs and Rhymes: There are many catchy songs and rhymes about the days of the week that you can sing together. Repetition through music can help children remember the order of the days.
- Themed Activities: Plan themed activities or crafts for each day of the week. For instance, “Wednesday is craft day,” or “Saturday is outdoor play day.” This way, they associate each day with a specific activity.
- Storytelling: Tell short stories or create simple scenarios that involve the days of the week. For example, “On Thursday, we went to the park and had a picnic.” This helps children connect the days with events and experiences.
- Calendar Marking: Allow your child to mark off each day on a physical calendar as it passes. This helps them visually track the progression of days.
- Weekend Planning: Involve your child in planning weekend activities. Discuss what you’ll do on Saturday and Sunday, reinforcing the concept of weekdays and weekends.
- Use Everyday Situations: Point out the days of the week in everyday life. For instance, when discussing the schedule for the week or making plans, mention the days and what activities are associated with them.
Remember that young children learn best through repetition and hands-on experiences, so be patient and make learning about the days of the week a part of your daily interactions and activities.
Books about the Days of the Week
Reading together can be a great way to reinforce learning. Here are some children’s books that feature the days of the week as part of the story.
Related Activities about Time
One activity that goes along with learning the days of the week is learning to tell time. Here is a fun and interactive Telling Time Activity Set to engage your young learner as he or she works towards mastering this important life skill.
These printable telling time worksheets will also help young students master the concept of time.
And lastly, if you’re a homeschool mom juggling homemaking and teaching your little ones, it might be all you can do to keep track of the days yourself, much less plan healthy meals for your family each day! Here are 5 easy ways to simplify meals for busy homeschool days.


