Clay Butterfly from The Very Hungry Caterpillar
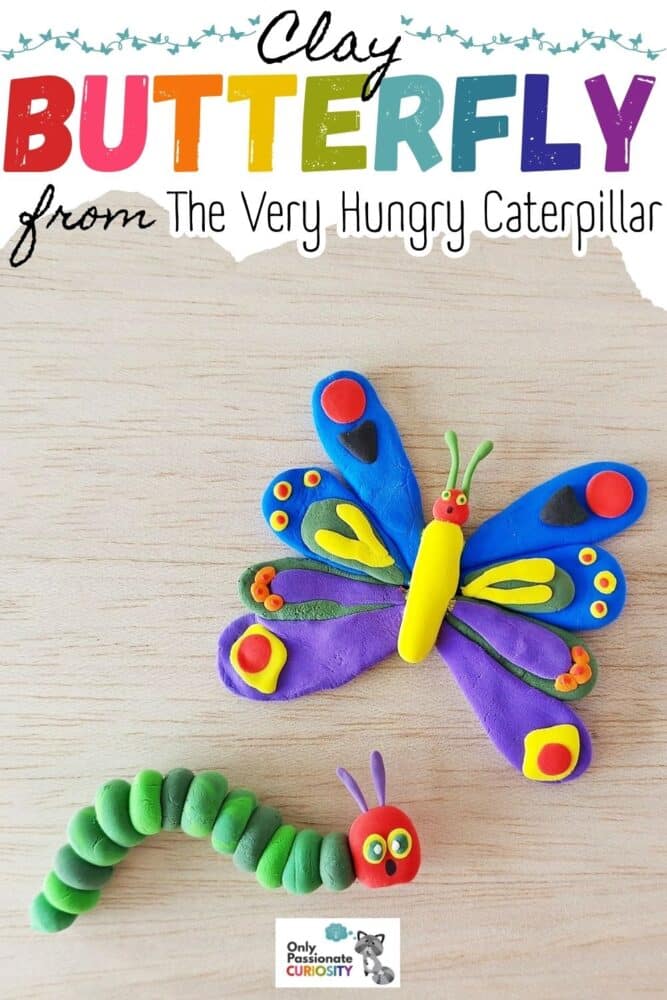


This Clay Butterfly from The Very Hungry Caterpillar story will provide your young ones with some hands-on fun inspired by this classic story! This is a post to accompany The Very Hungry Caterpillar Clay Craft, which gives you instructions on how to make the caterpillar from the story.
And once you have these clay pieces complete, along with a set of Clay Fruits for the Very Hungry Caterpillar to eat, you might want to put together The Very Hungry Caterpillar Diorama!

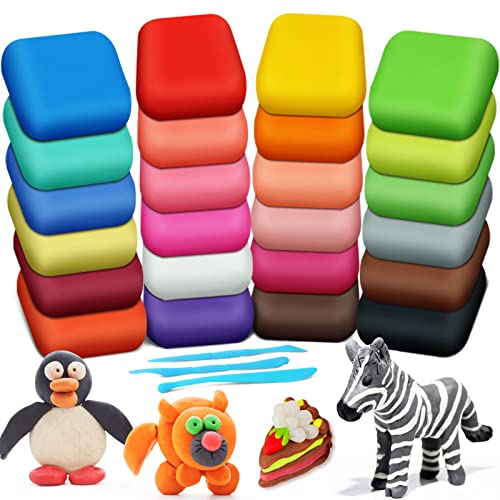
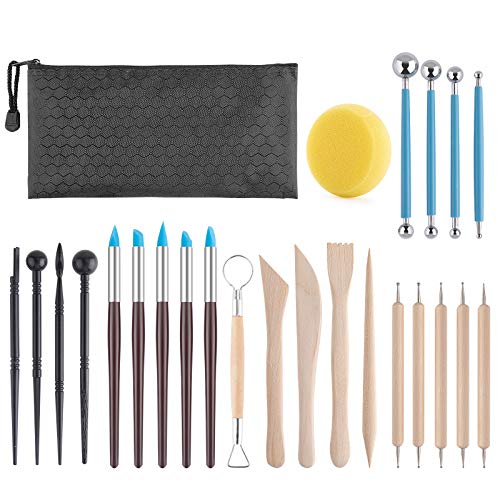
List of Supplies for Clay Butterfly from The Very Hungry Caterpillar


Instructions for the Clay Butterfly from The Very Hungry Caterpillar

Step 1
Select green, red, black, yellow, blue, and purple clay. If possible, prepare different shades of clay for each color. Let’s start with any one side of the wings. Take an amount of blue clay (1/4 of a wing). Roll it into a smooth round shape.

Step 2
Prepare the clay ball into a teardrop shape.

Step 3
Flatten the teardrop shape by pressing it against a flat surface.

Step 4
Take a small amount of red clay and prepare a small disc shape with it.

Step 5
Use black clay to make a small (same size as the red disc shape) triangle shape.

Step 6
Attach the red clay disc and black clay triangle shape on the blue teardrop shape, near its round edge.

Step 7
Prepare another blue teardrop shape, slightly smaller than the previous one. Attach a smaller green teardrop shape on the top of the blue one.

Step 8
Attach small yellow clay dots around the round edge of the blue teardrop shape, near the outer edge of the green teardrop shape.

Step 9
Attach small red dots on the yellow dots and attach 2 yellow stripes on the green teardrop shape.

Step 10
Prepare a green teardrop shape (same size as the small blue teardrop shape) and attach a smaller purple teardrop on to it.

Step 11
Attach small round yellow clay with red clay dots on it, around the round edge of the current clay base.

Step 12
Prepare a purple teardrop shape (same size as the big blue teardrop shape) and attach a small yellow clay diamond shape near its round edge.

Step 13
Attach a red round shape to the yellow diamond shape.

Step 14
Check all 4 parts of the clay wing and add more details if you want to.

Step 15
Join the clay wing parts side by side, keeping the big ones on the open sides.

Step 16
Prepare the body pattern (like a rope) from yellow clay and the head pattern (small round shape) from red clay.

Step 17
Join the head on an open end of the yellow body shape.

Step 18
Join the clay wing patterns on a side of the clay butterfly body pattern.

Step 19
Prepare another set of clay for the other wing and join it along the other side of the clay body.

Step 20
Make 2 small antenna shapes from green clay.

Step 21
Join the clay antenna shapes on the top side of the head.

Step 22
Attach the clay eyes and mouth on the head to complete the clay butterfly craft.
More Clay Crafts
Here are some other clay crafts you might want to try with your homeschool class, including some simple projects for younger children.