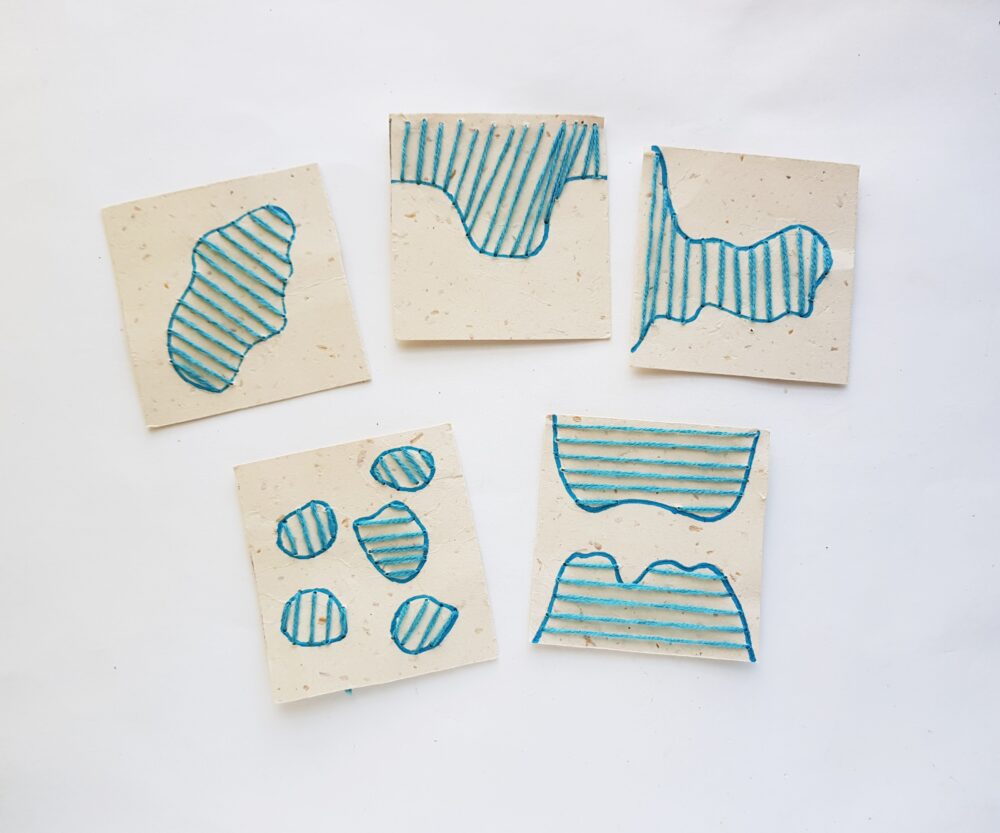
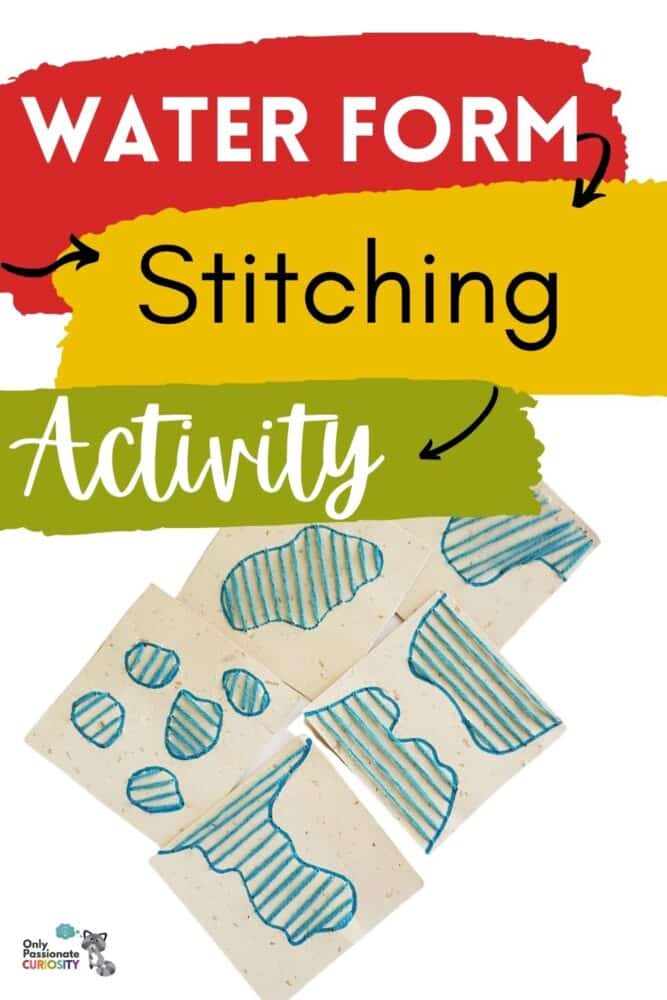
Water Form Activity – Stitch the Water Forms
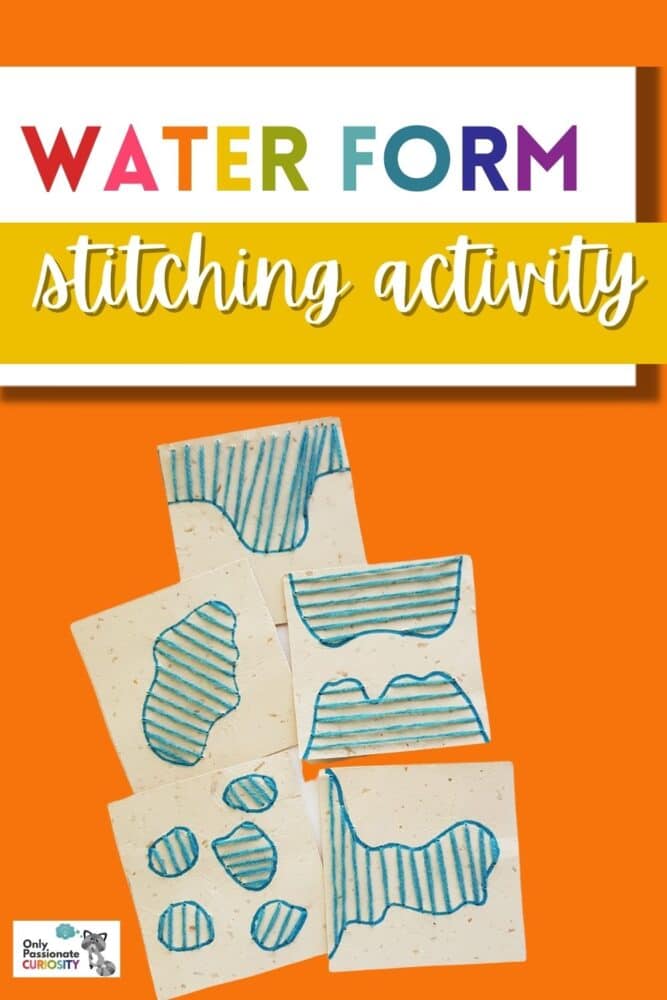
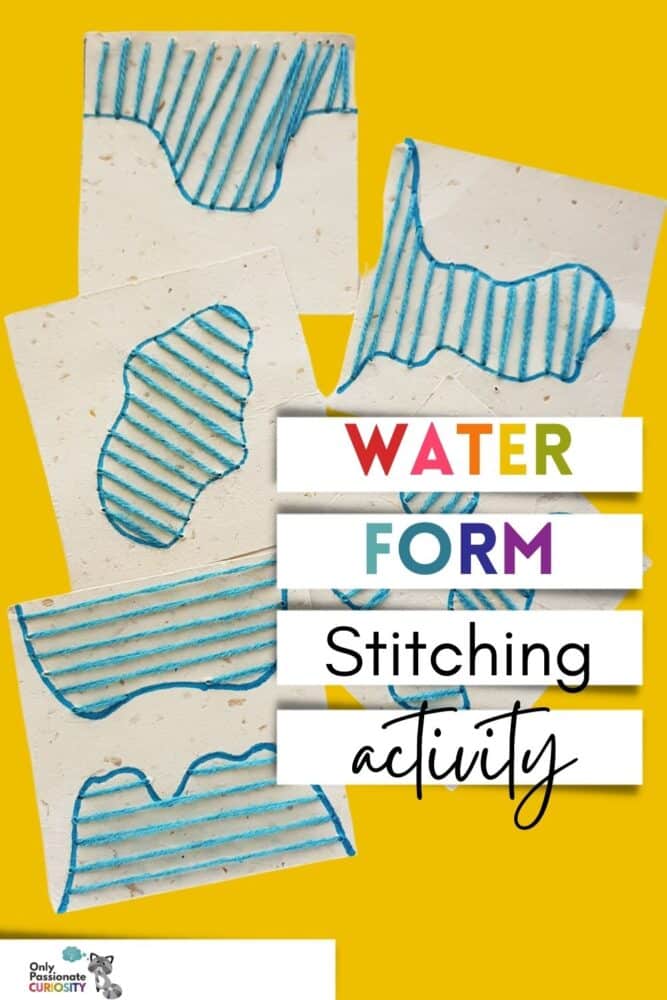
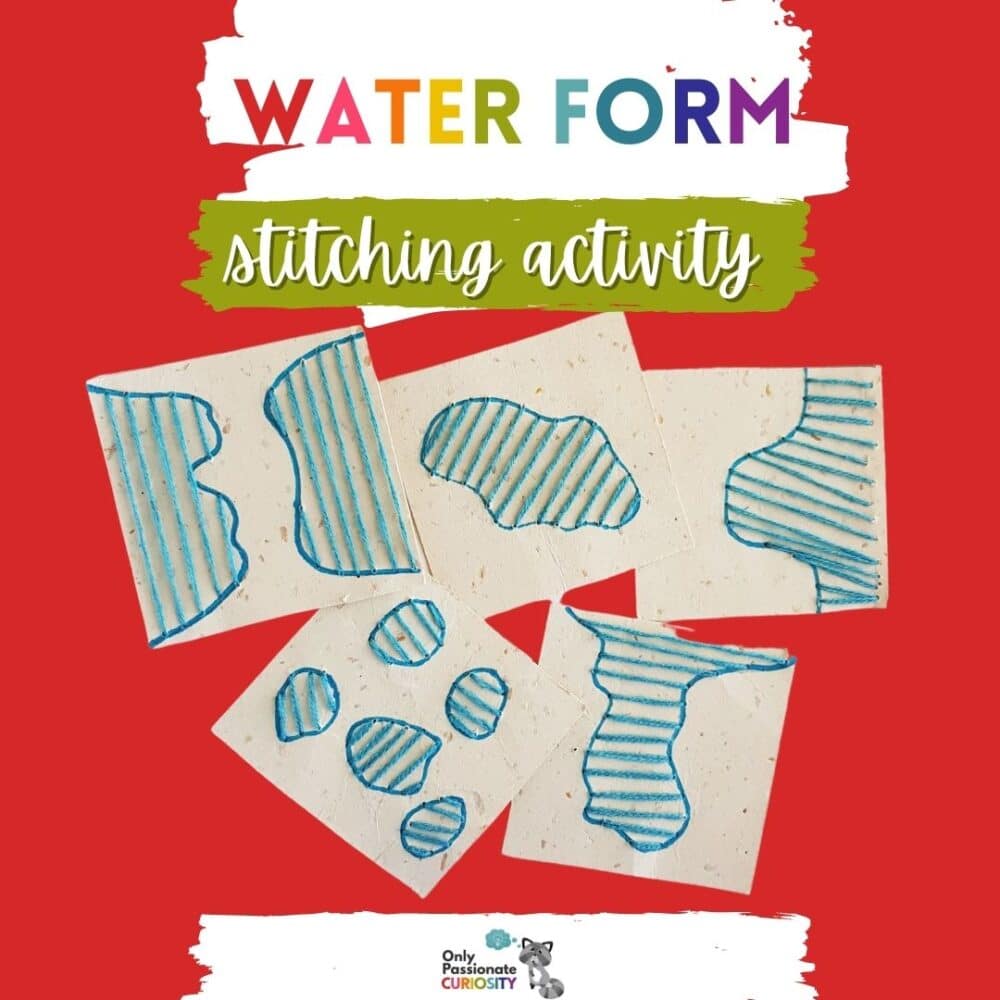
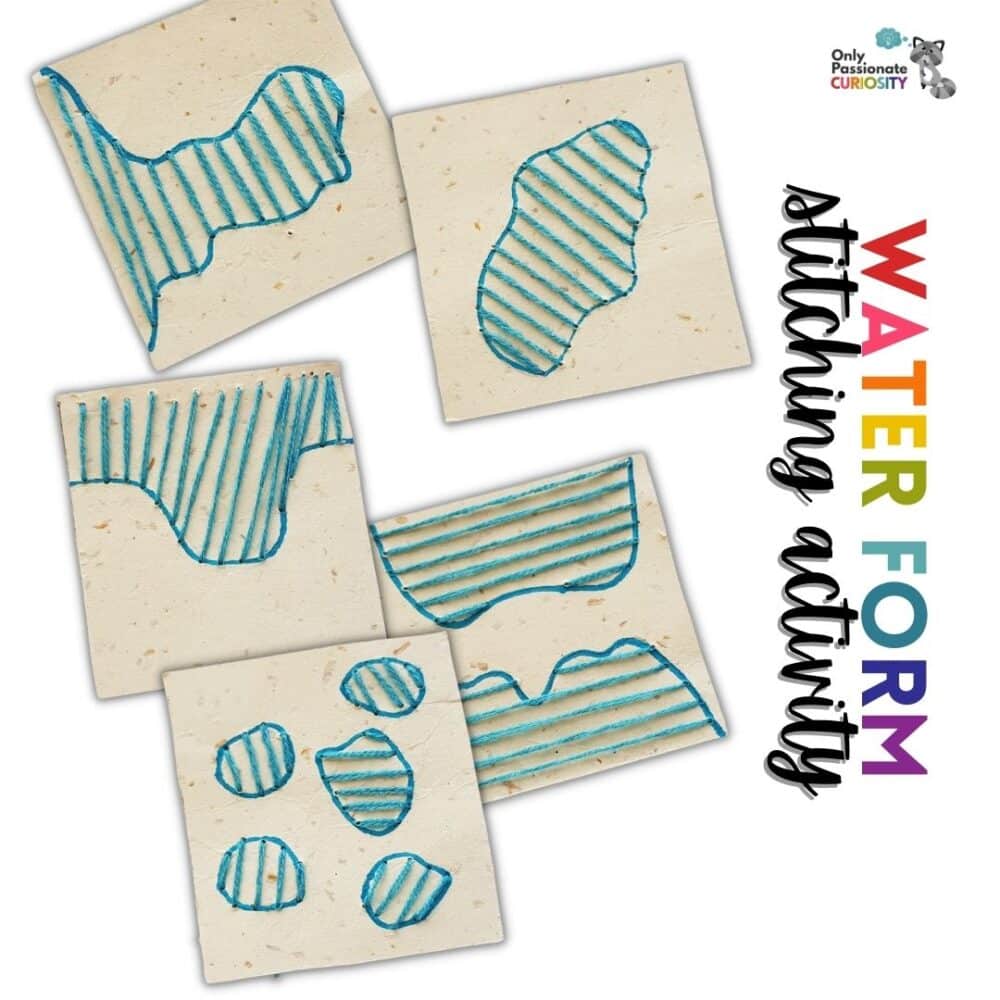
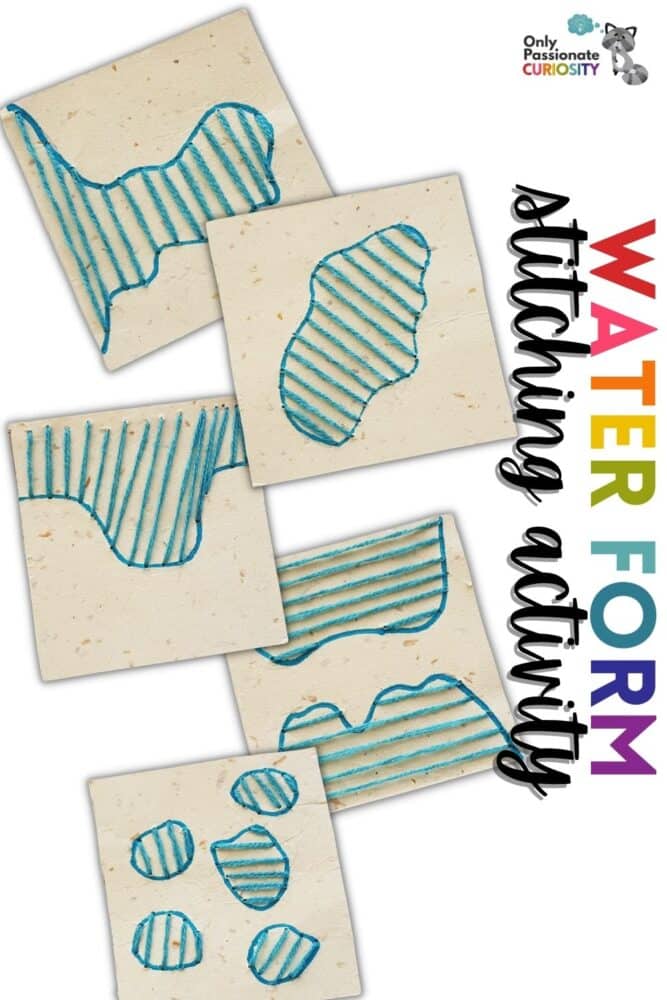
Studying water forms is a big part of geography, so we have created a water forms activity that will surely help your children remember the different water forms!
The templates are already created for you, just print, and have your children stitch around them. You can use thread, yarn, or jute – whichever is handy and convenient. You may need to thread the needle for young children. What we also like about this water form activity is that our kids get exposure to a valuable life skill -threading a needle and doing some simple sewing!
Use this water form activity with our landforms printable!
Water Form Activity – Stitch the Water Forms
List of Supplies:
- Printed templates
- Cardstock paper
- Needle
- Blue thread or yarn
- Scissors
- The cut-out sheet that is here.
Instructions for the Water Form Stitching Activity
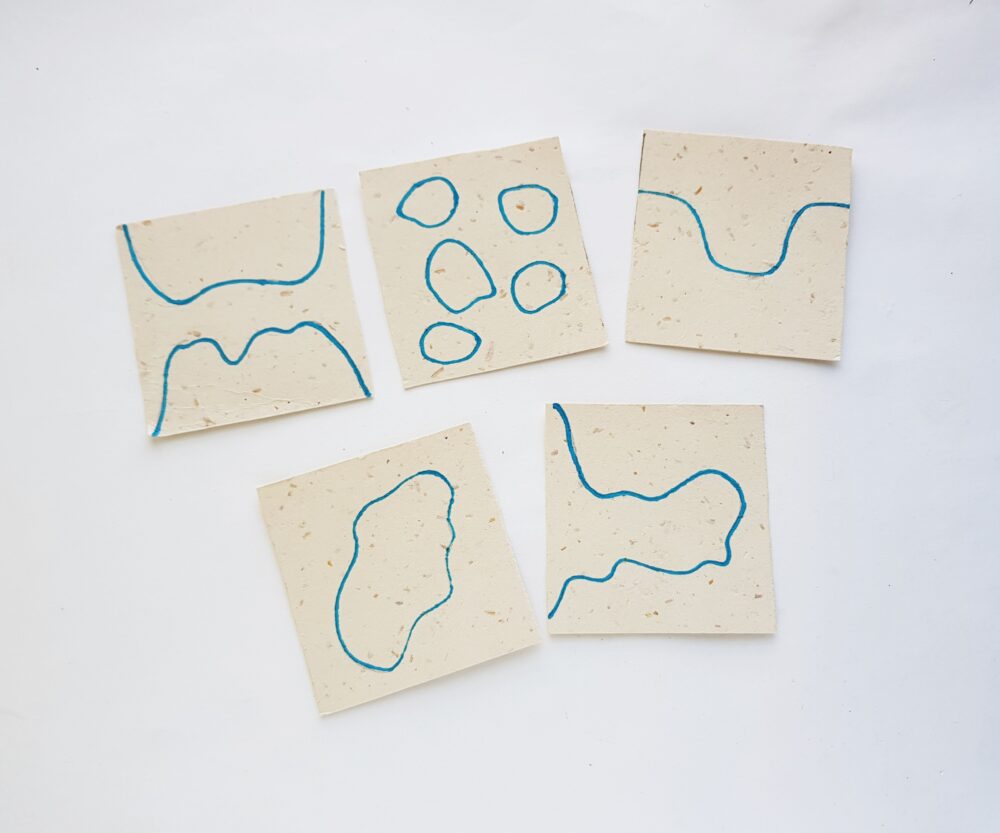
Step -1:
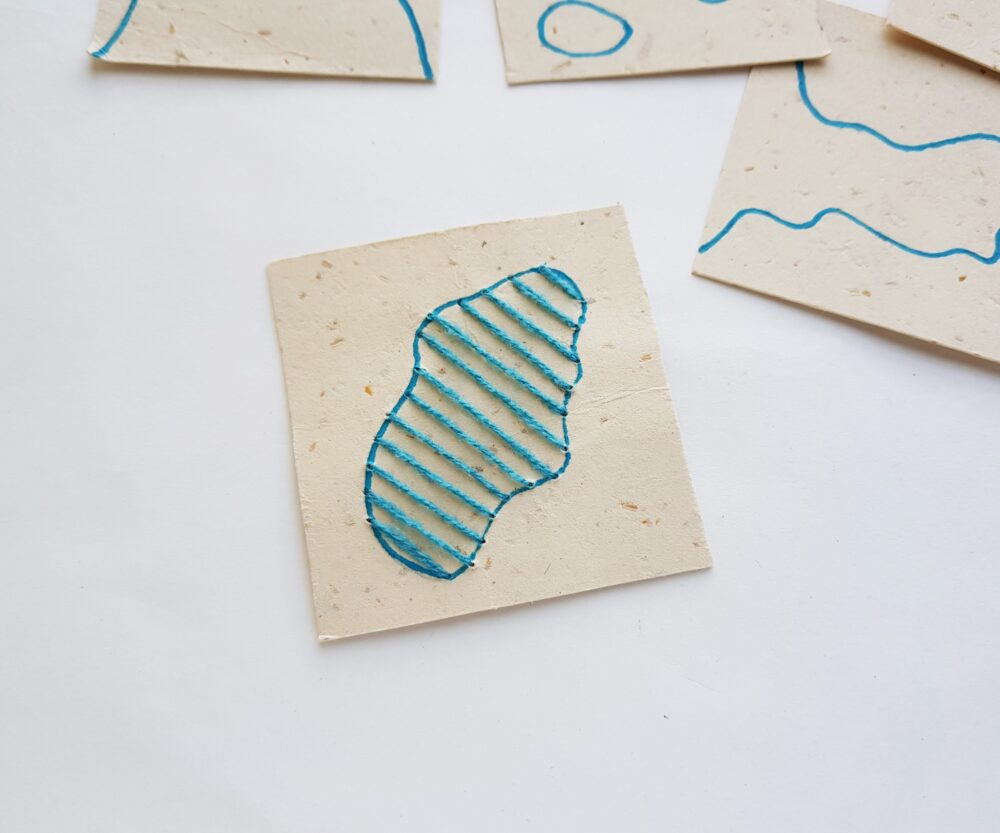
Print and cut out the water form activity patterns. Select cardstock paper and cut them into square shapes. Trace the water form template shapes on the square cardstock papers. I’m using a blue marker to trace the outlines nicely.
Step -2:
Prepare a needle with blue thread. Tie a knot at the open end of the attached thread.
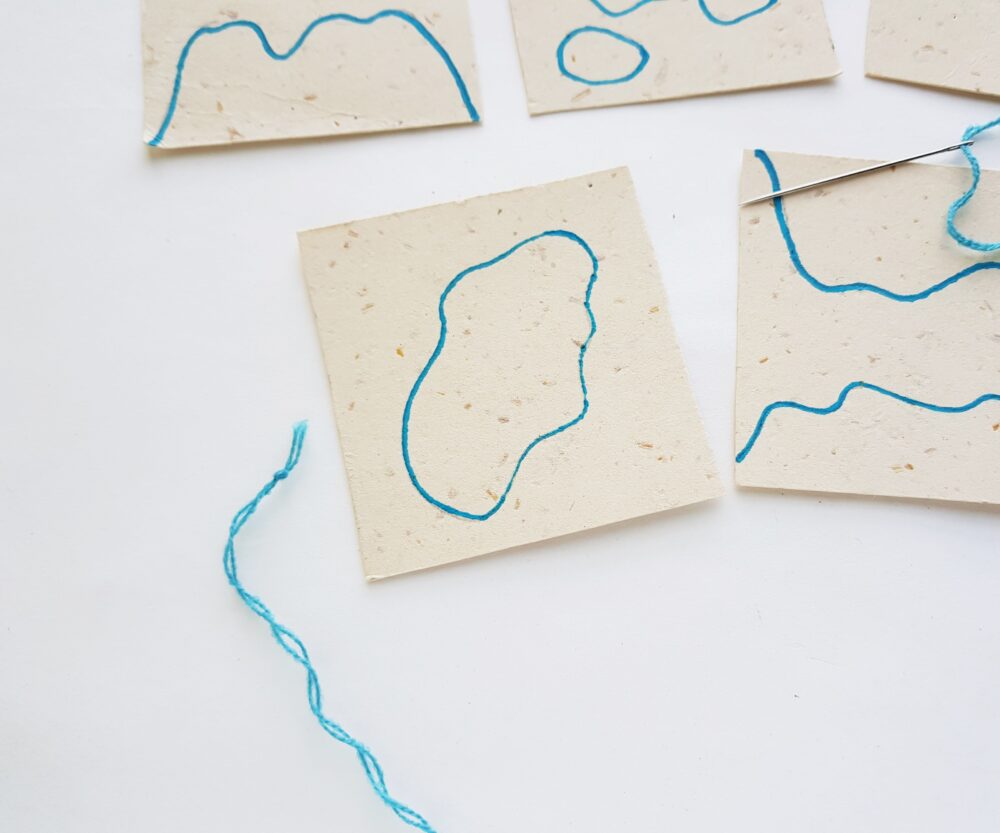
Step – 3:
Take any one of the traced cardstock pieces and draw the needle from the backside of the traced paper. Draw the needle along any one point of the water form outline. Draw the needle to the backside through the opposite point of its current position. Draw the needle to the front again by keeping a cm or less space with the previous point along the same side.

Step – 4:
Continue to repeat the same process and keep even gaps between every 2 strand while stitching the straight lines.
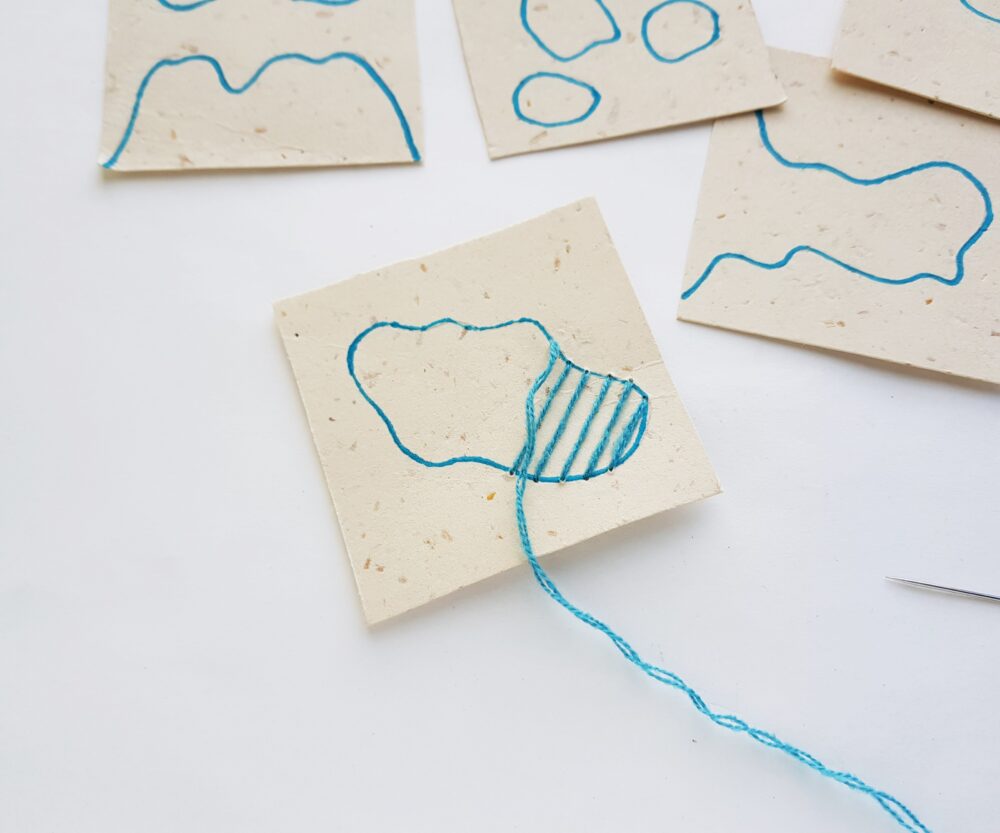
Step – 5:
Fill the pattern with stitches nicely.
Step – 6:
Similarly, stitch and fill the rest of the water forms with straight line stitches.