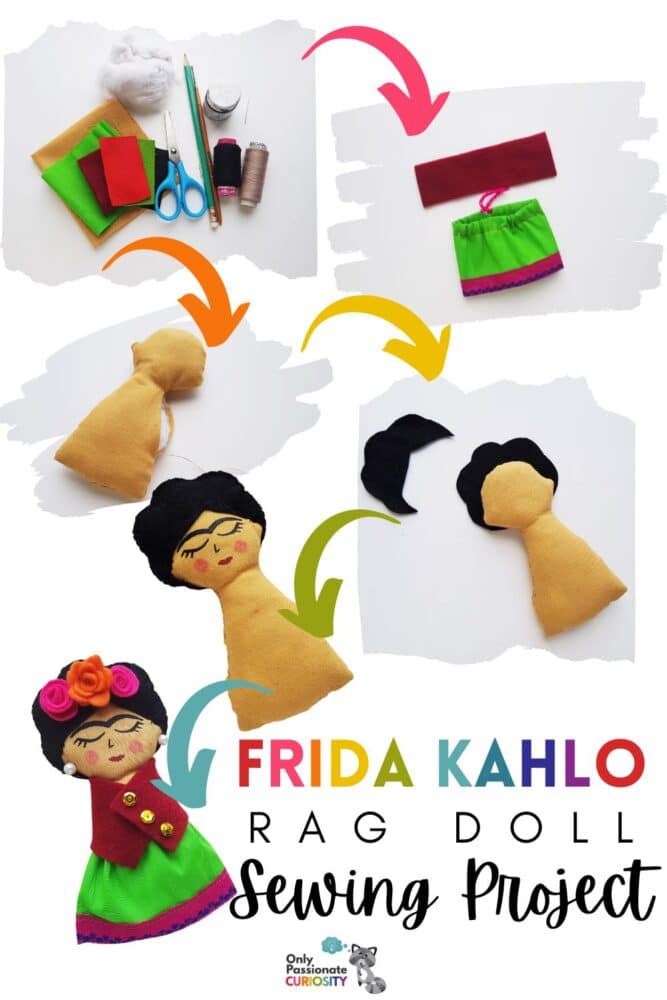
Frida Kahlo Rag Doll Sewing Project
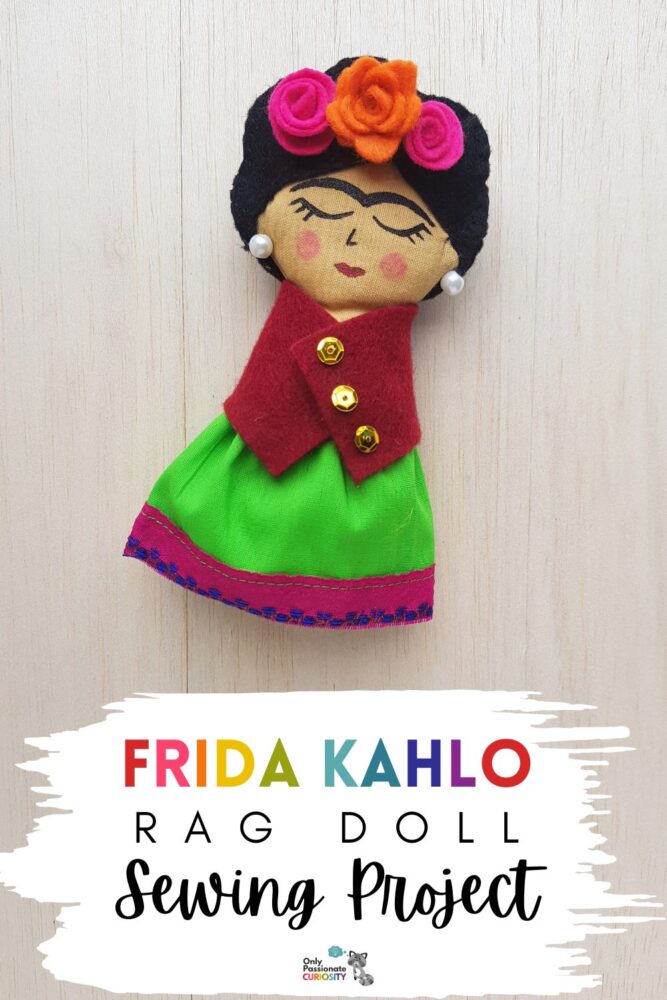
Frida Kahlo was a famous Mexican artist who lived in the early 1900s. She is famous for her colorful and emotional paintings, many of which show her own face. When she was a little girl, Frida got sick with polio, which made her walk with a limp. Later, she got in a terrible accident that hurt her spine and other bones. This accident left her in a lot of pain and made it hard for her to move around.
Despite her challenges, Frida Kahlo found that painting helped her feel better. She used bright colors and symbols from Mexican culture in her artwork, and often painted about her own pain and struggles. She was also very interested in politics and believed in fighting for the rights of people who were not treated fairly.
Frida Kahlo is still famous today for her beautiful and emotional paintings, and for the way she inspired people to be themselves, no matter what challenges they faced.
Frida was born on July 6, 1907, in Mexico. And this month, you can celebrate her art by doing a fun Frida Kahlo rag doll sewing project.
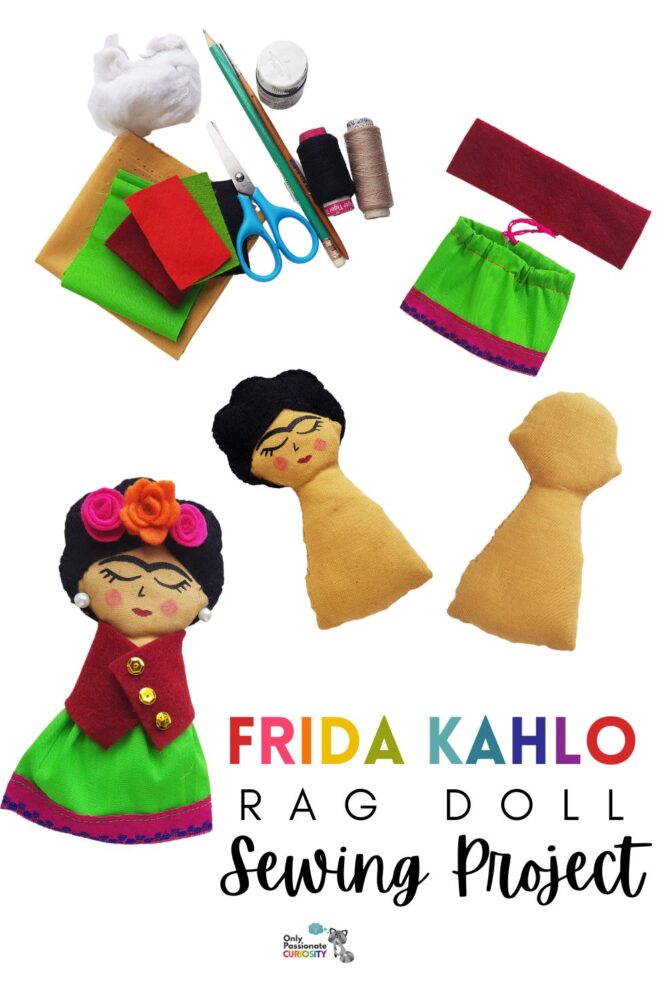
Here are some supplies for the project that you can buy on Amazon:
(The links here are affiliate links that help us keep our website up and running. Thank you for your support!)
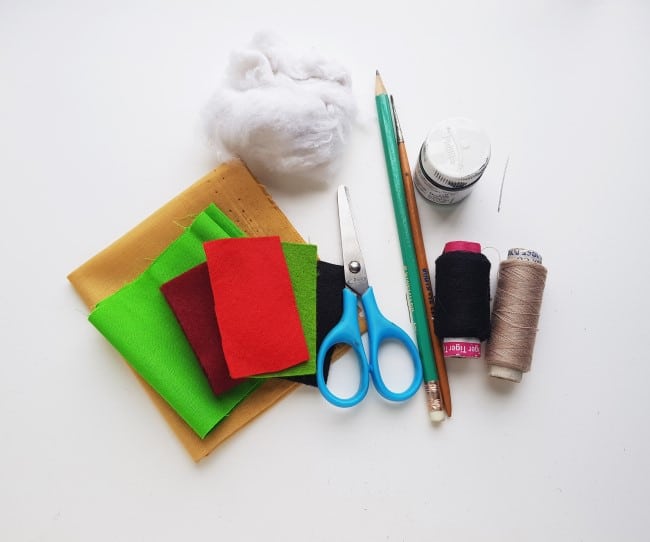
Complete List of Supplies for Frida Kahlo Rag Doll Project
- Fabric – different colors
- Pencil or fabric chalk
- Needle and thread
- Cotton
- Felt
- Stones and beads
- Scissors
- Frida Kahlo template (opens in new window)
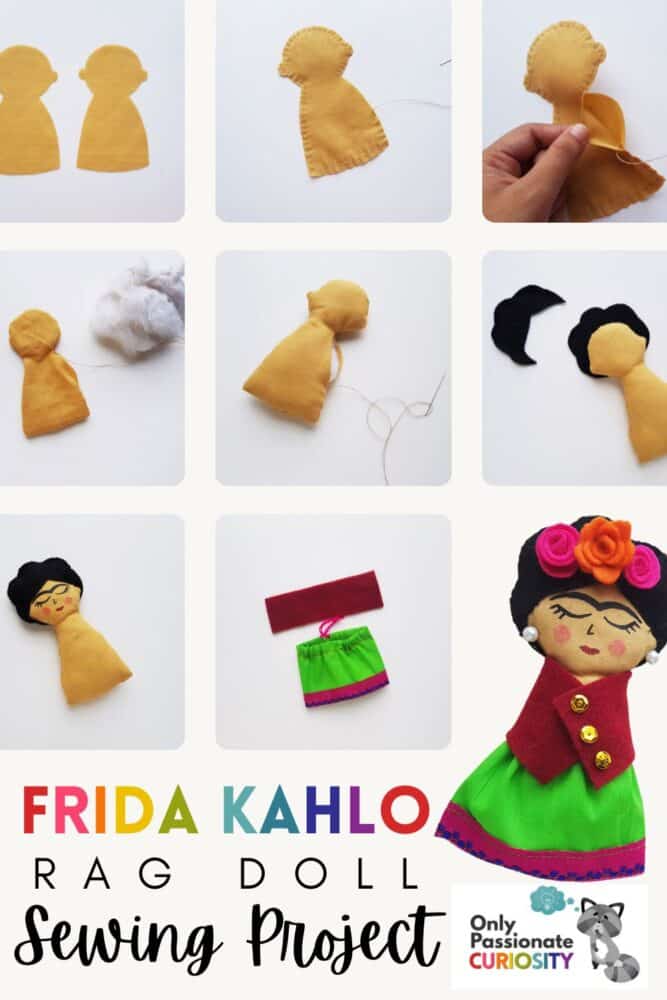
Instructions for Frida Rag Doll Project
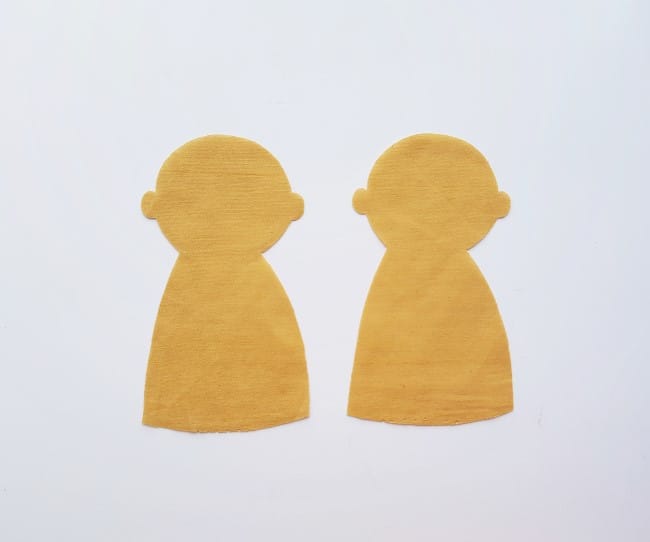
Step 1:
Select a fabric for the doll base and black or dark brown felt for the hair. Select different colored fabrics of your choice for the dress and accessories for the Frida Kahlo doll. Trace the doll base patterns (2) on the fabric selected for the doll. Cut out the traced pattern from the fabric.
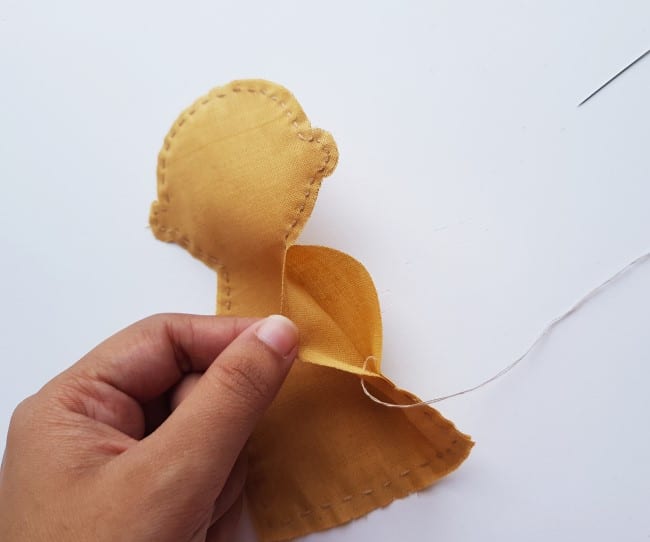
Step 2:
Now place both body bases on top of each other with their “wrong sides” facing out. Prepare needle and thread to stitch around the side of the fabric patterns to join them together around the sides.
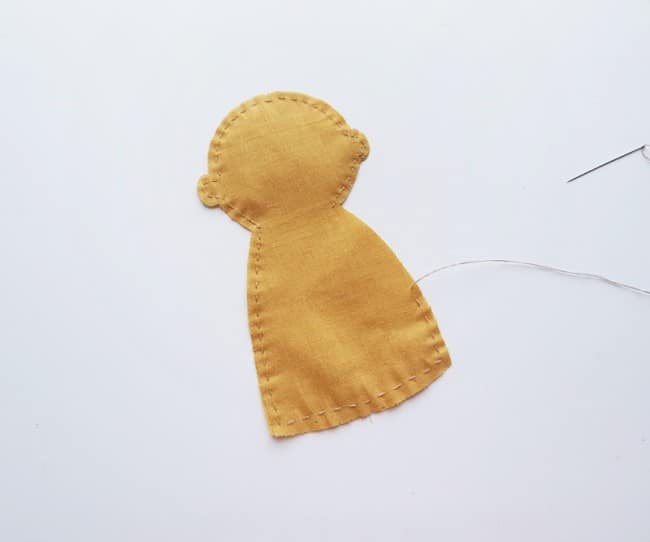
Step 3:
Keep a small opening to turn the doll base right side out.
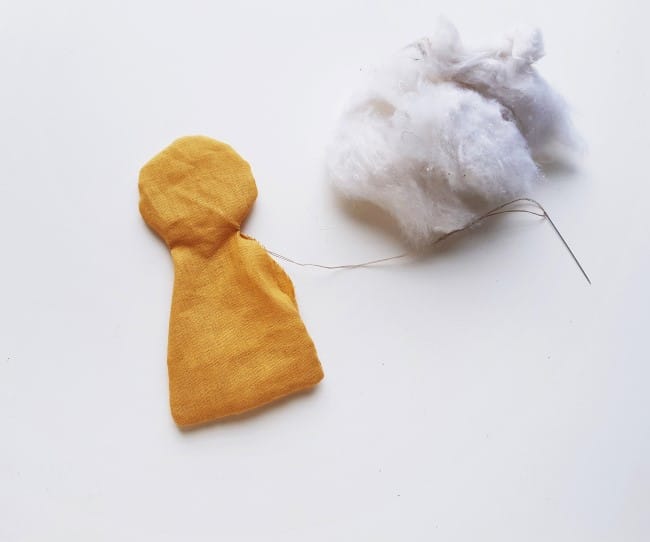
Step 4:
Turn the Frida Kahlo doll right side out through the small opening. Keep the small opening for stuffing the doll base. Cotton is the best choice for stuffing the doll. You can use cotton batting or cotton balls if that’s easiest.
Step 5:
Stuff the doll base with cotton through the small opening until you are satisfied with the pattern. But make sure that the stuffing isn’t too tight; keep it nice and fluffy.
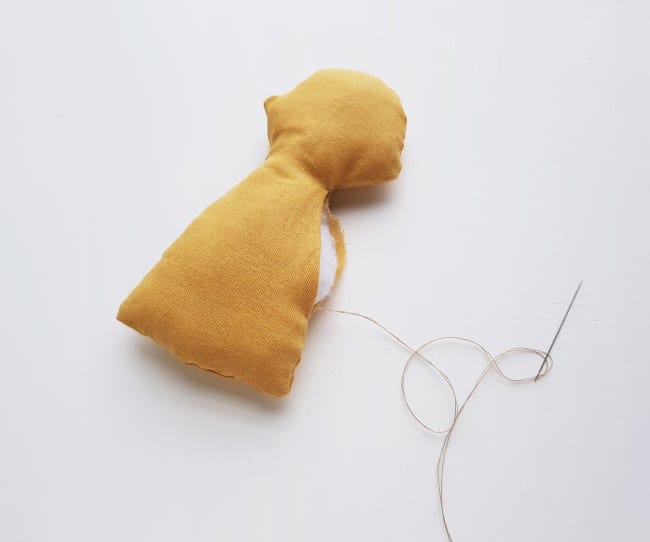
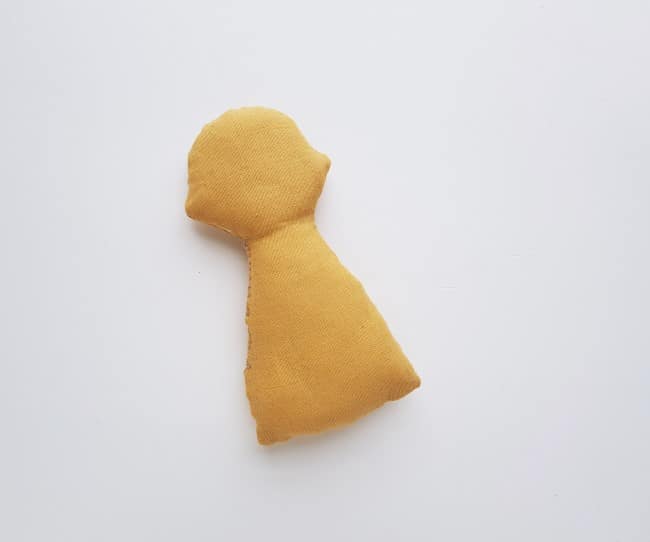
Step 6:
Stitch the small opening closed, using a needle and thread to secure the stuffing.
Step 7:
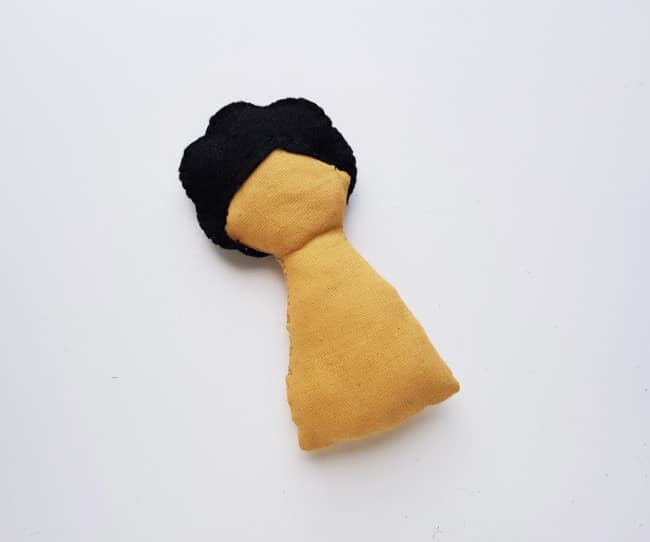
Trace and cut out the hair pattern from black or dark brown felt fabric.
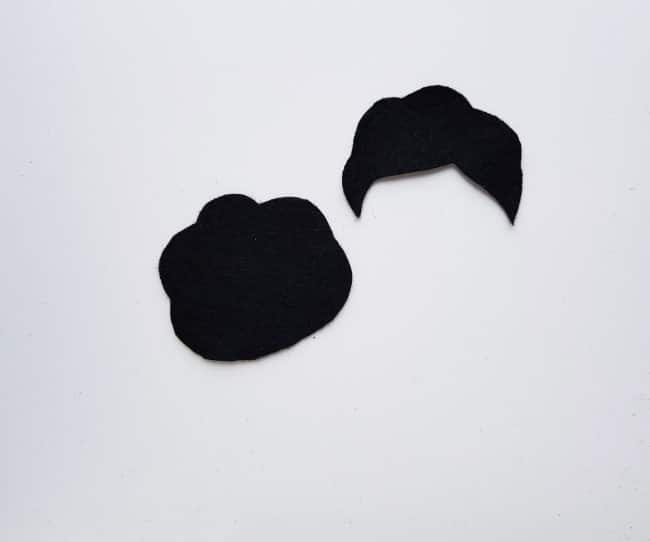
Step 8:
Place the full hair pattern on the back side of the head part (of the doll base).
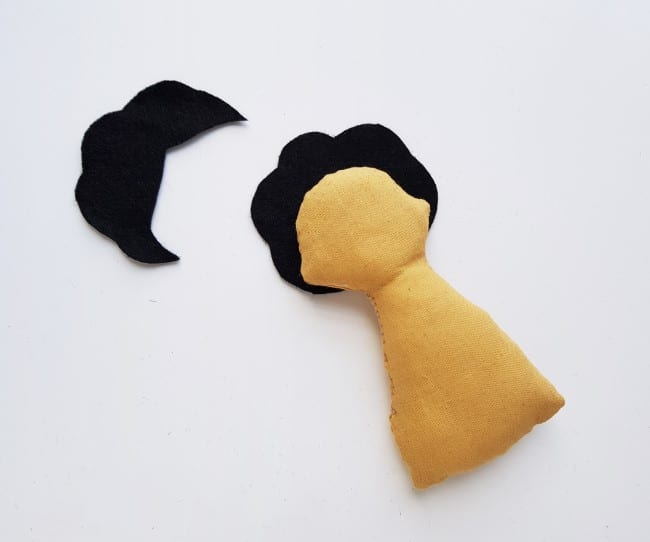
Step 9:
Place the semi-hair pattern onto the front side of the head; making sure that the sides of both hair patterns match nicely.

Step 10:
Now, prepare the needle with black thread and stitch around the outer side and back side of the hair pattern. When stitching the backside, make sure to stitch the hair along with the base.
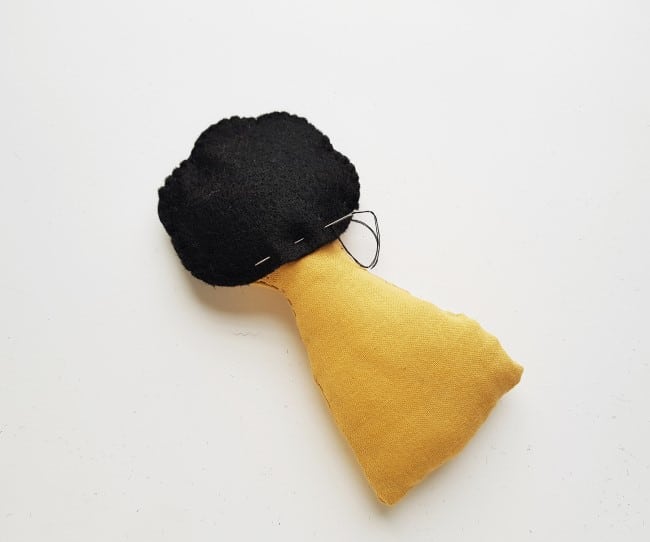
Step 11:
Keep the front side of the hair open for stuffing. Fill the hair part with cotton.
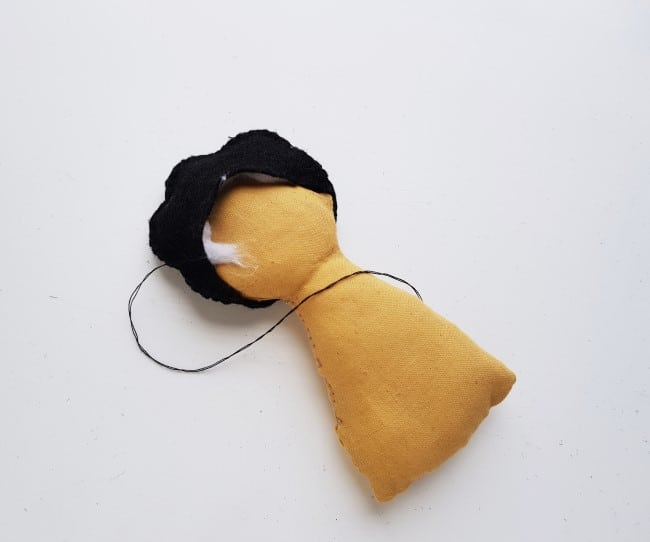
Step 12:
When you’re done stuffing the hair part; stitch the front open end of the hair, stitching the base as well.
Step 13:
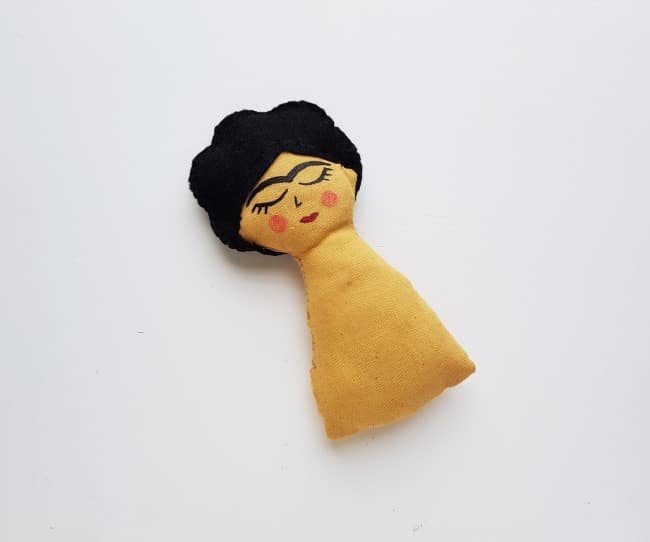
Use fabric paints to draw the eyes, nose, and lips (other details if you wish) of the Frida Kahlo rag doll.
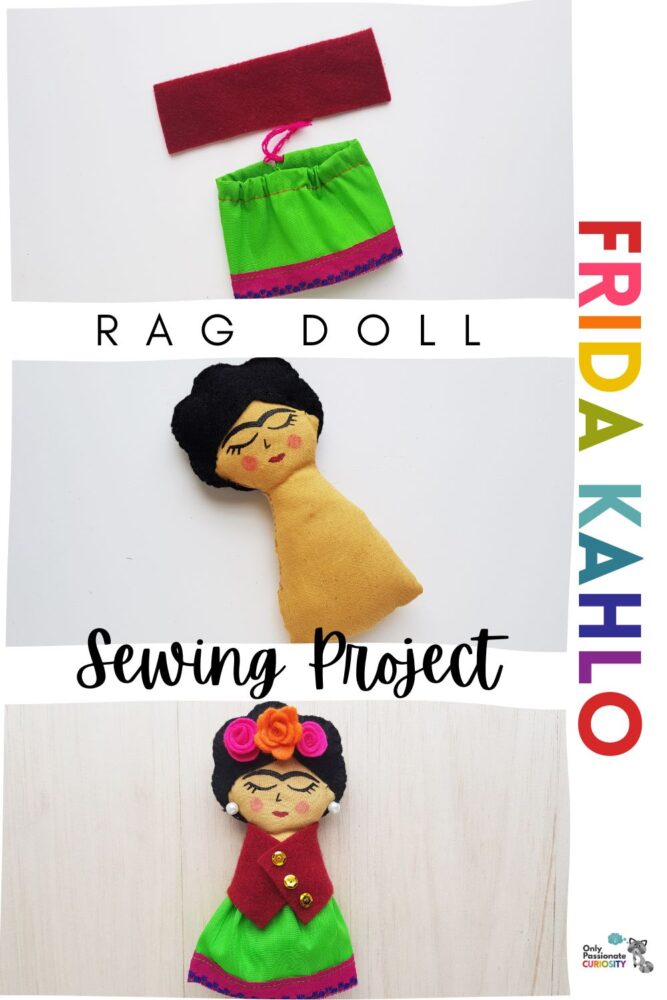
Step 14:
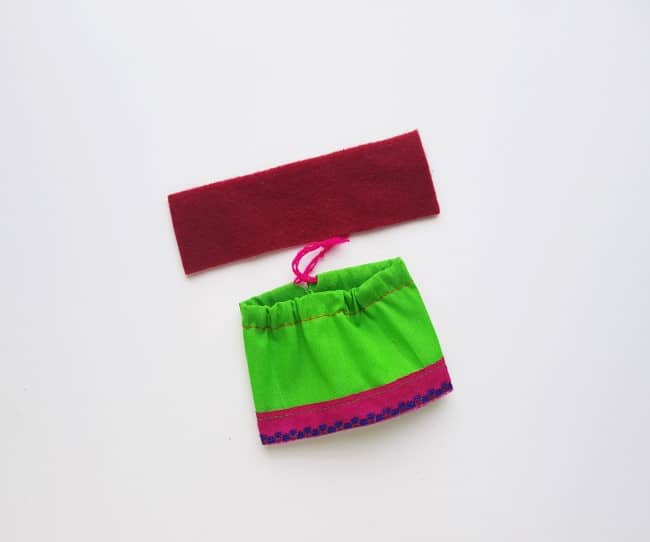
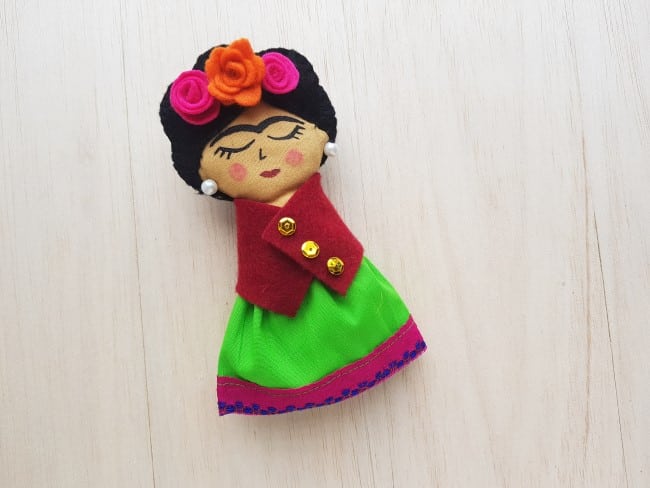
Next, cut a rectangle piece from felt for the top part of the dress (scarf) and stitch a simple plain skirt from any fabric of your choice. You can use small fabric flowers, beads, and stones to decorate the hair of the doll.
You can either use hot glue or stitch to join them and secure them onto the Frida Kahlo rag doll.
Something particularly fun about this sewing project is that you (or your kids) can choose the colors you want for the outfit and jewelry, making it as colorful as you would like.
Books about Frida Kahlo
If your homeschool class is learning about Frida Kahlo this month, here are a few children’s books that study her life in further depth.
Additional Activities:
Considering that Frida Kahlo was a remarkable painter, this project could be a neat one to do alongside some other painting activities. Here are a few ideas:
- Teach your students the art of dripping paint, like Jackson Pollock!
- Practice painting like Vincent van Gogh and his unique swirly painting style.
- Try still life painting, made famous by artists such as Cezanne.
- If your kids are younger, you might want to tackle an easier painting project, like this art lesson in primary colors.
- Another simple undertaking for younger students is this color wheel art class.
- For older students, however, you might want to try something absolutely epic like painting stars!
- And if you find the artwork masterpieces are piling up, here are a few ideas of what to do with your kids’ artwork.