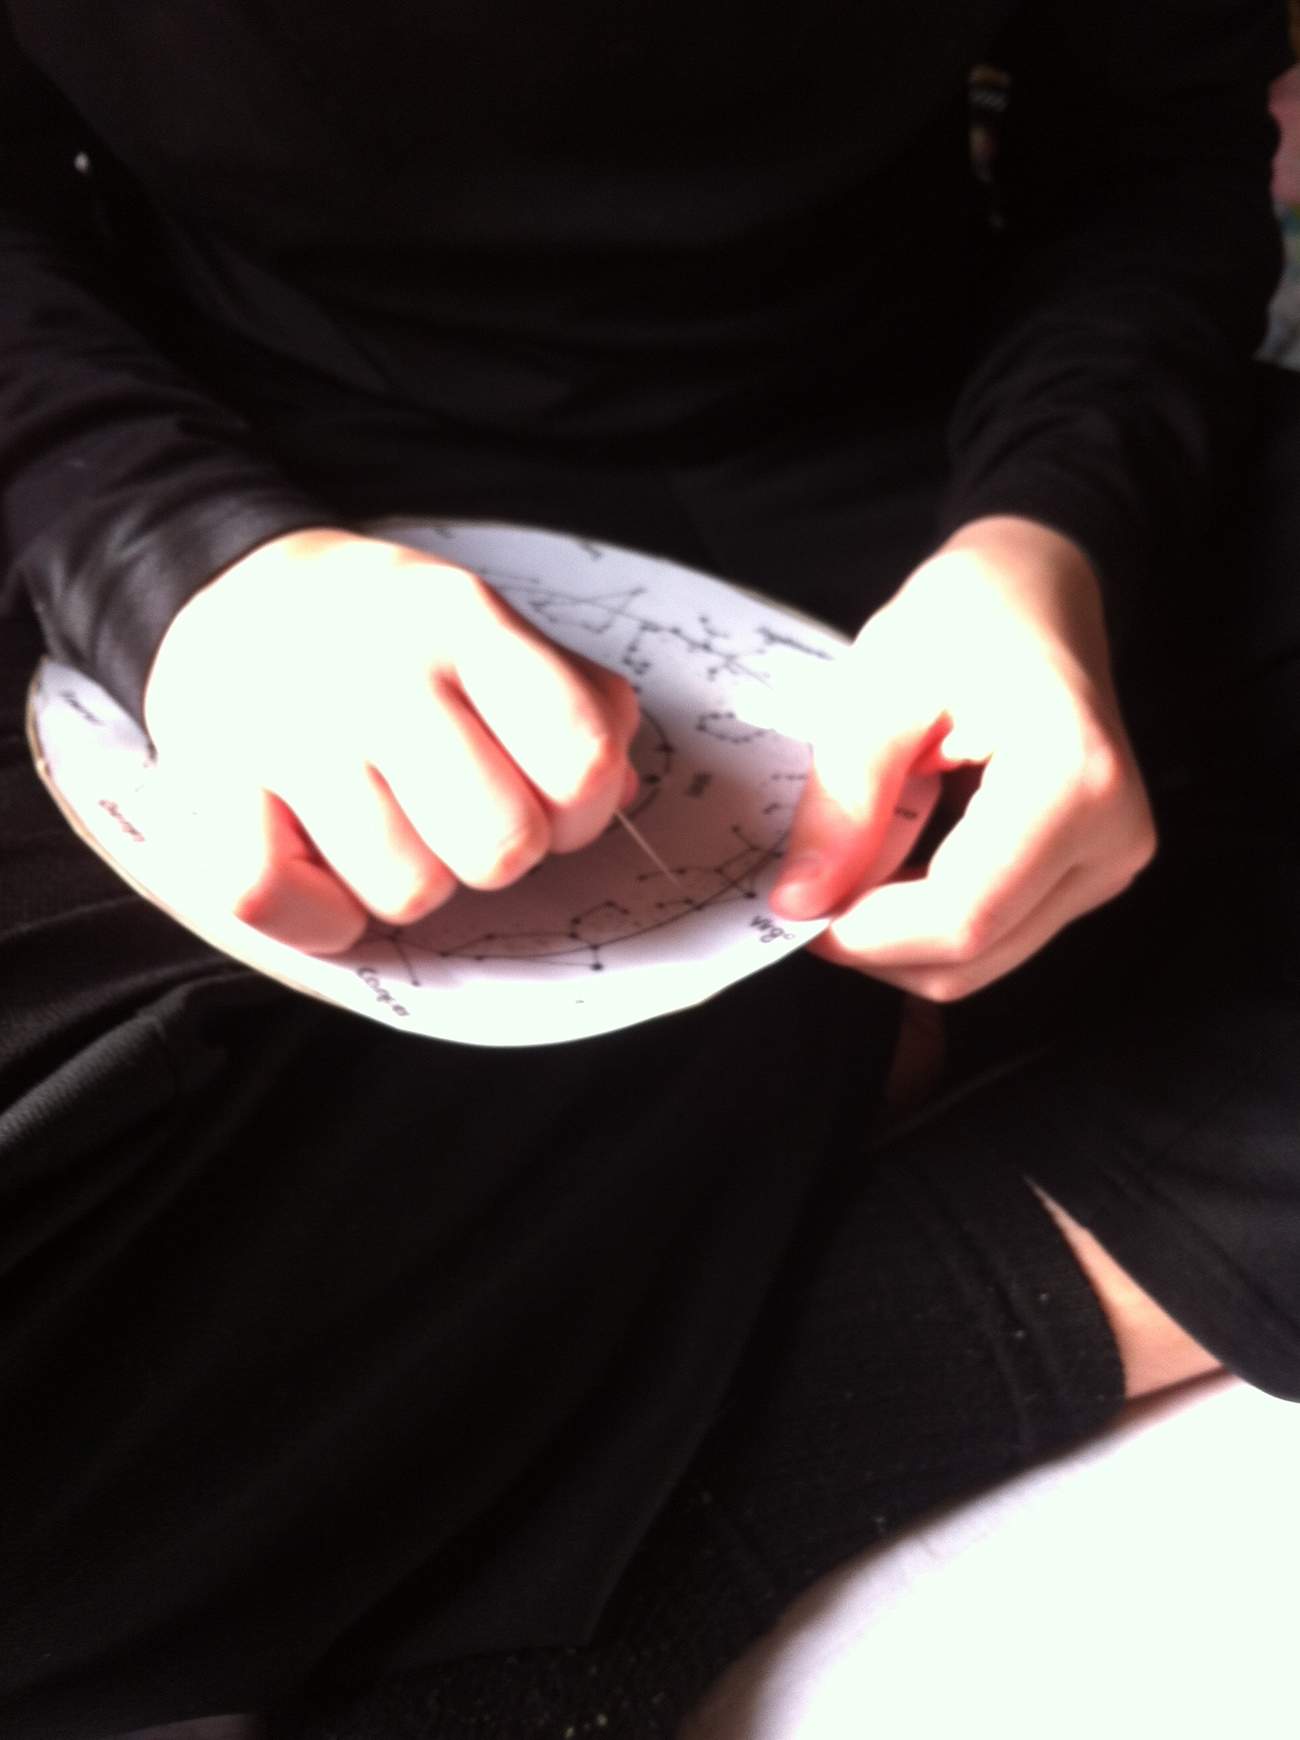
The Cosmic Kaleidoscope craft was inspired by March’s theme of space and astronomy. We have a fairly powerful telescope and the boys love to search the skies for the constellations we are most familiar with, the Big and Little Bears (Ursa Major and Minor), Orion, the Sisters, the Dippers etc. I thought making a craft that would teach them to recognize a few new star patterns would be a good suggestion. The best thing about this craft is that both boys (ages 8 and 11) found it really fun to put together. It also involves a bit of painting and a wee bit of math and measuring so we got a few different educational bits covered. As each tube will be a slightly different circumference it makes sense to let them measure the best placement on their own if they can!
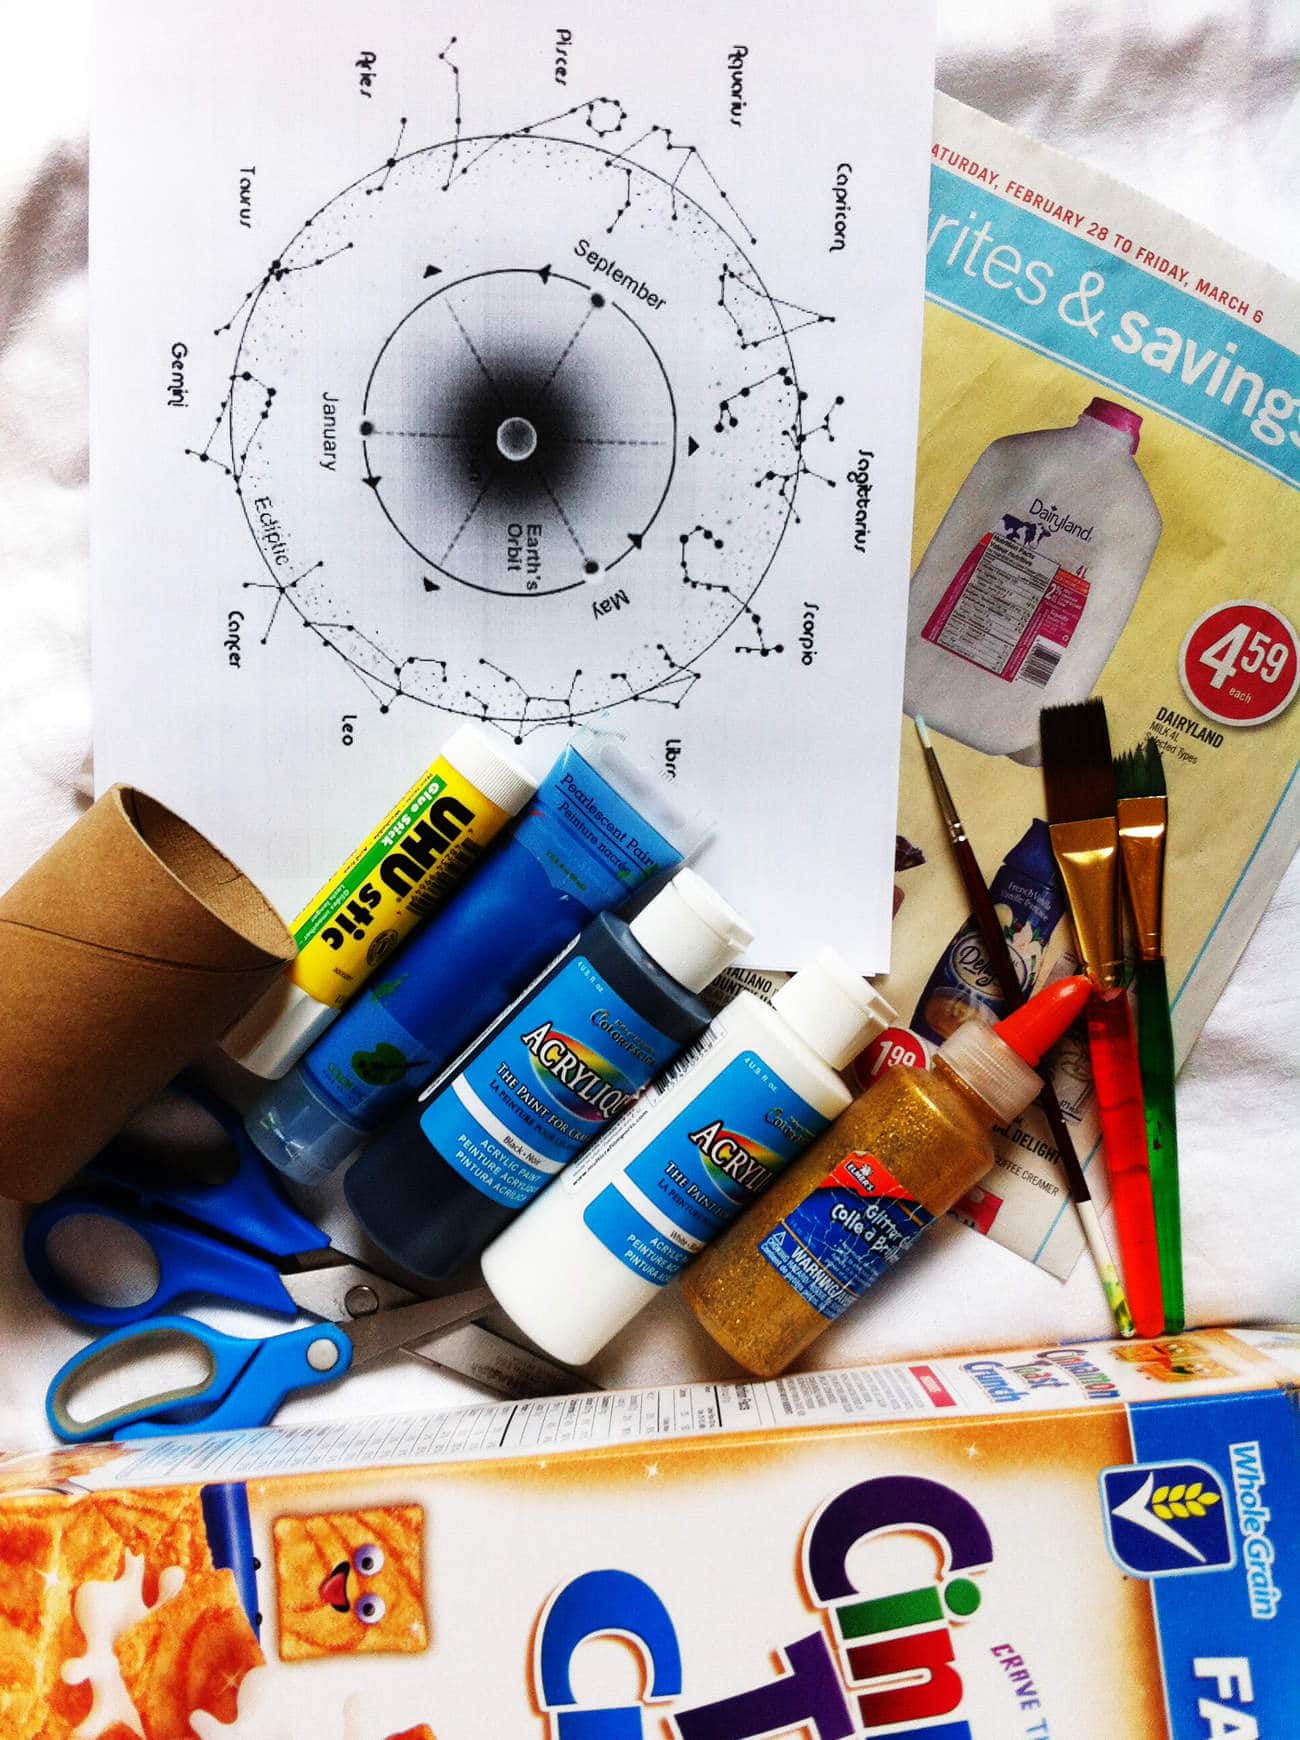
You will need the things in this photo:
-a cereal box or other thin cardboard
-newspaper to protect the table / floor
-glue or gluegun
-scissors and/or utility knife
-a pin or metal skewer
-paint (we used flat black, shimmering blue, white, metallic gold)
-paint brushes
-glitter glue or glitter (optional)
-pen or pencil
-toilet paper, paper towel or wrapping paper roll.
-one of those small gold thingies that looks like a tack but has two flat metal pieces that you open up so you can move two pieces of paper together 🙂
-a printout of the Constellation Map Guide (PDF) provided (or find your own using Google)
1) Cut your cardboard tube to any length you wish between 6 inches and 12 inches.
2) Cut open your cereal box and lay flat. Place the cardboard tube circle (open) end down and tightly trace the circle onto the corner of the box 1 cm away from the edge on both sides. Put your cereal box aside.
3) Paint the inside of your tube black.
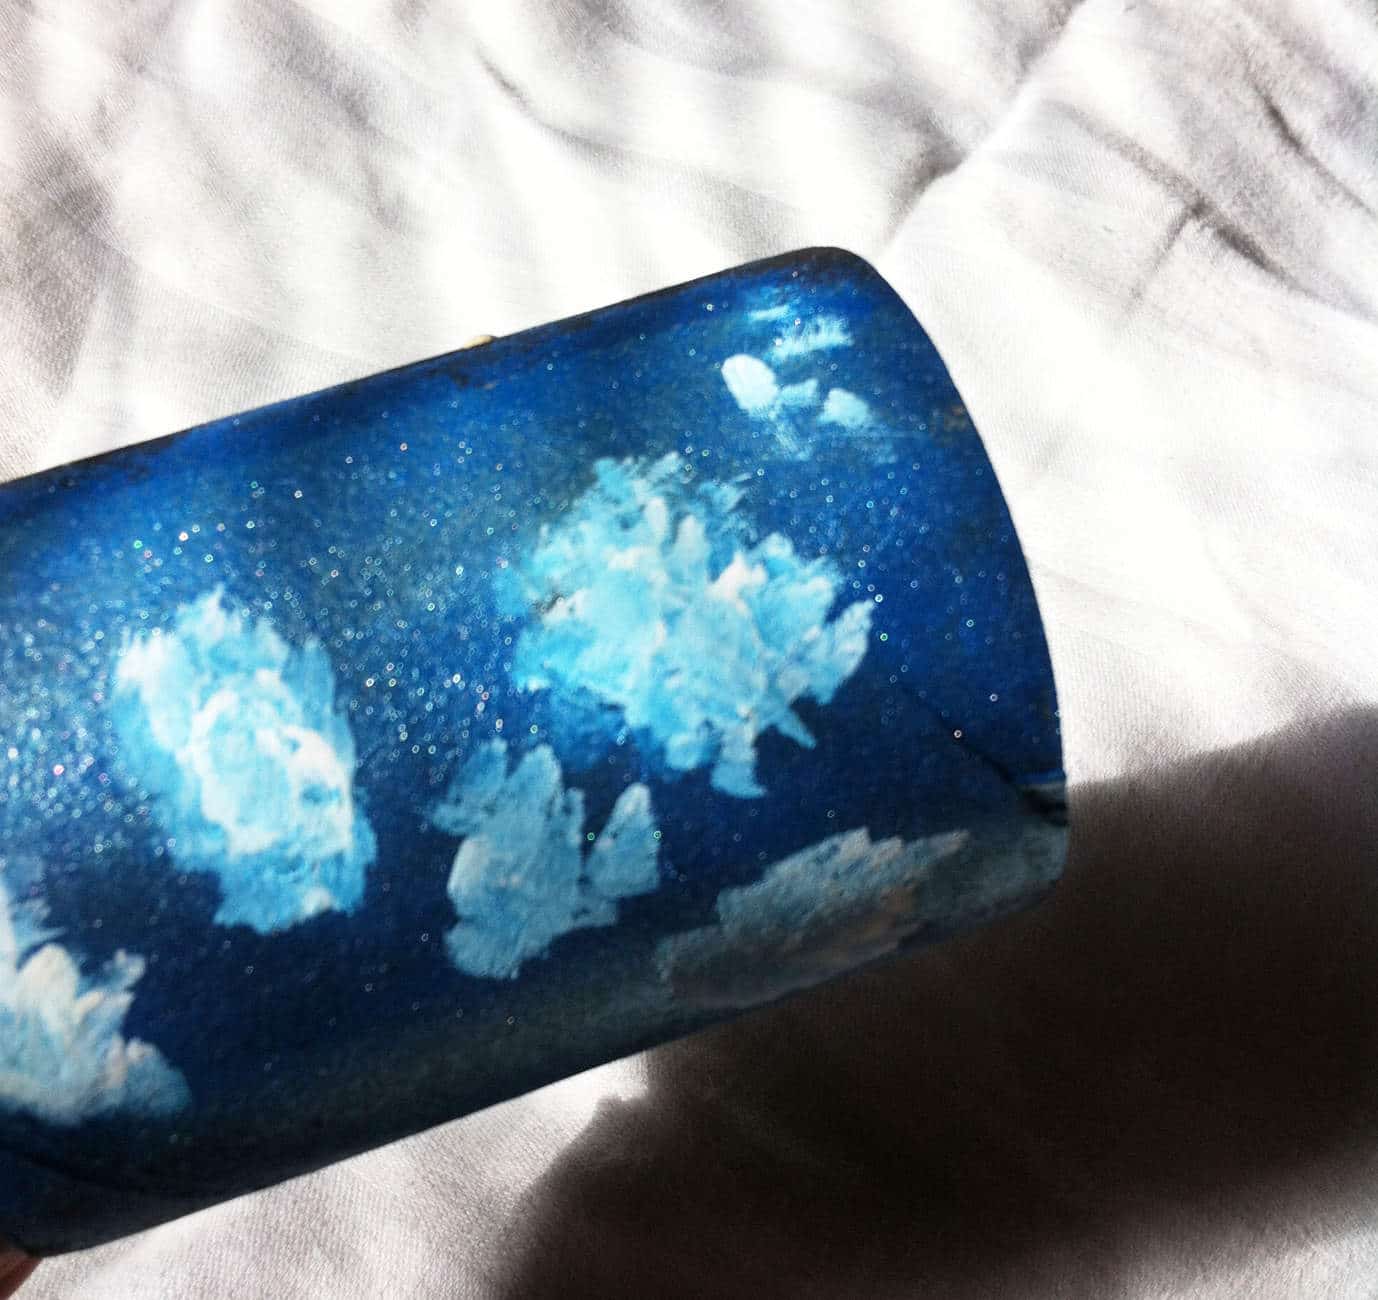
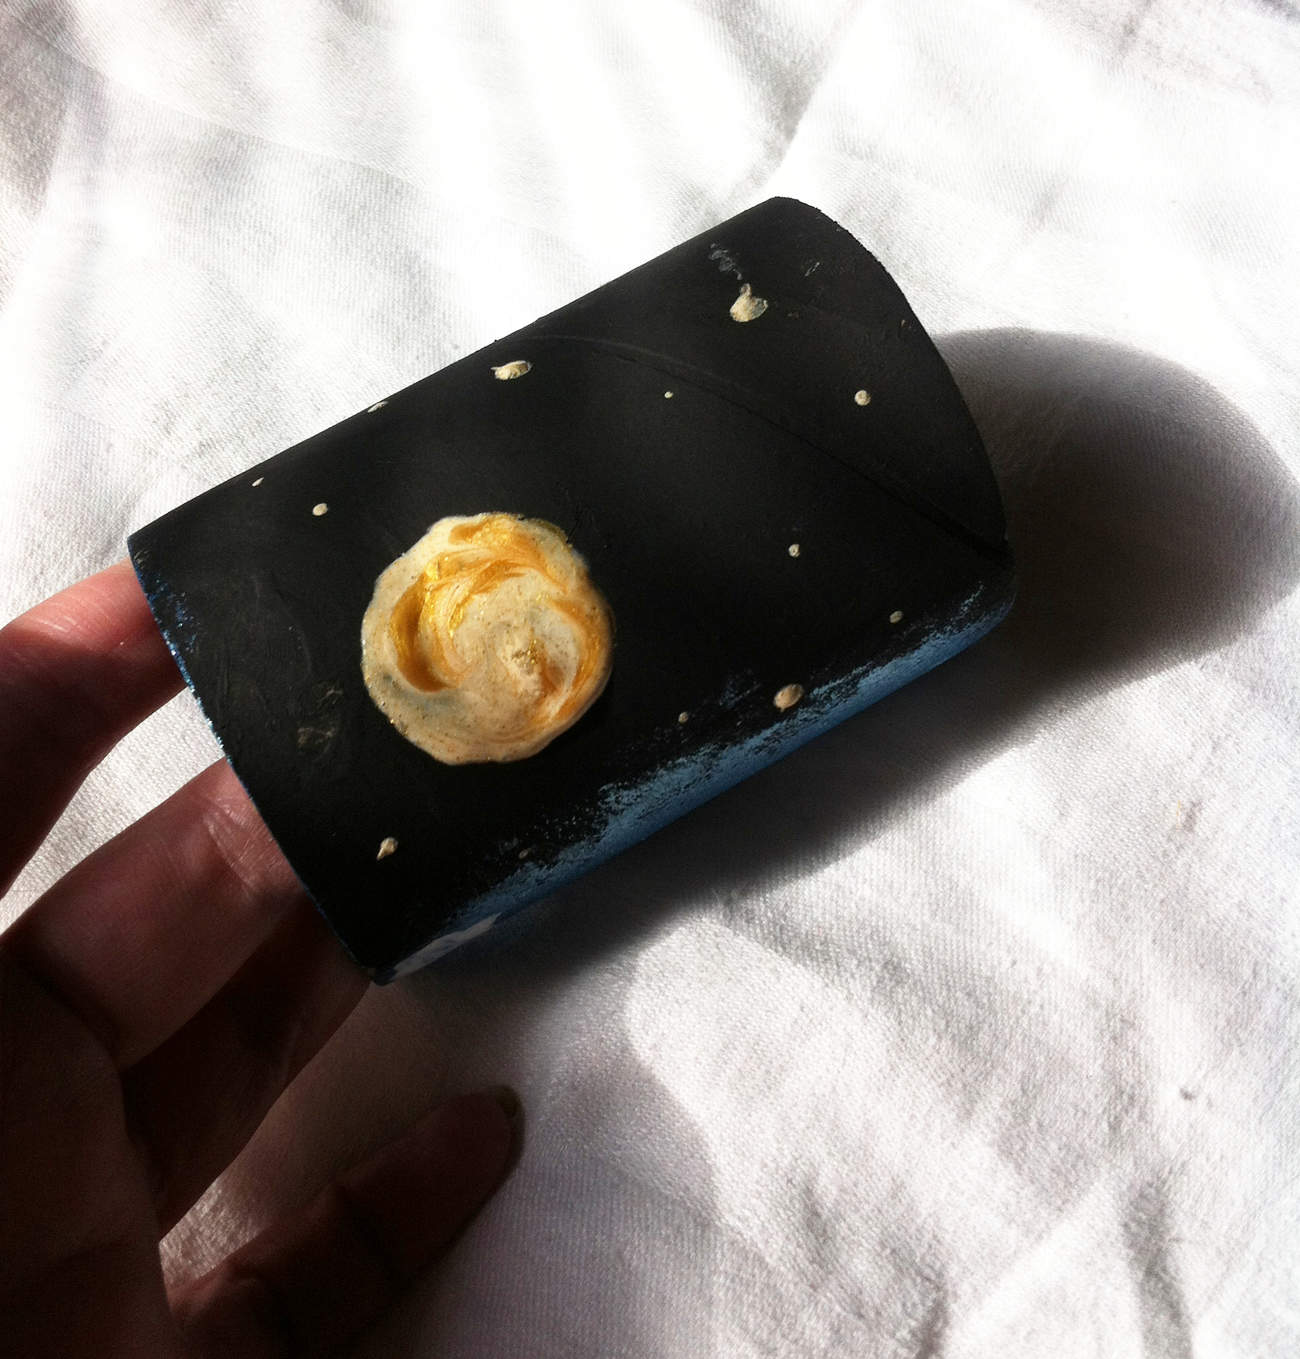
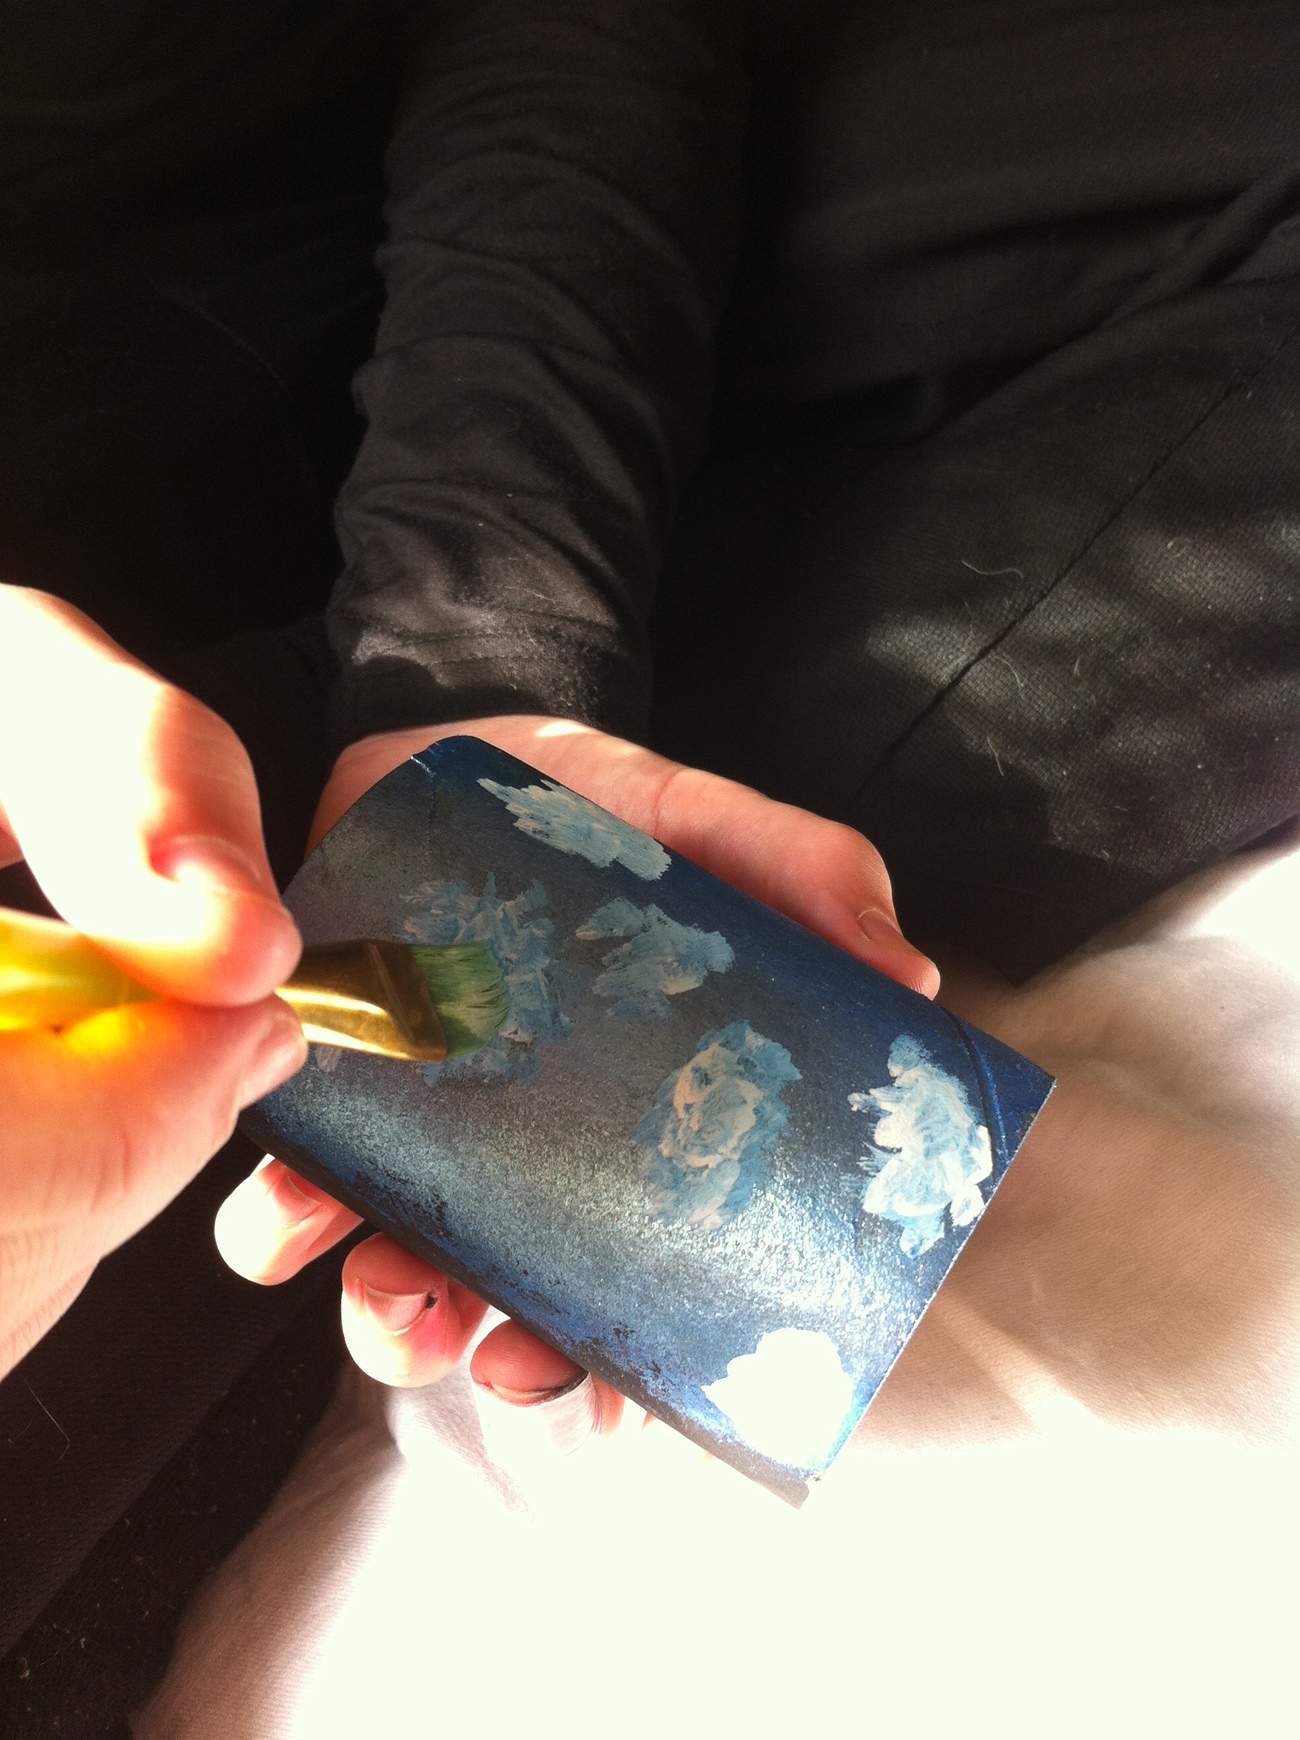
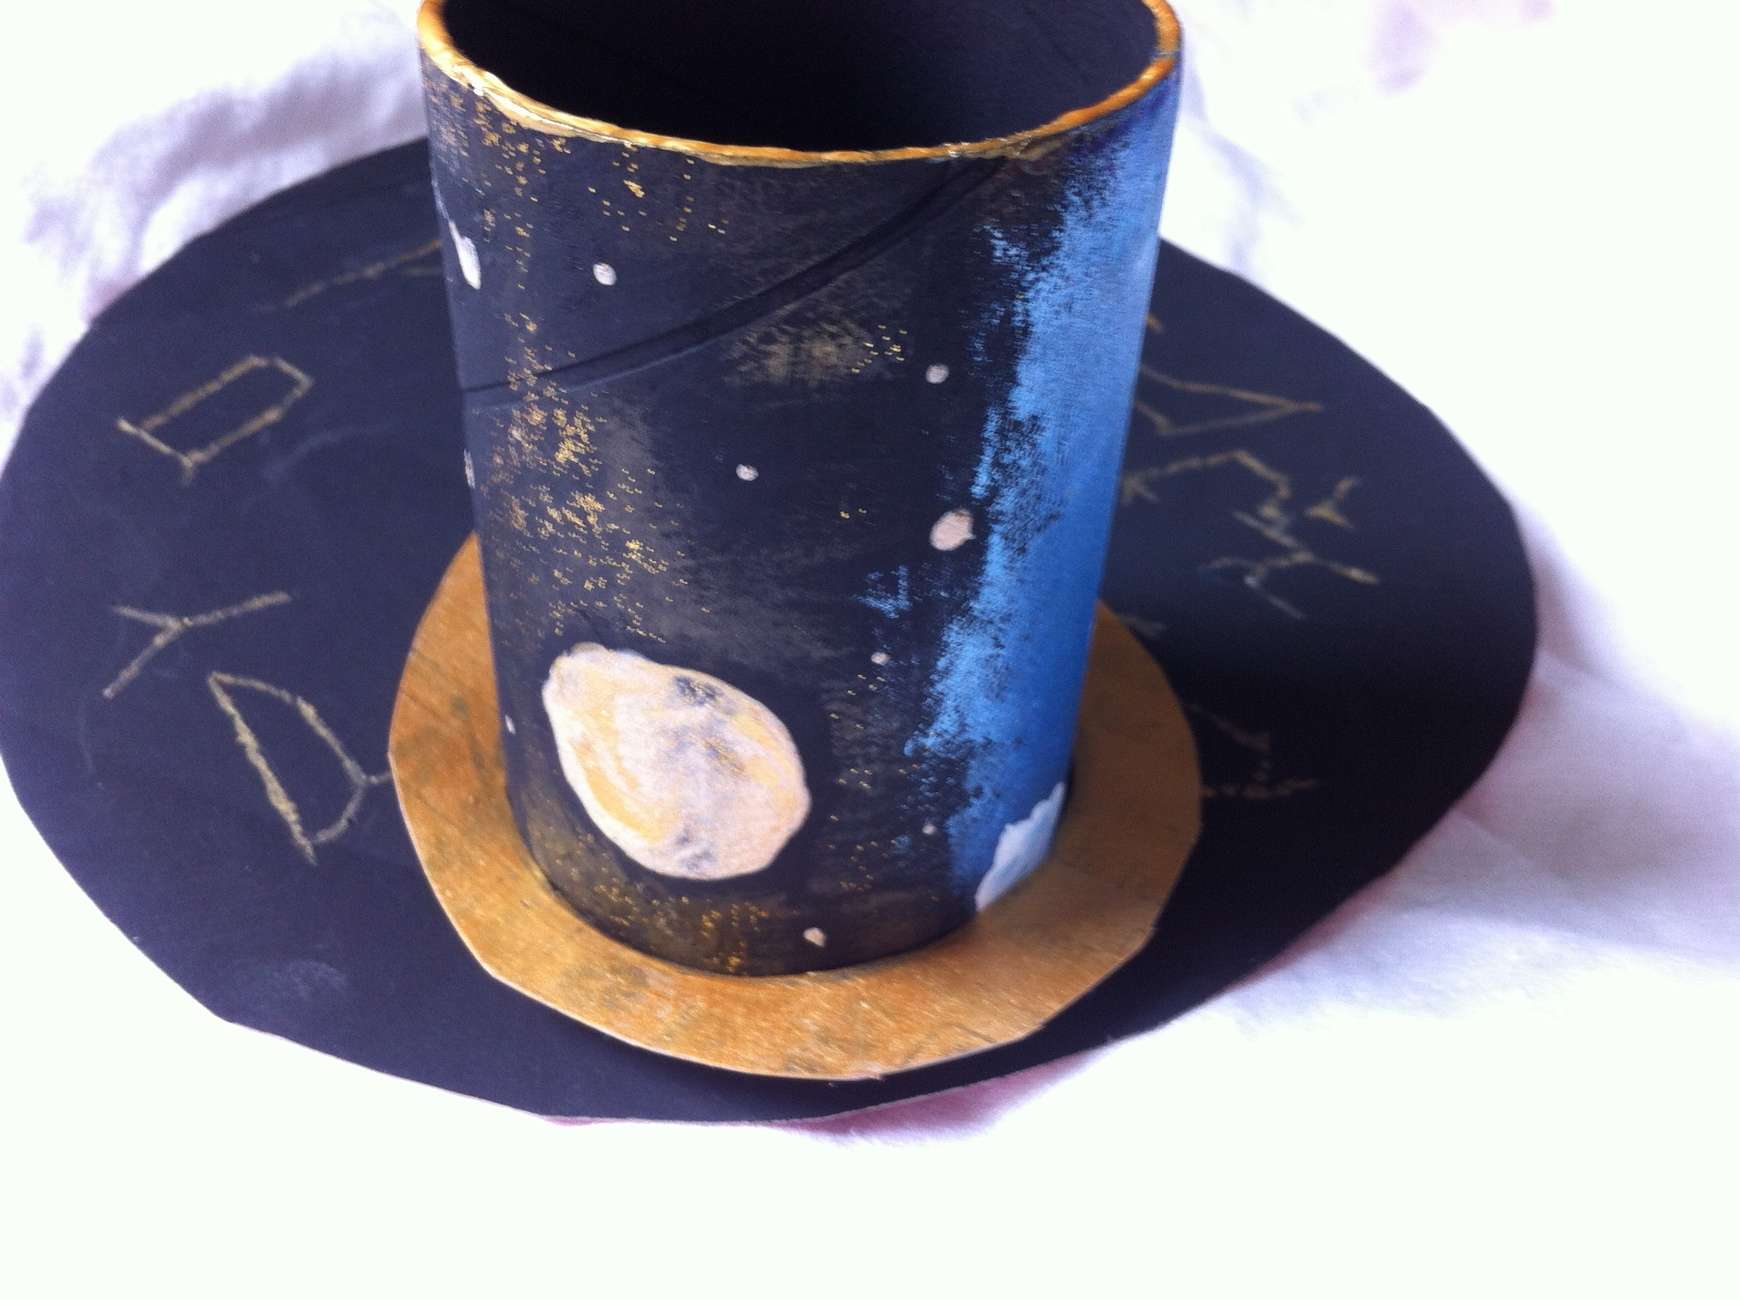
4) Paint the outside of your tube however you would like. We thought it would be fun to do a night sky on one side and daytime sky on the other side. If you would like to do this, paint the first side black just a little more than half way around. Then use the blue to paint the other side and with very little paint on the brush, drybrush the blue over the black just a bit so that it looks like it is fading into the black at the place it overlaps.
If you use white paint while the blue is still wet you can get fancy clouds as the two will mix together a bit. We brushed a bit of the gold glitter glue over the black before painting our stars and planets. If you want to do a fancy planet you can swirl two or three colours together into a circle. We used gold and white and put a tiny amount of gold glitter into our planet swirl and it looks really nifty.
5) Set aside your tube to dry
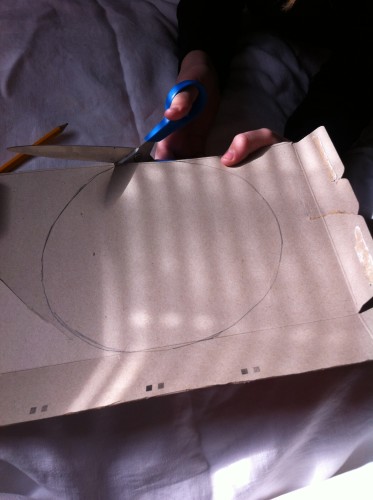
6) cut around your outside circle on the Constellation Map Printout. Lay out your Map on the largest part of your cereal box as far from the cardboard tube circle as possible. Trace around the map onto the cardboard.
7) Cut out circle from cardboard.
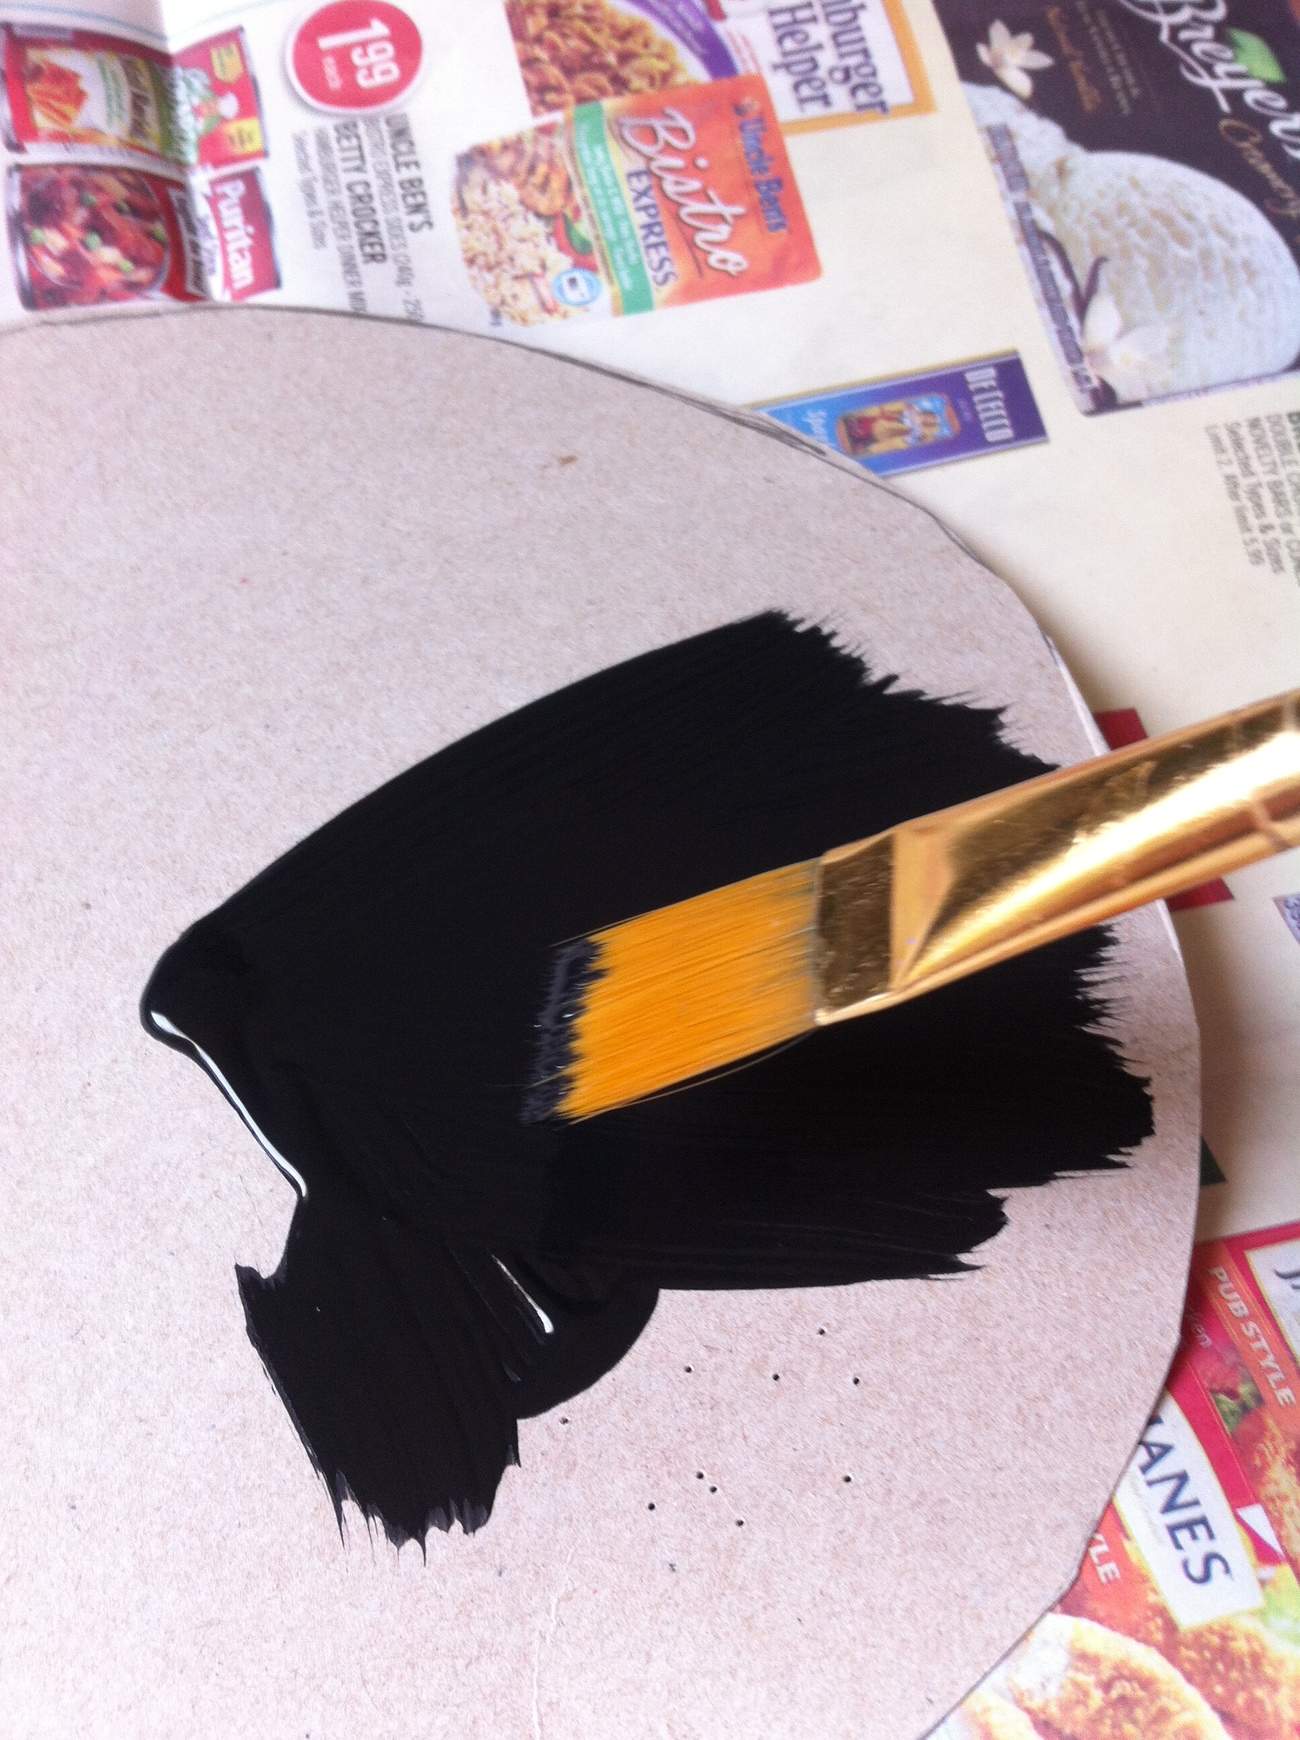
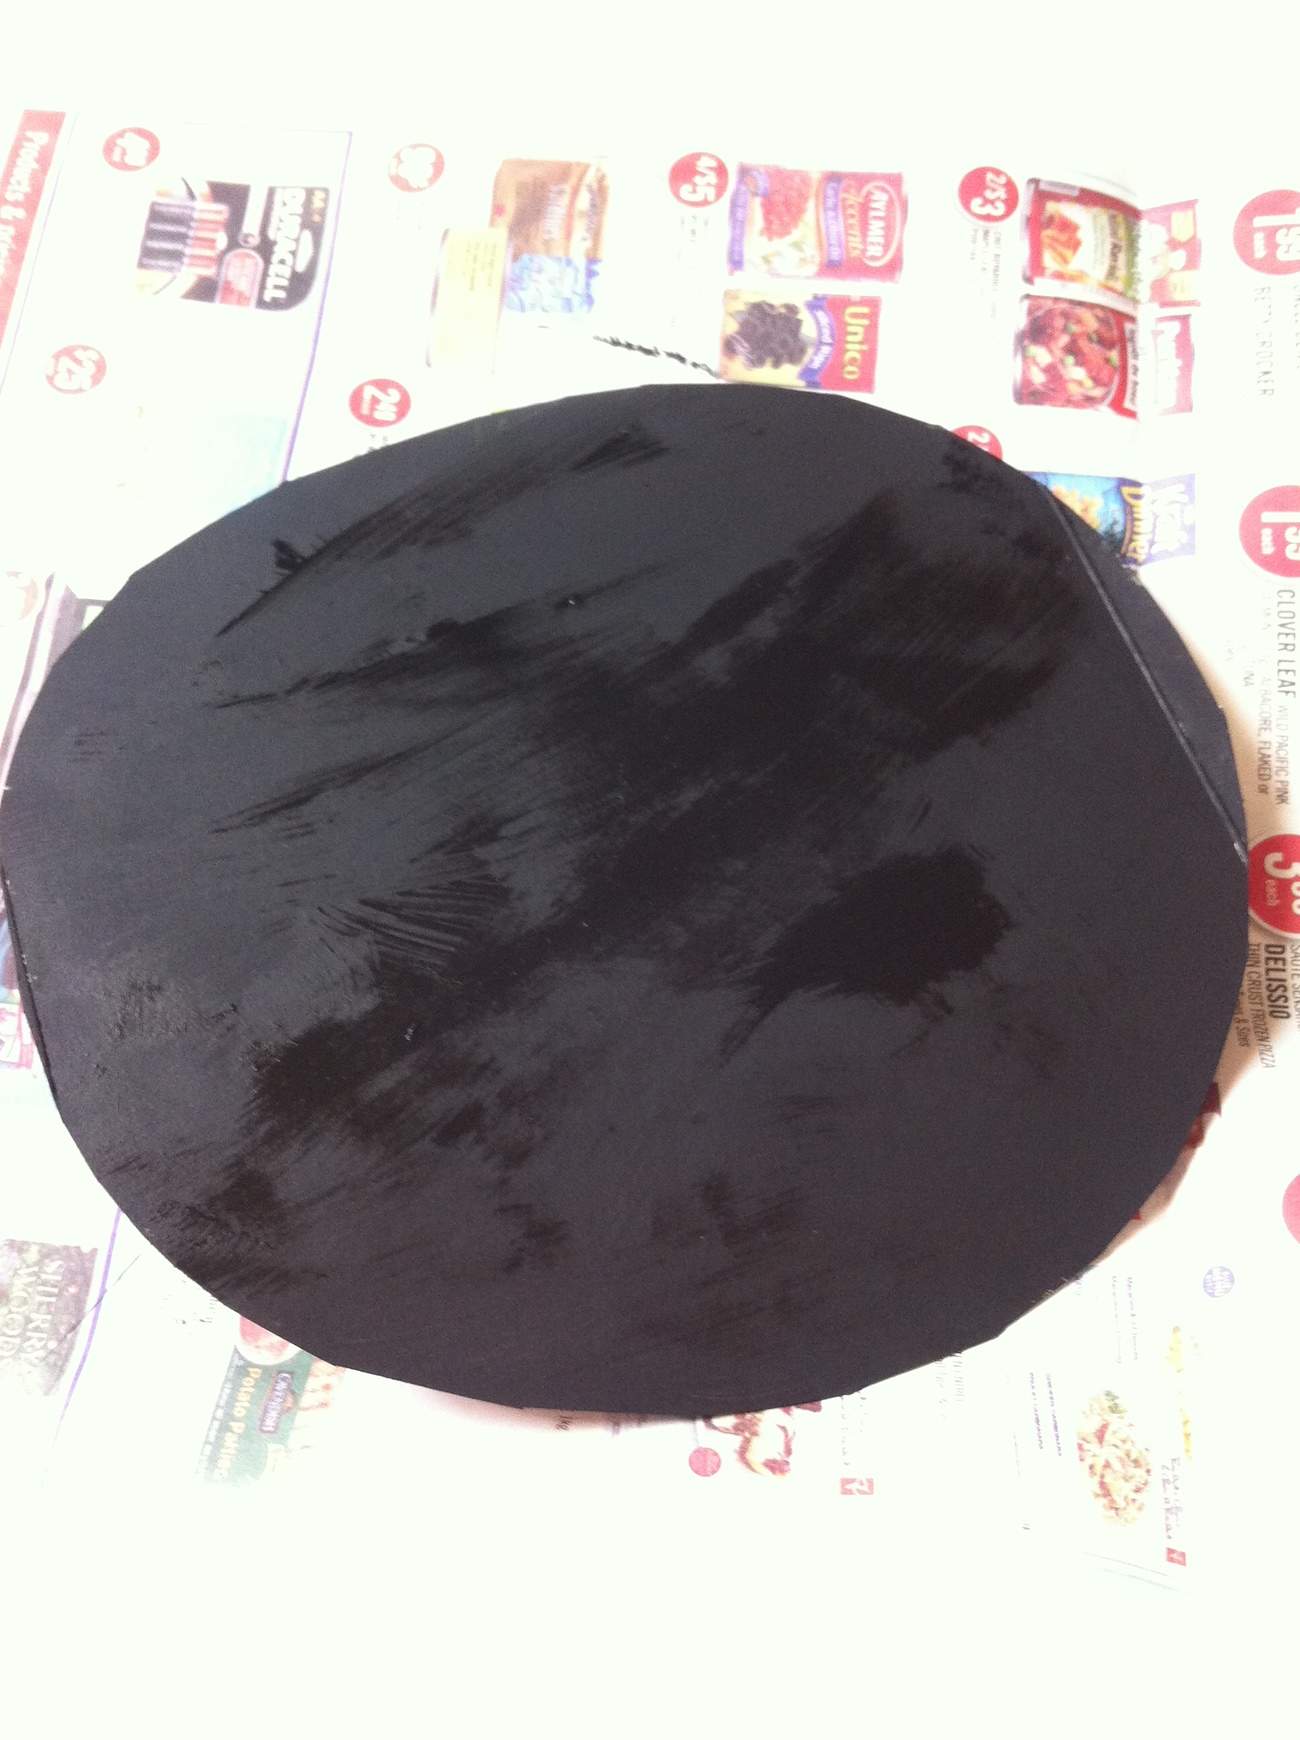
8) Paint your cereal box circle black. Set aside to dry.
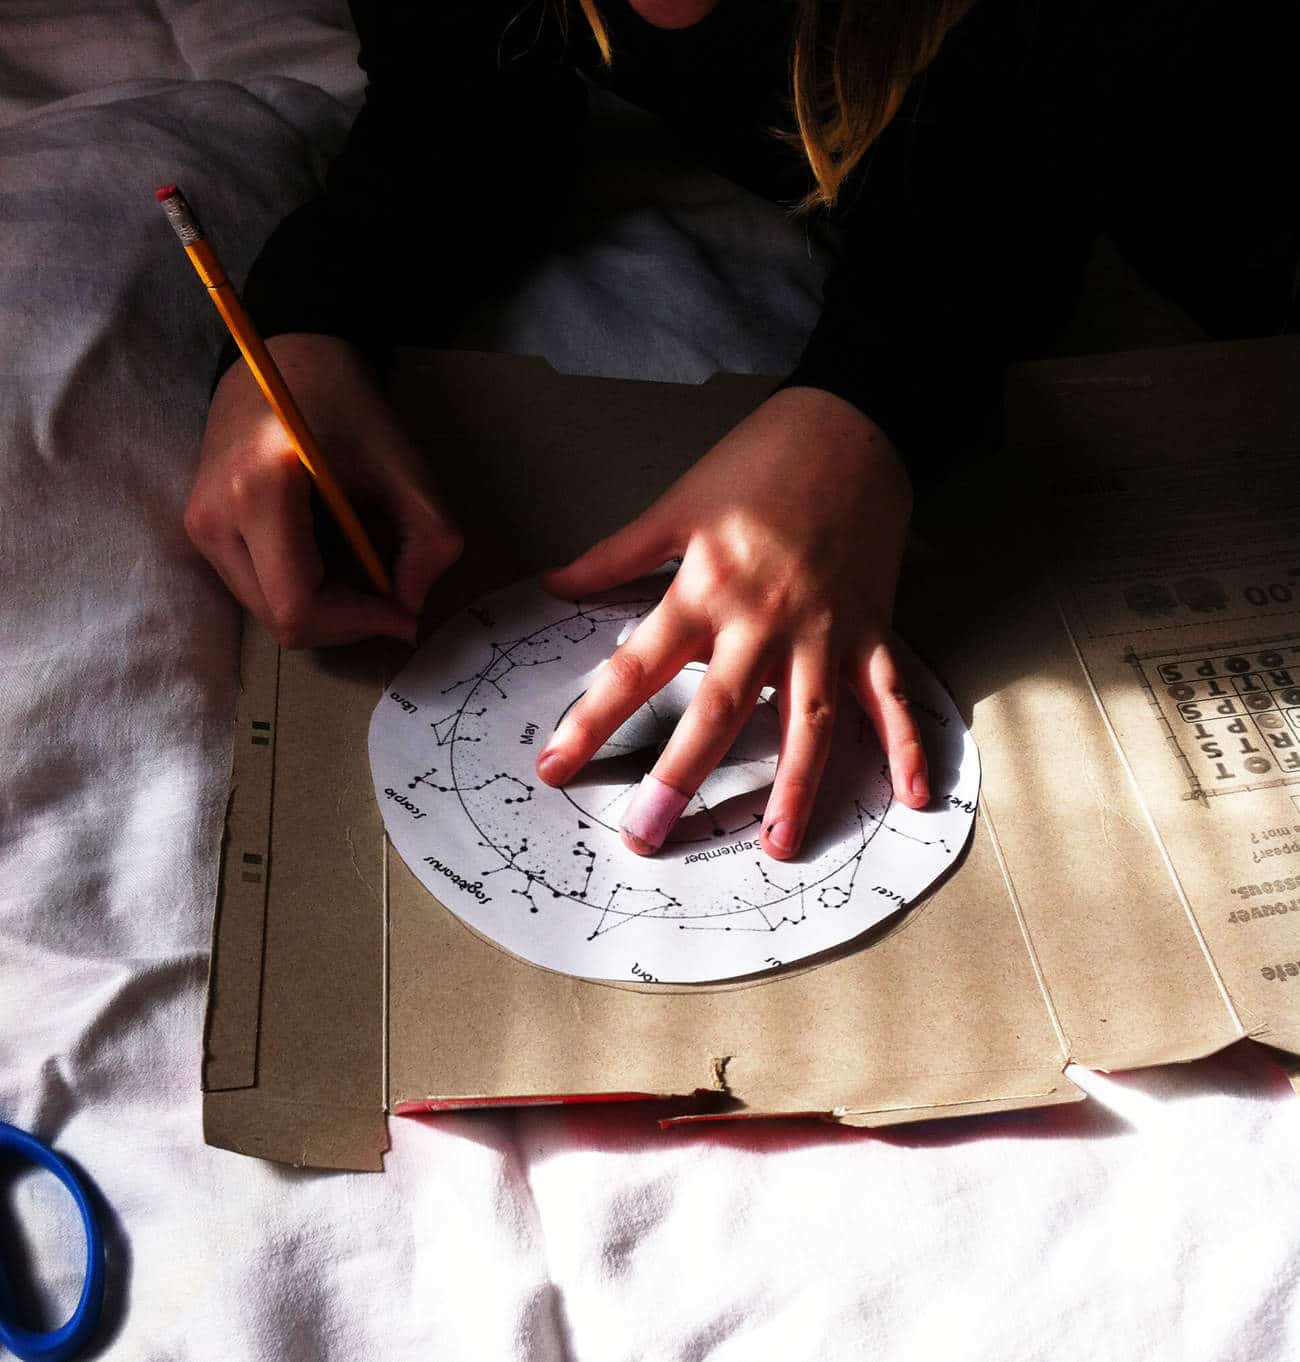
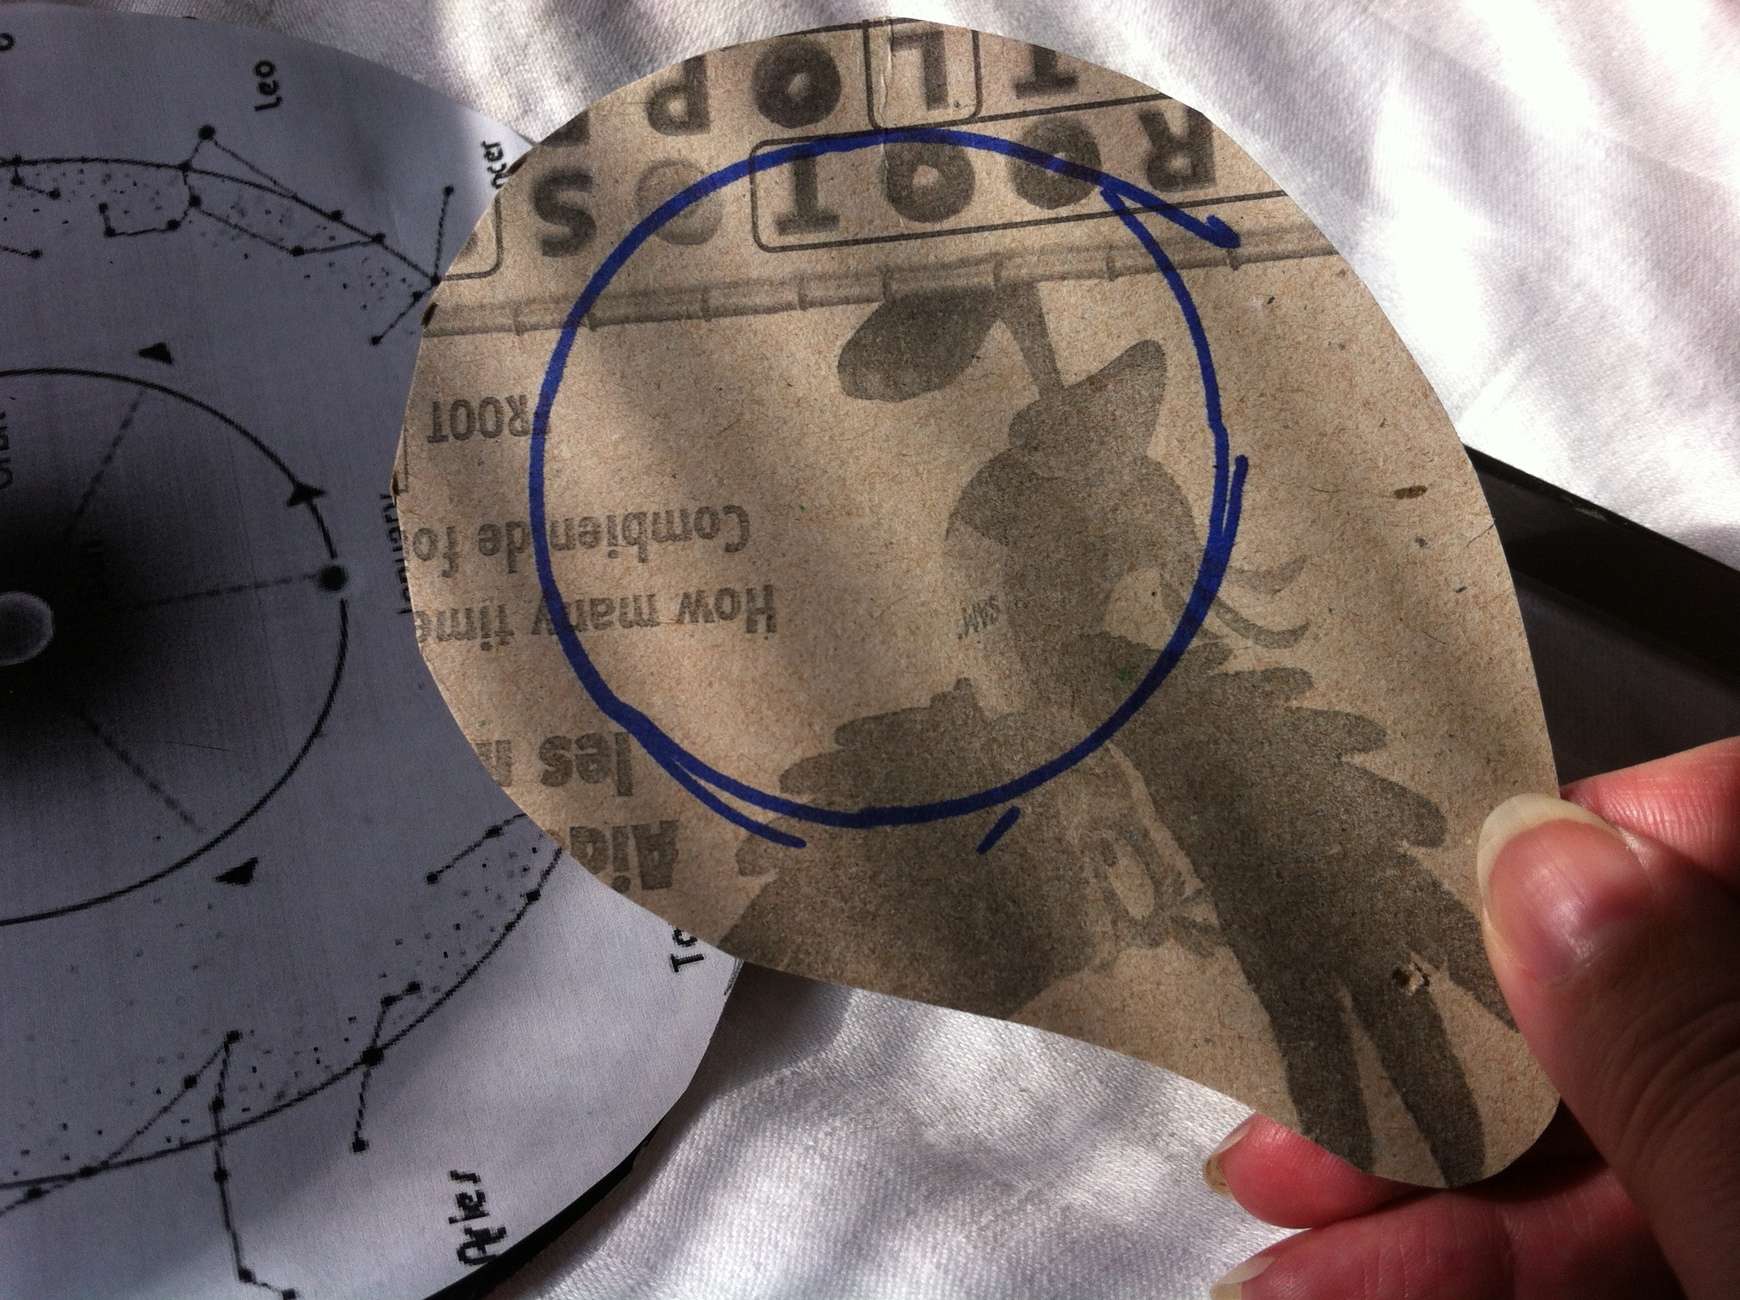
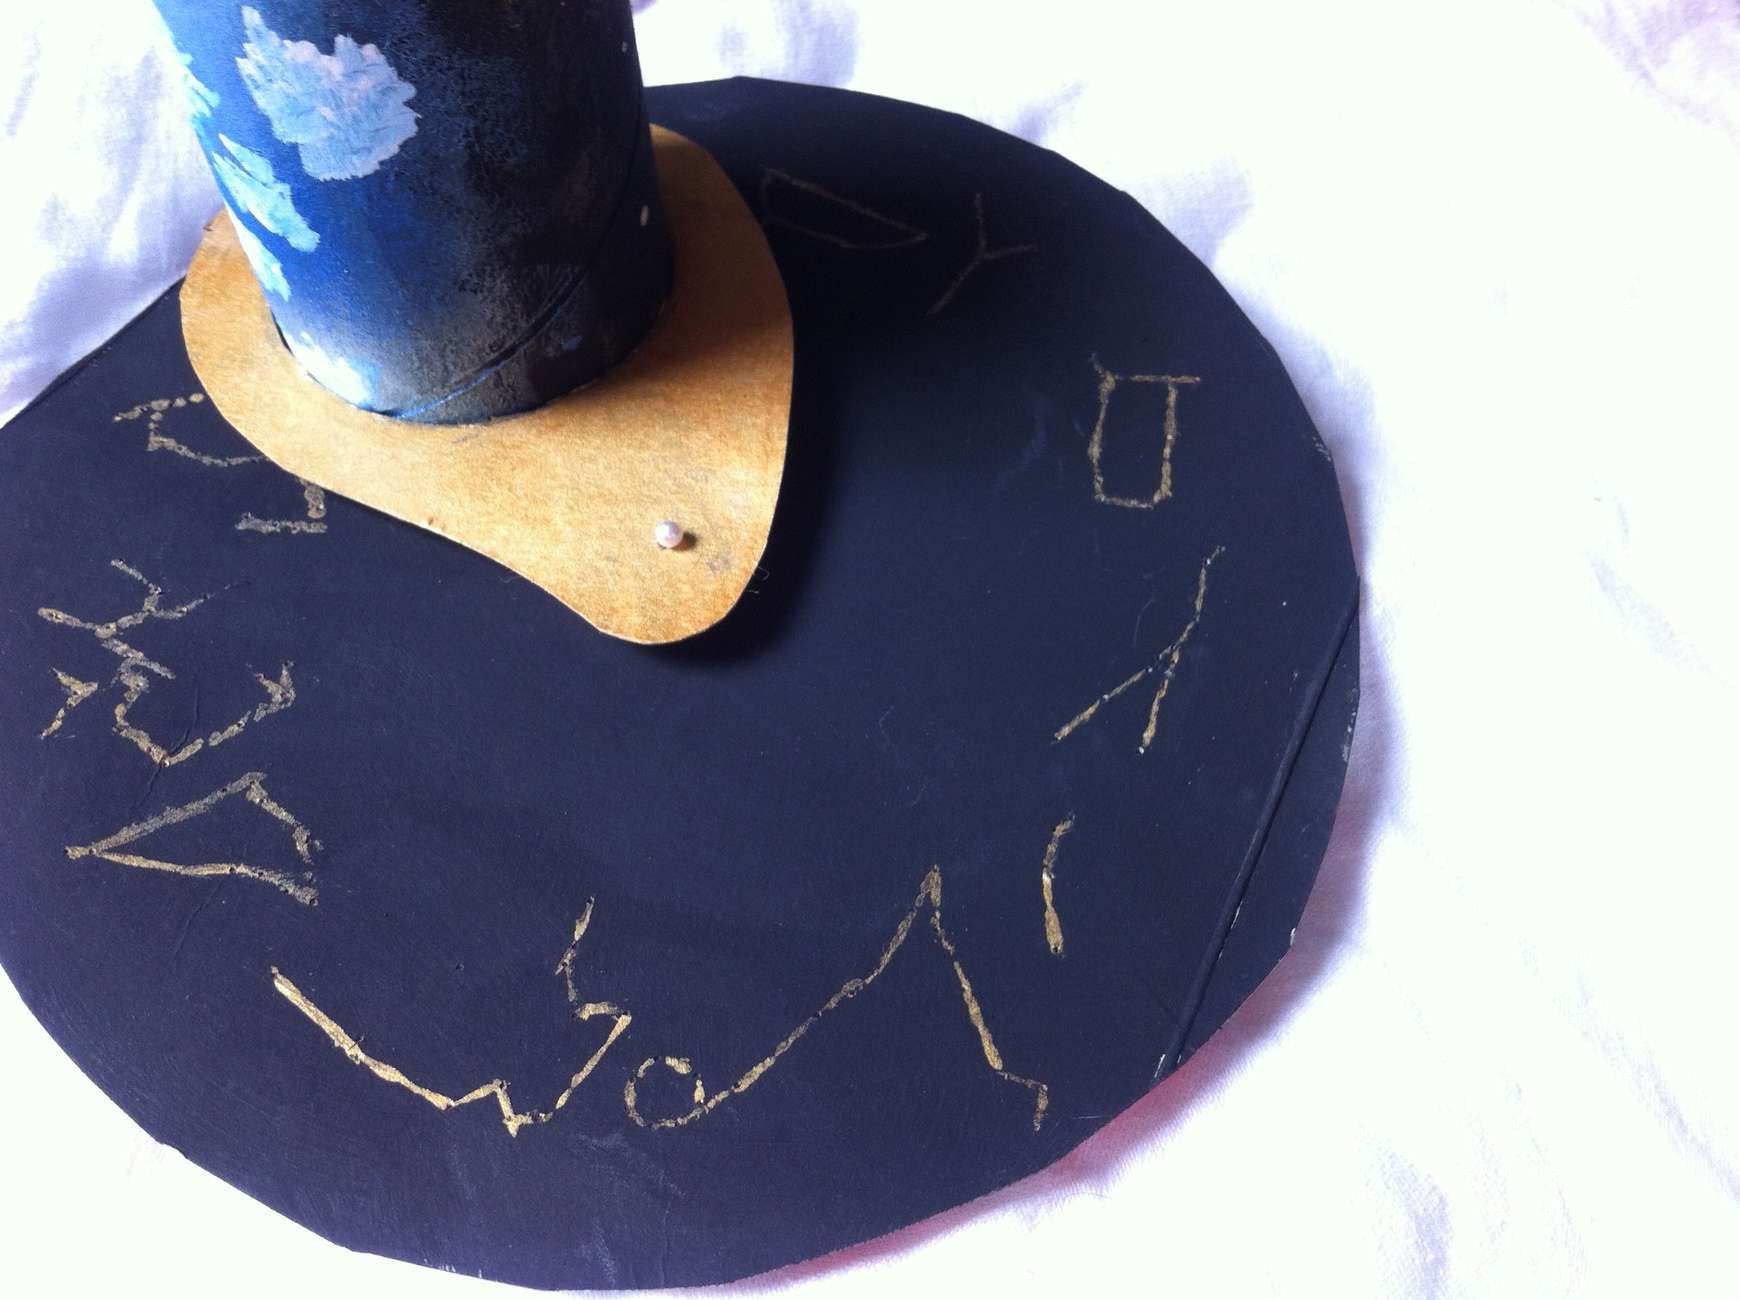
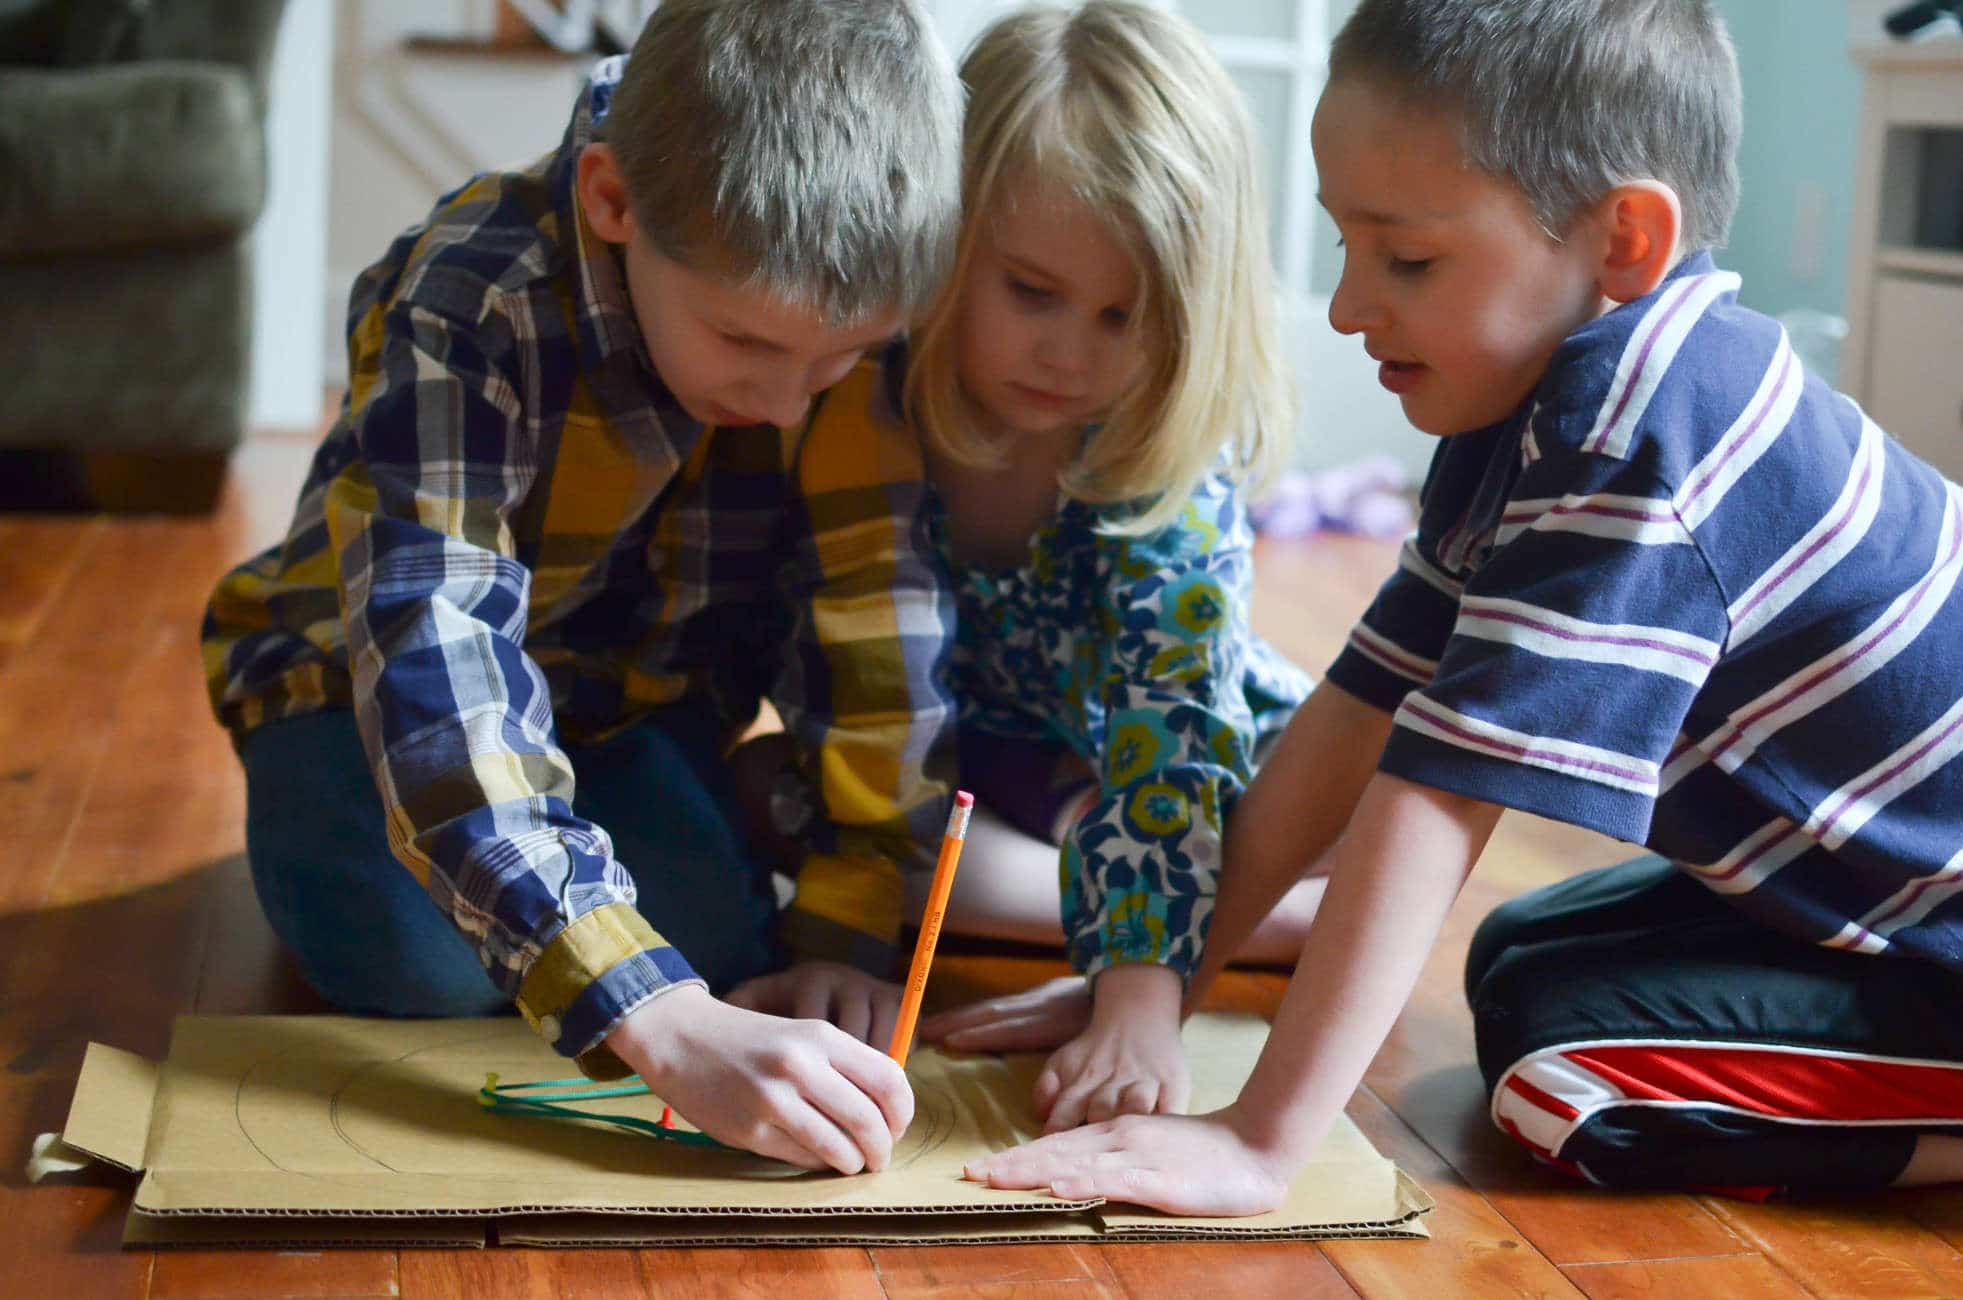
9) Place your cardboard tube carefully centered over one of the constellations on the printout. Measure from the very center of the map to the closest edge of the cardboard tube. Transfer this measurement from the circle you originally traced on the cereal box around the tube and make a mark with your pencil at the opposite end of the measurement. This is where your little gold prong thing will go at the CENTER of the Kaleidoscope. Draw a shape that leaves 1 cm around the circle and 1 cm to the outside of that CENTER measurement. A triangle will work best but remember to leave enough space that it won’t go floppy when holding the tube in place. (In the photo you can see where I marked the map’s center with the pin through the cardboard.)
10) Cut out the circle you traced around the tube from the triangle using either scissors or the utility knife. Make the hole on the smaller side as it will have to fit snugly over the end of the tube. You can always cut it away a bit at a time if you need to but you can’t make the hole smaller! Paint the triangle piece and place to the side to dry. We used gold.
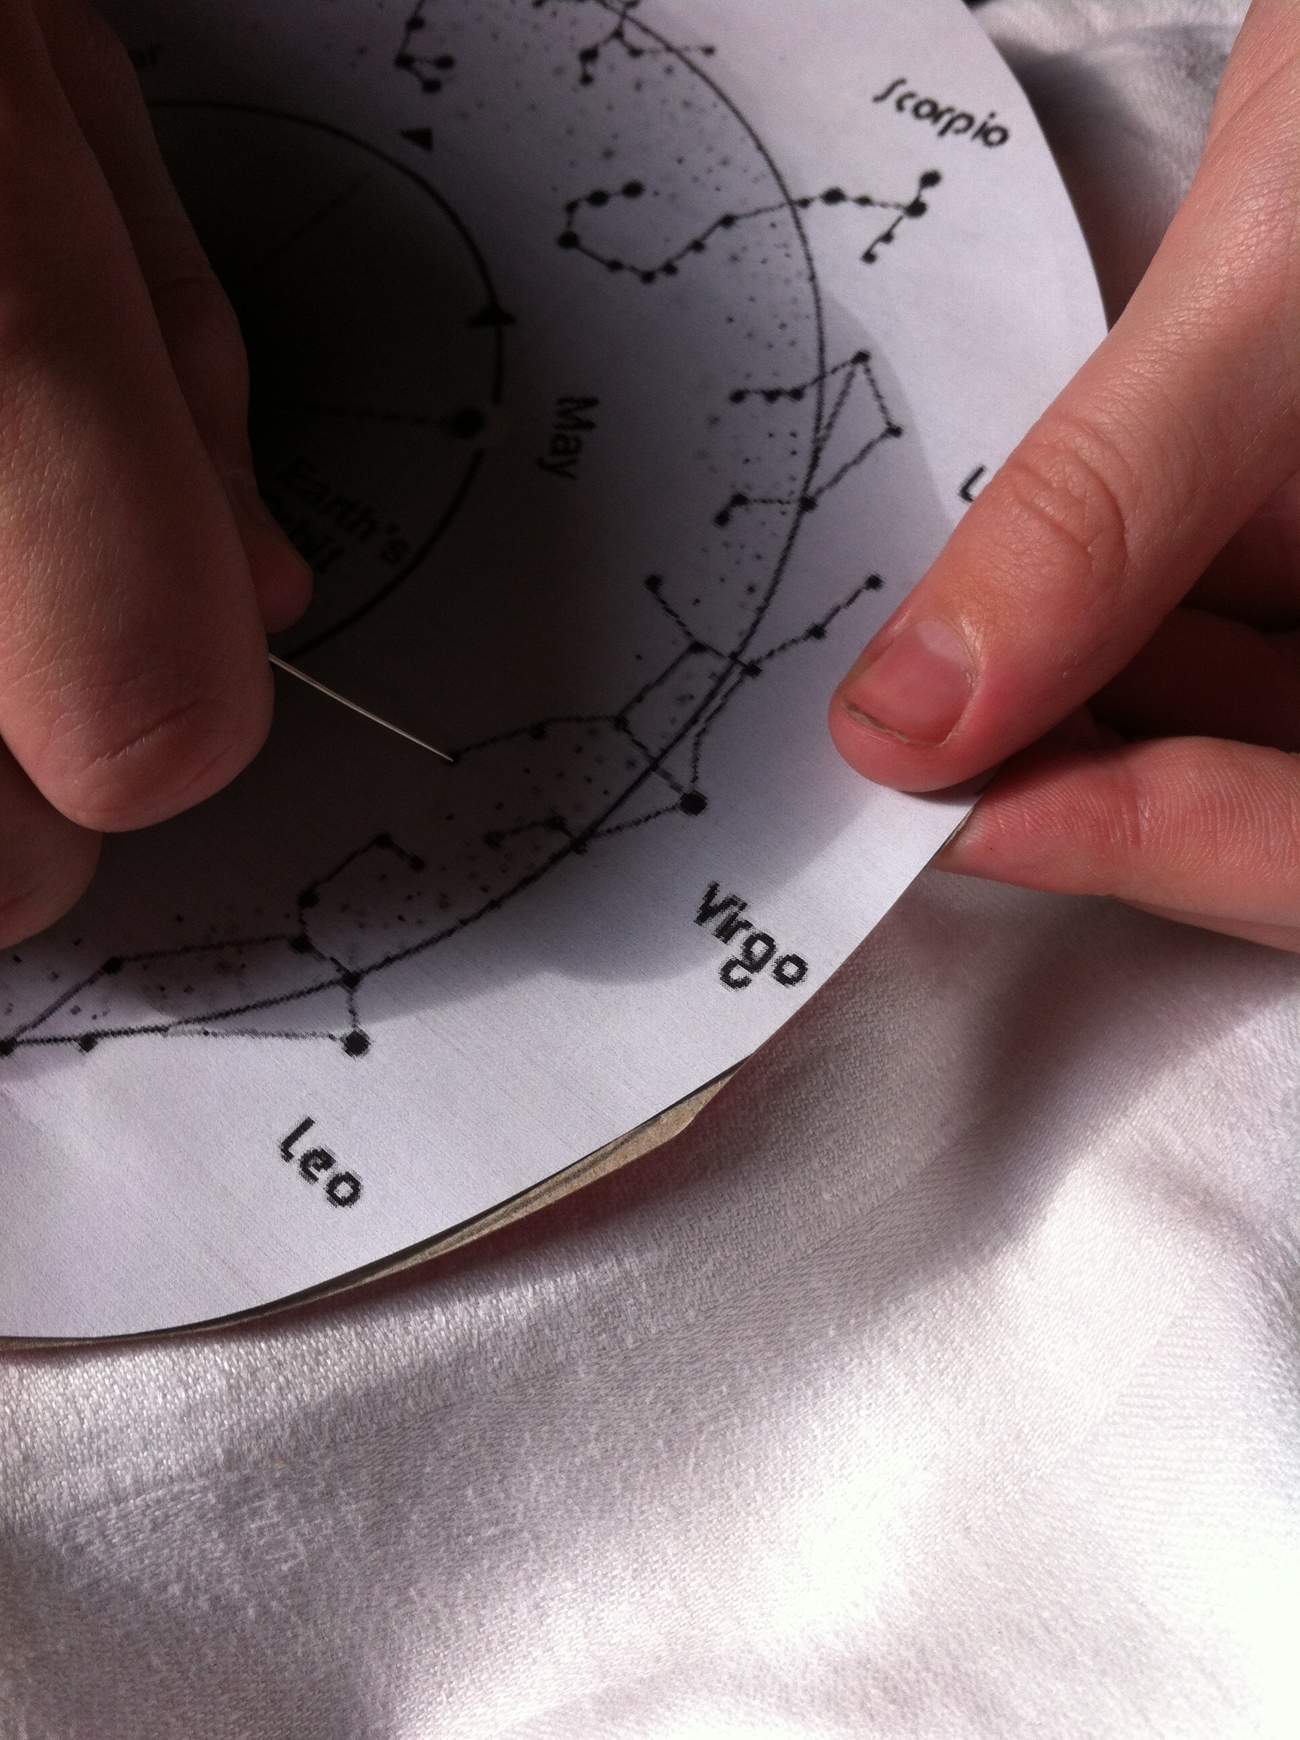
11) Placing the map back over the painted black cardboard circle, mark the center of the map onto the black circle by poking the pin through both layers. You can either hold the map to the circle or tape it together on the sides if you find it easier, then poke all of the stars on the map that are part of a constellation through with the pin. Don’t lose your place! Make sure you don’t take the map away from the circle without making a mark that you can use to line it up again or the black circle will just look like a bunch of pinholes! As you go, use a gold pen or thin paintbrush to draw the lines of the constellations from the map onto the black circle and if you wish, the name of each.
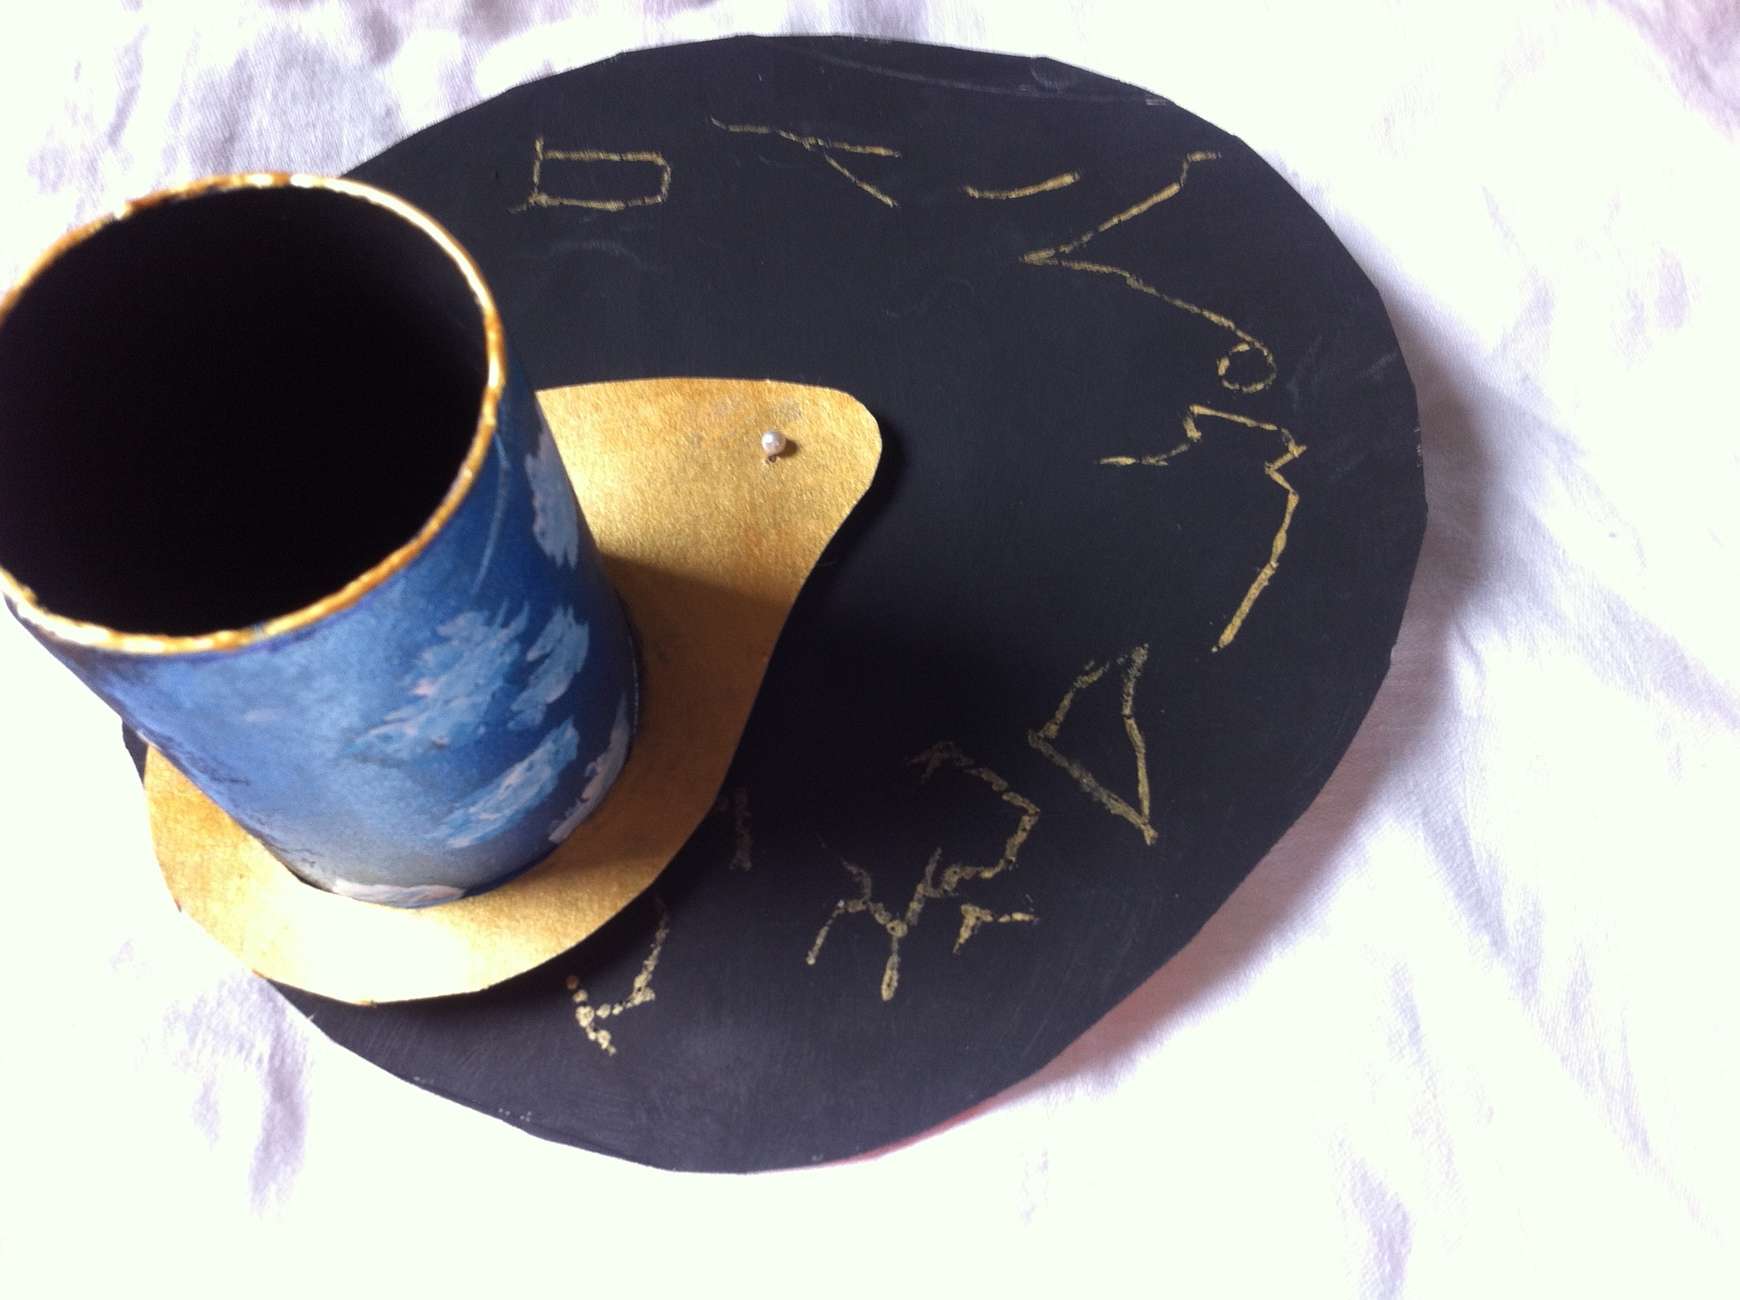
12) Fit the triangle piece of cardboard snugly over one end of the tube, not too far, just so that the edge of the tube is slightly higher than the triangle. Secure using glue. Glue guns are best for this because they dry quickly and give a solid hold.
13) When dry place tube section over the black circle “map” section, lining up the hole or mark on the triangle up to the middle of the black circle. Push through the gold tack looking piece and open the flaps to the back of the Kaleidoscope.
14) Voila! Your Cosmic Constellation Kaleidoscope!
About today’s guest writer:
Andrea is a homeschool mom of two boys who fall on opposite sides of every spectrum. She is living proof that anyone can take on homeschooling–even those with limited resources and patience. One of the best accidents she ever landed in was schooling her boys at home. The daily reward remind her all the time that she is doing the right thing for both their futures and the society they are growing in.


 A guest post by Andrea
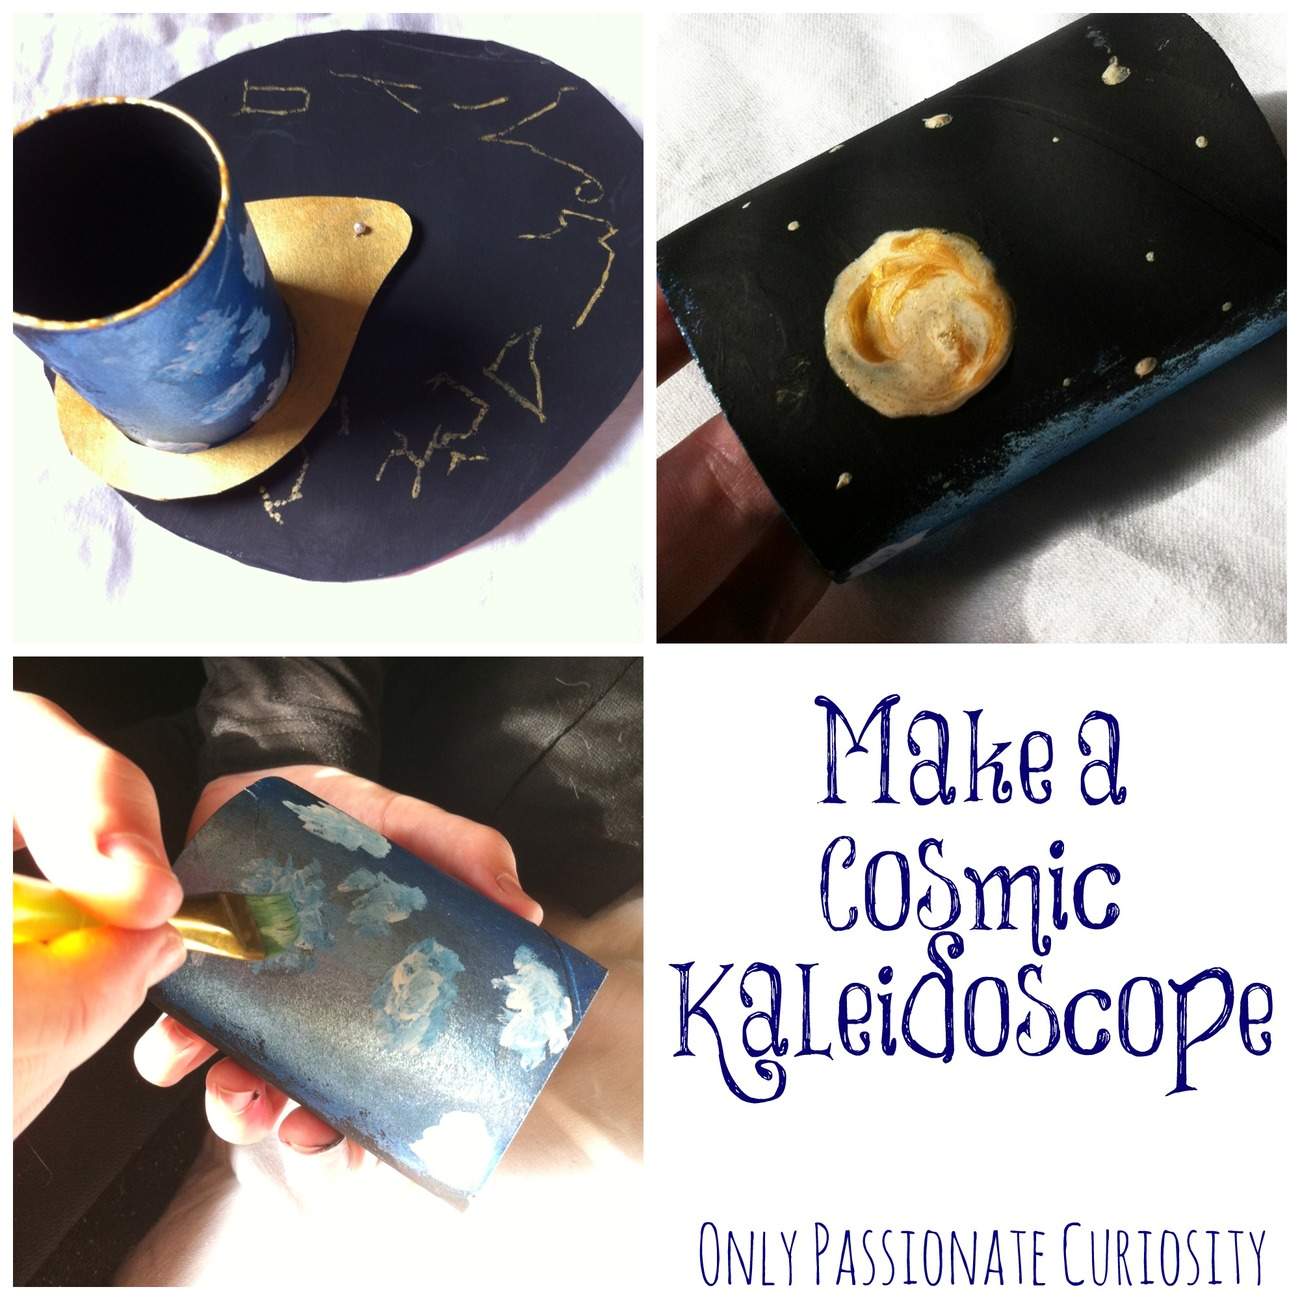
 9) Place your cardboard tube carefully centered over one of the constellations on the printout. Measure from the very center of the map to the closest edge of the cardboard tube. Transfer this measurement from the circle you originally traced on the cereal box around the tube and make a mark with your pencil at the opposite end of the measurement. This is where your little gold prong thing will go at the CENTER of the Kaleidoscope. Draw a shape that leaves 1 cm around the circle and 1 cm to the outside of that CENTER measurement. A triangle will work best but remember to leave enough space that it won’t go floppy when holding the tube in place. (In the photo you can see where I marked the map’s center with the pin through the cardboard.)
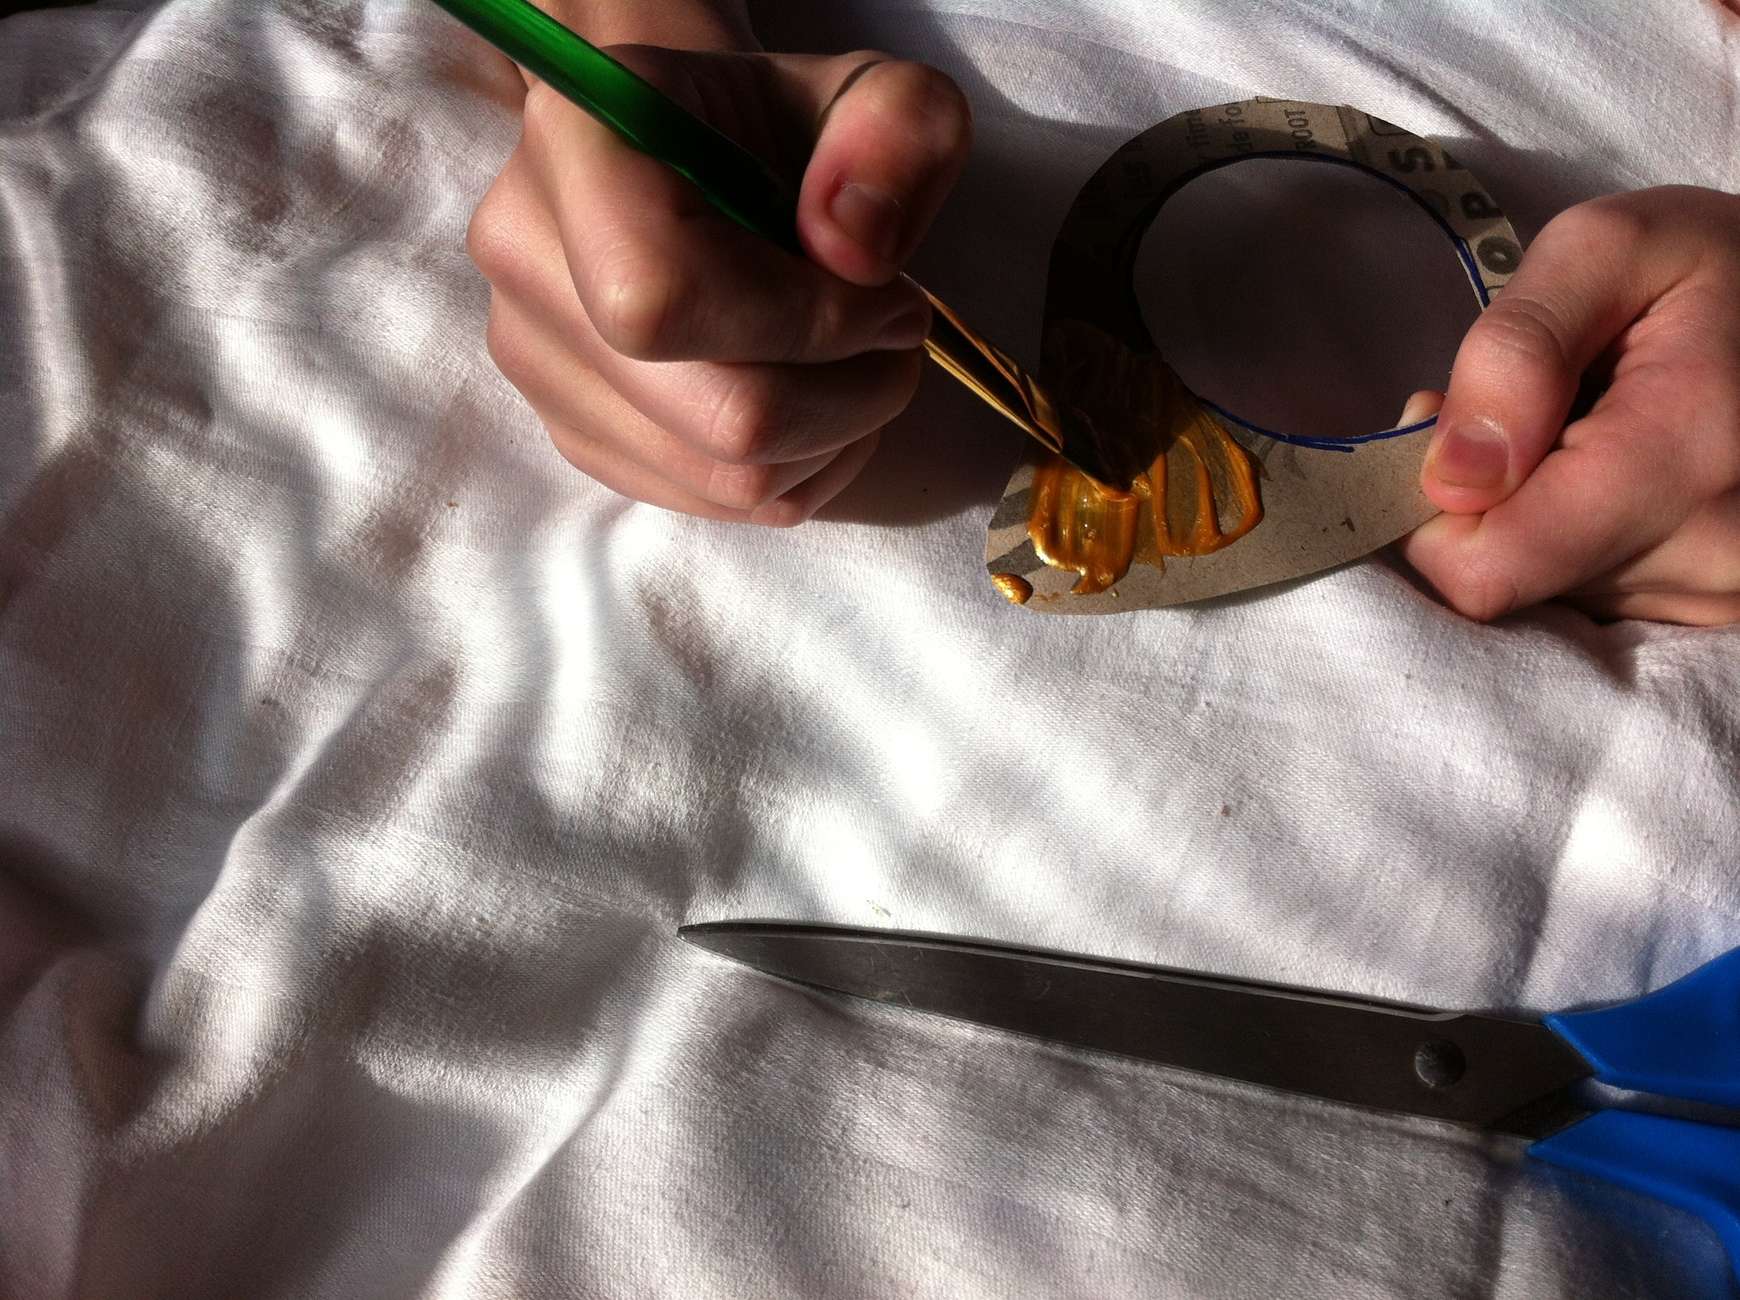


That is super cool!
I’m glad you liked it! I thought Andrea did a wonderful job!