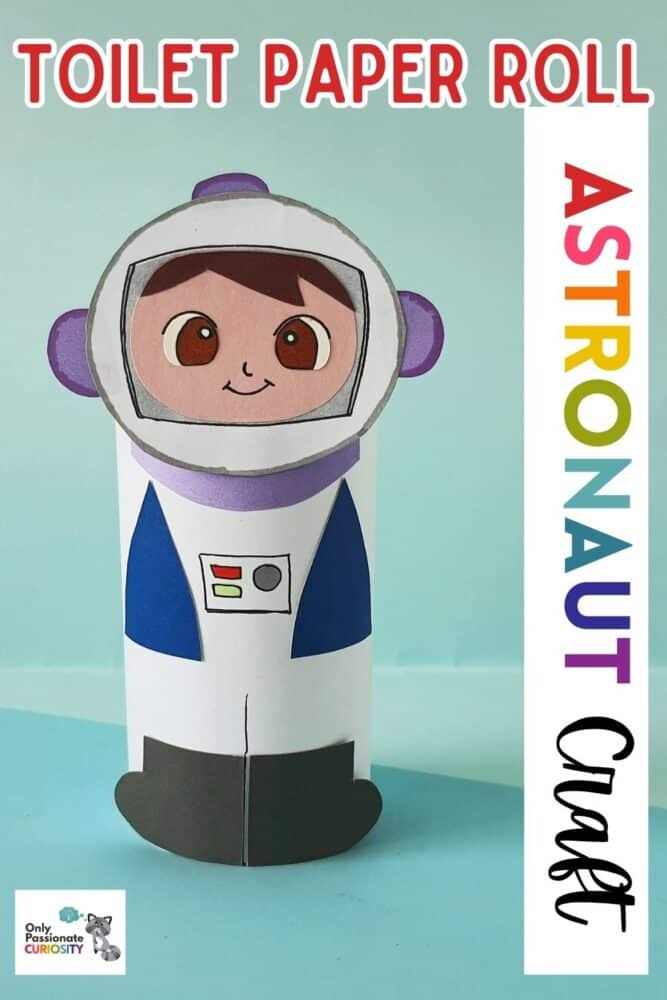
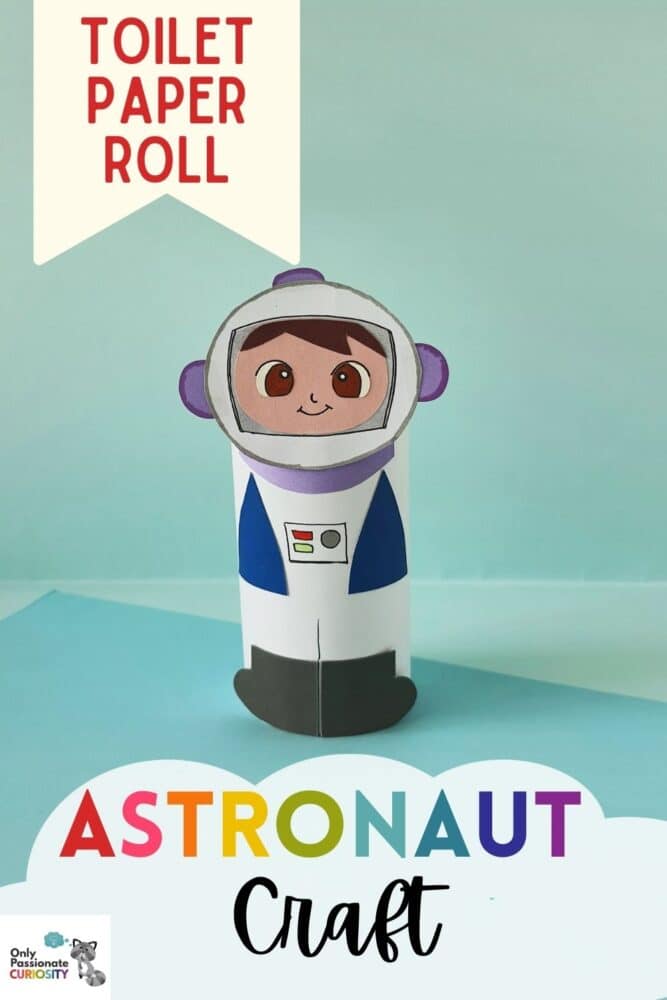
Toilet Paper Roll Astronaut Craft
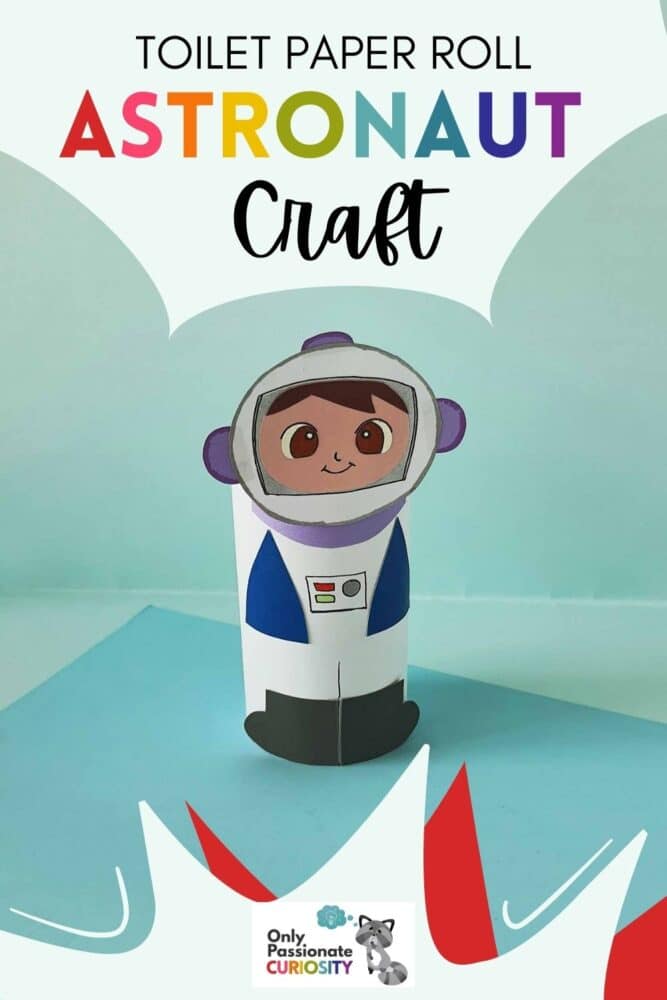
Welcome your young space enthusiasts to an exciting astronaut craft that will ignite their imagination! Do your kids dream of becoming an astronaut and exploring the vastness of space? Well, hold on tight as we introduce your family to a fun astronaut craft designed for kids just like yours.
After this step-by-step craft, we also have other activities and book suggestions to ignite your kids’ passion for space and expand their knowledge of journeys beyond the boundaries of Earth.
List of Supplies for Astronaut Craft:
- Colored craft papers
- Cardstock paper
- Craft glue
- Sharpie
- Scissors
- Pencil
- TP roll
- Astronaut Craft Template
Instructions for Astronaut Craft:
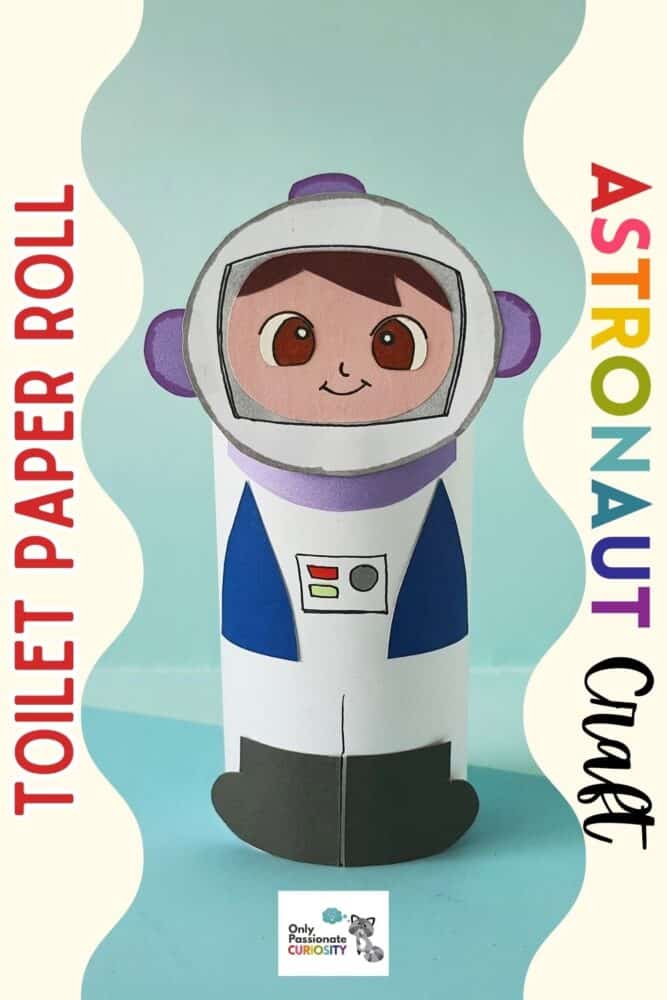
Step 1:
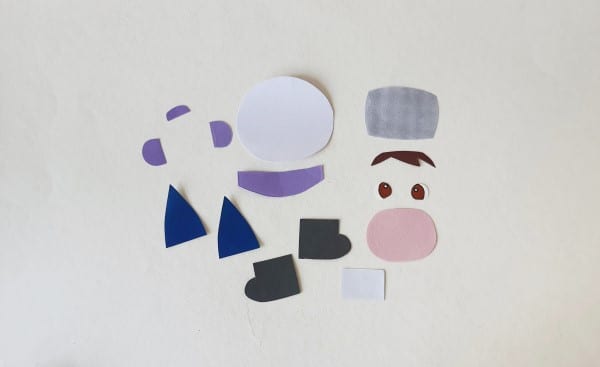
Select cardstock paper for the suit and helmet patterns and select different colors of craft paper for the other patterns. Trace the astronaut craft template patterns on the craft paper you’ve selected using a pencil. Then carefully cut them out using scissors.
Step 2:
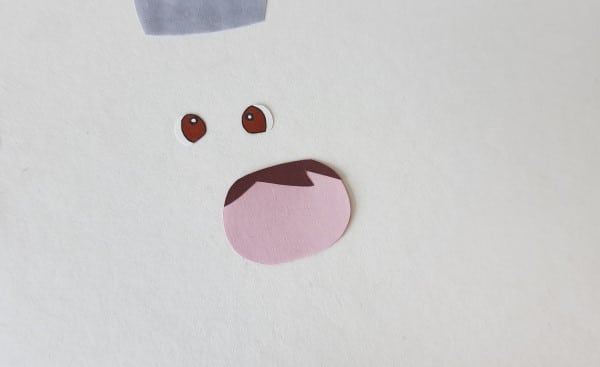
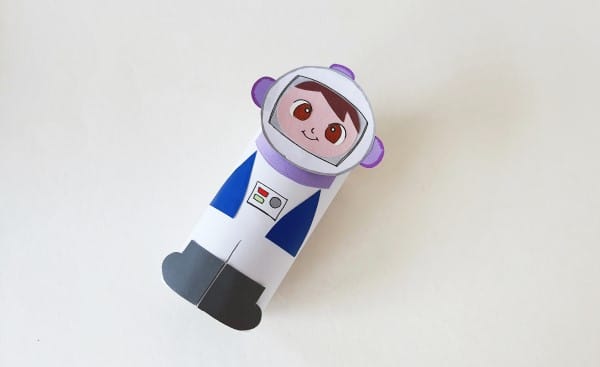
Attach the hair cutout on the head cutout, along the top part. Use a Sharpie or permanent marker to draw the eyes on the eye base cutouts.
Step 3:
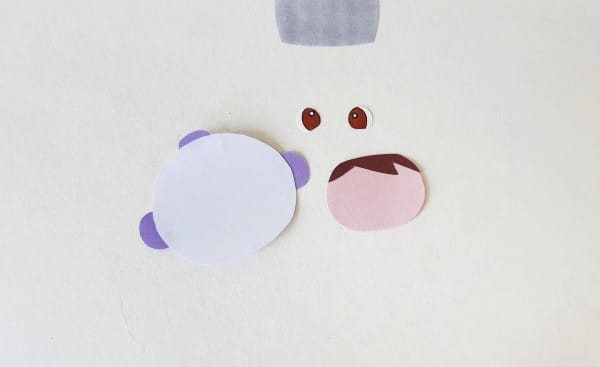
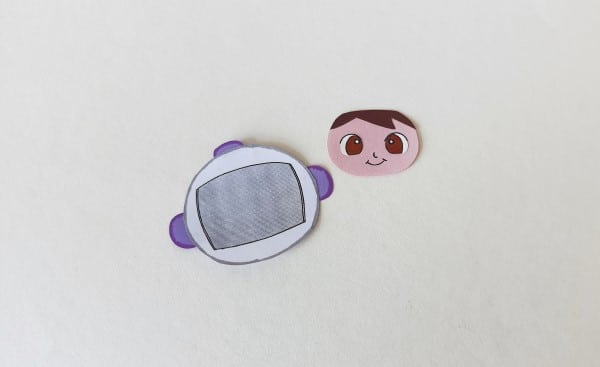
Attach the ear parts on both sides of the helmet base cutout and attach the 3rd arch-shaped cutout on the top side of the helmet base.
Step 4:
Attach the helmet glass cutout in the center of the helmet base with glue. Then attach the eye cutouts along the top part of the head, below the hair.
Step 5:
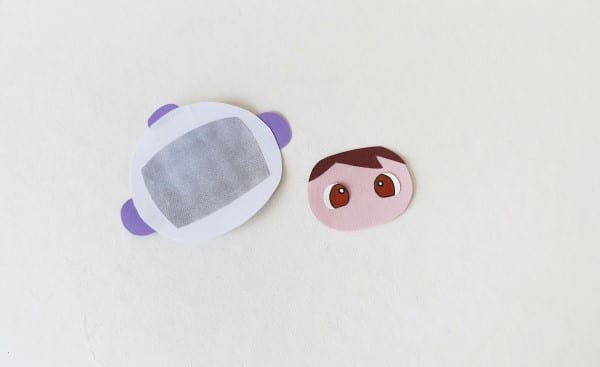
Use a sharpie or permanent marker to draw the nose and mouth of the papercraft astronaut figure and to trace outlines on the helmet parts.
Step 6:
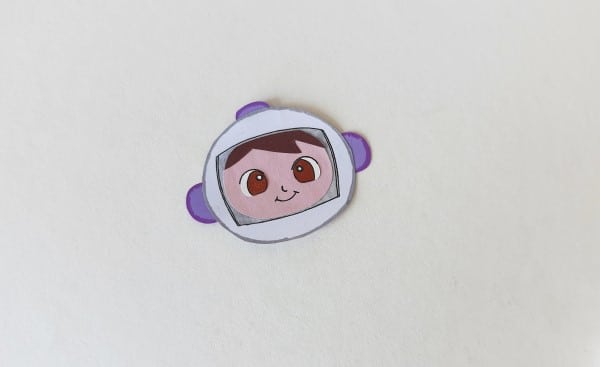
Attach the head pattern on the glass part of the helmet.
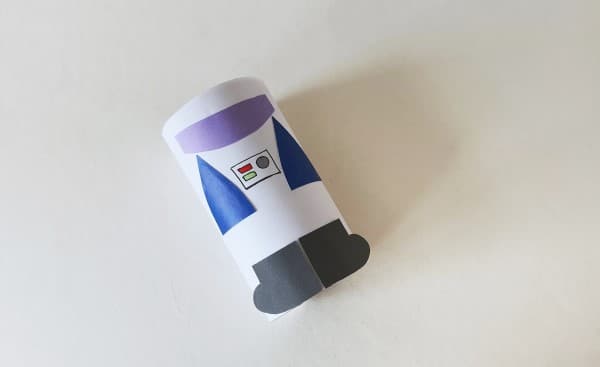
Step 7:
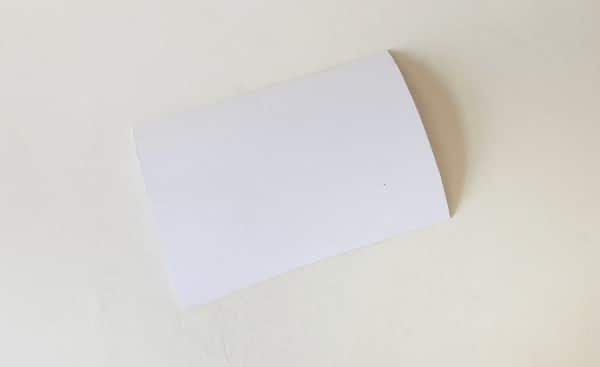
Prepare a piece of cardstock paper to cover the outer surface of the empty TP roll for your astronaut craft.
Step 8:
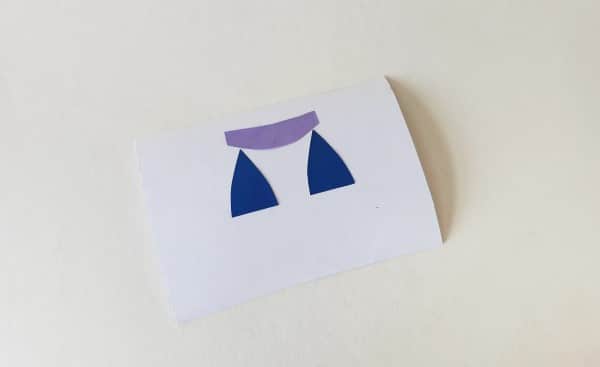
Attach the suit pattern cutouts on the prepared paper.
Step 9:
Attach the boot cutouts on the bottom side of the prepared paper (suit base) and attach the square cutout in the middle of the suit base. Draw buttons on the square piece with a permanent marker.

Step 10:
Cover the empty TP roll with the suit base pattern and use glue to secure it.
Step 11:
Attach the astronaut craft head pattern on the top end of the paper-covered TP roll to complete the craft. Use Sharpies or paper cutouts to add more details if you want to.
Additional Activities
- Moon sand, also known as “kinetic sand,” is easy and inexpensive to make. This is a simple, fun, and cost-effective DIY recipe for moon sand that you can make at home with children of any age.
- Watch the International Space Station pass overhead from several thousand worldwide locations. It is the third brightest object in the sky and easy to spot if you know when to look up.
- We also have some fun ideas, resources, and printables about space, planets, and stars to share with you!
- Do a fun and easy Solar System Activity for Little Learners!
- Make a Rocket Bookmark Craft.
- Try these Space Themed Coloring and Copywork pages.
- Learn about the moon and moon phases.
- Make this Planet Earth Lapbook.
- Make these Out of This World Bookmarks.
- Do a Solar Eclipse Experiment.
- Try these Free Astronaut and Rocket Ship Lessons (for older kids).
Books on Astronauts and Space Travel
Here are a few suggestions for recommended books for kids about astronauts and space travel: