Snowflake Paper Bag Craft
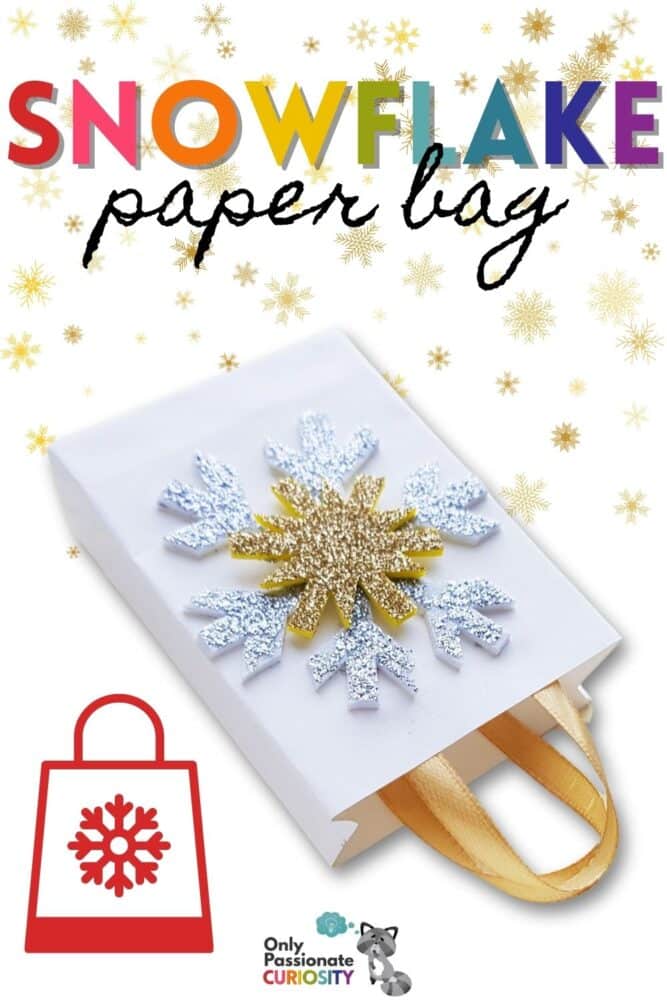
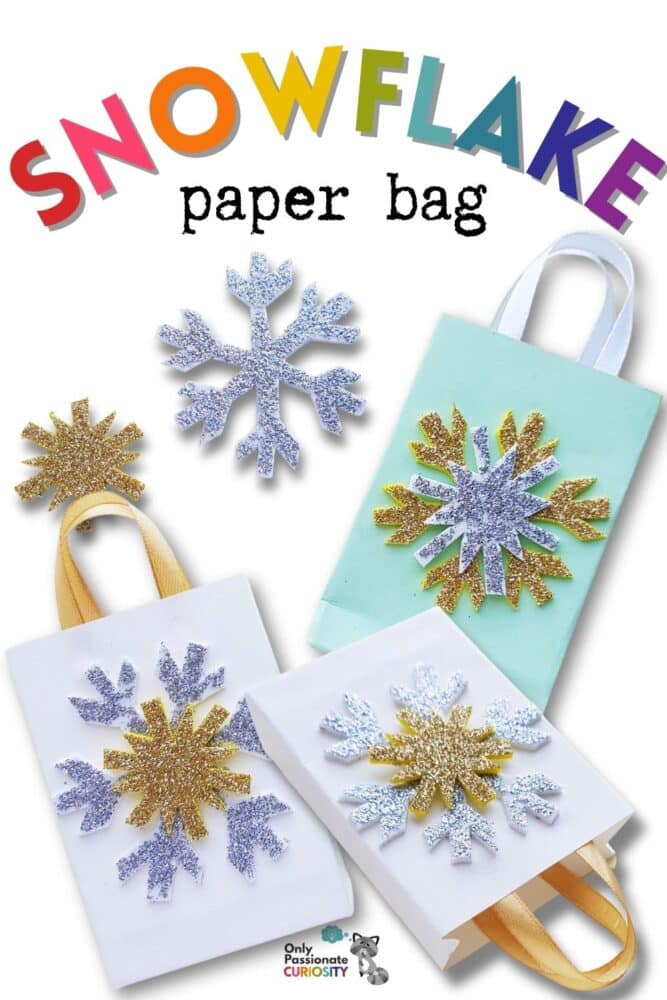
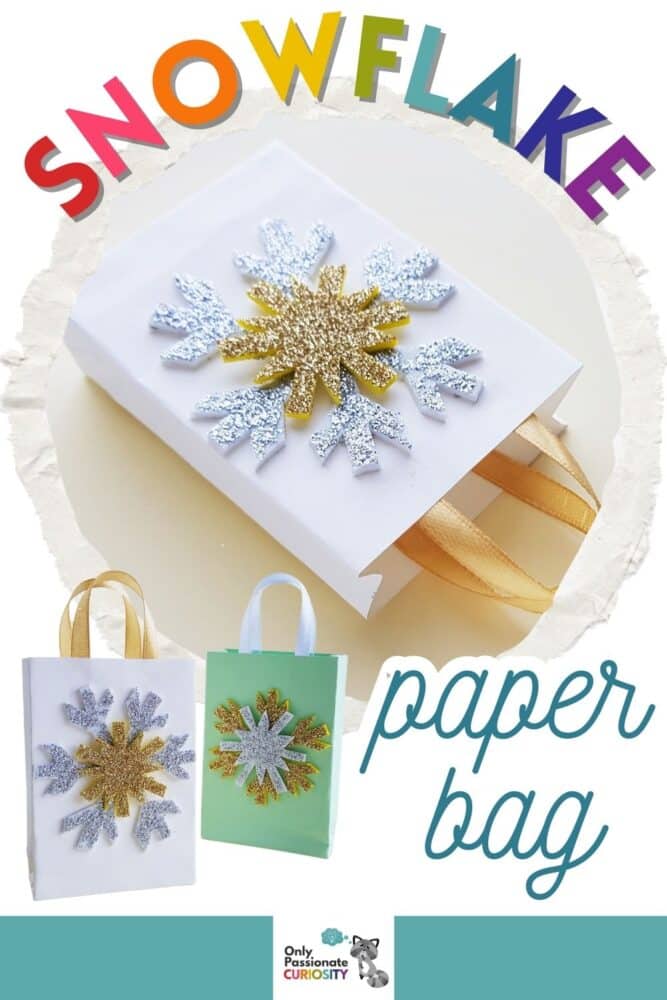
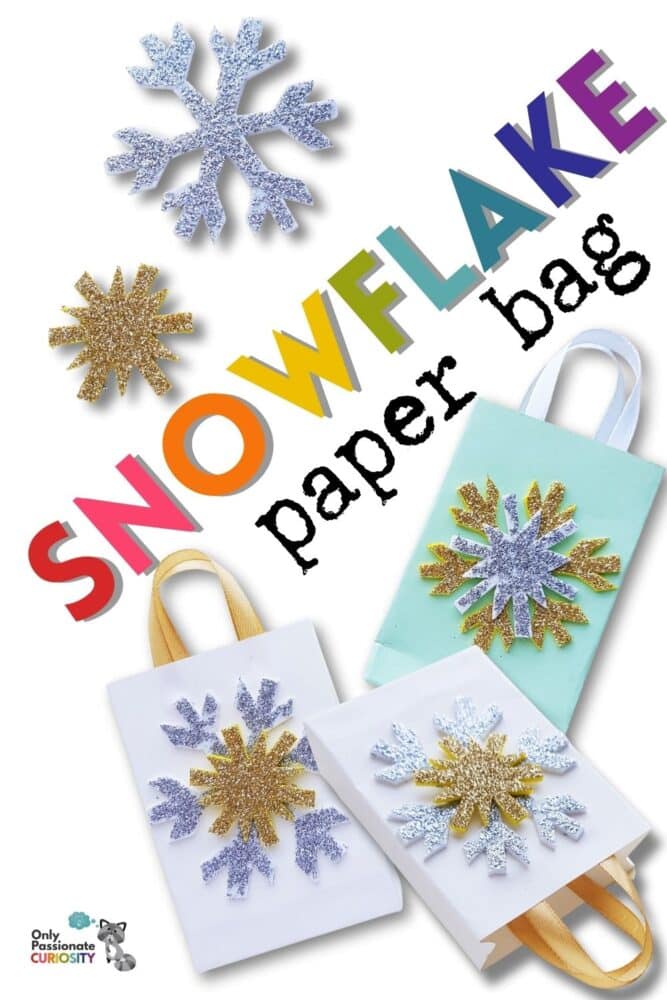
Snowflakes are a quintessential part of the winter season, and this snowflake paper bag makes a cute gift bag for the holidays, or as a fun Frozen-themed craft you can do with your kids any time as an indoor “cold weather” project.
This craft includes a template for making snowflakes and teaches you step-by-step how to make a paper bag. You can then glue the snowflakes on the bag and attach a satin ribbon for an elegant snowflake paper bag.
I’d recommend using cool colors for your snowflake paper bag, such as white or silver or light blue. If you’re making them for Christmas gifting purposes, you might choose red or green. But if you want to mix things up a bit, you can craft a bag with warm fall colors. If you’re using this project as a gift bag for someone in particular, you can also choose their favorite colors.
Okay, let’s get started.
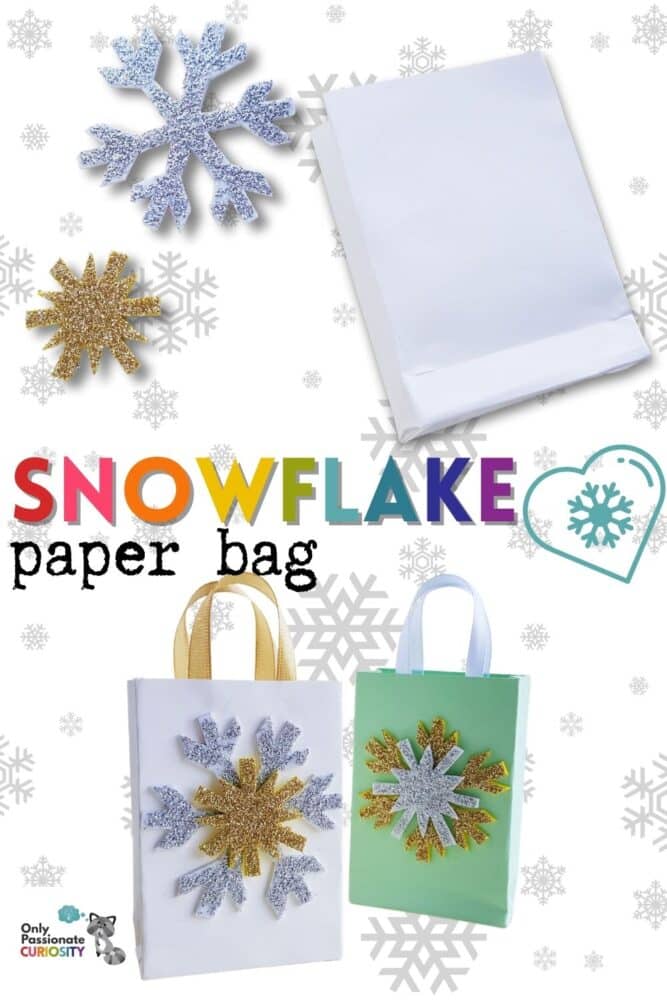
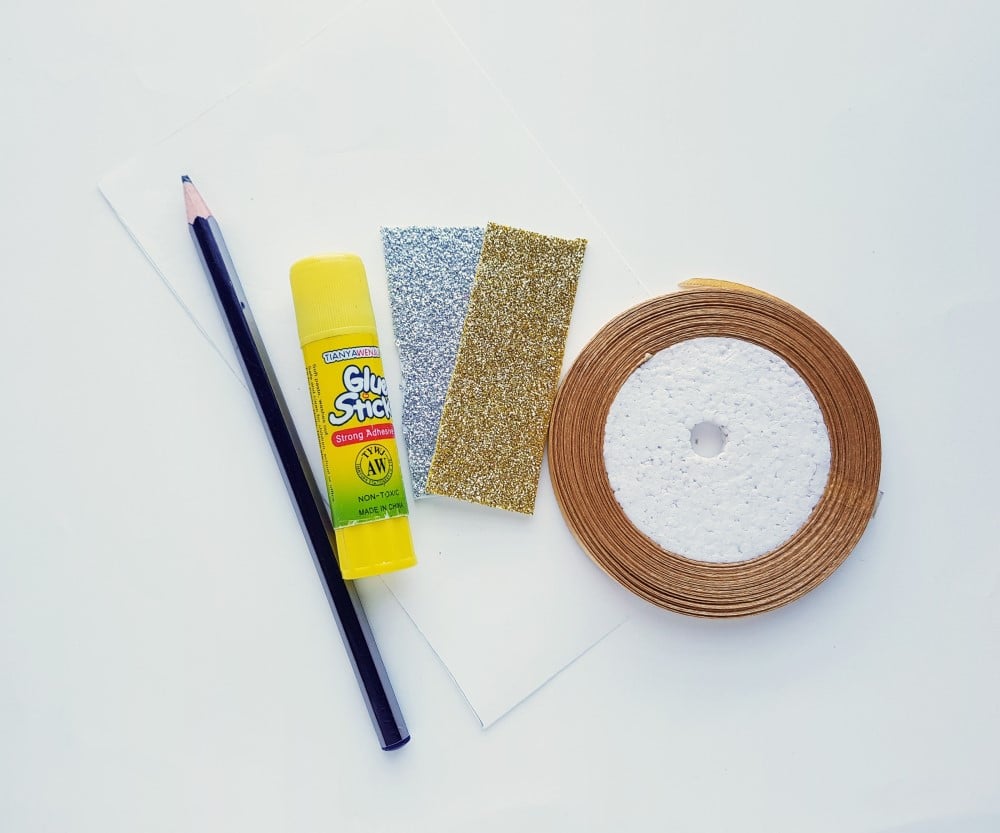
List of Supplies for the Snowflake Paper Bag:
Here’s what you’ll need for your project. We’ve added the links below for any of the items you might not have on hand, but you will probably already have most, if not all, of these things. You can also substitute other kinds of ribbon, or even lace, if you’d like.
(These are affiliate links, which play a part in helping us continue to provide fun crafts and other helpful and educational content for families. Thank you for your support.)
- Craft paper
- Glitter foam sheet
- Pencil
- Scissors
- Satin ribbon
- Craft glue
- Snowflake Template (opens in new tab)
How to Make Your Snowflake Paper Bag:
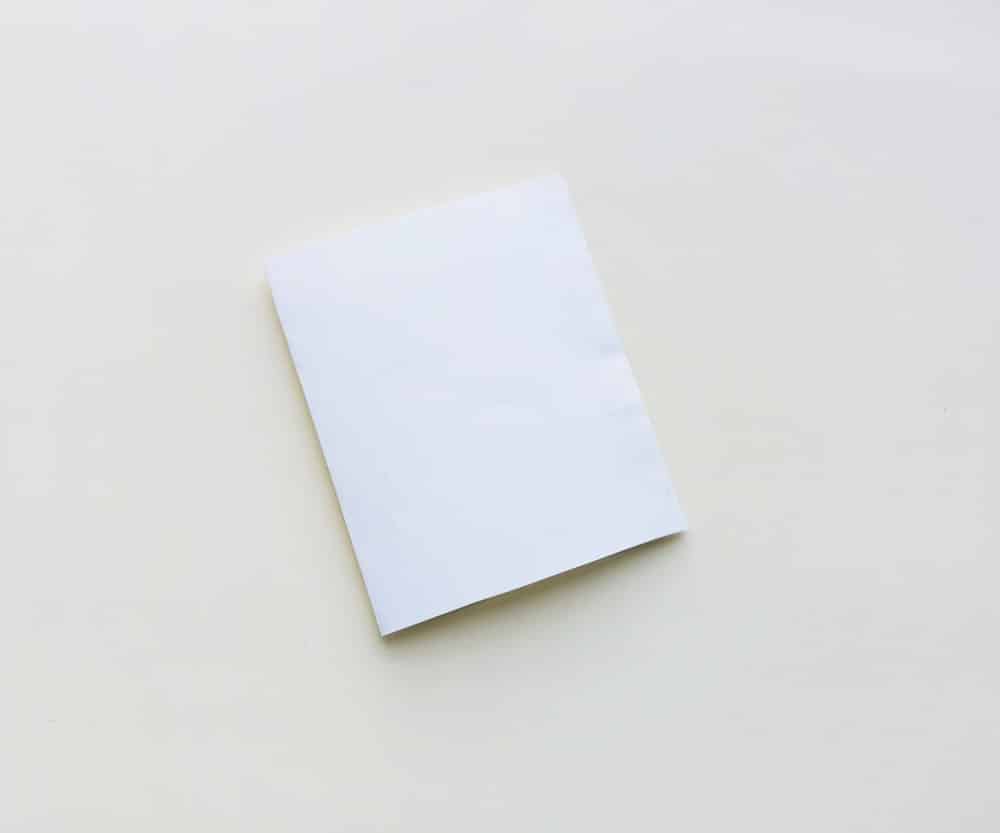
Step 1:
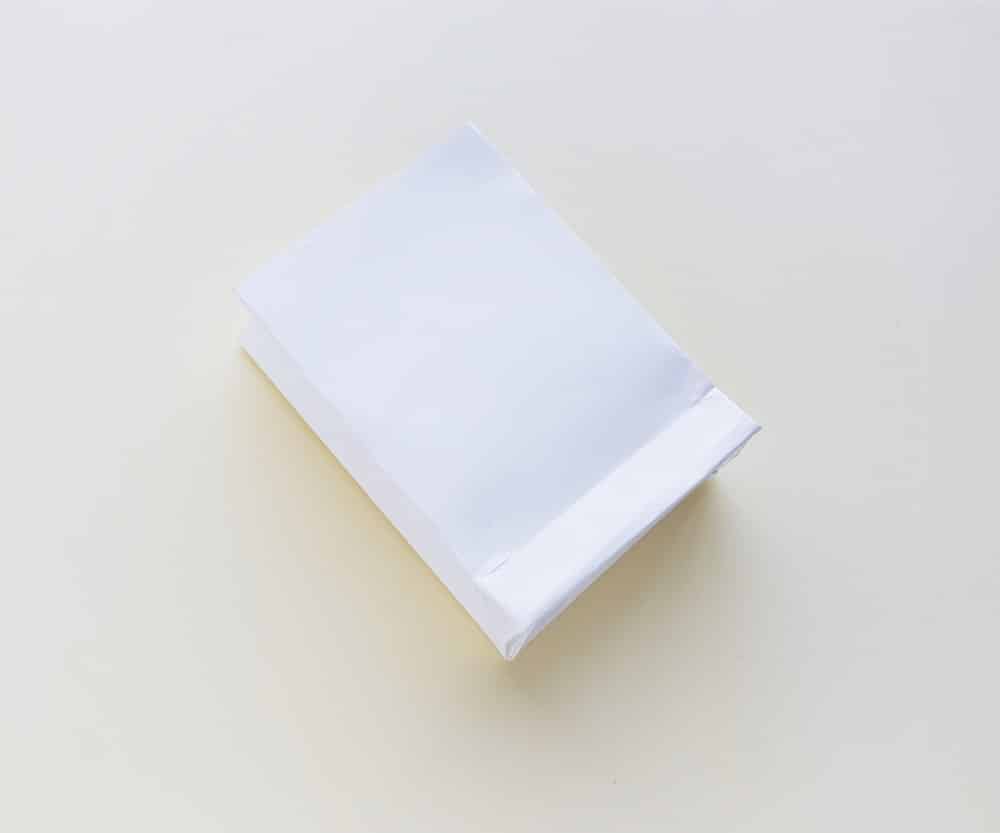
Trace and cut out a rectangle shape from any color of craft paper you’d like for the paper bag. I made mine about 5 inches by 8 inches. If you want a bigger snowflake paper bag, though, you’ll want to use a bigger piece of craft paper.

Step 2:
Keeping about half an inch (1 cm) intact on either end of the long side, fold the rest of the paper into half. Then fold and glue the overhanging 1 cm part with the rest of the folded paper to close that side.
Step 3:
Fold up 2 inches from either open end of the folded paper.
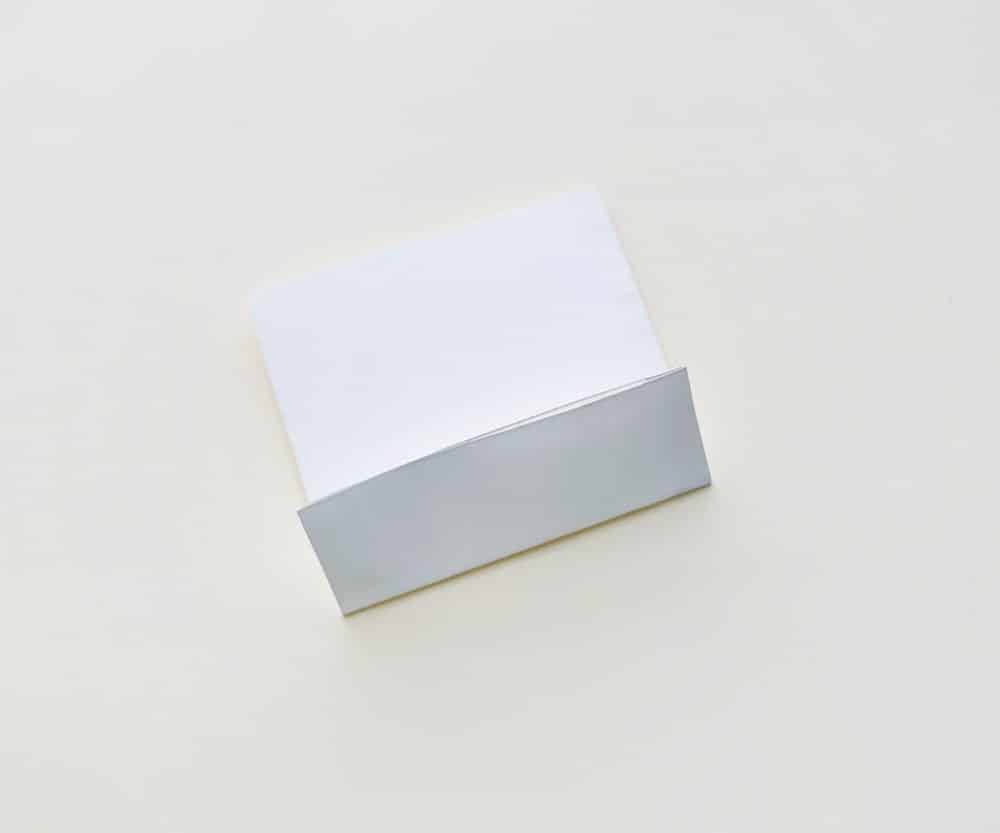
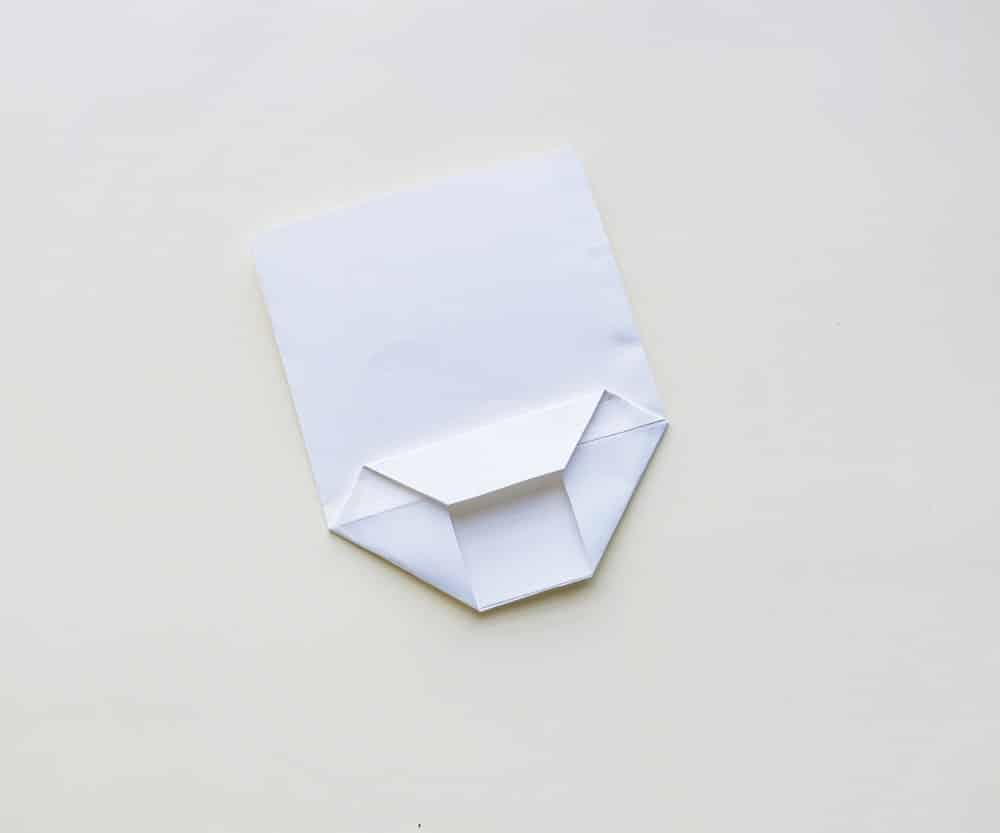
Step 4:
Keeping the fold of the bottom part secured, open up the bottom side and flatten the 2 sides neatly. This will create 2 flap-like patterns on the top and bottom of the flattened section.
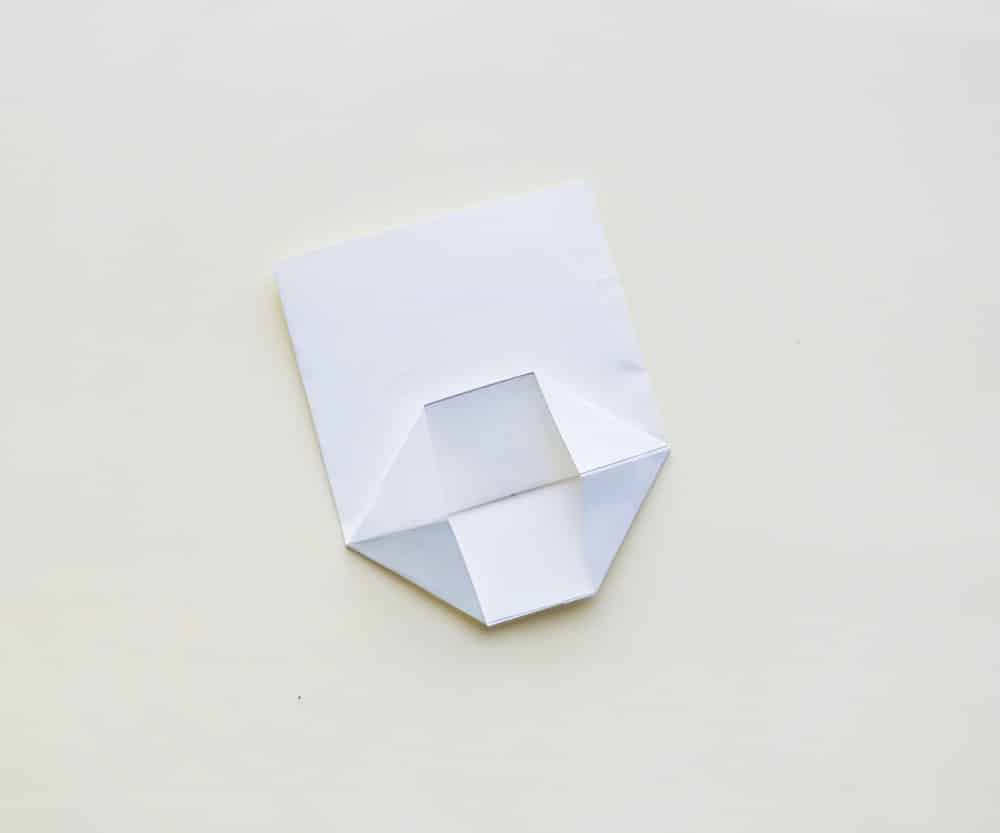
Step 5:
Hold either one of the flaps and fold it towards the middle line of the bottom part.
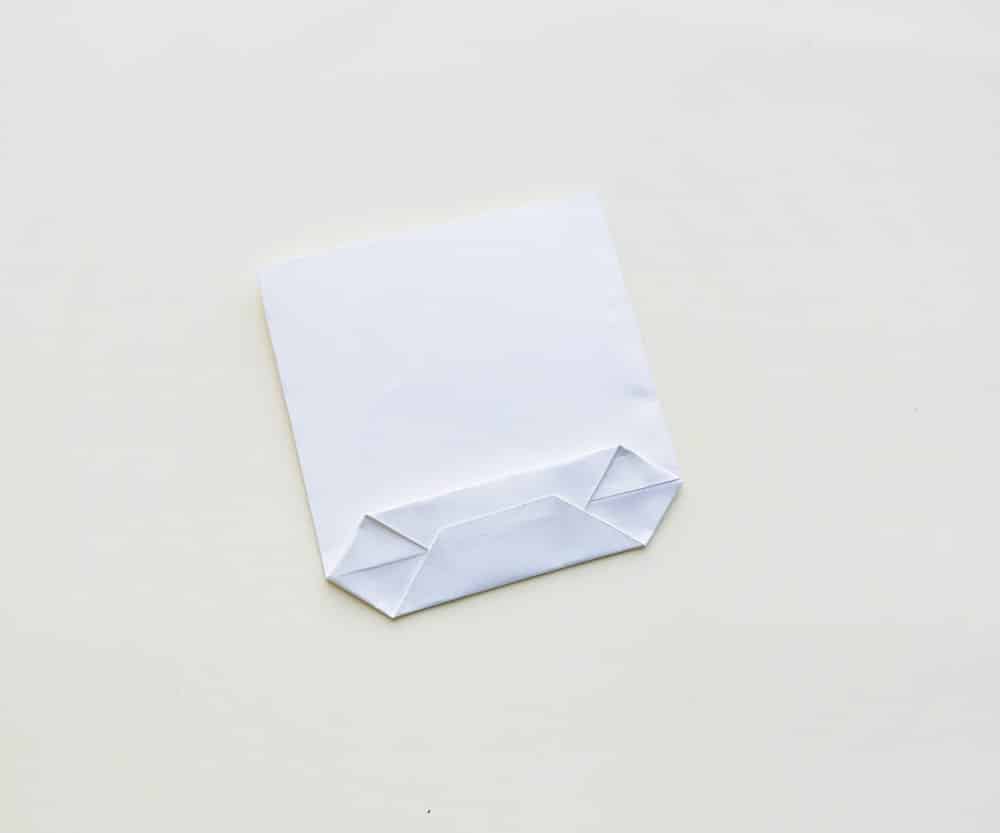
Step 6:
Fold the other flap towards the middle line of the bottom part and let it slightly overlap the first folded flap. Glue the overlapped parts to secure the bottom side of the paper bag.
Step 7:
Create folds along both sides of the bag. Match the opposite corners of the squares on the bottom side of the bag to make sure that the folds are done neatly.
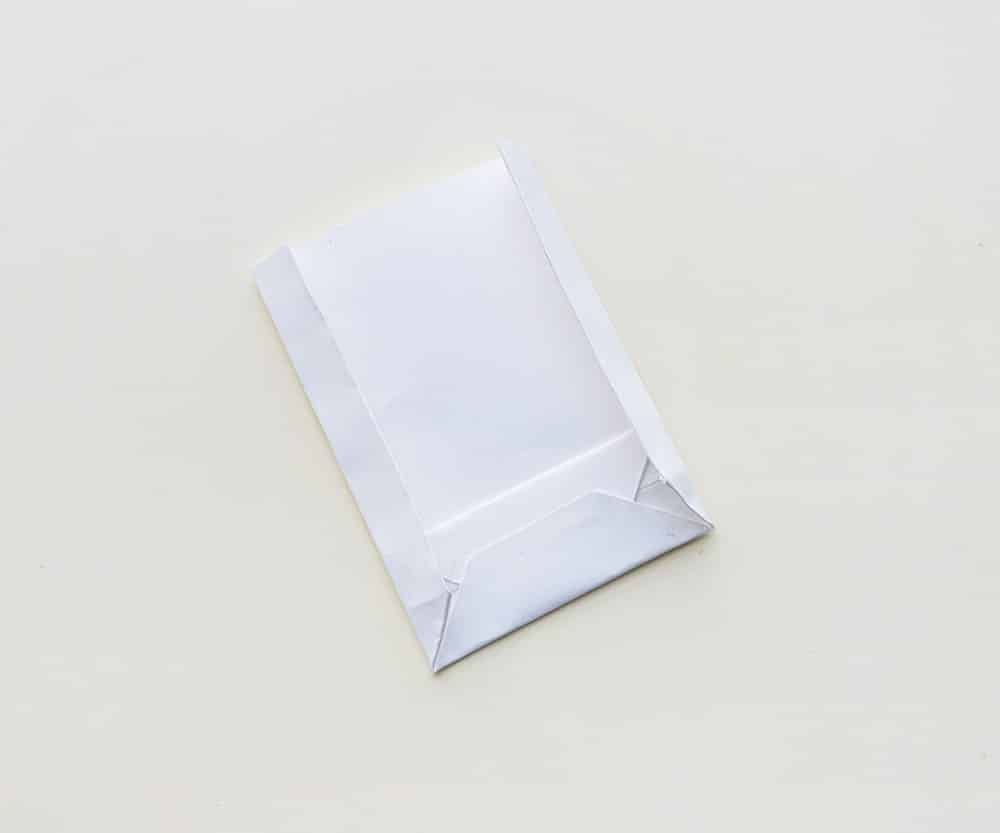
Step 8:
Unfold the sides and bottom folds.
Step 9:
Create a crease along the folding lines to complete the bag nicely.
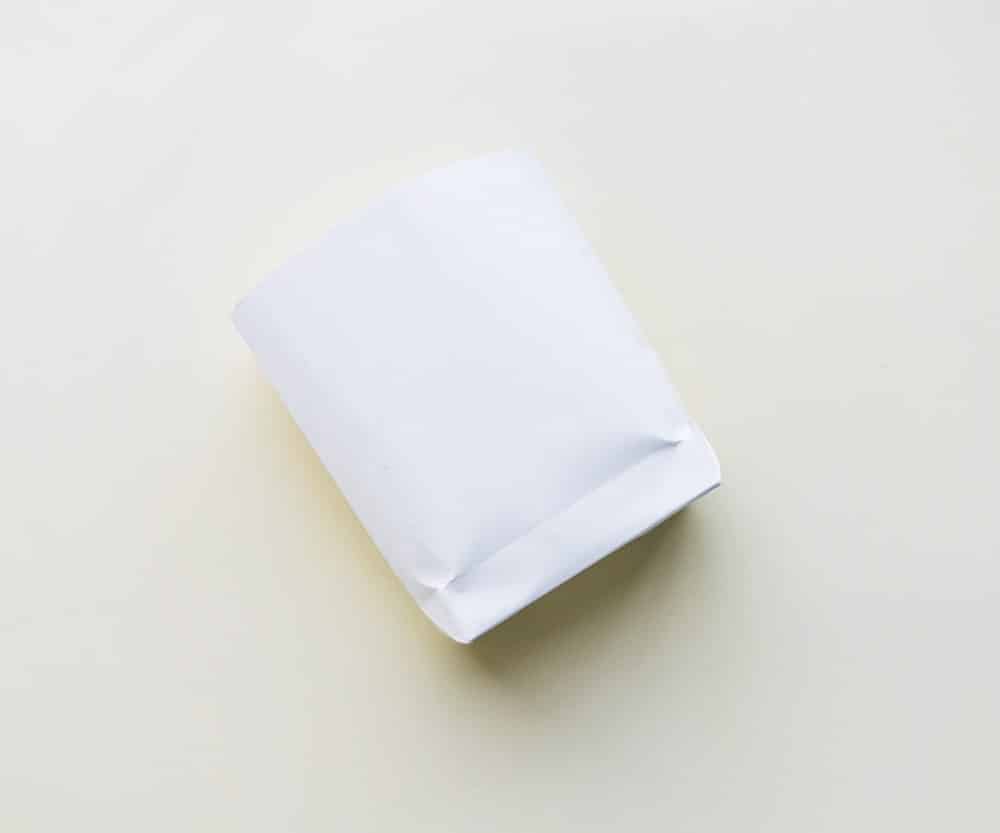
Step 10:
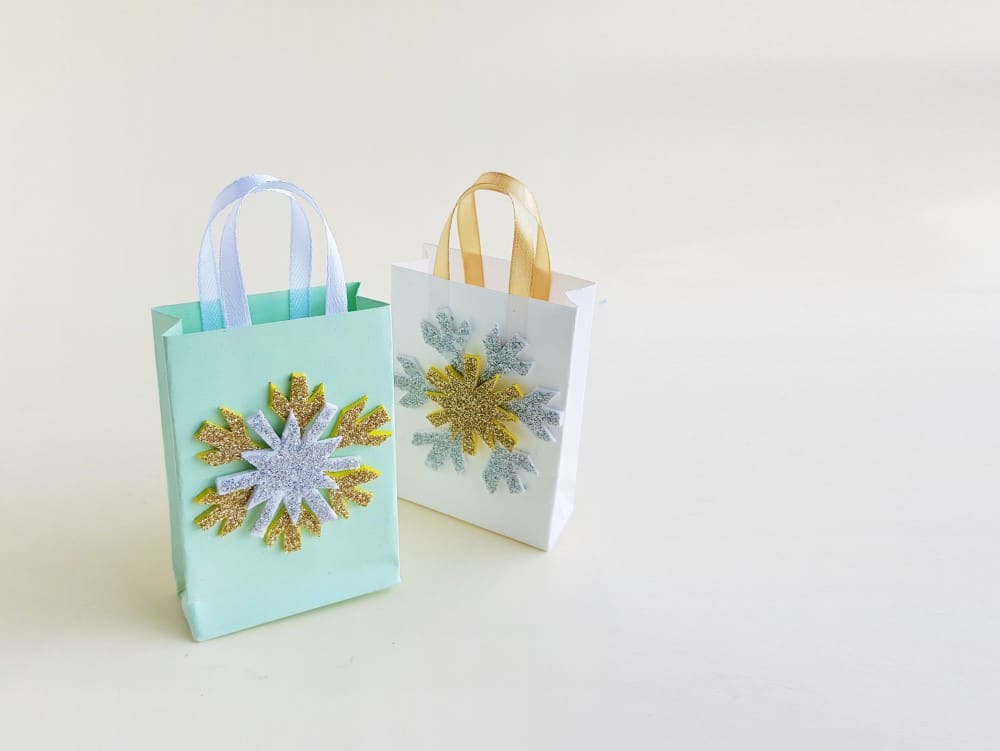
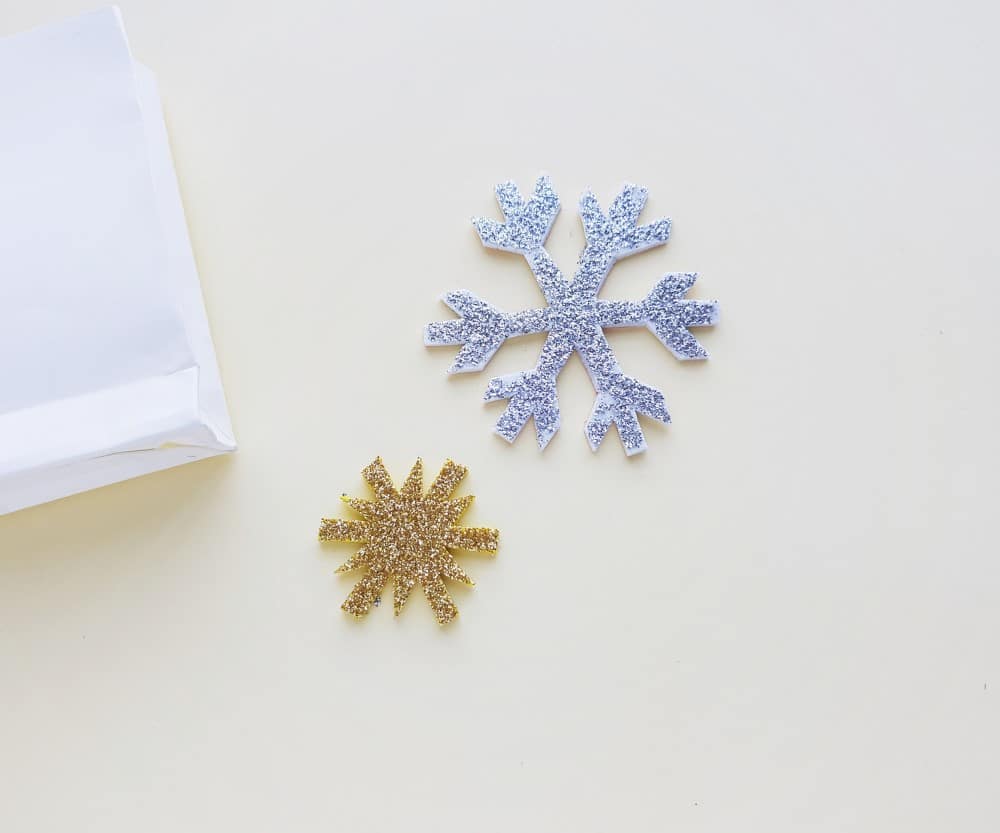
Using the provided snowflake templates, trace and cut out snowflake patterns from the glitter foam sheets.
Step 11:
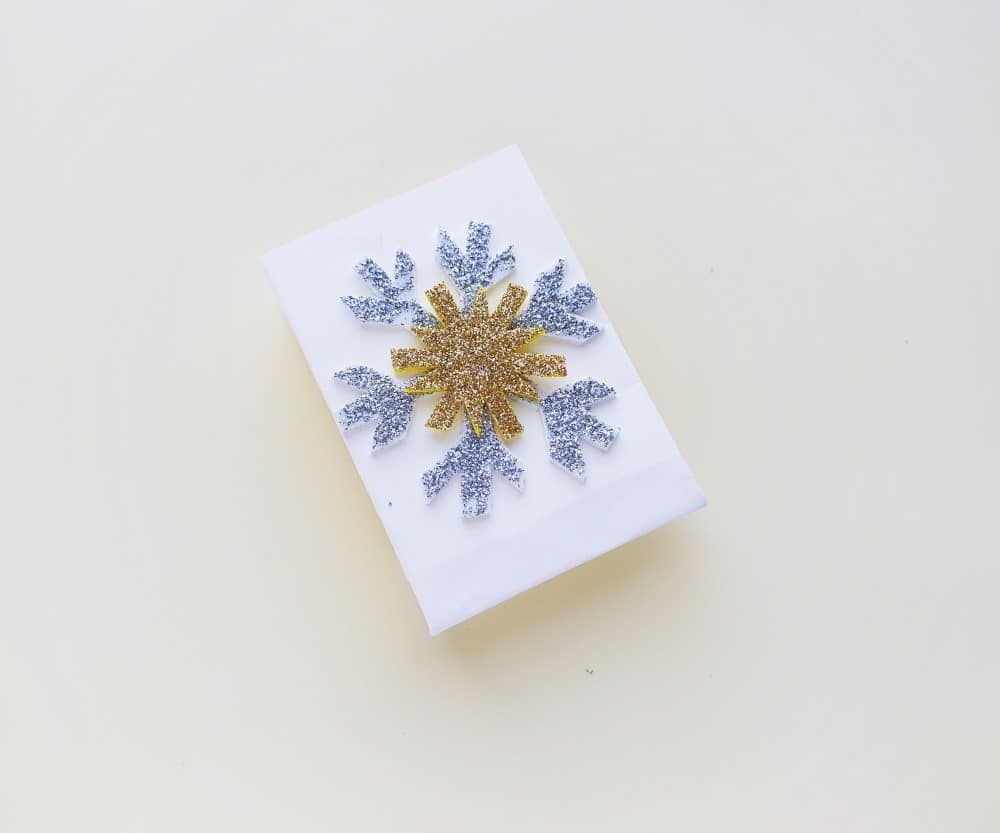
Attach the snowflake patterns to the paper bag to decorate it.
Step 12:
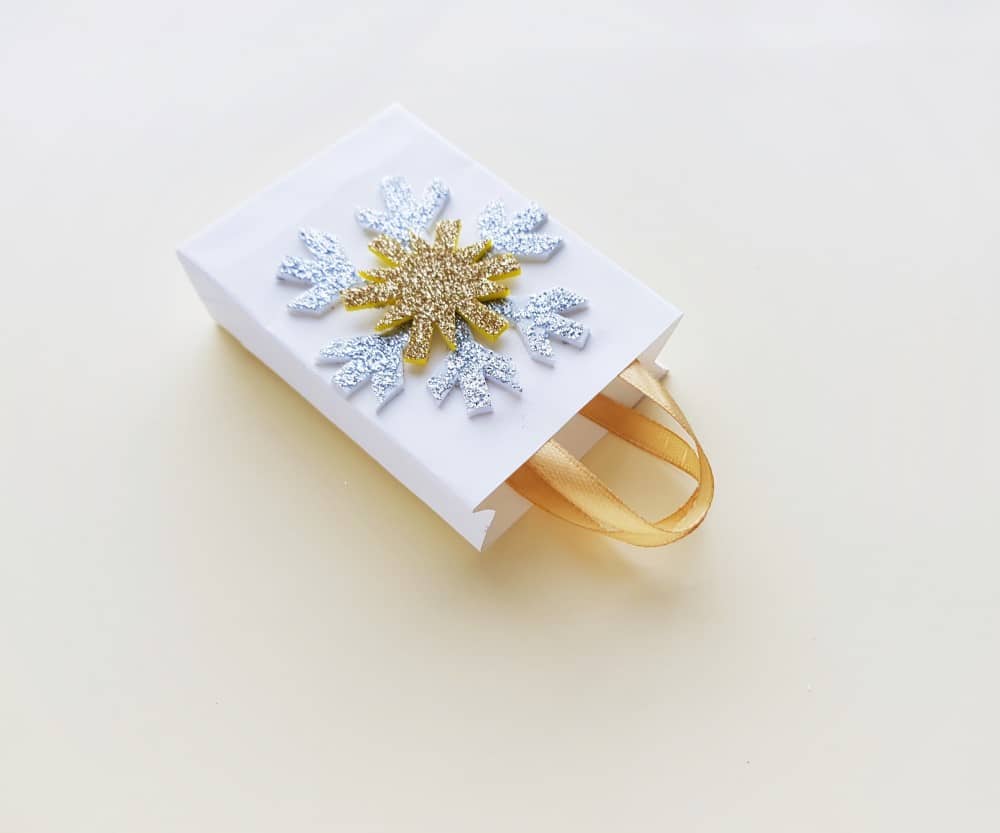
Cut out 2 small pieces of satin ribbon and attach them on both sides of the top of the bag to create the handles of the bag.
Looking for more winter-themed crafts?
We got you covered! Check out these snowflake and winter crafts, recipes, printables, and projects.
- Quilled Snowflake Art Activity
- Do You Want to Build a Snowman? (Printable Math Facts)
- DIY Snowflake Stamps
- DIY Frozen-Inspired Princess Wand
- How to Make Snow Cream
- Make Kid-Friendly Olaf Dessert Cups