St. Patrick’s Day Shamrock Wire Bookmark Craft
St. Patrick’s Day Shamrock
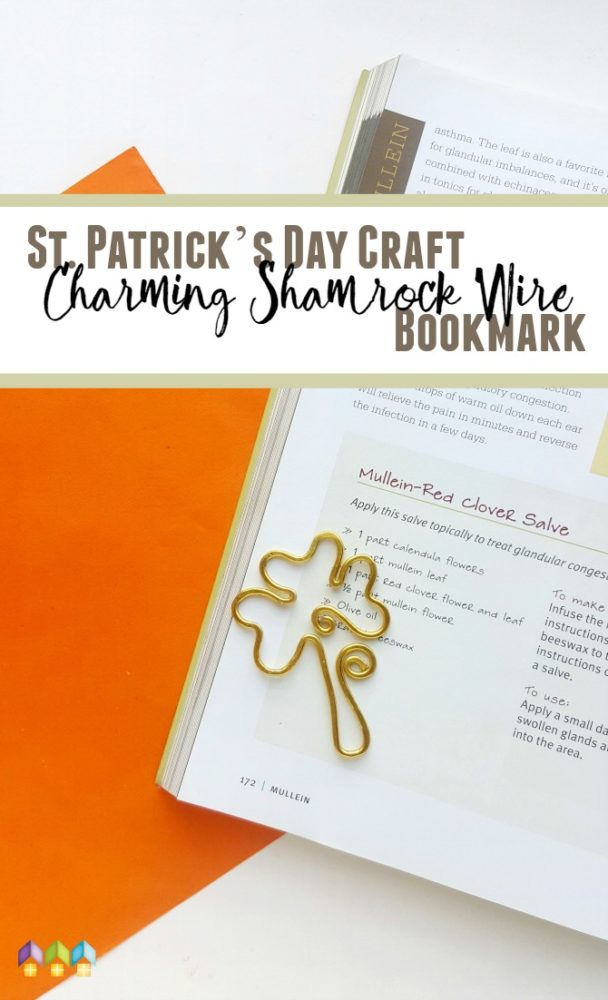
Our St. Patrick’s Day shamrock wire bookmark craft is the perfect inspiration to launch a study about the shamrock and St. Patrick’s Day.
The Irish holiday of Saint Patrick’s Day is coming up soon! Whether you plan to teach your students about Irish culture, the spread of Christianity to Ireland, or the figure of St. Patrick, this holiday offers plenty of interesting options for your homeschool curriculum.
It can also be the perfect occasion to have some fun by completing a craft to emphasize learning!
According to Irish legend, St. Patrick used a shamrock to teach the inhabitants of Ireland about the concept of the Trinity.
Today, the Nation of Ireland and the shamrock symbol are basically inseparable. For these reasons, we think this wire shamrock bookmark is the perfect craft to make with your children in celebration of St. Patrick’s Day.
This craft uses attention to detail, hands-on skills, and tools, all of which make it ideal for older children. When completed, it has a beautiful hammered appearance and a Celtic-inspired design that will look charming in any book!
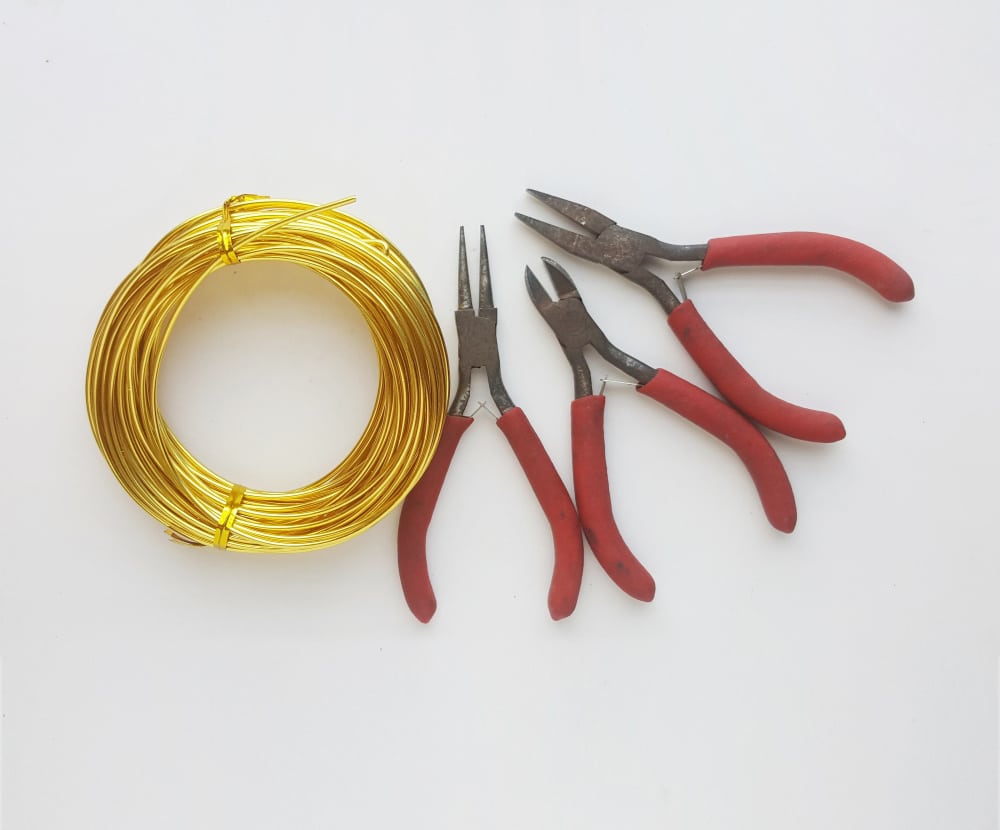
St. Patrick’s Day Shamrock Craft Materials:


How to Make the St. Patrick’s Day Shamrock Outline:
- Print out the attached template (Shamrock Wire Pattern). The template includes three slightly different sizes for the wire bookmark. Choose the size that you’d like to make and trace it onto a plain piece of white paper. You will use this pattern as a guide as you shape the wire for the bookmark.

2. Grab the 16 gauge bundle of craft wire and the looping pliers. Use the looping pliers to create a small loop at the open end of the wire. Don’t cut the wire at this point, though! You will be using it to shape the rest of the shamrock.
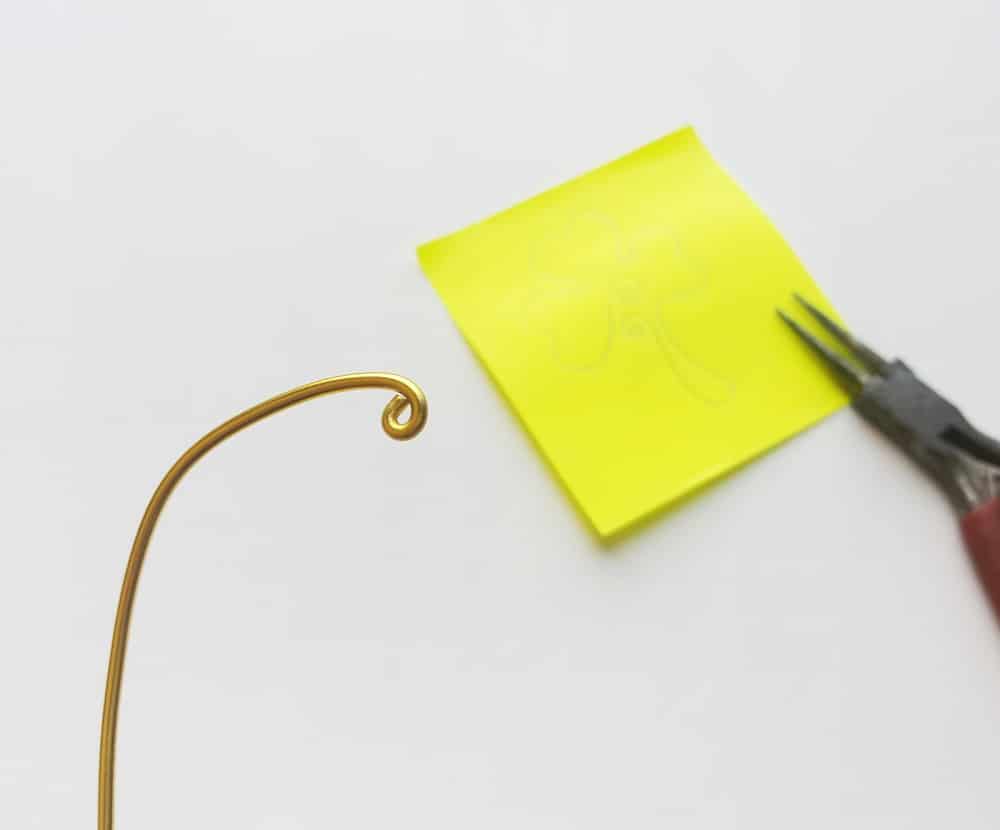
3. Center the loop that you just created above the central loop on the shamrock template, as shown below. You will then continue to use the looping pliers to create the curves that form the outline of the shamrock. This requires some attention to detail that is best suited to older children and teens. Younger children may need some assistance here.
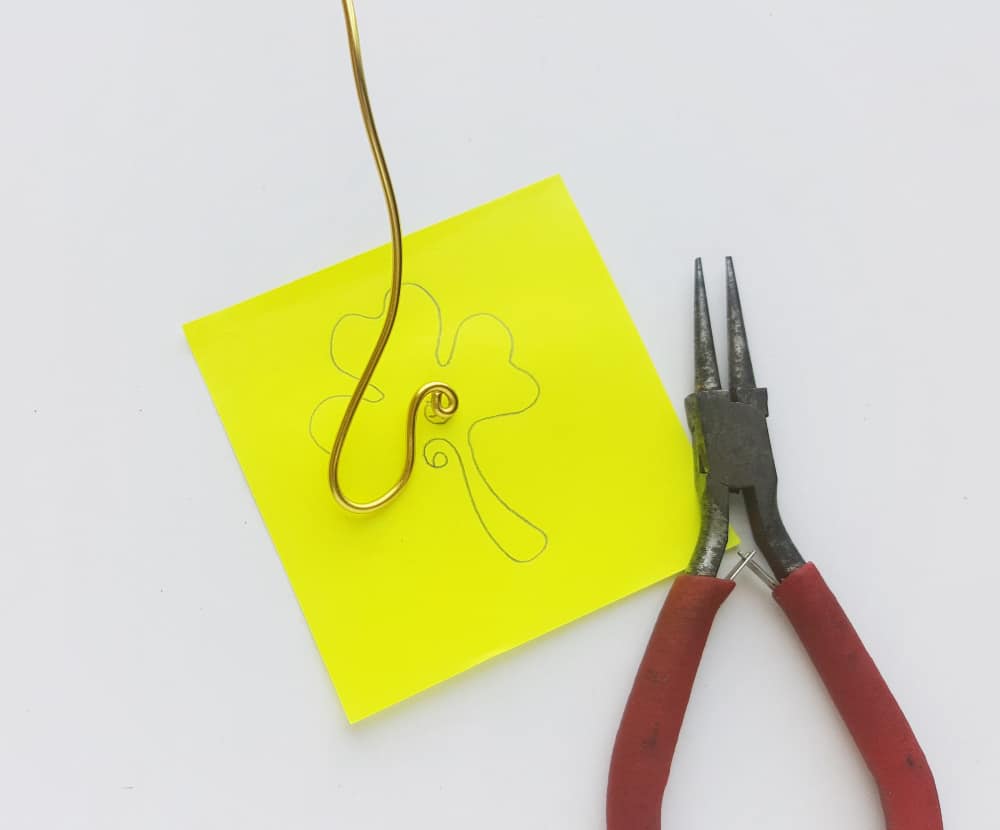
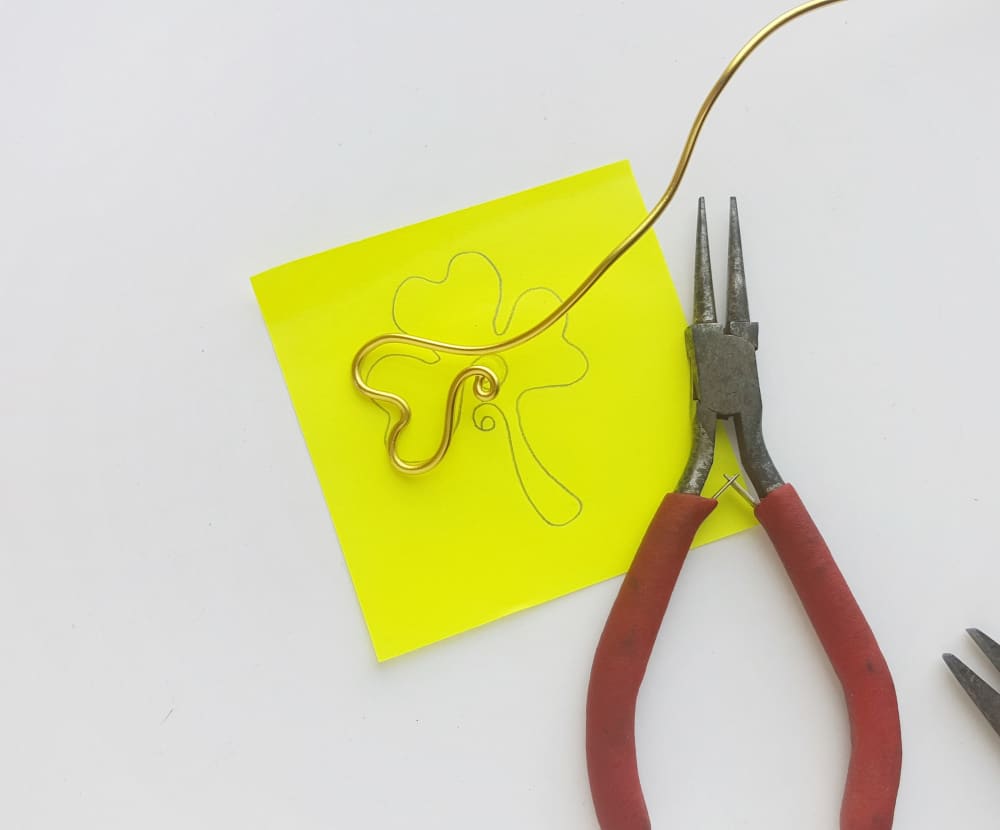
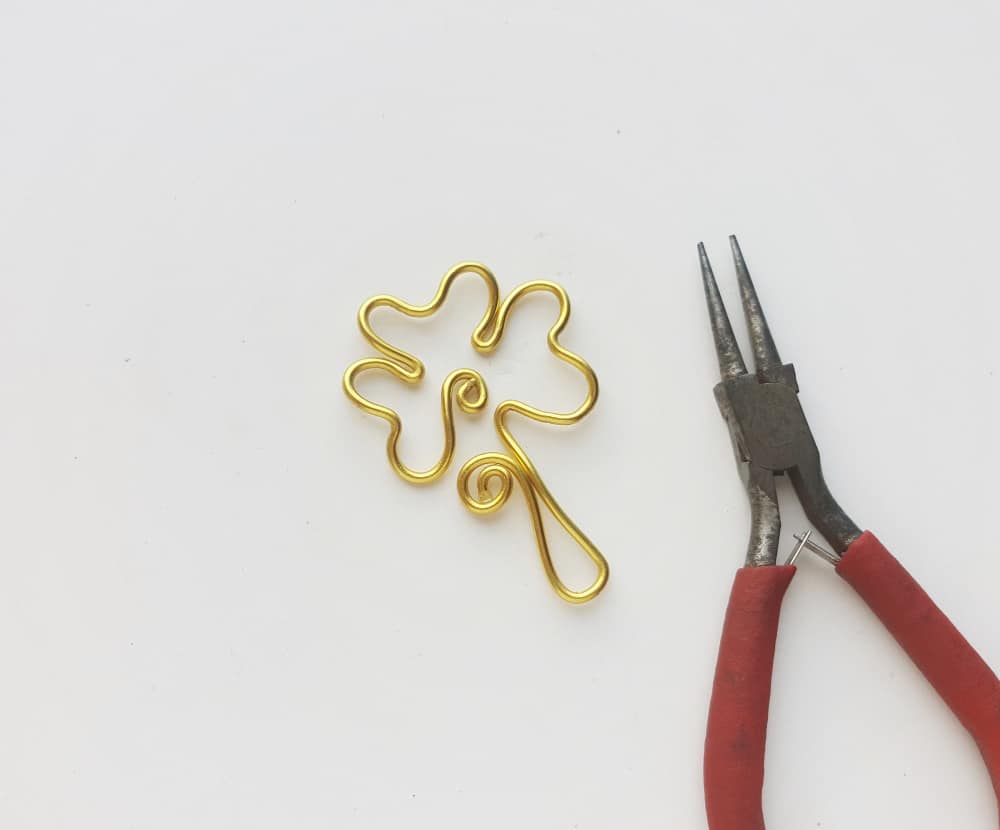
4. Once you have used the looping pliers to map out the curves of the shamrock design, you will pull out the flat-nose pliers! Then use these to tighten the bends between each leaf of the shamrock. Simply pinch together the part of the design that curves inward to create a tighter shape, as shown below.

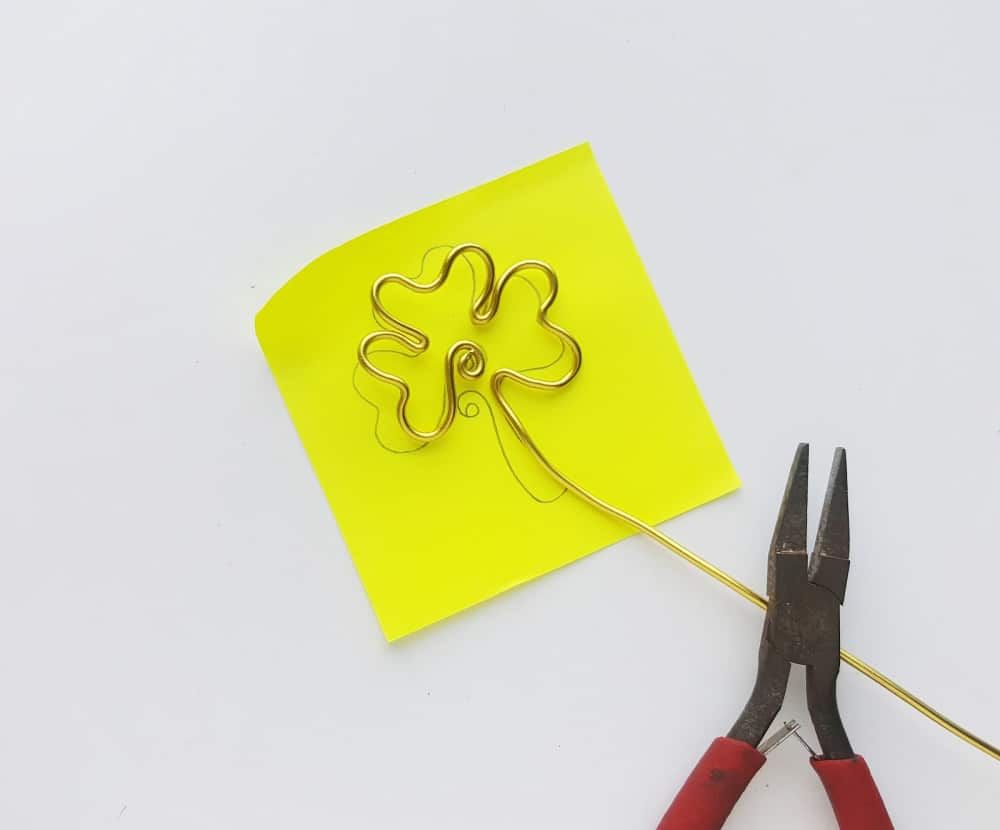
5. Done shaping the leaves? Next, use the flat-nose pliers to bend the wire downward. Then continue to shape the wire, following the pattern along the stem portion of the shamrock. This is important because the stem will be the placeholder part of the bookmark!
Finishing Touches:
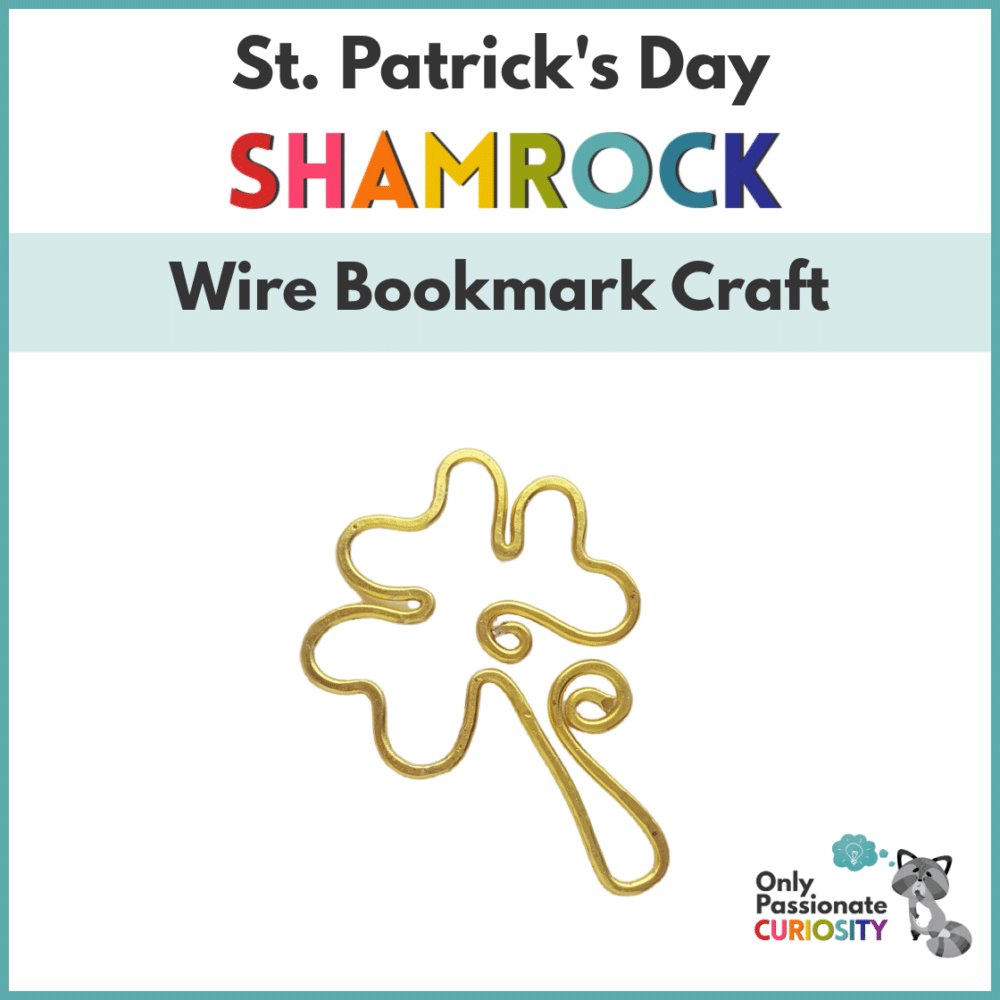
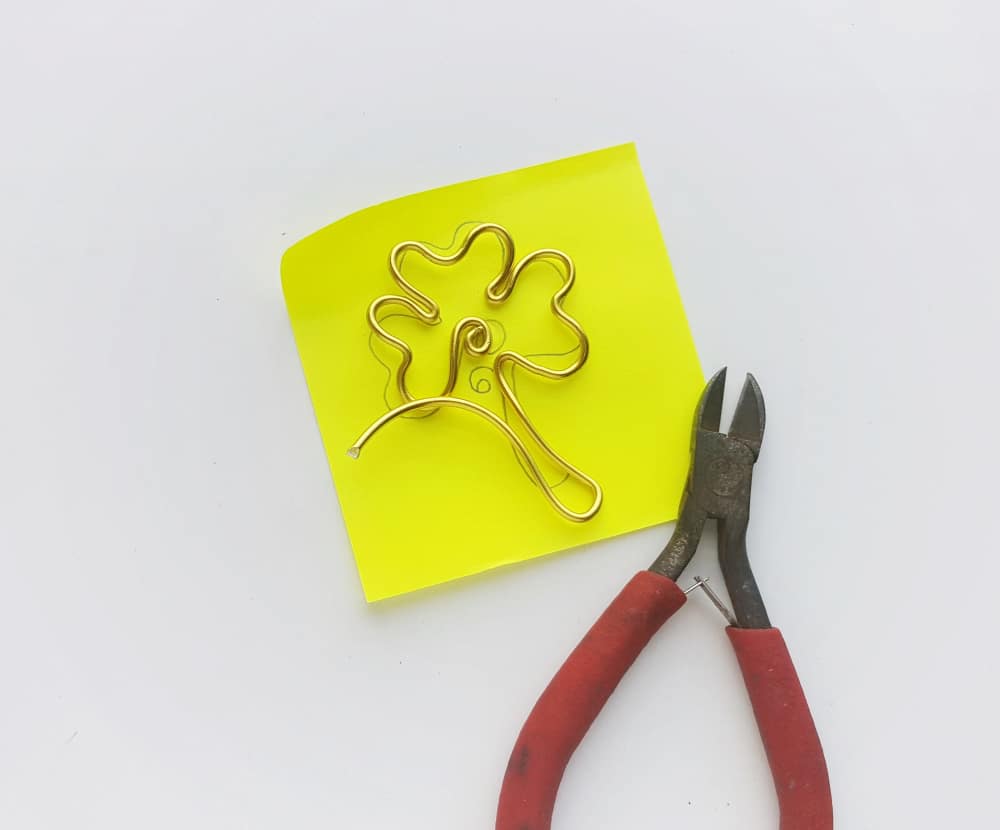
6. Once the stem is formed, use the cutting pliers to cut the bookmark from the rest of the wire bundle. However, make sure to leave a little extra “slack” wire at the end. After cutting the wire, use the looping pliers to curl this end of the stem into a twirling, Celtic-inspired design!
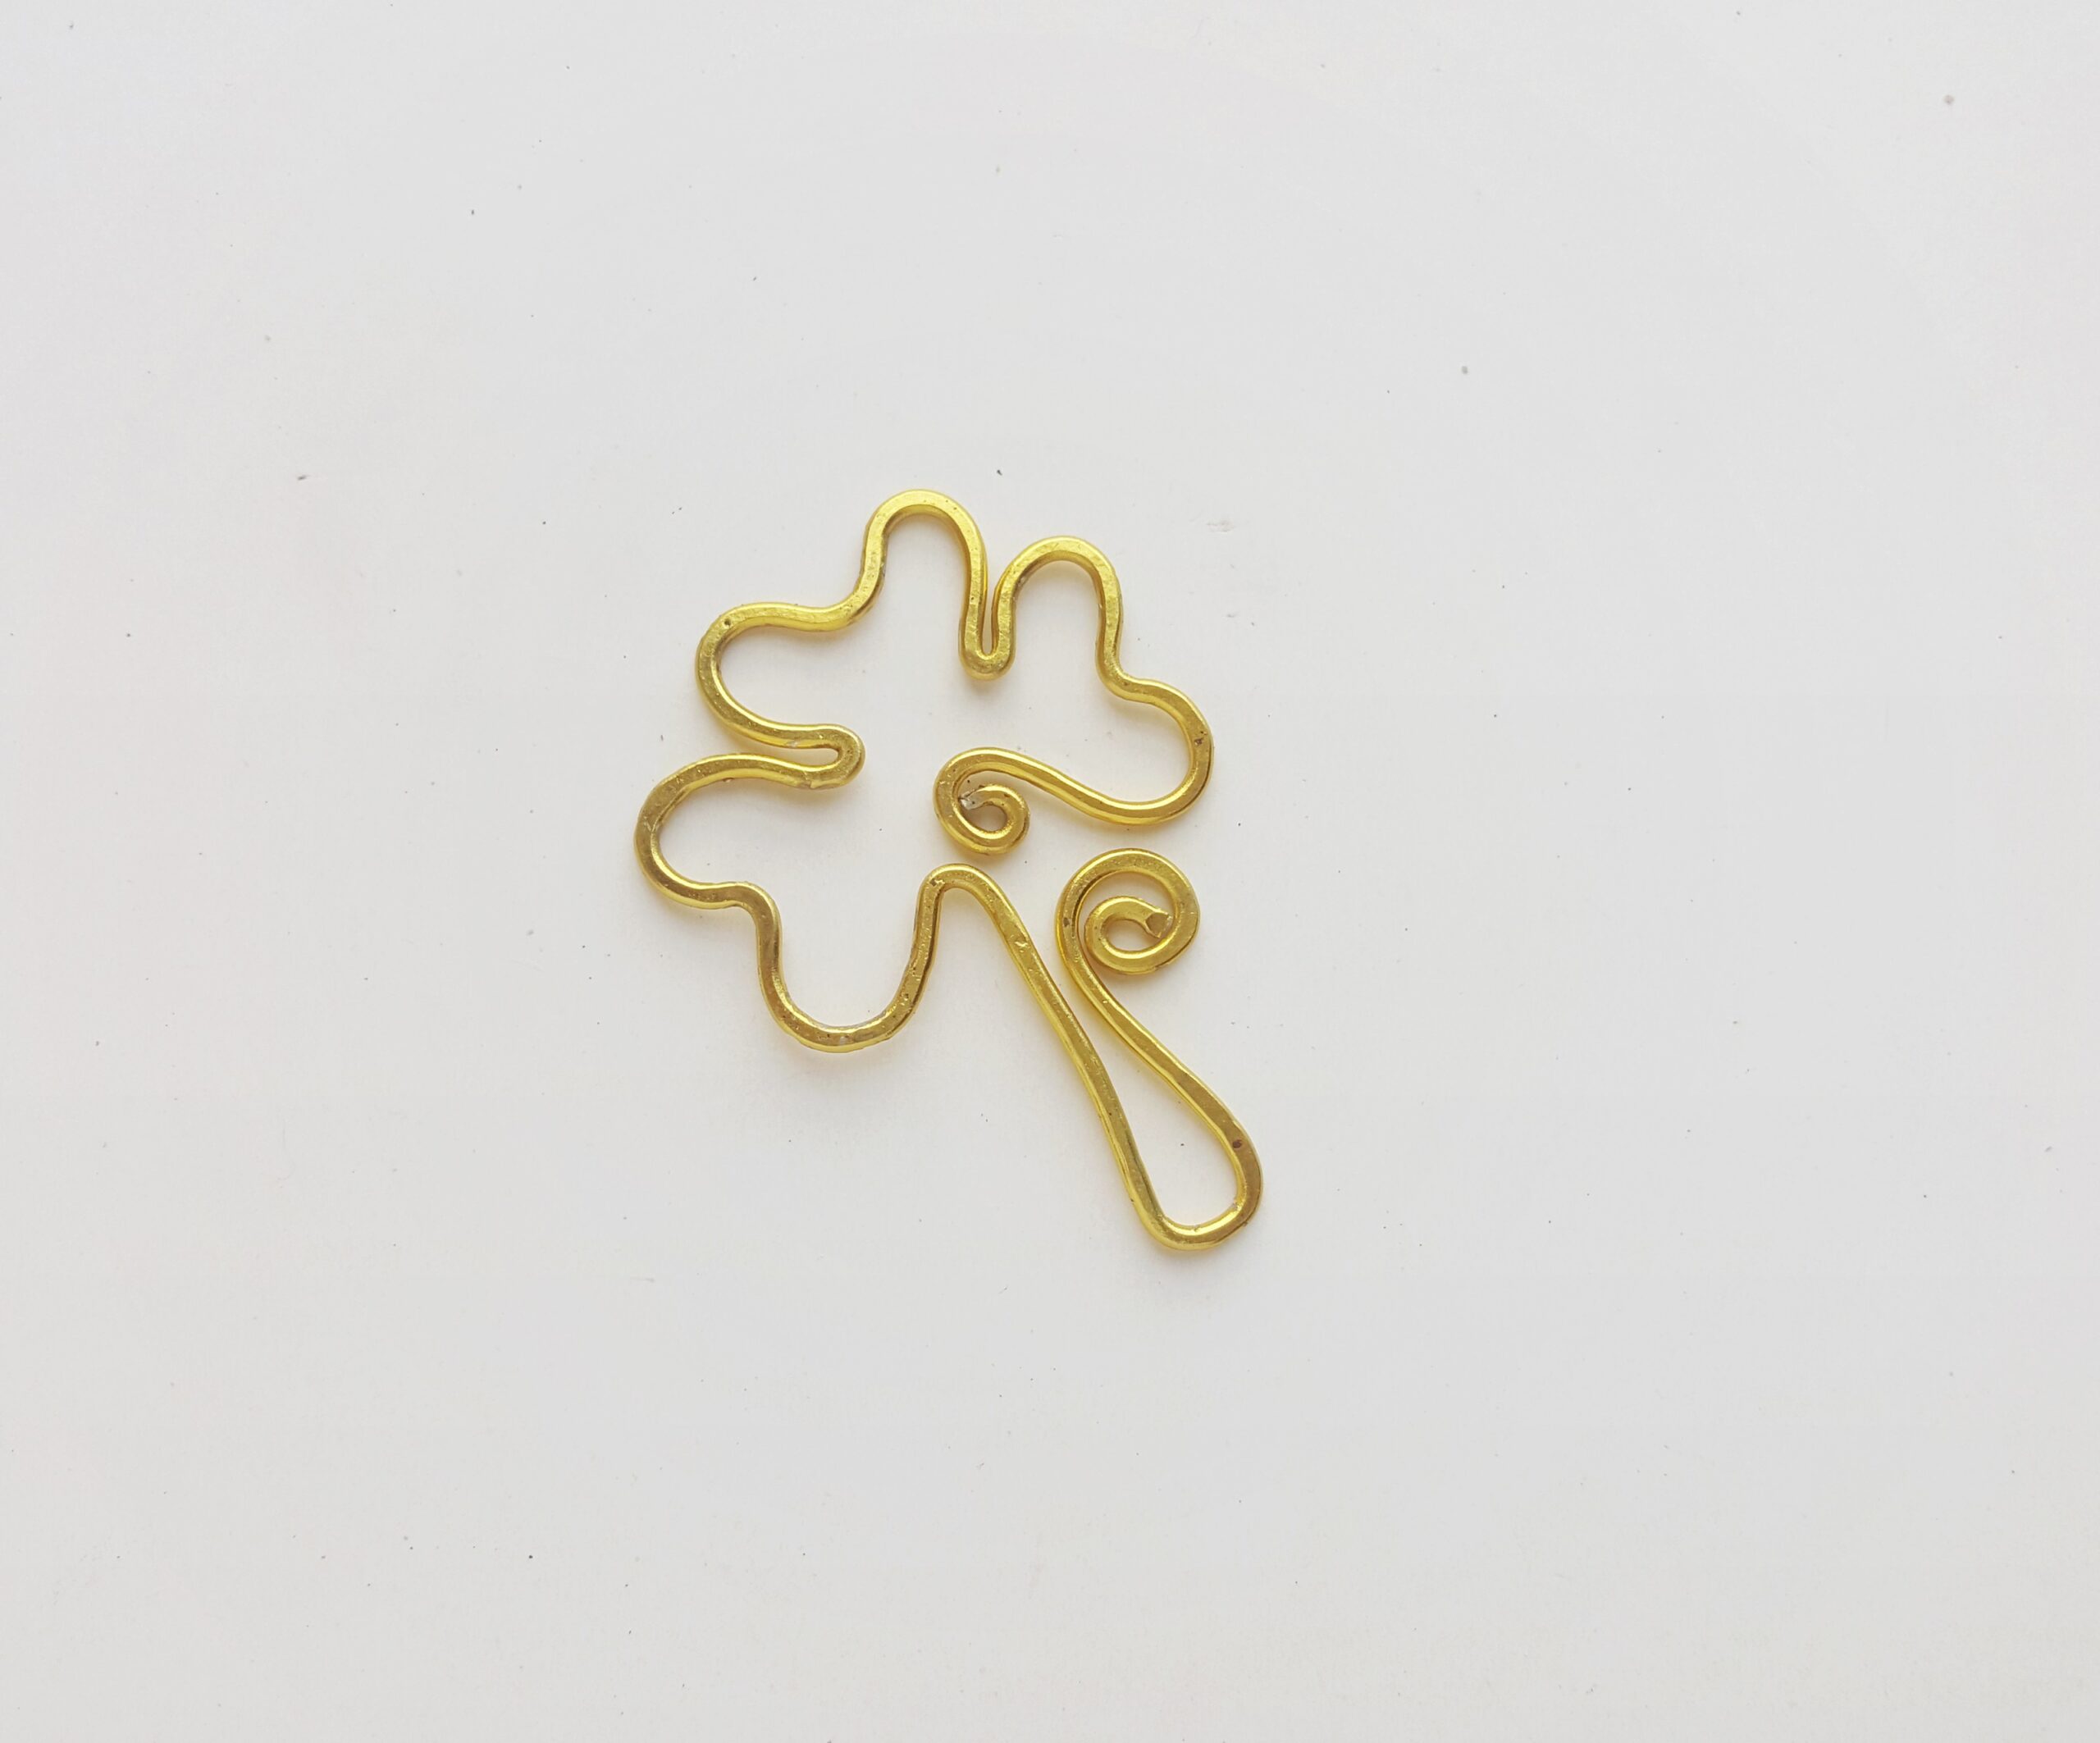
7. Time to pull out that hammer. This final step gives the bookmark a sturdier structure and a more finished look. Place your bookmark against a plain, hard surface (a driveway would be perfect) and use a hammer to flatten it out. The hammered metal appearance fits perfectly with the Celtic design of this bookmark. The end result should look like this:
We hope you and your children have a great time learning about and celebrating St. Patrick’s Day with this hands-on craft. We think this wire St. Patrick’s Day shamrock bookmark is a practical and charming token of good fortune that anyone will enjoy!
Other St. Patrick’s Day Projects and Crafts
- Ireland Unit Study
- St. Patrick’s Day Traditions
- Yummy St. Patrick’s Thumbprint Cookies
- Leprechaun Hats Craft using K Cups


Do you and your children do anything special to celebrate St. Patrick’s Day? If so, what do you do?