

Science for Kids: Salt and Ice Experiment


This salt and ice experiment is a simple way to explore the winter science happening all around us. From icy sidewalks to snowplows clearing roads, salt plays a familiar role during cold weather, often without much explanation.
In this hands-on activity, kids can test salt and other everyday household materials on ice and observe what happens. The experiment is easy to set up, relevant to real winter conditions, and encourages questions and close observation. At the end of the post, you’ll find the science behind what you see, along with real-world connections that help link the experiment to winter experiences your family is already noticing.

Materials for Salt and Ice Experiment
You most likely have everything you need for this experiment right in your kitchen. There is a lot of wiggle room in your experimental design. Have your children help decide what materials you will test on the ice.
You will need:
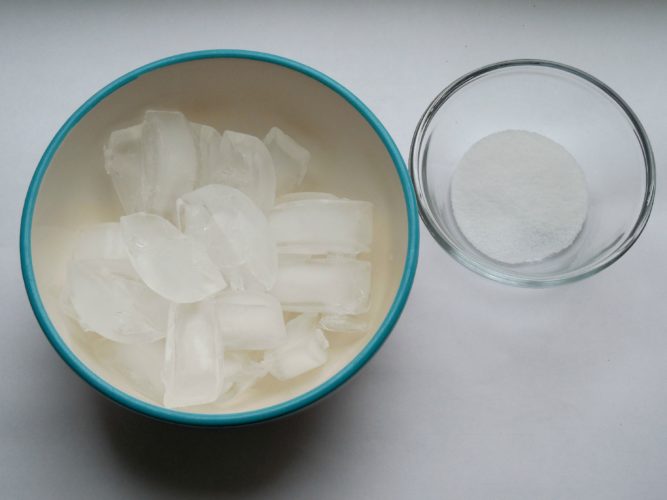
- Ice cubes
- Kitchen scale (these scales are great for tons of different science experiments)
- Table salt
- At least one of the following: sea salt, kosher salt, or other salts from around the globe (try these fun salts for some variety!) sugar, cornstarch, coffee, sand, baking soda, cornmeal, bath salts, etc.
- Several containers or small plates
- Stopwatch or clock
- Measuring spoons
The beauty of this experiment is that you can test just about anything on your ice cube. Just stick to harmless household items. Skip powdered soaps or caustic materials that might be irritating to eyes and skin.
Salt and Ice Experiment
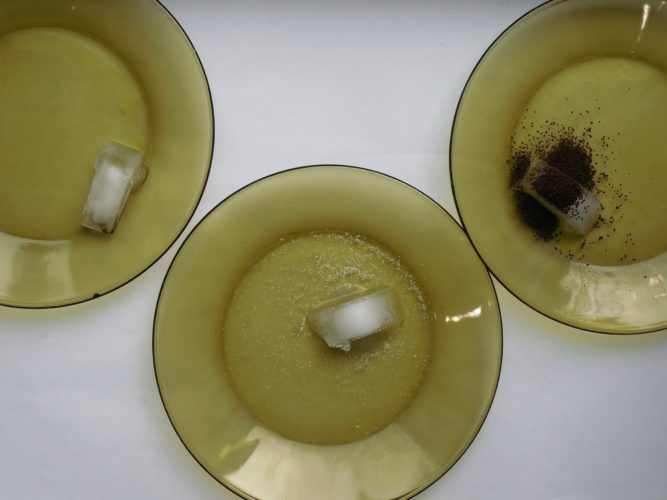
Choose your materials and get started. You’ll need at least 3 different containers. One will hold a plain ice cube as the control in the experiment. Another will hold an ice cube and a pre-determined amount of salt, the third will hold an ice cube and a material for comparison. You can certainly set up more than three if you’d like.
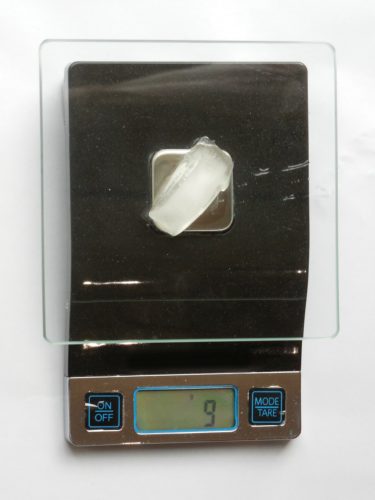
For even more accuracy, you can use the kitchen scale to determine the mass of the ice cubes before you begin. Later on, you can mass them again to get an idea of how much water has melted.
Once you have weighed and measured the ice cubes and taken notes, place them in their individual containers.
Be sure to leave one ice cube plain with no salt.
Try This
Before reading further, sprinkle salt on an ice cube and
watch what happens for 60 seconds.
What do you notice?
Choose the first salt to test. Cover one ice cube with that salt.
Be sure to use the same amount of salt for all of your ice cube tests. For example, if you use one teaspoon of salt, use one teaspoon of sugar on the next cube. Your ice cubes are most likely not all the same size, but you can control the amount of “melter” you use.
It is always good to teach and remind students about the importance of precision in an experiment.
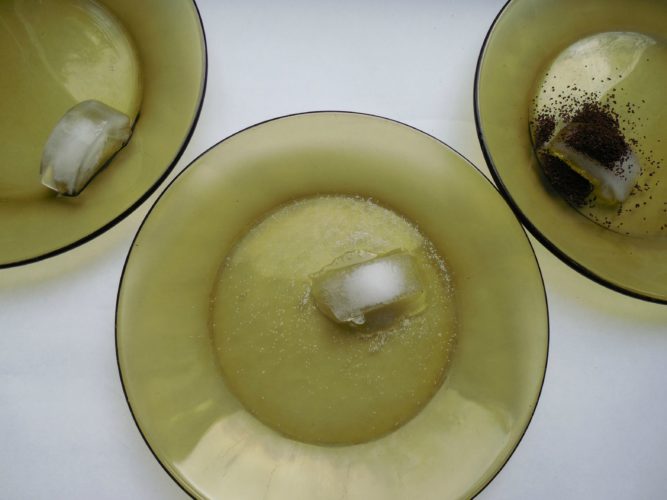
Once the experiment is set up, wait a designated amount of time (5 minutes is a good place to start) to see the effects.
What to Watch For
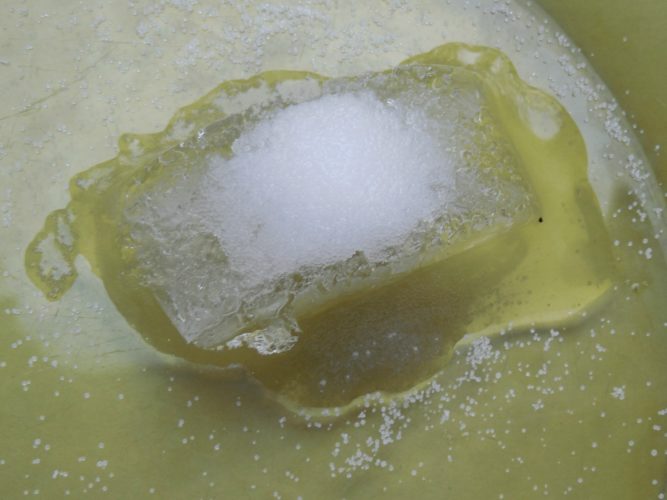
Does the ice change shape or texture
Does water appear right away or slowly
Does one material work faster than another
Take notes on observable changes. If you measured the mass of the ice before the experiment, you can brush off any salt or other melting agent and weigh the cube again. Note that any particle left on the ice cube will add mass, so this measurement helps with accuracy but is not 100% precise.
Keep track of the changes and determine the results of the experiment. If you are working on graphing in math, this is a great opportunity to graph the masses you observed before and after the experiment.
Why Does Salt Melt Ice?
So why do we use salt on our roads and walkways? Why does it seem to melt ice?
Salt lowers the freezing point of water. This phenomenon is called “freezing point depression,” meaning that water will not freeze until it has reached a temperature below its normal freezing point of 32 degrees Fahrenheit (0 degrees Celsius). The salt’s structure makes it more difficult for water molecules to form the rigid arrangement required for ice.
A great follow-up question to your salt and ice experiment is: “Is salt effective on roadways in below-freezing temperatures?”
Answer: The further below freezing the temperatures go, the less effective plain road salt is. That is why crews also use sand, and other additives to treat the roadways.
All substances have freezing points–the temperature at which they freeze–and melting points.
Want more winter science experiments?

My name is Sarah Benton Feitlinger and I am a science educator with over 10 years experience sharing science in nature and environmental centers, museums, and schools. I have been studying science and nature in one way or another pretty much my whole life! Currently, I’m a work-at-home mom, a freelance K-12 science curriculum developer, children’s science writer and blogger. I have a passion for making science understandable, and my goal is to make it accessible for everyone. My blog focuses on connecting current events in science to resources and activities for teachers, parents, and students.

Updated 12/28/25 with new content.


0 Comments