Plant Science –Right in Your Kitchen!

I love when the weather warms up and suddenly green has replaced the gray and white of winter. Spring and the renewal of life is a natural time to include a plant unit in your curriculum.
I enjoy teaching plant science for many reasons. The first is that it is a super easy way to explore life cycles. Plants don’t take long to grow, and if they don’t survive you can always easily try again. Plants are diverse and fascinating. I also love plant science because it can be inexpensive, or in many cases, free!
Here are some lesson ideas to add to your plant unit that use things that you were probably going to throw out anyway! Look no further than your kitchen to find the supplies you need.

Plant Science from Kitchen Scraps
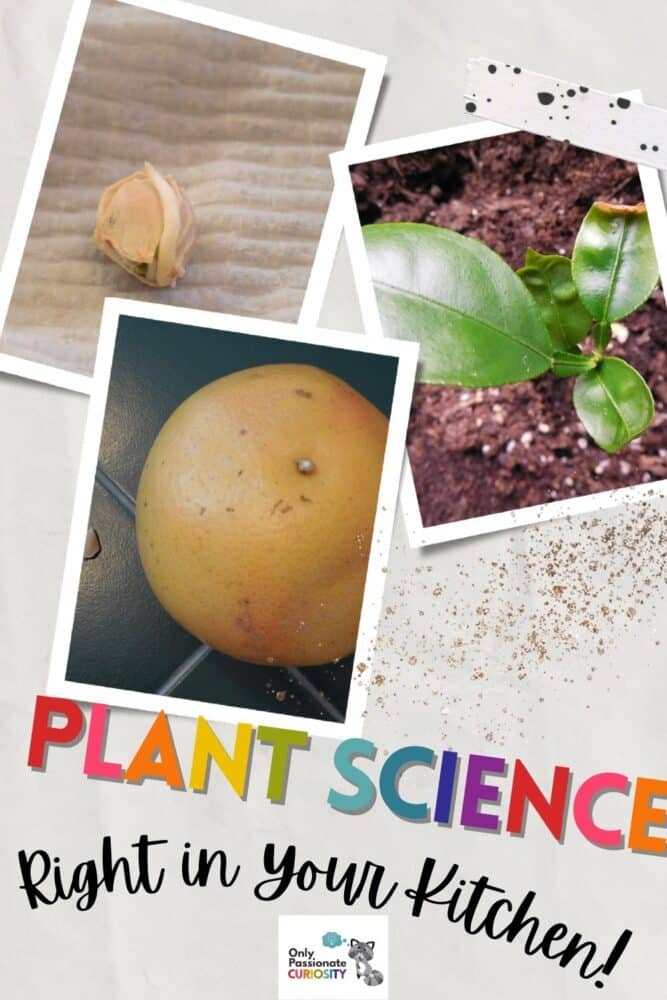
If you prepare meals with fresh ingredients you probably often have seeds, roots and other plant parts that end up either in the trash or the compost bin. Did you know that you can grow plants from avocado pits, citrus seeds, carrot tops and more? It’s true. The bonus is, they all make for engaging science lessons because kids can see them grow right before their eyes!
Two of my favorite kitchen scrap science experiments are: growing a plant from an avocado pit, and sprouting a grapefruit or orange seed. Here are the things you’ll need to try these science investigations with your students and children:
Grow an Avocado: Supplies
- avocado pit
- glass jar or wide-mouthed drinking glass
- toothpicks
- water
Grow a Grapefruit: Supplies
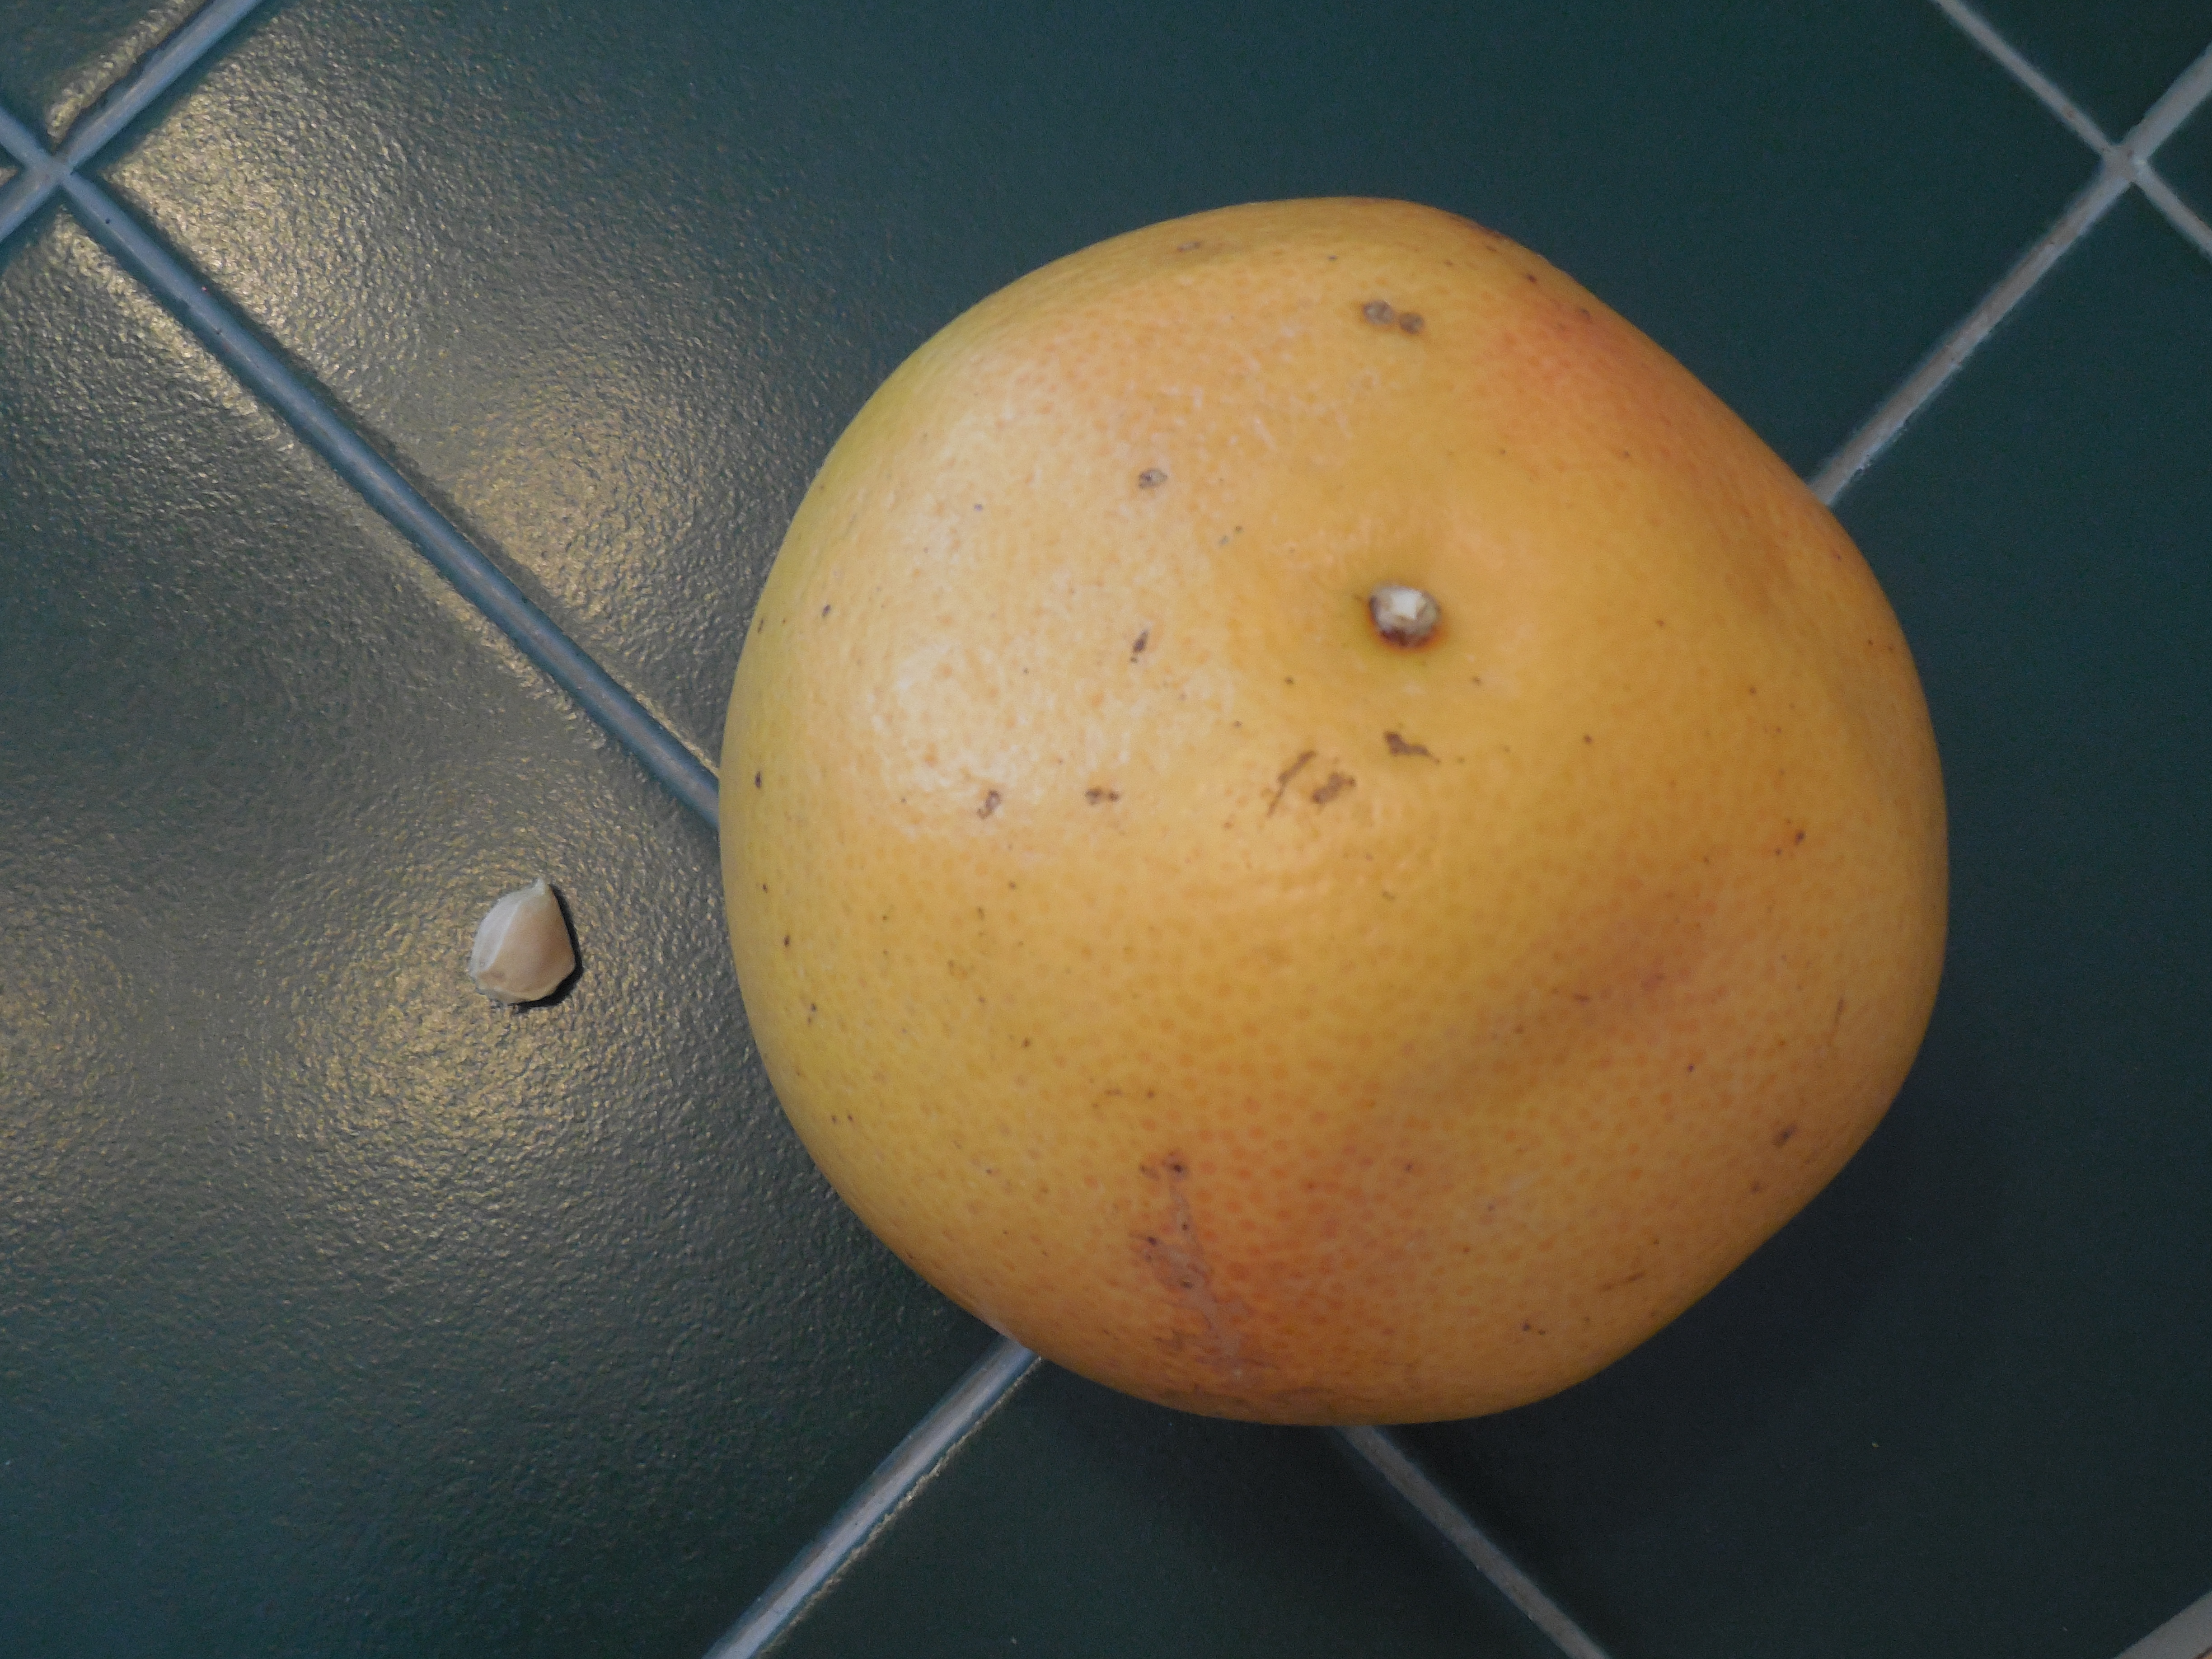
- grapefruit seed (or any citrus seed)
- paper towel
- plastic baggie
- water
- plastic cup or tub (raid the recycling!)
- potting soil or garden soil
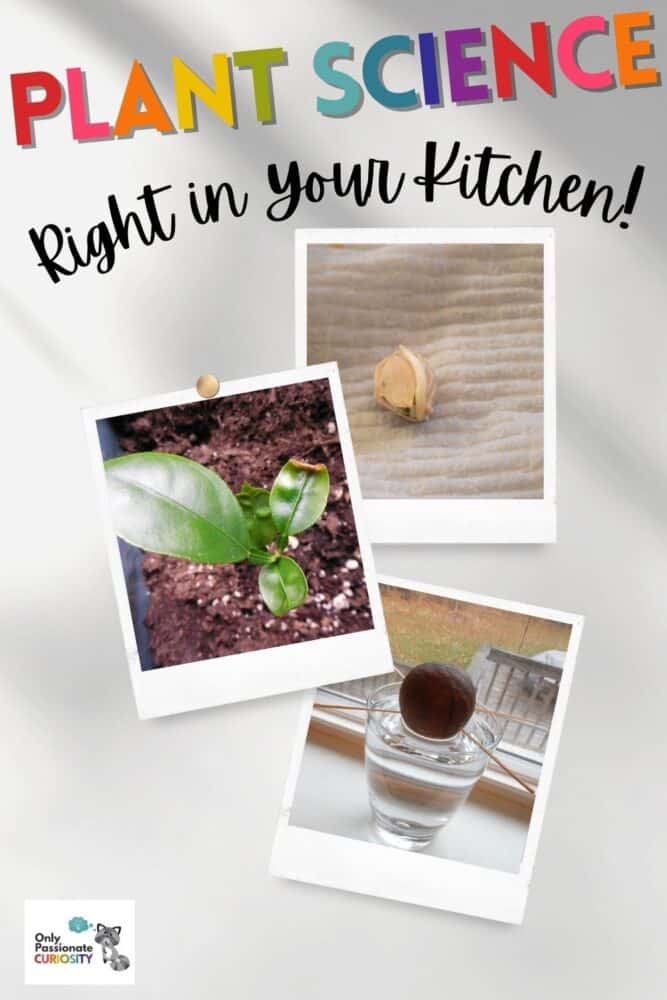
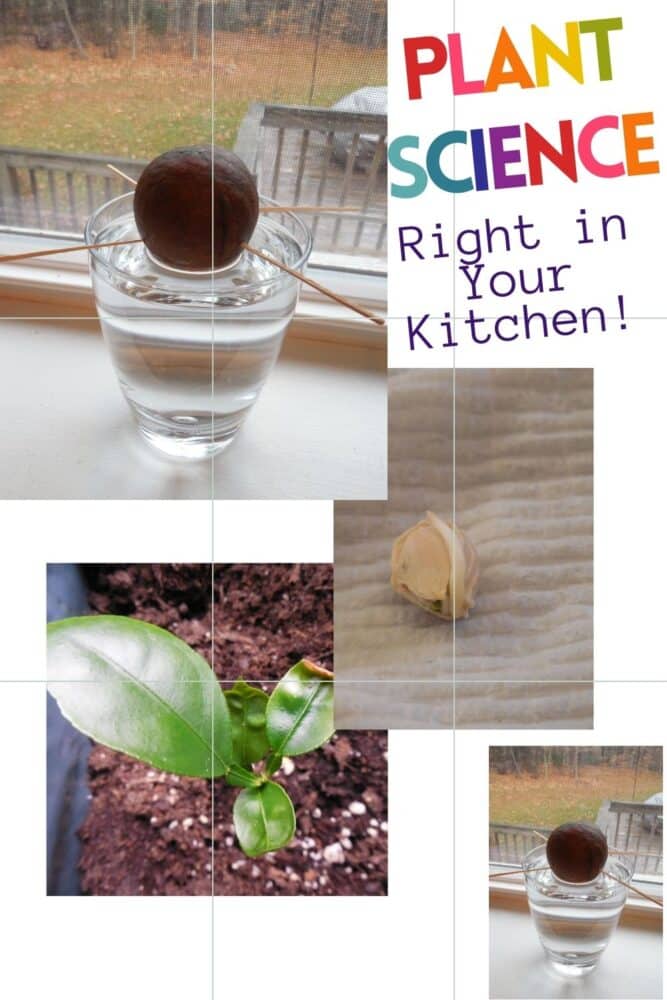
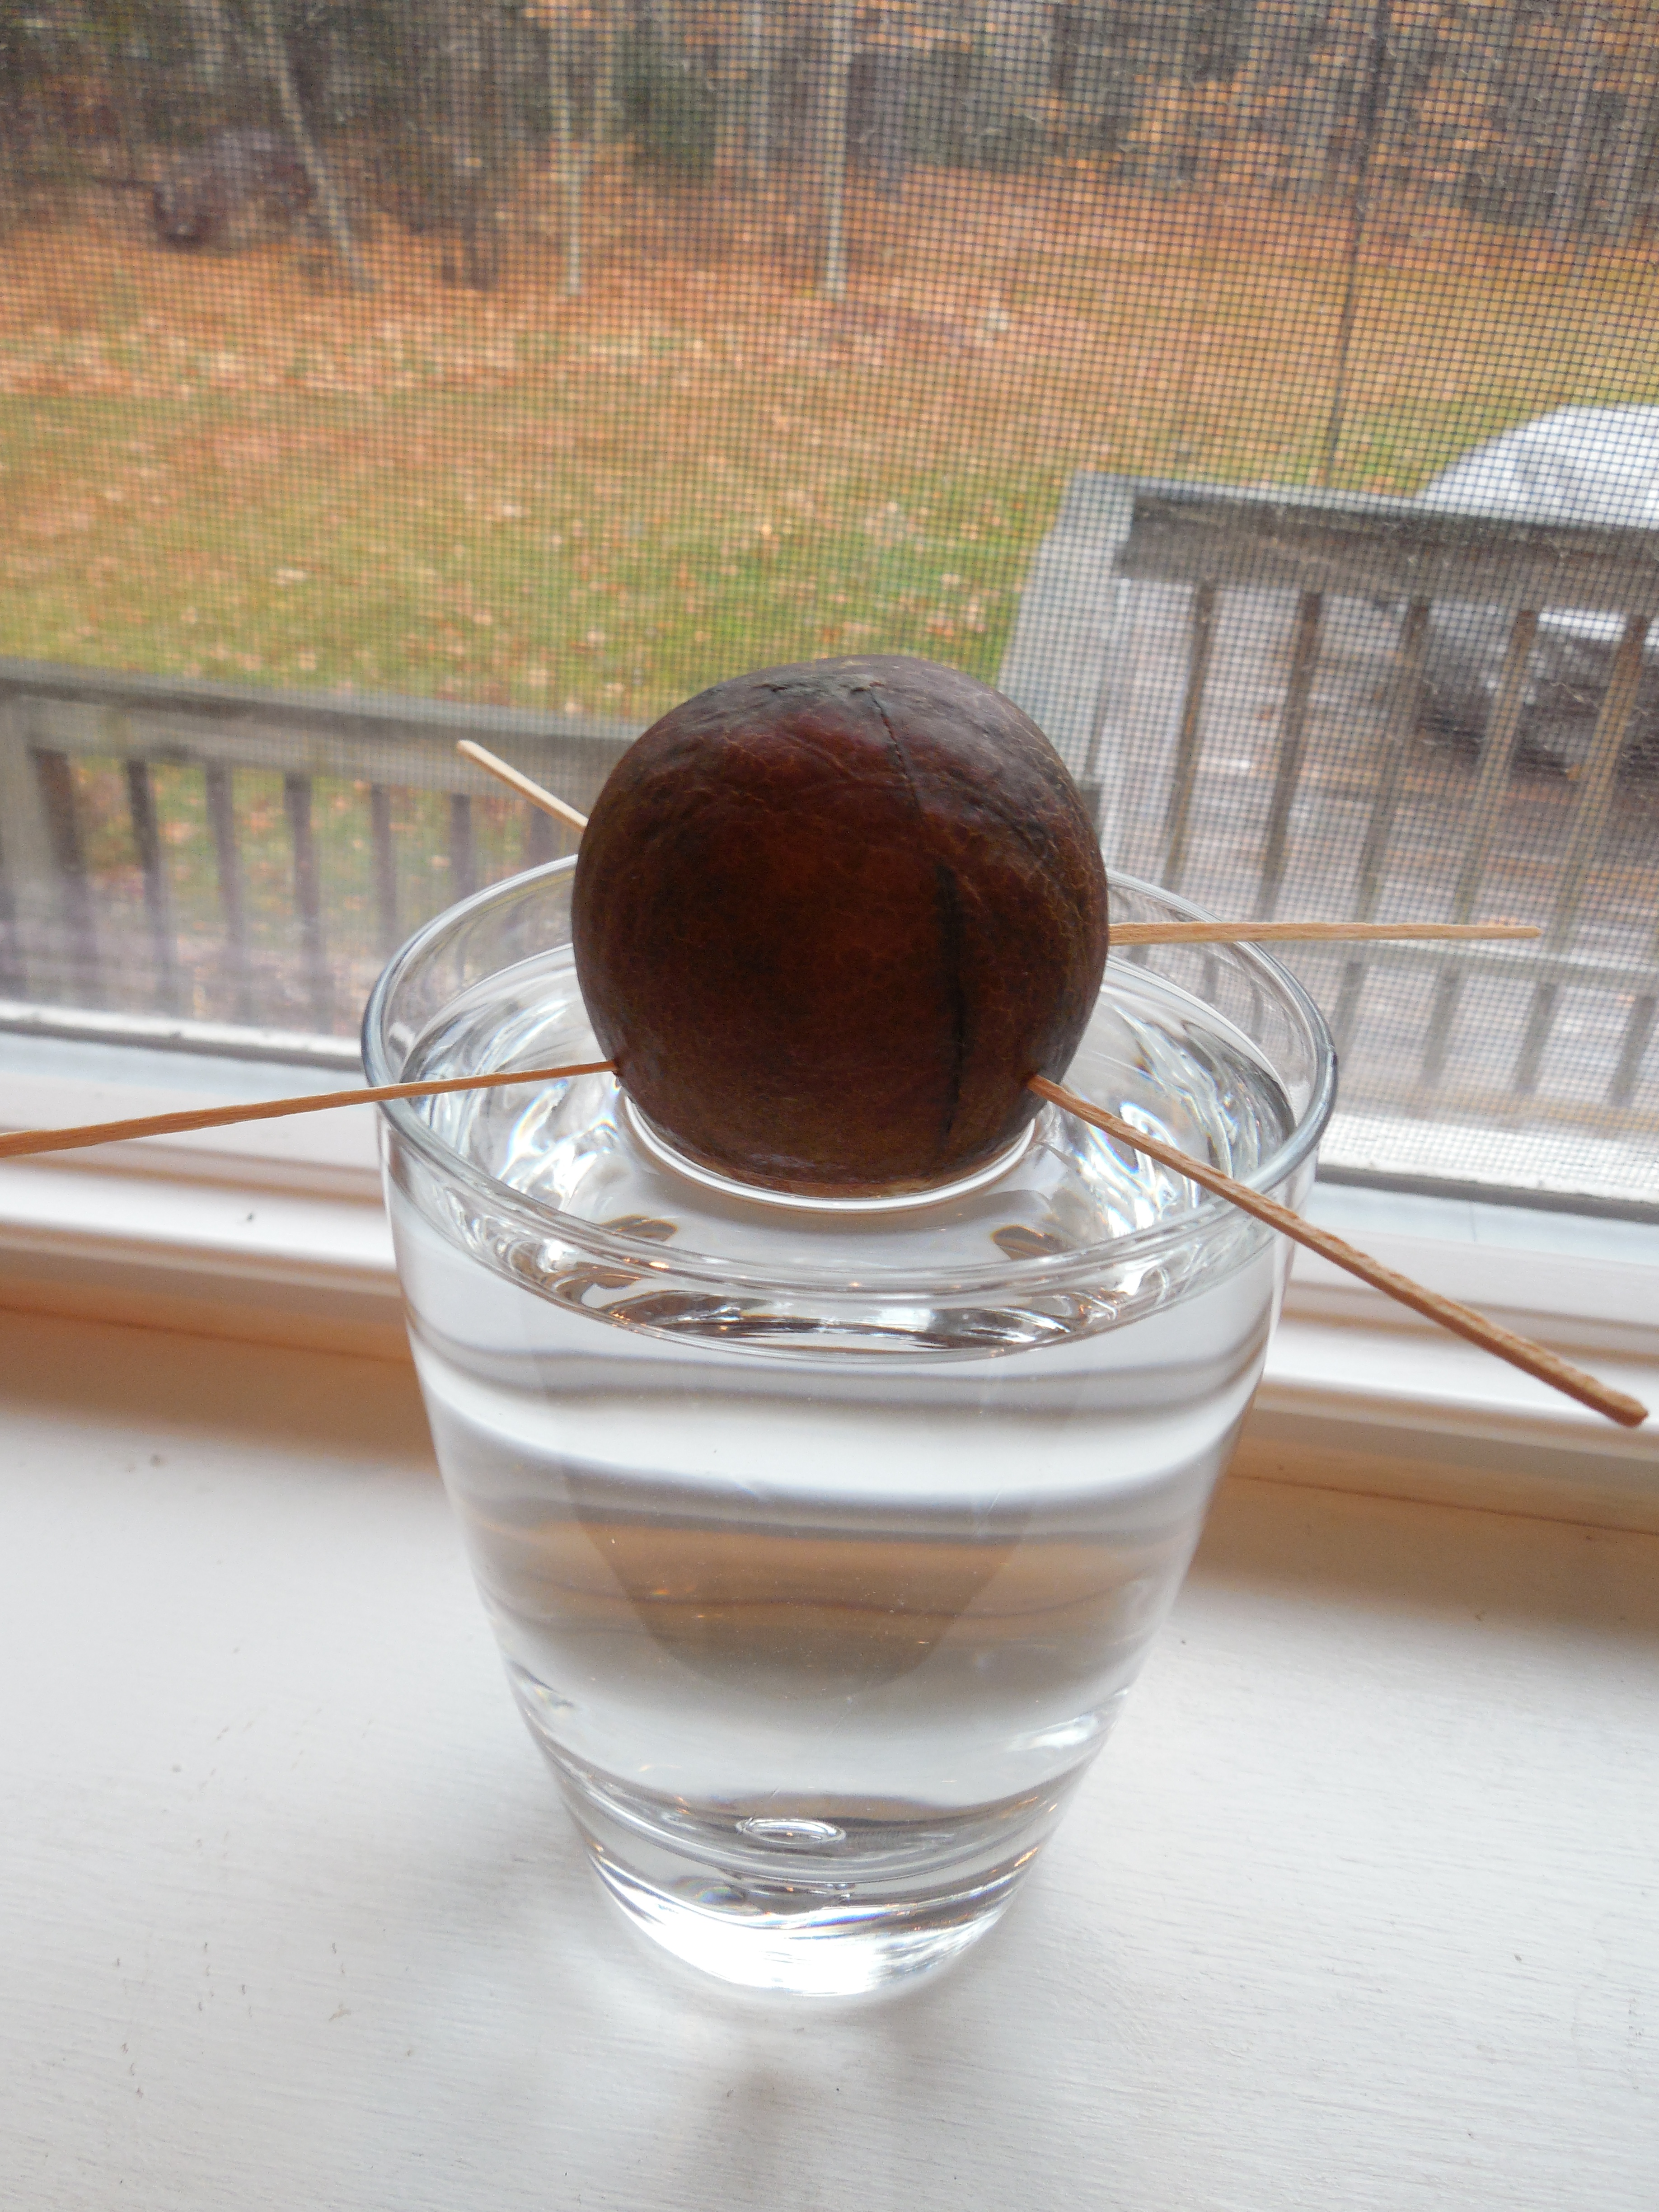
To grow an avocado, all you need to do is set it up in a glass and wait. Since it germinates in water you can clearly see the roots forming as it grows. It is an excellent way to experience plant germination on a fairly large scale. You’ll find a complete set of directions, with pictures, here.
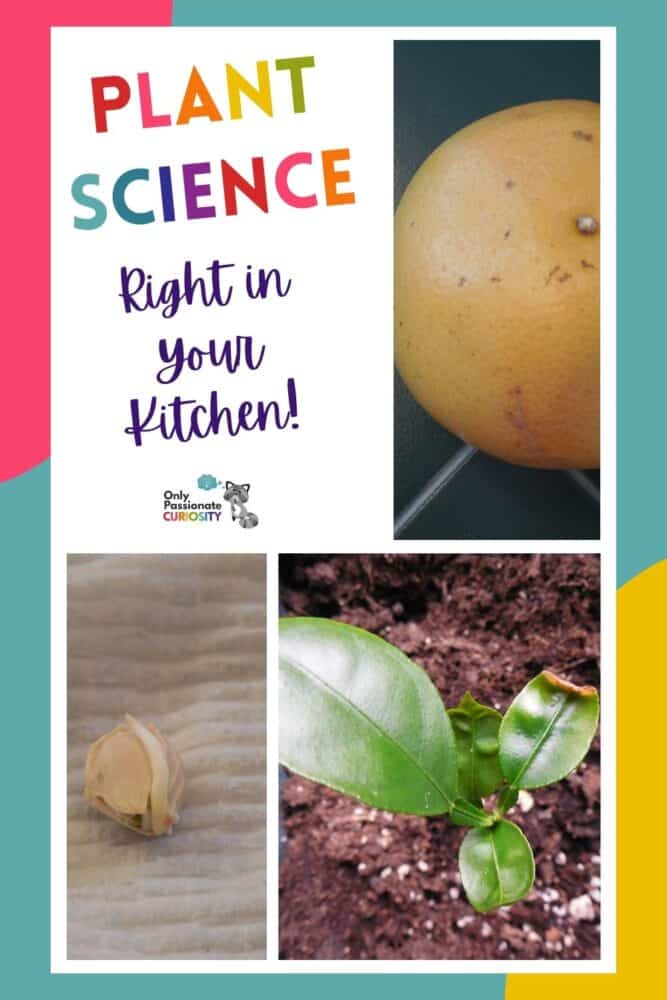
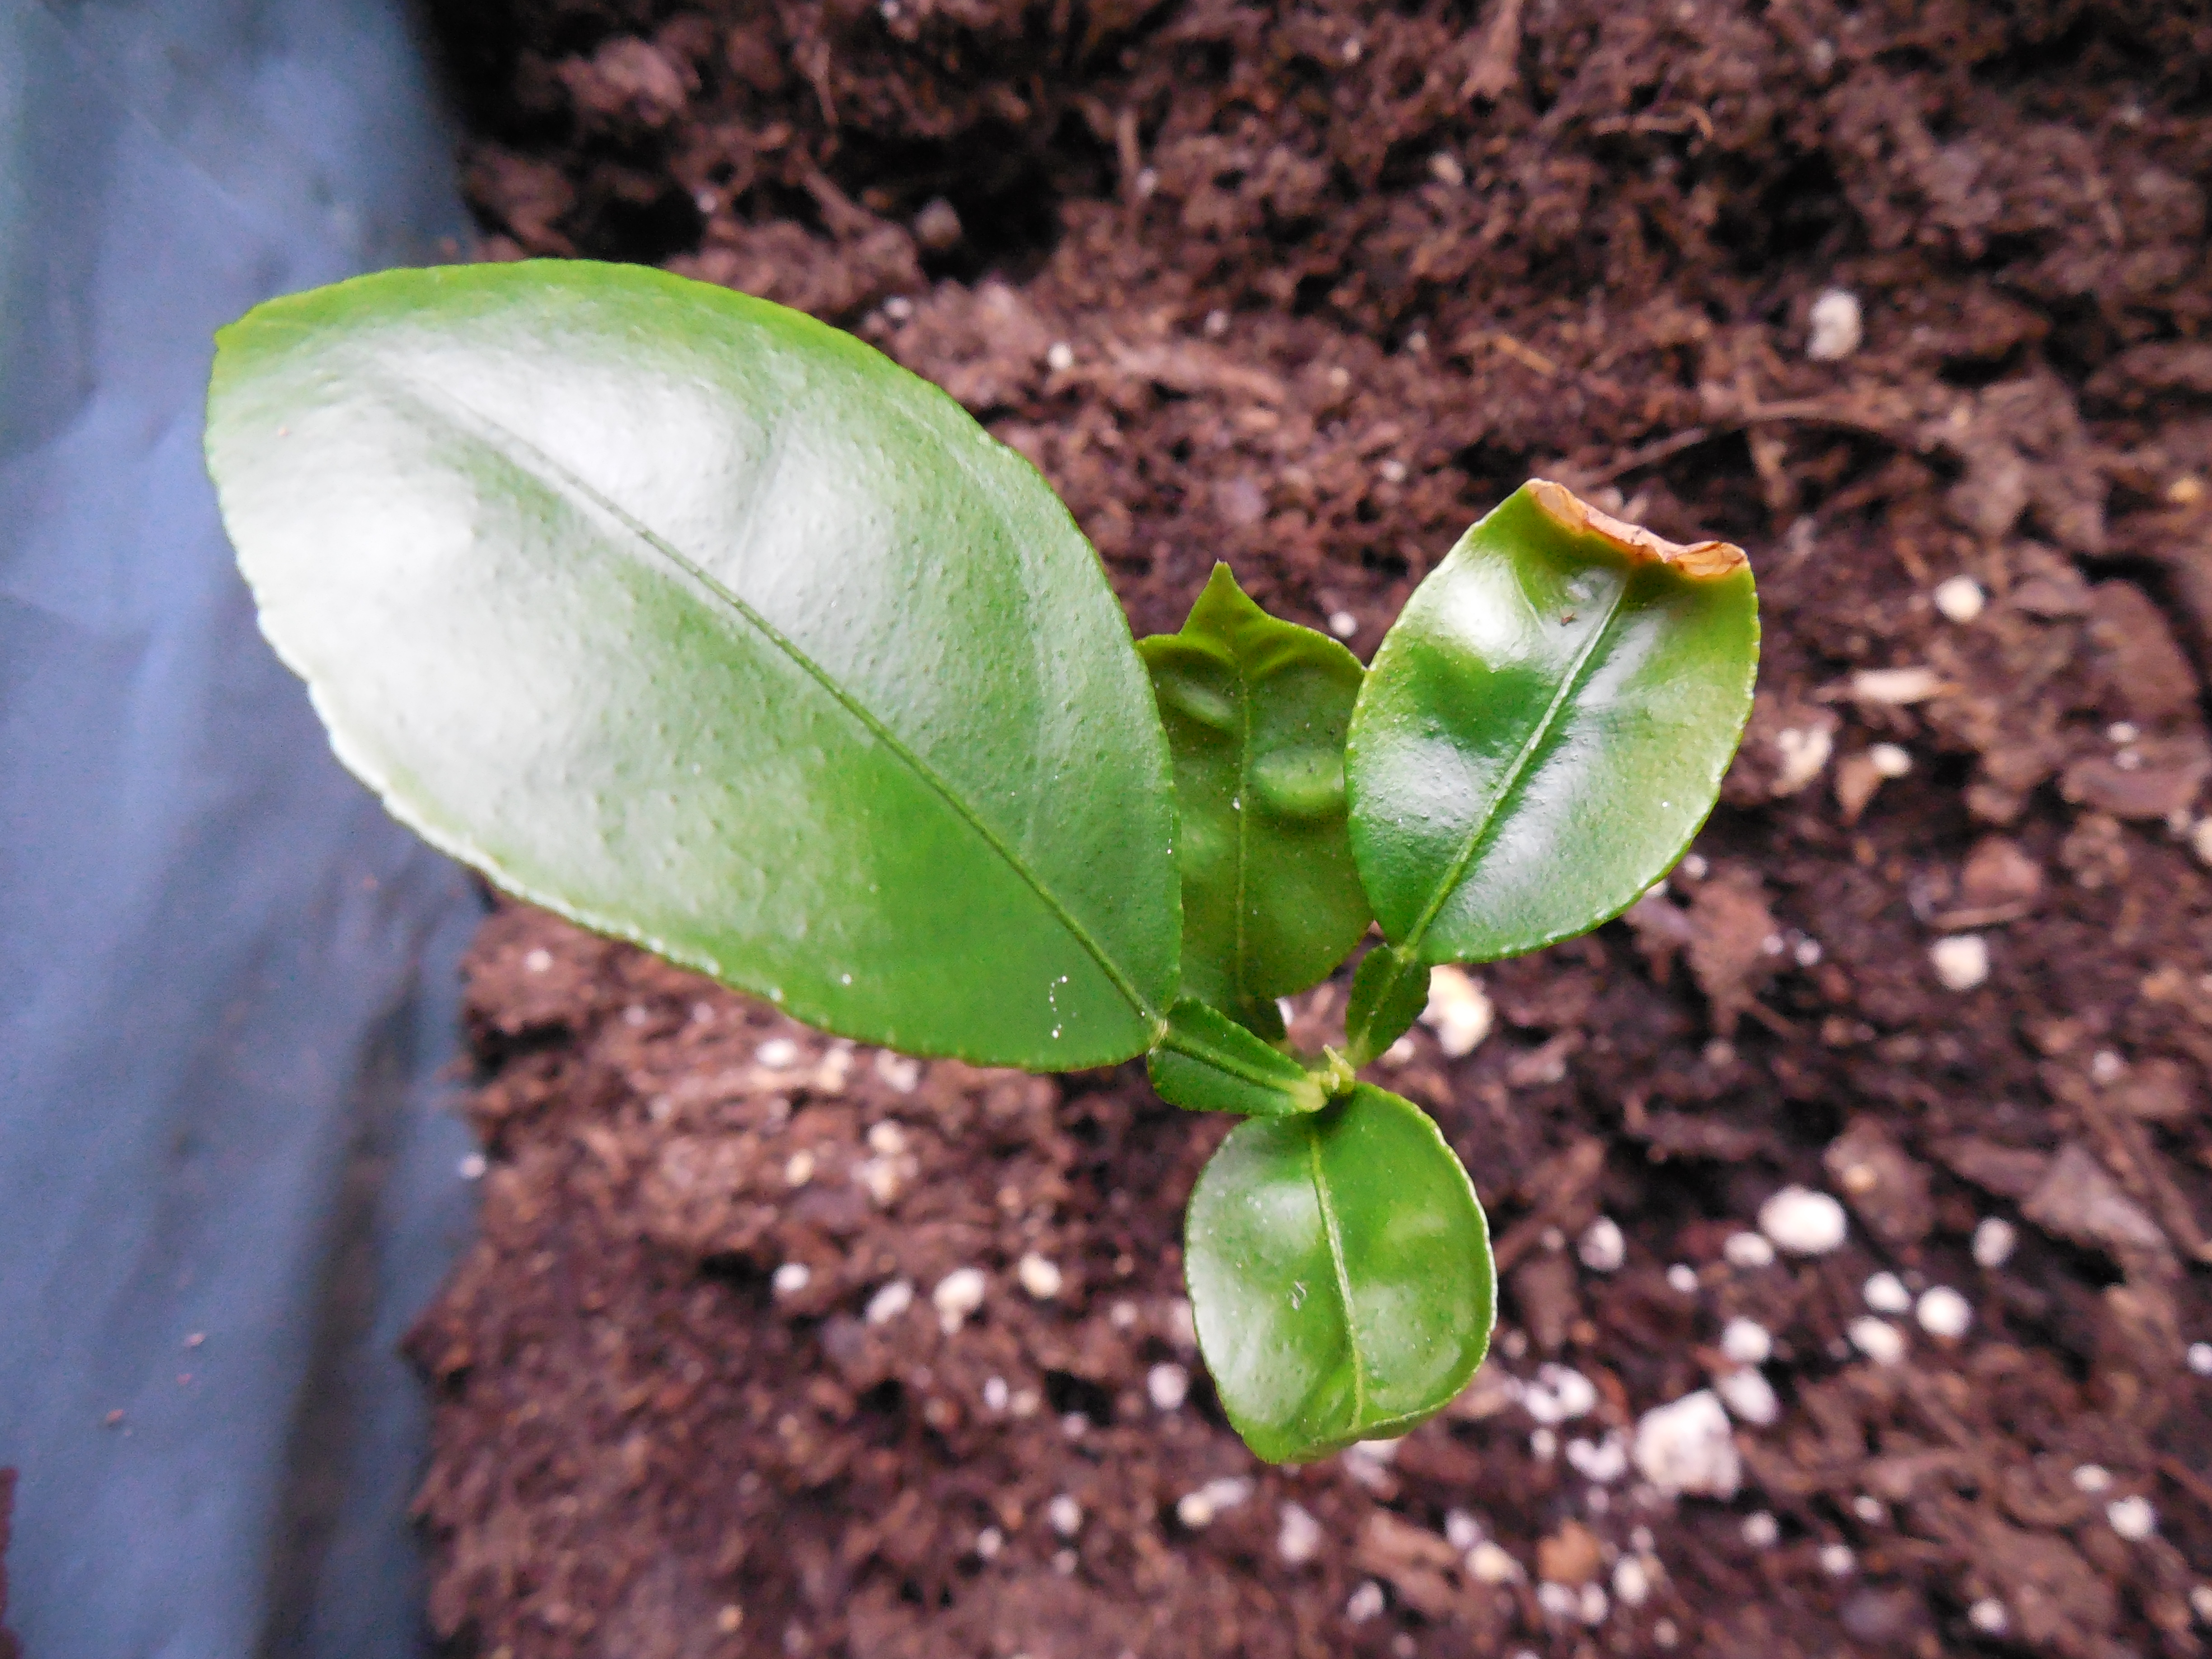
Growing a citrus seed is also very easy. Take a seed from a grapefruit, orange or other citrus plant and rinse it off. Wet a sheet of paper towel and wring it out. Then fold it into quarters. Tuck the seed into a corner of the moist, folded paper towel and seal the entire thing up in a plastic baggie. Place on a windowsill or other relatively warm location. Check the seed every few days. If you see any mold or mildew on the paper towel, replace it with another piece of damp paper towel.

Before too long, you should see the seed sprout! The seed coat will crack and a thick root will begin to emerge. This first root is called the radicle, the initial part of the embryonic seedling that appears outside of the seed.
Once your seedling begins to sprout, plant it no more than an inch deep in a soil-filled container. You’ll be amazed at the shiny, deep green plant that grows from the seed.
Great Resources for Kitchen Plant Science
If you enjoyed these seed lessons, then you might like to see what else you can grow from your kitchen scraps. Pick up a copy of my favorite trash-to-treasure book: Don’t Throw it, Grow it!: 68 windowsill plants from kitchen scraps for a ton of inspiration.
If you are feeling really ambitious, and you aren’t afraid of things that wiggle, you might want to try your hand a starting a worm composting bin to turn the rest of those kitchen scraps into garden soil. It is easier than it sounds, you can learn how here.
Worm composting, or vermicomposting, is a fabulous teaching tool. I kept a worm bin in my science classroom for years and now have one in my basement. When done correctly, your kids will learn a lot, you live a little greener than before, there is no smell, and you get some rich compost for your garden or houseplants to boot!
 Thank you to Sarah Benton Feitlinger for writing this guest post for us! Sarah is a science educator with over 10 years experience sharing science in nature and environmental centers, museums and schools. She has been studying science and nature in one way or another pretty much her whole life! Currently she is a work-at-home mom, a freelance K-12 science curriculum developer, children’s science writer, and blogger. She has a passion for making science understandable, and her goal is to make it accessible for everyone. Her blog focuses on connecting current events in science to resources and activities for teachers, parents, and students.